Home>Home Security and Surveillance>How To Set Up An FTP For My Outdoor Camera
Home Security and Surveillance
How To Set Up An FTP For My Outdoor Camera
Modified: August 27, 2024
Secure your home with a reliable home security and surveillance system. Learn how to set up an FTP for your outdoor camera to keep an eye on your property remotely.
(Many of the links in this article redirect to a specific reviewed product. Your purchase of these products through affiliate links helps to generate commission for Storables.com, at no extra cost. Learn more)
Introduction
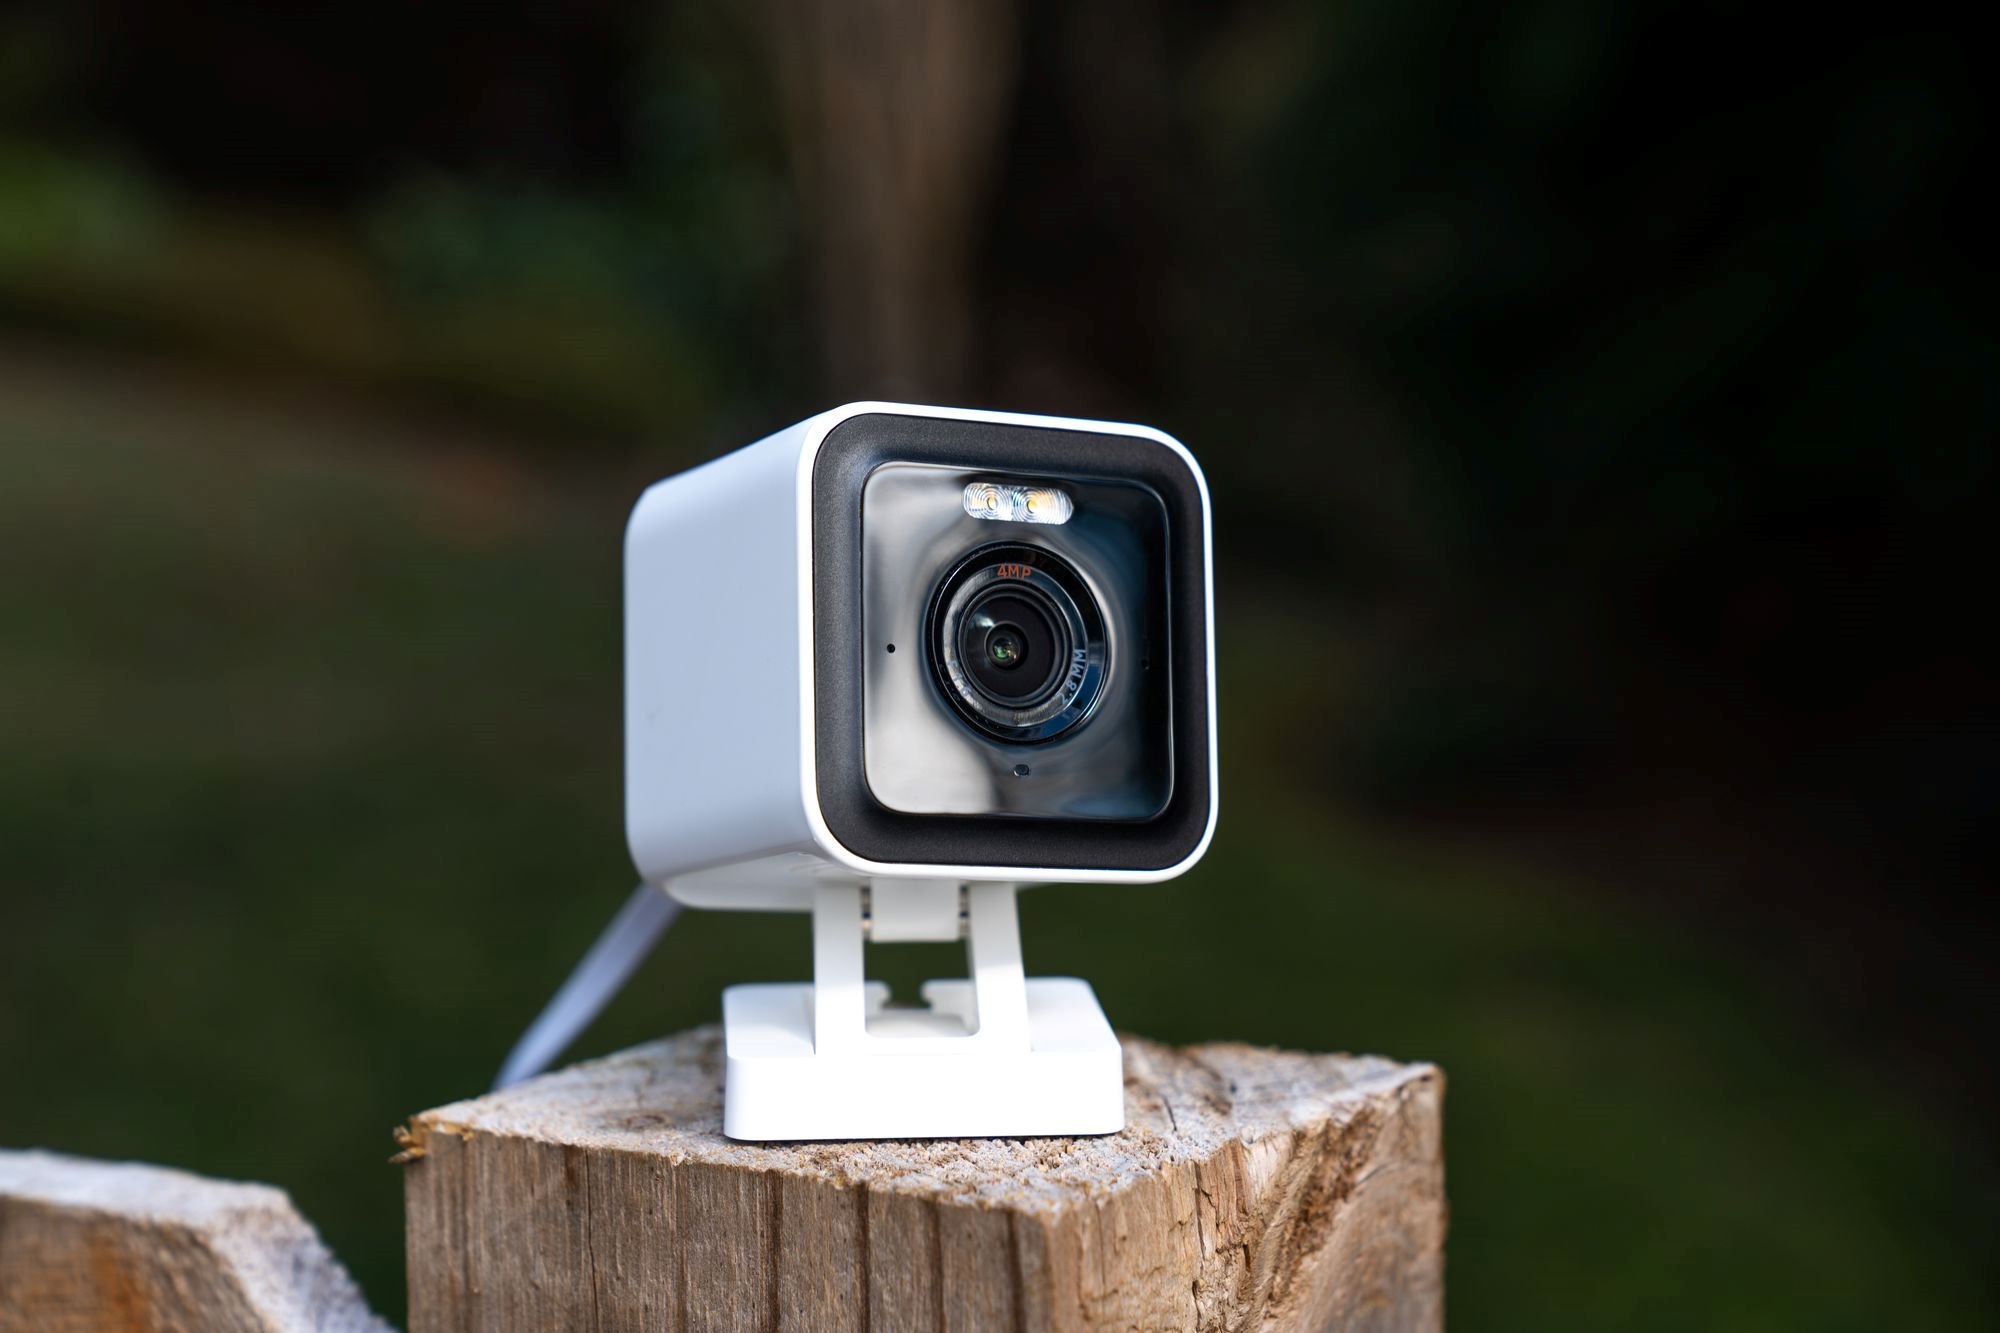
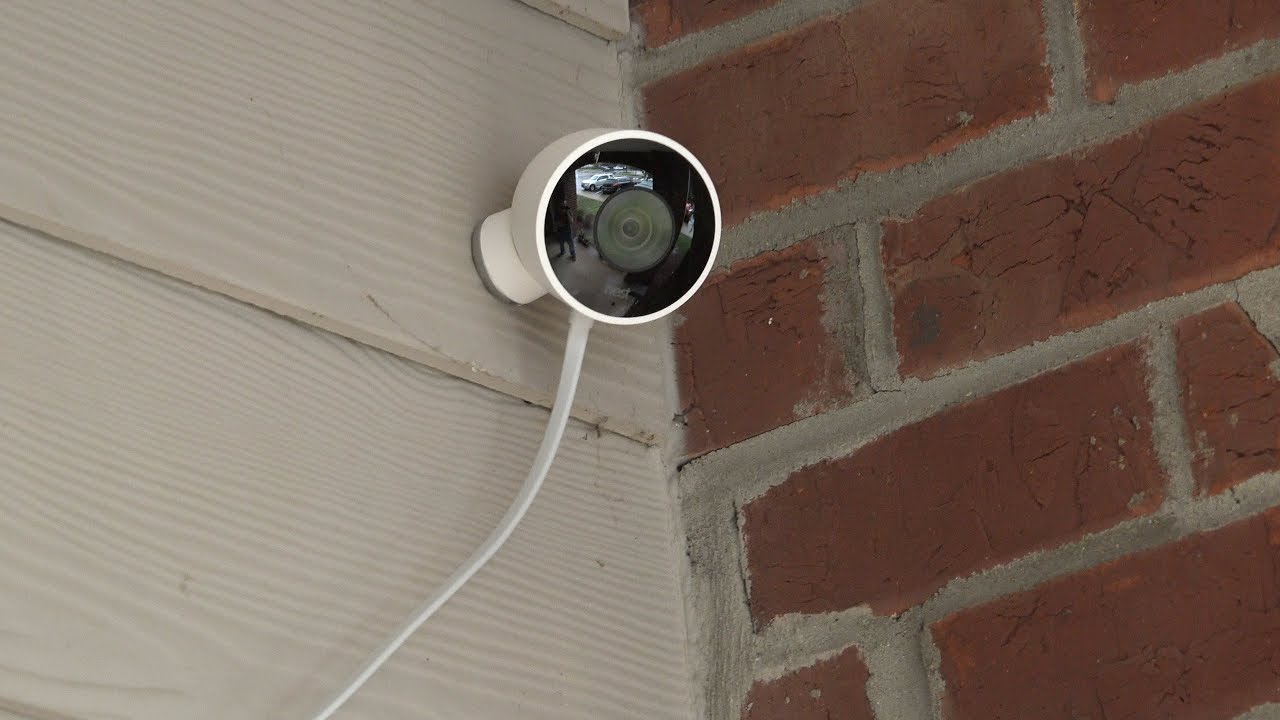
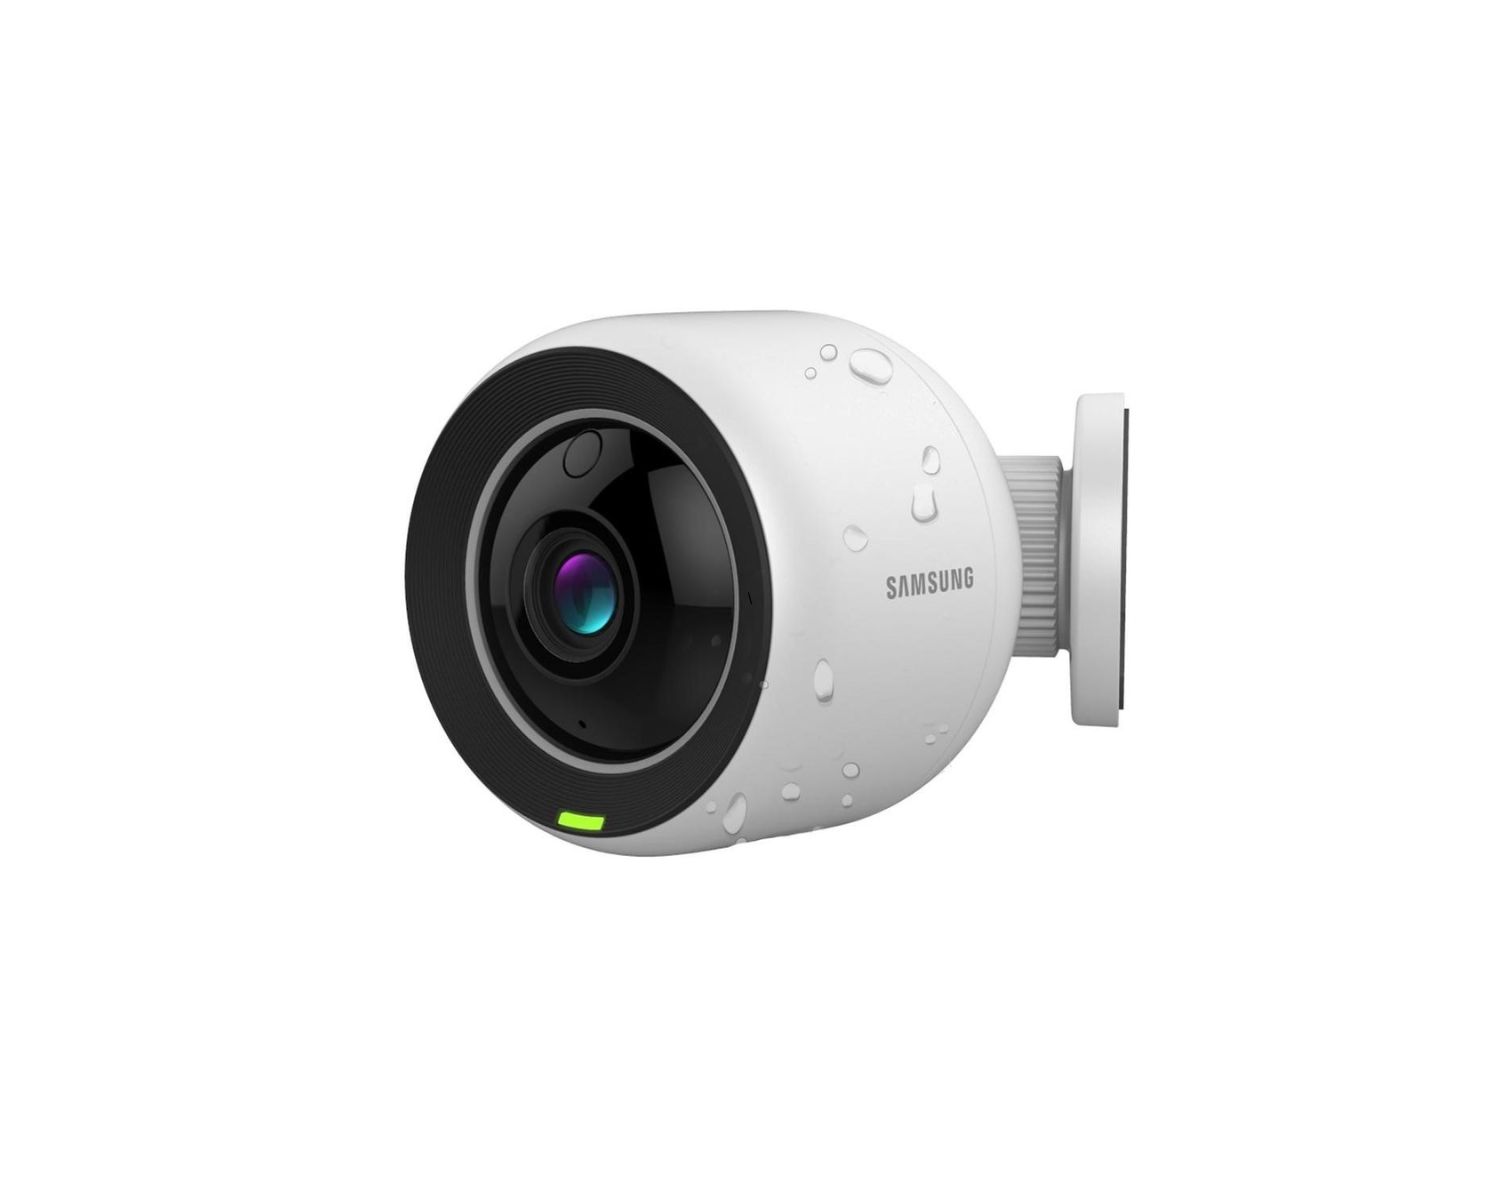
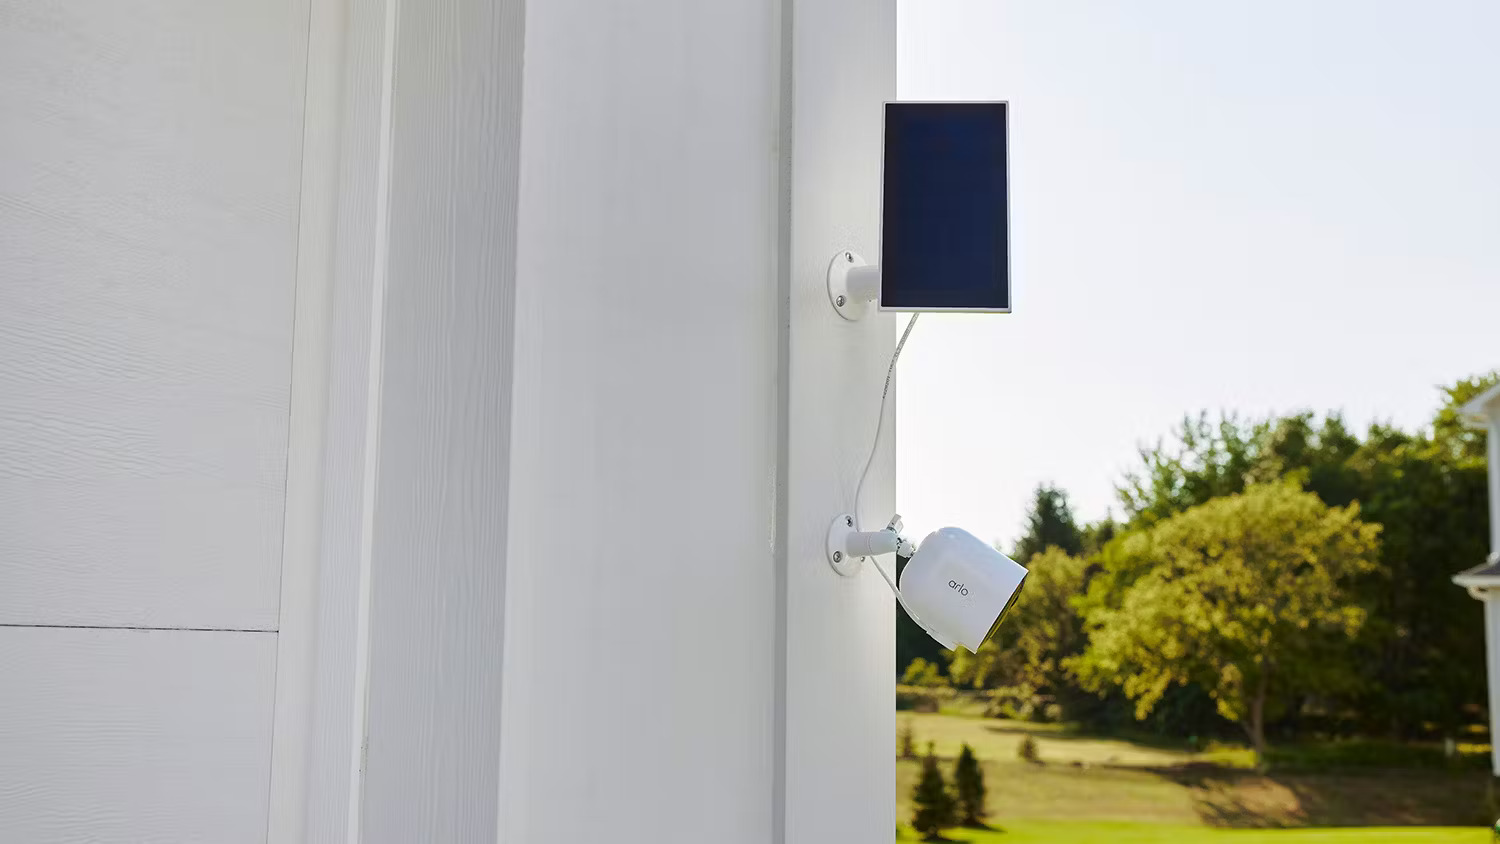
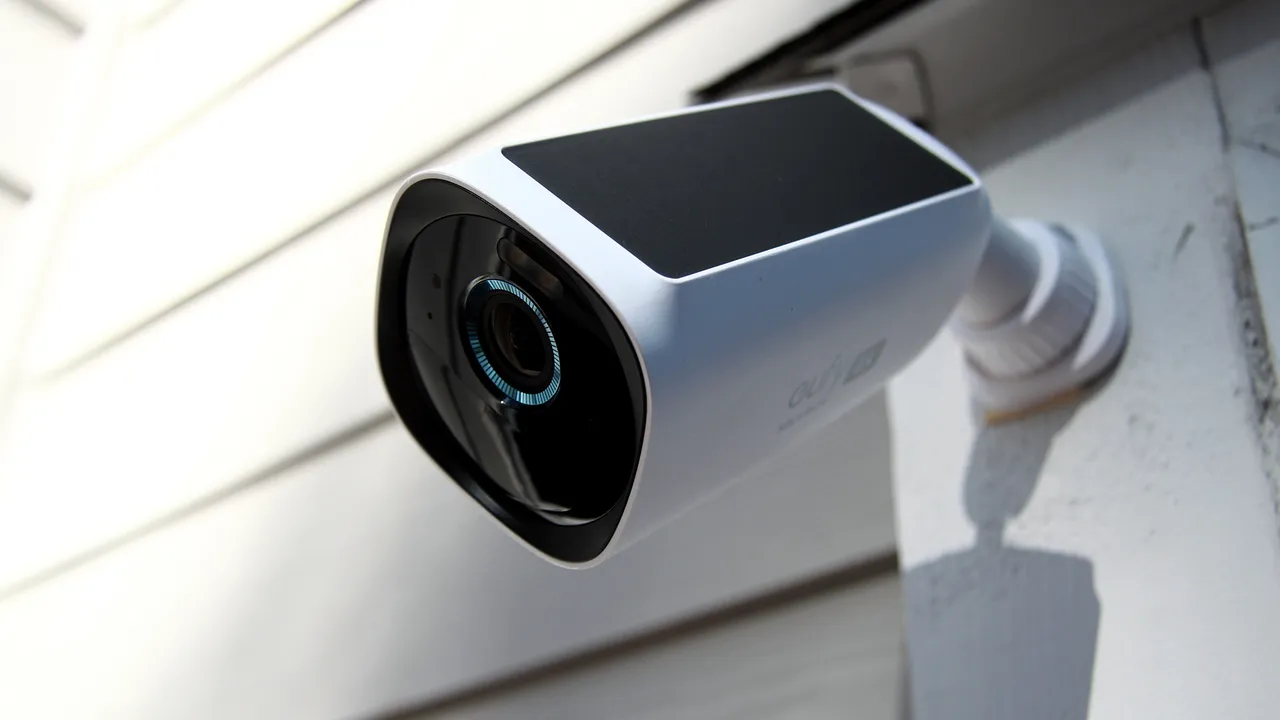
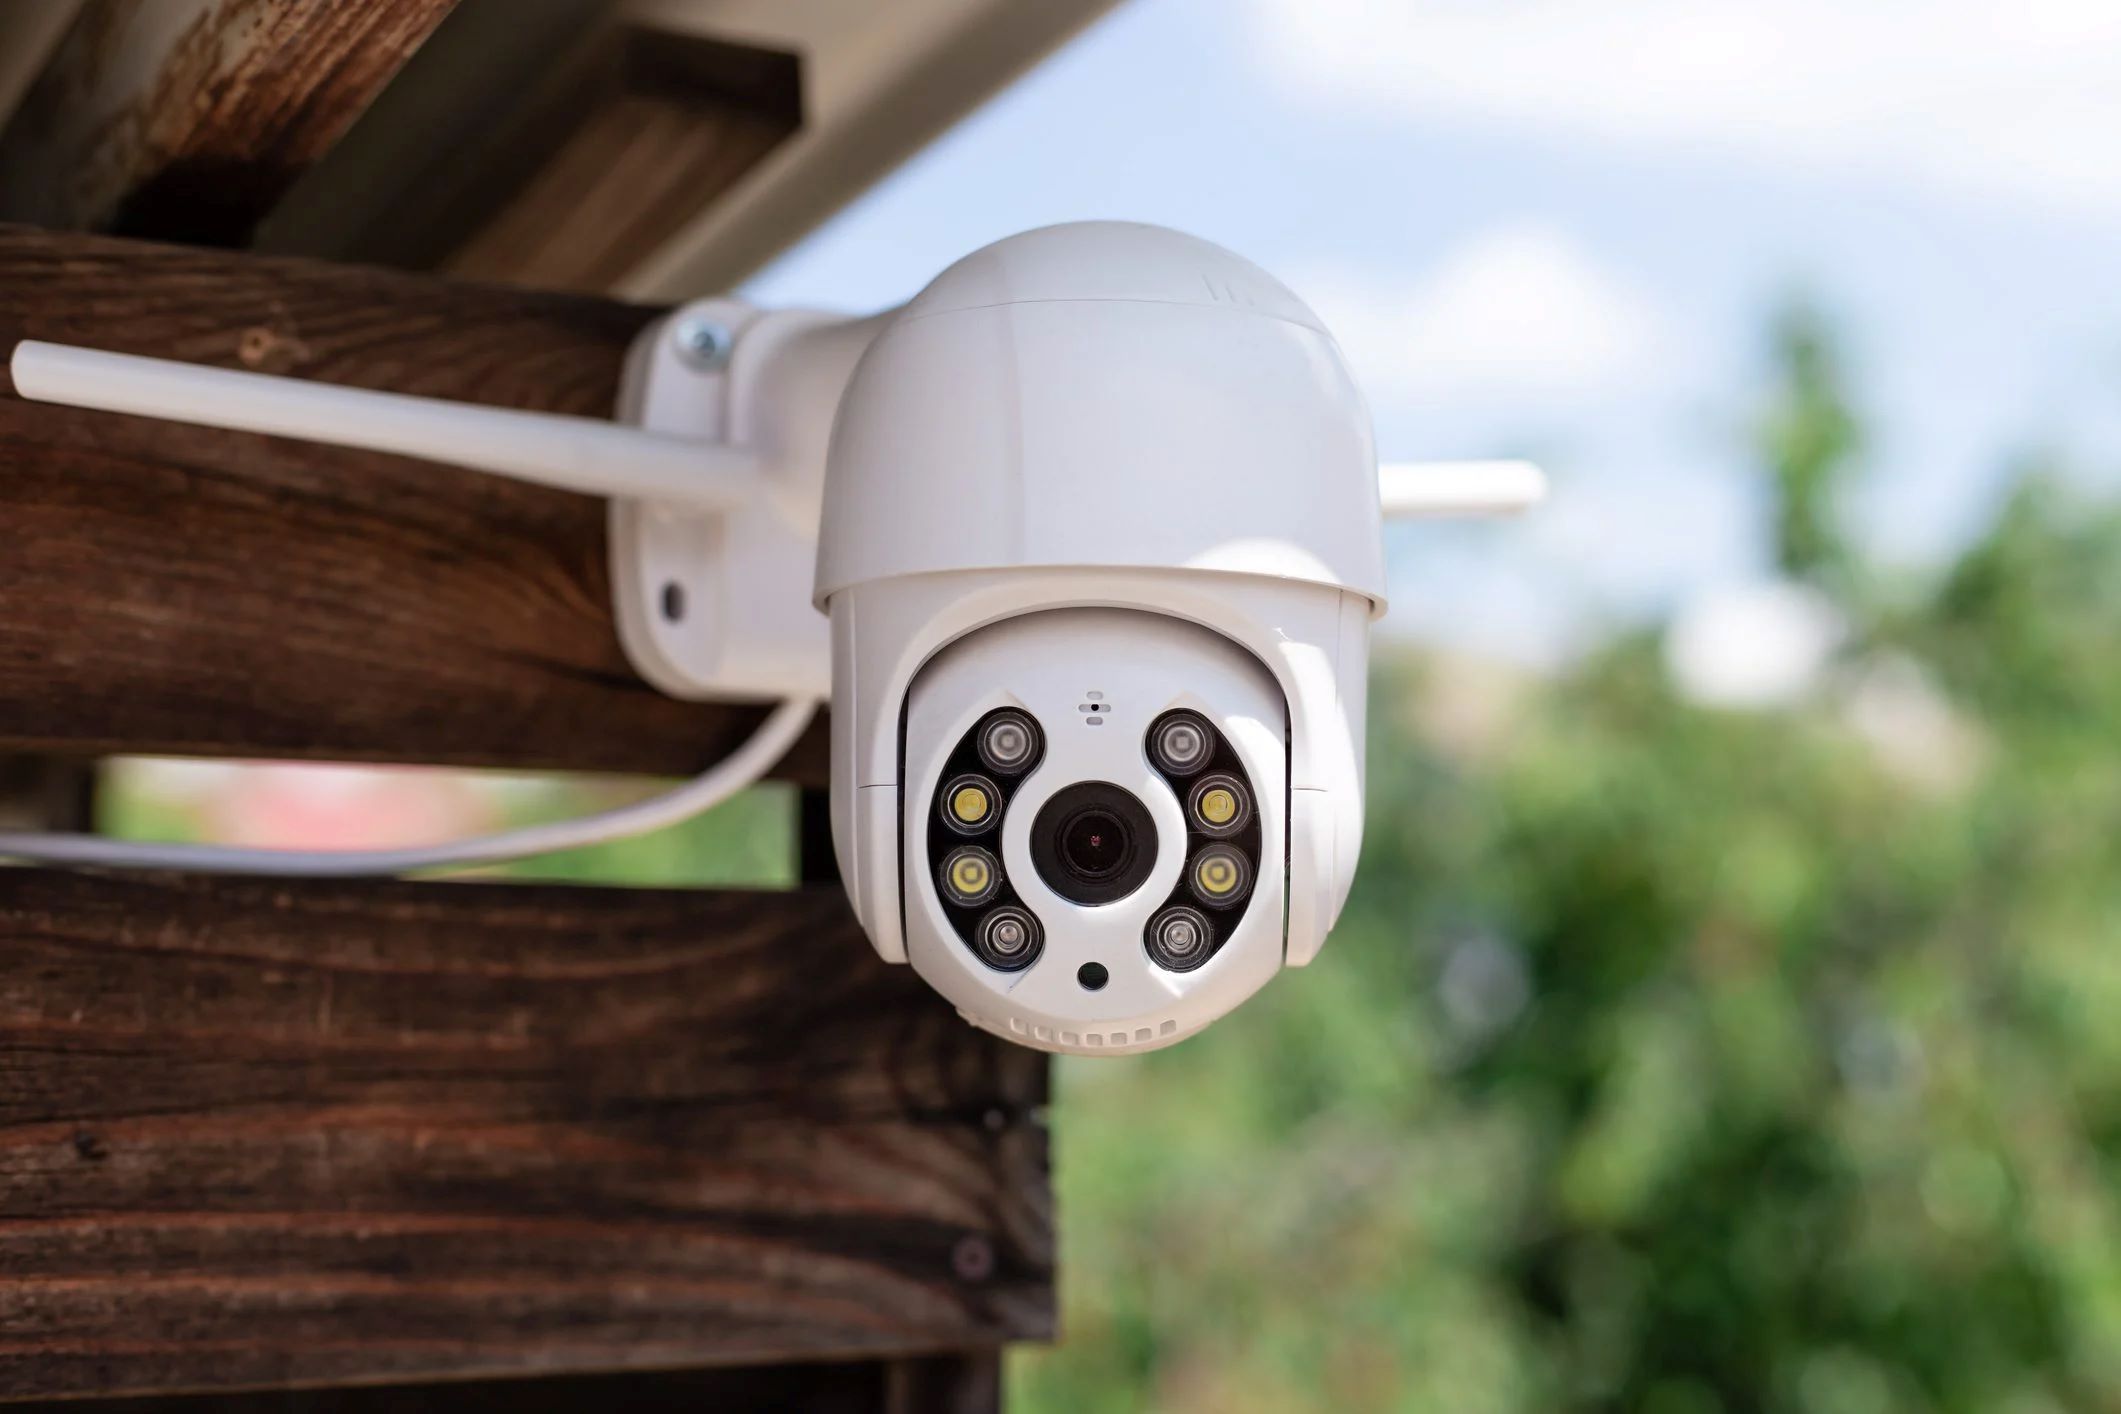
Welcome to the world of home security and surveillance! Keeping our homes safe and secure is a top priority for many homeowners, and advancements in technology have made it easier than ever to monitor our properties. One essential tool in any home security setup is an outdoor camera.
An outdoor camera provides an extra layer of security by monitoring the exterior of your home, deterring potential intruders, and alerting you to any suspicious activity. However, simply installing an outdoor camera is not enough. You need to ensure that you can access and store the recorded footage conveniently and securely.
This is where FTP (File Transfer Protocol) comes into play. FTP allows you to transfer files between your outdoor camera and a server. By setting up an FTP for your outdoor camera, you can easily store and access the recorded footage remotely, giving you peace of mind that your home is protected even when you’re away.
In this article, we will guide you through the process of setting up an FTP for your outdoor camera. We will cover everything from understanding FTP to choosing the right FTP client and configuring your camera, ensuring that you have a seamless and secure setup.
So, if you’re ready to take your home security to the next level, let’s dive into the world of FTP and set up your outdoor camera for maximum effectiveness!
Key Takeaways:
- Setting up an FTP for your outdoor camera allows you to store and access recorded footage remotely, enhancing your home security system with convenience and peace of mind.
- Choosing the right FTP client, configuring the server, and testing the setup thoroughly are crucial steps in ensuring seamless file transfer and storage for your outdoor camera footage.
Understanding FTP
Before we jump into the technicalities of setting up an FTP for your outdoor camera, let’s take a moment to understand what FTP is and how it works. FTP, which stands for File Transfer Protocol, is a standard network protocol used for the transfer of files over the internet.
FTP operates on the client-server model, where the client is the device (in this case, your outdoor camera) that initiates the file transfer request, and the server is the device that receives and stores the transferred files.
Here’s a quick overview of how FTP works:
- Authentication: To establish a connection with the FTP server, the client needs to provide valid credentials, which typically include a username and password.
- Commands: Once the connection is established, the client can send commands to the server to perform various operations, such as uploading, downloading, renaming, or deleting files.
- Data Transfer: The actual file transfer occurs over a separate channel called the data channel. The client and server negotiate on which port to use for the data channel.
- Response Codes: After each command, the server sends a response code to the client, indicating the success or failure of the operation. These response codes help in troubleshooting and debugging any issues during the FTP process.
FTP can operate in two modes: Active mode and Passive mode. In Active mode, the FTP server initiates the data connection back to the client, while the client listens for incoming connections. In Passive mode, the client initiates both the control and data connections, and the server listens for incoming data connections.
Understanding the basics of FTP will help you navigate the setup process with ease and troubleshoot any issues that may arise. Now that you have a grasp on FTP, let’s move on to choosing the right FTP client for your outdoor camera setup.
Choosing an FTP Client
Now that you understand how FTP works, the next step is to choose the right FTP client for your outdoor camera setup. An FTP client is a software application that allows you to connect to an FTP server and transfer files to and from it.
When selecting an FTP client, there are a few key factors to consider:
- User-Friendly Interface: Look for an FTP client that has a user-friendly interface and intuitive navigation. This will make the setup process much easier, especially if you are new to FTP.
- Operating System Compatibility: Ensure that the FTP client you choose is compatible with your operating system. Whether you are using Windows, macOS, or Linux, there are FTP clients available for each platform.
- Security Features: Security is paramount when it comes to transferring files, especially when dealing with sensitive footage from your outdoor camera. Look for an FTP client that supports secure connections, such as FTPS (FTP over SSL/TLS) or SFTP (SSH File Transfer Protocol).
- Functionality and Customization: Consider the specific features and functionalities that you may require. For example, some FTP clients offer scheduling options for automated file transfers, while others provide advanced settings for managing permissions and access controls.
- Customer Support: It’s always beneficial to choose an FTP client that offers good customer support. In case you encounter any issues during the setup process or need assistance, having access to reliable support can be invaluable.
There are several popular FTP clients available in the market, each with its own strengths and features. Some popular options include FileZilla, WinSCP, Cyberduck, and Transmit. Take the time to research and evaluate different FTP clients based on your requirements before making a decision.
Once you have chosen an FTP client that meets your needs, you are ready to proceed with setting up an FTP server for your outdoor camera. In the next section, we will walk you through the steps of setting up an FTP server on your preferred device.
Setting up an FTP Server
Setting up an FTP server is a crucial step in establishing a seamless connection between your outdoor camera and the storage location for your recorded footage. Here’s a step-by-step guide to help you set up an FTP server:
- Choose your Server Operating System: Determine the operating system you want to use for your FTP server. Popular options include Windows, Linux, and macOS.
- Install FTP Server Software: Install the FTP server software on your chosen server operating system. For Windows, you can use software like FileZilla Server, while for Linux, options include vsftpd and ProFTPD. macOS users can utilize built-in FTP server functionality.
- Configure FTP Server: Once the software is installed, configure the FTP server settings according to your preferences. This includes setting the user accounts, directories for file storage, and security settings like encryption and access controls.
- Set up Port Forwarding: If you’re planning to access the FTP server from outside your home network, you’ll need to configure port forwarding on your router. This allows incoming FTP connections to reach your server.
- Enable Passive mode (optional): If you encounter issues with FTP connections due to firewalls or network configurations, enabling Passive mode on your FTP server can help mitigate these problems.
- Test FTP Server: Once the configuration is complete, it’s important to test your FTP server to ensure it’s functioning correctly. Use an FTP client to connect to the server and perform file transfers to ensure everything is working as expected.
It’s worth noting that the exact steps for setting up an FTP server may vary depending on the software and operating system you choose. Consult the documentation specific to your chosen FTP server software for detailed instructions and troubleshooting tips.
With your FTP server up and running, now it’s time to configure your outdoor camera to connect to the server. In the next section, we will guide you through the process of configuring your outdoor camera for FTP transfer.
Configuring your Outdoor Camera
To enable your outdoor camera to transfer footage to the FTP server, you’ll need to configure it with the necessary settings. The exact steps may differ depending on the make and model of your camera, but here are some general guidelines:
- Access Camera Settings: Connect to your outdoor camera’s control interface by typing its IP address into a web browser. Enter the credentials to log in to the camera settings.
- Locate FTP Settings: Look for the FTP settings or storage settings section within the camera’s interface. This is where you’ll configure the FTP server details.
- Enter FTP Server Information: Provide the necessary details, including the server’s IP address or hostname, the port number (usually 21 for FTP), and the login credentials (username and password). Select the appropriate protocol, such as FTPS or SFTP, if supported.
- Specify Storage Directory: Choose the directory or folder on the FTP server where you want the camera to store the recorded footage. Ensure that the directory exists on the FTP server and that the camera has write permission to that location.
- Adjust Motion Detection Settings (optional): Many outdoor cameras have motion detection capabilities. If your camera supports this feature, you can configure the sensitivity and other settings to trigger the recording and transfer of footage to the FTP server when motion is detected.
- Save and Apply Settings: Once you have entered all the required information, save the settings and apply them to the camera. The camera will attempt to connect to the FTP server using the specified details.
After configuring your outdoor camera with the FTP server settings, it’s time to test the FTP setup to ensure that everything is working as expected. In the next section, we will guide you through the process of testing your FTP setup.
When setting up an FTP for your outdoor camera, make sure to use a strong password and enable encryption to keep your data secure.
Read more: How To Set Up An ADT Outdoor Camera
Connecting your Outdoor Camera to the FTP Server
Once you have configured your outdoor camera with the necessary FTP settings, it’s time to connect it to the FTP server. Follow these steps to establish the connection:
- Ensure Network Connectivity: Make sure that your outdoor camera is connected to the same network as the FTP server. This can be a local network or a remote network if you have set up port forwarding.
- Power On the Camera: Ensure that your outdoor camera is powered on and connected to the network.
- Verify FTP Server Availability: Confirm that the FTP server is running and accessible. Double-check the server IP address, port number, and credentials entered in the camera settings.
- Trigger Recording: Activate the recording functionality on your outdoor camera. This can be done either manually or by enabling motion detection if your camera supports it. The camera will start recording and attempt to transfer the footage to the FTP server.
- Monitor Transfer Progress: Once the camera starts transferring the recorded footage, you can monitor the progress by checking the FTP server logs or using the FTP client software. This allows you to ensure that the transfer is successful.
- Verify File Storage: On the FTP server, navigate to the specified storage directory to confirm that the recorded footage is being saved correctly. You should be able to see the files generated by the camera containing the recorded videos or images.
If the connection is successful, you have now established a link between your outdoor camera and the FTP server. The camera will continue to record and transfer footage to the FTP server based on the configured settings.
However, it’s crucial to test the FTP setup to ensure that it’s working reliably. In the next section, we will discuss how to effectively test your FTP setup and troubleshoot common issues that may arise.
Testing the FTP Setup
After configuring your outdoor camera and FTP server, it’s essential to thoroughly test the FTP setup to ensure that everything is functioning correctly. Testing allows you to verify that the camera can successfully transfer footage to the FTP server and identify any potential issues. Here are some steps to help you test the FTP setup:
- Trigger a Test Recording: Initiate a test recording on your outdoor camera. This can be done by manually triggering the recording or by simulating motion if your camera supports motion detection. Make sure to record a short clip to keep the testing process efficient.
- Monitor the FTP Transfer: Check the FTP server logs or use the FTP client software to monitor the transfer process. Look for any error messages or unusual behavior during the file transfer.
- Verify File Storage: Navigate to the storage directory on the FTP server where the camera is set to transfer the recordings. Confirm that the test file is present and intact. Play the file to ensure that it is playable without any issues.
- Check File Size and Timestamps: Compare the file size and timestamps of the transferred file on the FTP server with the original test recording from the camera. They should match to indicate that the transfer was successful and accurate.
- Repeat the Process: Perform multiple test recordings to ensure the consistency and reliability of the FTP setup. This helps uncover any potential intermittent issues.
If the tests indicate that the FTP setup is working properly, congratulations! You have successfully set up and tested the connection between your outdoor camera and the FTP server. Your camera will now continue to transfer recordings to the FTP server based on the specified settings.
However, if you encounter any issues or notice discrepancies during the testing process, troubleshooting may be required. In the next section, we will address some common issues and provide troubleshooting tips to help you resolve them.
Troubleshooting Common Issues
While setting up an FTP server for your outdoor camera, you may encounter common issues that can hinder the connection or transfer of files. Here are some troubleshooting tips to help you resolve these issues:
- Incorrect FTP Server Settings: Double-check the FTP server settings on your outdoor camera. Ensure that the server IP address, port number, username, and password are correct. A small typo can lead to connection failures.
- Firewall or Network Restrictions: Check if there are any firewalls, routers, or network configurations that may be blocking the FTP connection. Configure necessary port forwarding or open the required ports to allow the camera to communicate with the FTP server.
- Insufficient Permissions: Make sure that the camera has proper write permissions on the FTP server. Check the directory or folder permissions where the camera is set to transfer the recordings. Adjust the permissions if necessary.
- Compatibility Issues: Ensure that your outdoor camera and FTP server support the same protocol (e.g., FTPS, SFTP). If there is a mismatch, switch to a compatible protocol or check for firmware updates that may address the compatibility issue.
- Network Connection Stability: Check the stability of your network connection. Instabilities or intermittent connectivity issues can lead to failed or incomplete file transfers. Consider troubleshooting your network or upgrading your internet connection if necessary.
- Resource Constraints: Verify that your FTP server has enough storage space to accommodate the recorded footage. Insufficient storage can cause transfer failures or incomplete file transfers. If needed, free up space or allocate additional storage for the server.
- Check FTP Server Logs: Review the logs on the FTP server for any error messages or warnings. The logs can provide valuable information about potential issues and aid in diagnosing and resolving them.
- Update Firmware and Software: Ensure that both your outdoor camera and FTP server software are running the latest firmware and software versions. Updates often include bug fixes and improvements that can address known issues.
- Seek Technical Support: If you have exhausted all troubleshooting options and are still experiencing issues, reach out to technical support for your outdoor camera, FTP server software, or networking equipment. They can provide specific guidance and assistance tailored to your setup.
By following these troubleshooting tips, you can overcome common issues and ensure that your outdoor camera is successfully connected to the FTP server for seamless file transfer and storage.
With the FTP setup tested and any issues resolved, you can now enjoy the benefits of remote access and secure storage for your outdoor camera footage. In the next section, we will wrap up the article and summarize the key points.
Conclusion
Setting up an FTP for your outdoor camera is a significant step in enhancing your home security and surveillance system. By enabling the camera to transfer footage to an FTP server, you gain remote access to your recorded videos or images, ensuring that you can monitor and store crucial evidence of any suspicious activity.
In this article, we have explored the fundamentals of FTP and provided a comprehensive guide to help you set up and configure your FTP server and outdoor camera. We discussed the importance of choosing the right FTP client, configuring the server, and connecting your camera to the FTP server. We also shared valuable tips for testing the FTP setup and troubleshooting common issues that may arise.
Remember, when choosing an FTP client, consider factors such as user-friendliness, compatibility, security features, functionality, and customer support. Configure your FTP server adequately, including setting up user accounts, directory permissions, and security settings. Connect your outdoor camera to the FTP server, and test the setup thoroughly to ensure seamless file transfer and storage. Troubleshoot any issues you encounter and seek technical support if needed.
With your FTP setup in place, you can have peace of mind knowing that your outdoor camera is efficiently transferring and storing footage, providing you with a reliable home security solution. Enjoy the convenience and flexibility of accessing your recorded videos from anywhere, while ensuring the safety and security of your property.
Remember to regularly maintain and update your FTP server, camera firmware, and software to benefit from the latest features and security enhancements. By staying informed and proactive, you can make the most of your outdoor camera and FTP setup for years to come.
Thank you for joining us on this journey to set up an FTP for your outdoor camera. Stay safe, stay secure!
Frequently Asked Questions about How To Set Up An FTP For My Outdoor Camera
Was this page helpful?
At Storables.com, we guarantee accurate and reliable information. Our content, validated by Expert Board Contributors, is crafted following stringent Editorial Policies. We're committed to providing you with well-researched, expert-backed insights for all your informational needs.