Home>Home Security and Surveillance>Why Does My Nest Outdoor Camera Keep Going Offline
Home Security and Surveillance
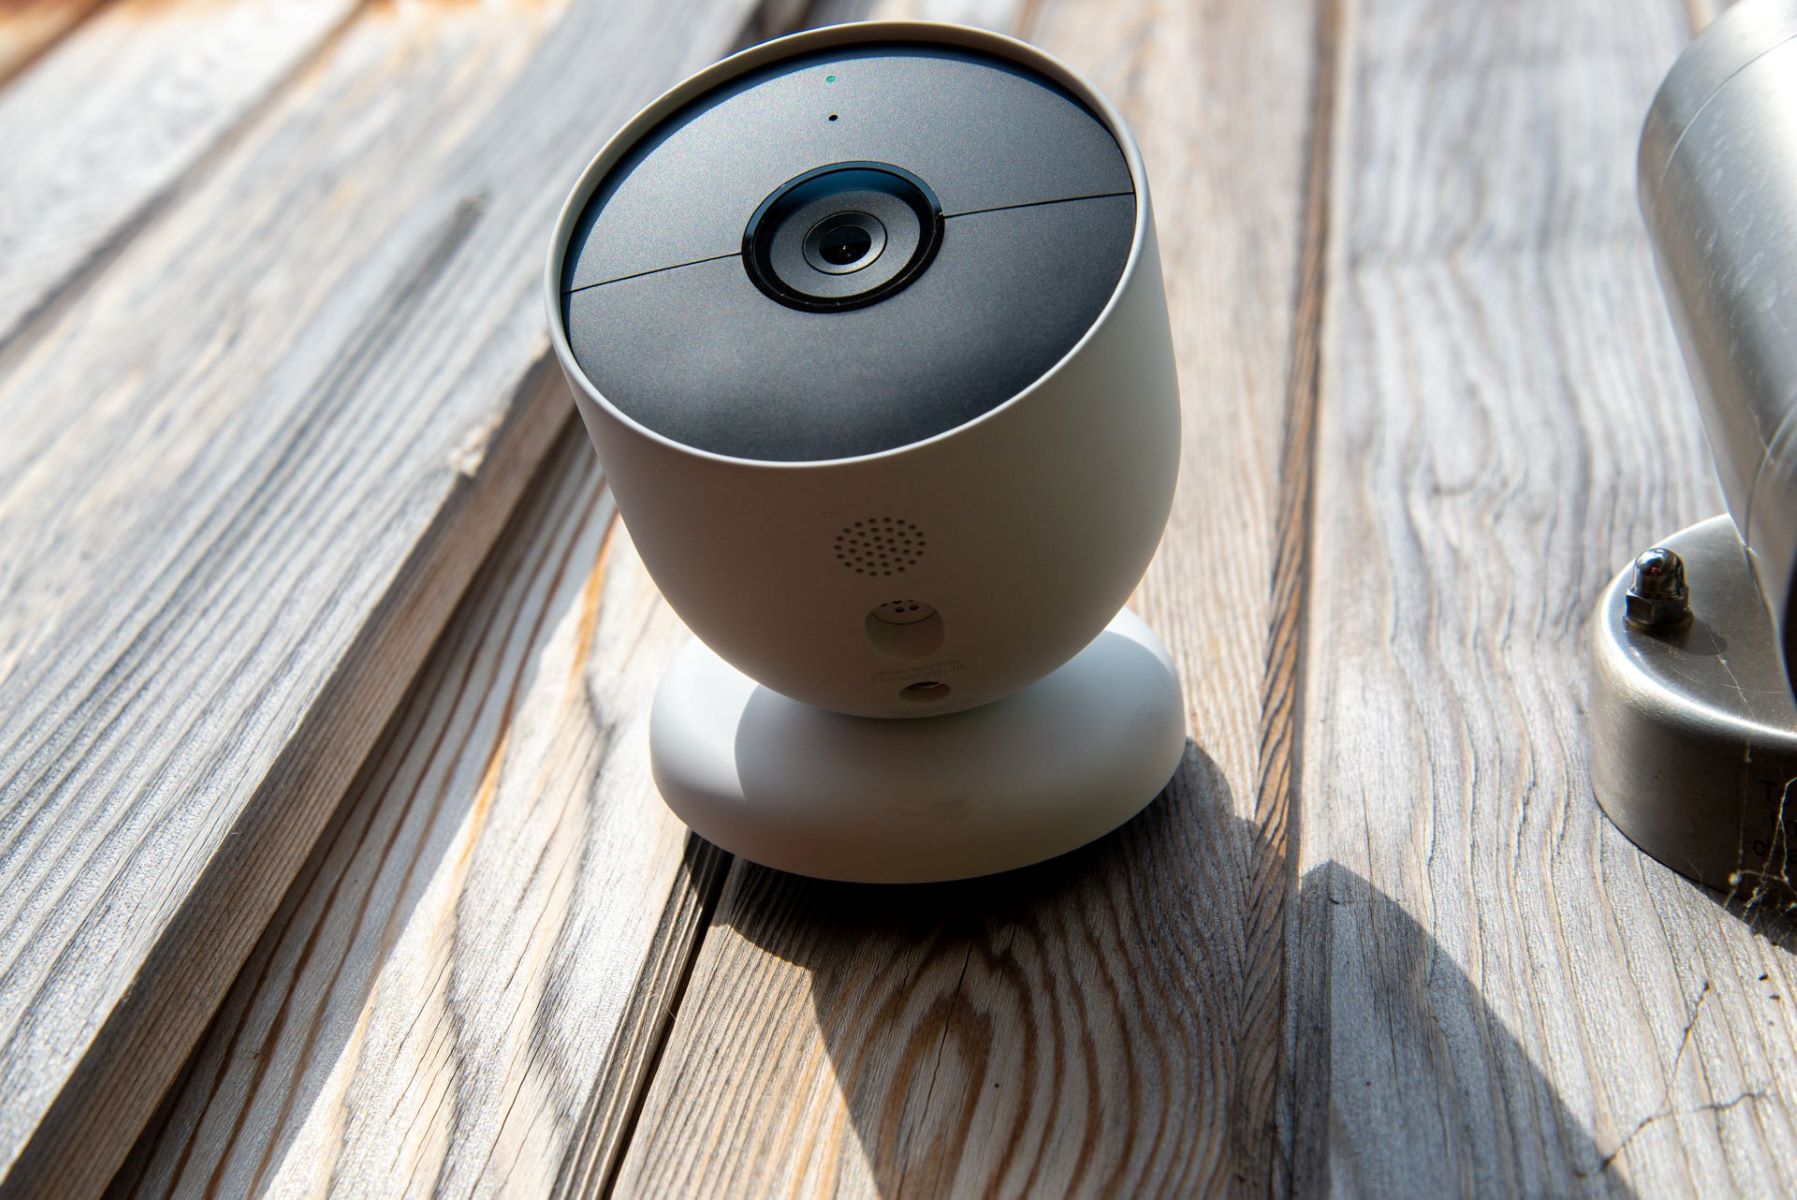
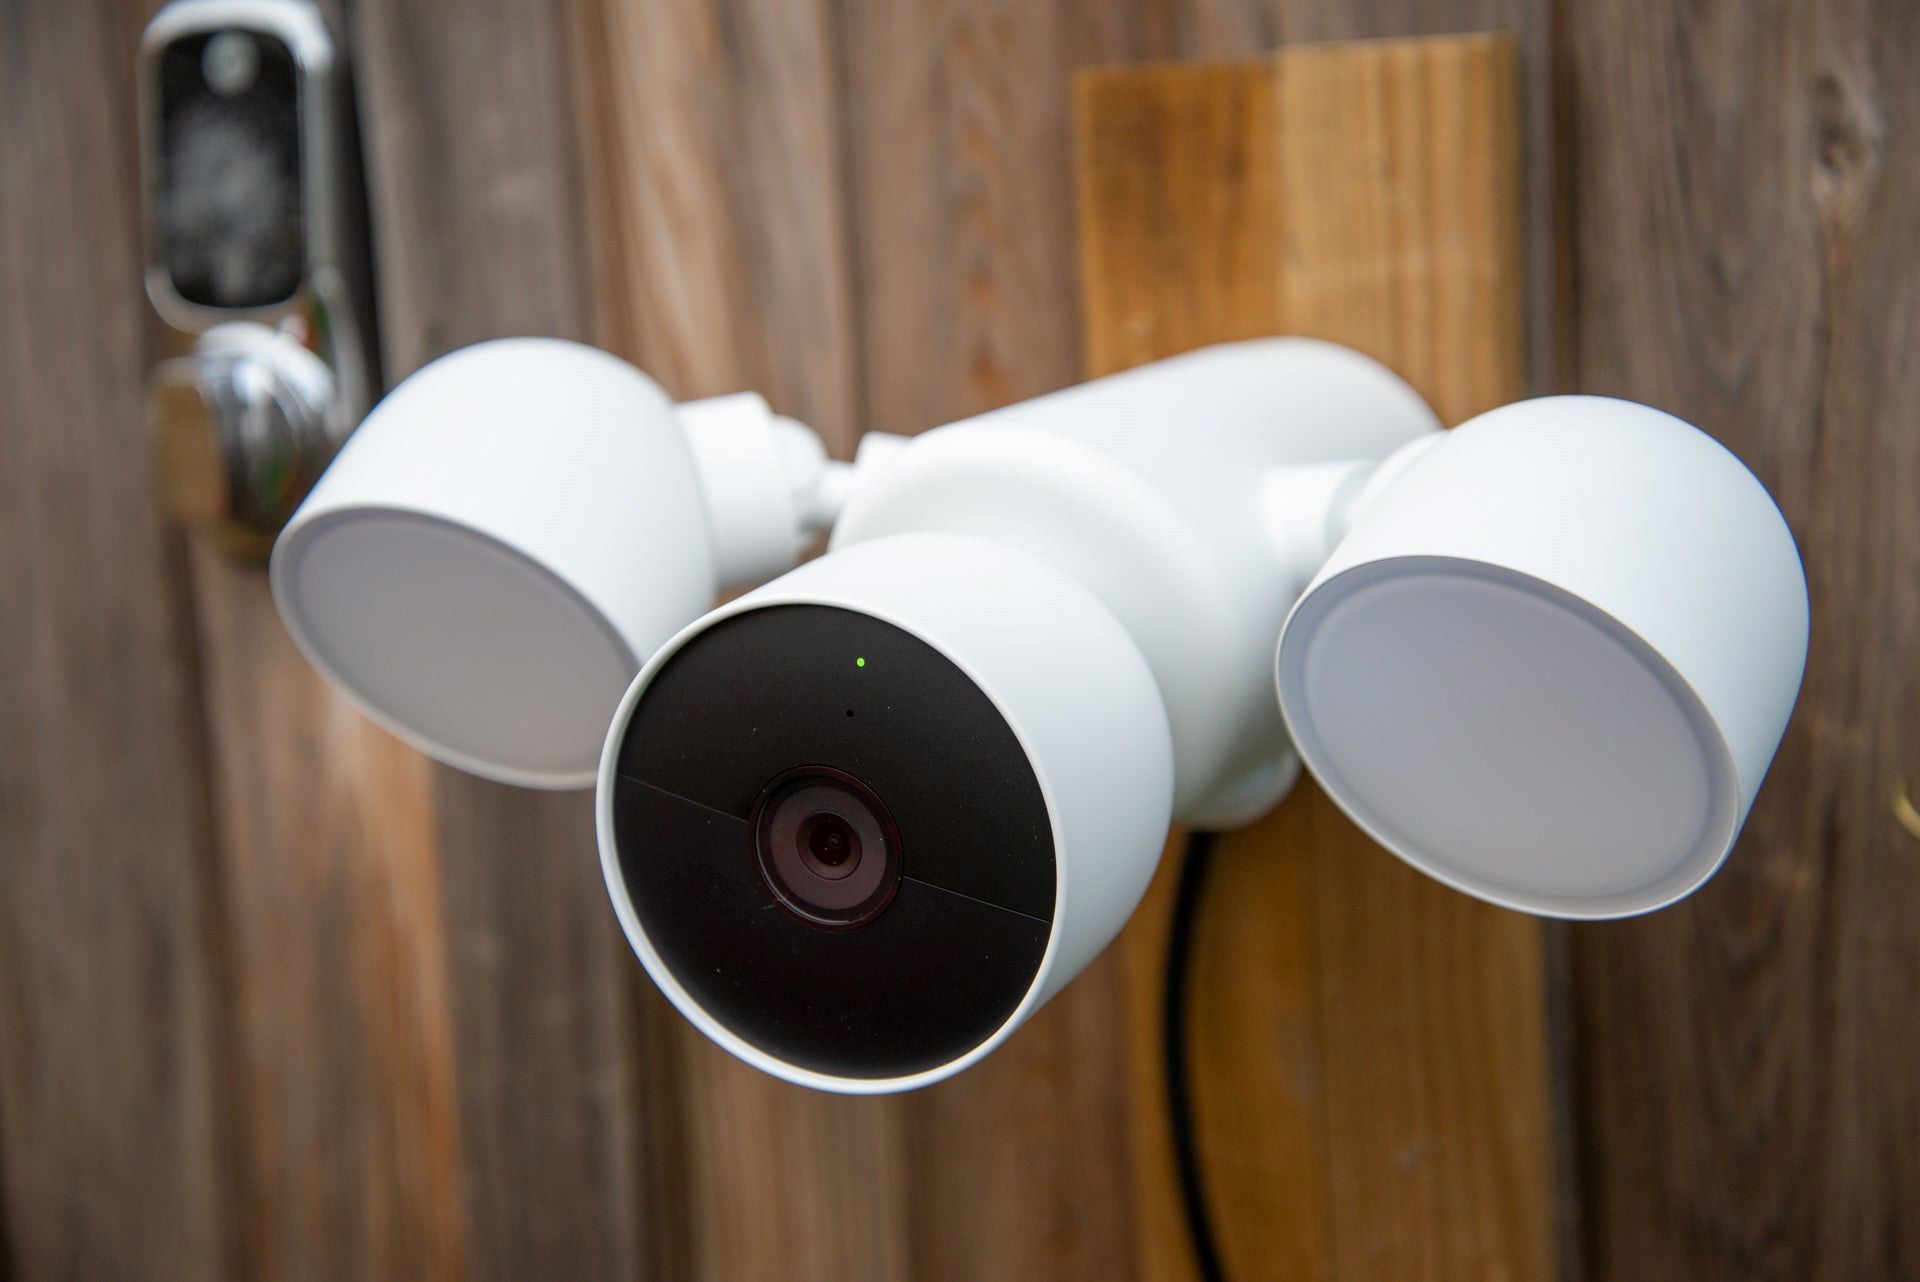
Why Does My Nest Outdoor Camera Keep Going Offline
Modified: March 6, 2024
Discover the reasons behind your Nest Outdoor Camera going offline and learn how to fix it. Enhance your home security and surveillance with our expert tips.
(Many of the links in this article redirect to a specific reviewed product. Your purchase of these products through affiliate links helps to generate commission for Storables.com, at no extra cost. Learn more)
Introduction
Home security and surveillance systems have become an integral part of ensuring the safety and protection of our homes and loved ones. The advancement of technology has allowed us to monitor our properties with ease, thanks to the proliferation of smart security cameras like the Nest Outdoor Camera. However, as with any technology, these cameras can sometimes experience issues that lead to offline connectivity problems.
There is nothing more frustrating than finding out that your Nest Outdoor Camera keeps going offline. This connectivity issue can disrupt the peace of mind that comes with having a surveillance system in place. But fear not, as there are various reasons why this might be happening and steps you can take to troubleshoot and resolve the problem.
In this article, we will explore some possible reasons for the offline connectivity issues of your Nest Outdoor Camera. We will then guide you through the troubleshooting process to help you get your camera back online and ensure uninterrupted monitoring of your property.
Key Takeaways:
- Ensure strong Wi-Fi signal: Reposition router, use range extenders, or upgrade to a Wi-Fi mesh system to prevent Nest Outdoor Camera from going offline due to weak signal.
- Minimize interference: Identify and move devices causing interference, switch to less congested Wi-Fi channels, or consider upgrading to dual-band or 5GHz Wi-Fi for stable camera connectivity.
Read more: Why Is My Wyze Outdoor Camera Offline
Possible Reasons for Offline Connectivity Issues
When your Nest Outdoor Camera goes offline, there can be several factors contributing to the connectivity problem. Identifying the root cause is crucial to implementing the appropriate solution. Here are some possible reasons for your camera’s offline status:
- Insufficient Wi-Fi Signal Strength: One common reason for connectivity issues is a weak Wi-Fi signal. If the camera is located too far from the Wi-Fi router or obstructed by walls or other obstacles, it may struggle to maintain a stable connection.
- Interference from Other Devices: Other electronic devices and appliances operating on similar frequencies can interfere with the Wi-Fi signal, causing disruptions in connectivity. Devices like cordless phones, microwave ovens, and baby monitors, if in close proximity to the camera, can affect its performance.
- Network Connectivity Problems: Problems with your internet service provider or issues with your router’s configuration can also result in your camera going offline. It’s essential to ensure that your internet connection is stable and that your router settings are properly configured for optimal camera performance.
- Power Supply Issues: A reliable power supply is critical for the functioning of your Nest Outdoor Camera. If the camera is not receiving adequate power or if there is a problem with the power source, it may go offline. Power outages or faulty power cables can contribute to this issue.
It’s important to consider these factors when troubleshooting your camera’s offline status. By addressing these potential problems head-on, you can take the necessary steps to get your camera back online and functioning flawlessly.
Insufficient Wi-Fi Signal Strength
One of the most common reasons why your Nest Outdoor Camera may be experiencing offline connectivity issues is due to insufficient Wi-Fi signal strength. A weak signal can prevent the camera from establishing a reliable connection with your Wi-Fi network.
To determine if this is the cause of the problem, you can check the signal strength of your Wi-Fi network in the area where the camera is installed. If the signal is weak or intermittent, you may need to take steps to improve it.
Here are a few things you can do to address the issue of insufficient Wi-Fi signal strength:
- Reposition Your Router: If your Nest Outdoor Camera is far away from your Wi-Fi router, the signal may struggle to reach it. Try repositioning your router closer to the camera’s location to establish a stronger connection. Avoid placing the router in areas with heavy obstructions like walls or furniture, as these can impede the signal.
- Use Wi-Fi Range Extenders: Wi-Fi range extenders can amplify your router’s signal and extend its reach to areas of your home with weaker reception. These devices receive the existing Wi-Fi signal and rebroadcast it, effectively increasing coverage. Place the range extender strategically between your router and the camera to improve signal strength.
- Upgrade Your Router: If you’ve had your router for a long time, it might be outdated and not capable of delivering strong Wi-Fi signals. Consider upgrading to a newer model with improved range and performance. Look for routers that specifically mention better coverage or signal strength, and choose one that suits your needs.
- Use a Wi-Fi Mesh System: A Wi-Fi mesh system consists of multiple access points placed throughout your home to create a mesh network. This setup provides seamless coverage without any dead spots. Investing in a Wi-Fi mesh system can significantly improve the signal strength and stability of your network, ensuring a strong connection for your Nest Outdoor Camera.
By addressing the issue of insufficient Wi-Fi signal strength, you can greatly improve the connectivity of your Nest Outdoor Camera and prevent it from going offline. Experiment with the solutions mentioned above to find the one that works best for your specific situation.
Interference from Other Devices
Interference from other devices is another common factor that can lead to offline connectivity issues with your Nest Outdoor Camera. Various electronic devices and appliances in your home operate on similar frequencies as Wi-Fi networks, causing potential disruptions to the Wi-Fi signal. This interference can result in a weak or unstable connection for your camera.
To mitigate interference from other devices, consider the following steps:
- Identify Interfering Devices: Start by identifying the devices in your home that could potentially interfere with your Wi-Fi signal. Common culprits include cordless phones, microwave ovens, baby monitors, wireless speakers, and even neighboring Wi-Fi networks operating on the same or adjacent channels.
- Move Devices Away from the Camera: If any of the identified interfering devices are located near your Nest Outdoor Camera, try moving them to a different location. Creating distance between the camera and these devices can help minimize interference.
- Change Wi-Fi Channels: Wi-Fi routers transmit signals on different channels, and some channels may be less prone to interference than others. Access your router’s settings and switch to a less congested channel to improve your camera’s connectivity.
- Upgrade to Dual Band or 5GHz Wi-Fi: Dual-band routers and 5GHz Wi-Fi networks offer better resistance to interference compared to single-band routers or 2.4GHz networks. Consider upgrading your router to a dual-band or 5GHz model to alleviate interference issues.
- Utilize Wired Ethernet Connection: If your camera supports it, connecting it to your router through an Ethernet cable can eliminate the potential for wireless interference entirely. This guarantees a stable and reliable connection for your Nest Outdoor Camera, even in the presence of interfering devices.
By taking these steps, you can minimize interference from other devices and ensure a strong and stable Wi-Fi connection for your Nest Outdoor Camera. Experiment with different solutions to find the one that works best for your specific situation.
Network Connectivity Problems
Network connectivity problems can be a major factor causing your Nest Outdoor Camera to go offline. Issues with your internet service provider or problems with your router’s configuration can disrupt the camera’s ability to establish and maintain a connection. Here are some steps you can take to address network connectivity problems:
- Check Your Internet Connection: Start by ensuring that your internet connection is working correctly. Test other devices connected to the same network to see if they are able to access the internet without any issues. If your internet connection is down or unstable, contact your internet service provider for assistance.
- Restart Your Router: Sometimes, your router may encounter temporary glitches that can affect the connectivity of your Nest Outdoor Camera. Try turning your router off and unplugging it from the power source for a few minutes. Then, plug it back in and turn it on again. This process, known as power cycling, can help refresh the router’s settings and establish a more stable connection.
- Reset Your Router: If the issue persists, you can try resetting your router to its factory default settings. Keep in mind that resetting your router will erase any custom settings, so make sure to note them down before proceeding. Consult your router’s user manual or contact the manufacturer for specific instructions on how to perform a reset.
- Update Router Firmware: Outdated router firmware can sometimes cause connectivity problems. Check if there are any firmware updates available for your router model and install them. Firmware updates often include performance improvements and bug fixes that can help resolve issues with network connectivity.
- Ensure Proper Router Placement: The location of your router can significantly impact its performance and the stability of your Wi-Fi connection. Place your router in a central location in your home, away from walls, large objects, and other electronics that could interfere with the signal. Also, make sure your router is elevated and not placed directly on the floor to improve signal distribution.
- Double-Check Router Settings: Verify that your router’s settings are properly configured for optimal camera performance. Ensure that the Wi-Fi network name (SSID) and password are correct and that the camera is connected to the correct network. You can access your router’s settings by typing its IP address into a web browser and entering the administrator credentials.
By troubleshooting and addressing network connectivity problems, you can restore the connection of your Nest Outdoor Camera and prevent it from going offline. Implement these steps to improve the stability and reliability of your network.
Read more: Why Do Security Cameras Go Offline
Power Supply Issues
Power supply problems can also contribute to offline connectivity issues with your Nest Outdoor Camera. If the camera is not receiving adequate power or if there is an issue with the power source, it may go offline or experience intermittent connectivity problems. Here are some steps you can take to address power supply issues:
- Check Power Cable Connections: Ensure that the power cable is securely connected to both the camera and the power source. Sometimes, loose connections can result in intermittent power supply, causing the camera to go offline. Disconnect and reconnect the power cable to ensure a snug and secure connection.
- Inspect the Power Adapter: Examine the power adapter for any signs of damage or wear. Bent or frayed cables, visible cuts, or loose components can indicate a faulty power adapter. If you notice any issues, consider replacing the power adapter with a new one that is compatible with your camera.
- Verify Power Source: Confirm that the power source you are using is functioning correctly. Plug another device into the same outlet or use a different power source to test if the camera powers on and stays online. If the camera works fine with an alternative power source, the issue may be with the original power source.
- Consider Power Backup Solutions: In areas where power outages are frequent or unreliable, it may be beneficial to invest in a power backup solution. This can include uninterruptible power supplies (UPS) or batteries that can keep your camera powered during an outage. These backup systems provide temporary power, ensuring continuous monitoring even when the main power supply is interrupted.
- Review Power Options in Camera Settings: Some cameras offer power-saving features that allow you to adjust settings related to power usage. Check the camera settings to see if there are any options to optimize power consumption. Adjusting these settings can help prolong the camera’s battery life or reduce power requirements, consequently improving its stability.
By addressing power supply issues, you can ensure that your Nest Outdoor Camera receives a consistent and reliable power supply, reducing the chances of it going offline. Implement these steps to troubleshoot and resolve any power-related problems affecting your camera’s connectivity.
Troubleshooting Steps
When your Nest Outdoor Camera goes offline, it can be frustrating, but there are several troubleshooting steps you can take to resolve the issue. By systematically addressing potential problems, you can get your camera back online and ensure uninterrupted surveillance of your property. Here are some essential troubleshooting steps to follow:
- Restarting the Camera: Sometimes, a simple restart can fix connectivity issues. Power off the camera by disconnecting it from the power source, wait for a few seconds, and then plug it back in. Give the camera a few moments to reboot and reconnect to the Wi-Fi network.
- Checking Wi-Fi Signal Strength: Ensure that your camera’s location has a strong Wi-Fi signal. Use a Wi-Fi signal strength analyzer app or check the Wi-Fi connection status on your smartphone or computer to determine the signal strength. If it’s weak, consider repositioning your router, using a Wi-Fi range extender, or upgrading to a more powerful router.
- Resolving Interference Problems: Identify any electronic devices or appliances near the camera that could be causing interference. Move them away from the camera or switch to a less congested Wi-Fi channel. Upgrading to a dual-band or 5GHz Wi-Fi network can also help reduce interference.
- Verifying Network Connectivity: Check if your internet connection is working properly by testing other devices on the same network. If your internet is down or unstable, contact your internet service provider for assistance. Restarting your router, updating firmware, and ensuring proper router placement can also improve network connectivity.
- Addressing Power Supply Problems: Inspect the power cable and adapter for any damage or loose connections. Ensure the camera is receiving adequate power from a reliable power source. Consider using a power backup solution in areas prone to power outages or unstable power supply.
- Contacting Nest Support: If you’ve tried all the troubleshooting steps and your camera is still offline, it may be time to reach out to Nest support for further assistance. They have the expertise to identify and resolve more complex issues that may require advanced troubleshooting or even a replacement camera.
By following these troubleshooting steps, you can significantly improve the chances of getting your Nest Outdoor Camera back online and functioning properly. Remember to be patient and systematic in your approach, ruling out potential issues one by one until the problem is resolved.
Make sure your Nest Outdoor Camera is within range of your Wi-Fi router and that there are no obstructions. Also, check for any software updates for the camera and your Wi-Fi network.
Restarting the Camera
One of the first troubleshooting steps you can take when your Nest Outdoor Camera goes offline is to restart the camera. Restarting the camera can help resolve temporary glitches and connectivity issues. Here’s how you can do it:
- Power Off the Camera: Locate the power cable connected to your Nest Outdoor Camera and unplug it from the power source. This will completely shut down the camera.
- Wait for a Few Seconds: Give the camera a few seconds to fully power down. During this time, any residual power within the camera will dissipate, ensuring a clean restart.
- Plug the Camera Back In: After waiting for a few seconds, plug the power cable back into the camera and connect it to the power source. Make sure the connection is secure.
- Allow the Camera to Reboot: Once the power is restored, the camera will begin the rebooting process. It may take a couple of minutes for the camera to fully restart and reconnect to the Wi-Fi network.
- Check the Camera Status: After the reboot, check the camera’s LED lights or the camera’s app or web interface to see if it has successfully reconnected to the Wi-Fi network. If everything is working properly, the camera should be back online and ready to monitor your property.
Restarting the camera can help refresh its settings and establish a stable connection with your Wi-Fi network. It’s a simple yet effective troubleshooting step that often resolves minor connectivity issues. If the camera continues to experience offline problems after the restart, you may need to proceed with additional troubleshooting steps or contact Nest support for further assistance.
Checking Wi-Fi Signal Strength
One of the crucial factors affecting the connectivity of your Nest Outdoor Camera is the strength of your Wi-Fi signal. A weak signal can result in intermittent or unstable connections, leading to the camera going offline. Checking the Wi-Fi signal strength can help you identify if this is the cause of the problem. Here’s how you can do it:
- Use a Wi-Fi Analyzer App: Download a Wi-Fi analyzer app on your smartphone or tablet. These apps analyze the strength and quality of the Wi-Fi signal in different areas of your home. They provide insights into the signal strength and can help you identify dead spots or areas with weaker signals.
- Walk around your property: Launch the Wi-Fi analyzer app and walk around your home, paying attention to the signal strength displayed on the app. Note the areas where the signal is weaker or drops significantly. These areas may be potential trouble zones for your camera’s connectivity.
- Find the Optimal Camera Location: Based on the results from the Wi-Fi analyzer app, choose a location for your Nest Outdoor Camera that has a strong and stable Wi-Fi signal. This location should be within range of your Wi-Fi router and free from obstructions such as walls or large furniture.
- Reposition Your Wi-Fi Router: If the signal strength is weak in the area where you want to place your camera, reposition your Wi-Fi router to improve the coverage. Experiment with different locations and orientations to achieve the best signal strength in the camera’s intended location.
- Consider Wi-Fi Range Extenders: If the camera’s desired location is far from the router and the signal is too weak, you may need a Wi-Fi range extender. A range extender amplifies the existing Wi-Fi signal and extends its reach, ensuring strong connectivity for your camera. Place the extender strategically between the router and camera to maximize signal strength.
- Upgrade Your Router: If you consistently experience weak signal strength throughout your home, it may be time to consider upgrading your router. Modern routers often offer improved range and performance, ensuring a stronger and more stable Wi-Fi signal for your camera and other devices.
By checking the Wi-Fi signal strength and optimizing it in the area where your Nest Outdoor Camera is installed, you can greatly improve its connectivity and reduce the chances of it going offline. Remember to periodically check the signal strength and make adjustments as needed to maintain a reliable connection for your camera.
Read more: When Does The Nest Outdoor Camera Activate?
Resolving Interference Problems
Interference from other devices can significantly impact the Wi-Fi signal strength and stability of your Nest Outdoor Camera, leading to offline connectivity issues. Identifying and resolving interference problems can help restore a strong and reliable connection. Here are some steps to tackle interference problems:
- Identify Interfering Devices: Start by identifying potential sources of interference in your home. Common culprits include cordless phones, microwave ovens, baby monitors, wireless speakers, and neighboring Wi-Fi networks operating on similar channels.
- Move Interfering Devices: If any interfering devices are located near your camera, try moving them to a different location within your home. Create as much distance as possible between these devices and your camera to minimize the effects of interference.
- Switch to a Less Congested Wi-Fi Channel: Neighboring Wi-Fi networks operating on the same or adjacent channels can interfere with your camera’s signal. Access your router’s settings and switch to a less congested channel that is not being heavily used by other networks in your area. This can improve the camera’s connectivity.
- Upgrade to Dual-Band or 5GHz Wi-Fi: Dual-band routers or 5GHz Wi-Fi networks provide better resistance to interference compared to single-band routers or 2.4GHz networks. If your camera and devices support it, consider upgrading to a dual-band router or using a 5GHz network for improved performance and reduced interference.
- Use Ethernet Connection: If your camera has an Ethernet port, consider connecting it to your router using an Ethernet cable. By utilizing a wired connection, you can eliminate potential wireless interference altogether. This guarantees a stable and reliable connection for your camera.
- Check for Firmware Updates: Keep your router’s firmware up to date. Router manufacturers often release firmware updates that can improve performance, stability, and interference mitigation. Visit the manufacturer’s website or check the router’s settings to see if any updates are available. Install any updates to ensure optimal performance.
By addressing interference problems, you can minimize disruptions to your camera’s Wi-Fi signal and maintain a stable connection. Experiment with these solutions to find the ones that work best for your specific situation. Maintaining a clear and interference-free environment for your camera will ensure reliable monitoring and minimize offline connectivity issues.
Verifying Network Connectivity
Network connectivity problems can often be the cause of offline issues with your Nest Outdoor Camera. Verifying the network connectivity ensures that your camera can establish a stable connection to the internet. Here are some steps to check and improve network connectivity:
- Test Other Devices: Verify if other devices connected to the same network are able to access the internet without any issues. If other devices experience connectivity problems, it indicates a potential issue with your internet service provider (ISP). Contact your ISP for assistance in resolving the issue.
- Restart Your Router: Sometimes, routers encounter temporary glitches that can affect network connectivity. Power off your router, unplug it from the power source, wait for a few seconds, and then plug it back in. Allow the router to fully restart and establish a connection. This process, known as power cycling, can often resolve minor connectivity problems.
- Update Router Firmware: Outdated router firmware can contribute to connectivity issues. Check your router manufacturer’s website for any available firmware updates. Make sure to follow the instructions provided by the manufacturer to update your router’s firmware properly. Updating the firmware can address bugs, improve performance, and enhance network stability.
- Check Router Placement: The placement of your router can impact its signal coverage and connectivity. Ensure that your router is placed in a central location within your home. Avoid placing it near obstructions like walls, large furniture, or appliances that can interfere with the signal. Elevate the router if possible to improve signal distribution.
- Verify Router Settings: Double-check your router settings to ensure they are correctly configured. Access your router’s settings through a web interface or app and verify essential settings such as network name (SSID), password, and security settings. Additionally, ensure that the camera is connected to the correct network and that MAC address filtering or other security measures are not causing connectivity issues.
By verifying and addressing network connectivity problems, you can ensure that your Nest Outdoor Camera has a reliable connection to the internet. These troubleshooting steps can help resolve issues and prevent the camera from going offline. If the problem persists, consider contacting your ISP or Nest support for further assistance.
Addressing Power Supply Problems
Power supply issues can lead to offline connectivity problems with your Nest Outdoor Camera. Ensuring a stable and reliable power supply is crucial for the camera’s functionality. Here are some steps to address power supply problems:
- Check the Power Cable: Inspect the power cable connected to your camera for any signs of damage or wear. Look for frayed wires, cuts, or loose connections. If any issues are found, consider replacing the power cable with a new one to ensure a secure and reliable connection.
- Examine the Power Adapter: Check the power adapter that plugs into the power outlet for any visible damage or defects. Ensure that it is the correct adapter provided by the manufacturer. If you suspect the power adapter is faulty, contact the manufacturer’s customer support for further assistance and consider acquiring a replacement adapter.
- Verify the Power Source: Ensure that the power source supplying electricity to your camera is functioning correctly. Plug another device into the same power outlet or use a different power source to test if the camera powers on and stays online. If the camera works fine in alternative power sources, it indicates a problem with the original power source.
- Consider Power Backup Solutions: Power outages or fluctuations can disrupt the connectivity of your camera. Consider investing in power backup solutions, such as uninterruptible power supplies (UPS), to provide temporary power during outages. UPS devices can keep your camera running by providing battery backup to ensure continuous surveillance and prevent offline issues.
- Utilize Power over Ethernet (PoE): If supported by your camera, consider using Power over Ethernet (PoE) technology. PoE allows both power and data to be transmitted over a single Ethernet cable, eliminating the reliance on a separate power source. This can provide a reliable power supply and simplify the installation process.
By addressing power supply problems, you can ensure that your Nest Outdoor Camera receives a consistent and reliable power source, reducing the chances of it going offline. Implement these steps to troubleshoot and resolve any power-related issues affecting your camera’s connectivity. If the problem persists, consider contacting Nest support for further assistance.
Contacting Nest Support
If you’ve gone through the troubleshooting steps and your Nest Outdoor Camera continues to experience offline connectivity issues, it may be time to reach out to Nest support for further assistance. Nest support is dedicated to helping customers resolve any issues they may encounter with their cameras. Here are the steps to contact Nest support:
- Visit the Nest Support Website: Go to the official Nest support website (nest.google.com) to access resources and assistance. You can find helpful articles, troubleshooting guides, and frequently asked questions that may provide solutions to common problems.
- Search the Knowledge Base: Use the search function on the Nest support website to look for specific topics related to your camera’s issue. There is a wealth of information available that may help you troubleshoot and resolve the problem on your own.
- Contact Nest Support Directly: If you’re unable to find a solution or need personalized assistance, navigate to the support contact page on the Nest website. There, you will find options to contact support via phone, chat, or email. Choose the method that is most convenient for you.
- Provide Detailed Information: When contacting Nest support, provide them with as much relevant information as possible. Describe the issue you are experiencing, including specific error messages, color of the LED light on the camera, and any troubleshooting steps you have already taken. This will help support agents understand the problem and provide appropriate guidance.
- Follow Support Agent’s Instructions: The Nest support agent will guide you through additional troubleshooting steps or provide instructions for further action. Follow their instructions carefully and provide any requested information or diagnostic reports promptly. This will help speed up the resolution process.
- Warranty and Replacement Options: If the support agent determines that your camera is defective and covered under warranty, they will assist you with the necessary steps for repair or replacement. The agent will provide information on warranty coverage, return procedures, or any associated costs that may apply.
Contacting Nest support ensures that you receive expert assistance tailored to your specific camera issues. Their knowledge and experience can help pinpoint and resolve more complex problems that may require advanced troubleshooting or even a replacement camera. Don’t hesitate to reach out to them when all other troubleshooting steps have been exhausted.
Read more: Why Does My Gas Fireplace Keep Going Out
Conclusion
Maintaining a reliable and uninterrupted connection for your Nest Outdoor Camera is essential for effective home security and surveillance. When your camera goes offline, it can be frustrating and leave you concerned about the safety of your property. However, by understanding and addressing the possible reasons for offline connectivity issues, you can troubleshoot and resolve the problem.
Insufficient Wi-Fi signal strength, interference from other devices, network connectivity problems, and power supply issues are common culprits that can cause your camera to go offline. By following the troubleshooting steps outlined in this article, you can diagnose and resolve these issues to restore the connection of your camera.
Remember to check the Wi-Fi signal strength, reposition your router, or consider Wi-Fi range extenders to improve coverage. Identify and minimize interference from other devices by moving them away from the camera or switching to a less congested Wi-Fi channel. Verify network connectivity by testing other devices and restarting your router if necessary. Address power supply issues by checking cables, adapters, and power sources, and consider using power backup solutions or Power over Ethernet (PoE) if applicable.
If you’ve exhausted all troubleshooting steps and your camera is still offline, don’t hesitate to contact Nest support. Their dedicated team can assist you further and guide you towards a resolution, including any potential warranty or replacement options that may be available to you.
By being proactive and taking the necessary steps to address offline connectivity issues, you can ensure that your Nest Outdoor Camera continues to provide reliable home security and surveillance. Regular maintenance, along with a responsive support system, will help you enjoy the benefits of a fully functioning camera, providing peace of mind and enhancing the security of your home and loved ones.
Frequently Asked Questions about Why Does My Nest Outdoor Camera Keep Going Offline
Was this page helpful?
At Storables.com, we guarantee accurate and reliable information. Our content, validated by Expert Board Contributors, is crafted following stringent Editorial Policies. We're committed to providing you with well-researched, expert-backed insights for all your informational needs.