Home>Home Security and Surveillance>How To Change A Burglar Alarm Code

Home Security and Surveillance
How To Change A Burglar Alarm Code
Modified: October 20, 2024
Learn how to change the code for your burglar alarm and enhance your home security with our step-by-step guide. Find out more about home security and surveillance.
(Many of the links in this article redirect to a specific reviewed product. Your purchase of these products through affiliate links helps to generate commission for Storables.com, at no extra cost. Learn more)
Introduction
Welcome to this comprehensive guide on how to change a burglar alarm code. Your home’s security is of utmost importance, and a key aspect of maintaining that security is regularly changing your burglar alarm code. By doing so, you can ensure that only authorized individuals have access to your security system and reduce the risk of unauthorized entry.
Changing the alarm code may sound like a complex task, but with the right guidance, it can be a simple and straightforward process. In this article, we will provide you with step-by-step instructions on how to change your burglar alarm code, ensuring that you can keep your home and loved ones safe.
Before we dive into the process, let’s take a moment to understand the importance of changing your burglar alarm code regularly. While it may be tempting to stick with the same code for convenience, doing so can pose a security risk. Over time, others may become aware of your code, intentionally or unintentionally, increasing the chances of unauthorized access to your property.
By changing your code periodically, you add an extra layer of security to your home. It’s recommended to change your burglar alarm code at least once every six months or whenever you suspect that someone unauthorized may have knowledge of the current code.
Now that we understand the importance of changing the alarm code, let’s move on to the step-by-step process of how you can do it yourself. Don’t worry, you don’t need to be a technical expert to follow these instructions – just a bit of patience and attention to detail will suffice.
Key Takeaways:
- Regularly changing your burglar alarm code adds an extra layer of security to your home and reduces the risk of unauthorized access, ensuring the safety of your loved ones.
- Testing the new code after changing your burglar alarm code is crucial to verify its effectiveness, allowing you to address any issues promptly and maintain the security of your home.
Read more: How To Change A Burglar Alarm Battery
Step 1: Locate the Control Panel
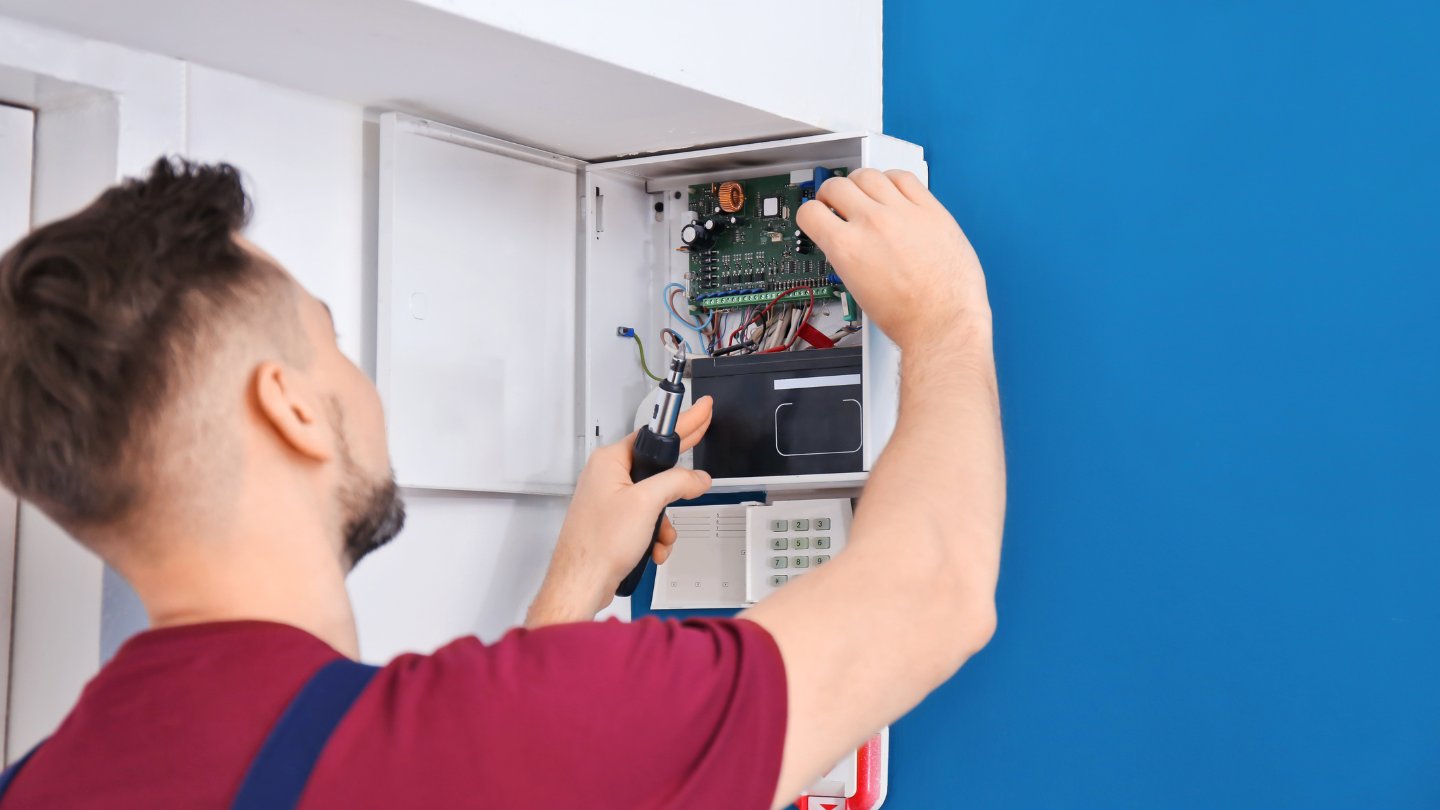
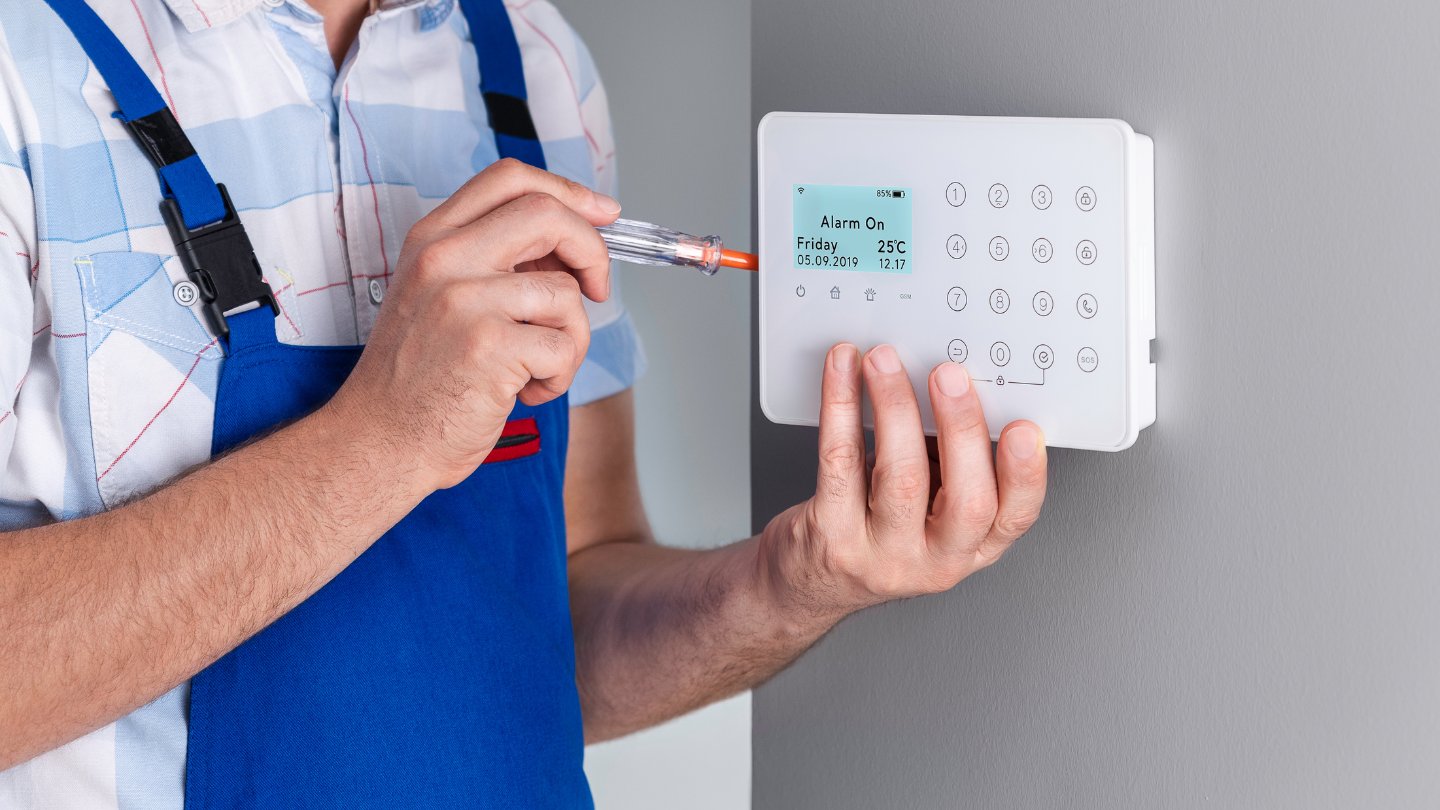
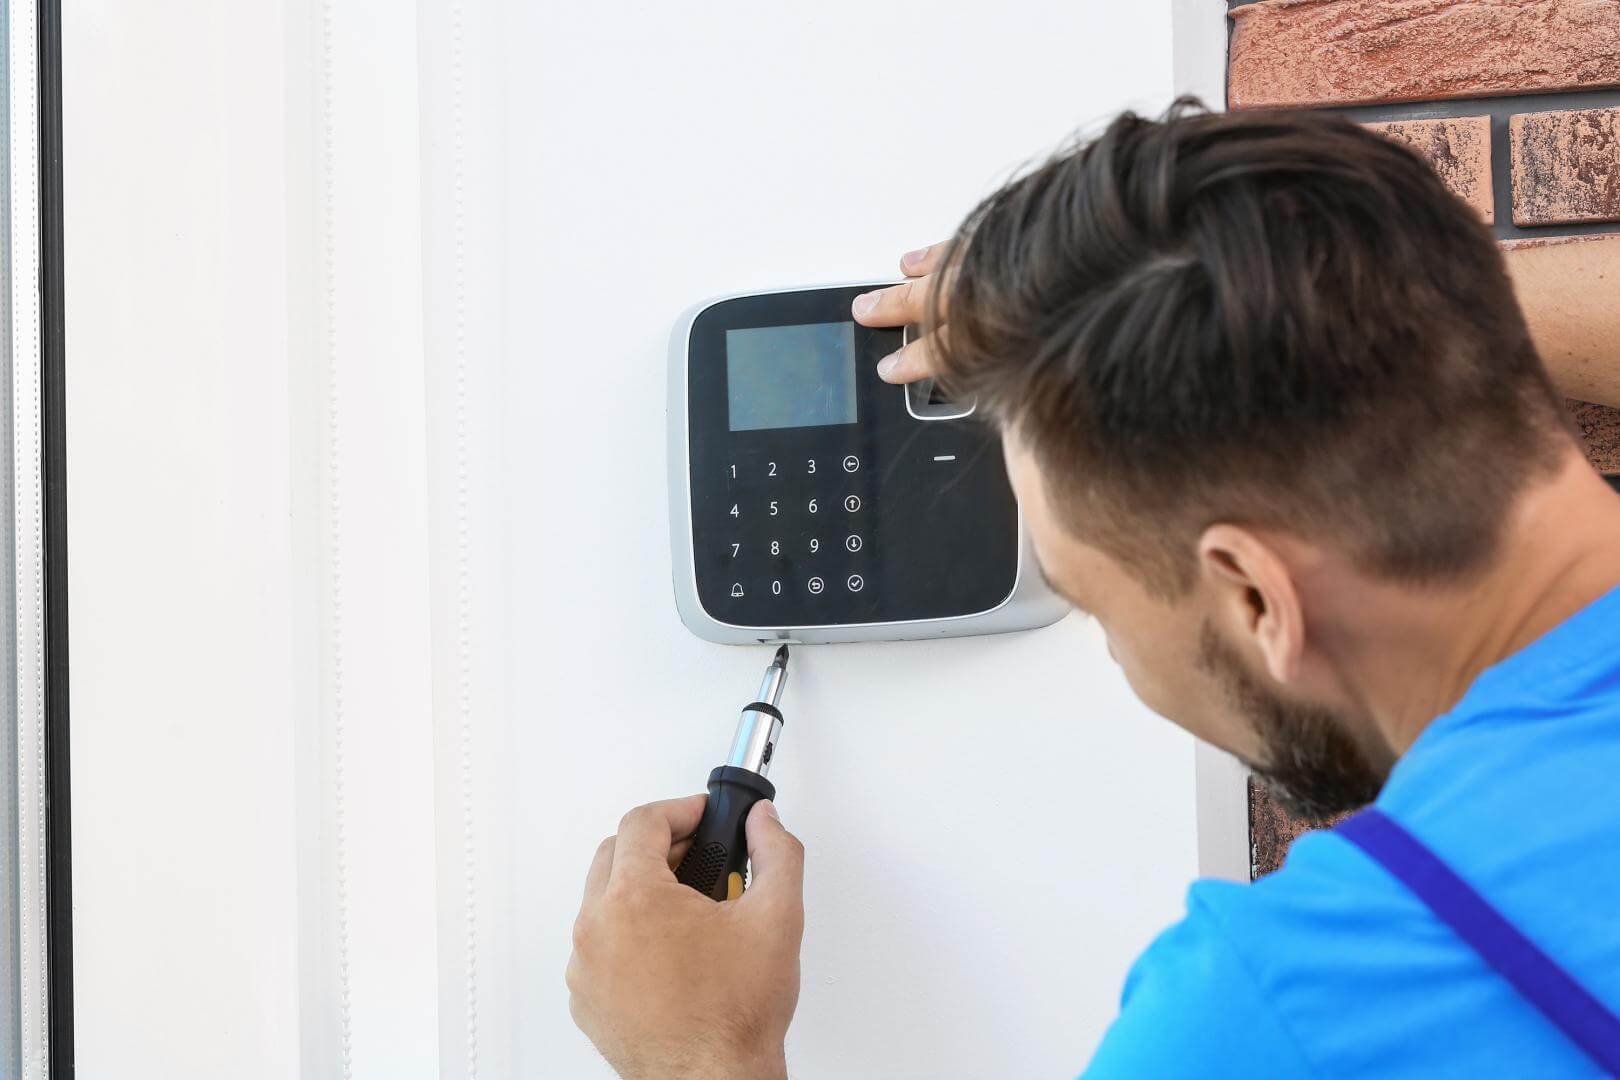
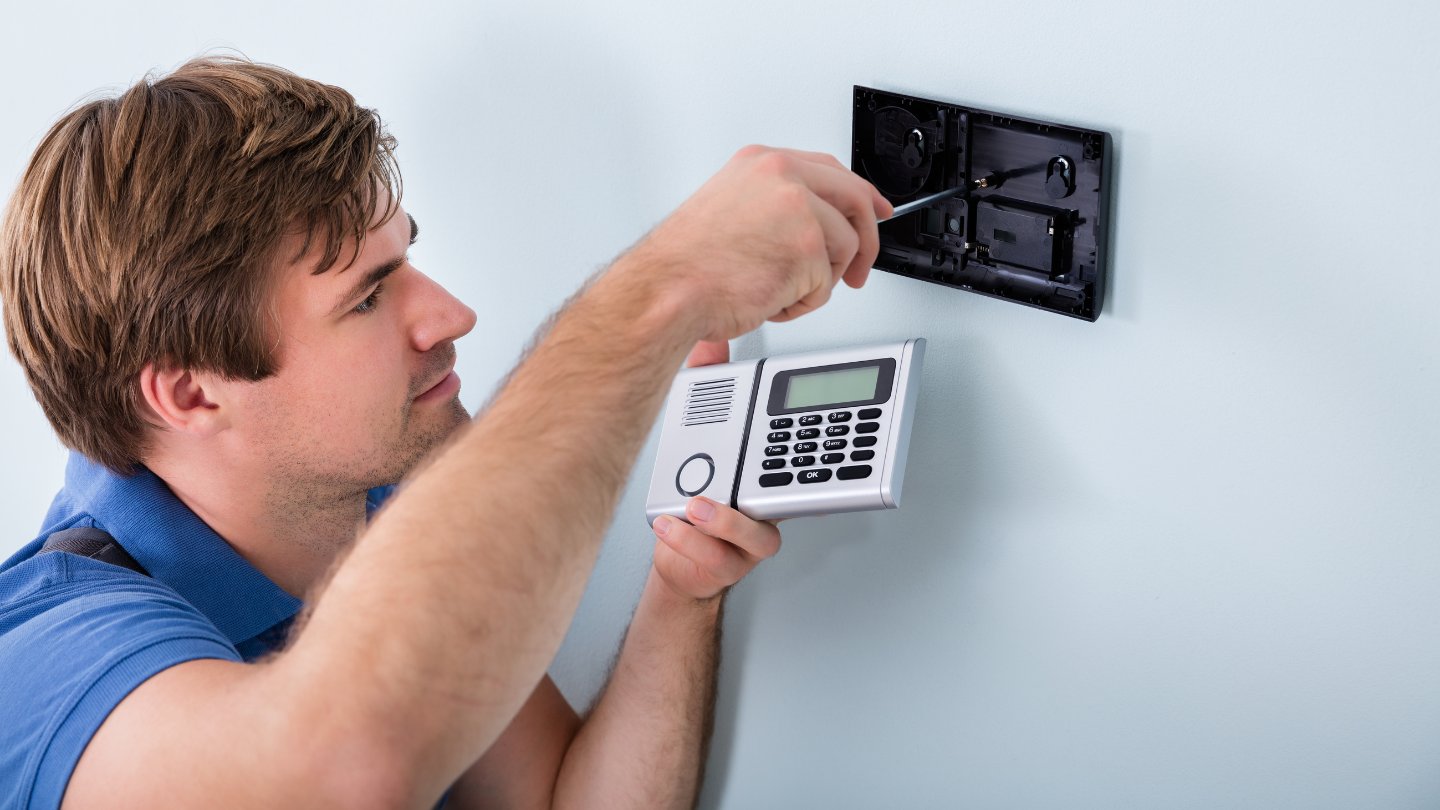
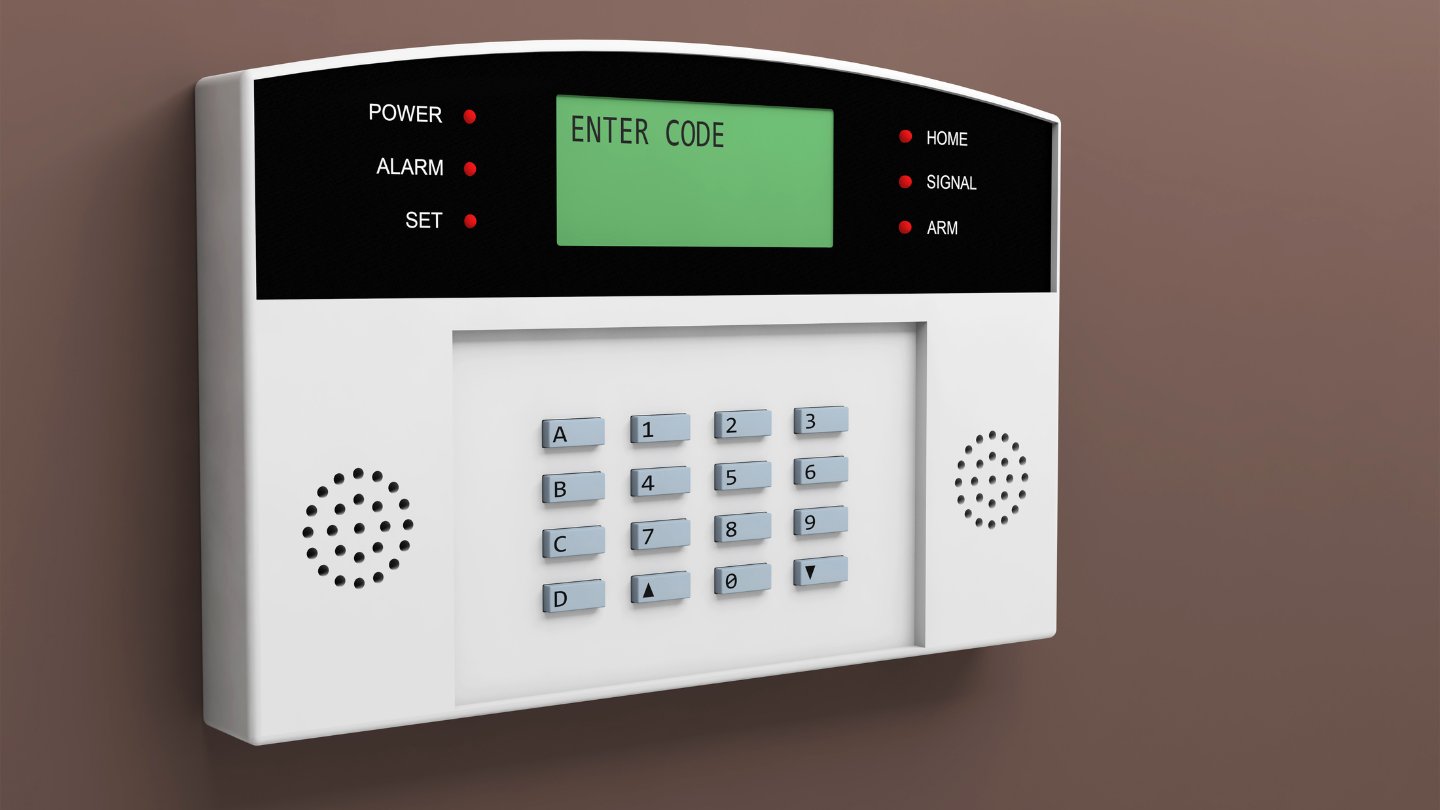
The control panel is the central hub of your burglar alarm system and is where you can access the settings and make changes, including changing the alarm code. The location of the control panel may vary depending on the type and model of your alarm system.
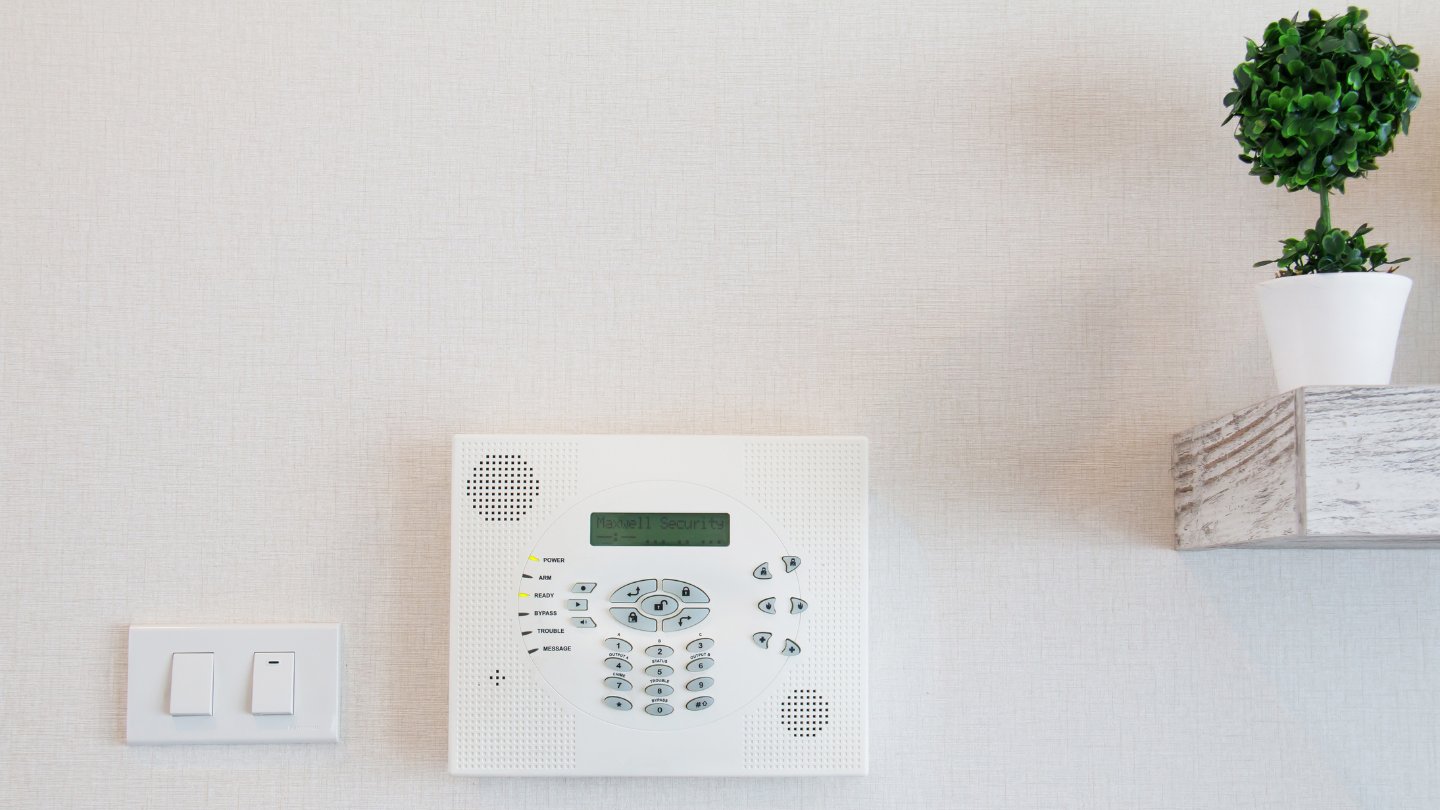
Start by identifying the main control panel for your burglar alarm system. It is often found near your front entrance or in a central area of your home, such as the hallway or utility room. In some cases, the control panel may be hidden behind a locked door or concealed in a secure area to prevent tampering.
If you are unable to locate the control panel, refer to the user manual provided by the alarm system manufacturer. The manual should contain detailed instructions on how to find the control panel for your specific model.
Once you have located the control panel, it’s essential to have a clear line of sight and unrestricted access to it. Remove any objects or obstacles that may hinder your ability to navigate through the menu options and input the code changes.
Additionally, ensure that you have a reliable power source connected to the control panel. Most alarm systems are hardwired into your home’s electrical system and supported by a backup battery in case of a power outage. Make sure the control panel is securely connected to the power source to avoid any disruptions during the code change process.
Now that you have located the control panel and ensured it is properly powered, it’s time to move on to the next step – accessing the alarm system menu.
Step 2: Accessing the Alarm System Menu
After locating the control panel, the next step is to access the alarm system menu. The menu provides you with options to customize various settings, including the ability to change your burglar alarm code.
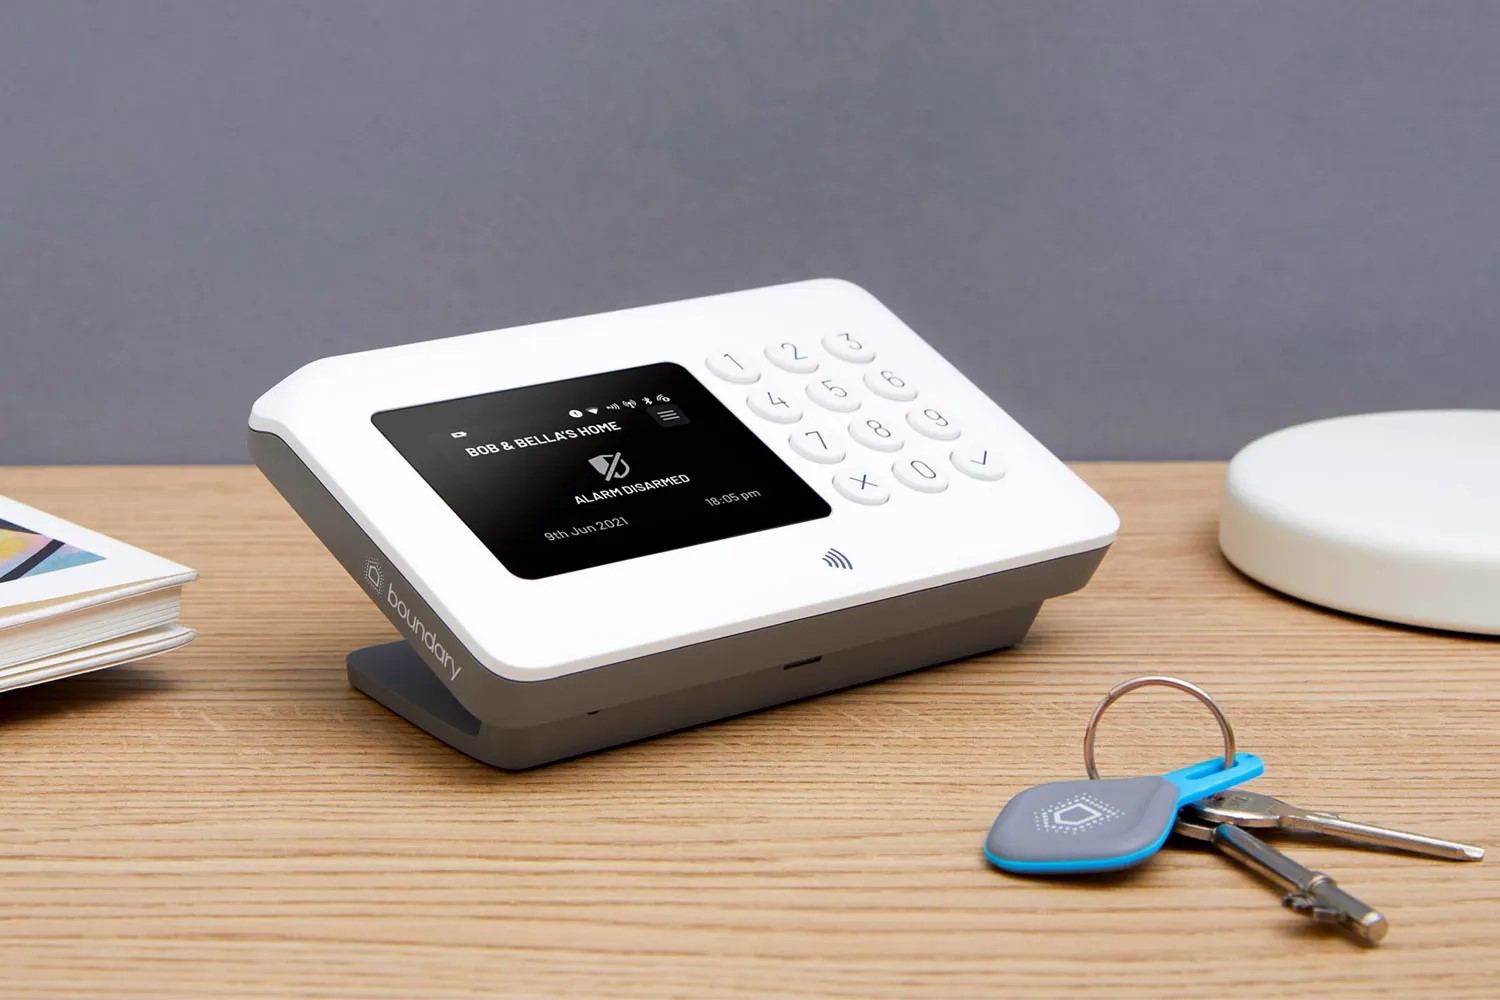
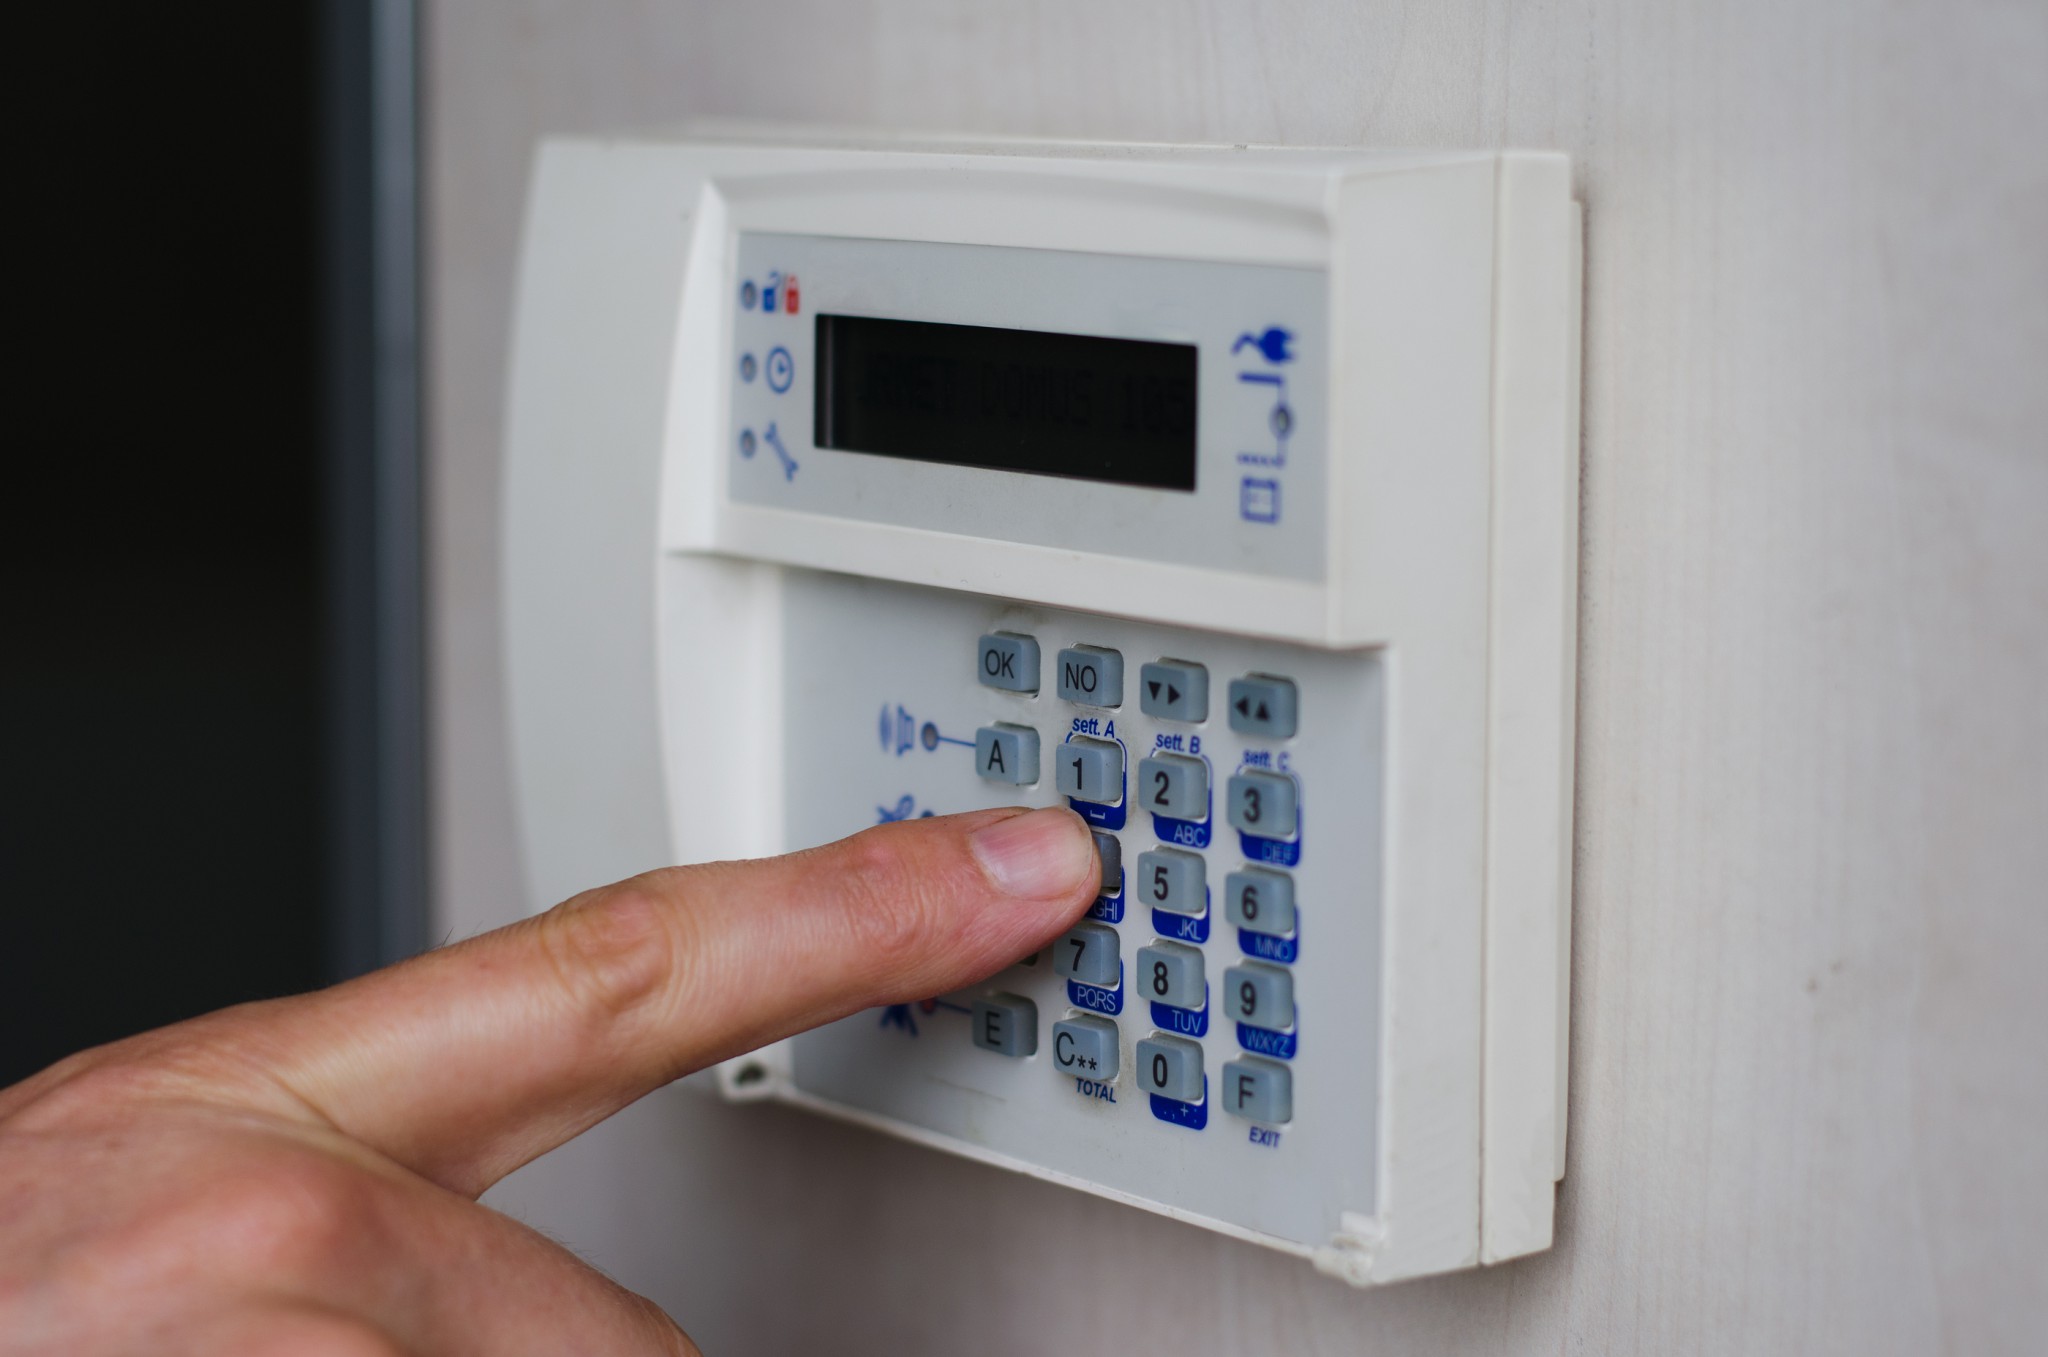
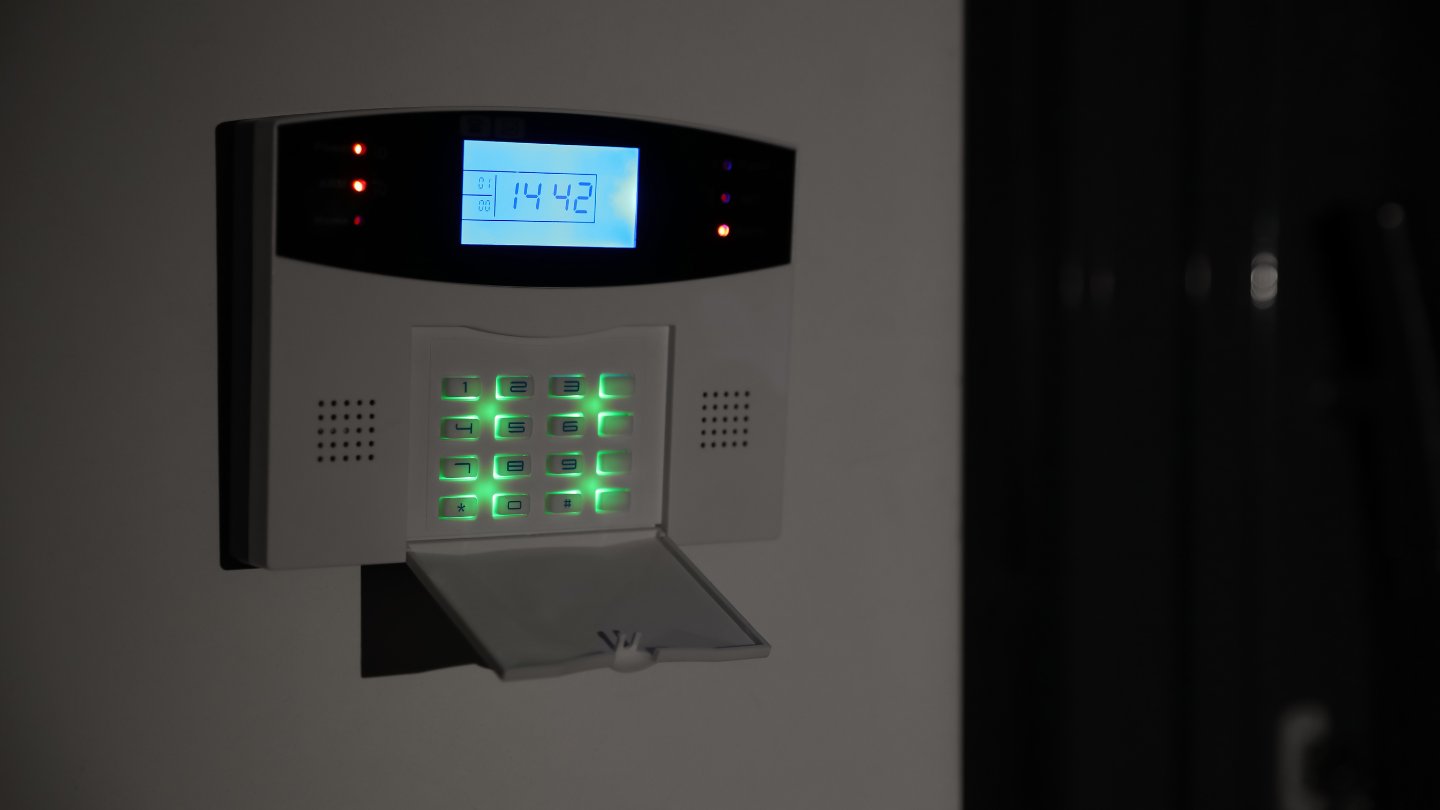
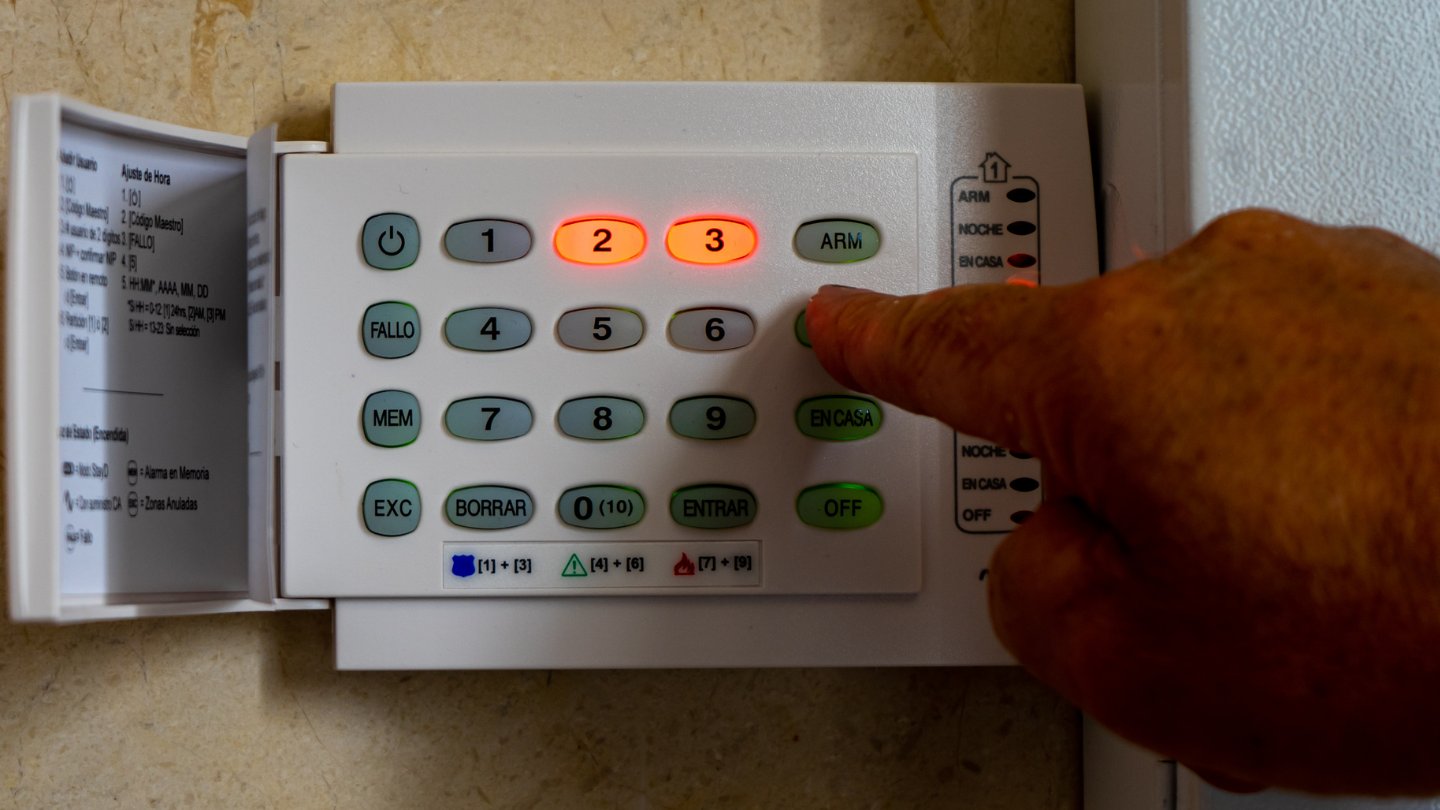
Begin by looking for a display screen or keypad on the control panel. This screen will usually show the current status of your alarm system, such as armed or disarmed, and may also have buttons or a touchscreen interface for navigation.
Depending on the model of your alarm system, you may need to enter a master code or use a specific press sequence to access the menu. The master code is typically provided by the alarm system installer or is a default code set by the manufacturer. If you are unsure about the master code, consult the user manual or contact the alarm system provider for assistance.
Once you have entered the correct master code, you should see the main menu appear on the control panel display. The menu will present you with a list of options for customizing and configuring your alarm system. Look for the option related to changing the alarm code, which may be labeled as “Code Change,” “User Settings,” or similar.
If you are having trouble finding the menu option to change the alarm code, refer to the user manual specific to your alarm system. The manual will provide detailed instructions on navigating the menu and locating the code change option.
It’s important to note that some alarm systems may have different user levels or access levels. If you are using a system with multiple user codes, you may need to enter a specific user code before accessing the code change option. Refer to the user manual or follow the on-screen instructions to select the appropriate user code for making the desired changes.
With the alarm system menu accessed, you are now ready to proceed to the next step – selecting the code change option.
Step 3: Selecting the Code Change Option
Once you have accessed the alarm system menu, the next step is to locate and select the code change option. This is where you will initiate the process of changing your burglar alarm code.
Scan through the menu options displayed on the control panel or screen and look for an option that allows you to modify user settings or change the code. The exact labeling may vary depending on your alarm system’s make and model.
If you are unsure which option to select, consult the user manual specific to your alarm system. The manual will provide clear instructions and illustrations on how to navigate the menu and find the code change option.
Once you have identified the code change option, select it using the keypad or touchscreen interface, following the prompts provided on the screen. The system may ask you to verify your master code or enter a user code to proceed.
After selecting the code change option, the control panel will guide you through the process of changing your burglar alarm code. It will prompt you to enter the current code and the new code you wish to set. The specific steps may vary depending on your alarm system’s user interface.
Now that you have successfully selected the code change option, it’s time to move on to the next step – entering the current code.
Remember to always follow the on-screen instructions provided by your alarm system and double-check your entries to ensure accuracy. Making a mistake during the code change process can result in temporary lockouts or other unintended consequences.
With the code change option selected, you are now ready to proceed to the next step – entering the current code.
Step 4: Enter the Current Code
After selecting the code change option, you will be prompted to enter the current code. This is the existing code that you want to change. Follow the instructions provided on the control panel display or screen to enter the code.
If you are using a multi-digit code, use the keypad or touchscreen interface to input each digit one at a time. Take your time and make sure to accurately enter the current code to proceed to the next step.
Some alarm systems may prompt you to enter the current code multiple times as a security measure to ensure that you have entered it correctly. This helps prevent accidental code changes and unauthorized access to the system.
Depending on your alarm system, you may encounter different validation methods for entering the current code. It could be a combination of buttons or a pattern on a touchscreen display. Read the instructions carefully and follow the proper method to enter the code.
If you are unsure about the current code or have forgotten it, refer to the alarm system’s user manual or contact the alarm system provider for assistance. They will be able to guide you through the process of retrieving or resetting the code.
As you enter the current code, pay close attention to the control panel or screen for any feedback or error messages. If you make a mistake, the system may provide a warning or prompt you to try again. Take the necessary steps to correct any errors and ensure that you have entered the correct current code.
Once you have successfully entered the current code, it’s time to move on to the next step – entering the new code.
Remember, accuracy is crucial during this step to ensure a smooth code change process. Take your time, double-check your entries, and follow any instructions provided by the alarm system.
With the current code entered, you are now ready to proceed to the next step – entering the new code.
When changing a burglar alarm code, make sure to choose a unique and memorable code that is not easily guessed. Avoid using common numbers like birthdays or addresses for added security.
Read more: How To Disable A Burglar Alarm
Step 5: Enter the New Code
After successfully entering the current code, you are now ready to enter the new code. This is the code that you want to set as the replacement for the existing code. Follow the instructions provided on the control panel or screen to enter the new code.
Using the keypad or touchscreen interface, input each digit of the new code one at a time. Take your time and ensure that you enter the new code accurately. Consider choosing a code that is easy for you to remember but not easily guessed by others.
It is important to note that some alarm systems have specific requirements for the new code, such as minimum or maximum length, the inclusion of certain characters, or restrictions on using sequential or repeated digits. Make sure to adhere to these requirements to ensure proper functionality of your burglar alarm system.
As you enter the new code, pay attention to any feedback or error messages displayed on the control panel or screen. If you make a mistake, the system may provide a warning or prompt you to try again. Take the necessary steps to correct any errors and ensure that you have entered the new code correctly.
Some alarm systems may require you to confirm the new code by entering it a second time. This is to prevent any unintentional errors during the entry process. If prompted, carefully re-enter the new code to confirm it.
Remember to choose a new code that is unique and not easily guessed by others. Avoid using common combinations or personal information, as these can compromise the security of your burglar alarm system.
Once you have successfully entered and confirmed the new code, you are now ready to proceed to the next step – confirming and saving the new code.
Take a moment to congratulate yourself on successfully setting the new code. You are one step closer to enhancing the security of your home!
Step 6: Confirm and Save the New Code
After entering the new code, the next step is to confirm and save the changes you have made. This ensures that the new code will be recognized and used by your burglar alarm system.
Once you have entered the new code, the control panel or screen will provide you with a confirmation prompt. Pay careful attention to the instructions displayed and follow the necessary steps to confirm and save the new code.
Some alarm systems may require you to press a specific button or enter a confirmation code to finalize the code change. Others may automatically save the new code once it has been entered and confirmed.
During the confirmation process, the control panel or screen may display a message indicating that the changes have been saved successfully. This confirms that the new code is now active and will be used for arming and disarming your burglar alarm system.
Keep in mind that it is essential to ensure that the confirmation step is completed successfully. Failure to do so may result in the new code not being recognized, and the alarm system continuing to use the previous code.
If you encounter any difficulties or error messages during the confirmation process, consult the user manual specific to your alarm system or contact the alarm system provider for assistance. They will be able to guide you through any necessary troubleshooting steps to ensure the successful confirmation and saving of the new code.
Once you have successfully confirmed and saved the new code, it’s time to move on to the final step – testing the new code to ensure it is working as intended.
Congratulations on taking this significant step towards enhancing the security of your home!
Step 7: Test the New Code
After changing the burglar alarm code and confirming the changes, it’s crucial to test the new code to ensure that it works as intended. Testing the new code will help you verify that the alarm system recognizes and accepts the code, allowing you to fully arm and disarm the system.
Begin by closing all doors and windows that are armed with sensors connected to the alarm system. This is to simulate a real-life scenario and ensure that the system responds accurately to the new code.
Use the control panel or keypad to arm the alarm system using the new code. Follow the instructions provided by your alarm system to activate the armed mode. The system may emit a series of beeps or provide a visual indication to confirm that it is armed.
Wait for a few moments to allow the system to fully arm itself. During this time, ensure that all sensors are ready and functioning correctly without any errors or malfunctions.
To test the new code, attempt to disarm the alarm system using the new code. Enter the new code on the control panel or keypad as instructed by the system. If the system recognizes the code and accepts it, the alarm will deactivate, and you should receive a confirmation message or indication that the system is disarmed.
If you successfully disarm the alarm system using the new code, congratulations! The new code is working correctly, and you have successfully completed the code change process.
However, if the system does not recognize the new code or you encounter any errors or issues during the testing process, it is essential to address the problem immediately. Confirm that you entered the code correctly and ensure that all sensors and components of the alarm system are functioning properly. If the issue persists, consult the user manual or contact the alarm system provider for further assistance and troubleshooting.
Remember, it is crucial to regularly test your burglar alarm system and ensure that all components, including the code, are working effectively. Regular testing helps identify any potential issues or vulnerabilities and allows you to address them promptly, ensuring the continued security of your home.
With the new code successfully tested and verified, you can now enjoy the peace of mind that comes with knowing your home is secure and protected by an updated burglar alarm code.
Congratulations on completing the process of changing your burglar alarm code and taking a proactive step towards maintaining the security of your home and loved ones!
Conclusion
Changing your burglar alarm code is a crucial step in maintaining the security of your home. By regularly updating your code, you can reduce the risk of unauthorized access and enhance the overall effectiveness of your alarm system.
In this comprehensive guide, we have provided you with step-by-step instructions on how to change your burglar alarm code. From locating the control panel to testing the new code, each step is essential in ensuring a smooth and successful code change process.
Remember, it is important to follow the instructions provided by your alarm system and take your time to accurately enter the current and new codes. Carefully confirming and saving the changes will ensure that the new code is recognized and used by your alarm system.
Regularly changing your burglar alarm code, at least once every six months, or whenever there is a concern that someone unauthorized may have knowledge of the current code, is recommended. By doing so, you add an extra layer of security to your home and maintain peace of mind.
Moreover, we emphasize the importance of testing the new code to ensure it is functioning correctly. By simulating real-life scenarios and verifying the alarm system’s response to the new code, you can pinpoint any issues and address them promptly.
As you proceed with changing your burglar alarm code, remember to consult the user manual specific to your alarm system if you encounter any difficulties or have any questions. Additionally, don’t hesitate to reach out to the alarm system provider for further guidance and support.
By taking the time to change your burglar alarm code and regularly testing your alarm system, you are proactively safeguarding your home and loved ones. Prioritizing home security contributes to a sense of comfort and protection within your living space.
We hope that this guide has provided you with the information and confidence needed to successfully change your burglar alarm code. Enjoy the enhanced security and peace of mind that comes with knowing your home is well-protected!
Frequently Asked Questions about How To Change A Burglar Alarm Code
Was this page helpful?
At Storables.com, we guarantee accurate and reliable information. Our content, validated by Expert Board Contributors, is crafted following stringent Editorial Policies. We're committed to providing you with well-researched, expert-backed insights for all your informational needs.
