Home>Home Security and Surveillance>How To Make A Burglar Alarm Circuit
Home Security and Surveillance
How To Make A Burglar Alarm Circuit
Modified: October 20, 2024
Secure your home with our DIY burglar alarm circuit. Learn how to make a reliable and cost-effective home security system using our step-by-step guide. Enhance your home security and surveillance with this easy-to-build circuit.
(Many of the links in this article redirect to a specific reviewed product. Your purchase of these products through affiliate links helps to generate commission for Storables.com, at no extra cost. Learn more)
Introduction
Welcome to our comprehensive guide on how to make a burglar alarm circuit. In today’s world, home security and surveillance have become top priorities for many homeowners. With rising crime rates, it’s essential to take proactive measures to protect your property and loved ones.
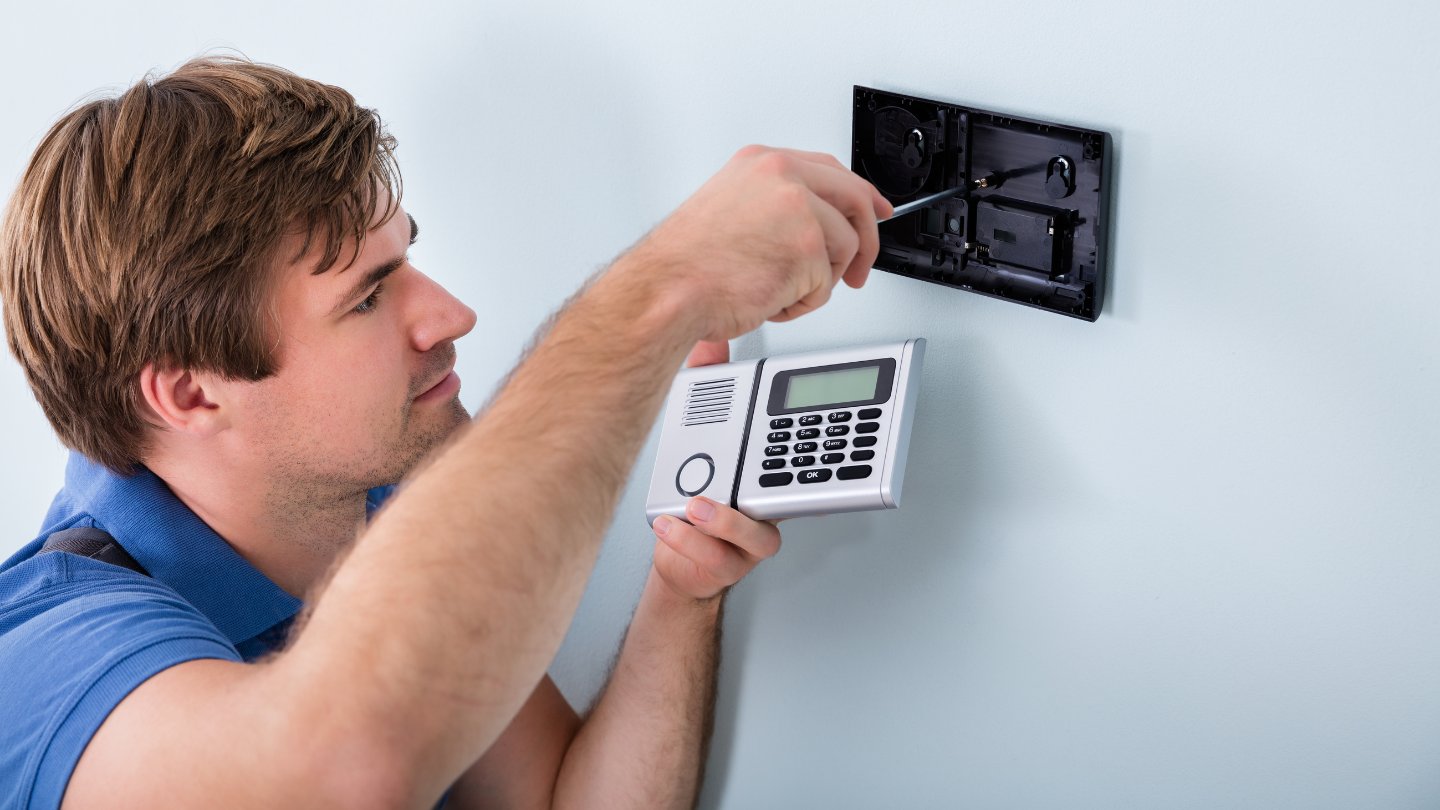
A burglar alarm is a crucial component of any home security system. It serves as a deterrent to potential intruders and alerts homeowners or authorities of a possible break-in. While there are various alarm systems available in the market, building your own burglar alarm circuit can be a rewarding and cost-effective option.
In this guide, we will walk you through the process of creating your own burglar alarm circuit. We will discuss the necessary components, provide a circuit diagram, explain the working principle, and give you step-by-step instructions on how to build and test the circuit.
Whether you have a basic understanding of electronics or are a complete beginner, this guide is designed to help you create a reliable burglar alarm system that suits your specific needs. Let’s get started!
Key Takeaways:
- Build your own burglar alarm circuit using an Arduino board, PIR sensor, buzzer, and LEDs for a customizable and cost-effective home security solution.
- Test and troubleshoot your DIY burglar alarm circuit to ensure proper functionality, and consider supplementing it with other security measures for comprehensive protection.
Read more: How To Make Your Own Burglar Alarm
Components Required
Before diving into the circuit diagram and building process, let’s take a look at the components you will need to construct your burglar alarm circuit. Here is a list of the essential components:
- PIR Sensor (Passive Infrared Sensor): This sensor detects changes in infrared radiation, such as motion or heat, and is a key component in detecting potential intruders.
- Arduino Uno: An Arduino board acts as the brain of the circuit, enabling you to program and control the alarm system.
- Breadboard: A breadboard provides a platform for connecting and testing the circuit components without the need for soldering.
- Buzzer: A buzzer produces loud audible alerts when triggered by the PIR sensor.
- LEDs (Light-emitting Diodes): LEDs serve as visual indicators to show the status of the alarm system.
- Resistors: Resistors are used to limit the current flowing through the circuit and protect the components.
- Jumper Wires: Jumper wires are essential for making connections between the components on the breadboard.
- Power Supply: You will need a suitable power supply, such as a 9V battery or USB cable, to power the Arduino board and the circuit.
These are the basic components required to build a burglar alarm circuit. Depending on your design preferences and additional features you may want to incorporate, you can expand this list with items like a keypad, LCD display, or GSM module for remote notifications.
Now that you have a clear understanding of the components needed, let’s move on to the circuit diagram and explore how these components come together to form a functional burglar alarm system.
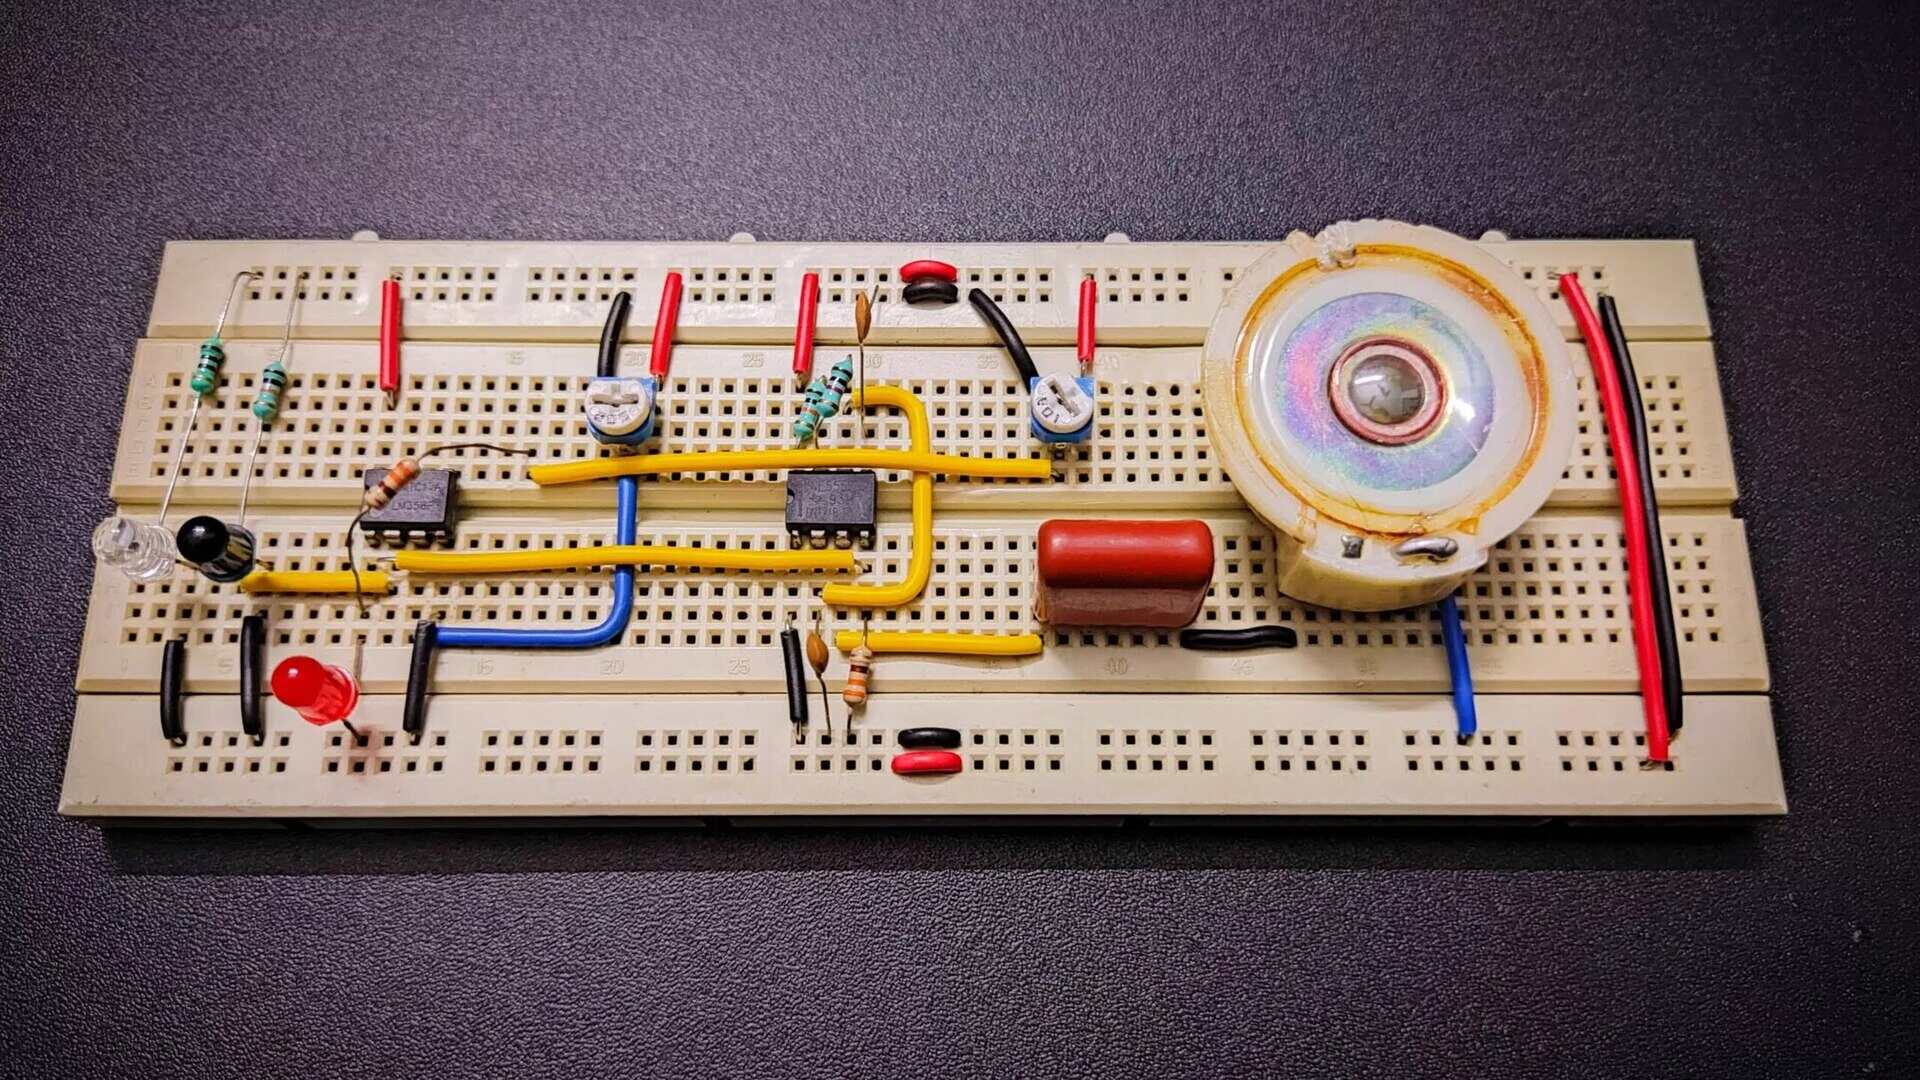
Circuit Diagram
Now that we have the necessary components, it’s time to understand how they are connected in the circuit. The circuit diagram below illustrates the connections:

The PIR sensor is connected to the Arduino board, along with the buzzer and LEDs. The resistor values may vary depending on the specific components used, so make sure to refer to the datasheets for accurate values.
Next, let’s delve into the working principle of the burglar alarm circuit and how the components interact to detect and alert against potential intrusions.
Working Principle
The burglar alarm circuit operates based on the working principle of the Passive Infrared (PIR) sensor. The PIR sensor is able to detect changes in infrared radiation, which are emitted by objects that emit heat, such as human bodies.
When the PIR sensor detects motion or a change in heat radiation, it sends a signal to the Arduino board. The Arduino board acts as the control unit of the circuit, processing the signal and triggering the alarm system.
When the PIR sensor detects motion, the Arduino board activates the buzzer and LEDs to alert against potential intrusion. The buzzer produces a loud sound, while the LEDs provide a visual indication of the alarm status.
Additionally, the Arduino board can be programmed to send notifications, such as SMS messages or email alerts, to the homeowner or security personnel to inform them about the detected motion.
The working principle of the burglar alarm circuit revolves around the detection of motion by the PIR sensor and the subsequent activation of the alarm components by the Arduino board. It’s a simple yet effective way to protect your home from unauthorized access.
Now that we understand the working principle, let’s move on to the steps on how to build the burglar alarm circuit.
When building a burglar alarm circuit, make sure to use a reliable and sensitive sensor, such as a motion detector or a magnetic switch, to detect any unauthorized entry.
Steps to Build the Burglar Alarm Circuit
Building the burglar alarm circuit requires some basic electronic skills and the ability to follow instructions. Follow these steps to construct your own burglar alarm circuit:
- First, gather all the components required for the circuit as listed earlier.
- Place the Arduino board on the breadboard, ensuring that it spans the center dividing line.
- Connect the 5V pin of the Arduino to the positive rail of the breadboard and the GND pin to the negative rail.
- Connect the VCC and OUT pins of the PIR sensor to the 5V and digital pins on the Arduino respectively.
- Connect one terminal of the buzzer to a digital pin on the Arduino and the other terminal to the negative rail of the breadboard.
- Connect the positive leg of the LEDs to separate digital pins on the Arduino and connect the negative legs to the negative rail of the breadboard through appropriate resistors.
- Double-check all the connections to ensure they are secure and properly aligned.
- Once the connections are complete, power up the circuit by connecting the power supply to the Arduino board.
- Upload the Arduino code for the burglar alarm circuit that includes the necessary functions and logic to detect motion and trigger the alarm components.
- Test the circuit by moving in front of the PIR sensor. The buzzer should sound, and the LEDs should light up to indicate the detected motion.
- Make any necessary adjustments to the circuit or code if the desired results are not achieved.
These steps should help you successfully build your own burglar alarm circuit. Make sure to consult the Arduino documentation or online tutorials for additional guidance on programming the Arduino board for your specific needs.
Next, let’s move on to testing and troubleshooting the circuit to ensure its proper functionality.
Read more: How To Disable A Burglar Alarm
Testing and Troubleshooting
After building the burglar alarm circuit, it’s essential to test its functionality to ensure it works as intended. Follow these steps to test the circuit and troubleshoot any issues:
- Power up the circuit by connecting the power supply to the Arduino board.
- Move in front of the PIR sensor to test its motion detection capabilities. The buzzer should sound, and the LEDs should light up, indicating the circuit has detected motion.
- If the circuit does not trigger the alarm components, double-check the connections between the PIR sensor, Arduino board, buzzer, and LEDs. Ensure that they are properly connected and securely attached.
- Verify that the code uploaded to the Arduino board is correct and functioning as expected. If necessary, re-upload the code or consult online resources for troubleshooting Arduino programming issues.
- If the circuit is still not responding as desired, check the power supply to ensure it is providing the necessary voltage. Low voltage levels can result in improper circuit operation.
- Inspect the components, such as the PIR sensor, for any damage or defects. A faulty component can lead to circuit malfunctions. Replace any defective components as needed.
- If you have implemented additional features, such as SMS notifications, test these functionalities to ensure they are working correctly. Check the configuration settings and any external modules used for these additional features.
- If you encounter persistent issues that you cannot resolve, seek assistance from online forums or communities dedicated to Arduino and electronics projects. Others may have encountered similar problems and can provide helpful insights.
Remember that troubleshooting is an essential part of the building process. Be patient and methodical in identifying and resolving any issues that arise. With a little perseverance, you’ll have a fully functional burglar alarm circuit.
Now that you’ve learned how to test and troubleshoot the circuit, it’s time to wrap up this guide.
Conclusion
Congratulations on successfully building your own burglar alarm circuit! By following the steps outlined in this guide, you now have a cost-effective and customizable solution to enhance your home security and surveillance.
Creating a burglar alarm circuit allows you to have a hands-on approach to protecting your property and loved ones. This DIY project not only provides the satisfaction of building something yourself but also gives you the flexibility to add additional features and customize the system to suit your specific needs.
Remember to regularly test and maintain your burglar alarm circuit to ensure it remains in optimal working condition. Perform routine checks on the components, connections, and power supply to address any issues promptly.
While a DIY burglar alarm circuit can be an effective home security solution, it is important to supplement it with other security measures such as secure locks, outdoor lighting, and surveillance cameras for comprehensive protection.
Lastly, always stay informed about the latest advancements in home security and surveillance technologies. With constant advancements, you may find opportunities to further optimize and improve your burglar alarm circuit in the future.
We hope this guide has equipped you with the knowledge and inspiration to create your own burglar alarm circuit. By taking control of your home security, you can enjoy peace of mind knowing that you’ve taken proactive steps to protect what matters most.
Stay safe and secure!
Frequently Asked Questions about How To Make A Burglar Alarm Circuit
Was this page helpful?
At Storables.com, we guarantee accurate and reliable information. Our content, validated by Expert Board Contributors, is crafted following stringent Editorial Policies. We're committed to providing you with well-researched, expert-backed insights for all your informational needs.