Home>Home Security and Surveillance>How To Install A Burglar Alarm System
Home Security and Surveillance
How To Install A Burglar Alarm System
Modified: October 20, 2024
Increase your home security and surveillance with our step-by-step guide on how to install a burglar alarm system. Protect your loved ones and valuables today.
(Many of the links in this article redirect to a specific reviewed product. Your purchase of these products through affiliate links helps to generate commission for Storables.com, at no extra cost. Learn more)
Introduction
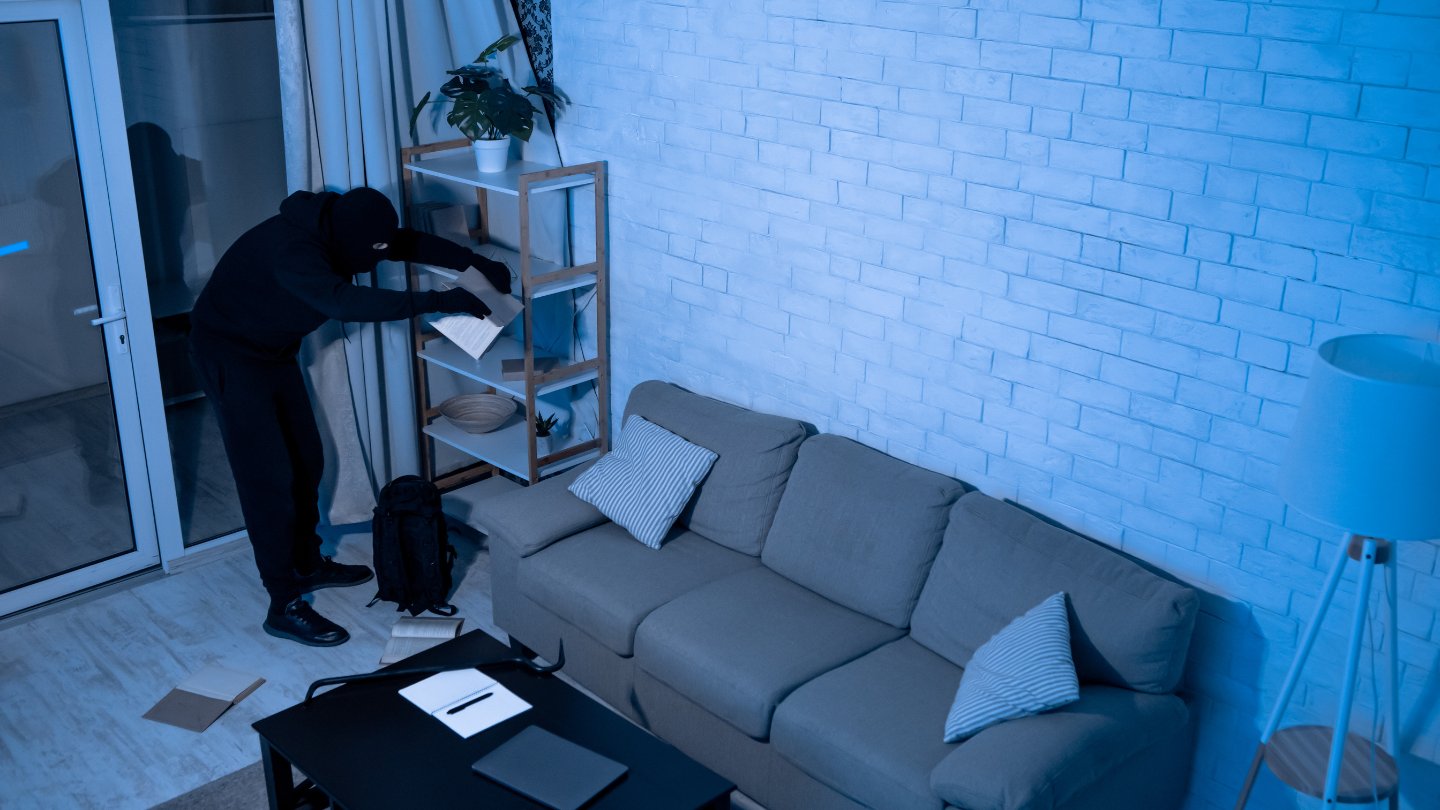
Welcome to the world of home security and surveillance. In today’s day and age, ensuring the safety and protection of our homes and loved ones is of paramount importance. Installing a burglar alarm system is an effective way to deter potential intruders and provide peace of mind.
Whether you live in a house or an apartment, having a burglar alarm system can significantly improve your home’s security. These systems are designed to detect unauthorized entry and trigger an alarm, alerting you and others to the potential threat. Not only do burglar alarm systems help prevent break-ins, but they can also serve as a strong deterrent, reducing the risk of becoming a target in the first place.
In this guide, we will walk you through the step-by-step process of installing a burglar alarm system. From assessing your security needs to activating and monitoring the system, we will cover everything you need to know to secure your home effectively.
Before we dive into the installation process, it’s important to note that you can choose between professional installation or DIY installation. While professional installation offers convenience and expertise, DIY installation allows you to save money and have a hands-on approach to securing your home. This guide focuses on DIY installation, providing you with all the information you need to successfully complete the process on your own.
So, whether you’re a tech-savvy individual looking to enhance your home security or a first-time DIY enthusiast, let’s get started on installing your very own burglar alarm system.
Key Takeaways:
- Installing a burglar alarm system involves assessing your security needs, choosing the right system, gathering tools, and preparing the installation area. It’s important to follow the manufacturer’s instructions and test the system regularly for optimal security.
- Activating and monitoring your burglar alarm system is the final step. It includes setting the system mode, testing the monitoring service, configuring notifications, educating family members, and adapting to changing security needs. Regular maintenance and updates are crucial for ongoing effectiveness.
Read more: How To Disable A Burglar Alarm
Step 1: Assessing Your Security Needs
Before you embark on the installation process, it’s crucial to assess your specific security needs. Every home is unique, and understanding your vulnerabilities will help you make informed decisions when choosing a burglar alarm system.
Start by conducting a thorough evaluation of your property. Take note of potential entry points such as doors, windows, and other access points. Look for any existing security measures you may have in place, such as locks or surveillance cameras.
Consider the layout and size of your home. Larger homes may require more sensors and detectors to ensure comprehensive coverage. Additionally, think about any valuable assets you want to protect, such as expensive electronics or personal belongings.
Next, assess your neighborhood and surroundings. Are you located in a high-crime area? Are there frequent reports of break-ins or suspicious activities? Understanding the risk level in your area will help you determine the level of security you need.
Another factor to consider is your lifestyle and daily routines. Are you away from home for extended periods, or do you have regular work hours? Do you have pets that roam freely around your house? These factors will influence the type of system you choose and how it functions.
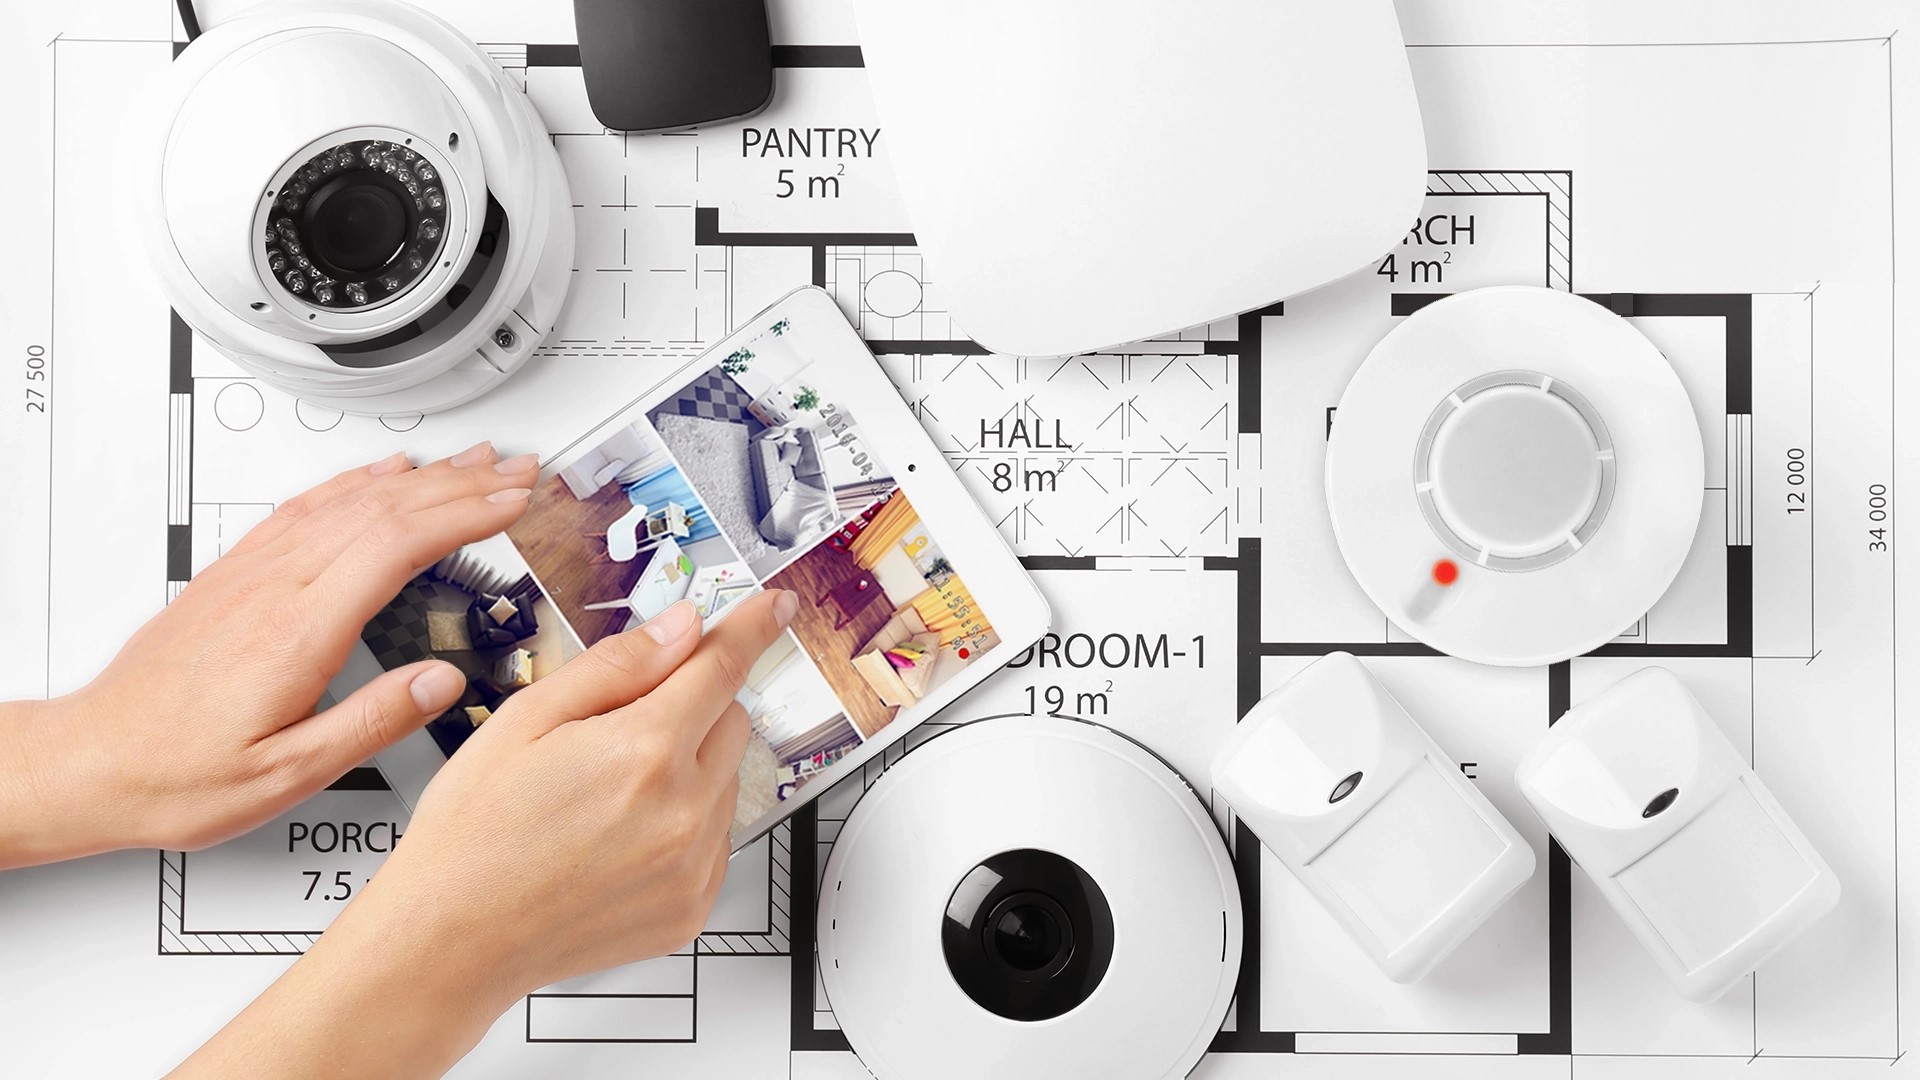
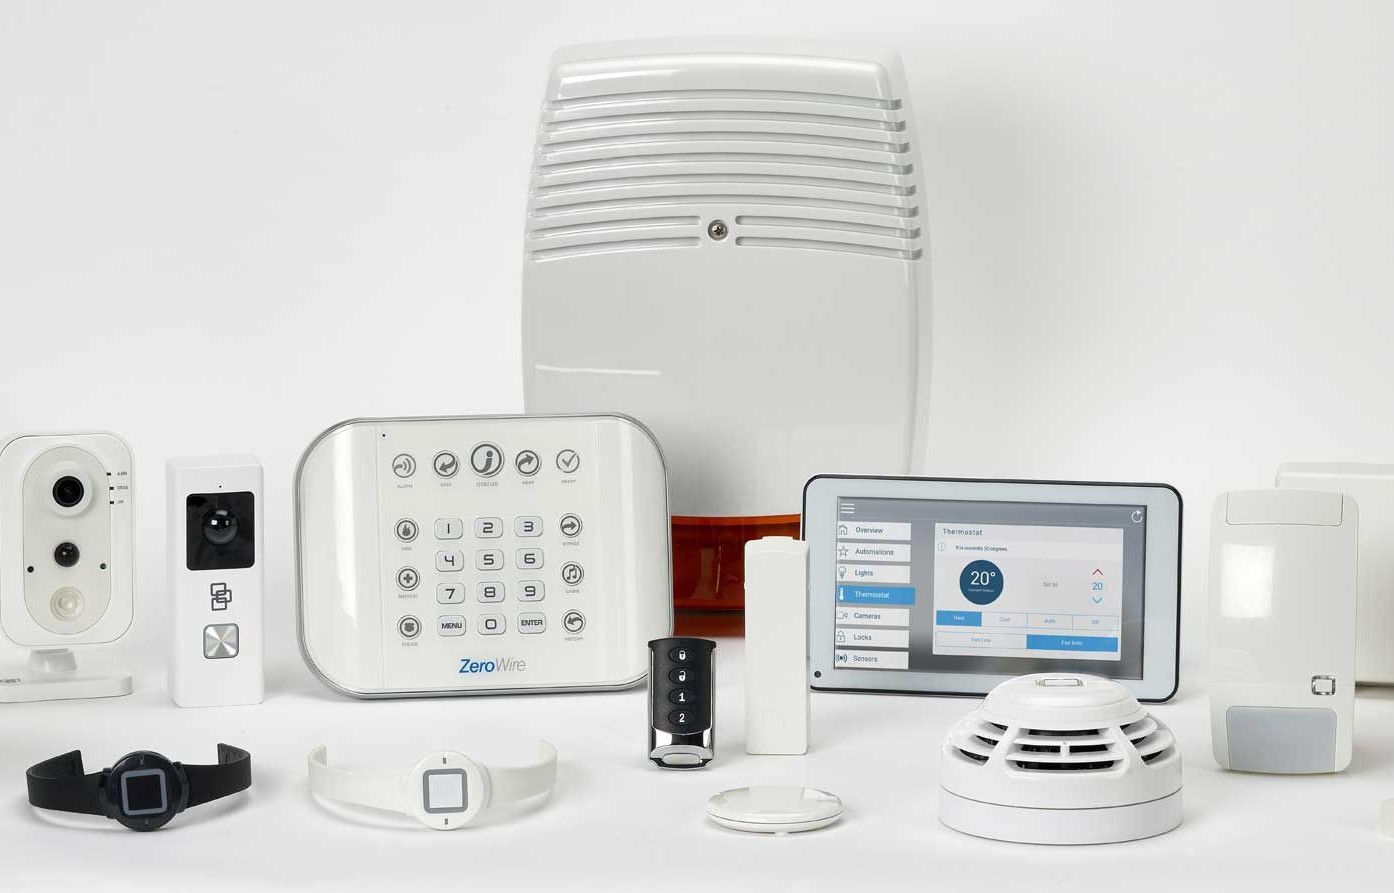
Once you have a clear understanding of your security needs, you can determine the features and components you require in a burglar alarm system. Some common features include:
- Door and window sensors: These detect when a door or window is opened or tampered with.
- Motion detectors: These sense motion within a specific range and can trigger an alarm.
- Glass break sensors: These detect the sound frequency of broken glass and trigger an alarm.
- Security cameras: These capture video footage of your property and can be monitored remotely.
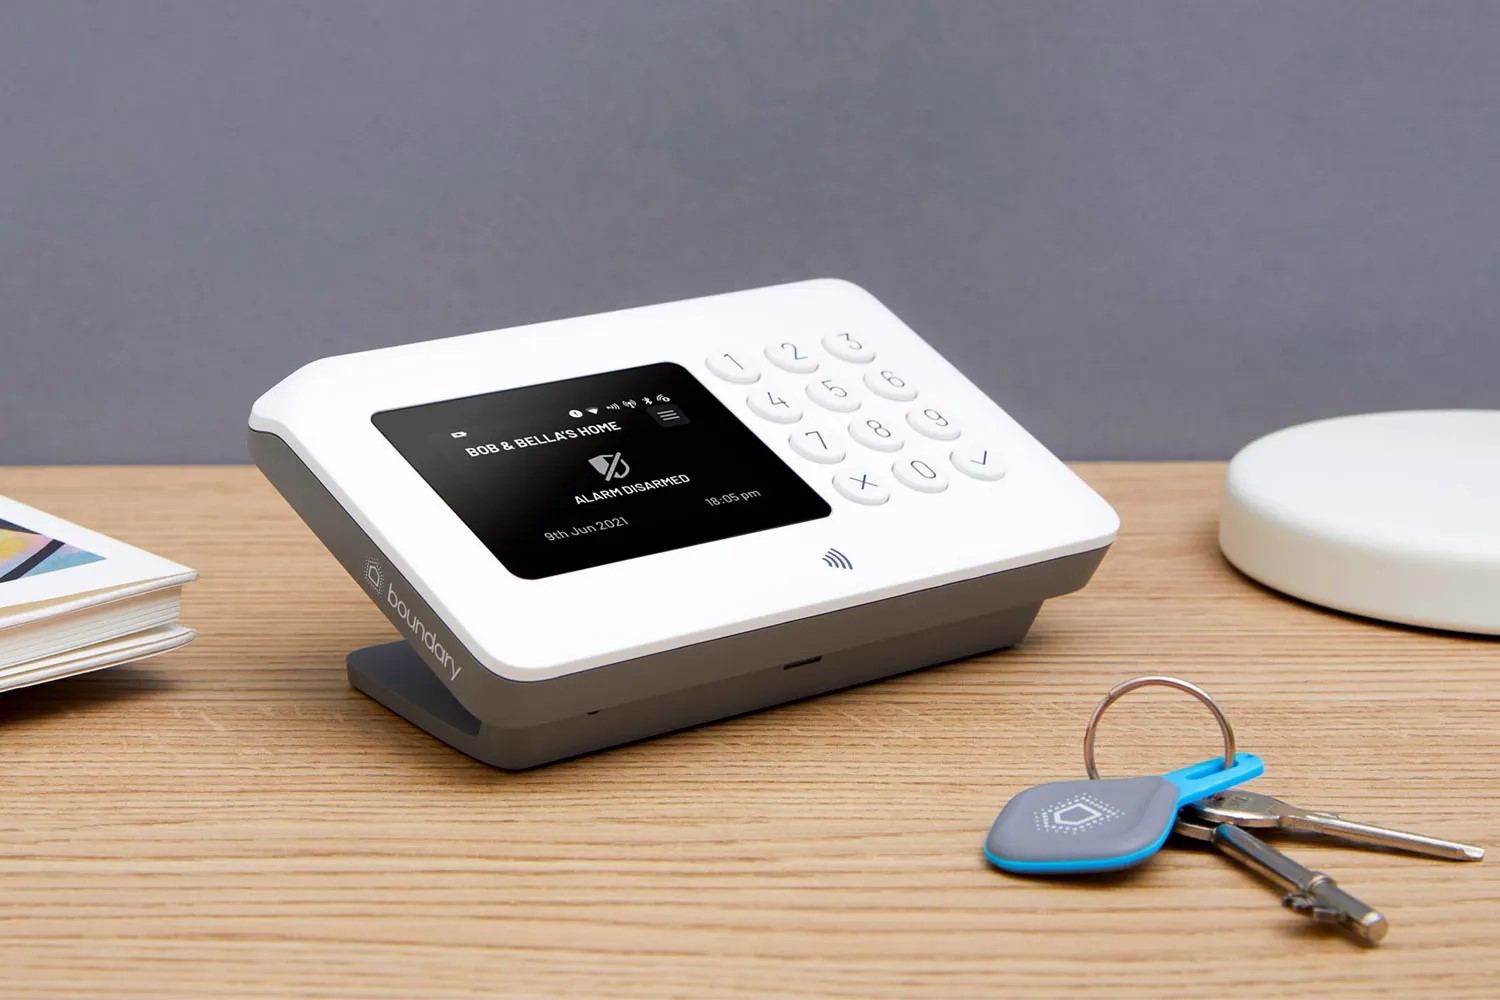
- Alarm control panel: This is the central hub of your burglar alarm system, where you can arm and disarm the system.
By assessing your security needs upfront, you can make informed decisions when selecting the appropriate components for your burglar alarm system. This will ensure that you have a system that provides comprehensive coverage and peace of mind.
Step 2: Choosing the Right Burglar Alarm System
Choosing the right burglar alarm system is a crucial step in ensuring the security of your home. With so many options available in the market, it’s important to consider various factors to make an informed decision.
One of the first things to consider is whether you want a wired or wireless burglar alarm system. Wired systems require running cables throughout your home, which can be a bit more complicated to install. However, they tend to be more reliable and less prone to interference. On the other hand, wireless systems offer easy installation and flexibility, as they don’t require cables. They are often a popular choice for DIY installations.
Consider the level of monitoring you prefer for your burglar alarm system. Some systems offer self-monitoring, where you receive notifications on your smartphone when the alarm is triggered. Others offer professional monitoring, where a security company monitors your system 24/7 and can dispatch authorities if necessary. Determine your comfort level and budget for monitoring services when choosing your system.
Take into account the scalability and customization options of the burglar alarm system. If you plan on expanding or upgrading your system in the future, ensure that it supports additional components and features. Look for systems that allow you to customize settings and notifications to suit your specific needs.
Consider the reputation and reliability of the manufacturer or provider. Read reviews, check ratings, and look for certifications to gauge the quality of the system. It’s important to choose a reputable brand that offers excellent customer support and reliable products.
Finally, think about your budget for the burglar alarm system. Set a realistic budget range and look for systems that fit within that range. Keep in mind that the cost of the system may include not just the initial purchase, but also any additional components and monitoring fees.
By considering these factors, you can narrow down your options and choose the right burglar alarm system for your specific needs. Each home is unique, so take the time to research and select a system that provides the level of security and peace of mind that you desire.
Step 3: Gathering the Necessary Tools and Equipment
Before you start the installation process, it’s important to gather all the necessary tools and equipment. Having everything prepared in advance will help streamline the installation and ensure that you have everything you need to complete the job.
Here is a list of tools and equipment you may need for installing a burglar alarm system:
- Drill: You will likely need a drill to create holes for mounting sensors, detectors, and the alarm control panel.
- Screwdriver set: A set of screwdrivers will be essential for loosening and tightening screws when installing components.
- Wire strippers: If you’re installing a wired system, wire strippers will be useful for stripping the insulation from the wires.
- Level: A level will help ensure that your sensors, detectors, and alarm control panel are correctly aligned and mounted straight.
- Measuring tape: Use a measuring tape to accurately measure distances and ensure precise placement of components.
- Pencil or marker: These will come in handy for marking the drill hole locations on the wall.
- Wire connectors: If you’re installing a wired system, wire connectors will be needed to secure the connections between the wires.
- Double-sided tape or adhesive: This can be useful for temporarily mounting components or securing wires.
- Step ladder or stool: Depending on the height at which you need to install components, you may require a step ladder or stool for accessibility.
- Extra batteries: If your system utilizes battery-powered components, having extra batteries on hand is always a good idea.
It’s important to note that the specific tools and equipment needed may vary based on the type and brand of burglar alarm system you choose. Always refer to the manufacturer’s instructions and recommended tools list to ensure you have everything necessary for a successful installation.
By gathering all the required tools and equipment in advance, you’ll save time and avoid frustration during the installation process. Being prepared will allow you to focus on the task at hand and ensure a smooth and efficient installation of your burglar alarm system.
Step 4: Preparing the Installation Area
Before you begin installing your burglar alarm system, it’s crucial to properly prepare the installation area. This step will ensure that the components are installed securely and function effectively. Follow these guidelines to prepare the area for installation:
1. Clean the surfaces: Wipe down the installation area, including walls, doors, and windows, to remove any dust, dirt, or debris. This will ensure a clean surface for mounting sensors and detectors.
2. Locate power sources: If your burglar alarm system requires power, identify the nearest power outlets to ensure easy access. Consider the positioning of the alarm control panel and any other components that require a power source.
3. Plan the positioning of components: Using your security assessment from Step 1, determine the optimal placement for sensors, detectors, and the alarm control panel. Consider the coverage area, accessibility, and aesthetics when deciding where to install each component.
4. Mark drilling locations: Once you’ve determined the positioning of the components, mark the drilling locations on the walls or doors using a pencil or marker. Use a level to ensure that the markings are straight and aligned properly.
5. Check for interferences: Before drilling or mounting components, check for any potential interferences such as electrical wires, pipes, or structural elements. It’s essential to avoid damaging any existing infrastructure during the installation process.
6. Prepare wiring routes (if applicable): If you’re installing a wired burglar alarm system, plan the routes for the wires to ensure a clean and hidden installation. Consider using wire clips or conduits to secure and protect the wiring throughout the installation.
7. Clear any obstructions: Ensure that the installation area is clear of any obstructions, such as furniture or decor items, that may impede the installation or affect the functionality of the components.
By taking the time to properly prepare the installation area, you create a solid foundation for a successful and efficient installation of your burglar alarm system. This step will also minimize any potential disruptions or damage to your home during the installation process.
Note: If you’re unsure about any aspect of the preparation or installation, consult the manufacturer’s instructions or consider seeking professional assistance to ensure the job is done correctly.
Read more: How To Wire A Burglar Alarm Panel
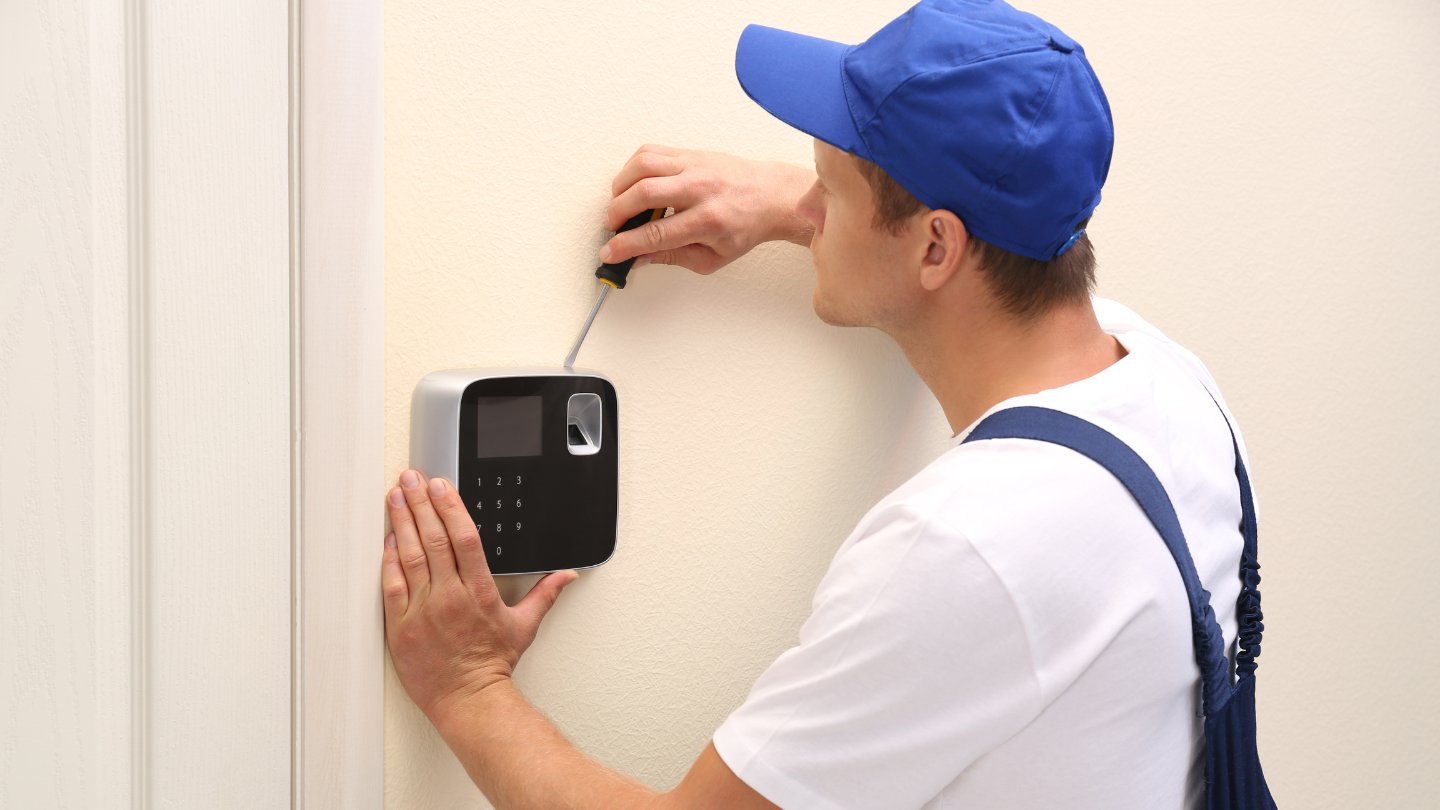
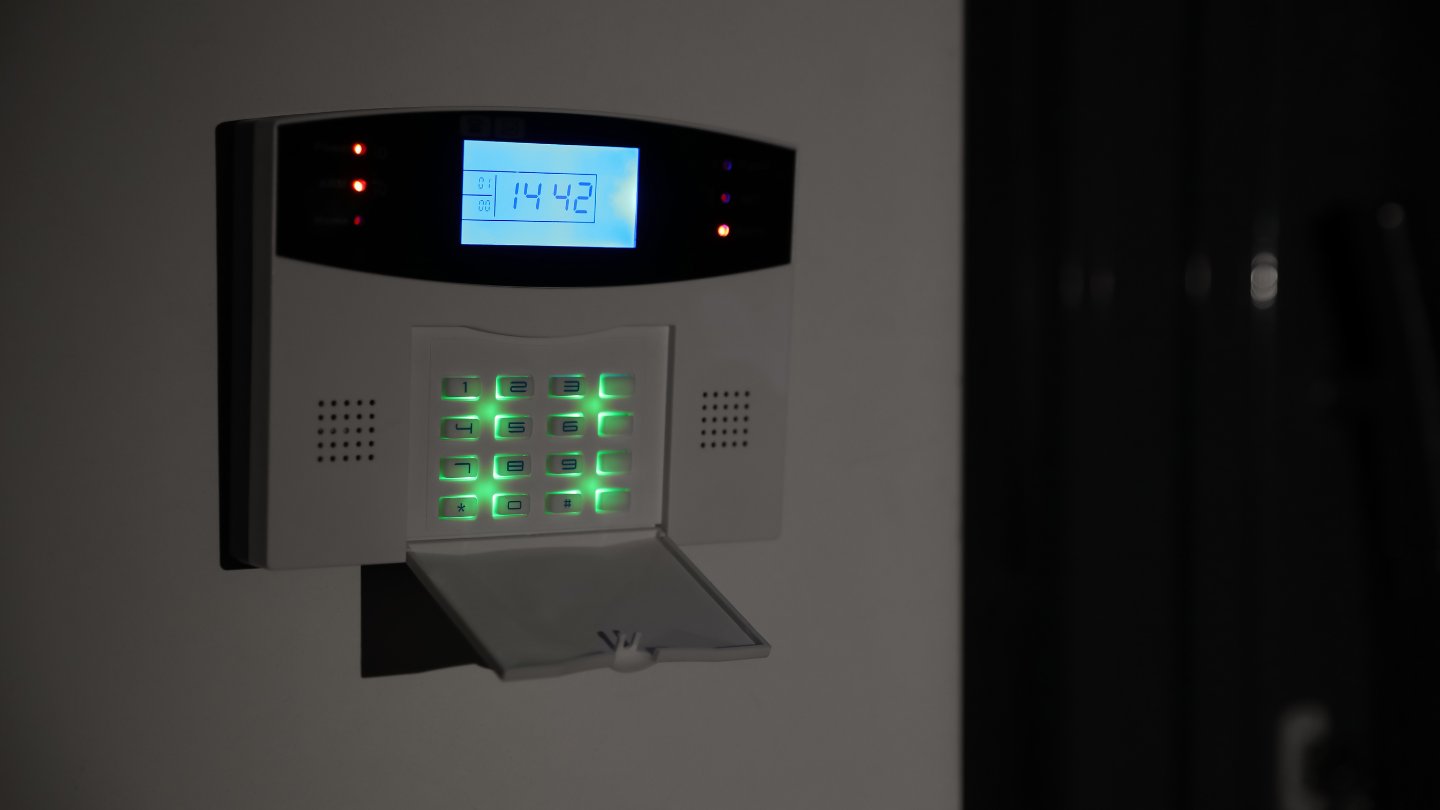
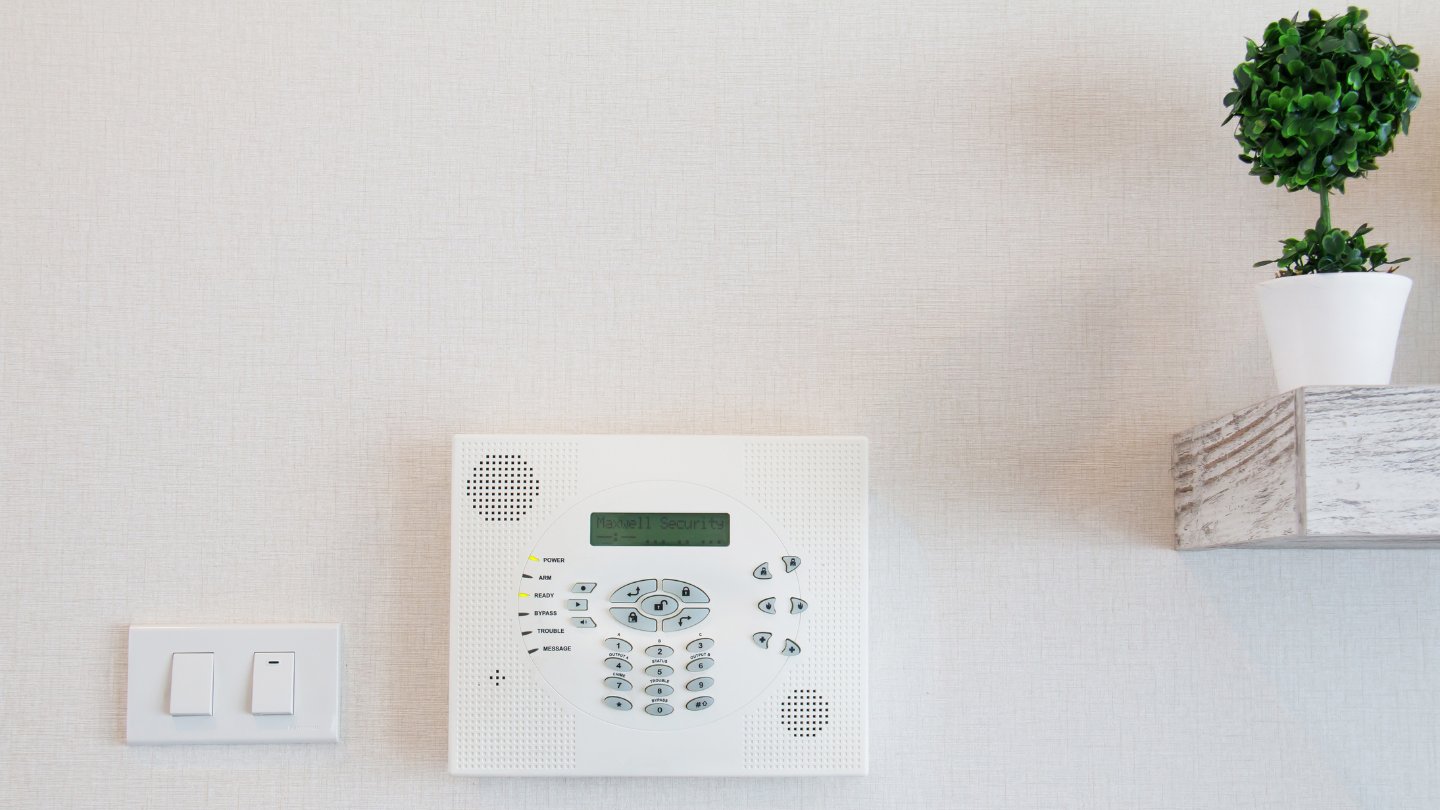
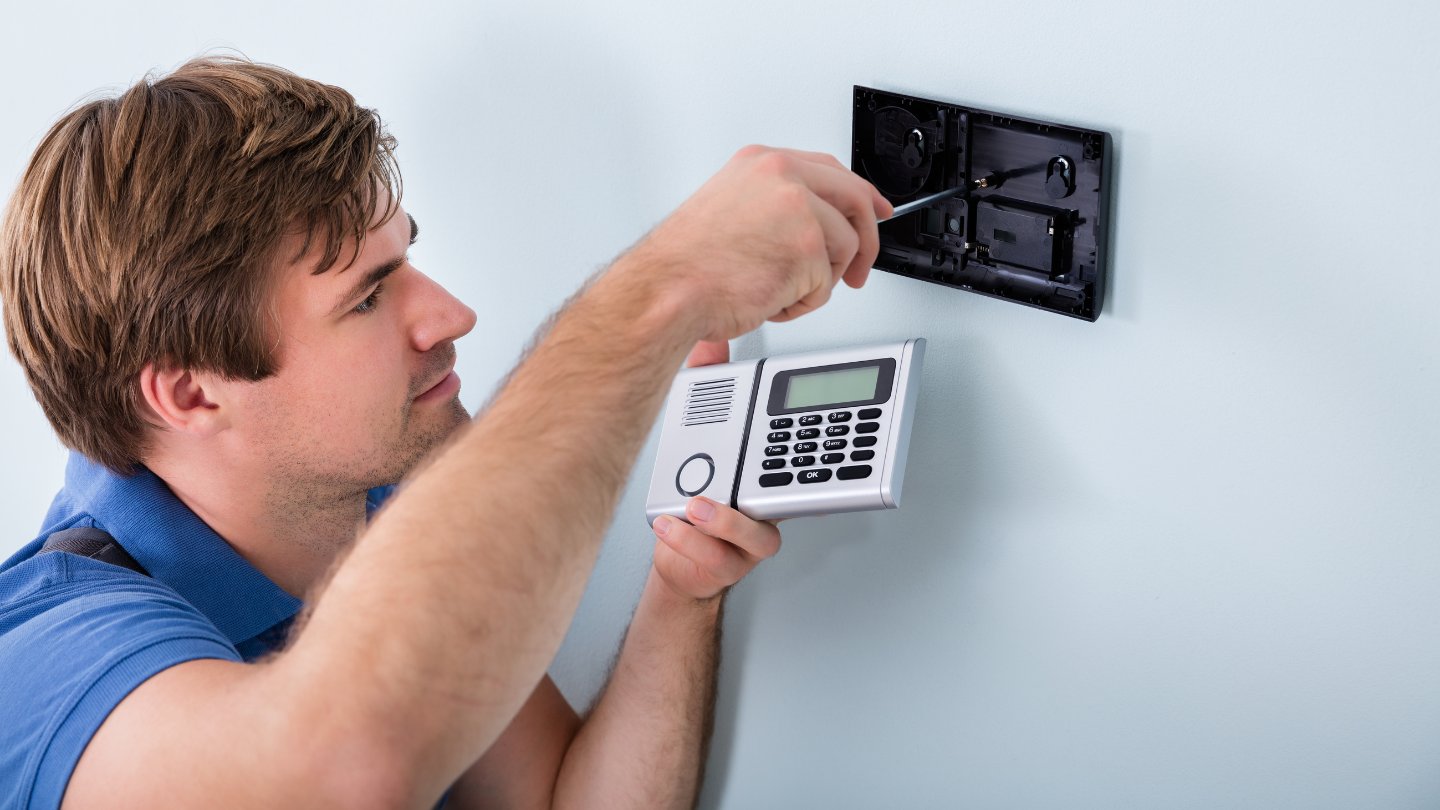
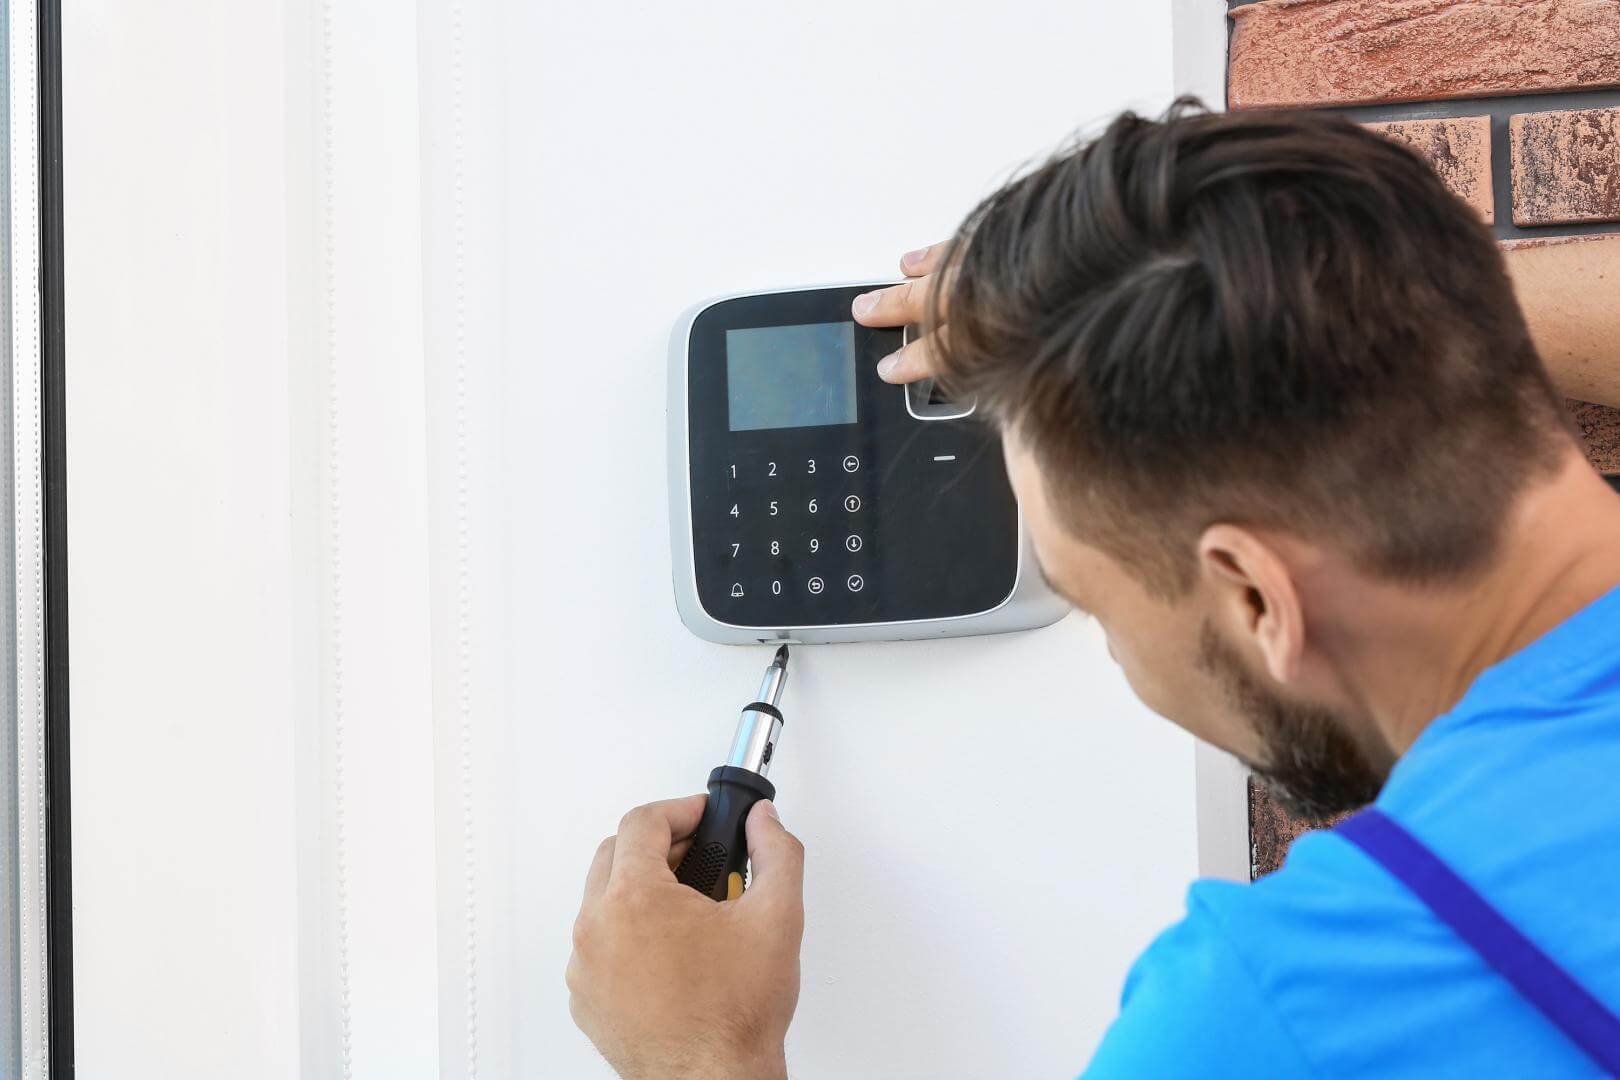
Step 5: Mounting the Alarm Control Panel
The alarm control panel is the central hub of your burglar alarm system. It allows you to arm and disarm the system, and serves as the interface for controlling various settings and features. Follow these steps to properly mount the alarm control panel:
1. Choose an optimal location: Select a central location in your home for mounting the alarm control panel. It’s typically placed near an entrance or in a common area for easy access and visibility.
2. Mark the mounting holes: Hold the alarm control panel against the wall at the desired location and use a pencil or marker to mark the position of the mounting holes on the wall. Ensure that the panel is level and aligned properly.
3. Drill pilot holes: Using an appropriate drill bit size for the mounting screws, carefully drill pilot holes at the marked locations on the wall. Be cautious not to drill too deep or damage any wiring or pipes behind the wall.
4. Install wall anchors (if necessary): If the wall material requires additional support, insert wall anchors into the pilot holes. These anchors provide stability and ensure a secure mount for the control panel.
5. Attach the mounting plate: Depending on the design of your alarm control panel, you may need to attach a mounting plate to the wall first. Align the plate with the pilot holes and screw it securely into place using the provided screws.
6. Mount the control panel: Once the mounting plate is in position, carefully align the control panel with the plate and slide it into place. Ensure that it is secure and properly seated on the mounting plate.
7. Connect power and wiring (if applicable): If your alarm control panel requires a power source or connection to other components, follow the manufacturer’s instructions to make the necessary connections. This may involve plugging in the power adapter or wiring the panel to other devices.
8. Test the control panel: After mounting and connecting the control panel, perform a test to ensure that it powers on and functions correctly. Follow the manufacturer’s instructions to access the system settings and verify that the control panel is communicating with the other components.
By properly mounting the alarm control panel, you establish a convenient and accessible location for controlling your burglar alarm system. Ensure that it is securely fixed to the wall and functioning correctly before proceeding to the next steps of the installation process.
When installing a burglar alarm system, make sure to place motion sensors in areas where an intruder would have to pass through, such as hallways and stairwells, to maximize coverage.
Step 6: Installing Door and Window Sensors
Door and window sensors are important components of a burglar alarm system as they detect unauthorized entry and trigger an alarm. Follow these steps to properly install door and window sensors:
1. Determine sensor placement: Start by identifying the doors and windows that you want to equip with sensors. Typically, sensors are placed on all ground-level doors and windows, as well as any entry points that are easily accessible.
2. Clean the installation area: Thoroughly clean the designated areas where the sensors will be mounted. Remove any dirt, dust, or debris to ensure a proper adhesive bond.
3. Separate the sensor components: Door and window sensors consist of two parts – a sensor and a magnet. The sensor is installed on the stationary portion (doorframe or window frame), while the magnet is installed on the moving part (door or window).
4. Mount the sensor: Peel off the backing of the adhesive strip on the sensor and firmly press it onto the designated area on the frame. Make sure it is aligned and level. Hold it in place for a few seconds to ensure proper adhesion.
5. Mount the magnet: Peel off the backing of the adhesive strip on the magnet and carefully align it with the sensor. Ensure that the magnet is positioned within the appropriate range of the sensor. Press the magnet firmly against the moving part of the door or window.
6. Test the sensor placement: Close the door or window to test the alignment and functionality of the installed sensor. The sensor should detect when the magnet moves away from its proximity. Open and close the door or window a few times to ensure that the sensor triggers the alarm consistently.
7. Repeat for other doors and windows: Repeat the same installation process for all the other doors and windows you wish to equip with sensors. Ensure consistent placement and test the functionality of each sensor after installation.
8. Connect the sensors to the control panel: Depending on the type of system you have, you may need to connect the door and window sensors to the control panel. Follow the manufacturer’s instructions to establish the proper connections and ensure that the sensors are communicating with the control panel.
By installing door and window sensors, you enhance the security of your home by detecting any unauthorized entry. Ensure that the sensors are securely mounted, properly aligned, and functioning correctly before proceeding to the next steps of the installation process.
Step 7: Placing Motion Detectors
Motion detectors are an integral part of a burglar alarm system as they detect motion within an area and trigger an alarm if unauthorized movement is detected. Follow these steps to properly place motion detectors:
1. Identify strategic locations: Determine the areas in your home where motion detectors will provide the best coverage. Common areas include hallways, entryways, and large open spaces that act as thoroughfares.
2. Consider placement height and angle: Install motion detectors at an optimal height and angle for maximum coverage. Aim for a mounting height of around 6 to 7 feet above the floor, and ensure that the detector is angled downward to capture movement at ground level.
3. Avoid sources of interference: Place motion detectors away from potential sources of interference, such as heat vents, direct sunlight, or appliances that emit strong electromagnetic fields. These can trigger false alarms or impact the effectiveness of the detectors.
4. Mount the motion detector: Use a drill and appropriate screws or adhesive to mount the motion detector to the wall or ceiling. Ensure that it is securely fastened and that the mounting bracket is level.
5. Adjust the detector settings: Most motion detectors come with adjustable sensitivity and range settings. Follow the manufacturer’s instructions to set the sensitivity level that best suits your environment. Adjust the detection range to ensure coverage without unnecessary false alarms.
6. Test the detector: Activate the burglar alarm system and walk in front of the motion detector to test its functionality. Ensure that it detects your movement and triggers the alarm as intended. Make any necessary adjustments to the placement or settings if needed.
7. Repeat for additional motion detectors: If you have multiple motion detectors, repeat the installation process for each one. Consider the coverage overlap between motion detectors to ensure comprehensive monitoring of your home.
8. Connect the motion detectors to the control panel: Depending on your system, you may need to connect the motion detectors to the control panel. Follow the manufacturer’s instructions to establish the proper connections and ensure that the detectors are communicating with the control panel.
By strategically placing motion detectors, you enhance the overall security of your home by detecting any movement or unauthorized activity. Ensure that the detectors are properly mounted, adjusted, and functioning correctly before proceeding to the next steps of the installation process.
Step 8: Connecting the Alarm Components
Connecting the alarm components is a crucial step in the installation of a burglar alarm system. This ensures that all the sensors, detectors, and control panel are properly linked and can communicate with each other. Follow these steps to connect the alarm components:
1. Refer to the manufacturer’s instructions: Each burglar alarm system may have specific instructions for connecting the components. Consult the manufacturer’s instructions or user manual to understand the wiring diagrams and connection methods for your particular system.
2. Locate the wiring terminals: Identify the wiring terminals on each component. These terminals may be labeled or color-coded for easier identification. Common wiring terminals include power, ground, alarm output, and communication terminals.
3. Connect the power supply: Start by connecting the power supply to the alarm control panel. Most systems utilize a plug-in power adapter, while wired systems may require connecting to a power source via a low-voltage transformer. Follow the instructions to ensure proper voltage and polarity.
4. Connect the communication wires: If your burglar alarm system has wired components, connect the communication wires from each sensor and detector to the corresponding terminals on the control panel. Strip the wires, connect them securely, and ensure there are no loose or exposed wires.
5. Connect the alarm output wires: Some systems may have an alarm output terminal on the control panel for connecting external devices, such as sirens or strobe lights. Follow the instructions to connect the appropriate wires to these terminals, ensuring proper polarity and insulation.
6. Test the connections: After connecting all the components, perform a thorough test to ensure that each sensor, detector, and the control panel is communicating correctly. Activate the system and verify that the control panel receives signals from the sensors and triggers the appropriate response.
7. Secure and organize the wiring: Once all connections have been tested and confirmed, secure any loose wiring using clips or cable ties. Organize the wires and ensure they are not in the path of foot traffic or potential hazards. Conceal the wires behind walls or use wire mold covers for a neater appearance.
8. Document and label the connections: It’s important to document and label the connections, especially if you have a complex system or plan to expand it in the future. Use labels or a wiring diagram to ensure easy identification and troubleshooting of the connections if needed.
By properly connecting the alarm components, you ensure that your burglar alarm system functions as intended, providing effective and reliable security for your home. Take the time to carefully follow the manufacturer’s instructions and perform thorough testing to ensure seamless communication between the components.
Read more: What Is Local Burglar Alarm?
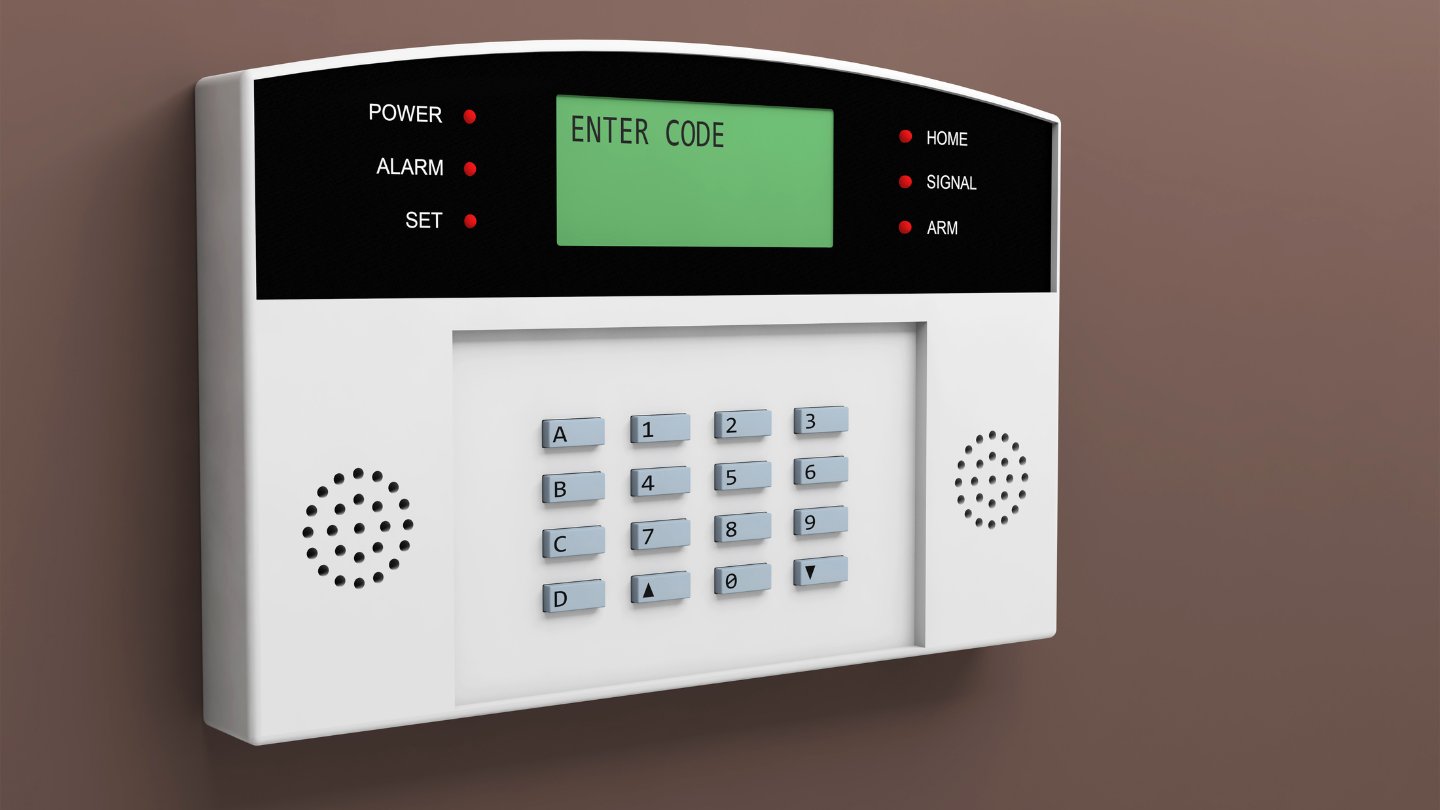
Step 9: Testing the System
Testing your burglar alarm system is a crucial step to ensure that all components are functioning correctly and providing the desired level of security for your home. Follow these steps to test the system:
1. Arm the system: Begin by arming your burglar alarm system using the control panel or the designated keypad. Ensure that all sensors, detectors, and components are armed and ready to detect any anomalies.
2. Trigger the sensors: Proceed to test each component individually by triggering the sensors. Open and close doors and windows equipped with sensors, walk in front of motion detectors, and simulate potential alarm triggers. This will help you verify that each sensor is properly detecting and communicating with the control panel.
3. Monitor the alarm response: As you trigger each sensor, monitor the response of the alarm system. Check if the control panel displays the appropriate zones or areas being triggered. Verify if the alarm siren or other output devices are activated. Ensure that you receive alerts, either through the control panel, a smartphone app, or any designated monitoring service (if applicable).
4. Test the alarm duration: Pay attention to the duration of the alarm after a sensor is triggered. Confirm that the alarm remains active for the desired period and automatically resets after the specified time. This ensures that the system is not prone to false alarms or potential malfunctions.
5. Check communication with monitoring service (if applicable): If you have a professional monitoring service, ensure that the alarm signals are successfully transmitted to the monitoring center. This will allow them to receive the signals and take appropriate action, such as notifying emergency services if necessary.
6. Inspect sensor integrity: After testing the system, thoroughly inspect all the sensors and detectors for any signs of damage or malfunction. Ensure that they are securely mounted, the battery levels are adequate (if applicable), and there are no loose connections or wiring issues.
7. Address any issues or discrepancies: If you encounter any issues or discrepancies during the testing process, refer to the manufacturer’s instructions or seek professional assistance. Troubleshoot any technical problems, adjust settings, or replace faulty components as needed.
8. Repeat testing periodically: Even after successfully testing the system, it’s important to periodically repeat the testing process to ensure ongoing functionality. Regular testing helps to identify and address any issues that may arise over time and maintain the integrity and effectiveness of the burglar alarm system.
By thoroughly testing your burglar alarm system, you can have confidence that it is reliable, functional, and capable of providing the desired security for your home. Regularly perform testing to ensure ongoing performance and make any necessary adjustments or repairs as needed.
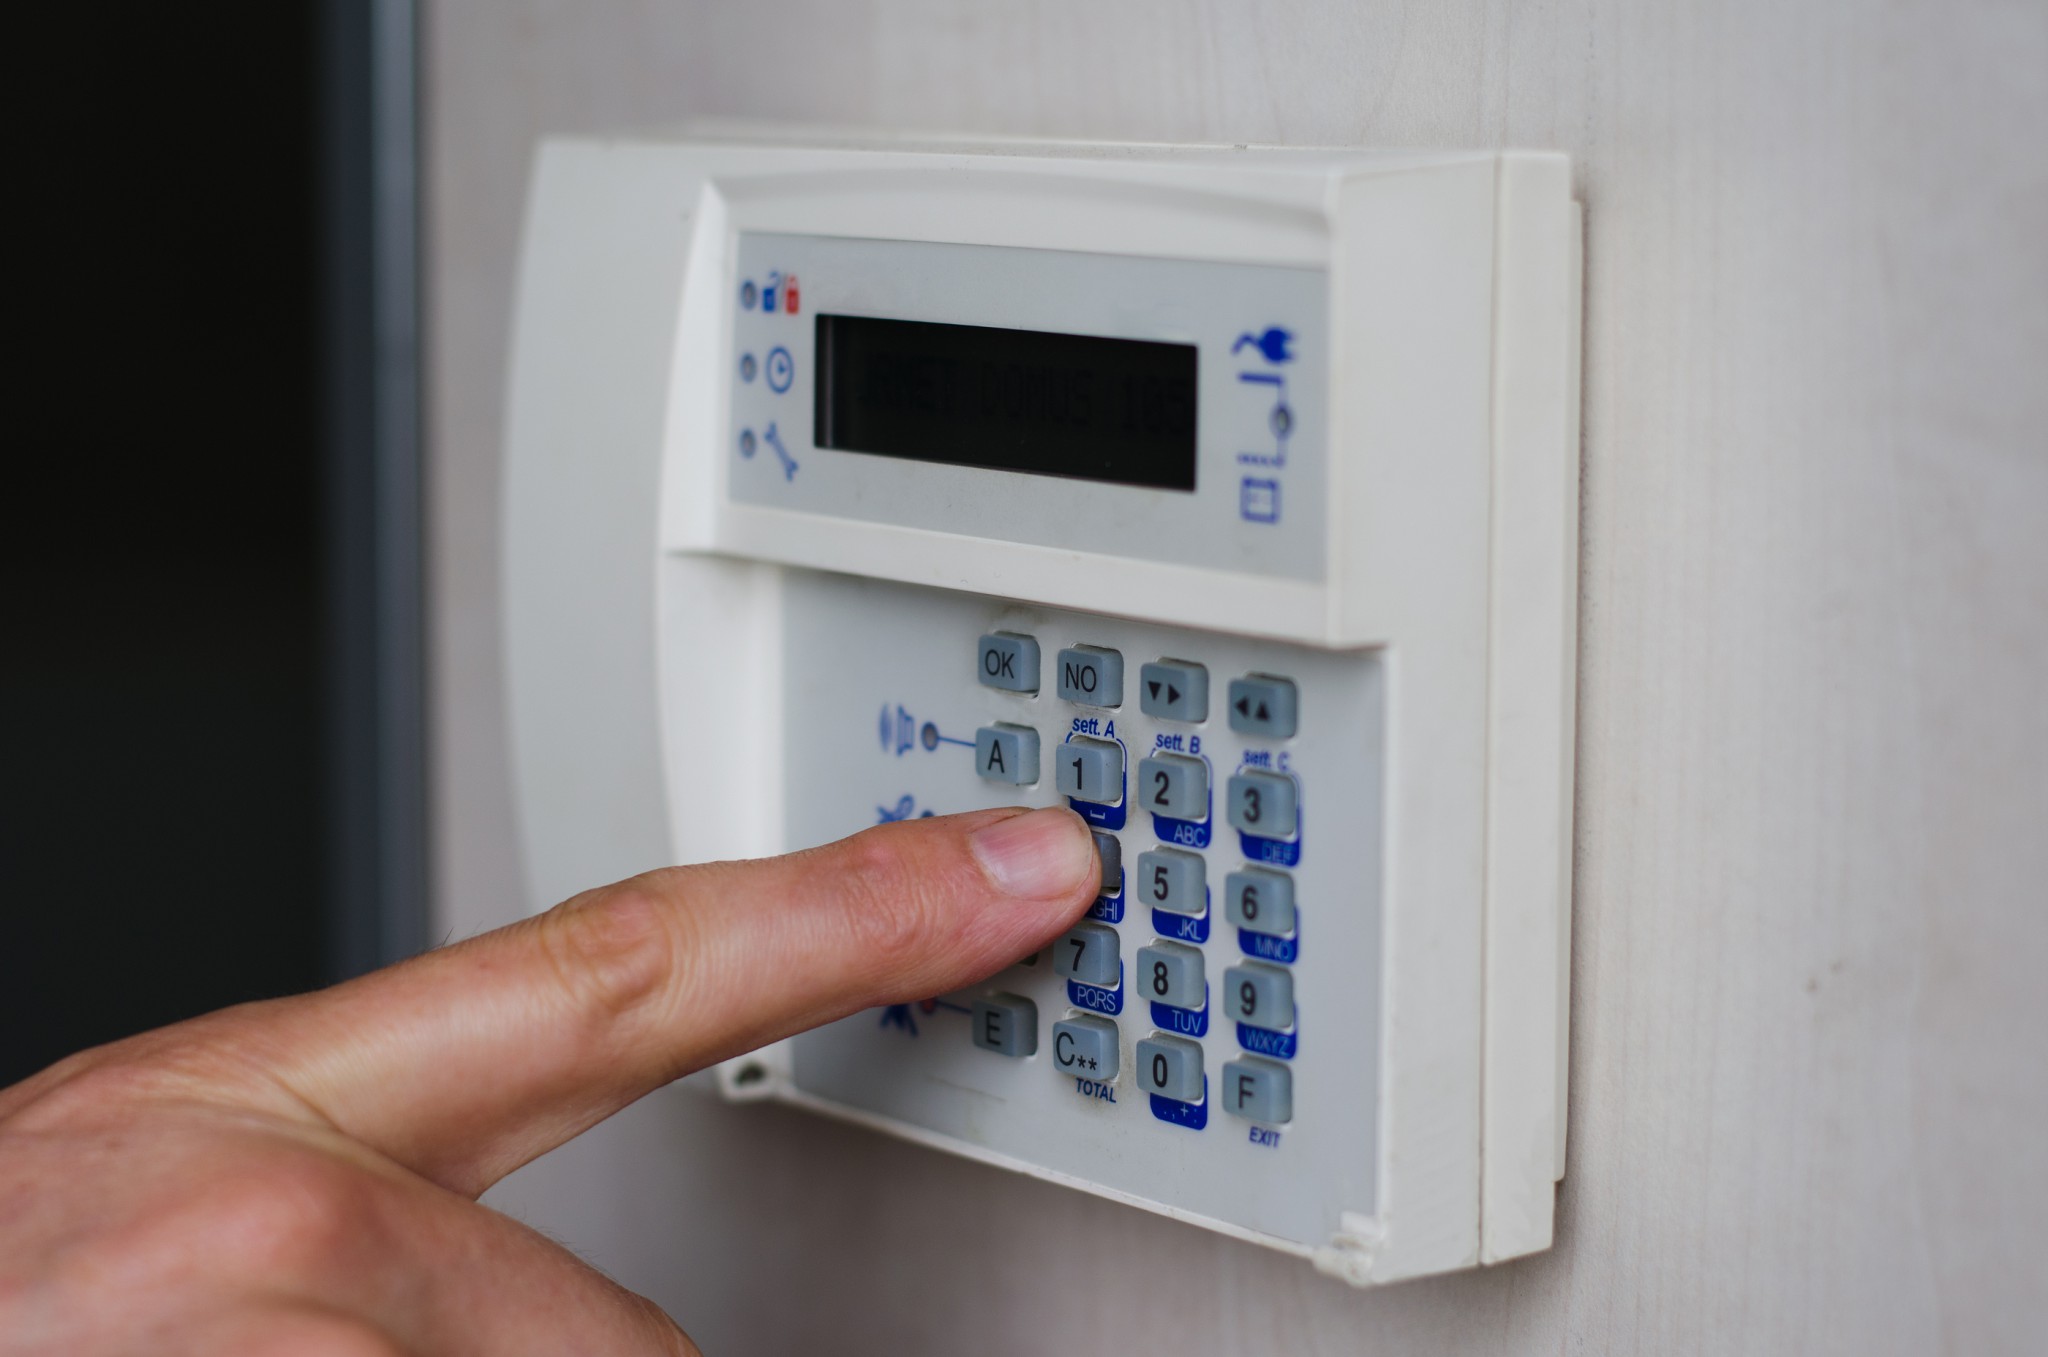
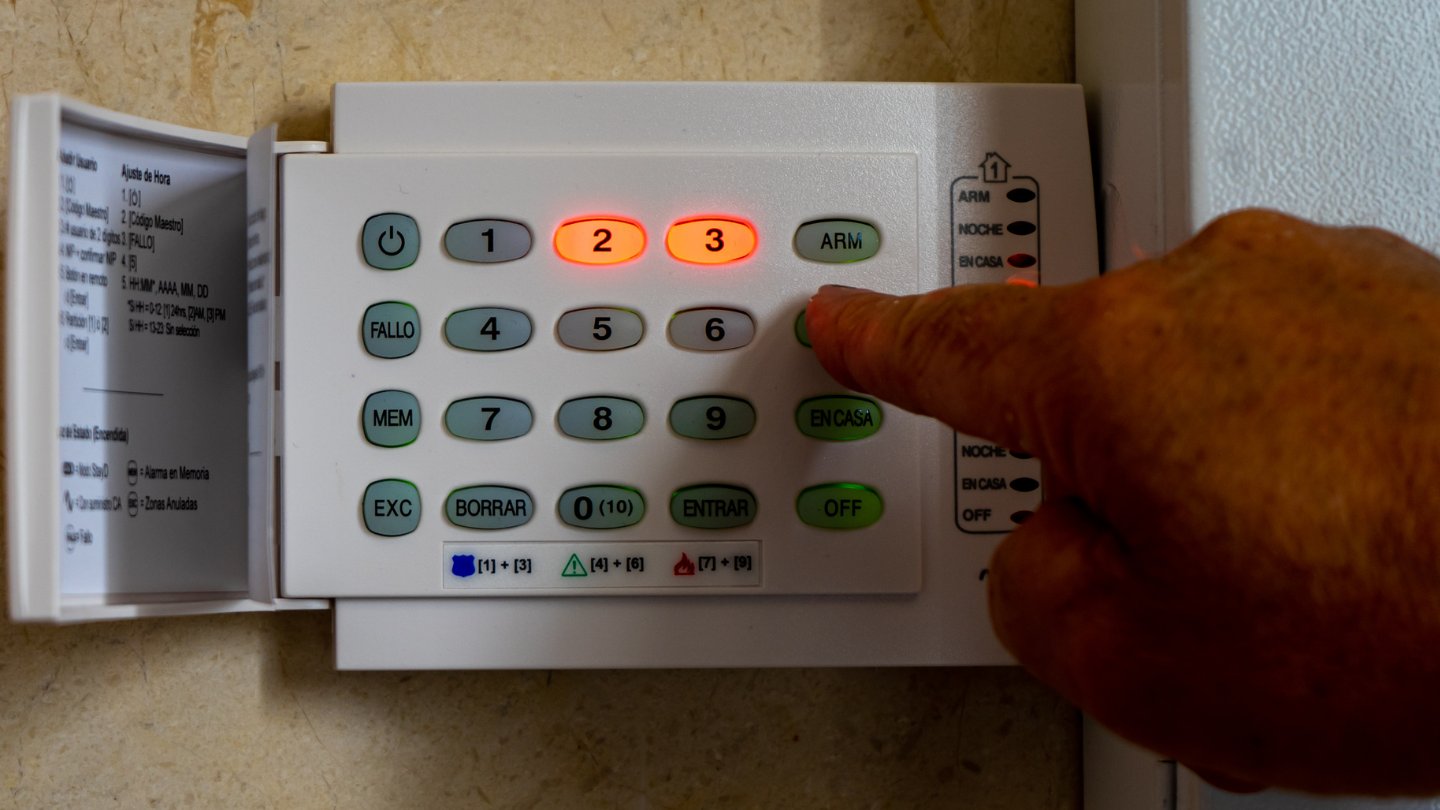
Step 10: Activating and Monitoring the Burglar Alarm System
Activating and monitoring your burglar alarm system is the final step in the installation process. It ensures that your home is protected and provides peace of mind. Follow these steps to activate and monitor your burglar alarm system:
1. Set your system to the desired mode: Depending on your lifestyle and security needs, choose the appropriate mode for your system. Most systems offer options such as “Away Mode” for when you are not at home, “Stay Mode” for when you are inside but want perimeter protection, and “Disarmed Mode” for when you want the system deactivated. Select the mode that suits your specific requirements.
2. Arm your system: Arm your burglar alarm system by activating the chosen mode. Use the control panel or keypad to enable the system, ensuring that all sensors, detectors, and components are armed and ready to detect any unauthorized activity.
3. Test the monitoring service (if applicable): If you have subscribed to a professional monitoring service, contact the service provider to test the communication and response. Inform them that you are conducting a test and ensure that they receive the signals from your alarm system. This will help verify their ability to monitor and respond in case of an actual alarm event.
4. Configure system notifications: Take advantage of any available system notifications to stay informed about the status of your burglar alarm system. This may include instant alerts or notifications sent to your smartphone or email whenever the alarm is triggered, logs of system events, or low battery notifications. Configure these notifications to best suit your preferences and needs.
5. Regularly maintain and update the system: To ensure the continued functionality and reliability of your burglar alarm system, perform regular maintenance checks. This includes checking the battery levels of sensors and detectors, cleaning components, and updating the system software if applicable. Maintain a record of any maintenance tasks or issues encountered.
6. Educate family members or end-users: Ensure that all family members or end-users in your home understand how to use the burglar alarm system. Educate them on basic operation, arming and disarming the system, and what to do in the event of an alarm activation. This will help everyone be prepared and capable of properly utilizing the system for enhanced security.
7. Adapt and evolve with changing needs: Your security requirements may change over time, so periodically reassess your system’s effectiveness and consider any necessary upgrades or additions. Stay informed about advancements in burglar alarm technology and make adjustments as needed to maintain the highest possible level of security for your home.
By activating and monitoring your burglar alarm system, you create a secure environment and deter potential intruders. Make sure to regularly maintain and update the system, educate household members, and adapt to changing needs. Doing so will help ensure the ongoing effectiveness and peace of mind that comes with having a reliable burglar alarm system.
Conclusion
Installing a burglar alarm system is a significant step towards enhancing the security and protection of your home. With the right system in place, you can deter potential intruders and gain peace of mind knowing that your loved ones and belongings are safeguarded.
Throughout this guide, we’ve provided a comprehensive overview of the installation process, walking you through each step from assessing your security needs to activating and monitoring the system. By following these steps and considering factors such as your lifestyle, property layout, and budget, you can choose and install a burglar alarm system that meets your specific requirements.
Remember, it’s essential to regularly test and maintain your burglar alarm system to ensure its ongoing functionality. Perform periodic checks of the components, check battery levels, and consult the manufacturer’s instructions for any necessary updates. By staying proactive, you can keep your system in optimal condition to provide reliable protection for years to come.
Additionally, consider staying informed about advancements in home security technology. As the field evolves, new features and innovations may become available that can further enhance your system’s effectiveness. Being adaptable and open to improvements ensures that your security measures remain up-to-date and aligned with the latest industry standards.
Lastly, remember that your burglar alarm system does not replace other important security measures such as strong locks, adequate lighting, and good neighborhood watch practices. A comprehensive security strategy combines multiple layers of protection to create a secure environment for your home.
We hope this guide has provided valuable insights into installing a burglar alarm system. By taking the time and effort to properly install and maintain your system, you are taking a proactive step towards protecting what matters most. Stay vigilant, stay informed, and enjoy the peace of mind that a well-designed and effectively installed burglar alarm system brings.
Frequently Asked Questions about How To Install A Burglar Alarm System
Was this page helpful?
At Storables.com, we guarantee accurate and reliable information. Our content, validated by Expert Board Contributors, is crafted following stringent Editorial Policies. We're committed to providing you with well-researched, expert-backed insights for all your informational needs.