Home>Home Security and Surveillance>How To Change A Burglar Alarm Battery
Home Security and Surveillance
How To Change A Burglar Alarm Battery
Modified: October 20, 2024
Learn how to change a burglar alarm battery with our step-by-step guide. Ensure your home security and surveillance remains intact with this simple DIY task.
(Many of the links in this article redirect to a specific reviewed product. Your purchase of these products through affiliate links helps to generate commission for Storables.com, at no extra cost. Learn more)
Introduction
Welcome to our comprehensive guide on how to change a burglar alarm battery. One of the most important aspects of home security is ensuring that your alarm system is functioning properly. A properly functioning alarm system relies on a reliable power source, usually a battery, to ensure uninterrupted operation.
Over time, the battery in your alarm system may start to weaken and eventually need to be replaced. This can happen due to a variety of factors, including age, frequent power outages, or battery drainage. In order to maintain the effectiveness of your burglar alarm system, it is crucial to replace the battery when necessary.
In this step-by-step guide, we will walk you through the process of changing a burglar alarm battery. Whether you are a seasoned DIY enthusiast or a beginner, this article will provide you with the knowledge and confidence to successfully replace the battery and keep your home security system running smoothly.
Before we dive into the steps, it is important to note that different alarm systems may have slight variations in their battery replacement process. It is always recommended to consult your alarm system’s user manual for specific instructions pertaining to your particular model. With that being said, let’s get started on changing the burglar alarm battery!
Key Takeaways:
- Changing a burglar alarm battery is essential for maintaining home security. Gather tools, locate the panel, disconnect power, replace the battery, and test the new one to ensure a reliable alarm system.
- Properly maintaining and replacing the burglar alarm battery is crucial for protecting your home and loved ones. Follow the step-by-step guide and consult the user manual for specific instructions.
Read more: How To Change A Burglar Alarm Code
Step 1: Gathering the necessary tools
Before you begin the process of changing your burglar alarm battery, it’s important to gather all the necessary tools. Having everything ready will streamline the process and prevent any unnecessary delays.
Here are the tools you will need:
- Flathead screwdriver or Allen wrench (depending on the alarm system)
- New battery compatible with your alarm system
- Gloves (optional, but recommended for safety)
A flathead screwdriver or an Allen wrench, depending on the type of screws used to secure the alarm panel, will be needed to open the panel and access the battery compartment. Make sure you have the right tool on hand before you begin.
When it comes to purchasing a new battery, it is important to ensure compatibility with your alarm system. Consult your alarm system’s user manual or contact the manufacturer to determine the appropriate battery model. It is always a good idea to have the new battery ready before you start the replacement process.
Lastly, wearing gloves during the battery replacement process is optional but recommended. Gloves can protect your hands from any debris or sharp edges within the alarm panel.
Once you have gathered all the necessary tools, you are ready to proceed to the next step in changing your burglar alarm battery.
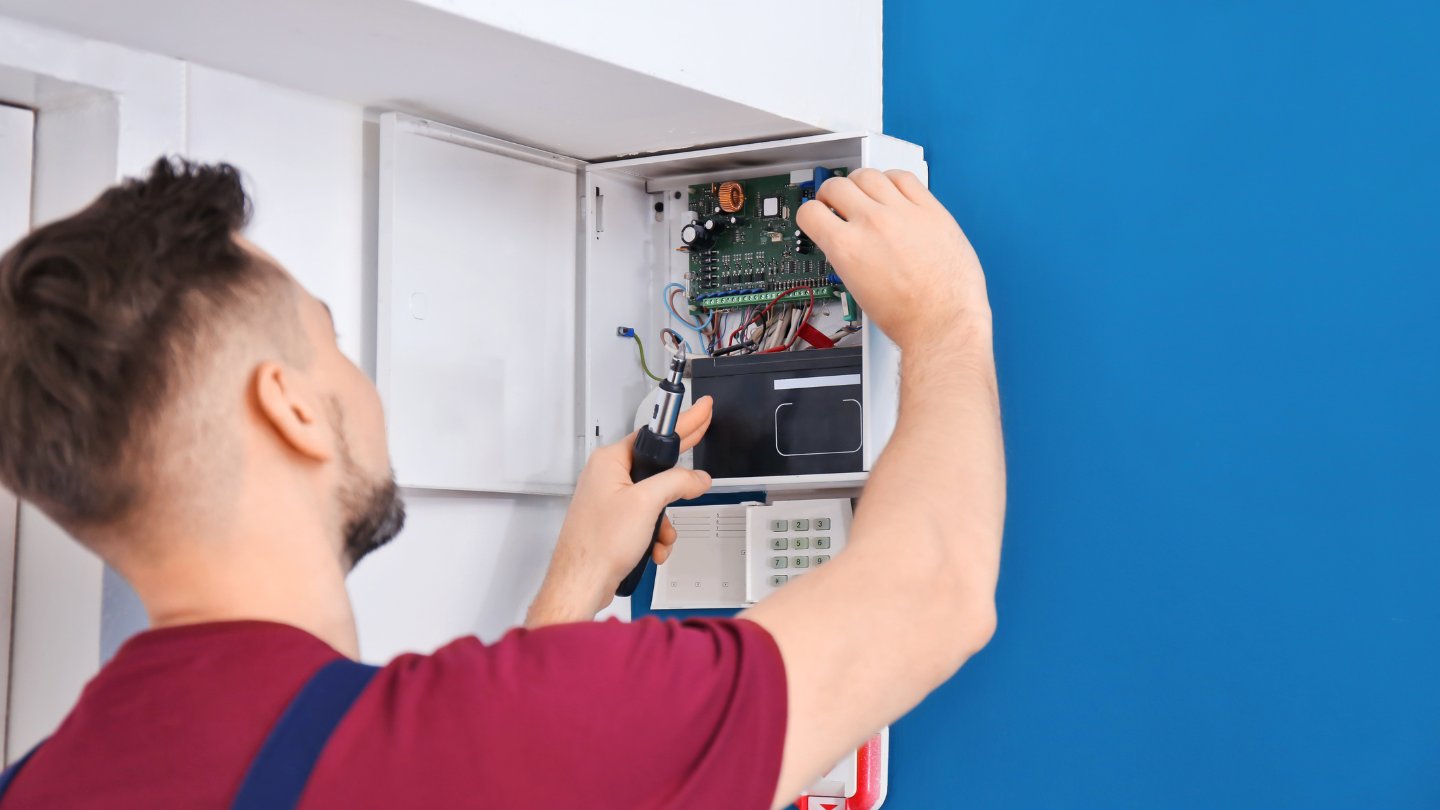
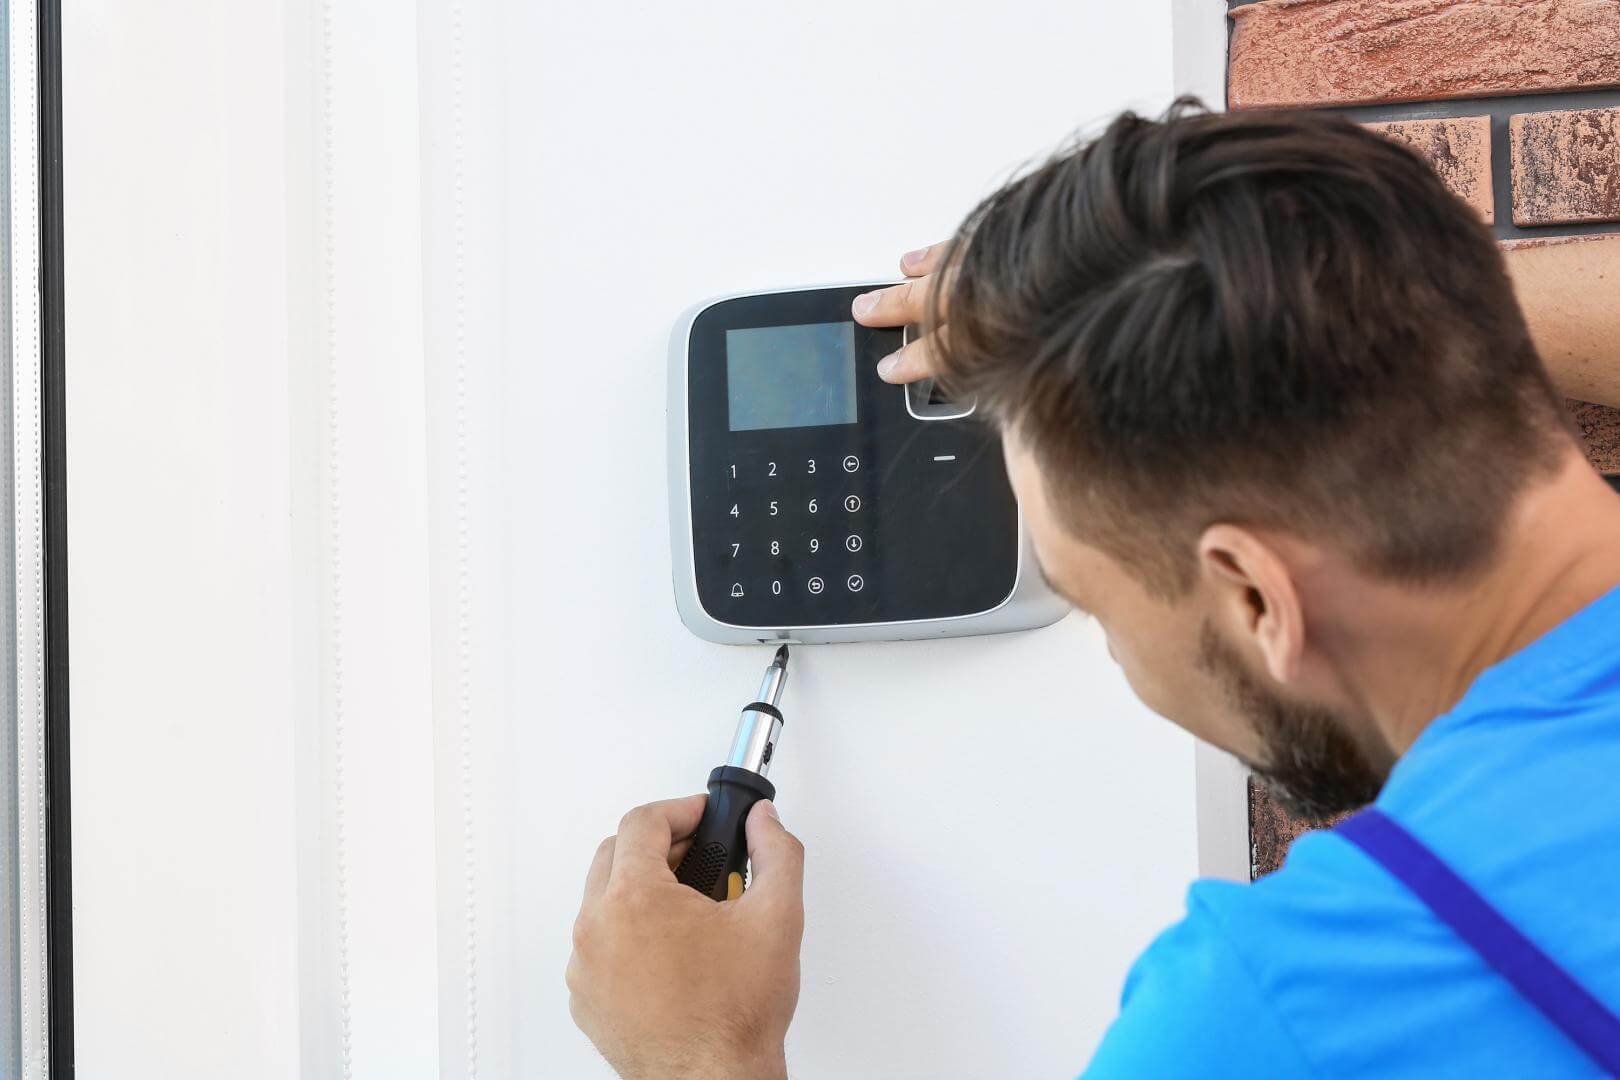
Step 2: Locating the alarm panel
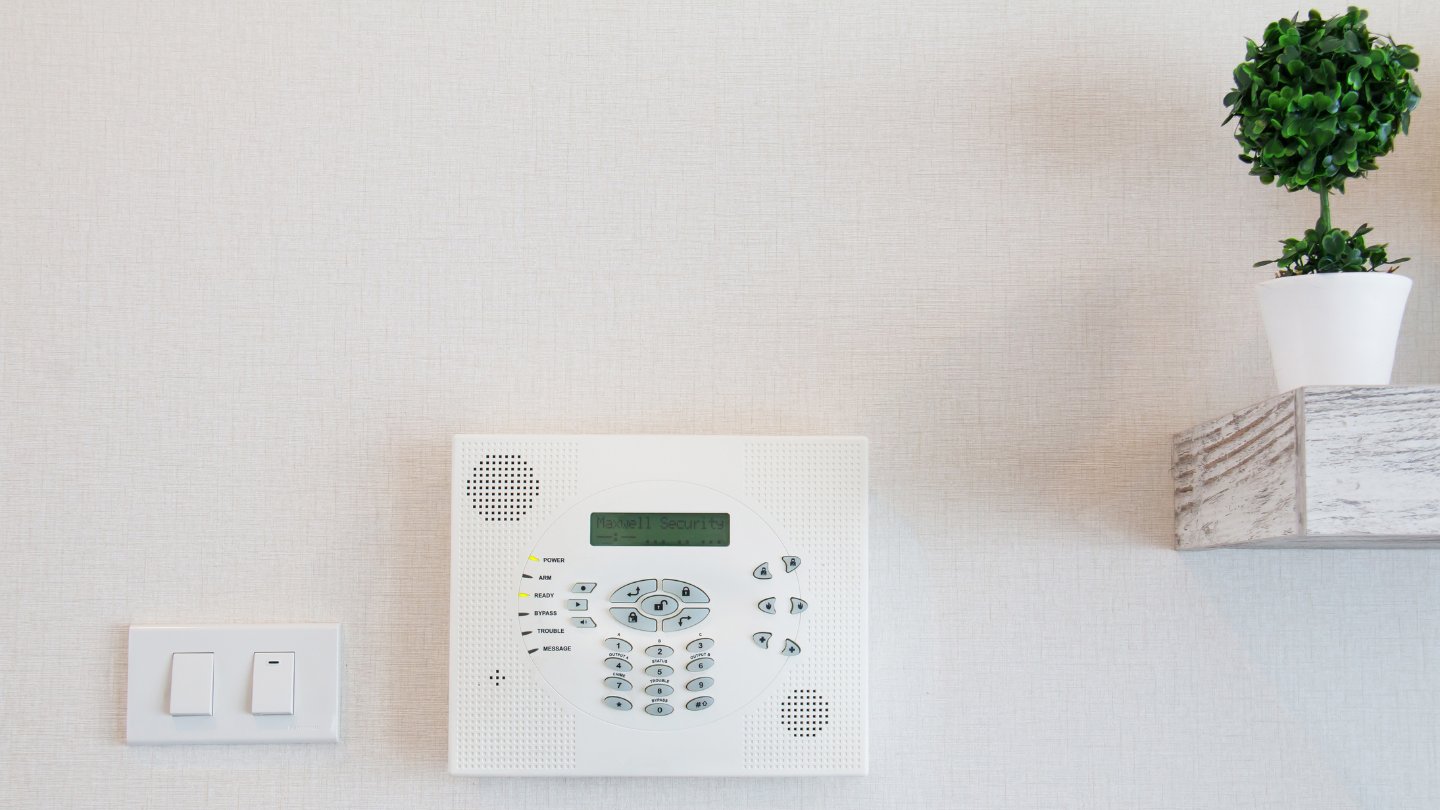
In order to change the burglar alarm battery, you need to locate the alarm panel. The alarm panel is typically the central control unit of your home security system. It houses the circuitry and controls that connect to the various sensors and detectors around your house.
The location of the alarm panel can vary depending on the design and layout of your home. Here are a few common places where you may find the alarm panel:
- Entrance hallway: Many homes have the alarm panel installed near the main entrance or hallway for easy access.
- Basement: Some homes have the alarm panel installed in the basement or utility room.
- Garage: If you have a separate garage, the alarm panel might be installed there for convenience.
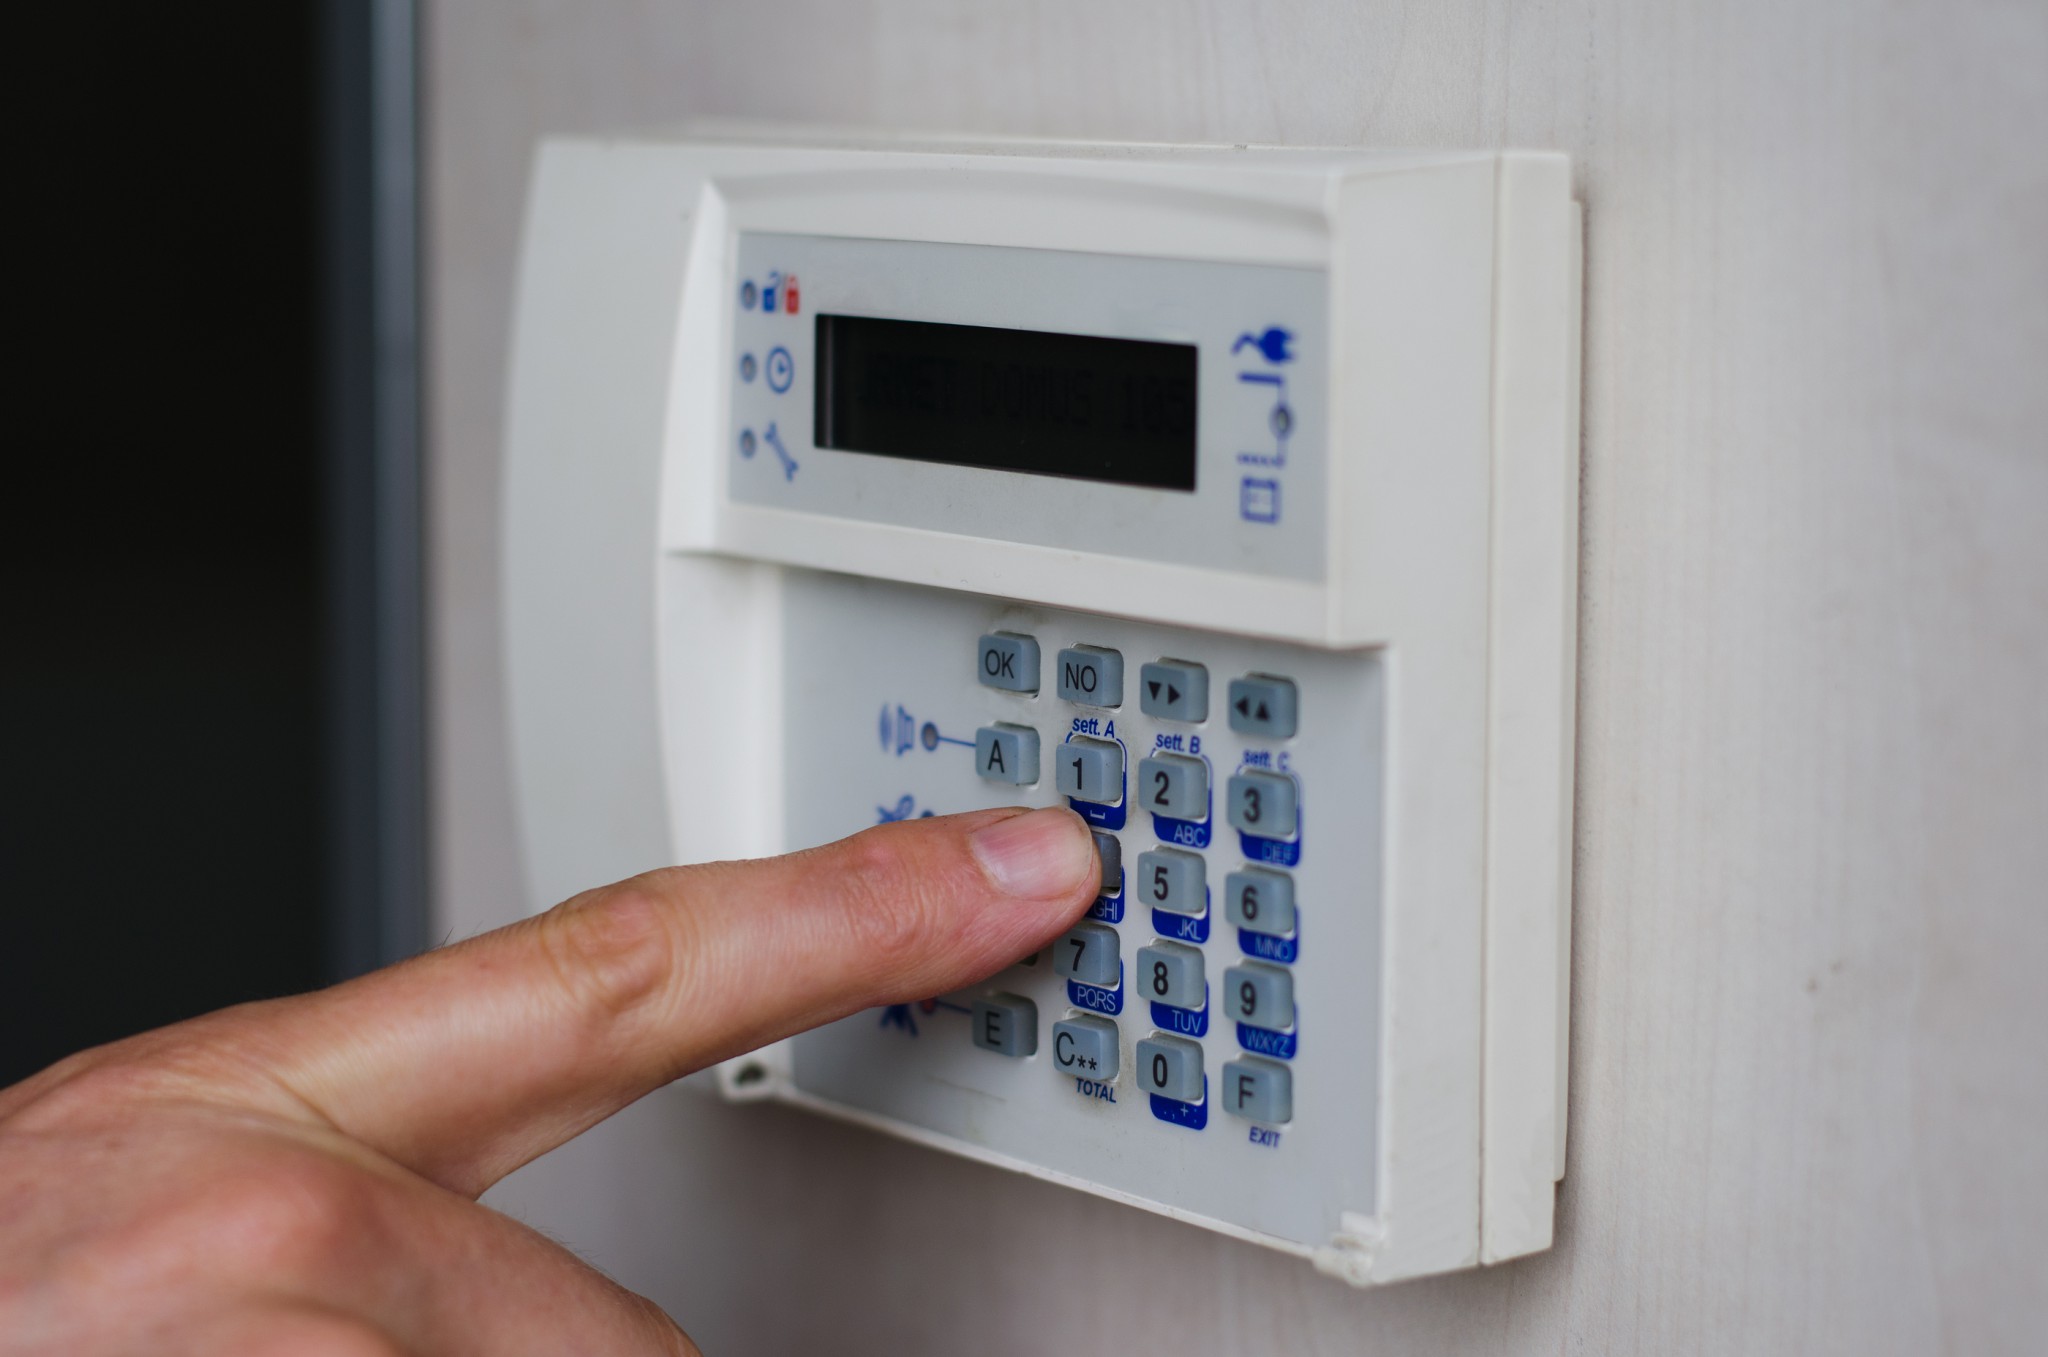
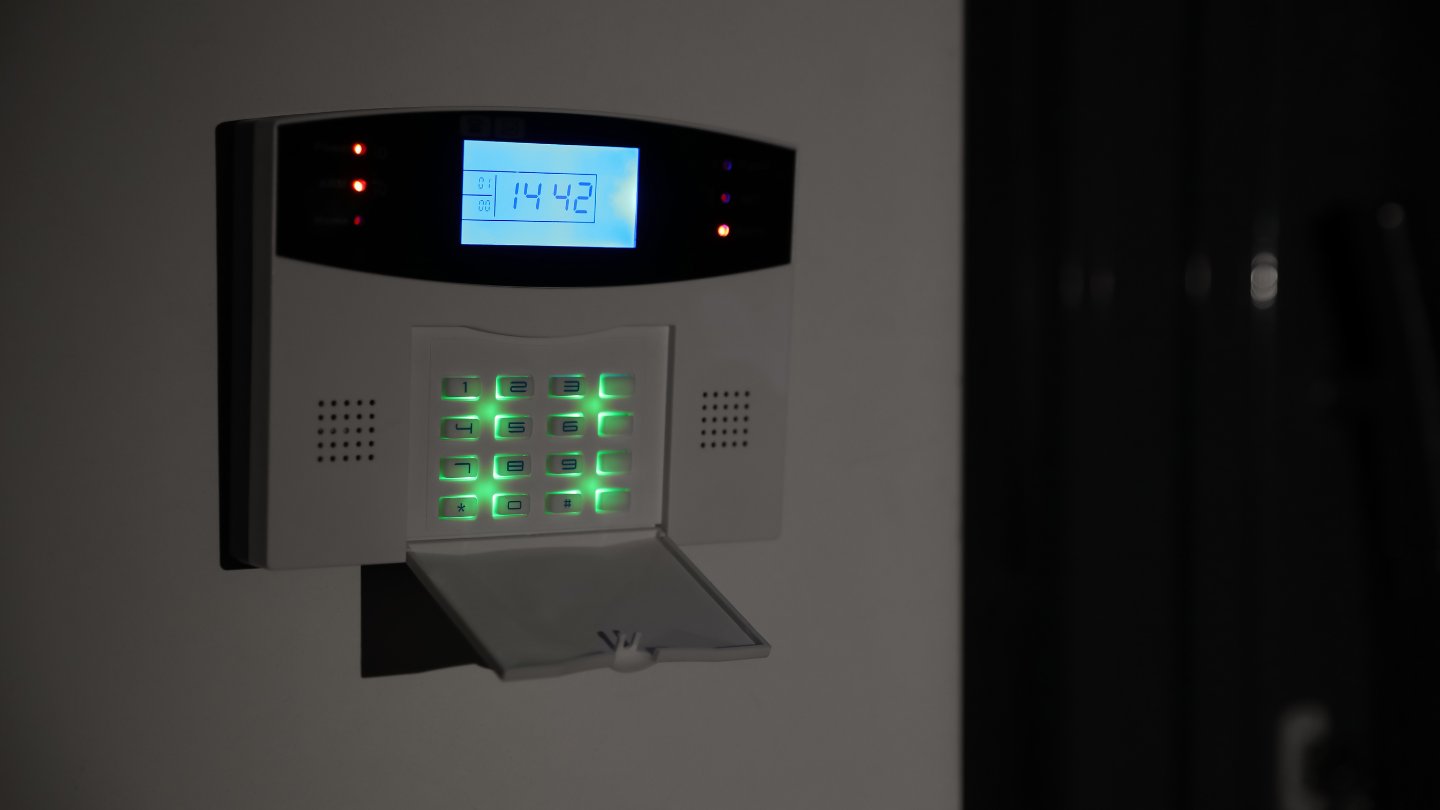
Once you have a general idea of where the alarm panel is located, visually inspect the area. Look for any conspicuous boxes or panels mounted on the wall. The alarm panel is usually a rectangular or square box with a keypad or display on the front.
If you are having trouble locating the alarm panel, refer to your alarm system’s user manual for specific instructions or contact the manufacturer for assistance.
Once you have successfully located the alarm panel, you are ready to move on to the next step of the battery replacement process.
Step 3: Disconnecting the power supply
Before you can safely replace the burglar alarm battery, it is crucial to disconnect the power supply to the alarm panel. This ensures your safety and prevents any damage to the system during the battery replacement process.
Here’s how you can disconnect the power supply:
- Locate the main power switch or circuit breaker that controls the power supply to the alarm panel. This switch is usually labeled and located near the alarm panel or in the electrical control panel of your home.
- Switch off the main power switch by either flipping it to the “Off” position or turning off the circuit breaker connecting to the alarm panel.
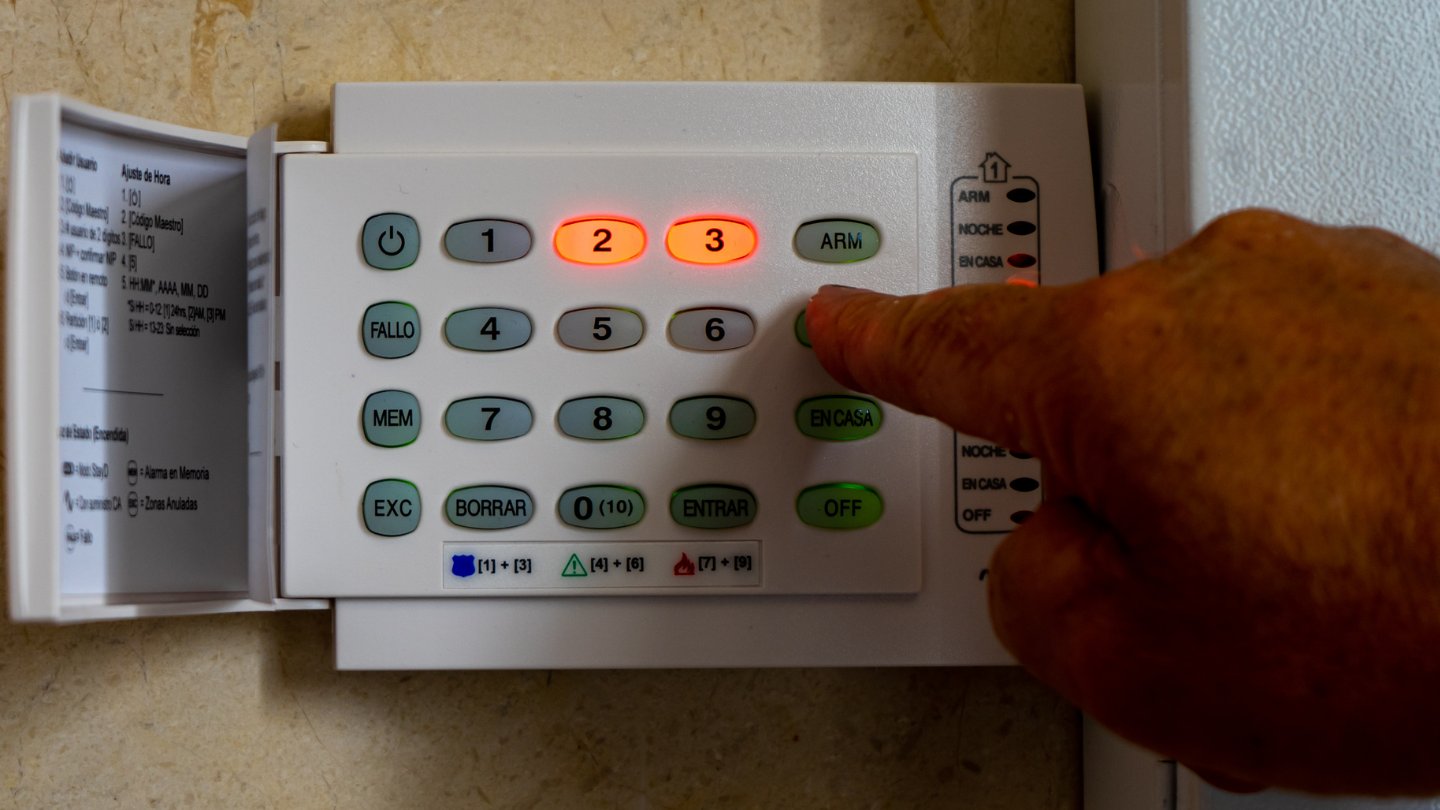
- Once the power supply is disconnected, test the alarm panel by arming and disarming the system using the keypad or remote control. This step ensures that the power is completely shut off and that the panel is not receiving any electricity.
It is important to note that disconnecting the power supply will temporarily disable the alarm system, preventing it from functioning during the battery replacement process. This is a normal part of the procedure, but it is essential to ensure your safety while working on the alarm panel.
Always exercise caution when dealing with electrical components and follow any specific instructions provided by the alarm system manufacturer. If you are unsure about disconnecting the power supply, it is recommended to consult a professional or contact the manufacturer for guidance.
Once the power supply is safely disconnected, you can proceed to the next step and open the alarm panel to access the battery compartment.
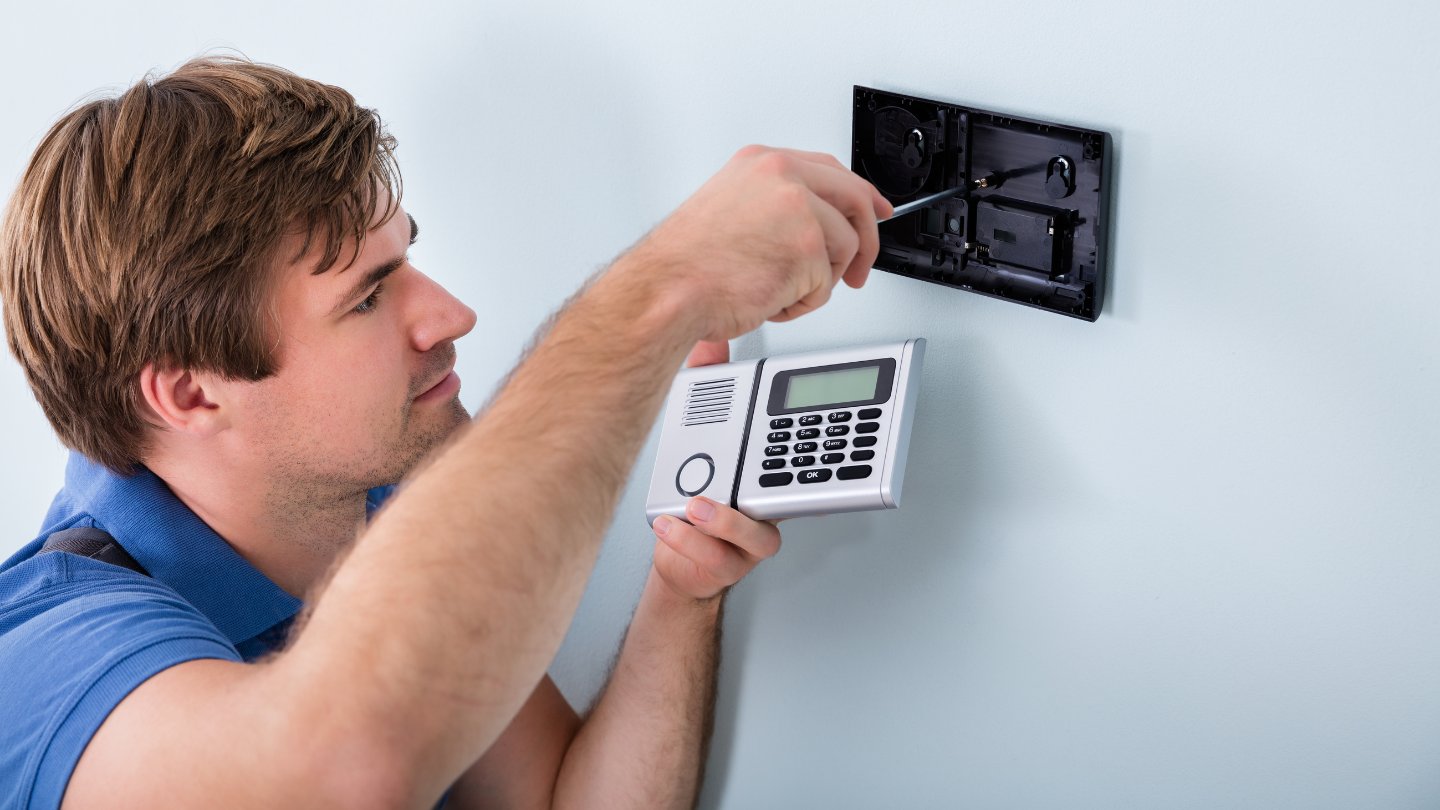
Step 4: Opening the alarm panel
With the power supply safely disconnected, you can now proceed to open the alarm panel to access the battery compartment. Opening the panel may require a screwdriver or an Allen wrench, depending on the type of screws used to secure it.
Follow these steps to open the alarm panel:
- Identify the screws or fasteners securing the alarm panel. These are usually located on the sides or corners of the panel.
- Using the appropriate tool, carefully loosen and remove the screws or fasteners. Place them in a safe location to avoid losing them.
- Gently pull or slide off the alarm panel cover. Be cautious not to force it or damage any wires connected to the panel.
Once the panel cover is removed, you will have access to the internal components, including the battery compartment. Take a moment to inspect the interior of the panel for any signs of dust, debris, or loose connections. If you notice any issues, now is a good time to address them by cleaning or securing the necessary components.
Remember, the alarm panel may have multiple layers or compartments, so be careful when removing the cover to avoid damaging any sensitive components. If you encounter any difficulties or are unsure about proceeding, consult your alarm system’s user manual or contact the manufacturer for guidance.
With the alarm panel open, you are now ready to proceed to the next step and identify the old battery that needs to be replaced.
Read more: How Long Does A Burglar Alarm Battery Last
Step 5: Identifying the old battery
Now that you have opened the alarm panel, it’s time to identify the old battery that needs to be replaced. Most burglar alarm systems use rechargeable or non-rechargeable sealed lead-acid batteries.
Here’s how you can identify the old battery:
- Locate the battery compartment within the alarm panel. It is typically a small rectangular or square compartment.
- Take note of the size and shape of the old battery. It is essential to ensure that the replacement battery you purchase matches the specifications of the old one.
- Inspect the battery for any labels or markings that indicate its model number, voltage, and capacity. These details are crucial for selecting the correct replacement battery.
If you are having trouble identifying the old battery or finding any markings, consult your alarm system’s user manual. The manual should provide information on the battery specifications or direct you to the manufacturer’s website for further details.
It’s important to note that some alarm panels may have multiple batteries or additional backup batteries, depending on the complexity of the system. Identify and make a note of all the batteries in the panel, as you may need to replace multiple batteries if necessary.
Once you have successfully identified the old battery, you can proceed to the next step and remove it from the alarm panel.
When changing a burglar alarm battery, make sure to turn off the power to the alarm system before removing the old battery and installing the new one to avoid any electrical hazards.
Step 6: Removing the old battery
With the old battery identified, it’s time to remove it from the alarm panel. Removing the old battery is a crucial step in the battery replacement process.
Follow these steps to remove the old battery:
- Ensure that you are wearing gloves for safety reasons and to protect your hands from any debris or potential electrical hazards.
- Locate the battery within the battery compartment of the alarm panel.
- Check for any battery connectors or terminals attached to the old battery. These may be secured with screws, clips, or cables.
- Using the appropriate tools, carefully detach the connectors or terminals from the old battery. Be cautious not to damage the connectors or surrounding components.
- Once the connectors or terminals are detached, gently lift the old battery out of the compartment.
It’s important to handle the old battery with care, as improper disposal can be harmful to the environment. Follow local regulations and guidelines for the proper disposal or recycling of the old battery.
If the battery is still functioning or has some charge left, it’s a good idea to store it properly as a spare or backup battery in case of emergencies. However, if the old battery is damaged or no longer functional, ensure proper disposal to protect the environment.
With the old battery successfully removed, you can proceed to the next step and insert the new battery into the alarm panel.
Step 7: Inserting the new battery
Now that the old battery has been removed, it’s time to insert the new battery into the alarm panel. Properly inserting the new battery ensures the smooth operation and functionality of your burglar alarm system.
Follow these steps to insert the new battery:
- Ensure that you have the correct replacement battery that matches the specifications of the old battery. Consult your alarm system’s user manual or contact the manufacturer if you are unsure.
- Inspect the battery compartment in the alarm panel to ensure it is clean and free of any debris.
- Gently place the new battery into the compartment, ensuring that it is positioned correctly. Pay attention to the polarity markings (+ and -) on the battery and the compartment to ensure a proper connection.
- Connect the battery’s terminals or connectors to the corresponding terminals in the alarm panel. Secure them firmly but avoid over-tightening.
- Double-check that the battery is securely positioned and properly connected. Ensure that there are no loose wires or connections.
Take a moment to inspect the battery and surrounding components for any signs of damage or wear. If you notice any issues, address them before proceeding.
It is important to note that some alarm systems may require specific steps for battery insertion or additional configurations. Consult your alarm system’s user manual for any specific instructions pertaining to your particular model.
With the new battery successfully inserted and connected, you can proceed to the next step and close the alarm panel.
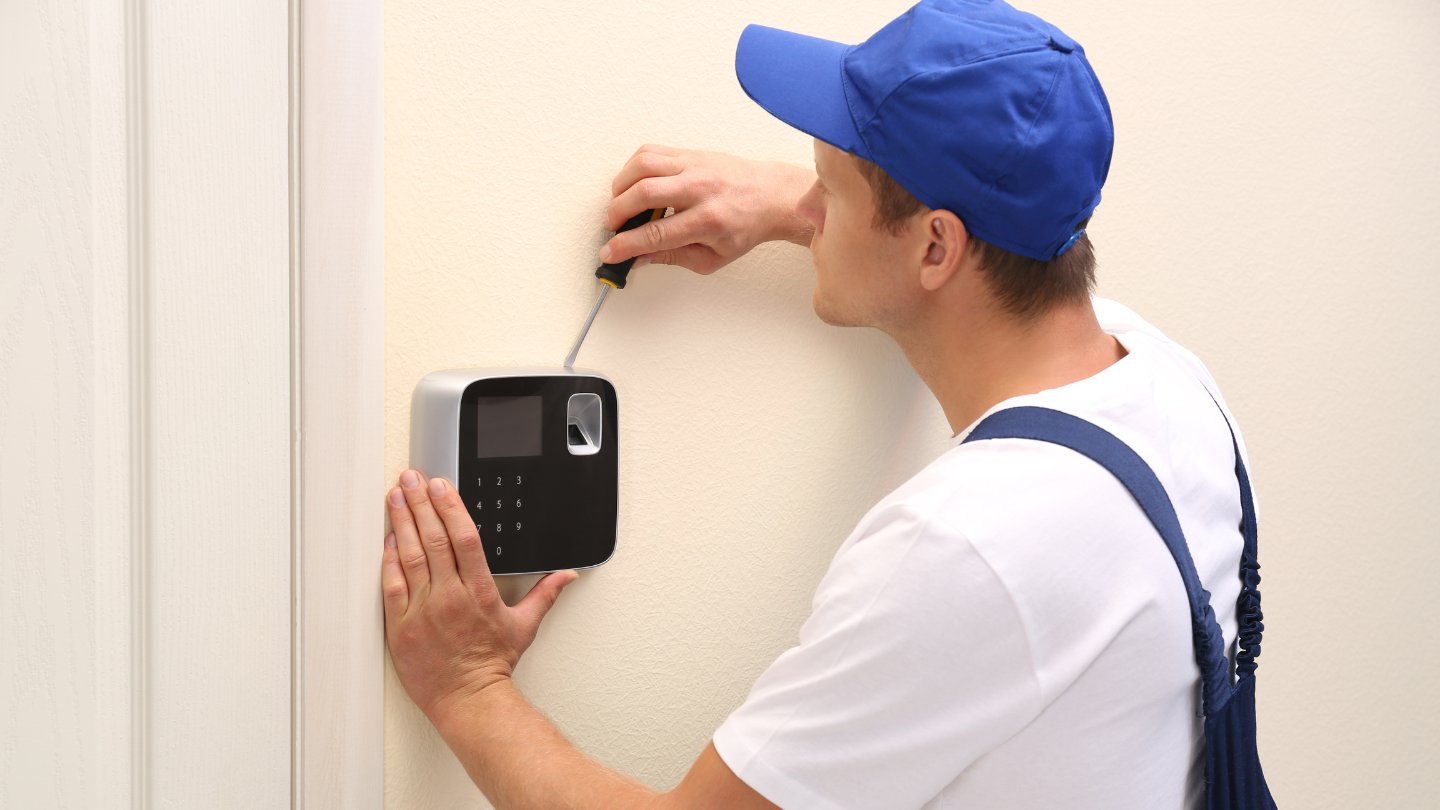
Step 8: Closing the alarm panel
After successfully inserting the new battery into the alarm panel, it’s time to close the panel to secure and protect the internal components. Closing the panel ensures the proper functioning and longevity of your burglar alarm system.
Follow these steps to close the alarm panel:
- Ensure that all connections, wires, and components inside the panel are properly positioned and secure.
- Align the panel cover with the panel itself, making sure that it fits snugly into place.
- Carefully slide or press the panel cover back into position until it is fully closed.
- Use the appropriate screwdriver or Allen wrench to tighten and secure the screws or fasteners that hold the panel cover in place. Ensure that they are tightened evenly and not overtightened.
Double-check that the panel cover is securely closed and tightly fastened. This helps prevent any accidental opening or tampering with the alarm system.
It’s a good practice to give the alarm panel a gentle shake or tap to ensure that everything is secure and properly aligned inside. Listen for any rattling sounds or movements that could indicate loose components or connections.
If you encounter any difficulties while closing the alarm panel or notice any issues with the panel’s fit or alignment, consult your alarm system’s user manual or contact the manufacturer for assistance.
With the alarm panel securely closed, you can proceed to the next step and reconnect the power supply.
Read more: How To Disable A Burglar Alarm
Step 9: Reconnecting the power supply
Now that the alarm panel is closed, it’s time to reconnect the power supply and restore the electricity to the system. Reconnecting the power supply ensures the proper functioning of your burglar alarm system and allows it to resume its protective role.
Follow these steps to reconnect the power supply:
- Locate the main power switch or circuit breaker that controls the power supply to the alarm panel. This switch should be in the “Off” position from when you disconnected it earlier.
- Switch on the main power switch by flipping it to the “On” position or turn on the circuit breaker that connects to the alarm panel.
- Wait for a few moments to allow the alarm system to power up and initialize. The system may display a startup message or indicator lights to indicate that it’s booting up.
- If your alarm system has a backup battery, such as a rechargeable battery or a separate backup power supply, ensure that the backup power is also connected and functioning properly.
Once the power supply is reconnected, monitor the alarm system to ensure that it fully activates and resumes its normal operation. Test the system by arming and disarming it using the keypad or remote control.
It’s important to note that it may take a few moments for the alarm system to fully reset and regain its functionality after reconnecting the power supply. Be patient and give the system some time to complete its startup process.
If you encounter any issues or error messages during the powerup process, consult your alarm system’s user manual or contact the manufacturer for assistance.
With the power supply reconnected, you can proceed to the final step, which involves testing the new battery.
Step 10: Testing the new battery
The final step in the process of changing a burglar alarm battery is to test the new battery to ensure that it is functioning properly. Testing the new battery verifies that it is supplying power to the alarm system and allows you to confirm that the battery replacement was successful.
Here’s how you can test the new battery:
- Arm the alarm system by following the standard procedure using the keypad or remote control.
- Trigger the alarm system to activate. This can be done by opening a protected door or window, or by using the designated alarm test button (if available) on the alarm panel.
- Observe the alarm system’s response. If the system activates as expected, with sirens sounding and any configured alert systems being triggered, it indicates that the new battery is supplying power correctly.
- If the alarm system fails to activate or does not respond as expected, there may be an issue with the battery installation or configuration. Double-check the battery connections and ensure that the correct replacement battery was used.
- If the problem persists, consult your alarm system’s user manual or contact the manufacturer for troubleshooting assistance. They may provide specific steps or advice to diagnose and resolve any issues.
It’s important to periodically test the alarm system even after the battery replacement to ensure that it continues to function properly. Regular testing helps identify any potential issues or malfunctions in the system.
Keep in mind that a brand new battery may take some time to fully charge and reach its optimum performance. Be patient and allow the battery to settle in and stabilize over a few charge and discharge cycles.
Congratulations! You have successfully changed the burglar alarm battery and ensured the continued functionality of your home security system. By following these steps, you can maintain a reliable and effective alarm system for the protection of your home and loved ones.
If you have any further questions or encounter any issues, don’t hesitate to reach out to your alarm system’s manufacturer or a professional in the field for assistance.
Conclusion
Changing a burglar alarm battery is a crucial maintenance task in ensuring the effectiveness and reliability of your home security system. By following the step-by-step guide outlined in this article, you have learned how to safely and successfully replace the battery in your alarm panel.
Throughout the process, you gathered the necessary tools, located the alarm panel, disconnected the power supply, opened the panel, identified and removed the old battery, inserted the new battery, closed the alarm panel, reconnected the power supply, and tested the new battery to confirm its functionality.
By properly maintaining and replacing your burglar alarm battery, you are taking proactive steps to protect your home and loved ones from potential security threats. A functioning battery ensures that your alarm system can continue to monitor and respond to any suspicious activity, providing you with peace of mind.
Remember, consult your alarm system’s user manual for specific instructions and consider reaching out to the manufacturer or a professional for guidance if needed. Each alarm system may have unique requirements or considerations that should be taken into account during the battery replacement process.
Regular testing and monitoring of your alarm system, even after replacing the battery, are essential to ensure ongoing reliability and performance. Stay vigilant and familiarize yourself with your alarm system’s features and functions to optimize its effectiveness.
We hope that this comprehensive guide has empowered you with the knowledge and confidence to change your burglar alarm battery effectively. By prioritizing the maintenance of your home security system, you are taking an important step towards creating a safer and more secure living environment.
Remember, if you have any further questions or encounter any difficulties, don’t hesitate to seek professional assistance. Protecting your home and loved ones is of paramount importance, and maintaining a well-functioning burglar alarm system is an integral part of achieving that goal.
Frequently Asked Questions about How To Change A Burglar Alarm Battery
Was this page helpful?
At Storables.com, we guarantee accurate and reliable information. Our content, validated by Expert Board Contributors, is crafted following stringent Editorial Policies. We're committed to providing you with well-researched, expert-backed insights for all your informational needs.