Home>Home Security and Surveillance>How To Wire A Burglar Alarm Panel
Home Security and Surveillance
How To Wire A Burglar Alarm Panel
Modified: October 20, 2024
Learn how to wire a burglar alarm panel for your home security and surveillance needs. Expert tips and step-by-step instructions for a secure and reliable system.
(Many of the links in this article redirect to a specific reviewed product. Your purchase of these products through affiliate links helps to generate commission for Storables.com, at no extra cost. Learn more)
Introduction
Welcome to the world of home security and surveillance! In today’s fast-paced and ever-changing world, ensuring the safety and security of our homes has become increasingly vital. Fortunately, advancements in technology have made it easier than ever to protect our loved ones and valuable possessions.
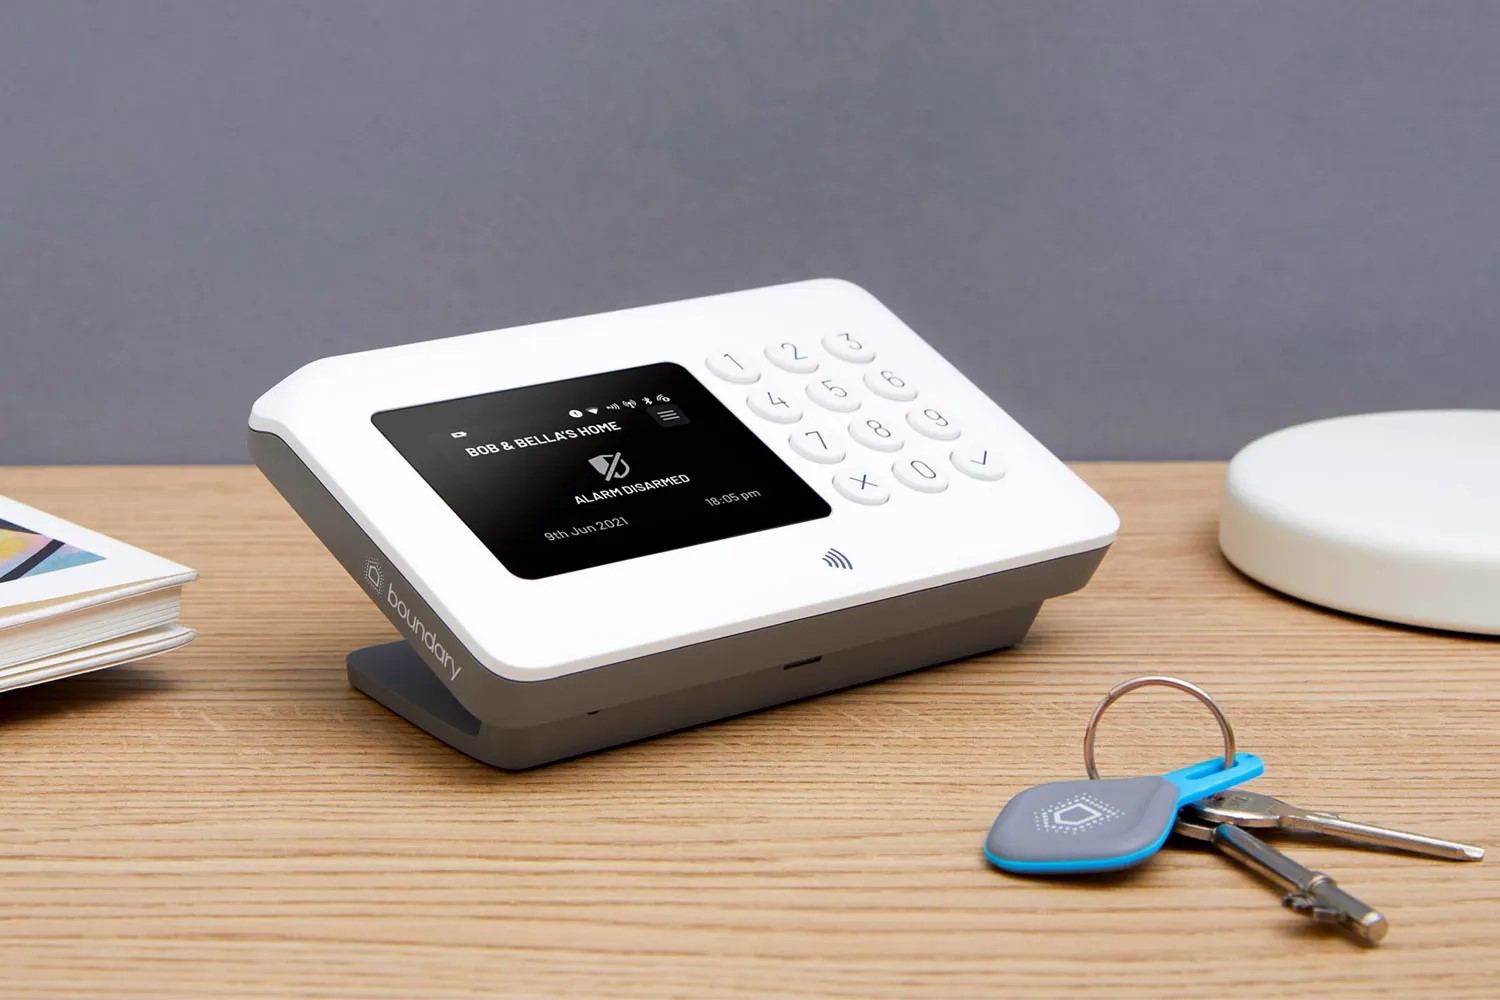
One of the fundamental components of a robust home security system is a burglar alarm panel. This essential device serves as the control center for your security system, allowing you to arm and disarm it, receive notifications, and monitor various sensors and devices.
In this comprehensive guide, we will walk you through the process of wiring a burglar alarm panel step by step. Whether you are a DIY enthusiast looking to install a new security system or simply want to understand how it all works, this article will provide you with the knowledge and guidance you need.
Before we dive into the nitty-gritty of wiring, it’s essential to have a basic understanding of the various components that make up a burglar alarm system. These components work together to ensure the security of your home and act as the building blocks of your overall security setup.
So, grab a notepad and pen and let’s get started!
Key Takeaways:
- Understanding the components, planning the layout, and properly connecting the control panel, sensors, siren, and keypad are crucial steps in wiring a burglar alarm system for home security.
- Thoroughly testing and troubleshooting the system after wiring is essential to ensure its reliability and effectiveness in protecting your home and loved ones. Regular maintenance and testing are key to a secure home.
Read more: How To Disable A Burglar Alarm
Step 1: Understanding the Components
Before you start wiring your burglar alarm panel, it’s crucial to have a clear understanding of the components involved. This will help you determine the wiring layout and ensure that everything is connected properly. Here are the key components you need to familiarize yourself with:
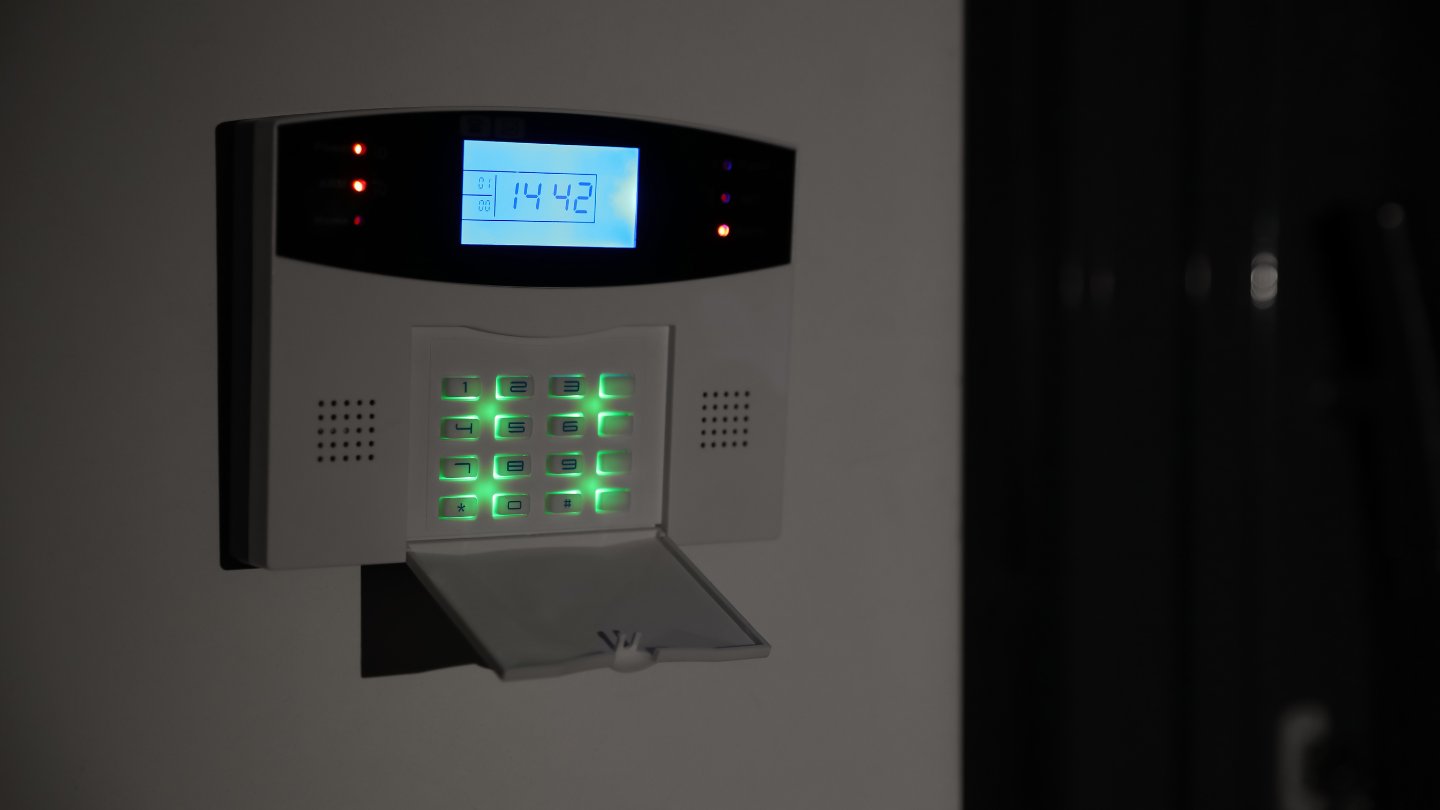
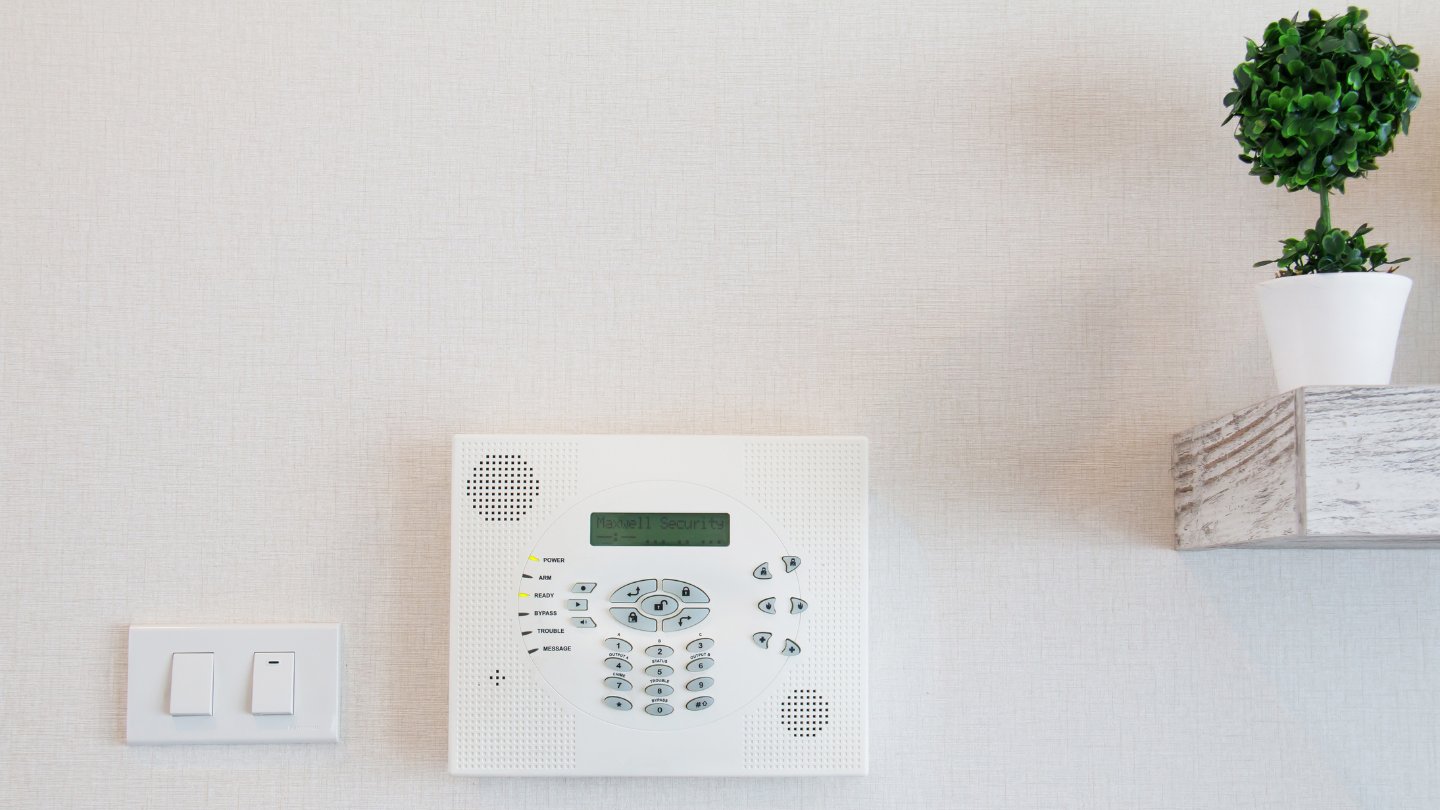
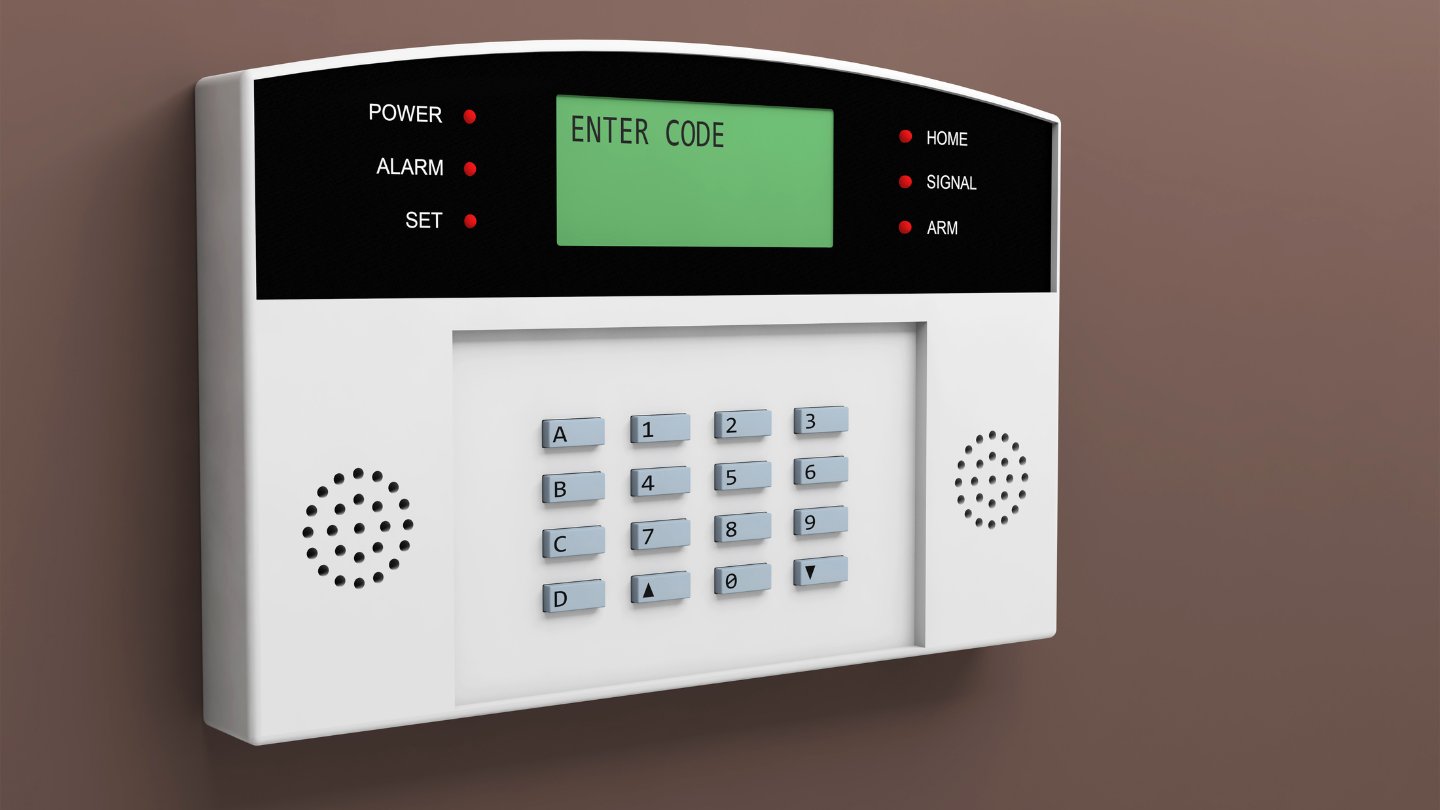
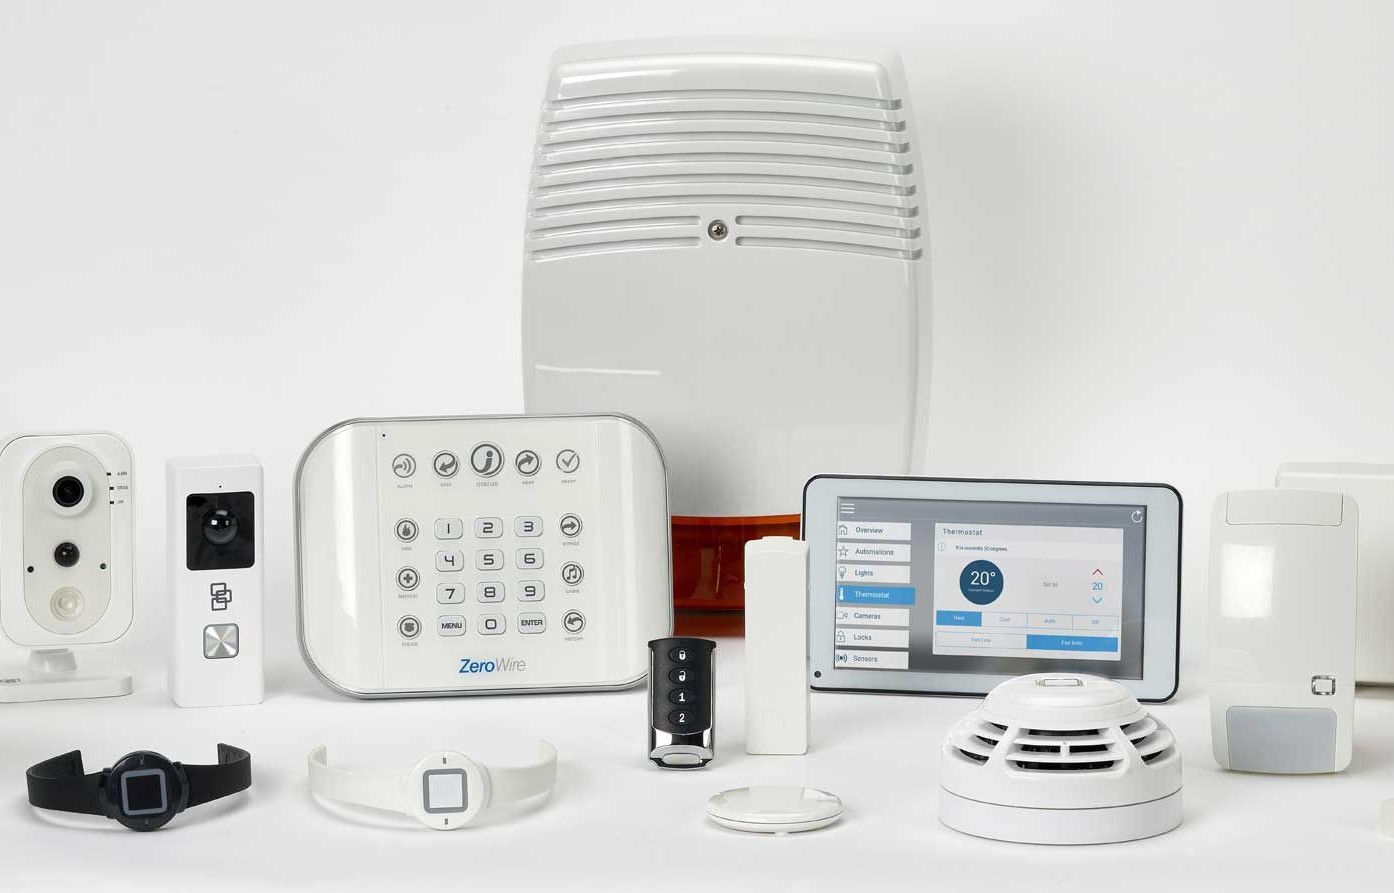
- Control Panel: The control panel is the brain of your security system. It is responsible for arming, disarming, and monitoring your sensors and devices. It typically features a keypad for entering codes and displaying system status.
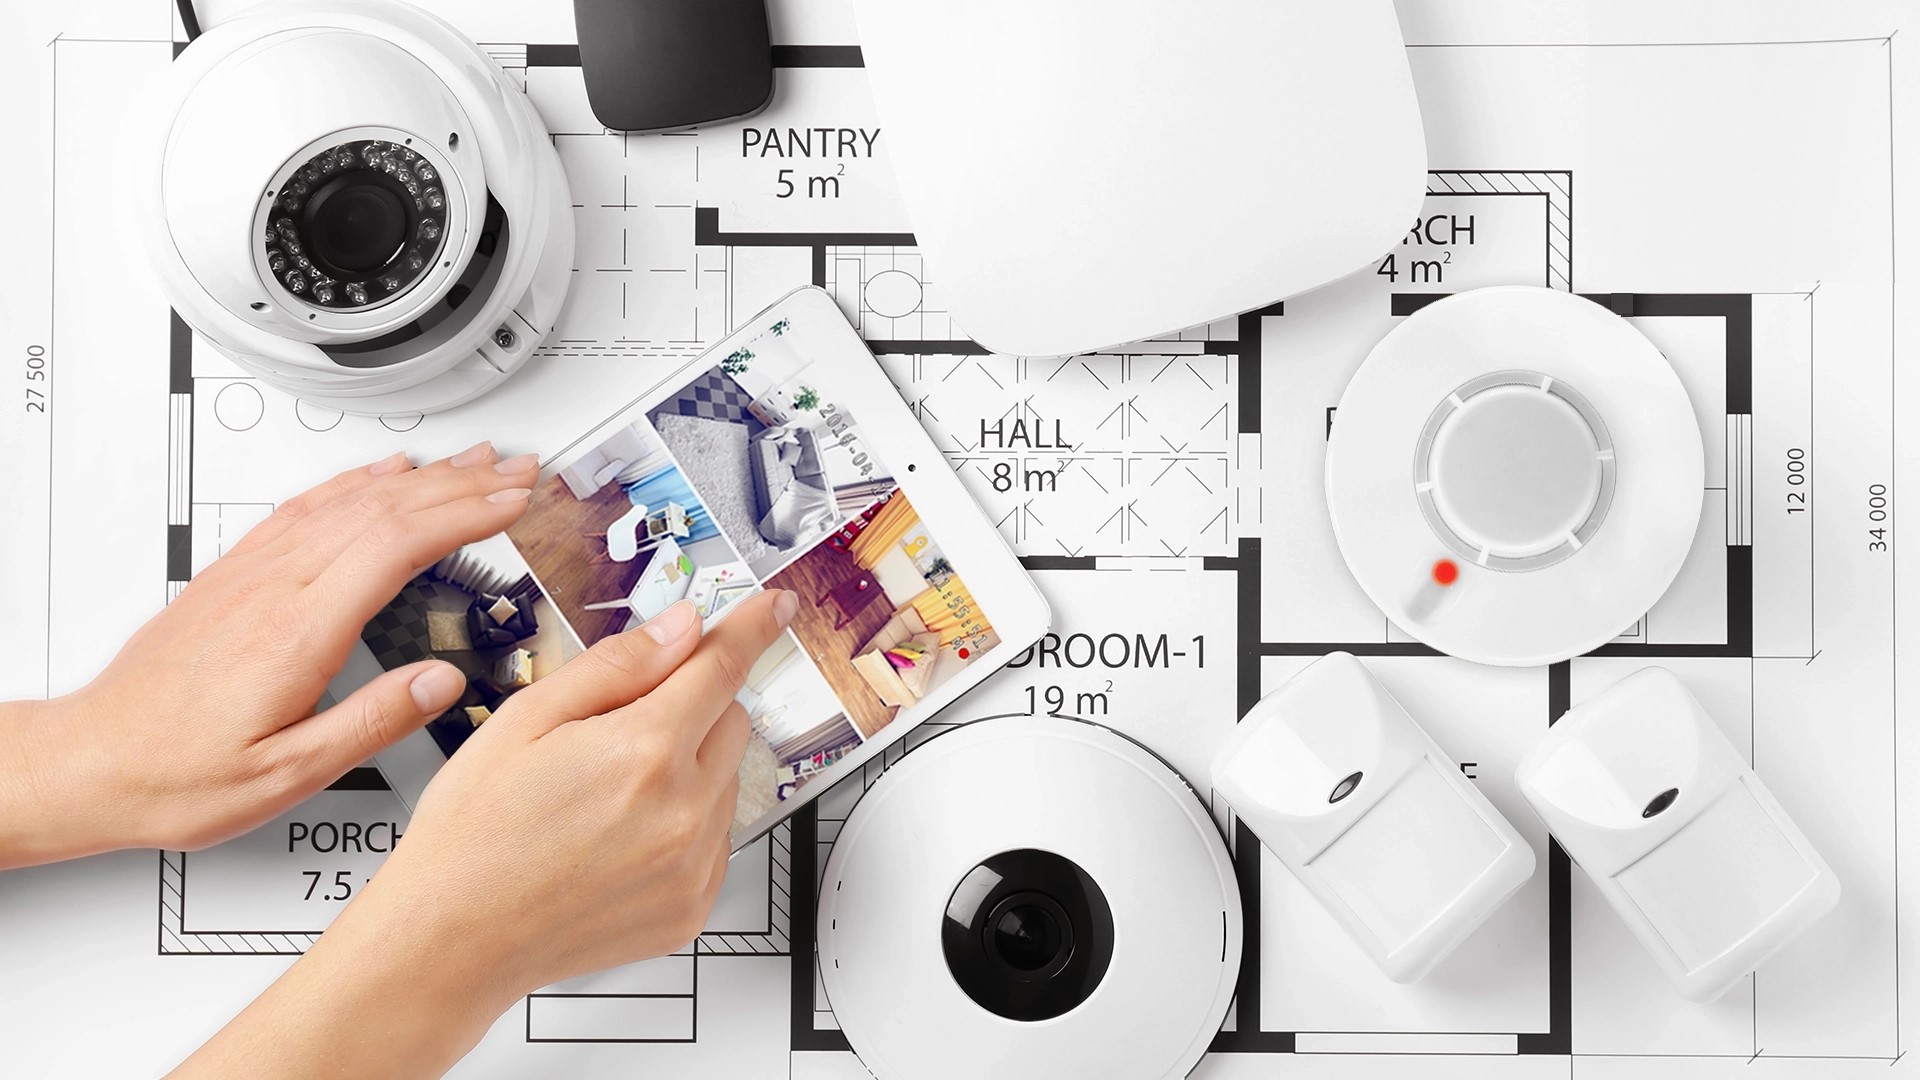
- Sensors: Sensors are devices placed strategically around your home to detect any unauthorized entry or movement. Common types of sensors include door/window sensors, motion sensors, glass break sensors, and smoke detectors.
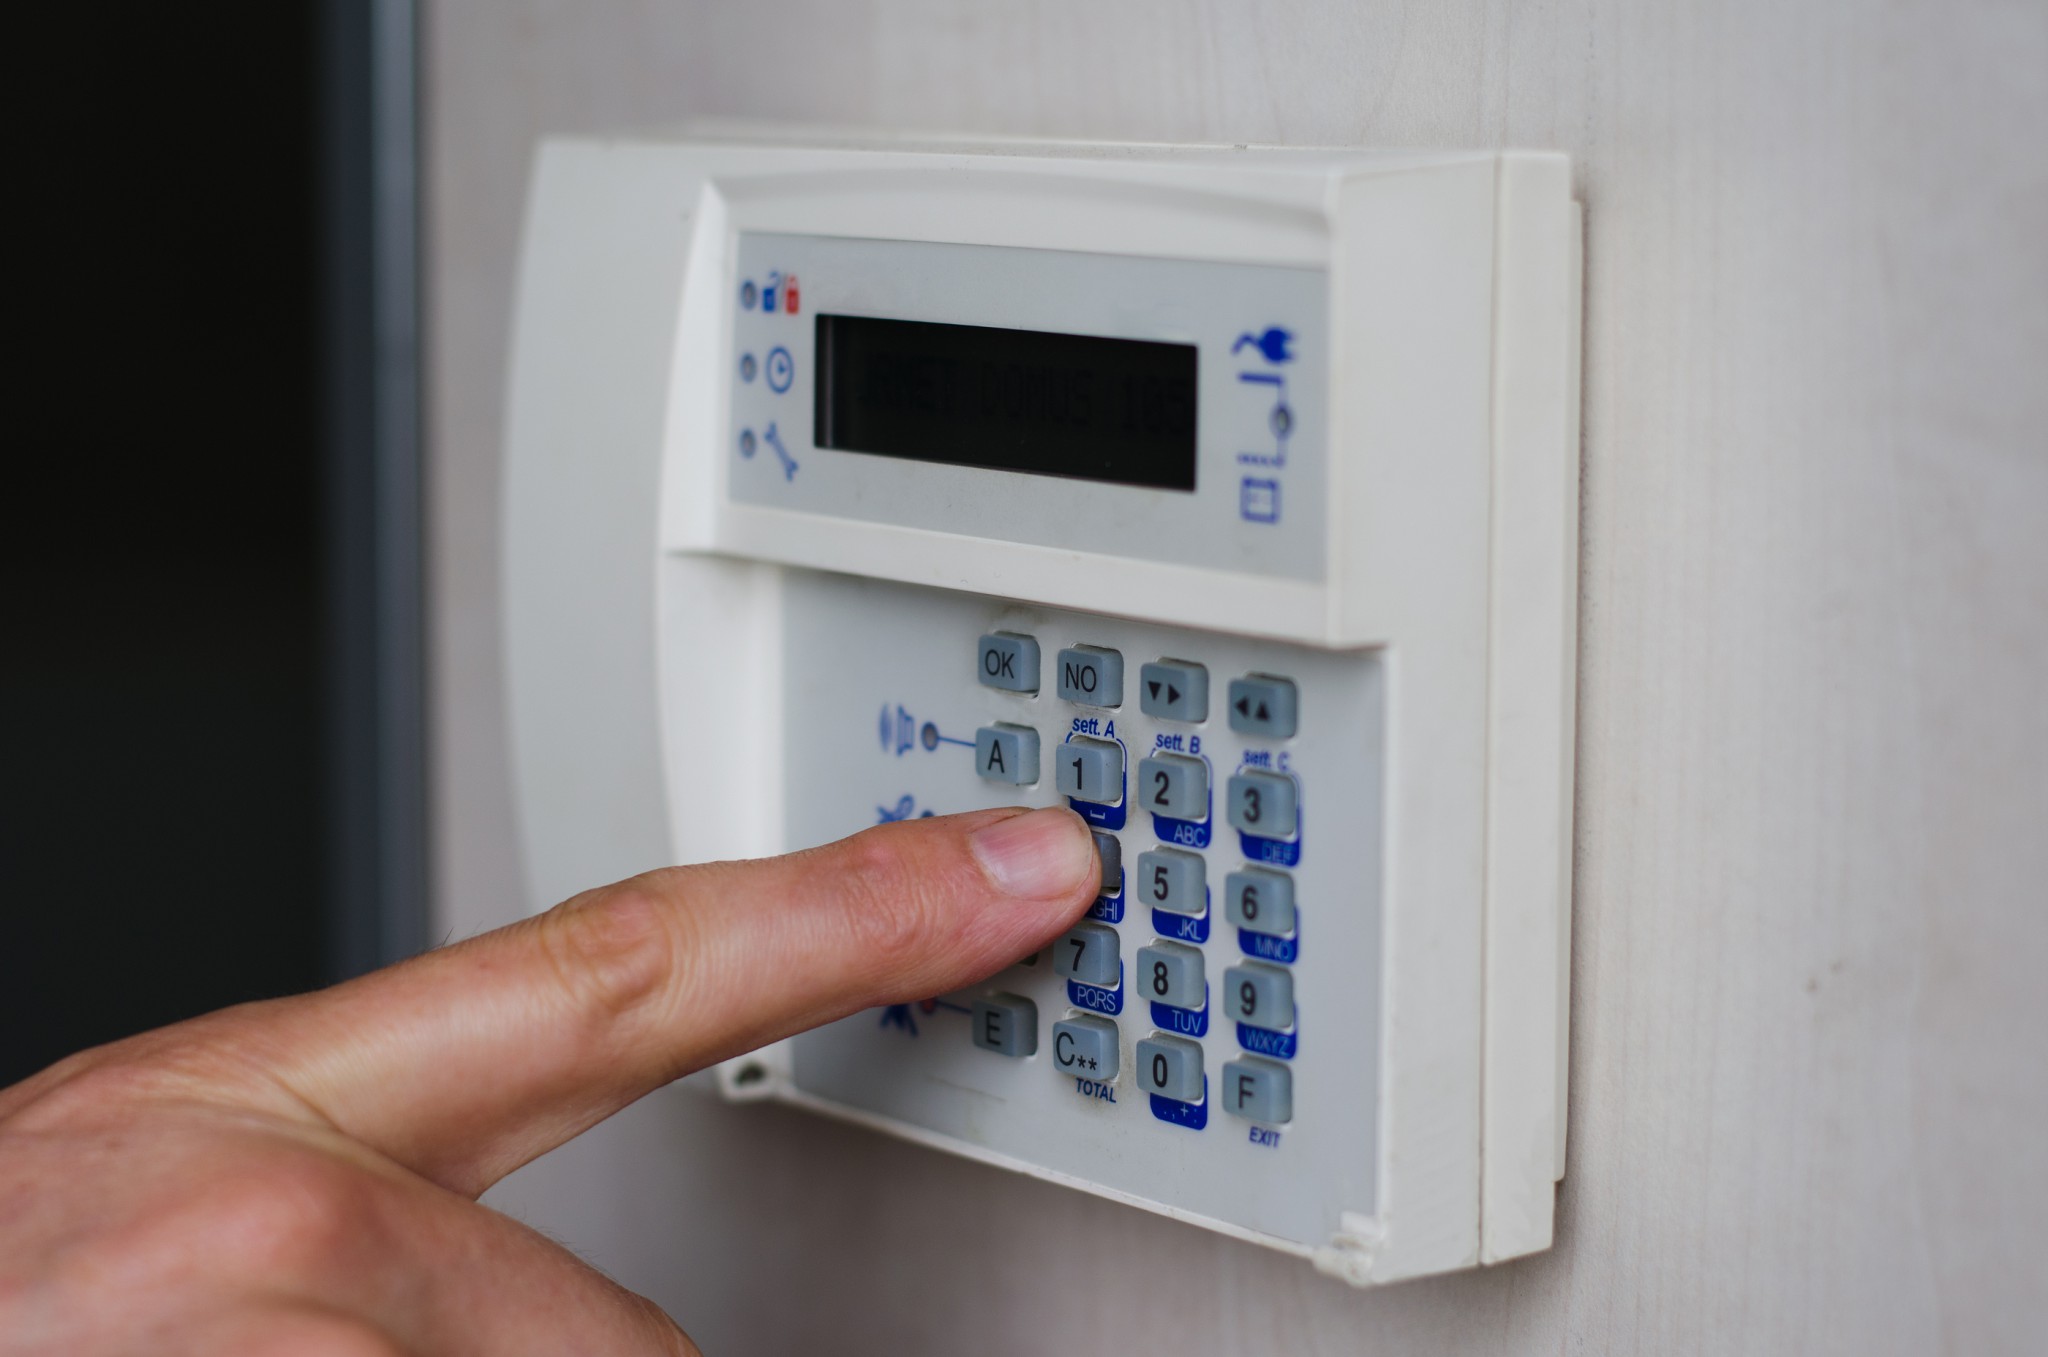
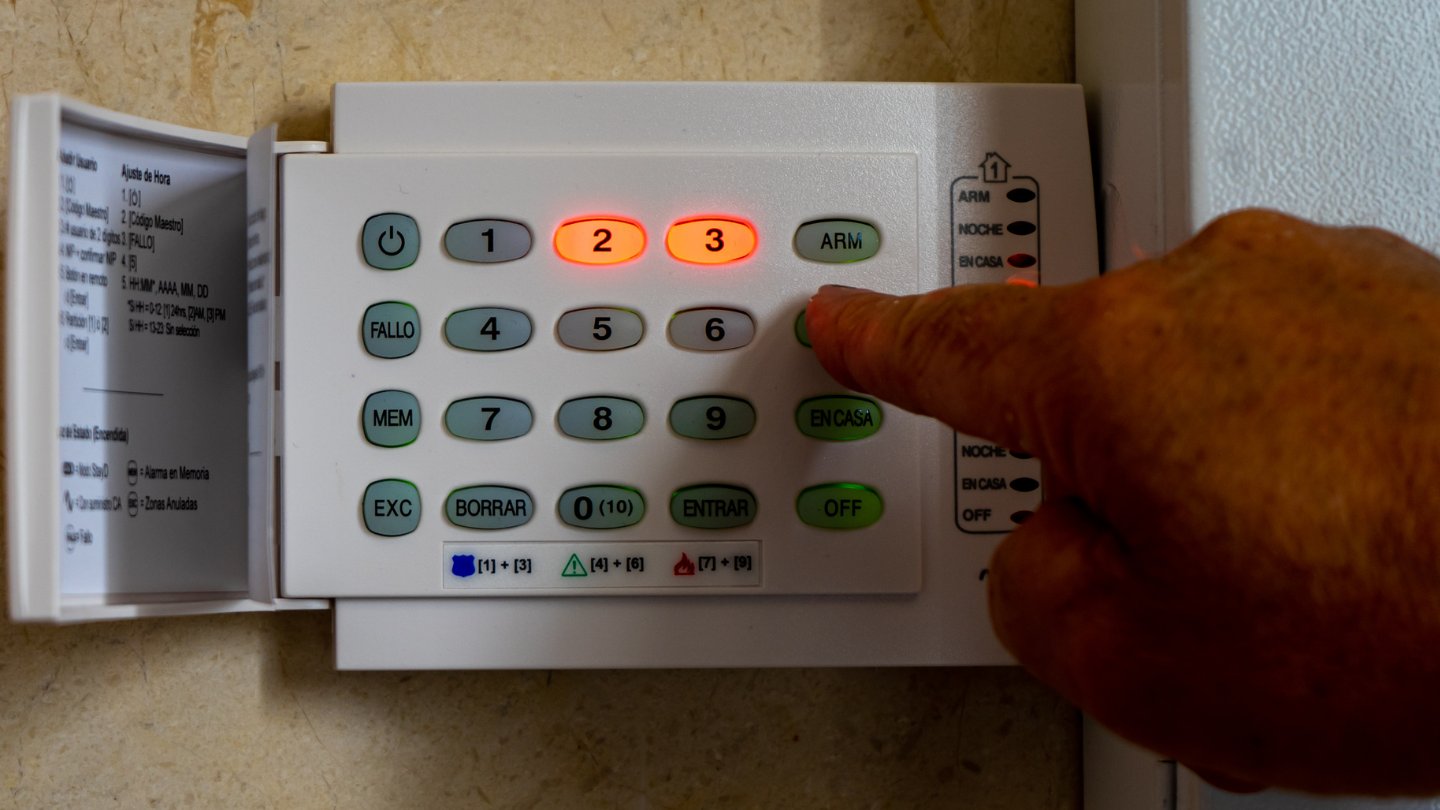
- Keypad: The keypad is used to control and interact with the control panel. It allows you to arm and disarm the system, enter access codes, and receive system notifications.
- Siren: The siren is an audible device that sounds an alarm when triggered. Its purpose is to not only alert you but also deter potential intruders.
- Battery Backup: A battery backup ensures that your security system remains operational even during power outages. It provides a constant power supply to keep the control panel running.
- Communication Devices: Depending on your preference, your security system may include communication devices such as landline, cellular, or internet communicators. These devices enable your system to send alerts and communicate with monitoring centers or your smartphone.
Familiarizing yourself with these components will give you a clear understanding of how each piece fits into the overall system. This knowledge will be valuable as you start planning and wiring your burglar alarm panel.
Now that you’re acquainted with the components, it’s time to gather the necessary tools and equipment for the wiring process. In the next step, we’ll discuss the tools you’ll need to get the job done efficiently and safely.
Step 2: Preparing the Wiring Tools
Before you can start wiring your burglar alarm panel, you’ll need to gather the necessary tools and equipment. Having the right tools on hand will ensure a smooth and efficient installation process. Here are the essential tools you’ll need:
- Screwdriver: A screwdriver is a versatile tool that will come in handy for various tasks, such as removing panels, connecting wires, and securing components in place.
- Wire Strippers: Wire strippers are essential for removing the insulation from the ends of the wires. This will allow for proper connection and ensure a secure and reliable connection.
- Wire Cutters: Wire cutters are used to trim and cut wires to the desired length. These will ensure clean and precise cuts, making the wiring process easier.
- Pliers: Pliers are useful for bending and shaping wires, especially when connecting them to terminals or components. They provide a secure grip for better control and precision.
- Drill (if necessary): If you need to make holes to mount the control panel, keypad, or other components, a drill will be necessary. Make sure to have the appropriate drill bits on hand as well.
- Fish Tape: If you need to run wires through walls or conduits, a fish tape can be extremely helpful. It allows you to guide and navigate wires through tight spaces without damaging them.
- Cable Ties: Cable ties, also known as zip ties, are useful for managing and organizing wires. They can be used to bundle wires together and secure them in place, reducing clutter and improving aesthetics.
- Multimeter: A multimeter is an essential tool for testing and troubleshooting electrical connections. It allows you to measure voltage, resistance, and continuity, ensuring that your wiring is correct.
Having these tools readily available will save you time and frustration during the wiring process. Make sure they are in good condition and easily accessible. Additionally, it’s always a good idea to have some spare wires, connectors, and other miscellaneous electrical supplies on hand, just in case.
Now that you’re equipped with the necessary tools, it’s time to move on to the next step: planning the layout of your burglar alarm system. This will determine the best placement for your control panel, sensors, and other components.
Step 3: Planning the Layout
Before you start wiring your burglar alarm system, it’s essential to carefully plan the layout. The proper placement of components and wiring will ensure optimal functionality and effectiveness. Here are a few key considerations to keep in mind:
- Control Panel Placement: The control panel should be located in a central and easily accessible area of your home. This ensures that you can quickly arm and disarm the system and monitor its status. It is often placed near the main entrance or in a utility room.
- Sensor Placement: Sensors should be strategically placed to cover all possible points of entry. Door/window sensors should be installed on all external doors and ground-level windows. Motion sensors can be placed in high-traffic areas or rooms with valuable possessions.
- Siren Placement: The siren should be placed in a prominent and easily audible location. This could be on the exterior of your home or near the control panel. Its purpose is to not only alert you but also to deter intruders.
- Wiring Routes: Consider the most efficient and discreet route for running wires between the control panel, sensors, and other components. Concealing wires in walls, ceilings, or conduits can help maintain a tidy and professional appearance.
- Power Source: Ensure that the control panel, siren, and other components have a reliable power source. This may involve connecting them to an electrical outlet or using a battery backup system.
- Communication Devices: If you have chosen to incorporate communication devices into your security system, consider the best place to install them. This could be near the control panel or in an area with a strong cellular or internet signal.
Take the time to create a detailed plan, sketching out the layout of your system and the intended placement of each component. This will serve as a guide during the wiring process.
Remember to consider any specific requirements or recommendations provided by the manufacturer of your burglar alarm system. They may have additional guidelines or suggestions to optimize the effectiveness of your security setup.
Now that you have your layout plan in place, let’s move on to the next step: connecting the control panel. This is the central hub of your system and where all the wiring begins.
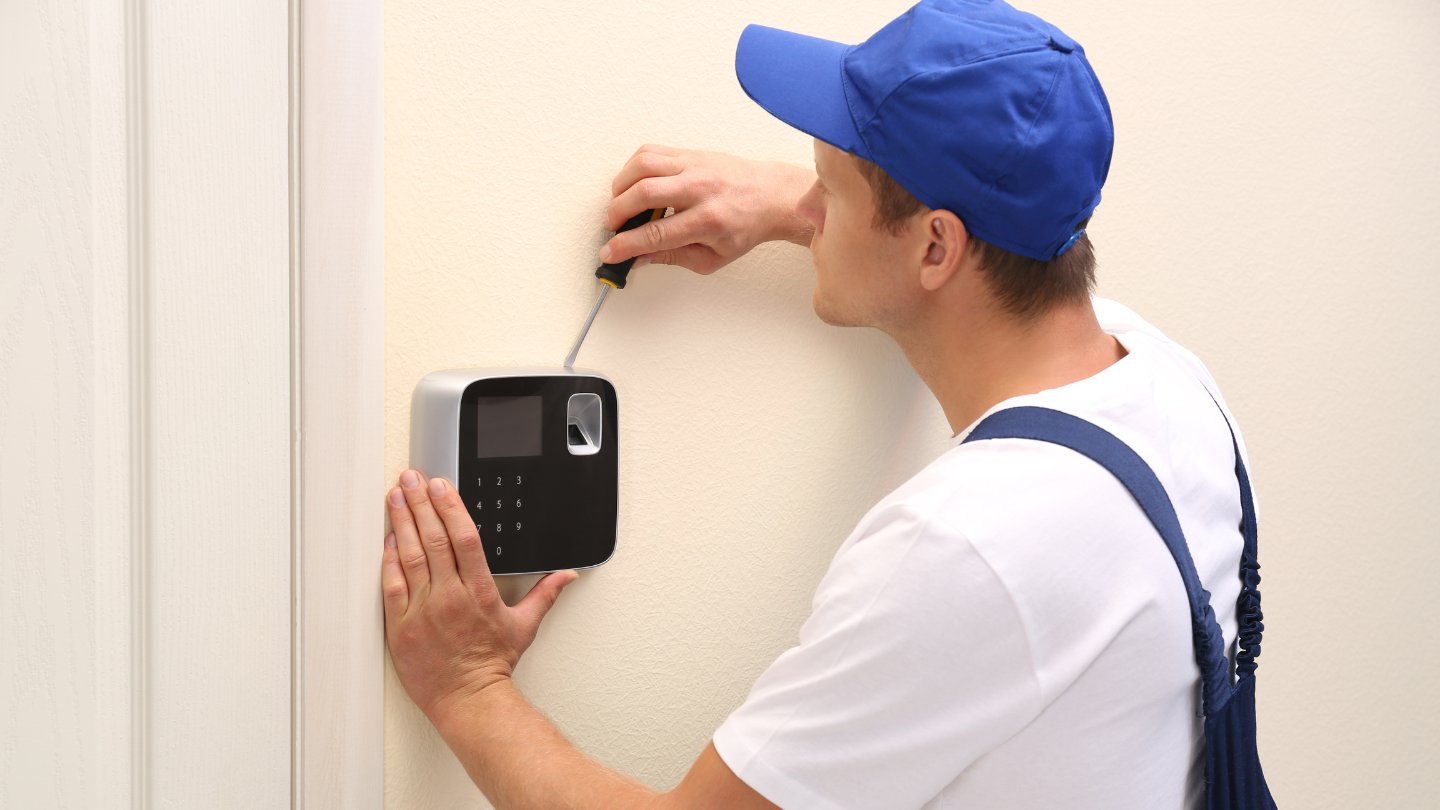
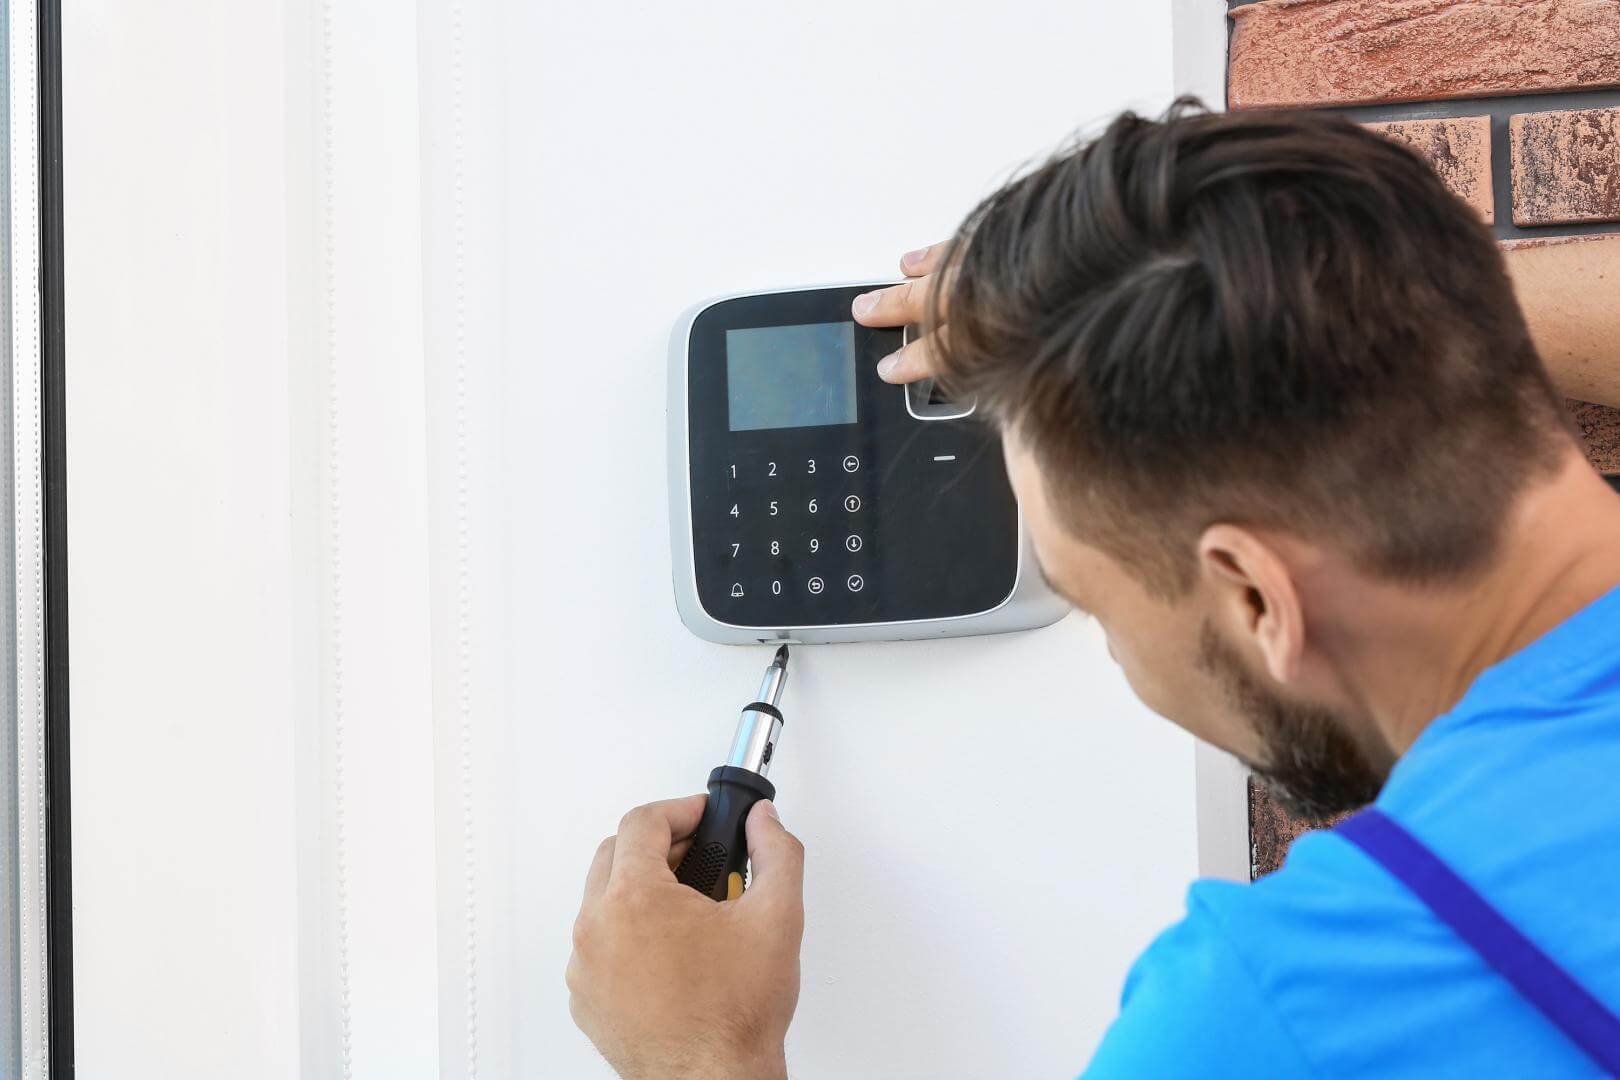
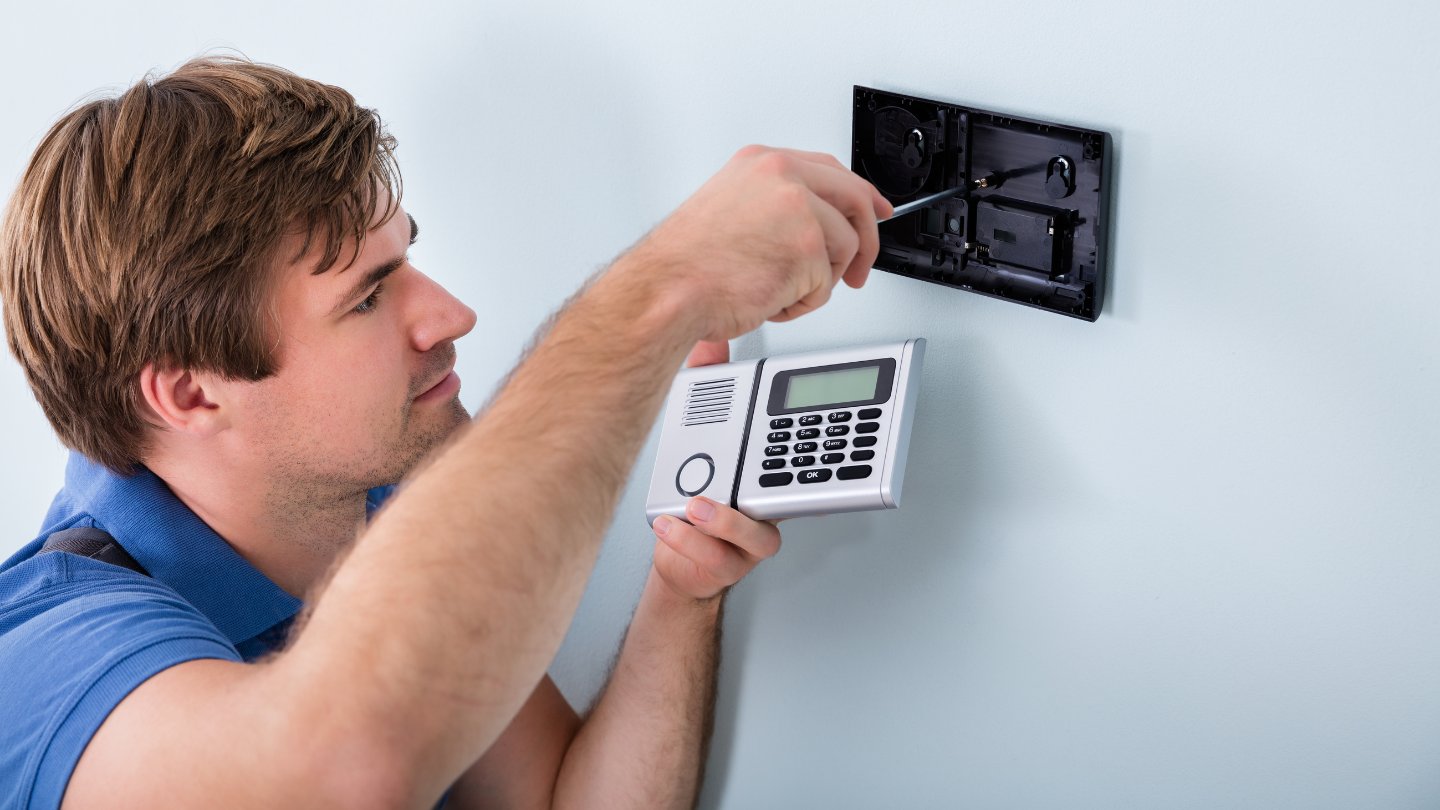
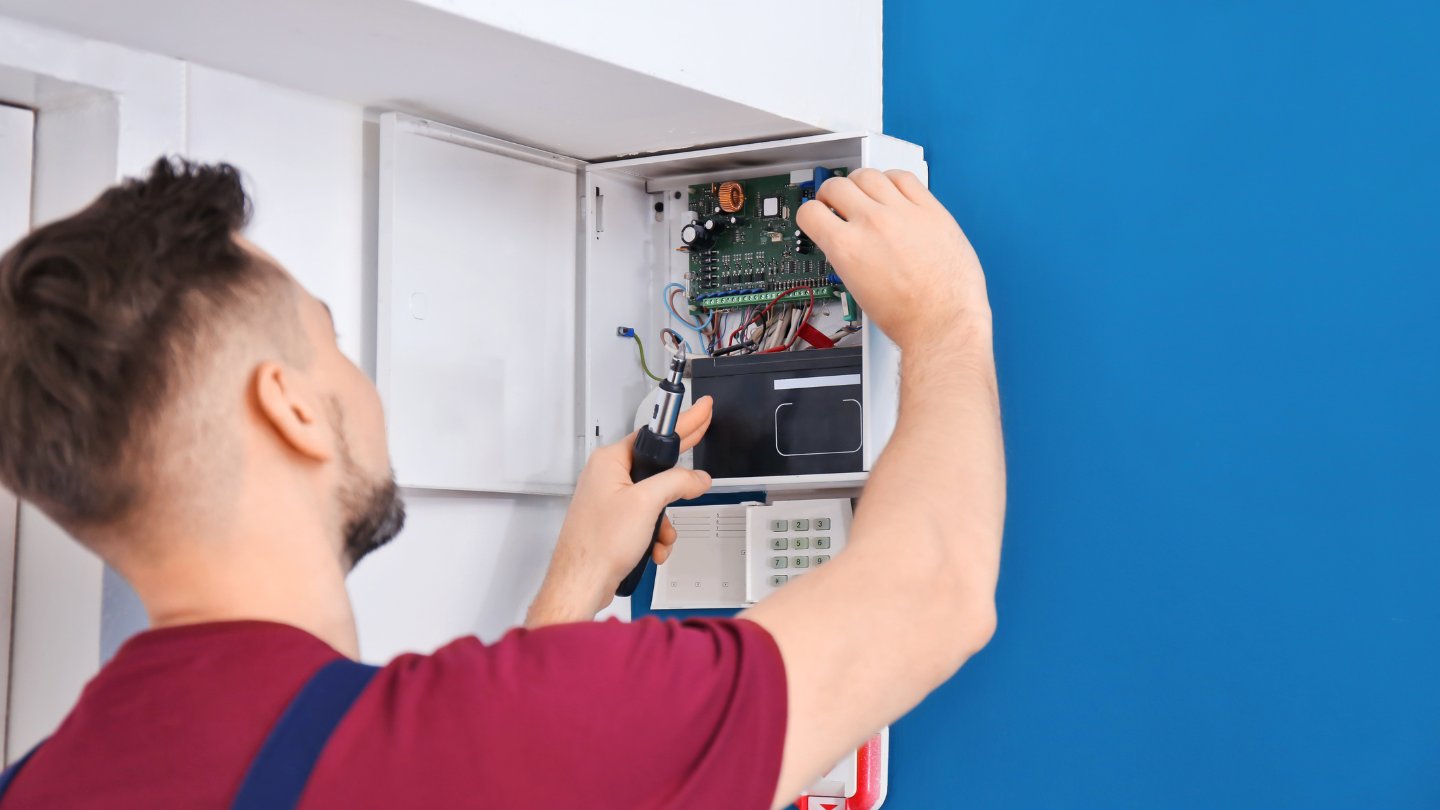
Step 4: Connecting the Control Panel
Now that you have your layout plan, it’s time to start wiring your burglar alarm system. We’ll begin with connecting the control panel, as it serves as the central hub of your security system. Follow these steps to ensure a proper connection:
- Locate the Control Panel: Refer to your layout plan to find the designated location for your control panel.
- Power off the System: Before connecting any wires, make sure to power off the system to avoid any electrical mishaps.
- Open the Control Panel: Depending on the model, you may need to remove a cover or access panel to reveal the internal wiring compartment.
- Identify the Terminal Strip: Inside the control panel, you will find a terminal strip. This strip consists of labeled terminals where the wires will be connected.
- Strip the Wires: Using wire strippers, carefully strip a small portion of the insulation from the ends of the wires, exposing the bare copper conductors.
- Connect the Power Supply: Locate the power supply terminals on the control panel. Connect the positive (+) wire to the positive terminal and the negative (-) wire to the negative terminal. These wires are typically color-coded, with red representing positive and black representing negative.
- Connect the Backup Battery: If your control panel has a battery backup, connect the positive and negative wires from the battery to the corresponding terminals on the control panel. It ensures that your system remains operational during power outages.
- Connect the Keypad: If your security system includes a keypad, connect the keypad wires to the corresponding terminals on the control panel. These wires are typically labeled and easy to identify.
- Secure the Connections: Once all the wires are connected, ensure that the terminal screws are tightened securely to maintain a solid and reliable connection.
- Close the Control Panel: Once all the connections are made, close the control panel securely to protect the internal wiring.
Double-check all the connections and make sure they are secure and properly oriented. Incorrect wiring can lead to system malfunctions or false alarms.
Now that the control panel is properly connected, it’s time to move on to the next step: wiring the sensors. These devices play a crucial role in detecting and alerting you to any unauthorized entry.
When wiring a burglar alarm panel, always use the correct gauge of wire for the distance and power requirements. This will ensure a reliable and safe installation.
Read more: What Is Local Burglar Alarm?
Step 5: Wiring the Sensors
Now that the control panel is connected, it’s time to wire the sensors. Sensors are essential components of your burglar alarm system as they detect any unauthorized entry or movement. Follow these steps to ensure proper wiring of your sensors:
- Refer to Your Layout Plan: Consult your layout plan to identify the location and type of each sensor.
- Choose the Correct Wire: Select the appropriate wire gauge for your sensors. Typically, 22-18 AWG wire is suitable for most sensors.
- Prepare the Wire: Using wire strippers, strip a small portion of the insulation from the ends of the wires. This will expose the bare copper conductors for a secure connection.
- Connect the Sensor Wires: Each sensor will have two wires. Connect one wire to the corresponding terminal on the control panel and the other wire to the common (COM) terminal. The terminals may be labeled or color-coded for ease of connection.
- Secure the Connections: Ensure that the terminal screws are tightened securely to establish a reliable connection. Loose connections can lead to false alarms or system malfunctions.
- Repeat for each Sensor: Repeat the above steps for each sensor, ensuring that the wires are connected to the appropriate terminals on the control panel and common terminal.
- Test the Sensors: Once all the sensors are wired, it’s essential to test their functionality. Arm the system and test each sensor to ensure they properly detect and trigger the alarm.
- Label the Wires: To keep track of the sensor wiring, label each wire by its corresponding sensor. This will come in handy during maintenance or troubleshooting.
As you wire the sensors, it’s crucial to refer to the manufacturer’s guidelines for specific instructions and recommendations. Some sensors may have unique wiring requirements or additional features that you need to consider.
Remember, positioning the sensors strategically is key to ensuring the effectiveness of your security system. Place door/window sensors on all external entry points and motion sensors in areas with high traffic or valuable possessions.
With the sensors properly wired, we can move on to the next step: connecting the siren and keypad. These components complete your security system by providing audible alerts and control interface.
Step 6: Wiring the Siren and Keypad
As we near the completion of wiring your burglar alarm system, it’s time to connect the siren and keypad. The siren provides audible alerts, while the keypad serves as the interface for controlling your system. Follow these steps to properly wire your siren and keypad:
- Locate the Siren: Refer to your layout plan to find the designated location for the siren. It is typically placed in a prominent and easily audible location.
- Choose the Correct Wire: Select the appropriate wire gauge for the siren. Depending on the power requirements, you may need to use thicker wire, such as 18 AWG.
- Prepare the Wire: Use wire strippers to remove a small portion of insulation from the ends of the wires, exposing the bare copper conductors.
- Connect the Siren Wires: Connect one wire from the siren to the positive (+) terminal on the control panel. Connect the other wire to the negative (-) terminal or the common (COM) terminal, depending on the wiring configuration of your system.
- Mount and Secure the Siren: Install the siren in the designated location and secure it firmly using screws or mounting brackets. Ensure that the siren is positioned to deliver maximum audibility.
- Locate the Keypad: Refer to your layout plan to find the desired location for the keypad. It is typically placed near the main entrance or in a central area of your home.
- Connect the Keypad Wires: The keypad will have multiple wires for power, data, and communication. Consult the manufacturer’s instructions to ensure the proper connections based on the specific keypad model.
- Test the Siren and Keypad: Once both the siren and keypad are wired, power on the system and test their functionality. Arm and disarm the system using the keypad and confirm that the siren sounds when triggered.
- Label the Siren and Keypad Wires: To keep track of the wiring, label each wire connected to the siren and keypad. This will be helpful during maintenance or troubleshooting.
Ensure all the connections are secure and bundled neatly to avoid any interference or accidental disconnection. Double-check the manufacturer’s instructions for any specific guidelines related to wiring the siren and keypad. Different models may have unique requirements.
With the siren and keypad wired, we are almost done. In the next step, we will test and troubleshoot the system to ensure everything is functioning correctly.
Step 7: Testing and Troubleshooting
After completing the wiring of your burglar alarm system, it’s crucial to thoroughly test and troubleshoot the system to ensure it is functioning correctly. Follow these steps to validate the effectiveness of your security setup:
- Power on the System: Ensure that all components are connected and powered on. If you have a battery backup, make sure it is properly activated.
- Arm and Disarm the System: Use the keypad to arm and disarm the system. Confirm that the control panel responds accordingly and that the sensors are detecting any unauthorized entry.
- Trigger the Alarm: Test each sensor individually by triggering them. Open the doors, walk in front of motion sensors, and try to simulate the conditions that would trigger an alarm. Verify that the siren sounds and that the control panel registers the event.
- Check Communication: If you have communication devices connected, test their functionality by sending a signal to a monitoring center or receiving alerts on your smartphone. Ensure that communication is reliable and swift.
- Perform System Checks: Use the keypad to perform system checks, such as testing battery levels, signal strength, and sensor status. Follow the manufacturer’s instructions to access these diagnostic features.
- Troubleshooting: If any component or sensor is not functioning correctly, refer to the manufacturer’s troubleshooting guide. Check the wiring connections, ensure proper power supply, and confirm compatibility with the control panel. You may need to consult with technical support or a professional if issues persist.
- Document and Educate: Take note of any issues, troubleshooting steps, or system settings for future reference. Document the layout and labeling of the wiring to aid in future maintenance or upgrades.
Testing and troubleshooting are critical to ensure the reliability and effectiveness of your burglar alarm system. Regular testing and maintenance will help identify and address any issues promptly, keeping your home secure and giving you peace of mind.
Remember, if you are unsure about any aspect of testing or troubleshooting, it’s recommended to consult with a professional or contact the manufacturer’s technical support for further guidance.
Congratulations! You have successfully wired your burglar alarm system and conducted comprehensive tests. Your home is now equipped with a reliable security setup to protect your loved ones and valuable possessions.
If you have any concerns or additional questions, don’t hesitate to reach out to a security expert or refer to the manufacturer’s documentation for further assistance.
Conclusion
Congratulations on completing the wiring of your burglar alarm system! By following the steps outlined in this guide, you have taken a significant step towards enhancing the security and protection of your home. Understanding the components, preparing the wiring tools, planning the layout, connecting the control panel, wiring the sensors, connecting the siren and keypad, and testing and troubleshooting the system are all vital steps in ensuring the effectiveness of your security setup.
A well-designed and properly installed burglar alarm system is a valuable investment in the safety and security of your loved ones and your valuable possessions. It acts as a deterrent to intruders and provides you with the peace of mind that comes from knowing your home is protected.
Remember, maintaining your security system is just as important as installing it. Regularly test your system, ensure all components are functioning correctly, and address any issues promptly. It’s also a good idea to review your system regularly to identify any potential improvements or upgrades that may further enhance your home security.
If you ever need assistance or have any questions, consult with a professional or refer to the manufacturer’s documentation. They can provide further guidance and support to help you optimize your burglar alarm system.
By investing time and effort into wiring your burglar alarm system, you have taken a proactive step towards creating a safe and secure home environment. Sleep soundly, knowing that you have taken measures to protect what matters most to you.
Thank you for being proactive in enhancing your home security and surveillance. Stay safe!
Frequently Asked Questions about How To Wire A Burglar Alarm Panel
Was this page helpful?
At Storables.com, we guarantee accurate and reliable information. Our content, validated by Expert Board Contributors, is crafted following stringent Editorial Policies. We're committed to providing you with well-researched, expert-backed insights for all your informational needs.