Home>Home Security and Surveillance>How To Get My Outdoor Camera Working
Home Security and Surveillance
How To Get My Outdoor Camera Working
Modified: September 1, 2024
Learn how to troubleshoot and fix issues with your outdoor home security and surveillance camera to ensure it is up and running smoothly.
(Many of the links in this article redirect to a specific reviewed product. Your purchase of these products through affiliate links helps to generate commission for Storables.com, at no extra cost. Learn more)
Introduction
Welcome to the world of home security and surveillance! In this article, we will guide you on how to get your outdoor camera working efficiently. Whether you’re looking to enhance the security of your home, monitor outdoor activities, or simply keep an eye on your property, setting up an outdoor camera can provide you with peace of mind and added protection.
However, it can be frustrating when your camera doesn’t work as expected. Before you throw in the towel, it’s important to troubleshoot the issue and take the necessary steps to get your camera up and running. In this comprehensive guide, we will walk you through the process, offering valuable tips and insights along the way.
So, let’s dive in and explore the steps you need to take to ensure your outdoor camera is functioning optimally. By following these guidelines, you’ll be able to monitor your premises with ease, knowing that your camera is capturing all the important details.
Key Takeaways:
- Ensure your outdoor camera works efficiently by checking power, optimizing network, proper placement, adjusting settings, troubleshooting, updating firmware, and testing functionality for enhanced security and peace of mind.
- Follow the comprehensive guide to set up and maintain your outdoor camera, ensuring clear video, accurate motion detection, and remote access for effective surveillance and deterrence.
Read more: How Does Wyze Outdoor Camera Work
Step 1: Check the Power Source
The first and most crucial step in getting your outdoor camera working is to check the power source. Without a reliable power supply, your camera will not function properly. Here are a few things to consider:
- Power Outlet: Ensure that the camera is connected to a working power outlet. Check if any switches or breakers need to be turned on to supply power to the camera.
- Cable Connections: Inspect the cables connecting the camera to the power outlet. Make sure they are securely plugged in at both ends and that there are no frayed or damaged wires.
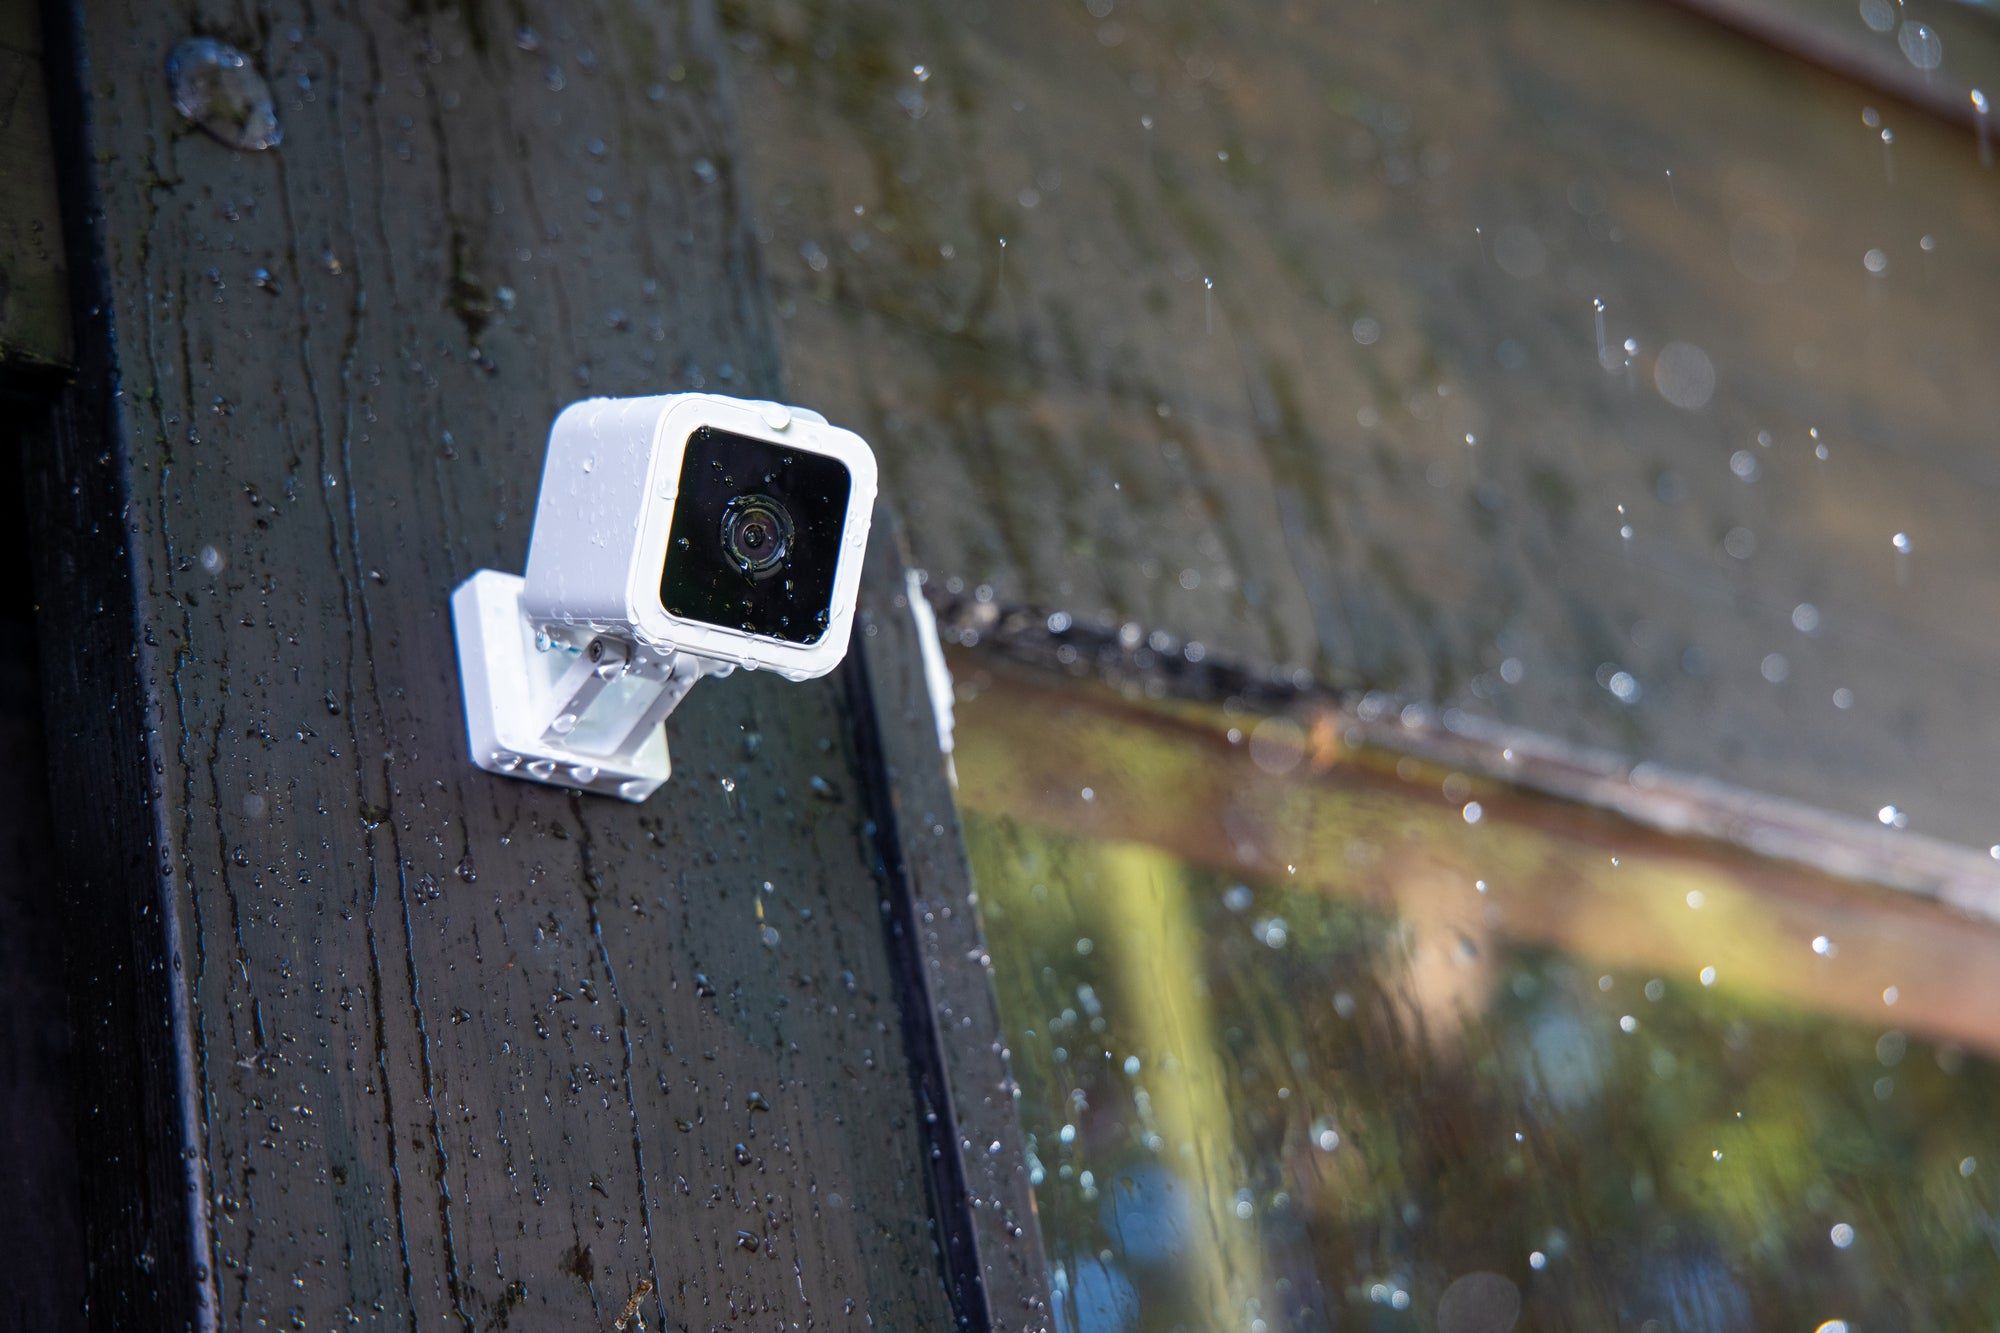
- Weatherproofing: If your camera is designed for outdoor use, check if it has proper weatherproofing. Ensure that the power cable and connectors are adequately protected against rain, moisture, and extreme temperatures.
- Power Supply Unit (PSU): Some outdoor cameras use a separate power supply unit. Check if the PSU is plugged in correctly and functioning. If necessary, try using a different PSU to rule out any power supply issues.
- Battery-Powered Cameras: If your outdoor camera is battery-powered, ensure that the batteries are fully charged or replace them if needed. Additionally, make sure that the battery compartment is securely closed to maintain the camera’s weatherproofing.
By thoroughly checking the power source, you can eliminate power-related issues that might be causing your camera to malfunction. Once you’ve confirmed that the power supply is working correctly, it’s time to move on to the next step.
Step 2: Verify the Network Connection
Having a stable network connection is vital for your outdoor camera to function properly. Here’s how to ensure a reliable network connection:
- Wi-Fi Signal Strength: Check the signal strength of your Wi-Fi network in the area where the camera is installed. A weak signal can result in intermittent connectivity or poor video quality. If the signal is weak, consider using a Wi-Fi extender or relocating your router for better coverage.
- Camera Placement: Ensure that your camera is located within the range of your Wi-Fi network. If it’s too far away, the signal may not reach the camera effectively. Additionally, be mindful of any physical obstructions, such as walls or large objects, that could impede the Wi-Fi signal.
- Network Credentials: Double-check that you have entered the correct network name (SSID) and password for your camera to connect to the Wi-Fi network. Even a minor typo can prevent the camera from establishing a connection.
- Network Bandwidth: If you’re experiencing issues with your camera’s video stream, it could be due to insufficient network bandwidth. Ensure that your internet plan is capable of handling the data transmission from the camera. If necessary, upgrade your plan or limit other devices’ usage during critical camera monitoring periods.
- Router Settings: Some routers have specific settings or features that may need to be adjusted to accommodate your camera’s network requirements. Check the camera’s user manual or manufacturer’s website for any recommended router settings.
By verifying and optimizing your network connection, you can eliminate potential connectivity issues that may be hindering your outdoor camera’s performance. Once you’ve established a stable connection, it’s time to move on to the next step.
Step 3: Ensure Proper Camera Placement
The placement of your outdoor camera plays a significant role in its effectiveness. Here are some key factors to consider for proper camera placement:
- Field of View: Determine the area you want your camera to cover. Consider the camera’s field of view and ensure that it captures the desired monitoring area without any blind spots. Adjust the angle and position of the camera accordingly.
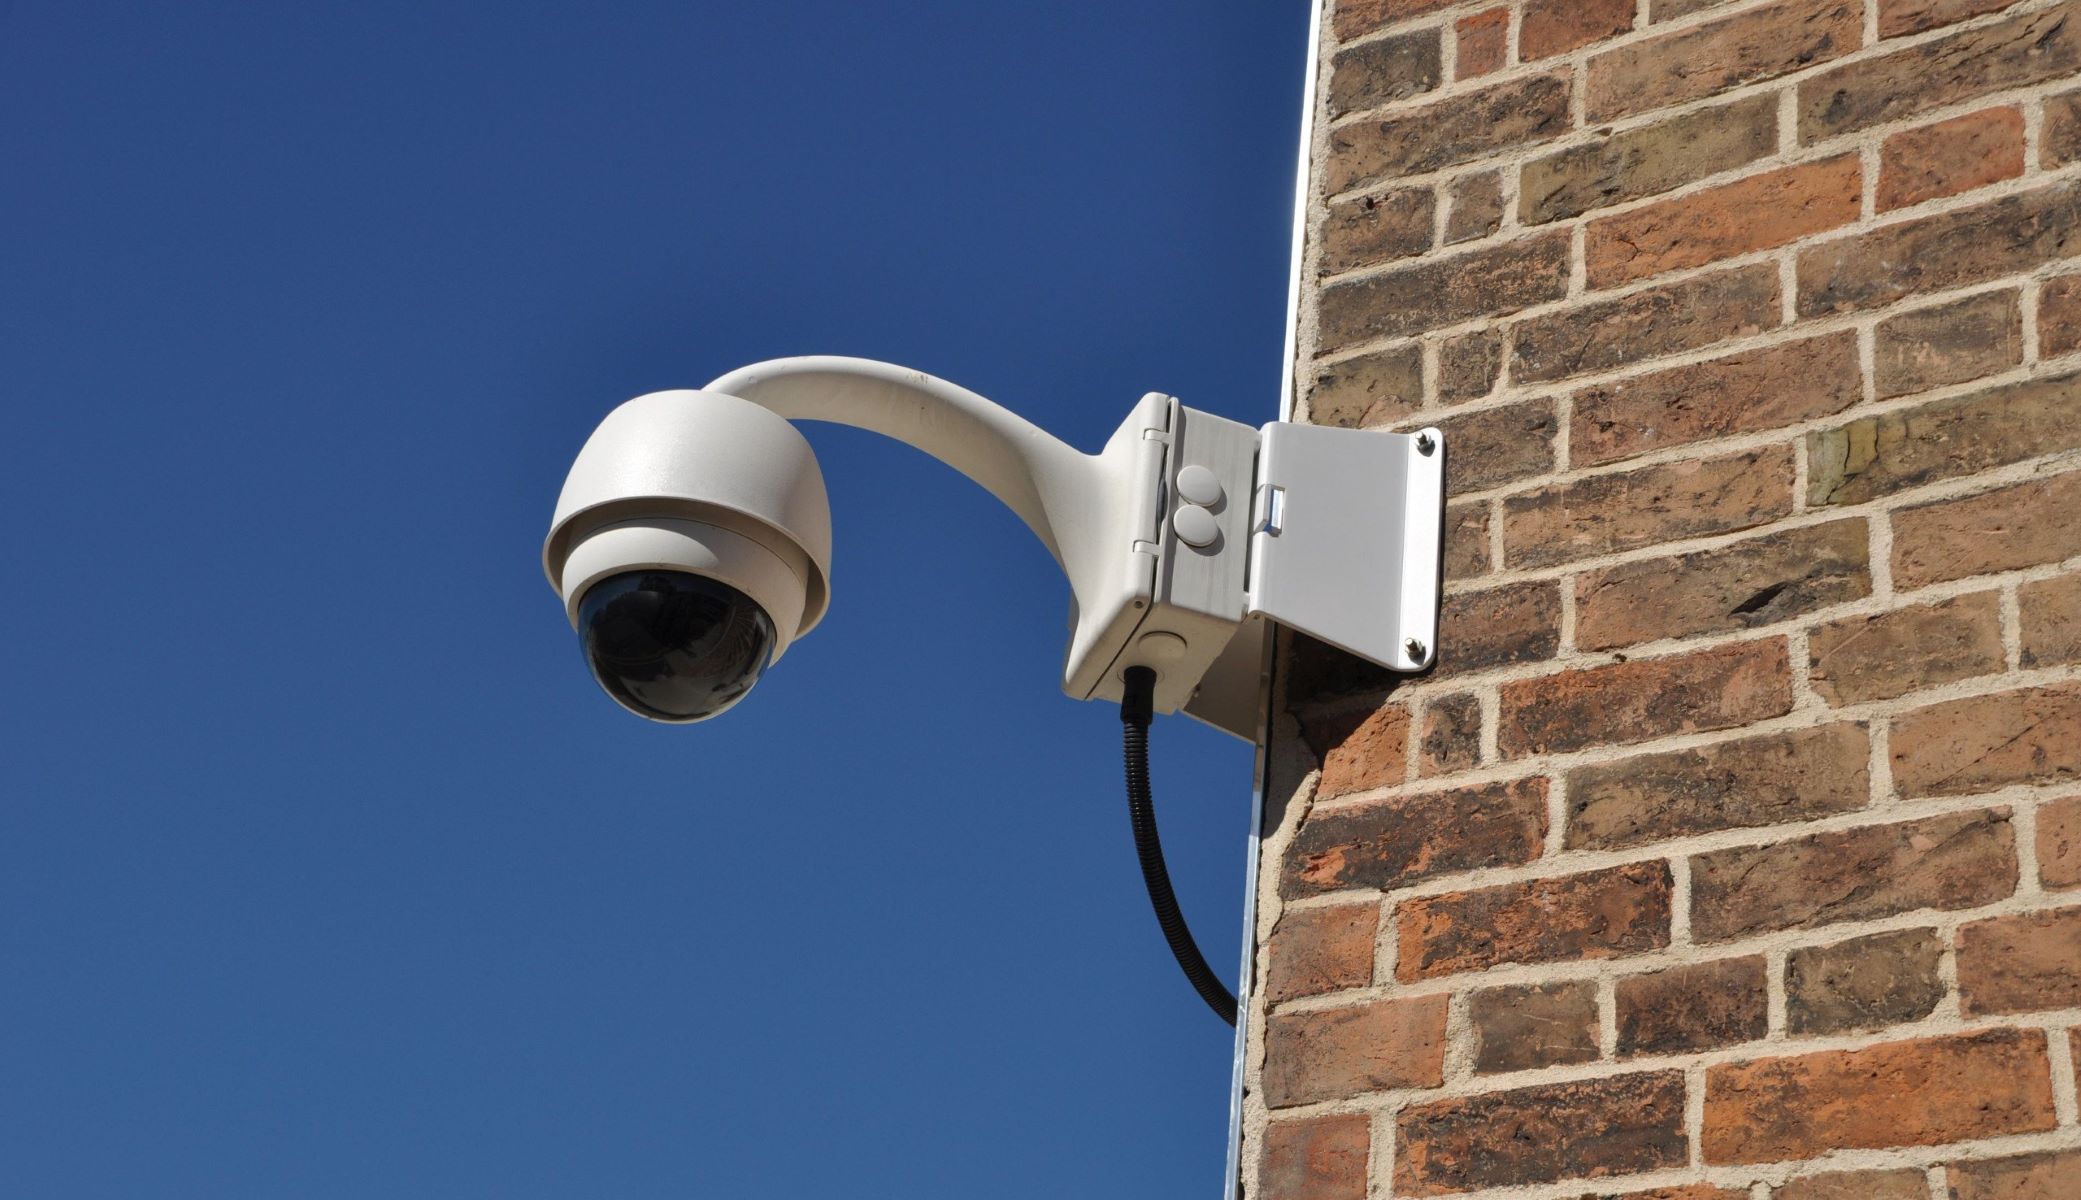
- Height and Angle: Mount the camera at an optimal height and angle to capture clear and useful footage. In general, a height of 8 to 10 feet is recommended to prevent easy tampering or theft.
- Obstructions: Avoid placing the camera where it can be obstructed by shrubs, trees, or other objects. Clear any vegetation or obstacles that may obstruct the camera’s view. Also, ensure that the camera’s view is not blocked by glare or reflections from windows or other surfaces.
- Lighting Conditions: Consider the lighting conditions in the area where you plan to install the camera. Ensure that there is adequate lighting during both day and night for optimal video quality. You may need to install external lighting or choose a camera with built-in night vision capabilities.
- Weather Considerations: When positioning the camera, take into account the weather conditions in your area. Choose a location that offers some protection, such as under eaves or in a covered housing, to prevent exposure to extreme weather elements.
- Tamper-Proof Mounting: Use secure and tamper-proof mounting hardware to deter unauthorized access or vandalism. Ensure that the camera is securely fastened to its mounting location.
By carefully considering the camera’s placement, you can optimize its monitoring capabilities and ensure that it captures the necessary footage effectively. Once you’ve determined the perfect location for your camera, it’s time to move on to the next step.
Step 4: Adjust Camera Settings
Now that you have ensured the proper placement of your outdoor camera, it’s time to adjust the camera settings to meet your specific needs. Here’s what you should focus on:
- Resolution and Quality: Check the camera’s resolution settings and adjust them according to your preferences. Higher resolutions provide clearer images but may require more storage space. Find the right balance between image quality and storage capacity.
- Frame Rate: The frame rate determines the smoothness of the recorded video. Adjust the frame rate to capture enough detail without overwhelming your storage capacity.
- Motion Detection: Enable motion detection on your camera to receive alerts or recordings whenever motion is detected in the monitoring area. Adjust the sensitivity settings to avoid false alarms caused by small movements or environmental changes.
- Audio Settings: If your camera supports audio recording, configure the audio settings to your liking. You can enable two-way audio functionality, adjust the microphone sensitivity, or set up sound alerts for specific events.
- Storage Options: Determine how you want to store the camera footage. You can opt for local storage using a MicroSD card or choose a cloud storage solution offered by the camera manufacturer. Select the appropriate storage option and ensure it is set up and functioning correctly.
- Privacy and Security: Review the privacy and security settings of your camera. Configure access controls, change default passwords, and enable encryption to protect your camera and its footage from unauthorized access.
By adjusting the camera settings based on your specific requirements, you can tailor the camera’s functionality to meet your needs. Fine-tune these settings to ensure optimal performance and efficient monitoring. Once you’ve adjusted the camera settings, it’s time to move on to the next step.
Make sure the camera is connected to a power source and has a strong Wi-Fi signal. Check the camera’s settings and make sure it’s compatible with your device. If it still doesn’t work, try resetting the camera and reconfiguring the settings.
Read more: How Do Ring Outdoor Cameras Work
Step 5: Troubleshoot Connectivity Issues
If you’re experiencing connectivity issues with your outdoor camera, it’s important to troubleshoot and resolve them promptly. Here are some common steps to troubleshoot connectivity problems:
- Restart the Camera: Sometimes, a simple reboot can solve connectivity issues. Power off the camera, wait for a few seconds, and power it back on. This can help reset the network connection and resolve minor connectivity problems.
- Restart the Router: If multiple devices on your network are experiencing connectivity issues, restarting the router can help. Turn off the router, wait for a minute, and turn it back on. This can refresh the router’s settings and resolve network-related problems.
- Check Wi-Fi Interference: Other electronic devices or neighboring Wi-Fi networks can cause interference and weaken your camera’s signal. Move your camera away from such devices or change the Wi-Fi channel on your router to minimize interference.
- Perform a Network Reset: If your camera is still not connecting, you can try performing a network reset on the camera. Refer to the camera’s user manual or manufacturer’s instructions for the specific steps to reset the network settings.
- Update Firmware: Check if there are any firmware updates available for your camera. Outdated firmware can cause connectivity issues. Visit the manufacturer’s website or use the camera’s companion app to check for and install any available firmware updates.
- Contact Customer Support: If you have followed all the troubleshooting steps and are still experiencing connectivity problems, it’s recommended to contact the customer support of your camera manufacturer. They can provide further assistance and guide you through advanced troubleshooting steps if necessary.
By troubleshooting connectivity issues systematically, you can identify and resolve any underlying problems that might be affecting your camera’s performance. Once you’ve successfully resolved these issues, it’s time to move on to the next step.
Step 6: Update Firmware
Keeping your camera’s firmware up to date is crucial for optimal performance and security. Firmware updates often include bug fixes, feature enhancements, and security patches. Here’s how to update the firmware of your outdoor camera:
- Check for Updates: Visit the manufacturer’s website or check the camera’s companion app for any available firmware updates. Look for a firmware downloads section or an option to check for updates within the app.
- Download the Firmware: If a new firmware version is available, download it to your computer or device. Ensure that you choose the correct firmware version for your specific camera model.
- Prepare the Camera: Connect to the camera’s web interface or use the companion app to access the firmware update settings. Follow the instructions provided by the manufacturer to prepare the camera for the firmware update.
- Upload the Firmware: In the camera’s web interface or app, locate the firmware update section. Select the downloaded firmware file and initiate the firmware update process. Be patient as the update may take a few minutes to complete.
- Do Not Interrupt the Update: During the firmware update, it’s crucial not to interrupt the process. Avoid turning off the camera or disconnecting it from the power source. Interrupting the update may cause irreversible damage to the camera.
- Verify the Update: Once the firmware update is complete, verify that the camera is functioning correctly. Check for any new features or improvements that the update may have brought. Ensure that all previous settings are intact.
By regularly updating the firmware of your outdoor camera, you can enjoy the latest features, enhance performance, and strengthen the security of your camera system. Make it a habit to check for firmware updates and keep your camera up to date. Once you’ve successfully updated the firmware, it’s time to move on to the final step.
Step 7: Test Camera Functionality
After going through the previous steps, it’s time to test the functionality of your outdoor camera to ensure everything is working as expected. Here’s how to test your camera:
- Check Video Feed: Start by checking the live video feed from your outdoor camera. Use the camera’s companion app or access the camera’s web interface to view the live feed. Make sure the video is clear, the colors are accurate, and there are no glitches or delays.
- Verify Motion Detection: Trigger some movement in the camera’s monitoring area to test if the motion detection feature is working properly. Walk in front of the camera or move an object within its view to see if the camera detects and records the activity. Verify that you receive notifications or recordings when motion is detected.
- Test Audio Functionality: If your camera supports audio recording or two-way audio, test the audio functionality. Speak through the camera’s built-in microphone to check if the audio is clear and audible. Also, listen for any background noise or distortion during playback.
- Review Playback Footage: Access the recorded footage from your camera and review it to ensure that it is being saved properly. Check if the recordings capture the desired monitoring area and if the quality is satisfactory. Pay attention to any gaps or missing footage that may indicate storage issues.
- Test Remote Access: If you plan to access your camera remotely, such as through a smartphone app or a web portal, test the remote access functionality. Connect to the camera from a different network or while using mobile data to ensure that you can access and control the camera without any issues.
By thoroughly testing your camera’s functionality, you can ensure that it is capturing the necessary footage, detecting motion accurately, delivering clear audio, and allowing remote access when needed. If you notice any issues during testing, revisit the previous steps to troubleshoot and resolve the problem. Once you’re satisfied with the camera’s performance, you can conclude the setup process.
Congratulations! You’ve successfully gone through the steps to get your outdoor camera working efficiently. Now, you can enjoy enhanced security and peace of mind, knowing that your property is being monitored effectively.
Remember to periodically check and maintain your camera, including cleaning the lens, updating firmware, and reviewing storage capacity, to ensure continued optimal performance.
Conclusion
Setting up and getting your outdoor camera working is a process that requires attention to detail and patience. By following the steps outlined in this comprehensive guide, you can ensure that your camera functions efficiently and provides you with the security and surveillance you desire.
We started by checking the power source and verifying the network connection to ensure a stable and reliable operation. Then, we focused on proper camera placement to capture the desired monitoring area without any obstructions. Adjusting the camera settings allowed us to tailor the functionality to our specific needs, and troubleshooting connectivity issues ensured seamless connectivity.
Updating the firmware of the camera keeps it up to date with the latest features and security patches. Finally, testing the camera’s functionality allowed us to confirm that it is capturing clear video, detecting motion accurately, and providing remote access when needed.
By taking these steps and regularly maintaining your outdoor camera, you can enjoy the benefits of enhanced security and peace of mind. Whether you’re monitoring your home, office, or any other property, a well-functioning outdoor camera is a valuable tool for deterrence and surveillance.
Remember to follow the manufacturer’s instructions, consult the user manual, and contact customer support if needed. By combining technical know-how and effective troubleshooting techniques, you can resolve any issues that may arise during the setup process.
Now that you have successfully set up your outdoor camera, take the time to familiarize yourself with its features and explore any additional functionalities it may offer. Stay proactive by regularly reviewing footage, maintaining storage capacity, and ensuring proper functioning.
Thank you for joining us on this journey to get your outdoor camera working. We hope this guide has been informative and helpful in ensuring your camera provides optimal security and surveillance for your premises.
Frequently Asked Questions about How To Get My Outdoor Camera Working
Was this page helpful?
At Storables.com, we guarantee accurate and reliable information. Our content, validated by Expert Board Contributors, is crafted following stringent Editorial Policies. We're committed to providing you with well-researched, expert-backed insights for all your informational needs.