Home>Home Security and Surveillance>How To Get A Vivint Outdoor Camera Back Online
Home Security and Surveillance
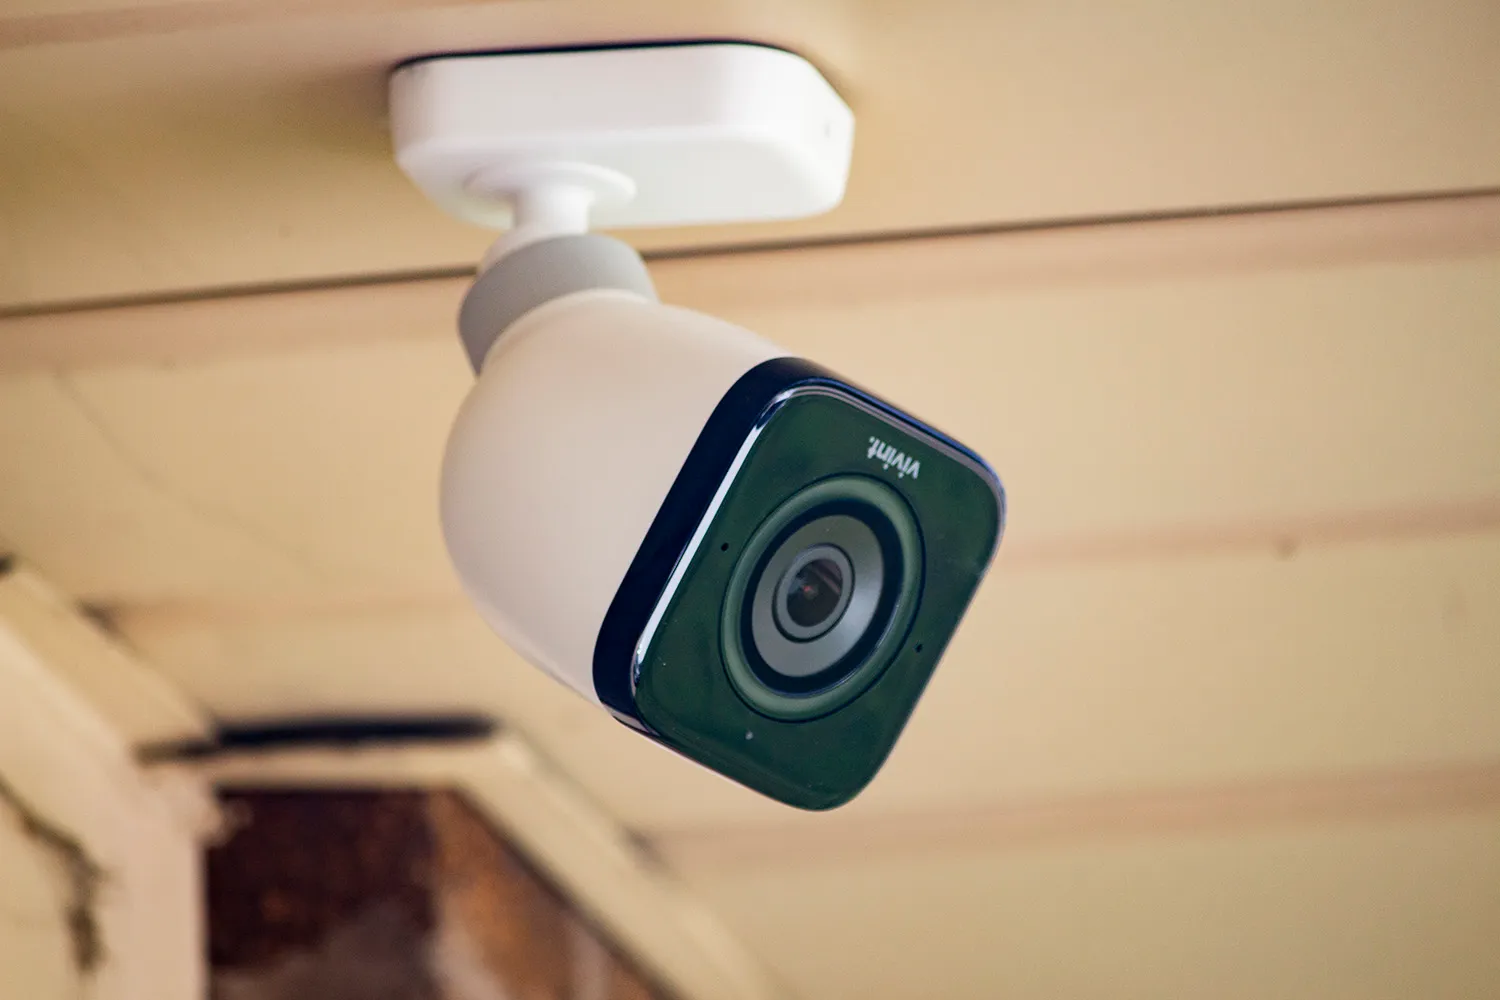
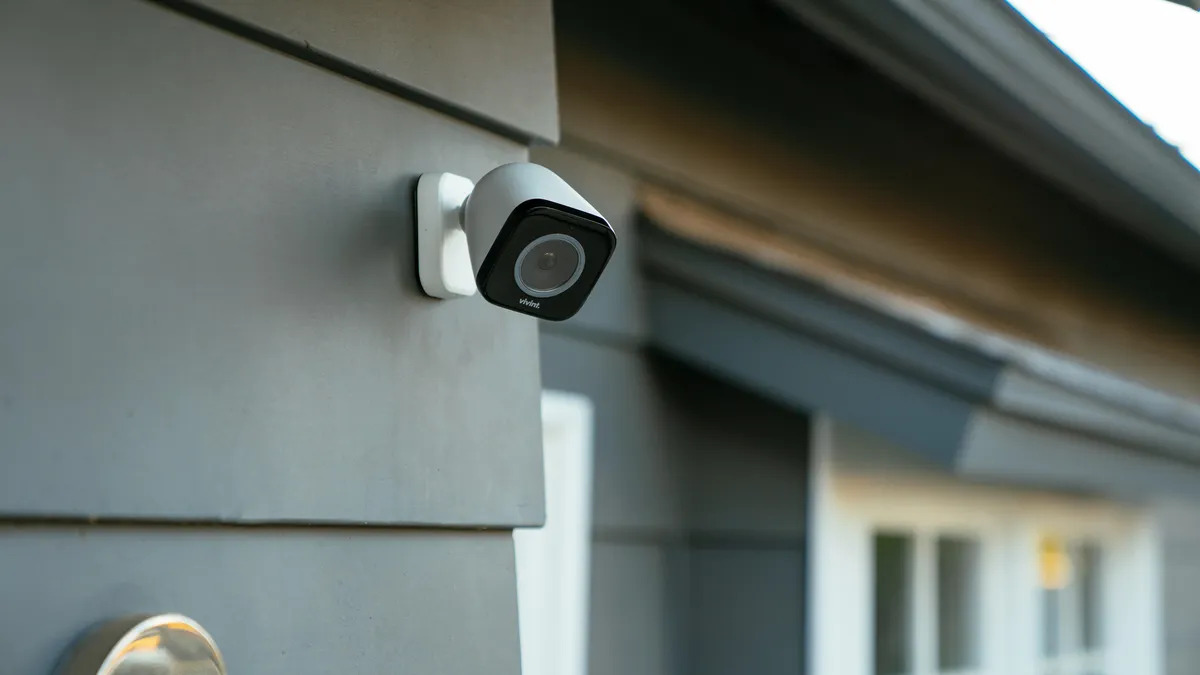
How To Get A Vivint Outdoor Camera Back Online
Modified: May 6, 2024
Learn how to troubleshoot and get your Vivint outdoor camera back online with our expert home security and surveillance tips. Ensure your home is protected effectively.
(Many of the links in this article redirect to a specific reviewed product. Your purchase of these products through affiliate links helps to generate commission for Storables.com, at no extra cost. Learn more)
Introduction
Welcome to our guide on troubleshooting and getting your Vivint outdoor camera back online. Having a reliable home security and surveillance system is crucial in ensuring the safety and peace of mind for you and your loved ones. Vivint offers a wide range of technologically advanced outdoor cameras that provide enhanced security and surveillance capabilities. However, like any electronic device, occasionally these cameras may encounter connectivity issues that can disrupt their functionality.
In this article, we will walk you through a series of troubleshooting steps to help you get your Vivint outdoor camera back online and working seamlessly. By following these steps, you can regain control over your home security system and ensure that your property is protected at all times.
Key Takeaways:
- Keep your Vivint outdoor camera online by checking power, internet, placement, and restarting. Reach out to Vivint support or consider professional assistance if issues persist. Your home security matters!
- Troubleshoot Vivint outdoor camera connectivity issues with power checks, internet verification, proper placement, and firmware updates. Vivint support and professional assistance are available for further help.
Read more: How To Get Smart Plug Back Online
Troubleshooting Steps
When your Vivint outdoor camera goes offline, it can be frustrating, but there are several steps you can take to resolve the issue. Here are some troubleshooting steps to help you get your camera back online:
- Check the Power Source: Ensure that your camera is properly connected to a power source. Check if the power cable is securely plugged into the camera and the power outlet. If you are using a battery-powered camera, make sure the battery is charged or replace it with a fresh one.
- Verify Internet Connection: Confirm that your camera is connected to a stable and reliable internet connection. If your camera is Wi-Fi-enabled, check if the Wi-Fi signal is strong enough. You can try moving the camera closer to the router or using a Wi-Fi extender to improve the signal strength.
- Ensure Proper Placement: Make sure that your camera is placed in an optimal location. Avoid obstructions, such as walls or objects, that may interfere with the camera’s connectivity. Ensure that the camera is positioned to capture the desired area while maintaining a clear line of sight to the Wi-Fi router.
- Restart the Camera: Sometimes, a simple restart can resolve connectivity issues. Power off the camera, disconnect it from the power source, wait for a few seconds, and then reconnect it. After the camera boots up, check if it is back online.
- Reset the Camera: If restarting doesn’t work, you may need to perform a camera reset. Look for the reset button on the camera or refer to the camera’s user manual for instructions on how to reset it. Keep in mind that a reset will erase any customized settings, so you will need to reconfigure the camera afterward.
- Update Firmware: Outdated firmware can sometimes cause connectivity issues. Ensure that your camera’s firmware is up to date by accessing the camera’s settings through the Vivint app or the web portal. If an update is available, follow the instructions to install it and then check if the camera reconnects.
- Reach Out to Vivint Support: If the issue persists, it’s recommended to contact Vivint support for further assistance. Their technical support team can provide specific troubleshooting steps based on your camera model and help you resolve the connectivity problem.
- Consider Professional Assistance: If all else fails, you might consider seeking professional assistance. Vivint offers professional installation and maintenance services. Their technicians are well-versed in troubleshooting camera connectivity issues and can help you get your outdoor camera back online.
By following these troubleshooting steps, you should be able to resolve most connectivity issues with your Vivint outdoor camera. Remember to approach each step carefully and consult the camera’s user manual or reach out to Vivint support if you need additional guidance.
Check the Power Source
One of the first things to check when your Vivint outdoor camera goes offline is the power source. Ensure that the camera is properly connected to a power outlet and that the power cable is securely inserted into both the camera and the outlet.
If your camera is battery-powered, check the battery level. If it’s low, recharge the battery or replace it with a fully charged one. Sometimes, a weak power source can cause the camera to lose connectivity, so double-check that the power source is providing adequate power.
If you have multiple cameras connected to the same power source, check if the other cameras are also experiencing connectivity issues. If all the cameras are offline, the problem may be related to the power source or the power supply unit. In such cases, contact Vivint support for assistance in resolving the power supply issue.
Furthermore, ensure that the power cable is not damaged or frayed. A damaged cable can interrupt the power supply and cause the camera to go offline. If you notice any damage to the cable, replace it with a new one.
In some cases, power outages or power surges can affect the functionality of the camera. If you suspect a recent power disruption, unplug the camera, wait for a few seconds, and then plug it back in. This can help in resetting the camera and establishing a stable connection.
By thoroughly checking the power source and resolving any related issues, you can eliminate power-related factors that may be causing your Vivint outdoor camera to go offline. Remember that a stable power supply is crucial for the proper functioning of your camera and maintaining a continuous surveillance capability for your home.
Verify Internet Connection
When your Vivint outdoor camera goes offline, it’s important to check your internet connection. A stable and reliable internet connection is essential for the camera to communicate with the Vivint server and provide real-time surveillance.
Firstly, check if other devices in your home are able to connect to the internet. This will help you determine if the issue is specific to the camera or if there is a broader connectivity problem. If other devices are also unable to connect, you may need to troubleshoot your internet connection or contact your internet service provider.
If your camera is connected via Wi-Fi, ensure that the Wi-Fi signal is strong enough for the camera to establish a connection. Check the signal strength on your smartphone or another device near the camera’s location. If the signal is weak, you may need to move the camera closer to the router or consider using a Wi-Fi extender to improve coverage.
Additionally, check if the Wi-Fi network name (SSID) and password configured on the camera match those of your home network. Incorrect network credentials can prevent the camera from connecting to the internet. If necessary, update the network settings on the camera to match those of your home Wi-Fi network.
In some cases, the camera may have trouble connecting to certain Wi-Fi bands. If your router supports both 2.4GHz and 5GHz bands, try connecting the camera to the alternate band to see if it resolves the connectivity issue.
If you have a wired connection option available, consider using an Ethernet cable to directly connect the camera to your router. This can provide a more reliable and stable connection compared to Wi-Fi.
Lastly, power cycle your router by unplugging it from the power source, waiting for a few seconds, and then plugging it back in. This can help resolve temporary network issues and refresh the router’s connection.
By verifying and troubleshooting your internet connection, you can ensure that your Vivint outdoor camera has a stable and reliable network connection. This step is crucial in getting your camera back online and ensuring uninterrupted surveillance for your home.
Ensure Proper Placement
The placement of your Vivint outdoor camera plays a significant role in its ability to maintain a consistent and reliable connection. By ensuring proper placement, you can help prevent connectivity issues and ensure optimal performance.
When choosing a location for your camera, consider the following factors:
- Clear Line of Sight: Ensure that the camera has a clear line of sight to the Wi-Fi router or access point. Obstructions such as walls or large objects can weaken the Wi-Fi signal and lead to connection problems. Position the camera in a location where there are minimal obstacles between the camera and the router.
- Wi-Fi Signal Strength: Test the Wi-Fi signal strength in the chosen camera location. You can use a Wi-Fi analyzer app or check the signal strength on your smartphone. Aim for a strong and stable Wi-Fi signal, as weak signals can cause connection drops or intermittent connectivity.
- Camera Range: Consider the range of your camera’s Wi-Fi connectivity. Each camera model may have a different range, so refer to the camera’s specifications or user manual. Ensure that the camera is within the specified range of the Wi-Fi router to maintain a stable connection.
- Weather Conditions: Vivint outdoor cameras are built to withstand various weather conditions. However, extreme weather conditions such as heavy rain, snow, or extreme temperatures can affect the camera’s performance. Position the camera in a location that provides some protection from harsh weather elements while still ensuring clear visibility of the monitored area.
- Mounting Stability: Ensure that the camera is securely mounted to prevent any movement or shaking. Vibrations or movements can disrupt the camera’s connection or alter the camera’s field of view. Use appropriate mounting hardware and follow the manufacturer’s instructions for a sturdy and stable installation.
By paying attention to these placement considerations, you can help maintain a strong and consistent connection for your Vivint outdoor camera. A well-positioned camera ensures reliable surveillance and peace of mind for your home security needs.
Read more: How To Install A Vivint Outdoor Camera
Restart the Camera
One of the simplest yet effective troubleshooting steps for getting your Vivint outdoor camera back online is to restart the camera. Restarting the camera can help resolve temporary glitches or software issues that may be causing the connectivity problem.
Here’s how you can restart your Vivint outdoor camera:
- Power Off: Locate the power source of your camera and turn it off. For cameras connected to a power outlet, unplug the power adapter. If your camera is battery-powered, remove the batteries.
- Wait for 10-15 Seconds: Allow the camera to remain powered off for about 10 to 15 seconds to ensure a complete shutdown.
- Power On: Reconnect the camera to the power source. If it’s connected to a power outlet, plug in the power adapter. For battery-powered cameras, insert the batteries back into the camera.
- Wait for Camera to Reboot: The camera will now start to reboot. This process may take a few minutes. Be patient and wait for the camera to fully power back on.
- Check for Connectivity: Once the camera has finished rebooting, check if it reconnects to the Vivint server and is back online. Use the Vivint app or web portal to verify the camera’s status.
In many cases, a simple restart can resolve temporary connectivity issues. It allows the camera to refresh its settings and establish a new connection with the Vivint server. If the camera still doesn’t come back online after a restart, you can proceed to further troubleshooting steps.
Keep in mind that restarting the camera may not entirely resolve persistent connectivity problems. If the issue persists, you may need to explore additional troubleshooting options or reach out to Vivint support for further assistance.
By restarting your Vivint outdoor camera, you can quickly eliminate common connectivity glitches and potentially restore its functionality without much effort.
To get a Vivint outdoor camera back online, try power cycling the camera by unplugging it for 30 seconds and then plugging it back in. If that doesn’t work, check the Wi-Fi connection and make sure it’s strong enough for the camera to connect.
Reset the Camera
If restarting your Vivint outdoor camera does not resolve the connectivity issue, you may need to perform a camera reset. Resetting the camera can help clear any lingering configuration or software issues that are causing the camera to go offline.
Before proceeding with a camera reset, it’s important to note that this process will restore the camera to its factory default settings. Any customized settings or configurations will be erased, and you will need to set up the camera again from scratch.
Here’s how you can reset your Vivint outdoor camera:
- Locate the Reset Button: Look for a small reset button on your camera. The button is usually recessed and may require a pointed object, such as a paperclip or pin, to press it.
- Press and Hold the Reset Button: Press and hold the reset button for about 10-15 seconds. You may need to use a tool to keep the button pressed if it’s hard to reach or difficult to hold down.
- Observe the Camera’s Indicators: While holding the reset button, pay attention to any indicators on the camera itself. Some cameras may have LED lights that will flash or change colors to indicate that the reset process is underway.
- Release the Reset Button: After 10-15 seconds, release the reset button. The camera will now begin the reset process.
- Wait for the Camera to Reset: The camera will take a few moments to reset to its factory default settings. During this time, it will reboot and clear all previous configurations.
- Reconfigure the Camera: Once the reset process is complete, you will need to reconfigure the camera. Follow the instructions provided by Vivint to connect the camera to your home network and set up any desired settings.
- Check for Connectivity: After reconfiguring the camera, check if it reconnects to the Vivint server and is back online. Use the Vivint app or web portal to verify the camera’s status.
Resetting your Vivint outdoor camera is a more drastic troubleshooting step but can be effective in resolving persistent connectivity issues. By returning the camera to its factory default settings, you eliminate any potential software or configuration issues that may be causing the camera to go offline.
If the camera still doesn’t come back online after a reset, it is recommended to contact Vivint support for further assistance. Their technical team can provide additional guidance and troubleshoot the issue specific to your camera.
Update Firmware
Keeping your Vivint outdoor camera’s firmware up to date is crucial for optimal performance and connectivity. Firmware updates often include bug fixes, security enhancements, and improvements to overall functionality. If your camera is experiencing connectivity issues, it’s worth checking if there are any available firmware updates.
Here’s how you can update the firmware on your Vivint outdoor camera:
- Launch the Vivint App or Web Portal: Open the Vivint app on your smartphone or access the web portal on your computer and log in to your account.
- Access Camera Settings: Navigate to the settings section of the app or web portal and locate the camera that needs a firmware update.
- Check Firmware Status: Look for an option that displays the current firmware version of your camera. Compare this version to the latest firmware version available from Vivint.
- Download and Install Firmware Update: If a newer firmware version is available, follow the prompts to download and install the update. This process may take a few minutes, so be patient and let it complete.
- Monitor the Update Progress: During the update process, your camera may reboot or display indicators to show the progress. Avoid interrupting the update or powering off the camera until the process is complete.
- Check for Connectivity: After the firmware update is installed and the camera reboots, check if it reconnects to the Vivint server and is back online. Use the Vivint app or web portal to verify the camera’s status.
Updating the firmware of your Vivint outdoor camera ensures that you have the latest features, bug fixes, and security enhancements. It can also address any known issues that might be affecting the camera’s connectivity.
If you are unsure about how to update the firmware or if your camera’s firmware is not updating properly, reach out to Vivint support for assistance. They can guide you through the process and ensure that your camera’s firmware is up to date.
Reach Out to Vivint Support
If you’ve gone through the previous troubleshooting steps and your Vivint outdoor camera still remains offline, it may be time to contact Vivint support for assistance. Their technical support team is trained to address connectivity issues and can provide specific guidance based on your camera model and setup.
Here are a few steps to help you reach out to Vivint support:
- Locate Support Contact Information: Visit the Vivint website or refer to your account information to find the contact details for Vivint support. They may have different methods of contact, such as a phone number, email, or online chat.
- Prepare Relevant Information: Before reaching out, gather important information related to your camera, such as the model number, serial number, and any error messages you’ve encountered during the troubleshooting process. This will help the support team understand your situation better.
- Contact Vivint Support: Use the provided contact information to get in touch with Vivint support. Explain the connectivity issues you’re experiencing and provide the relevant information you gathered.
- Follow Support Instructions: The support representative will guide you through the troubleshooting process or may escalate the issue to a specialized team if necessary. Be patient and follow their instructions carefully.
- Provide Feedback and Ask for Updates: During the troubleshooting process, it’s important to provide feedback and ask for updates on the progress. This will help the support team understand if their recommended steps are working or if additional assistance is needed.
- Follow Up: If the initial support interaction does not resolve the issue, don’t hesitate to follow up with Vivint support. They are committed to helping you resolve the problem and can provide further assistance if needed.
Vivint support is there to help you resolve any issues you may encounter with your outdoor camera. They have the expertise and resources to provide you with the necessary assistance to get your camera back online and functioning properly.
Remember to be polite and patient when communicating with the support team, as they are working diligently to help you resolve the problem. Be open to their suggestions and provide as much detailed information as possible to expedite the troubleshooting process.
Read more: How To Remove Vivint Outdoor Camera
Consider Professional Assistance
If you’ve exhausted all the troubleshooting steps mentioned earlier and your Vivint outdoor camera remains offline, it may be time to consider seeking professional assistance. Vivint offers professional installation and maintenance services for their home security systems, including outdoor cameras.
Here are a few reasons why you might consider professional assistance:
- Technical Expertise: Vivint technicians have extensive knowledge and experience with their products. They are trained to diagnose and resolve complex connectivity issues. By utilizing their expertise, you can ensure that the root cause of the problem is identified and resolved efficiently.
- Professional Installation: If you initially installed the camera yourself, there’s a possibility that improper installation or configuration is causing the connectivity issue. Professional technicians can review the installation and make any necessary adjustments or recommendations to optimize performance.
- Physical Inspection: A professional technician can physically inspect the camera and its surroundings to identify any external factors that may be causing the connectivity problem. They can assess the camera’s placement, wiring, and power source to ensure everything is in proper working order.
- Advanced Troubleshooting Tools: Vivint technicians have access to advanced troubleshooting tools and equipment. This allows them to perform in-depth diagnostics and pinpoint the exact cause of the connectivity issue. They can then take appropriate steps to resolve it.
- Warranty Coverage: If your camera is still under warranty, utilizing Vivint’s professional assistance ensures that any necessary repairs or replacements are covered. This can save you from incurring additional costs for resolving the connectivity issue.
To request professional assistance from Vivint, contact their customer support and inquire about their installation and maintenance services. They will schedule a technician to visit your property and assess and resolve the issue with your outdoor camera.
By considering professional assistance, you can have the peace of mind knowing that your Vivint outdoor camera will be properly diagnosed, repaired, or replaced, ensuring that you regain reliable connectivity and a fully functional home security system.
Conclusion
Ensuring that your Vivint outdoor camera is functioning properly and has a stable connection is essential for maintaining the safety and security of your home. If your camera goes offline, it can be frustrating, but with the troubleshooting steps provided in this guide, you can work towards getting it back online.
By checking the power source, verifying the internet connection, ensuring proper placement, restarting the camera, resetting the camera, updating the firmware, reaching out to Vivint support, and considering professional assistance, you have a comprehensive set of steps to help resolve connectivity issues with your Vivint outdoor camera.
Remember to approach each step with patience and follow the instructions carefully. Test the camera’s connectivity after each troubleshooting step to determine if the issue has been resolved. If the problem persists, don’t hesitate to reach out to Vivint support or consider professional assistance for further guidance.
Your home security and surveillance system should provide you with peace of mind, knowing that you can rely on it to protect your property and loved ones. By resolving any connectivity issues with your Vivint outdoor camera, you can ensure that your security system is operating at its best.
Remember to regularly update and maintain your camera’s firmware to benefit from the latest features and improvements. Also, consider periodic check-ups by professionals to ensure that your camera is properly installed and functioning optimally.
With these troubleshooting steps and the support of the Vivint team, you can get your Vivint outdoor camera back online and enjoy the enhanced security and surveillance capabilities it provides.
Securing your residence isn't just about troubleshooting when things go wrong; it's about proactive protection. Dive deeper into why robust home security systems are essential to safeguard your family and possessions. For tech enthusiasts, exploring the latest in home automation might just be the next step to modernizing your space for 2024. Both topics offer valuable insights into maintaining and enhancing your living environment.
Frequently Asked Questions about How To Get A Vivint Outdoor Camera Back Online
Was this page helpful?
At Storables.com, we guarantee accurate and reliable information. Our content, validated by Expert Board Contributors, is crafted following stringent Editorial Policies. We're committed to providing you with well-researched, expert-backed insights for all your informational needs.