Home>Home Security and Surveillance>How To Ground My Panasonic Outdoor Camera
Home Security and Surveillance
How To Ground My Panasonic Outdoor Camera
Modified: March 6, 2024
Secure your home with a Panasonic outdoor camera. Learn how to ground and install the camera for reliable home security and surveillance.
(Many of the links in this article redirect to a specific reviewed product. Your purchase of these products through affiliate links helps to generate commission for Storables.com, at no extra cost. Learn more)
Introduction
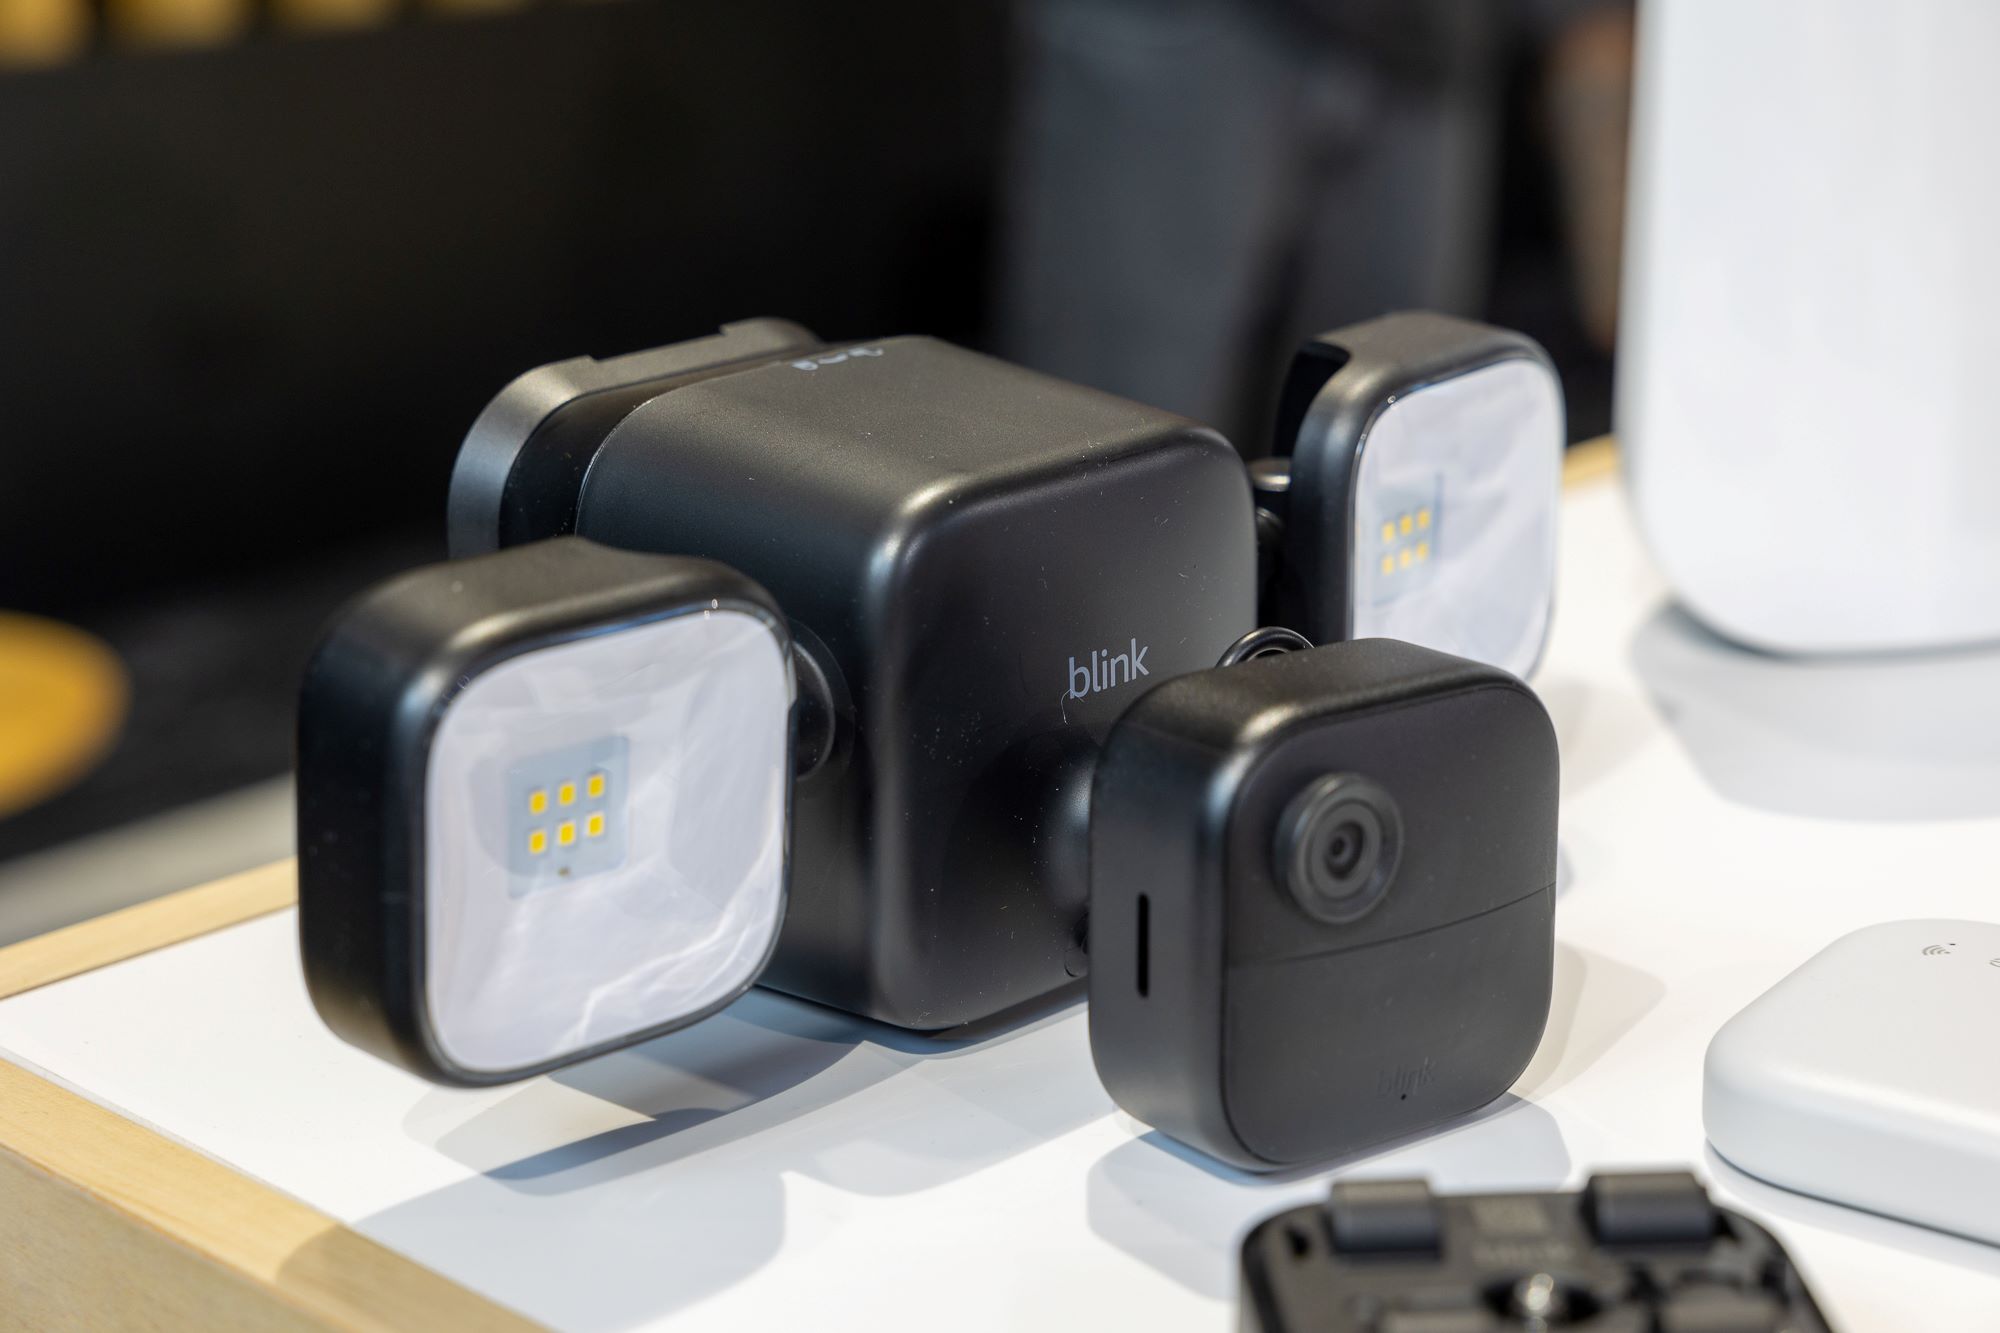
Welcome to the comprehensive guide on how to ground your Panasonic outdoor camera. Ensuring that your camera is properly grounded is crucial for the safety and functionality of your home security system. Grounding helps protect your camera from power surges, electrical malfunctions, and even lightning strikes.
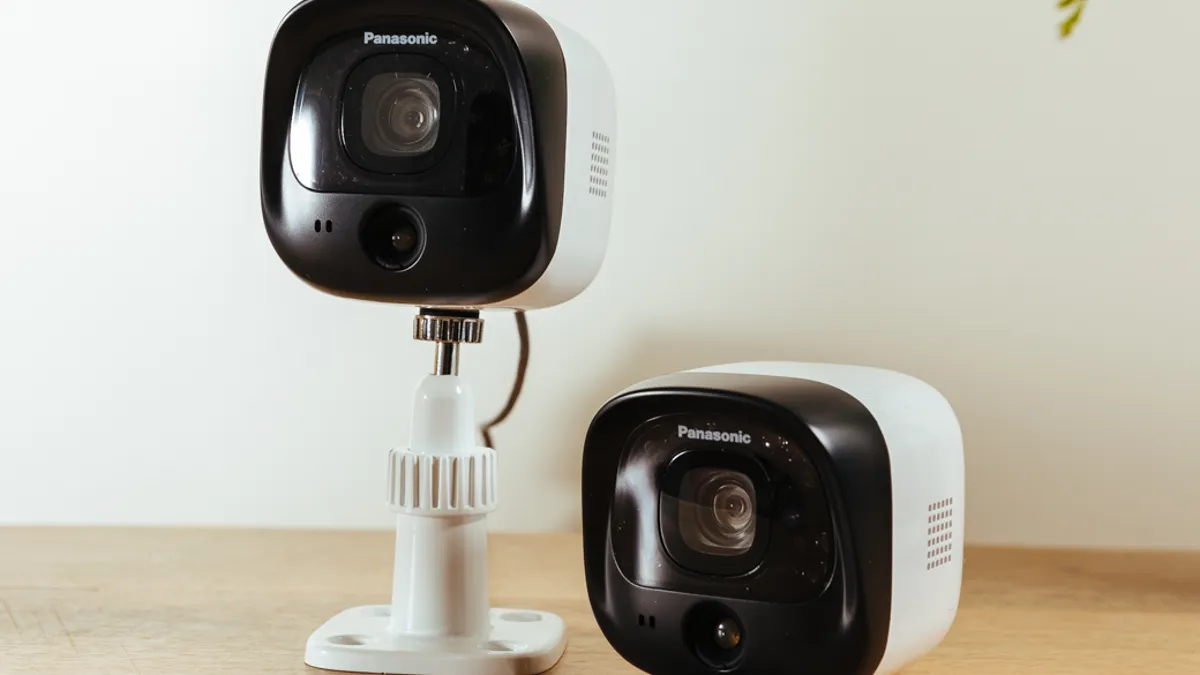
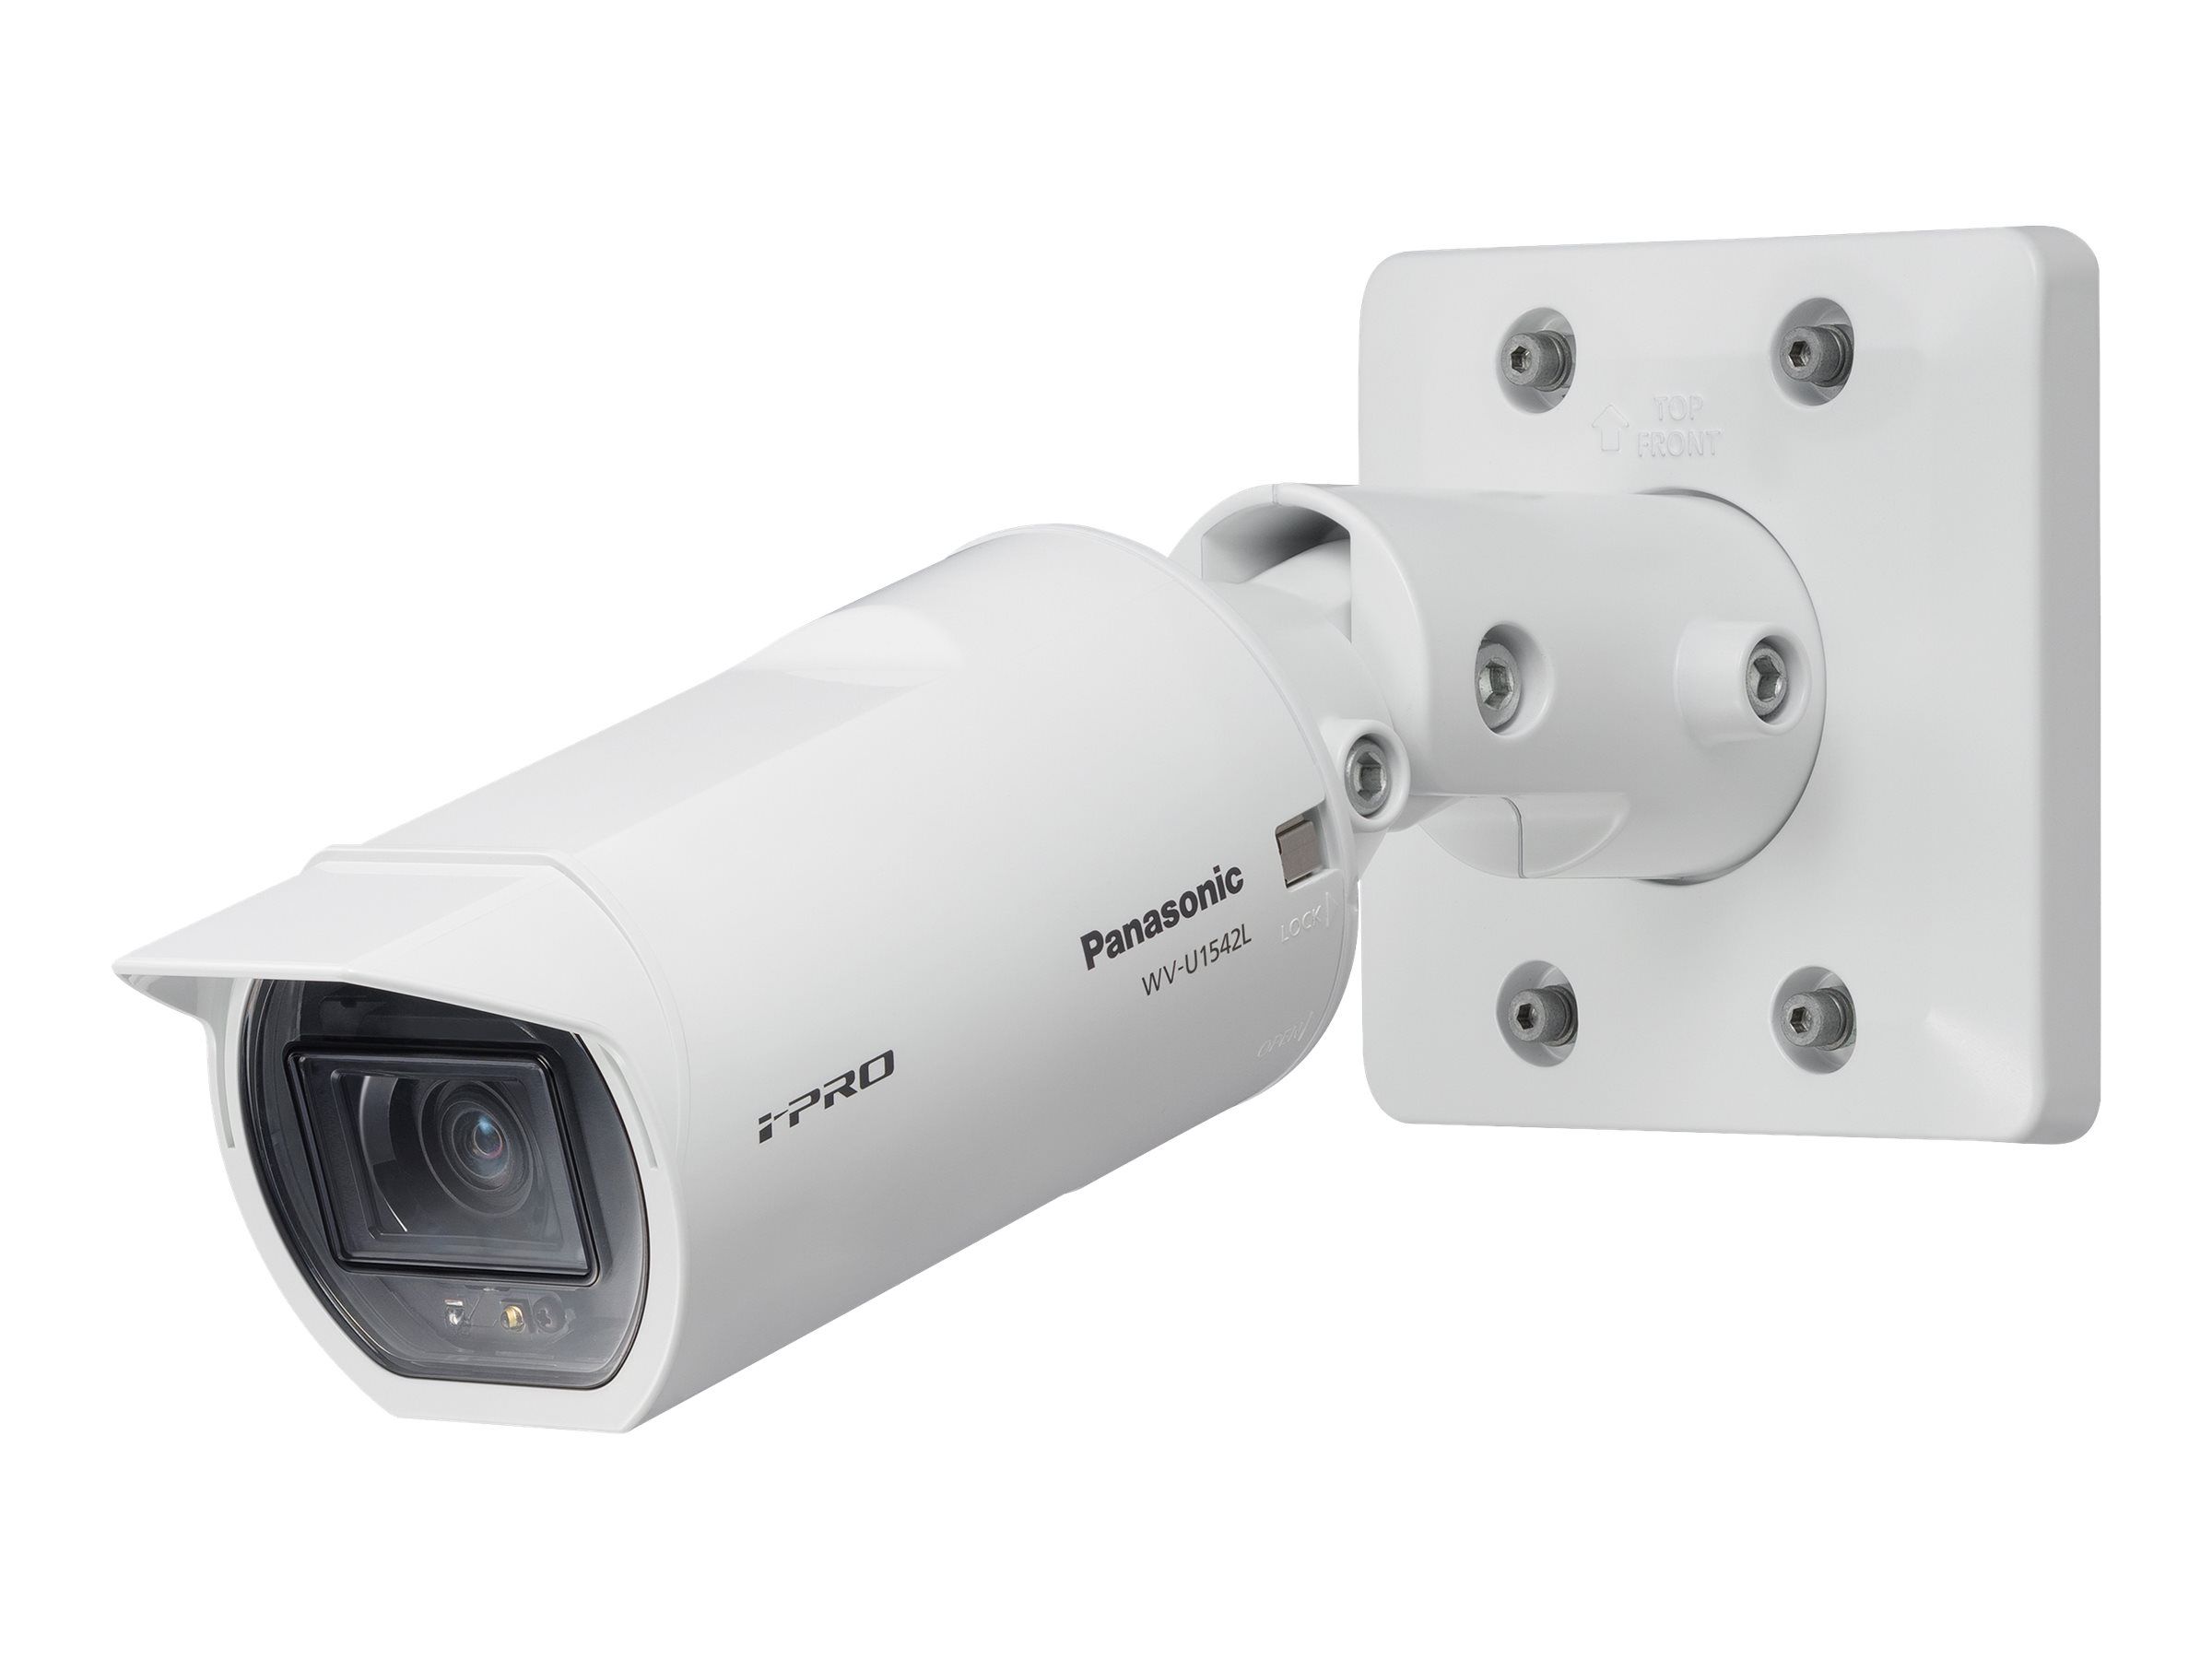
Panasonic outdoor cameras are known for their durability and high-quality performance. Whether you have just purchased a new camera or want to make sure your existing camera is properly grounded, this step-by-step guide will walk you through the process.
In this article, we will cover everything you need to know about grounding your Panasonic outdoor camera. From selecting the right location to connecting the camera to a power source and ensuring the proper grounding, we will provide you with all the information you need to keep your home surveillance system running smoothly and securely.
Before we dive into the steps, let’s take a moment to understand the importance of grounding your outdoor camera.
Key Takeaways:
- Properly grounding your Panasonic outdoor camera is like giving it a protective shield against electrical mishaps and lightning strikes, ensuring it stays safe and functions smoothly.
- Selecting the right location, securely mounting the camera, and connecting it to a power source are crucial steps, but proper grounding is the final touch that keeps your home security system in top shape.
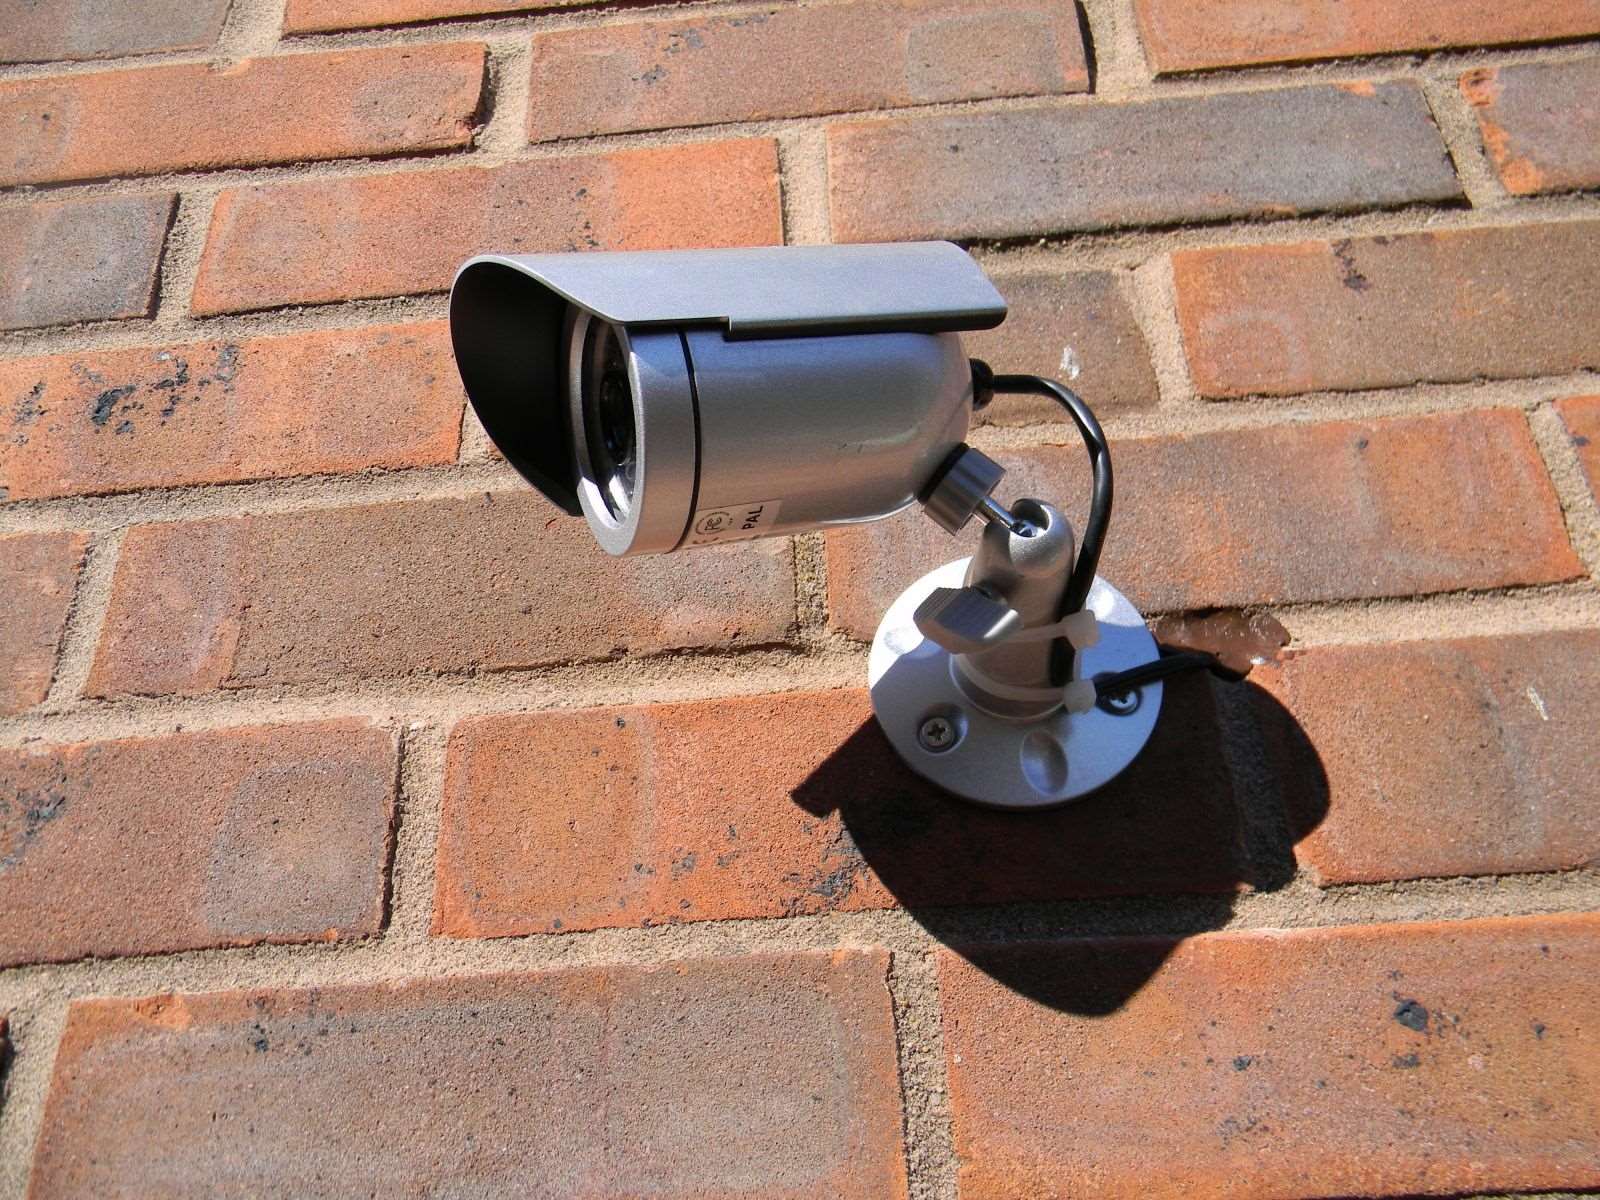
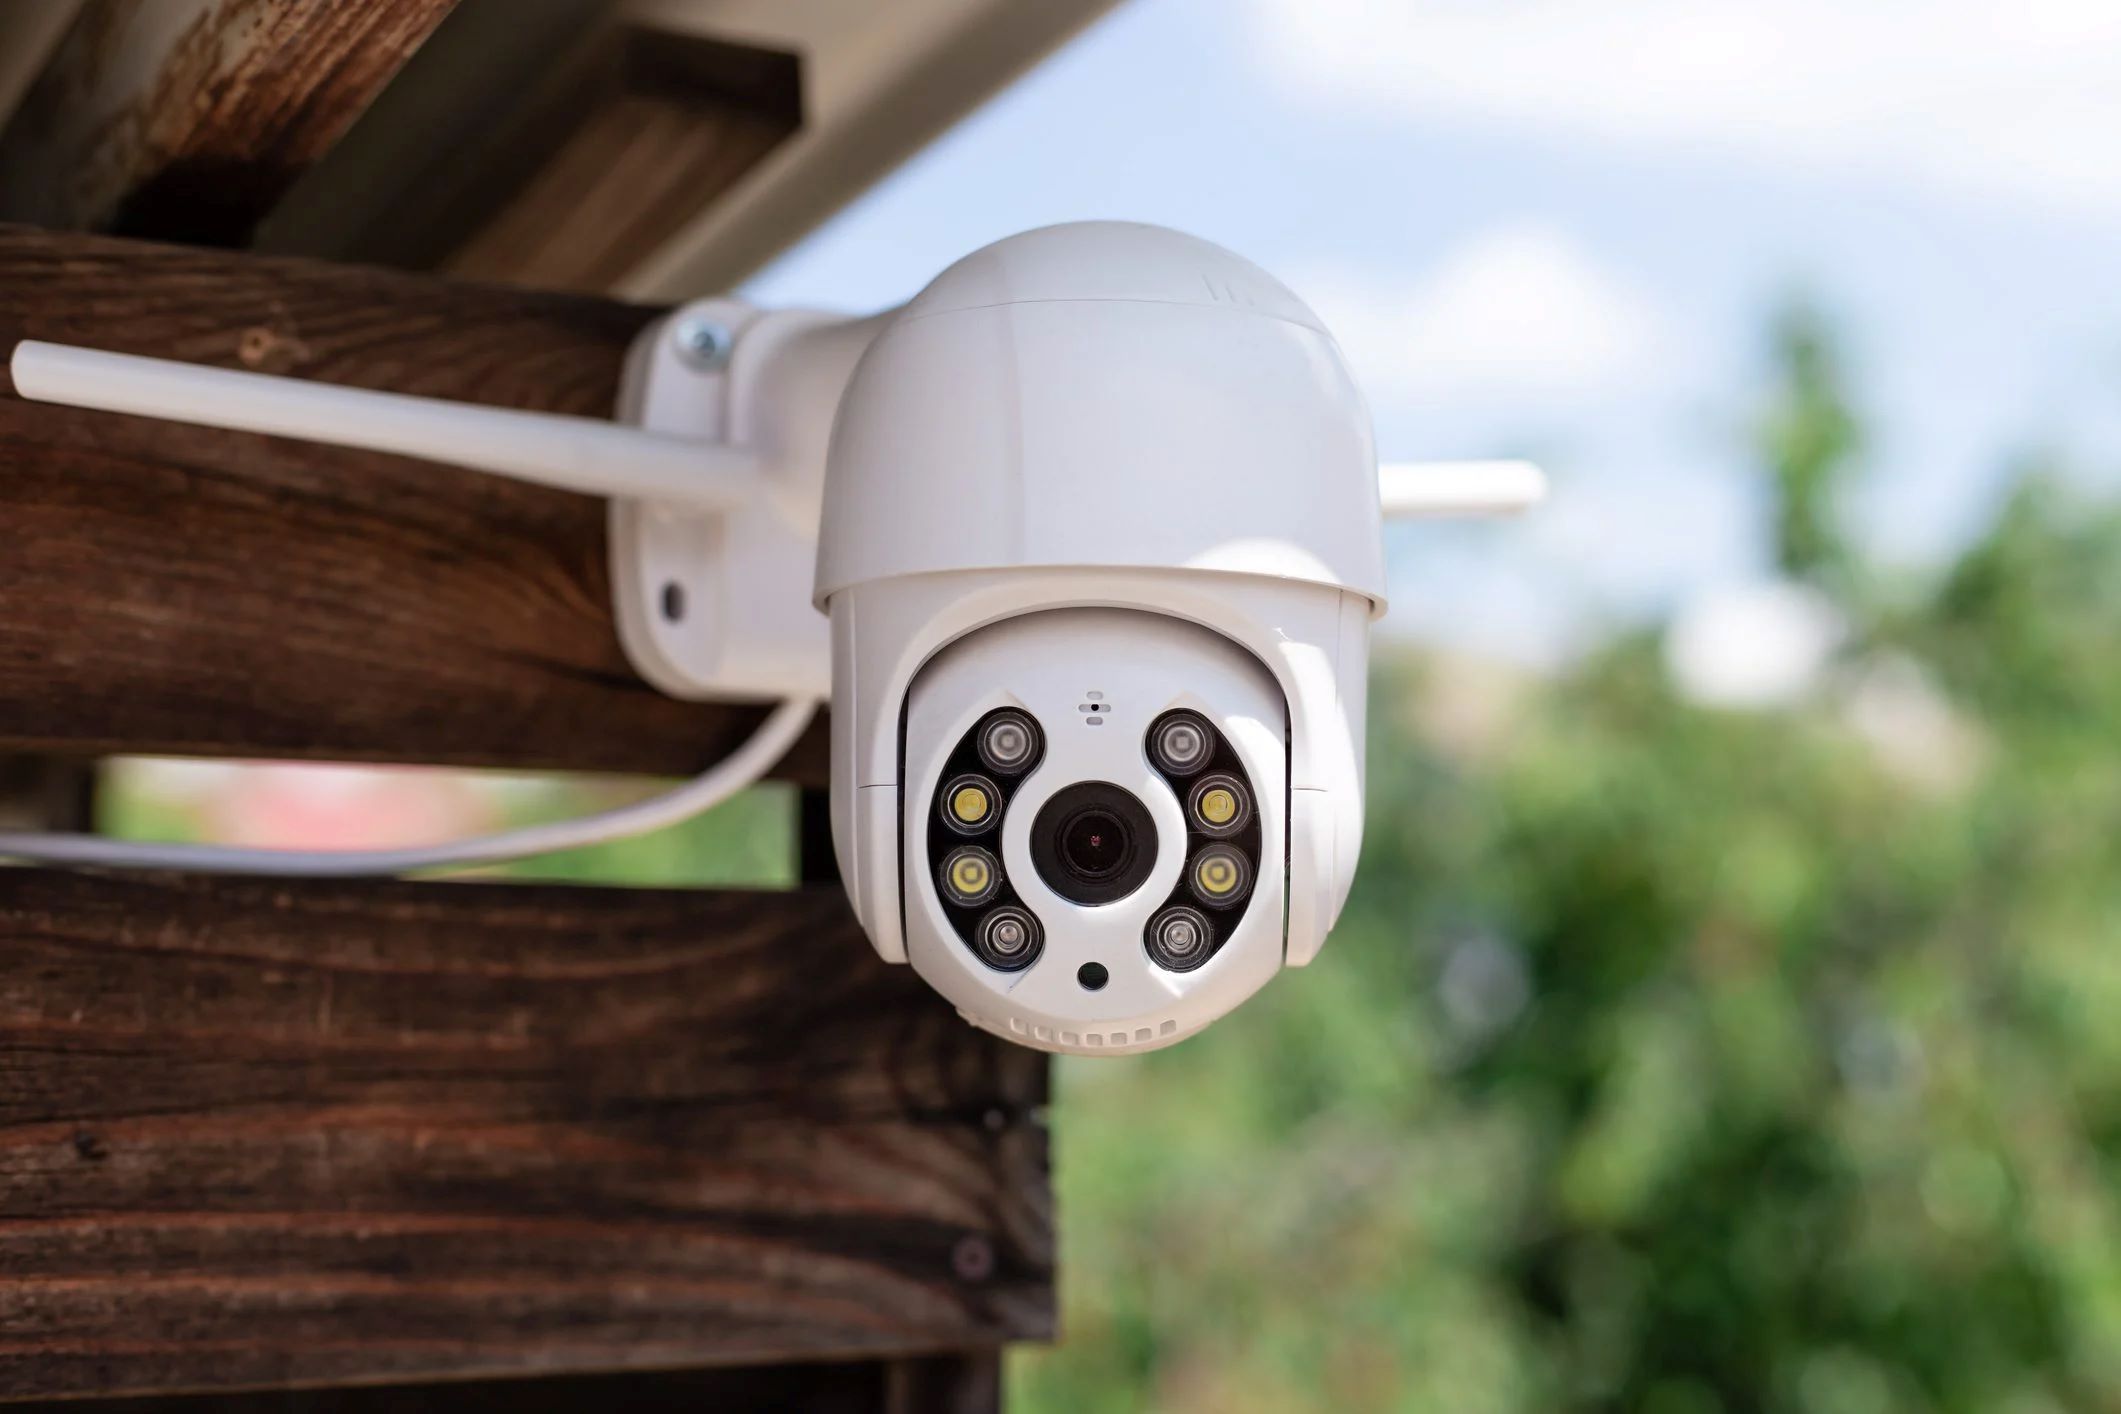
Step 1: Select an Appropriate Location for the Camera
The first step in grounding your Panasonic outdoor camera is selecting an appropriate location for it. The location you choose should provide an optimal view of the area you want to monitor while also considering factors such as accessibility, safety, and protection from the elements.
Here are some key points to keep in mind when selecting the location:
- Visibility: Ensure that the camera has an unobstructed view of the area you want to monitor. Avoid placing it in areas where trees, buildings, or other objects can block its line of sight.
- Accessibility: Choose a location that allows easy access to the camera for maintenance and adjustments. It’s important to be able to reach the camera without difficulties.
- Safety: Consider the security of the camera itself. Opt for high and secure locations to deter vandalism or tampering.
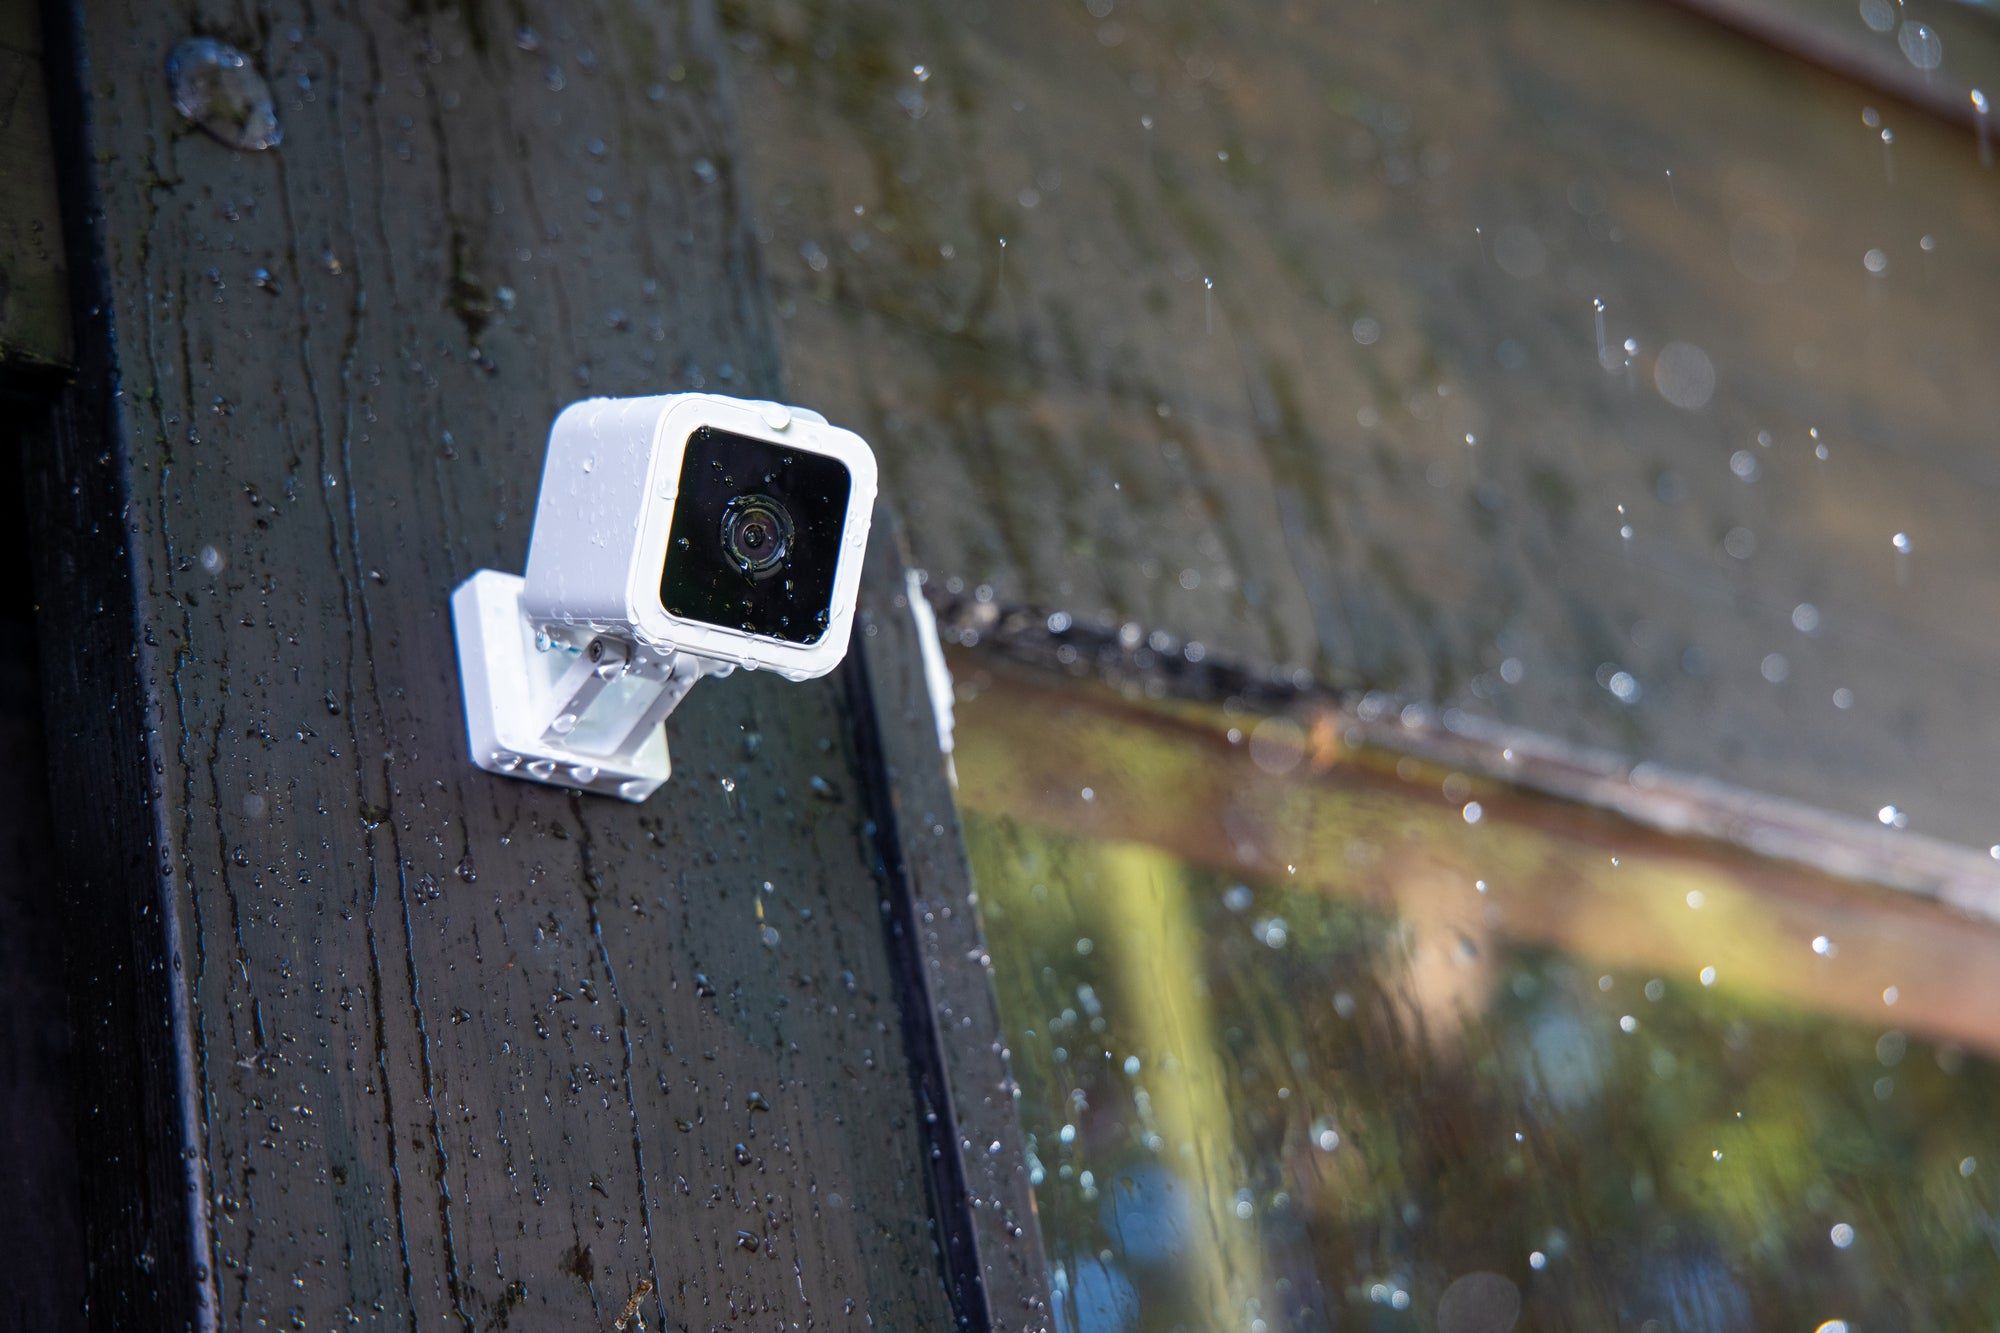
- Protection from the elements: Panasonic outdoor cameras are designed to withstand various weather conditions, but it’s still essential to protect them from excessive rain, snow, or direct sunlight. Look for areas with natural cover or consider installing a protective housing for the camera.
- Power source proximity: Select a location near a power source to ensure easy and convenient electrical connectivity.
Once you have identified the ideal location for your Panasonic outdoor camera, move on to the next step to mount the camera securely.
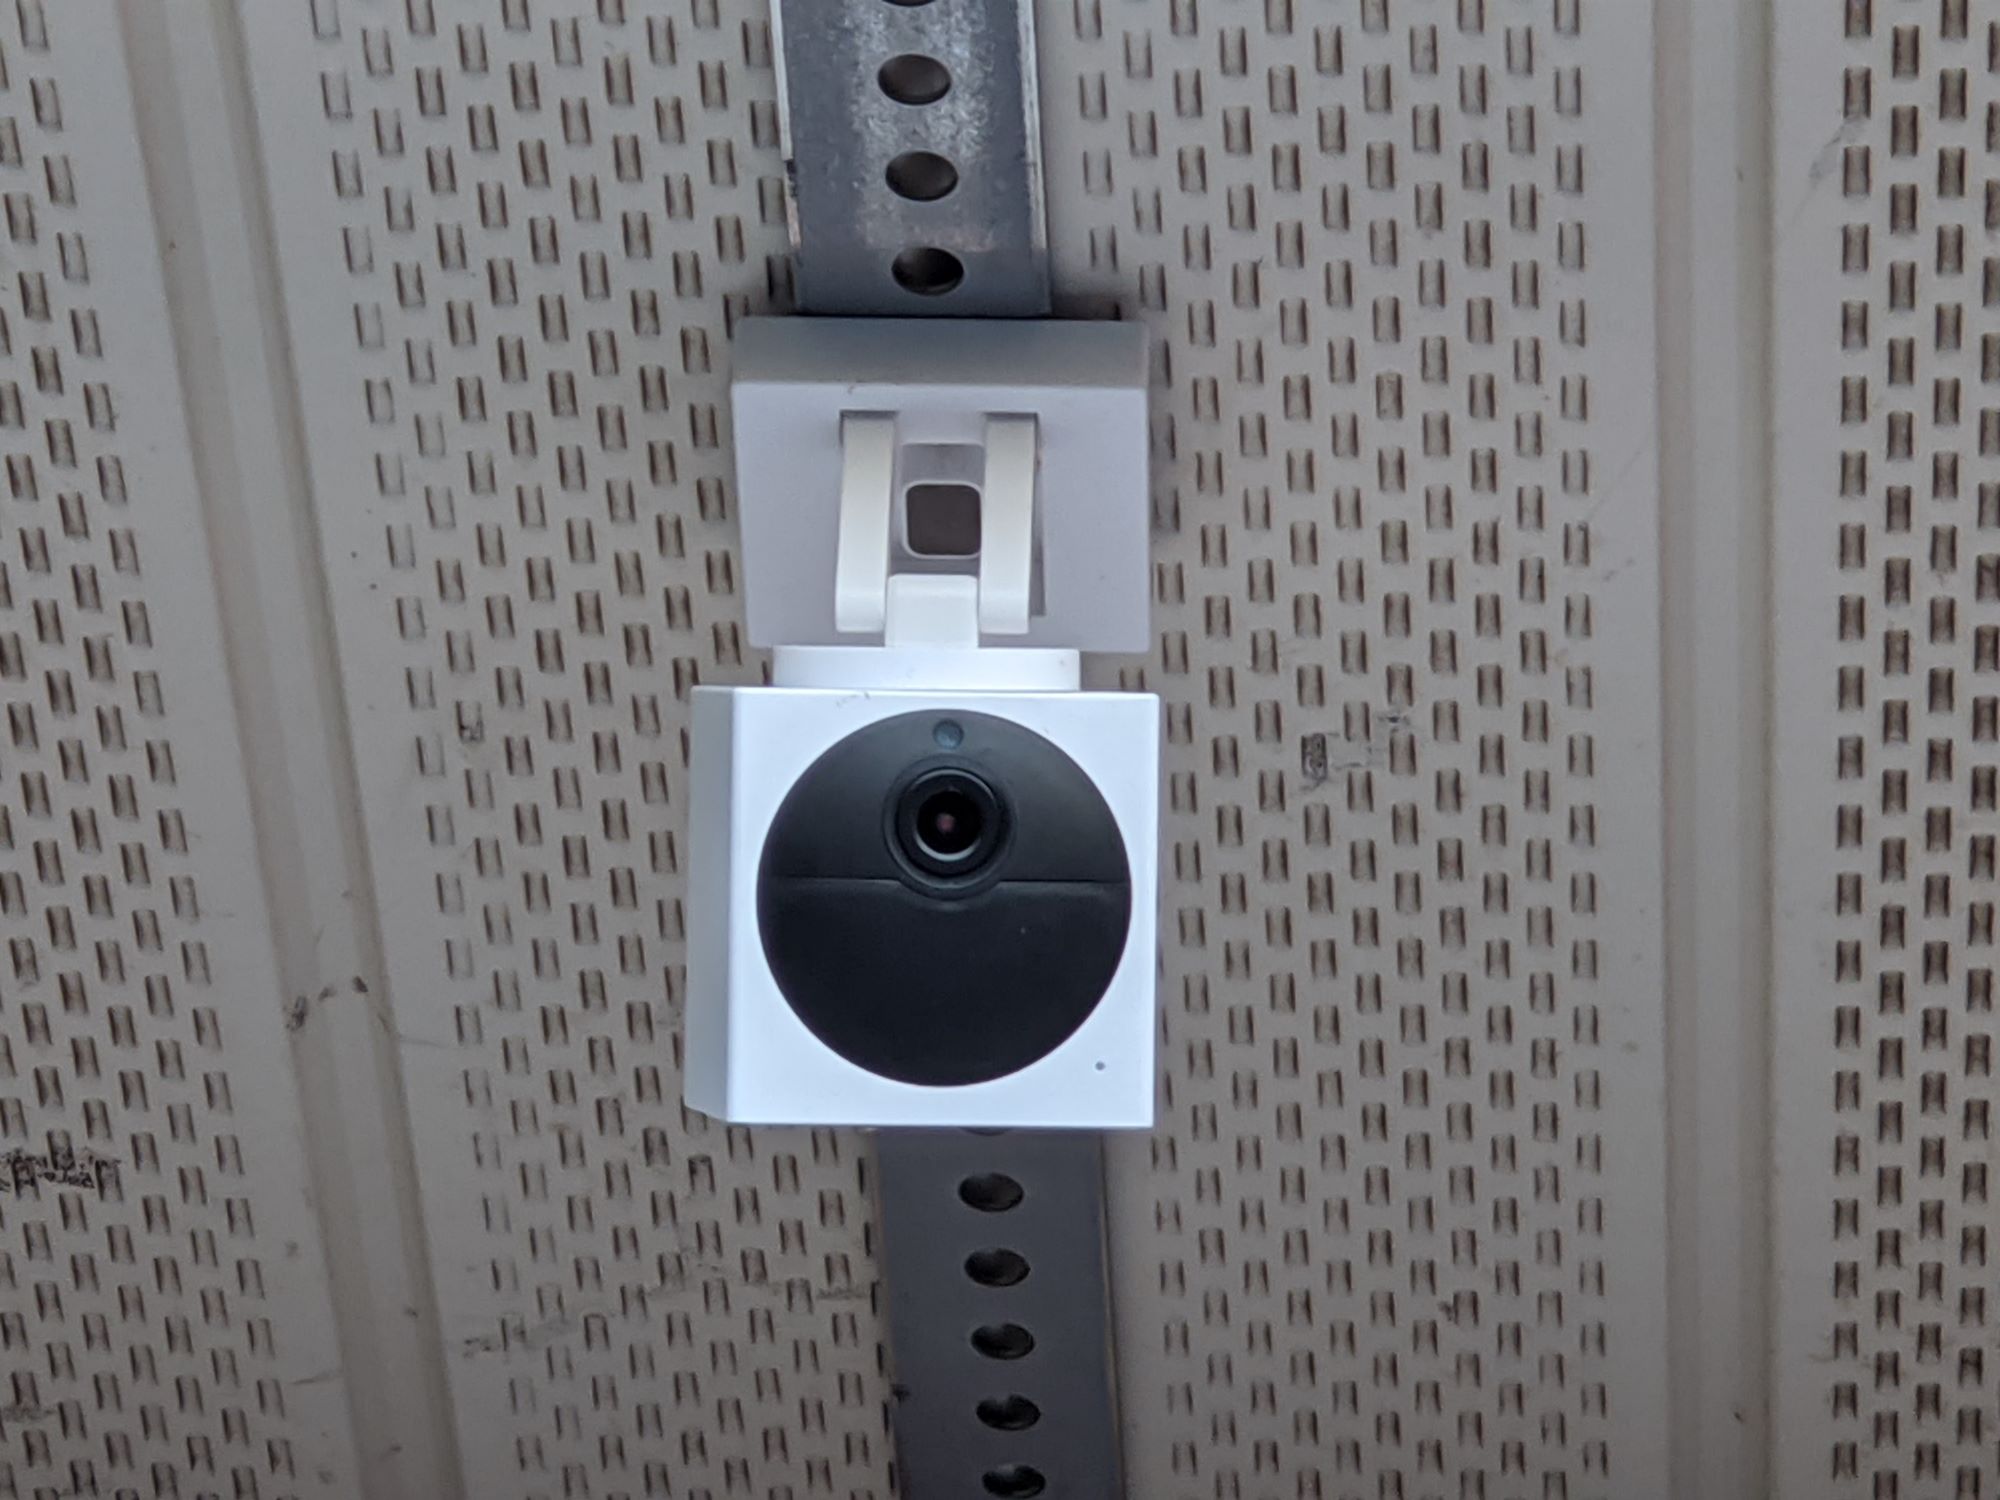
Step 2: Mount the Camera Securely
After selecting the appropriate location for your Panasonic outdoor camera, the next step is to mount it securely. Proper mounting ensures that the camera remains stable and fixed, allowing it to capture clear and steady footage.
Here’s what you need to do:
- Check the mounting surface: Before you begin mounting the camera, inspect the surface to ensure it is sturdy and capable of supporting the weight of the camera. Avoid mounting on surfaces that are unstable or prone to vibrations.
- Use a mounting bracket: Most Panasonic outdoor cameras come with a mounting bracket. Attach the bracket securely to the chosen location using screws or other appropriate hardware.
- Align the camera: Once the mounting bracket is in place, align the camera properly with the mounting holes on the bracket. Make sure it is level to capture accurate footage.
- Secure the camera: Use the provided screws or other recommended fasteners to secure the camera onto the mounting bracket. Ensure that the camera is tightly attached and doesn’t move or shake.
It’s important to note that different camera models may have specific mounting instructions. Refer to the user manual or installation guide provided by Panasonic for detailed instructions tailored to your specific camera model.
With the camera securely mounted, it’s time to move on to the next step and connect the camera to a power source.
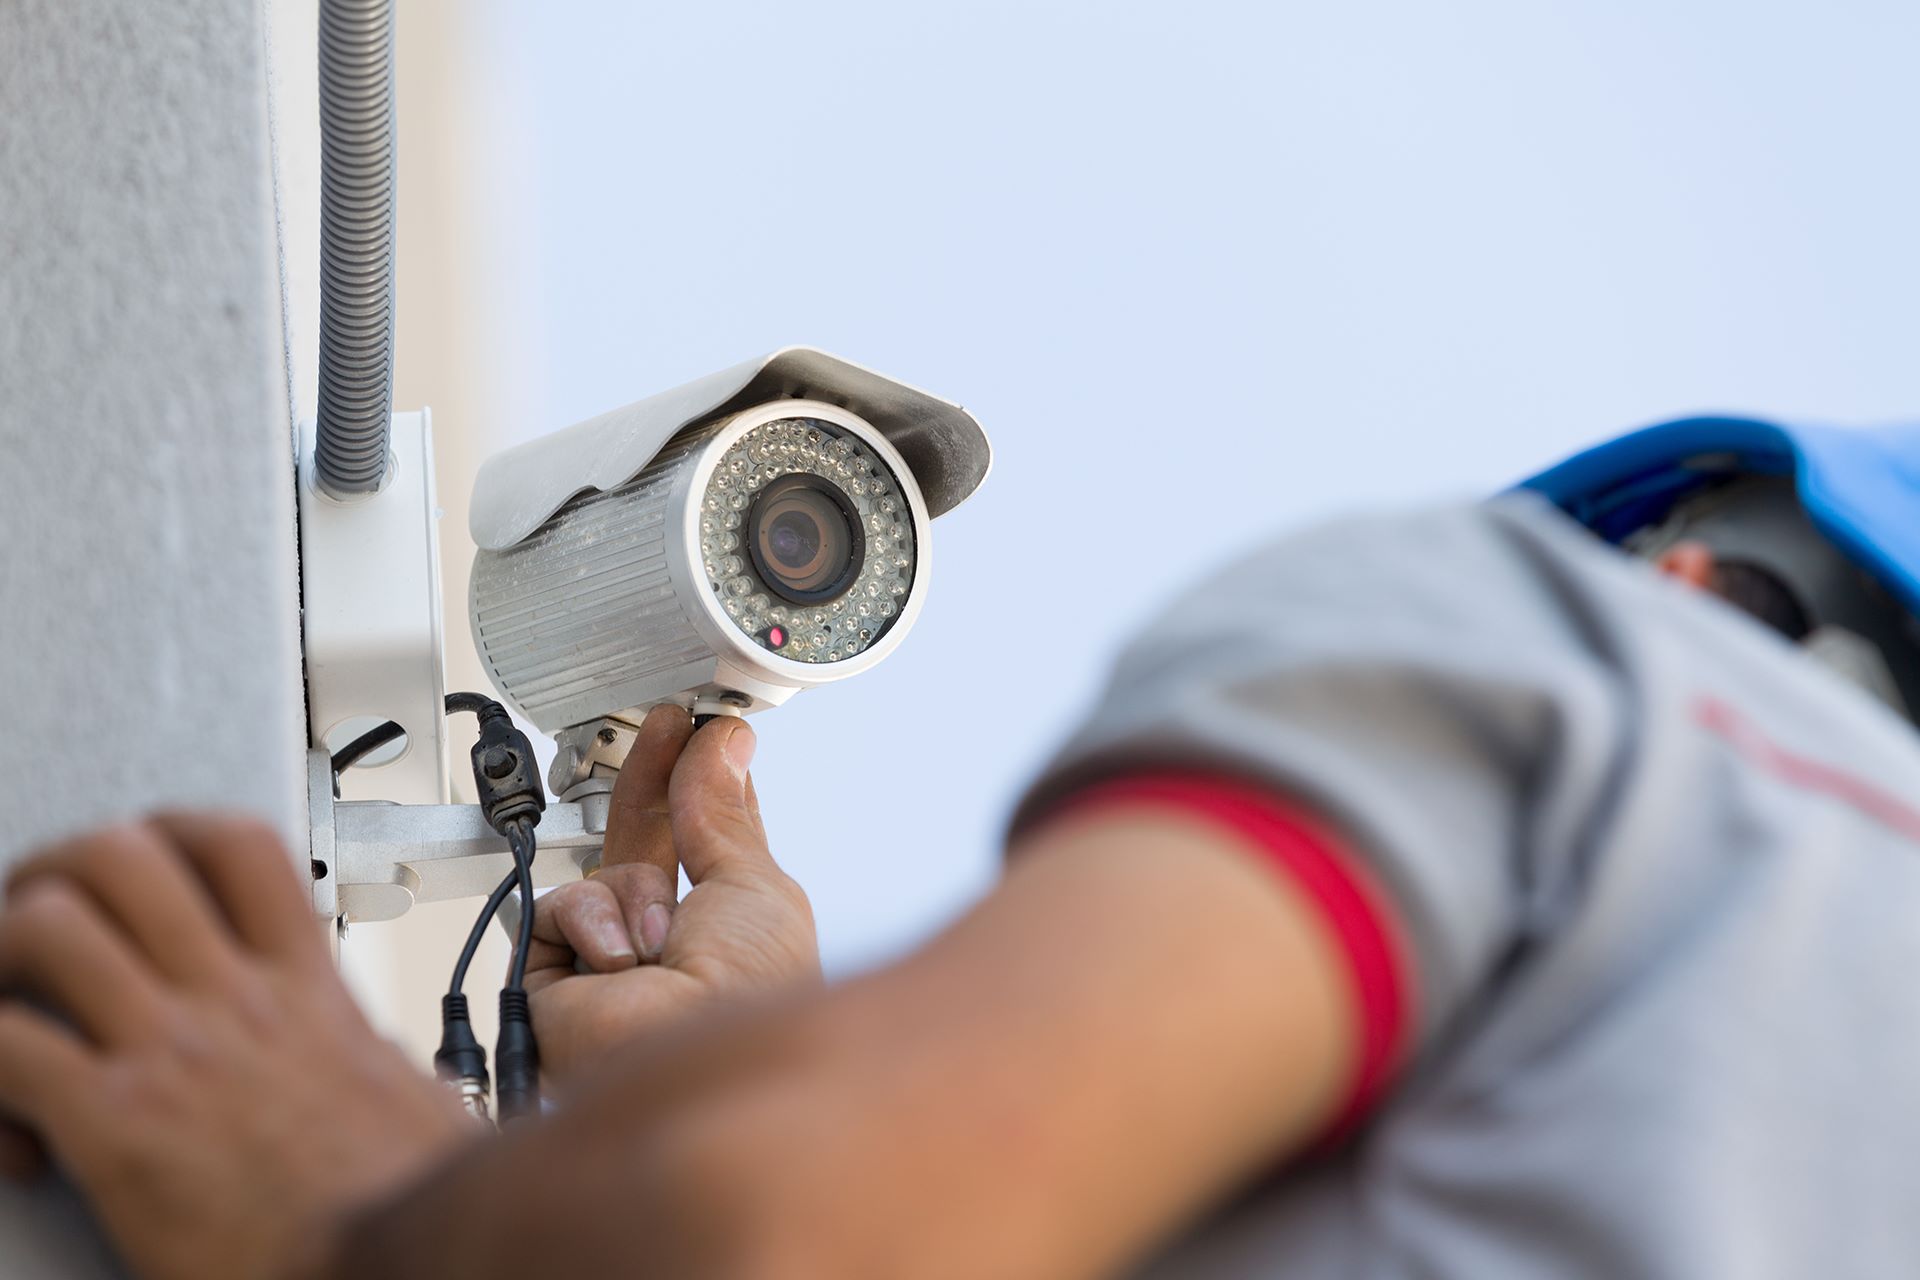
Step 3: Connect the Camera to a Power Source
Now that your Panasonic outdoor camera is securely mounted, it’s time to connect it to a power source. Proper electrical connectivity is essential for the camera to function effectively and continuously.
Follow these steps to connect your camera to a power source:
- Locate the power input: Identify the power input on your Panasonic outdoor camera. It is usually located at the back or bottom of the camera.
- Prepare the power cable: If your camera didn’t come with a power cable, ensure you have the right cable for the job. It is recommended to use the cable provided by Panasonic or a compatible alternative.
- Connect the power cable: Insert the power cable into the power input on the camera and tighten it if necessary. Ensure that the connection is secure to avoid any power interruptions.
- Plug in the power adapter: Connect the other end of the power cable to the power adapter. Plug the adapter into a nearby electrical outlet. Make sure the outlet is functioning correctly and providing a stable power supply.
- Power on the camera: After the camera is connected to the power source, turn on the camera and wait for it to initialize. Refer to the user manual for specific instructions on powering up your camera.
Always follow proper electrical safety guidelines when working with power sources. Ensure that the power cable is not damaged or frayed, and avoid overloading electrical outlets.
Now that your Panasonic outdoor camera is powered up, it’s time to connect it to a recorder or monitor in the next step.
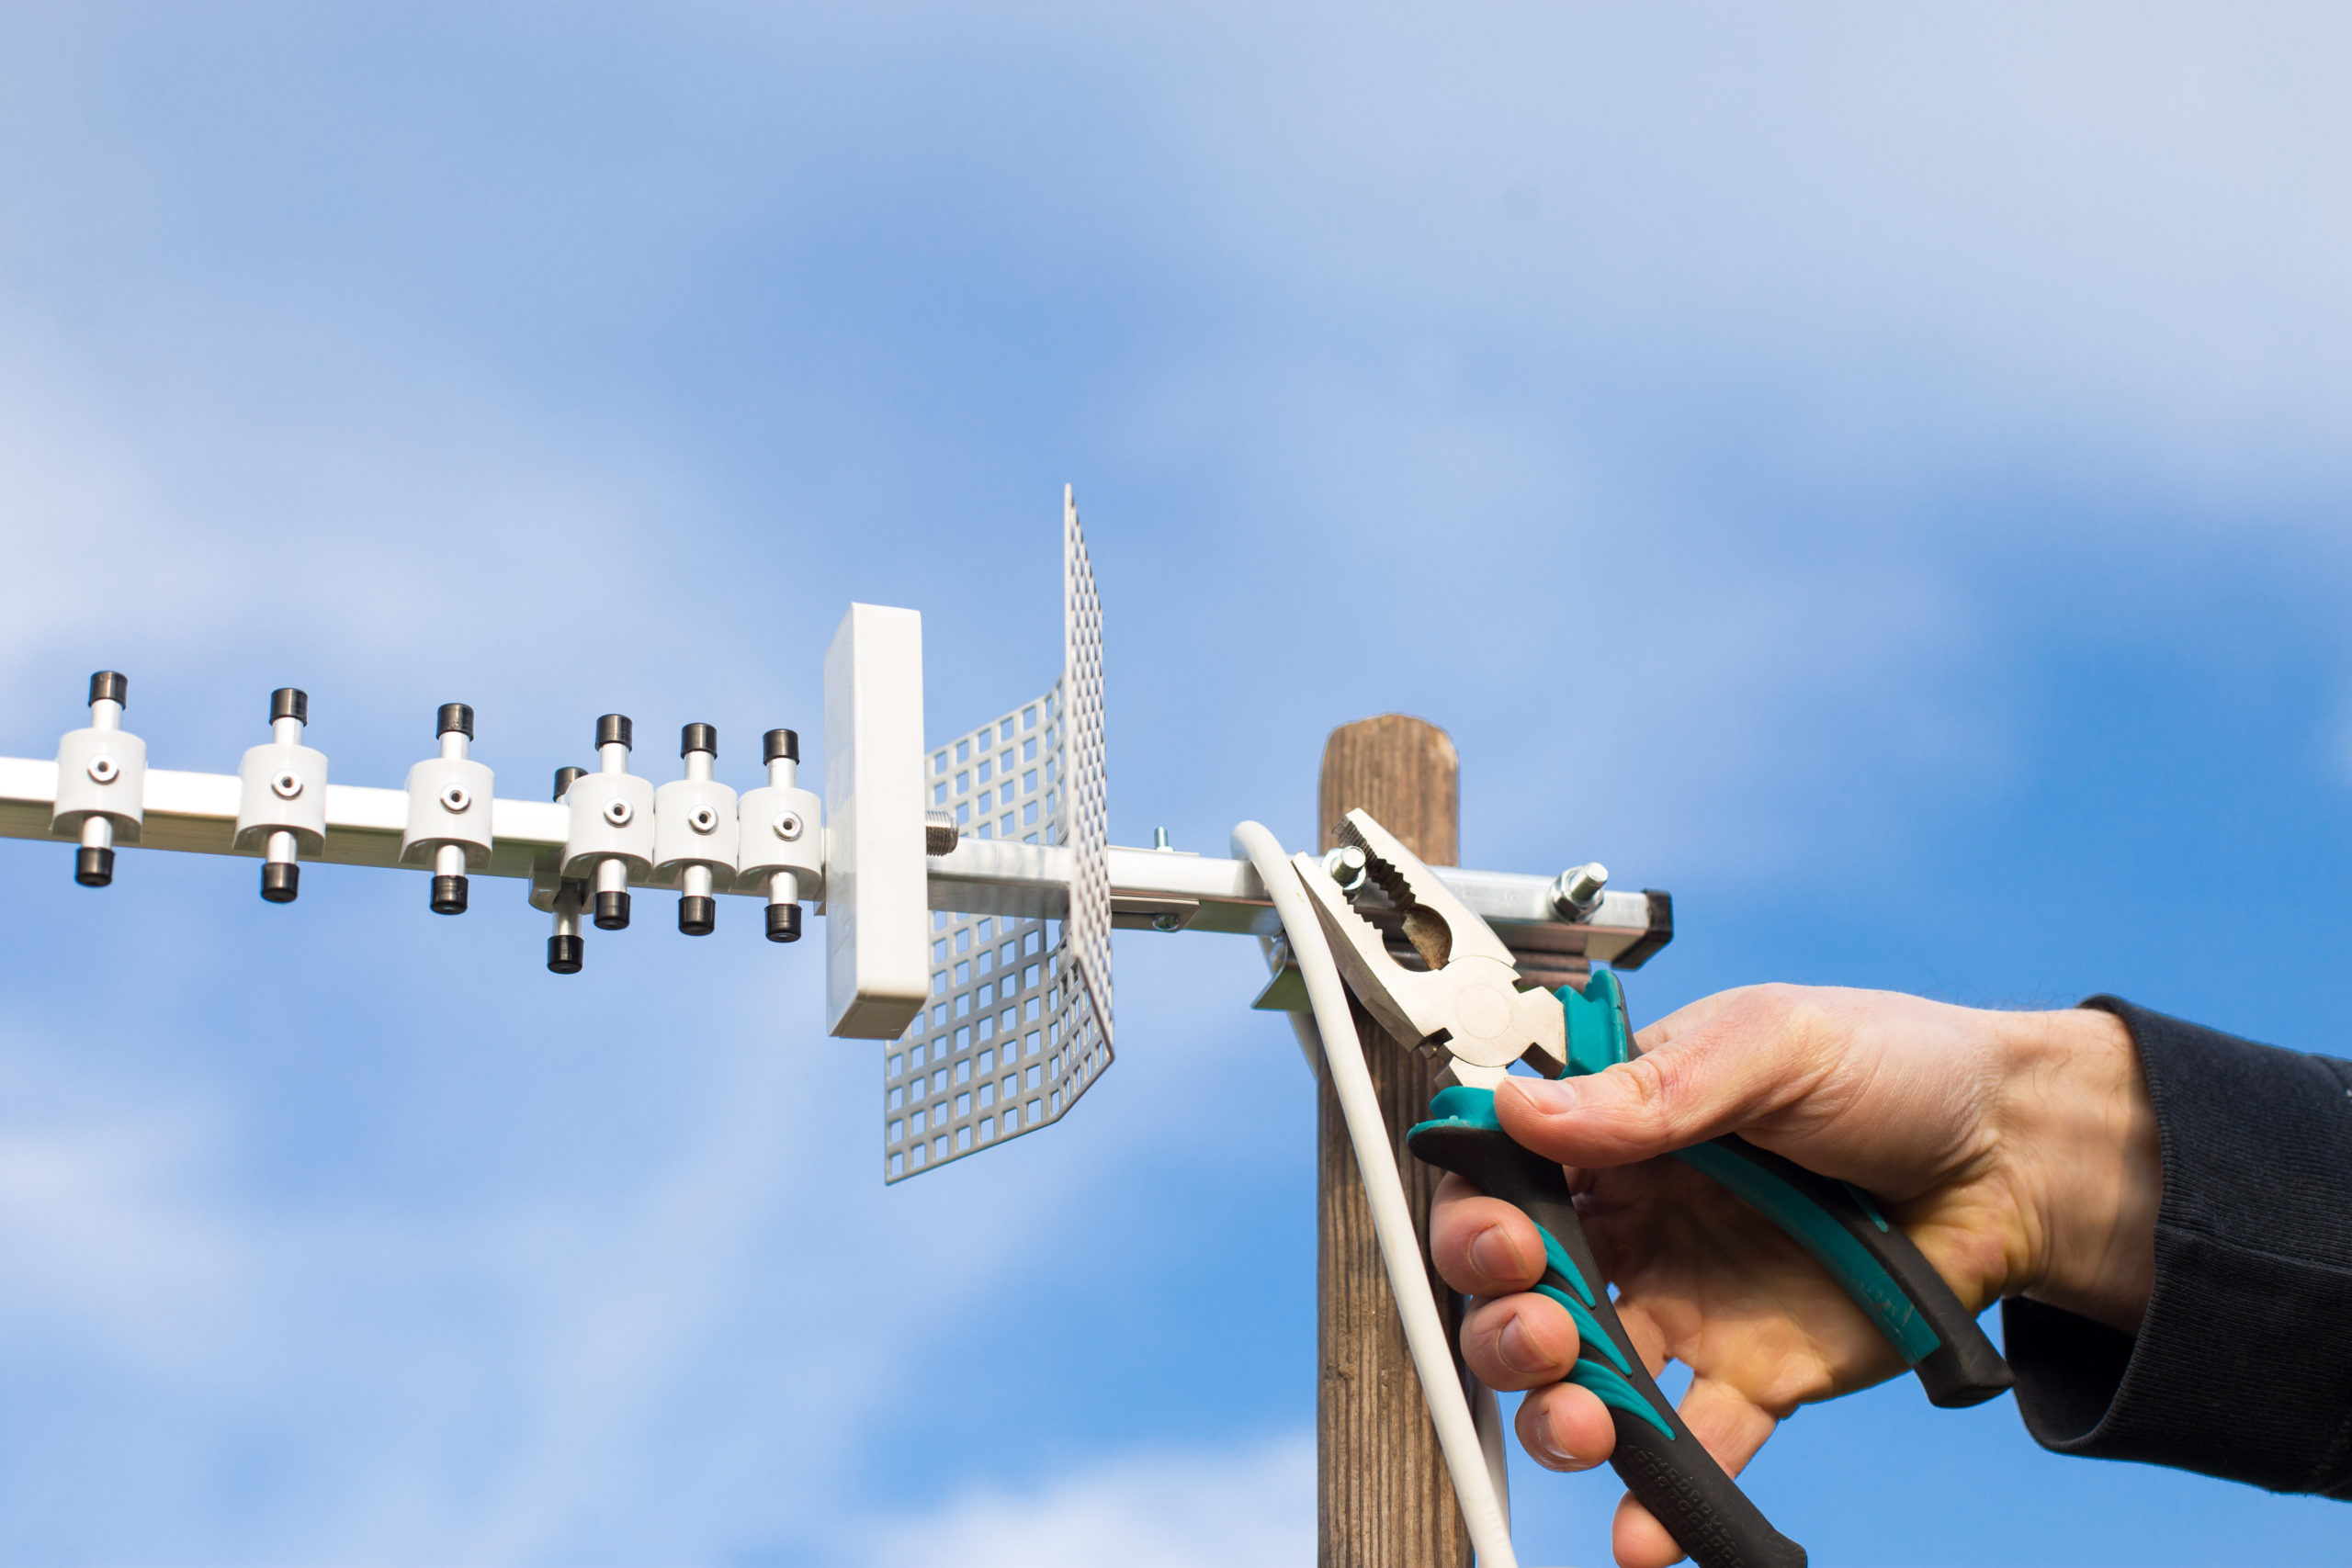
To ground your Panasonic outdoor camera, connect the grounding wire from the camera to a grounding rod or a metal water pipe using a grounding clamp. This will help protect the camera from electrical surges and static buildup.
Step 4: Connect the Camera to a Recorder or Monitor
After connecting your Panasonic outdoor camera to a power source, the next step is to establish a connection between the camera and a recorder or monitor. This allows you to view and record the footage captured by the camera for monitoring and future reference.
Here’s how you can connect the camera to a recorder or monitor:
- Identify the video output: Locate the video output port on your Panasonic outdoor camera. It is usually an RCA or BNC connector located near the power input.
- Select the appropriate cable: Depending on the input options of your recorder or monitor, choose the appropriate cable to connect the camera. Common options include RCA, BNC, or HDMI cables.
- Connect the cable: Attach one end of the cable to the video output port on the camera and the other end to the corresponding input port on the recorder or monitor. Ensure a secure connection by tightening any screws or connectors.
- Configure the recorder or monitor: Depending on your specific setup, you may need to configure the recorder or monitor to recognize the camera. Follow the instructions provided with your recorder or monitor to complete the setup process.
- Test the connection: Once the camera is connected to the recorder or monitor, test the connection by viewing the live footage. Make any necessary adjustments to ensure the image is clear, and the camera is capturing the desired view.
Consult the user manual or documentation provided with your Panasonic camera, recorder, or monitor for more specific instructions and troubleshooting information.
With the camera successfully connected to a recorder or monitor, it’s time to move on to the final step: ensuring proper grounding for your Panasonic outdoor camera.
Read more: How To Get My Outdoor Camera Working
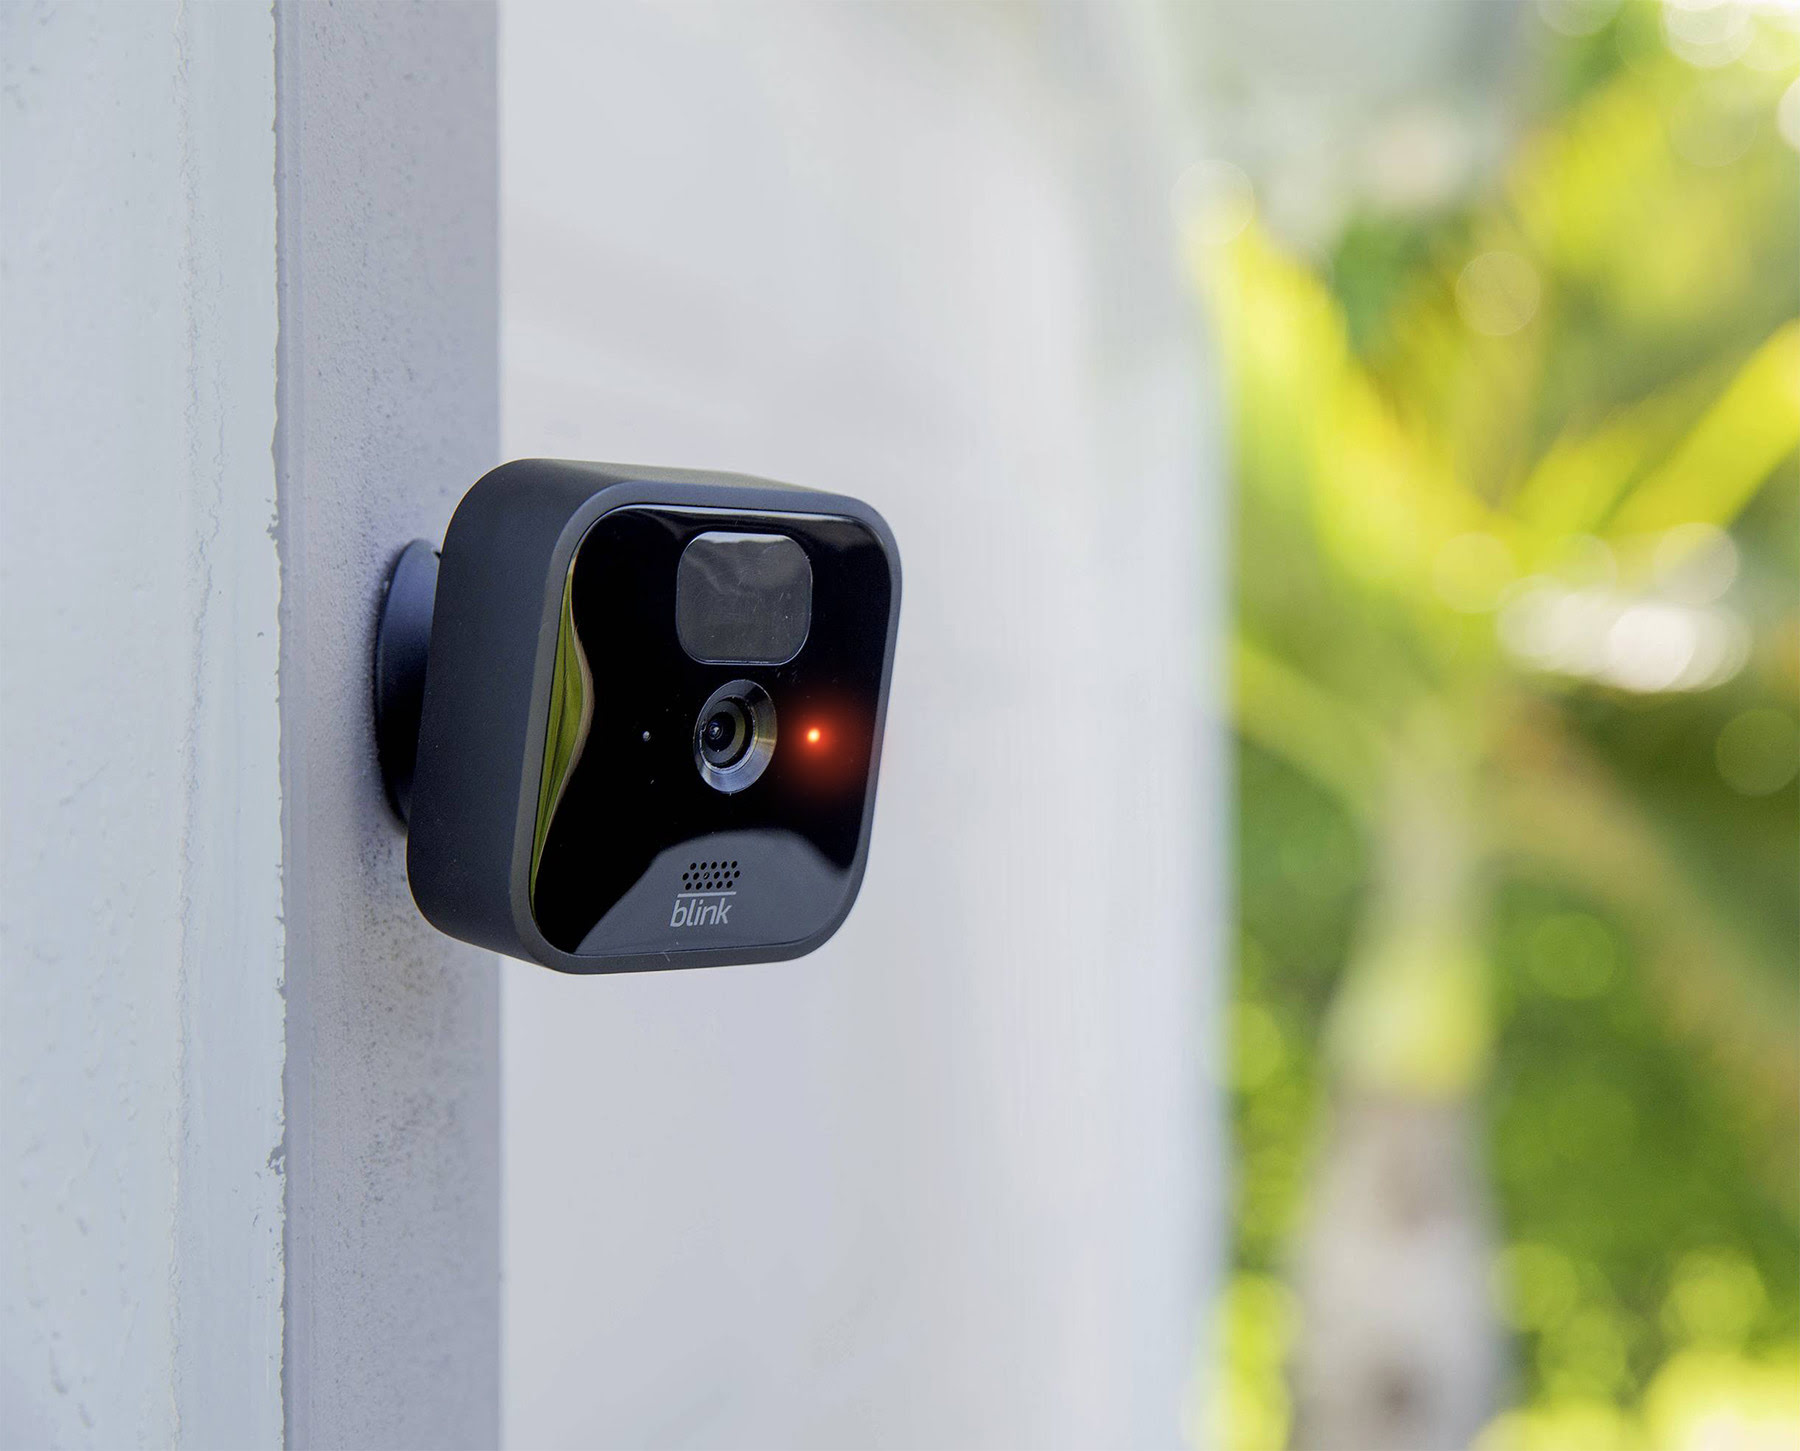
Step 5: Ensure Proper Grounding of the Camera
Proper grounding is crucial for the safety and functionality of your Panasonic outdoor camera. Grounding helps protect the camera from power surges, electrical malfunctions, and potential damage caused by lightning strikes.
Follow these steps to ensure the proper grounding of your camera:
- Consult the user manual: Review the user manual or documentation provided by Panasonic for specific grounding instructions for your camera model. Different models may have varying grounding requirements.
- Use a surge protector: Connect the power adapter of your camera to a surge protector device. This will help protect the camera from sudden voltage fluctuations and power spikes.
- Grounding wire: Some Panasonic outdoor cameras may come with a grounding wire. If this is the case, connect one end of the wire to the camera’s ground terminal (if available) and the other end to an appropriate grounding point, such as a grounded electrical outlet or a dedicated grounding rod.
- Professional assistance: If you are unsure about the grounding requirements or feel uncomfortable performing the grounding process yourself, it is recommended to seek the assistance of a professional electrician or technician. They will ensure proper grounding and can provide valuable guidance specific to your camera and installation.
Proper grounding helps protect your camera from electrical faults and ensures the safety and longevity of your home security system. It is crucial to follow the manufacturer’s instructions and any local electrical regulations for grounding outdoor cameras.
With the camera properly grounded, you can have peace of mind knowing that it is well-protected and able to operate efficiently.
Conclusion
Grounding your Panasonic outdoor camera is a vital step in ensuring the safety and optimal performance of your home security system. By carefully following the steps outlined in this guide, you can confidently ground your camera and protect it from electrical issues and potential damage.
Remember that selecting an appropriate location for the camera, securely mounting it, connecting it to a power source, and establishing a connection to a recorder or monitor are essential steps in the setup process. However, proper grounding is the final piece of the puzzle that completes the installation and ensures the long-term functionality of your camera.
Always refer to the user manual or documentation provided by Panasonic for specific instructions tailored to your camera model. If you are uncertain about any aspect of the grounding process, it is recommended to seek professional assistance from an electrician or technician who specializes in home security systems.
With your Panasonic outdoor camera properly grounded, you can enjoy the peace of mind that comes from having a reliable and secure surveillance system. Monitor your property with confidence and rest assured that your camera will capture clear and high-quality footage, protecting your home and loved ones.
Remember, proper grounding is just one aspect of maintaining a robust and effective home security system. Regular maintenance, ensuring firmware updates are installed, and optimizing the camera’s settings are also crucial in maximizing the camera’s performance and protecting your property.
We hope this guide has been helpful in grounding your Panasonic outdoor camera and setting up your home security system. Enjoy the enhanced safety and peace of mind that come with a properly installed and grounded camera.
Frequently Asked Questions about How To Ground My Panasonic Outdoor Camera
Was this page helpful?
At Storables.com, we guarantee accurate and reliable information. Our content, validated by Expert Board Contributors, is crafted following stringent Editorial Policies. We're committed to providing you with well-researched, expert-backed insights for all your informational needs.