Home>Home Security and Surveillance>How To Make My Samsung Indoor Camera An Outdoor Camera
Home Security and Surveillance
How To Make My Samsung Indoor Camera An Outdoor Camera
Modified: September 1, 2024
Turn your Samsung indoor camera into an outdoor camera for enhanced home security and surveillance with these simple steps. Safeguard your property with ease!
(Many of the links in this article redirect to a specific reviewed product. Your purchase of these products through affiliate links helps to generate commission for Storables.com, at no extra cost. Learn more)
Introduction
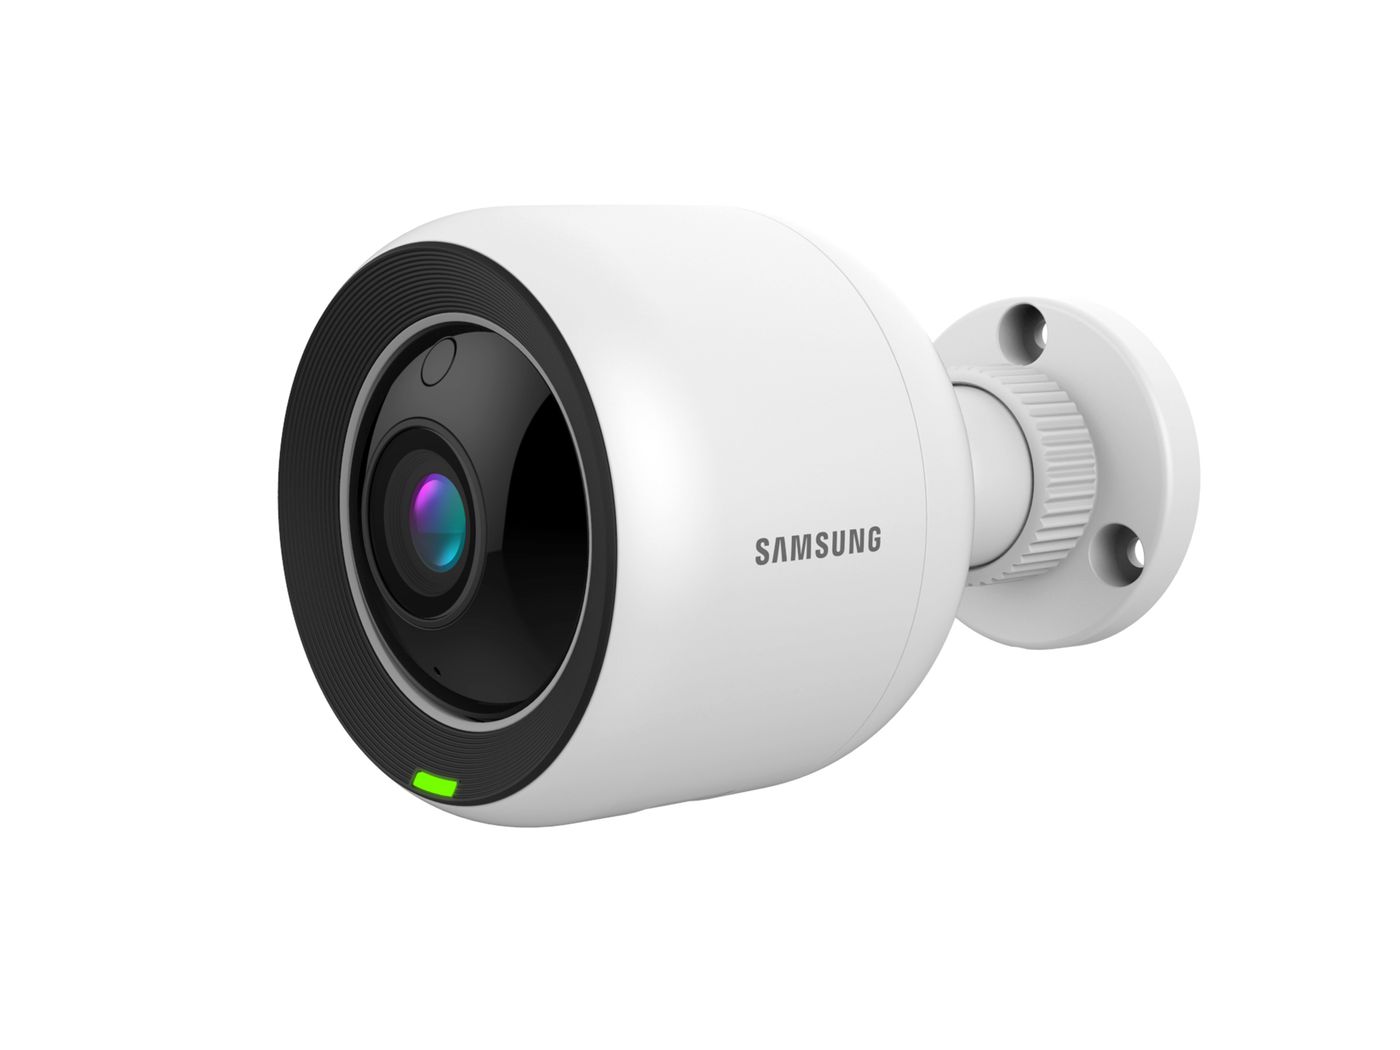
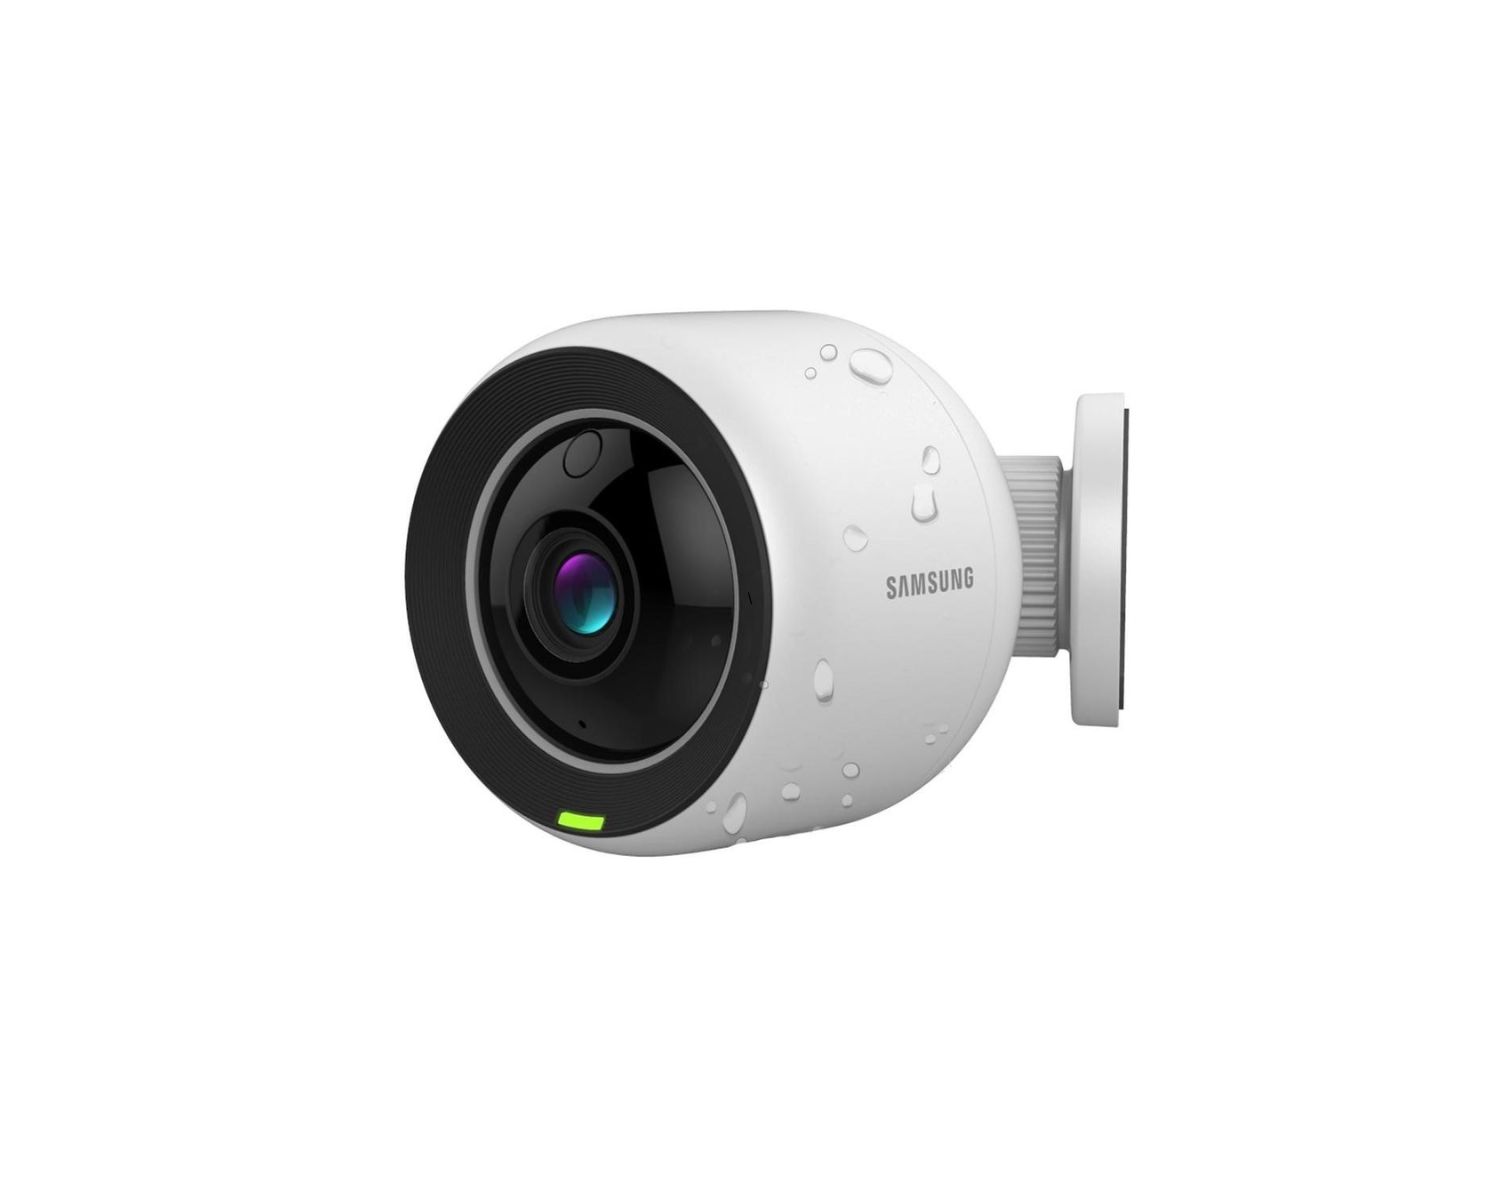
Home security is a top priority for homeowners around the world. With the advancements in technology, we now have access to a wide range of surveillance devices that can help protect our homes and loved ones. One popular device in this space is the Samsung Indoor Camera.
While the Samsung Indoor Camera provides excellent security monitoring capabilities indoors, many homeowners wonder if they can utilize these cameras outdoors. The good news is that with a few modifications, you can indeed convert your Samsung Indoor Camera into an outdoor camera.
In this article, we will guide you through the process of modifying and installing your Samsung Indoor Camera for outdoor use. By following these steps, you can enhance the security of your property and gain peace of mind.
Key Takeaways:
- Convert your Samsung Indoor Camera into an outdoor camera by assessing its suitability, purchasing necessary equipment, weatherproofing, and carefully installing it for enhanced home security.
- Thoroughly test and adjust your outdoor camera to ensure clear footage, reliable surveillance, and optimal performance, providing peace of mind and protection for your property.
Step 1: Assessing Your Camera
Before you begin the process of converting your Samsung Indoor Camera into an outdoor camera, it’s essential to assess the capabilities and limitations of your camera. This step will help you determine if it’s suitable for outdoor use and if any additional modifications or equipment are needed.
First, check the specifications of your Samsung Indoor Camera. Look for information about its temperature operating range and IP or Ingress Protection rating. The temperature operating range will indicate the camera’s ability to withstand extreme temperatures, while the IP rating will determine its resistance to water and dust.
If your camera has an acceptable temperature range and IP rating for outdoor use, you may not need to make significant modifications. However, if the camera’s specifications are not suitable for outdoor conditions, don’t worry. There are still steps you can take to weatherproof your camera and protect it from the elements.
Additionally, consider the location where you intend to install the camera outdoors. Is it an area that is exposed to direct sunlight, rain, or harsh winds? By understanding the specific environmental conditions, you can better determine the modifications and equipment required for successful outdoor installation.
Finally, it’s important to assess the quality of your camera’s video feed. Sometimes, indoor cameras may not have the necessary resolution or field of view for effective outdoor surveillance. If this is the case, you may want to consider upgrading your camera to a model specifically designed for outdoor use.
By thoroughly assessing your Samsung Indoor Camera and its suitability for outdoor use, you can make informed decisions and proceed with confidence to the next step of the conversion process.
Step 2: Purchasing the Necessary Equipment
Once you have assessed your Samsung Indoor Camera’s suitability for outdoor use, it’s time to gather the necessary equipment to ensure a successful conversion. Depending on your camera’s specifications and the environmental conditions of the installation location, you may need to purchase additional items. Here are some essential equipment options to consider:
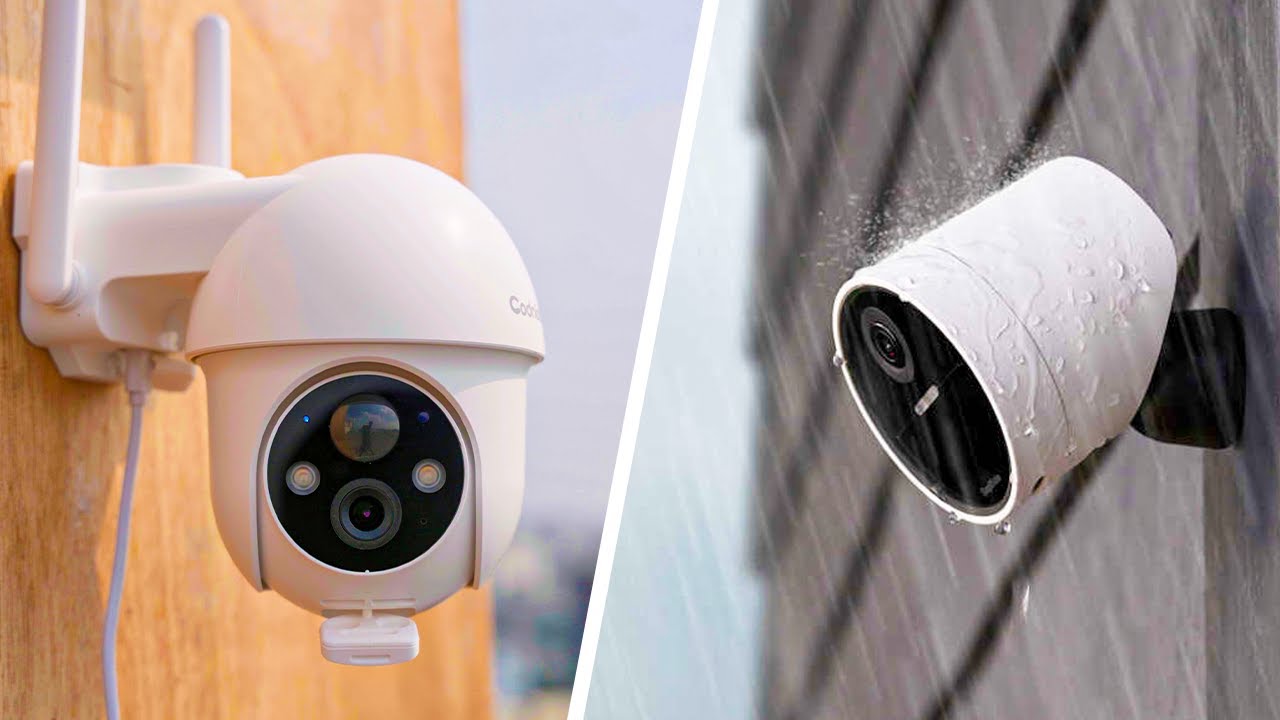
- Outdoor Housing or Enclosure: An outdoor housing or enclosure is a protective casing that shields your camera from the elements. Look for a housing specifically designed for your camera model or find a universal one that fits your camera’s dimensions.
- Mounting Bracket: A mounting bracket will help you securely mount the camera in the desired outdoor location. Consider the type of surface you will be mounting the camera on and select a bracket that is compatible.
- Weatherproofing Sealants: To ensure maximum protection against moisture, it is recommended to use weatherproofing sealants. These sealants can be applied to the edges of the camera housing and any openings to prevent water from seeping in.
- Extension Cable: If your camera’s power cable is not long enough to reach the outdoor location, you may need to purchase an extension cable. Make sure the cable is compatible with your camera’s power requirements.
- Power Surge Protector: Installing a power surge protector is highly recommended, especially for outdoor electronics. This will help safeguard your camera against power surges caused by lightning or other electrical issues.
Before purchasing any equipment, carefully review the specifications and compatibility with your camera model. You may also want to read customer reviews and seek recommendations from home security experts to ensure you choose reliable and high-quality products.
By acquiring the necessary equipment, you will be well-prepared to proceed with the next step of making your Samsung Indoor Camera suitable for outdoor use.
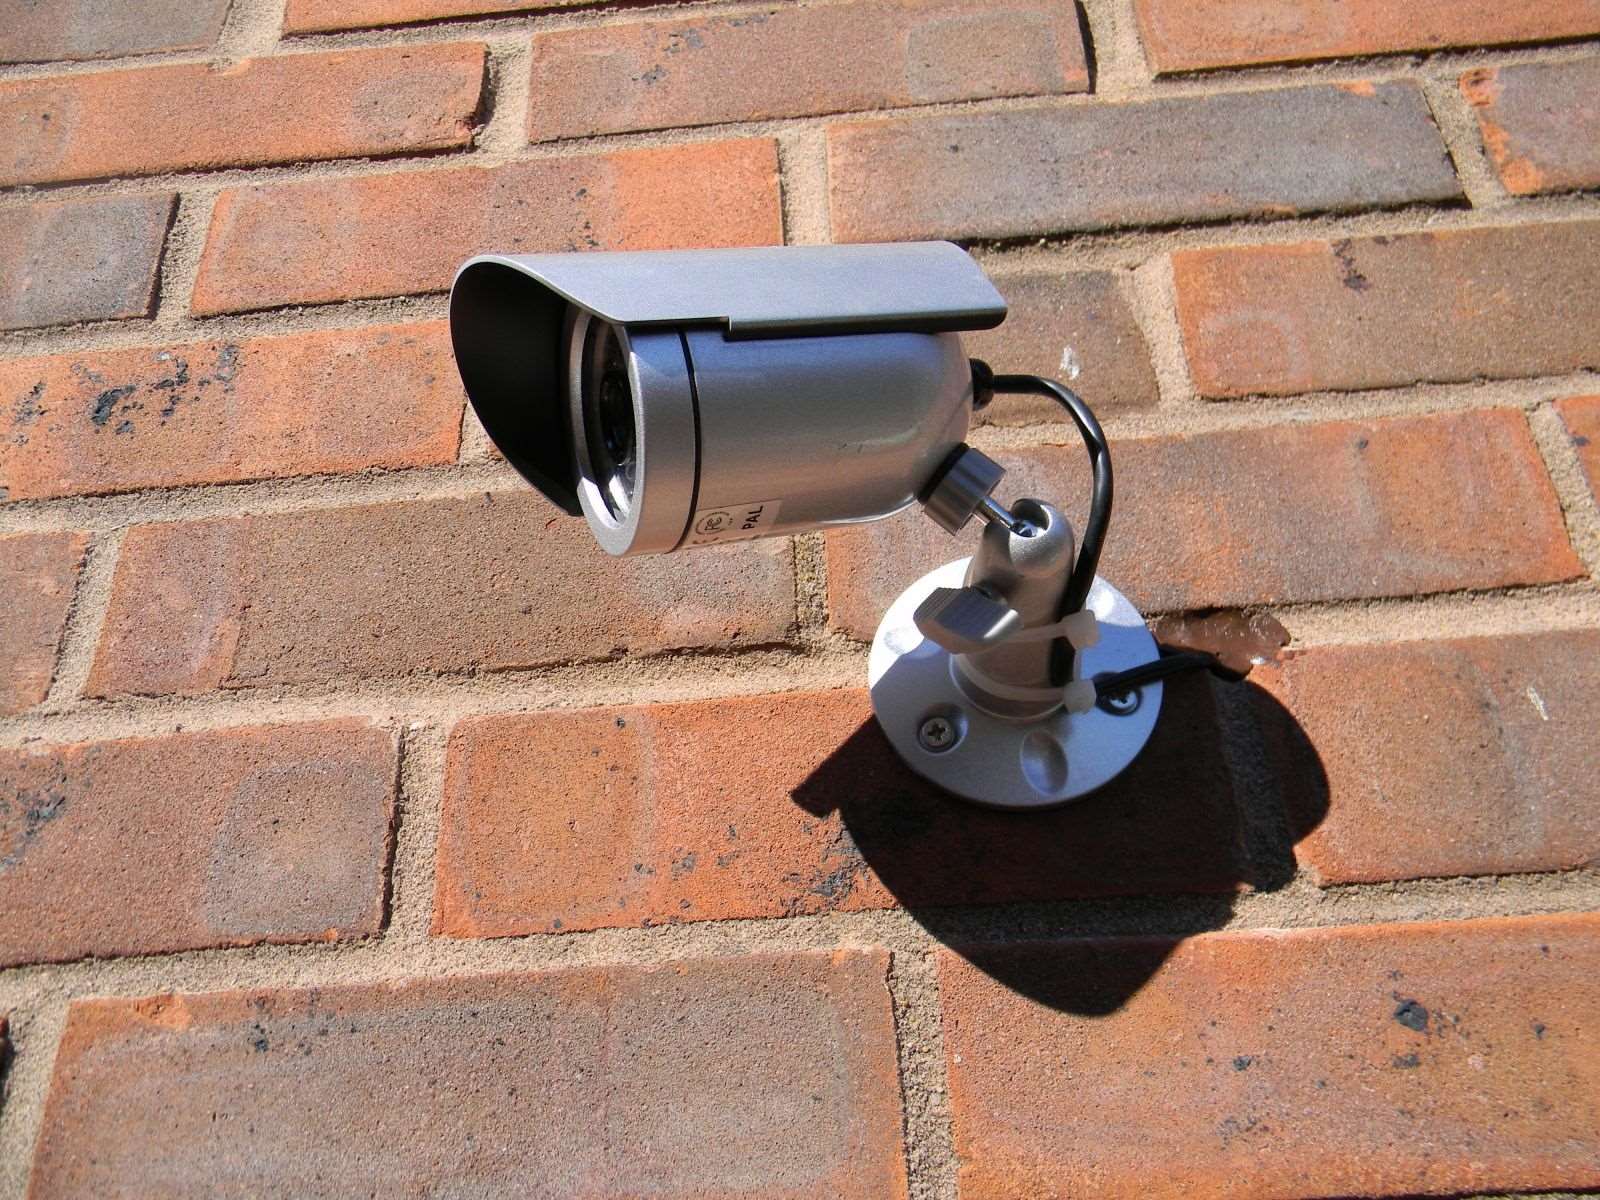
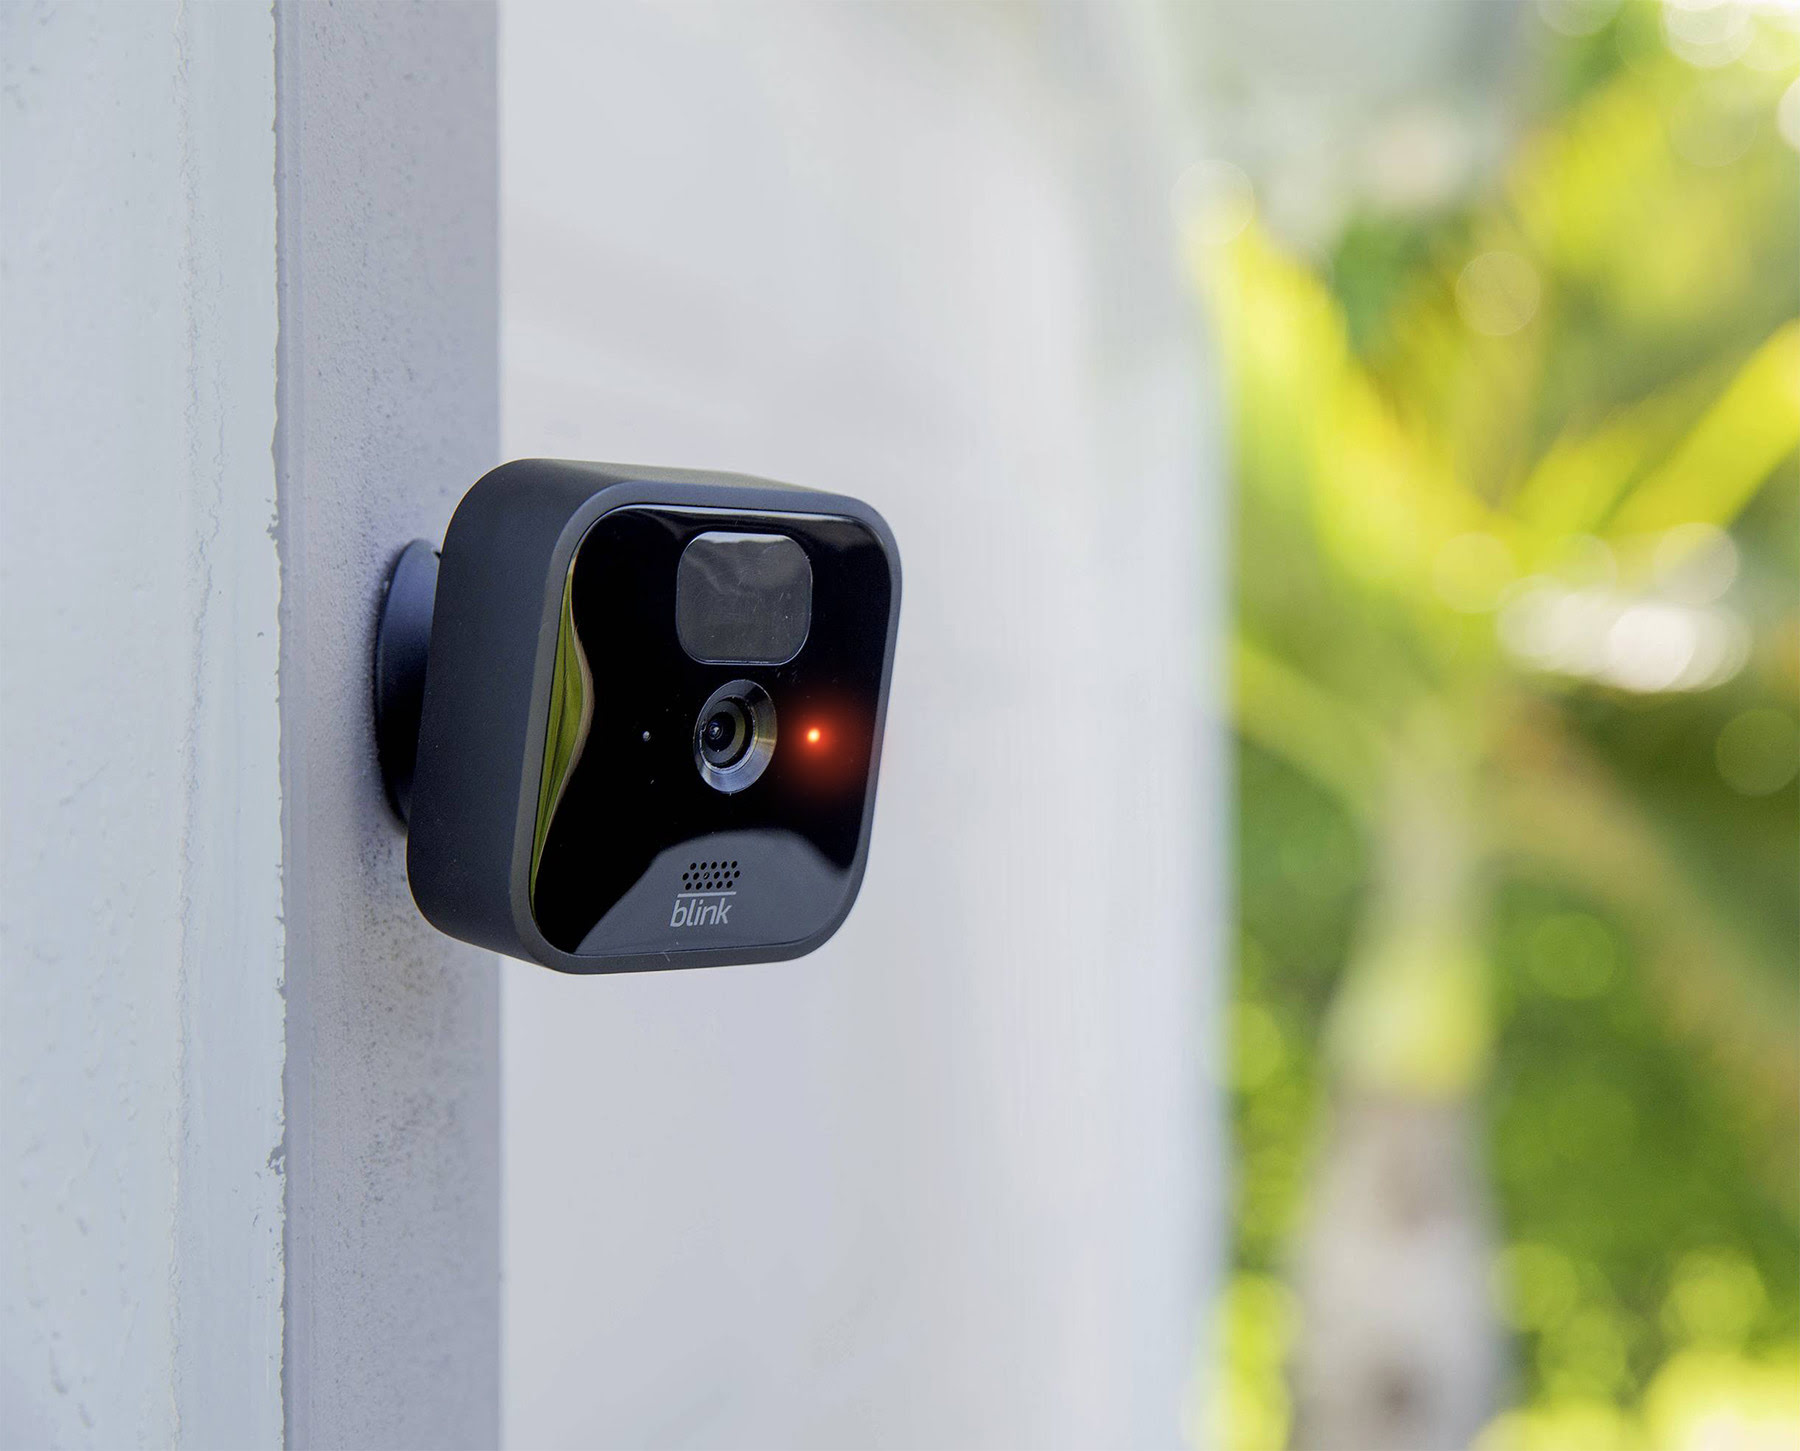
Step 3: Making the Camera Weatherproof
Once you have gathered the necessary equipment for converting your Samsung Indoor Camera into an outdoor camera, it’s time to make it weatherproof. This step involves taking precautions to protect the camera from rain, dust, and other environmental elements. Here are some steps to follow:
- Install the Outdoor Housing: Begin by carefully placing your Samsung Indoor Camera into the outdoor housing or enclosure. Ensure that all the necessary ports and connectors align properly with the housing’s openings. Follow the manufacturer’s instructions for securing the camera in place.
- Seal the Edges: To prevent moisture from seeping into the housing, apply weatherproofing sealants around the edges of the enclosure. Pay close attention to any gaps or openings to ensure a watertight seal. Allow the sealant to dry completely before proceeding.
- Protect the Cables: Use cable grommets or waterproof connectors to safeguard any exposed cables. These accessories will help prevent water from entering through the cable openings. Apply an additional layer of sealant around the cable entry points for added protection.
- Secure the Housing: Once all the necessary weatherproofing measures are in place, securely fasten the outdoor housing to the mounting bracket. Double-check that the camera is properly aligned and stable within the housing.
Throughout the weatherproofing process, it’s important to refer to the manufacturer’s instructions for your specific camera model and housing. They may provide additional guidelines or recommendations to ensure the best possible protection against the elements.
By making the necessary weatherproofing modifications, you are taking crucial steps to ensure your Samsung Indoor Camera can withstand the outdoor environment and continue to function optimally.
To make your Samsung indoor camera an outdoor camera, you can purchase a weatherproof housing or enclosure specifically designed for your camera model. This will protect it from the elements and allow it to be used outdoors.
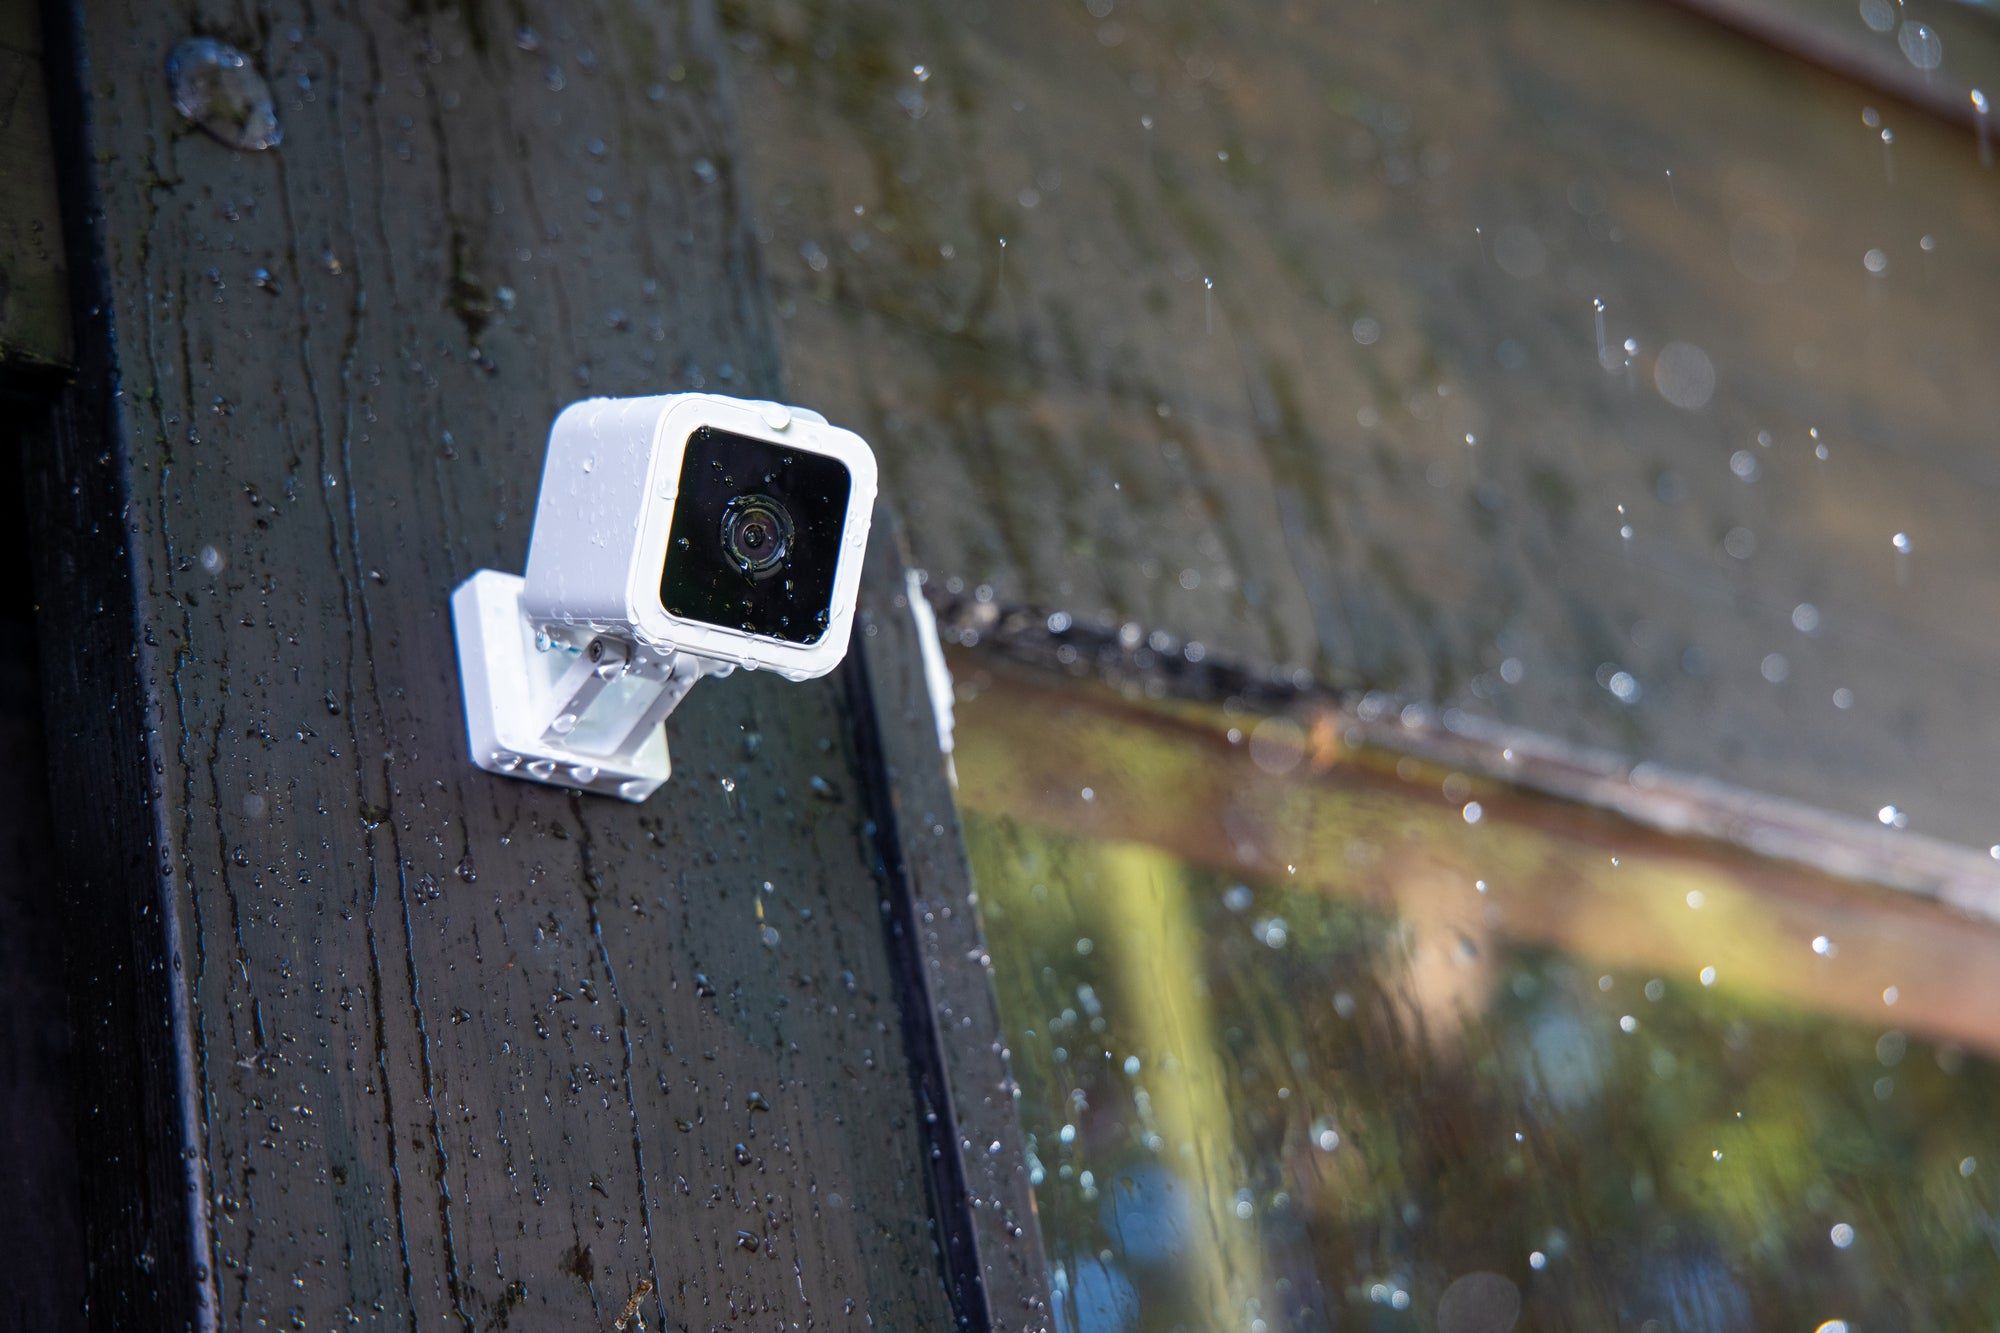
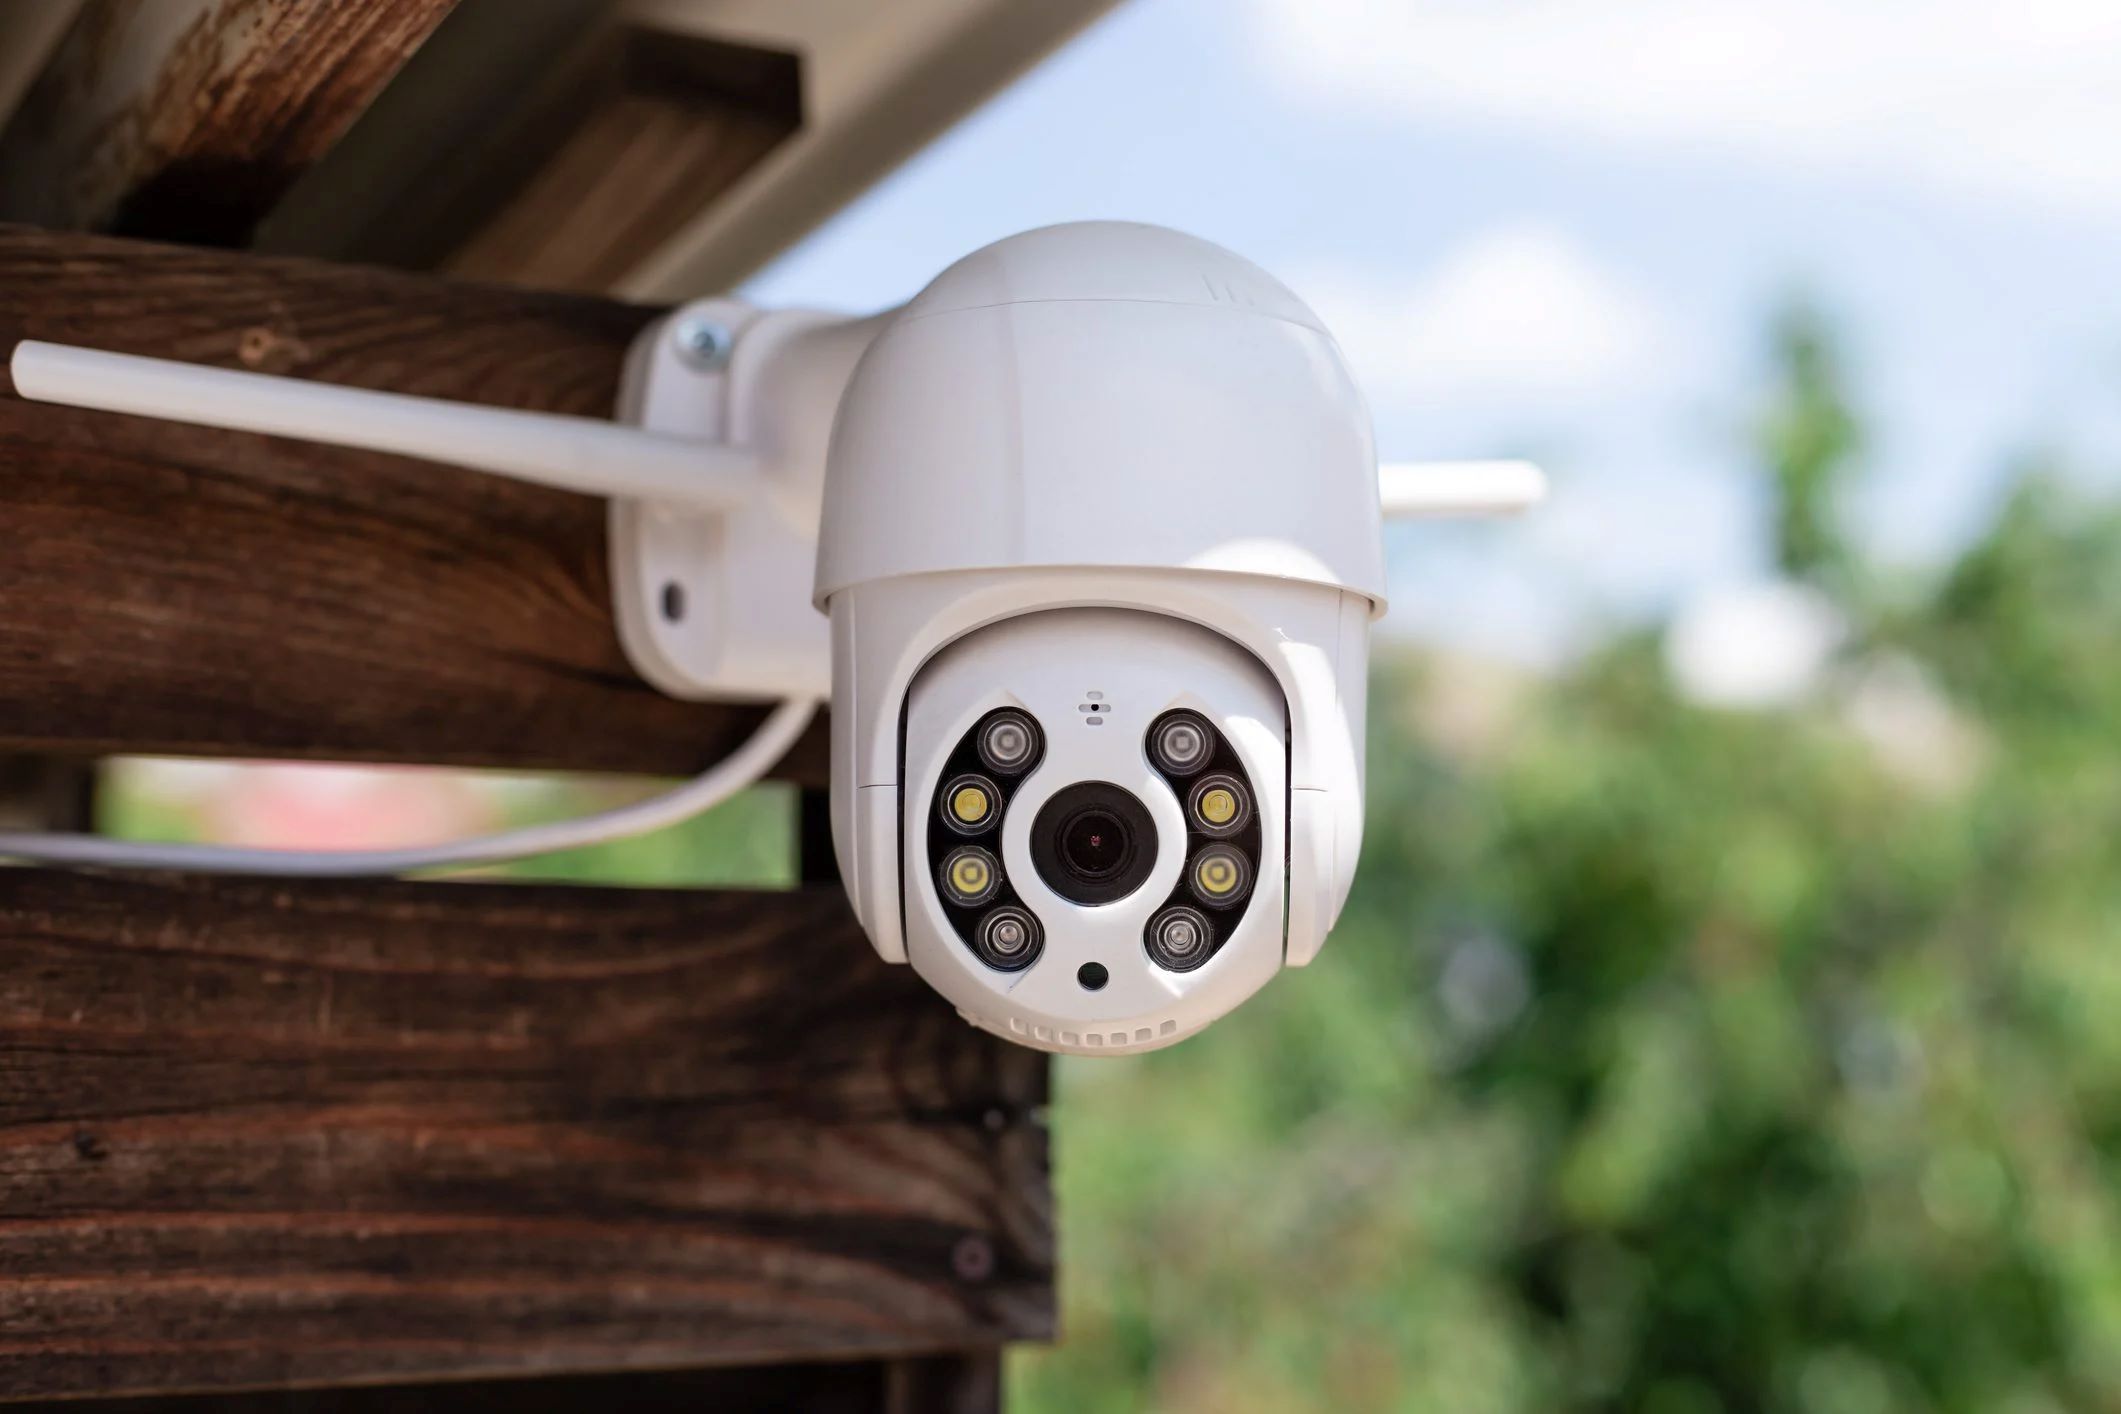
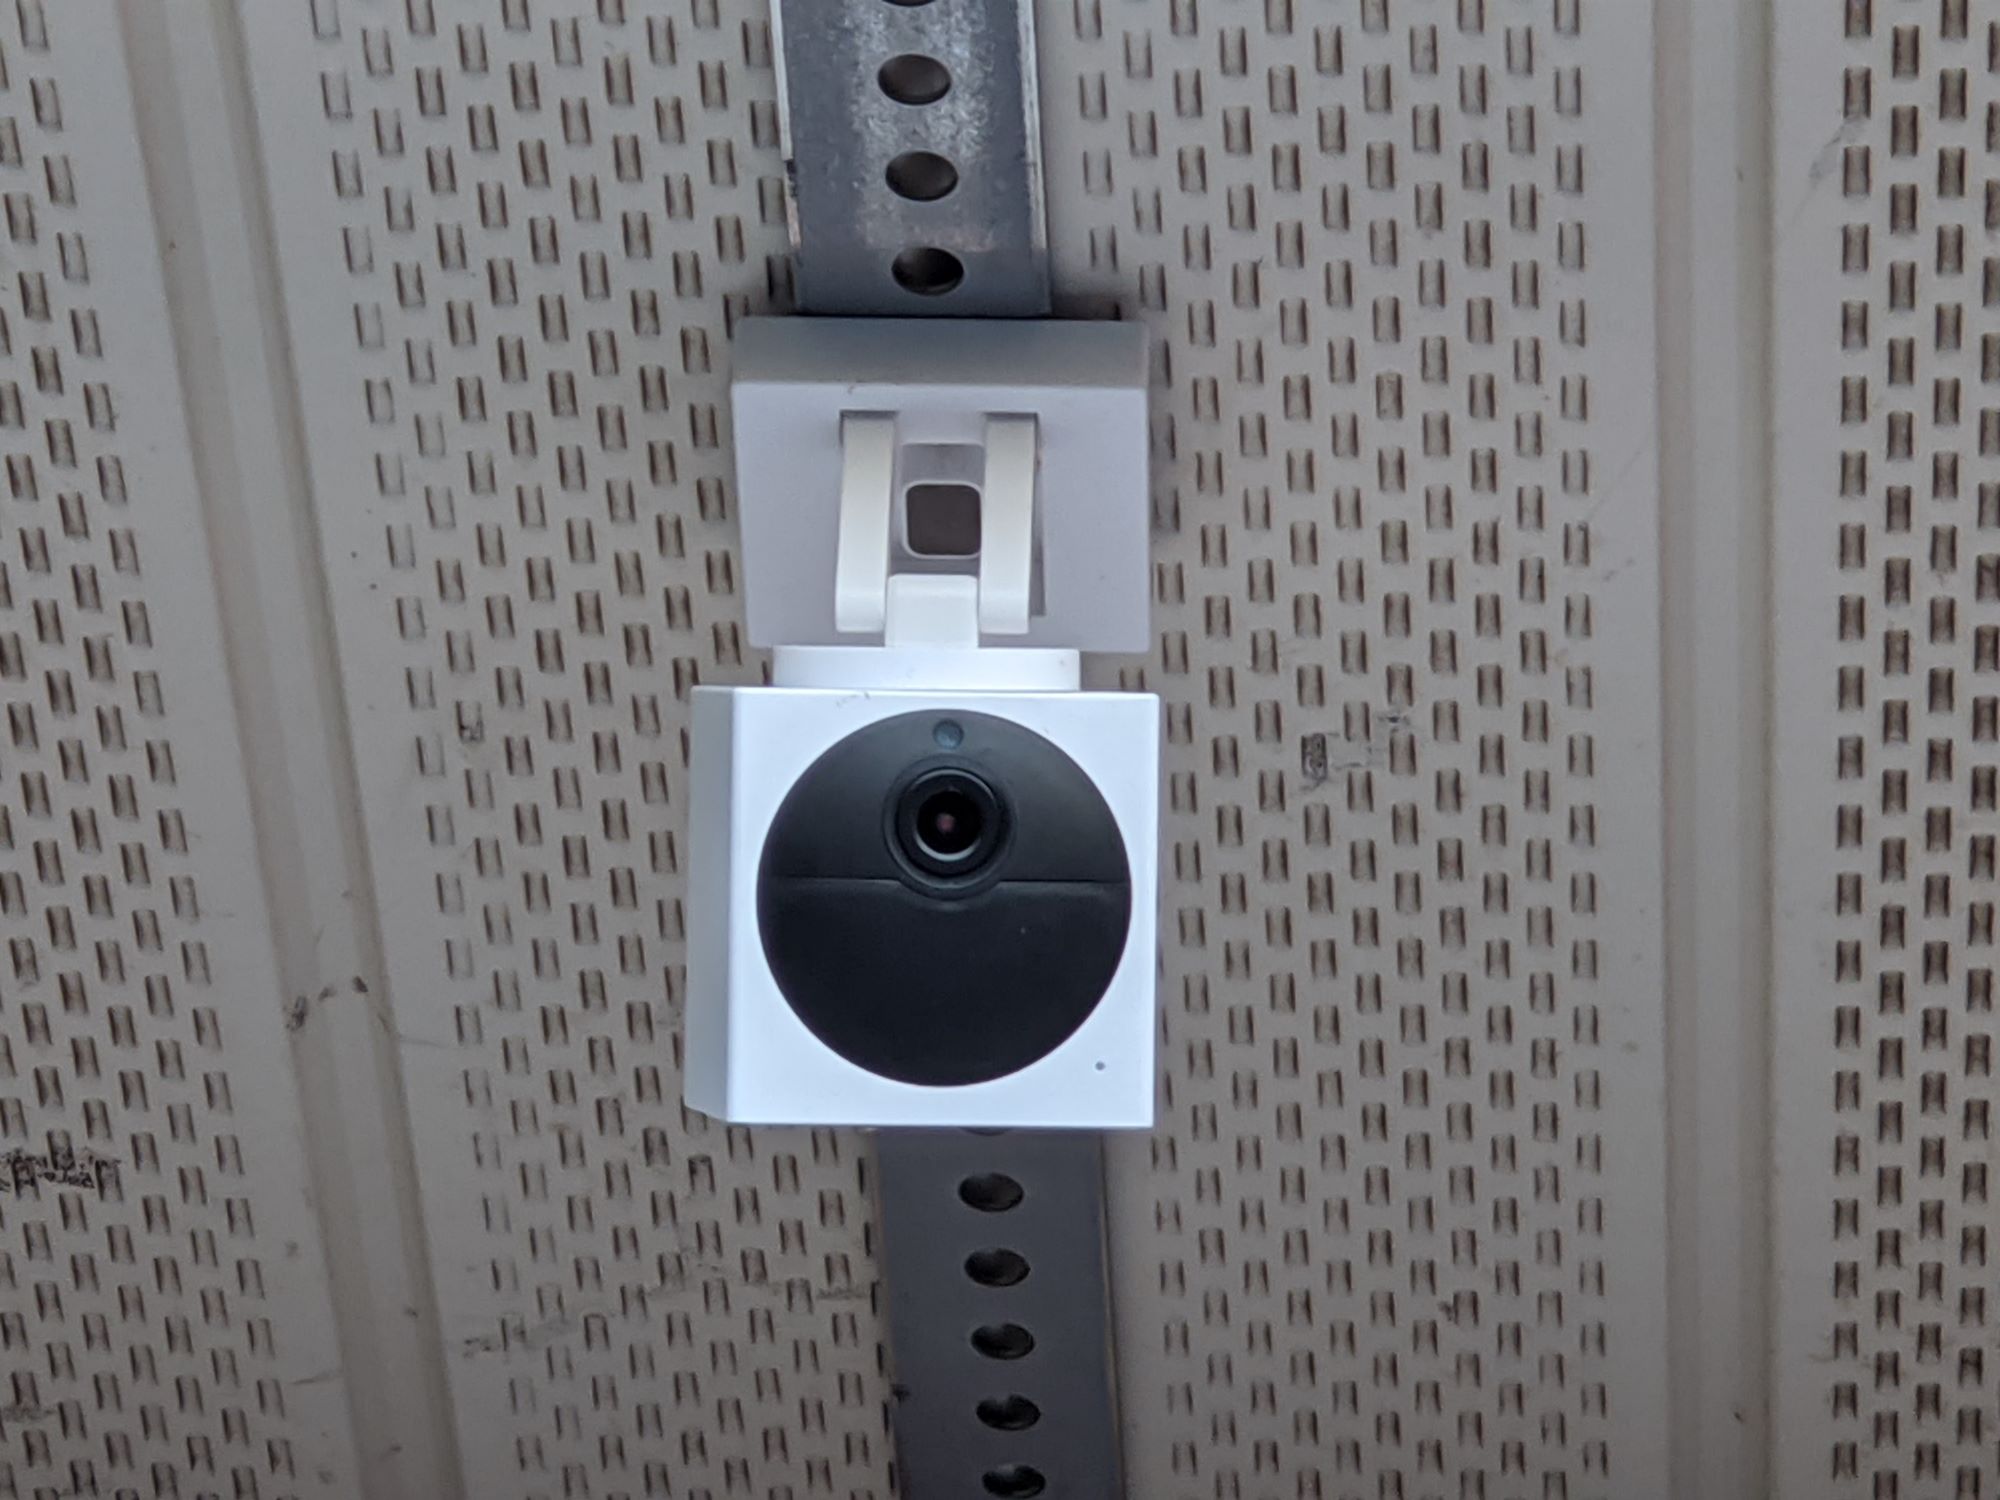
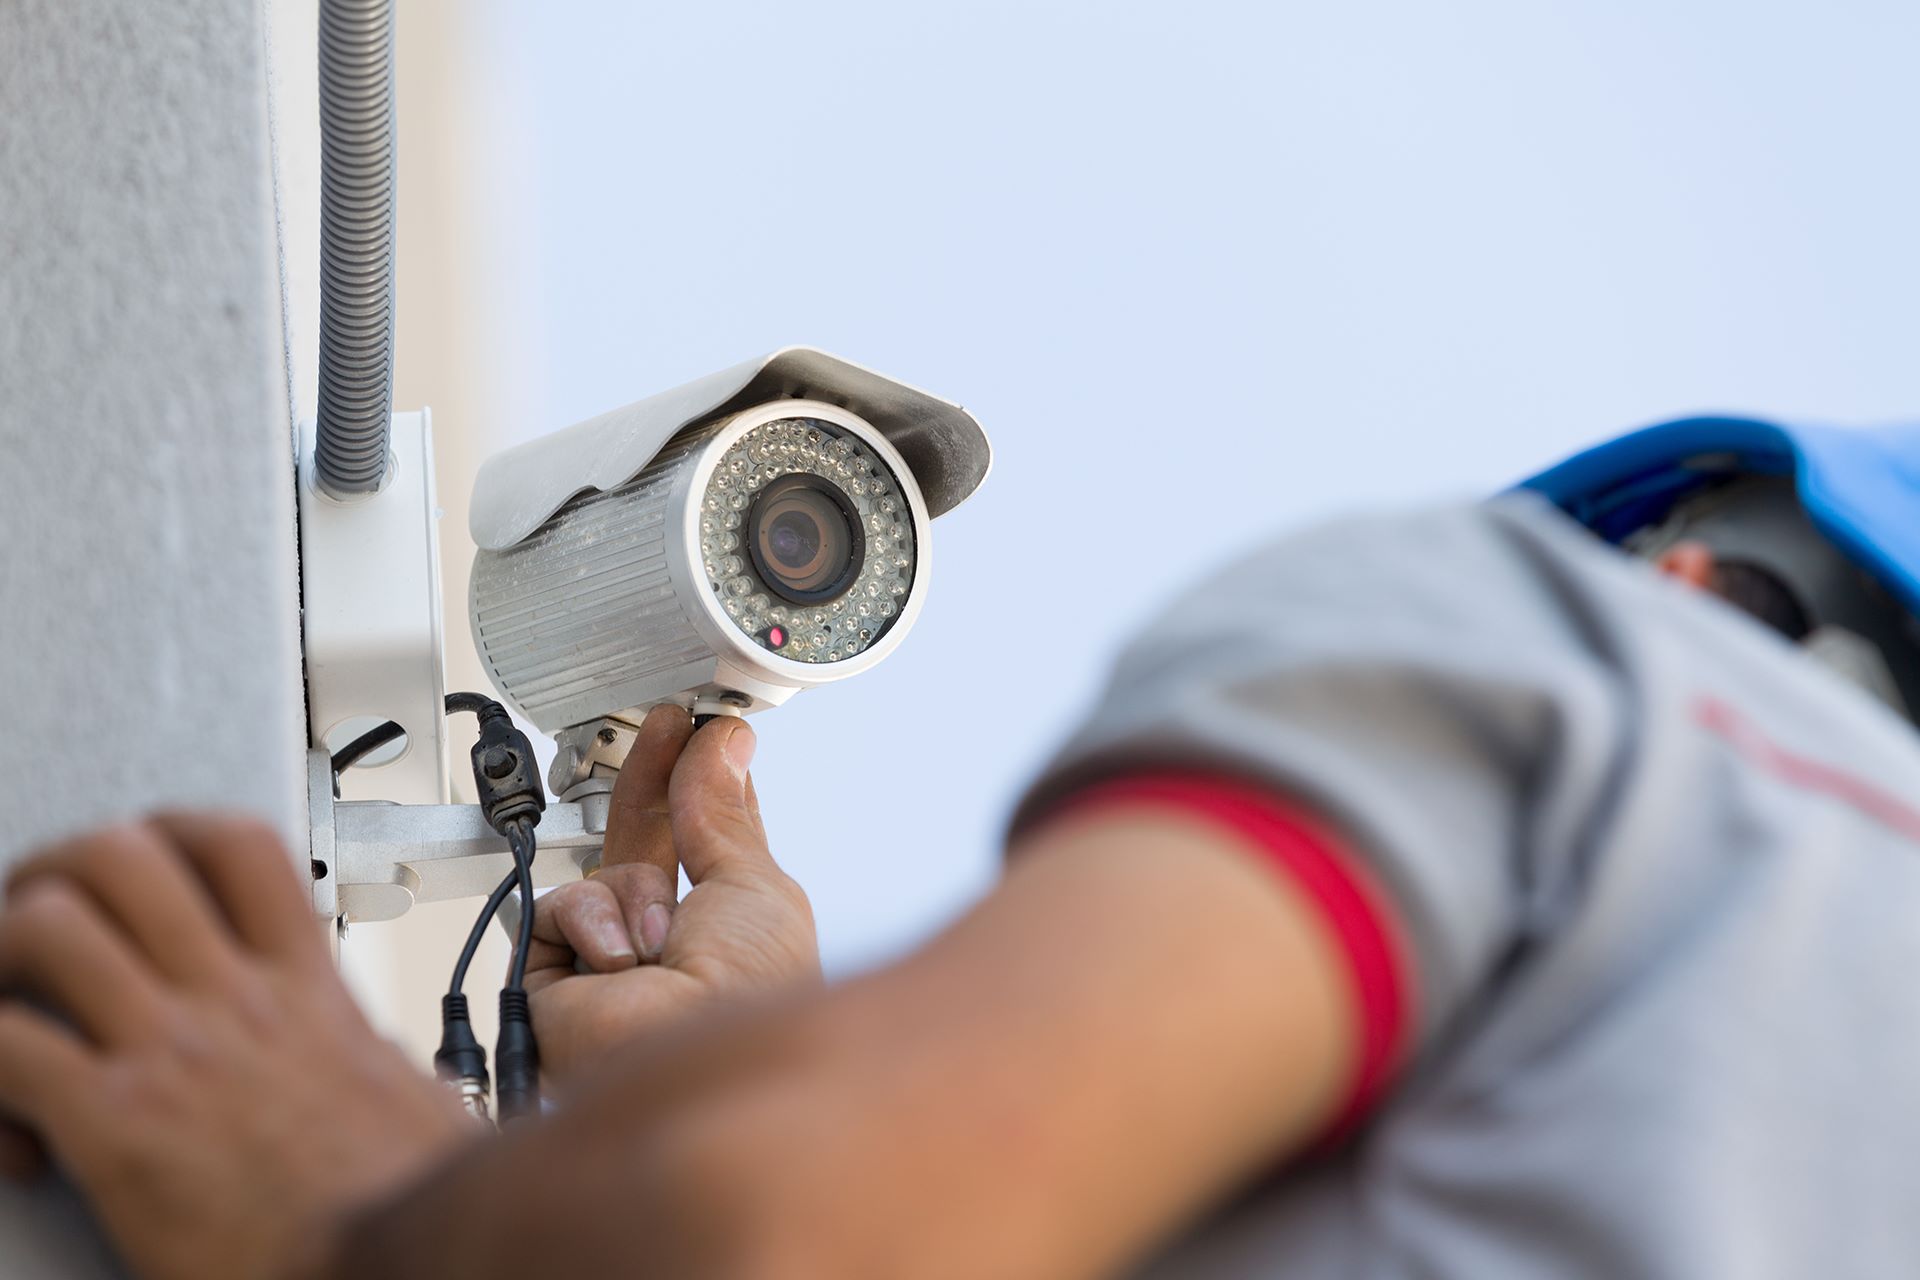
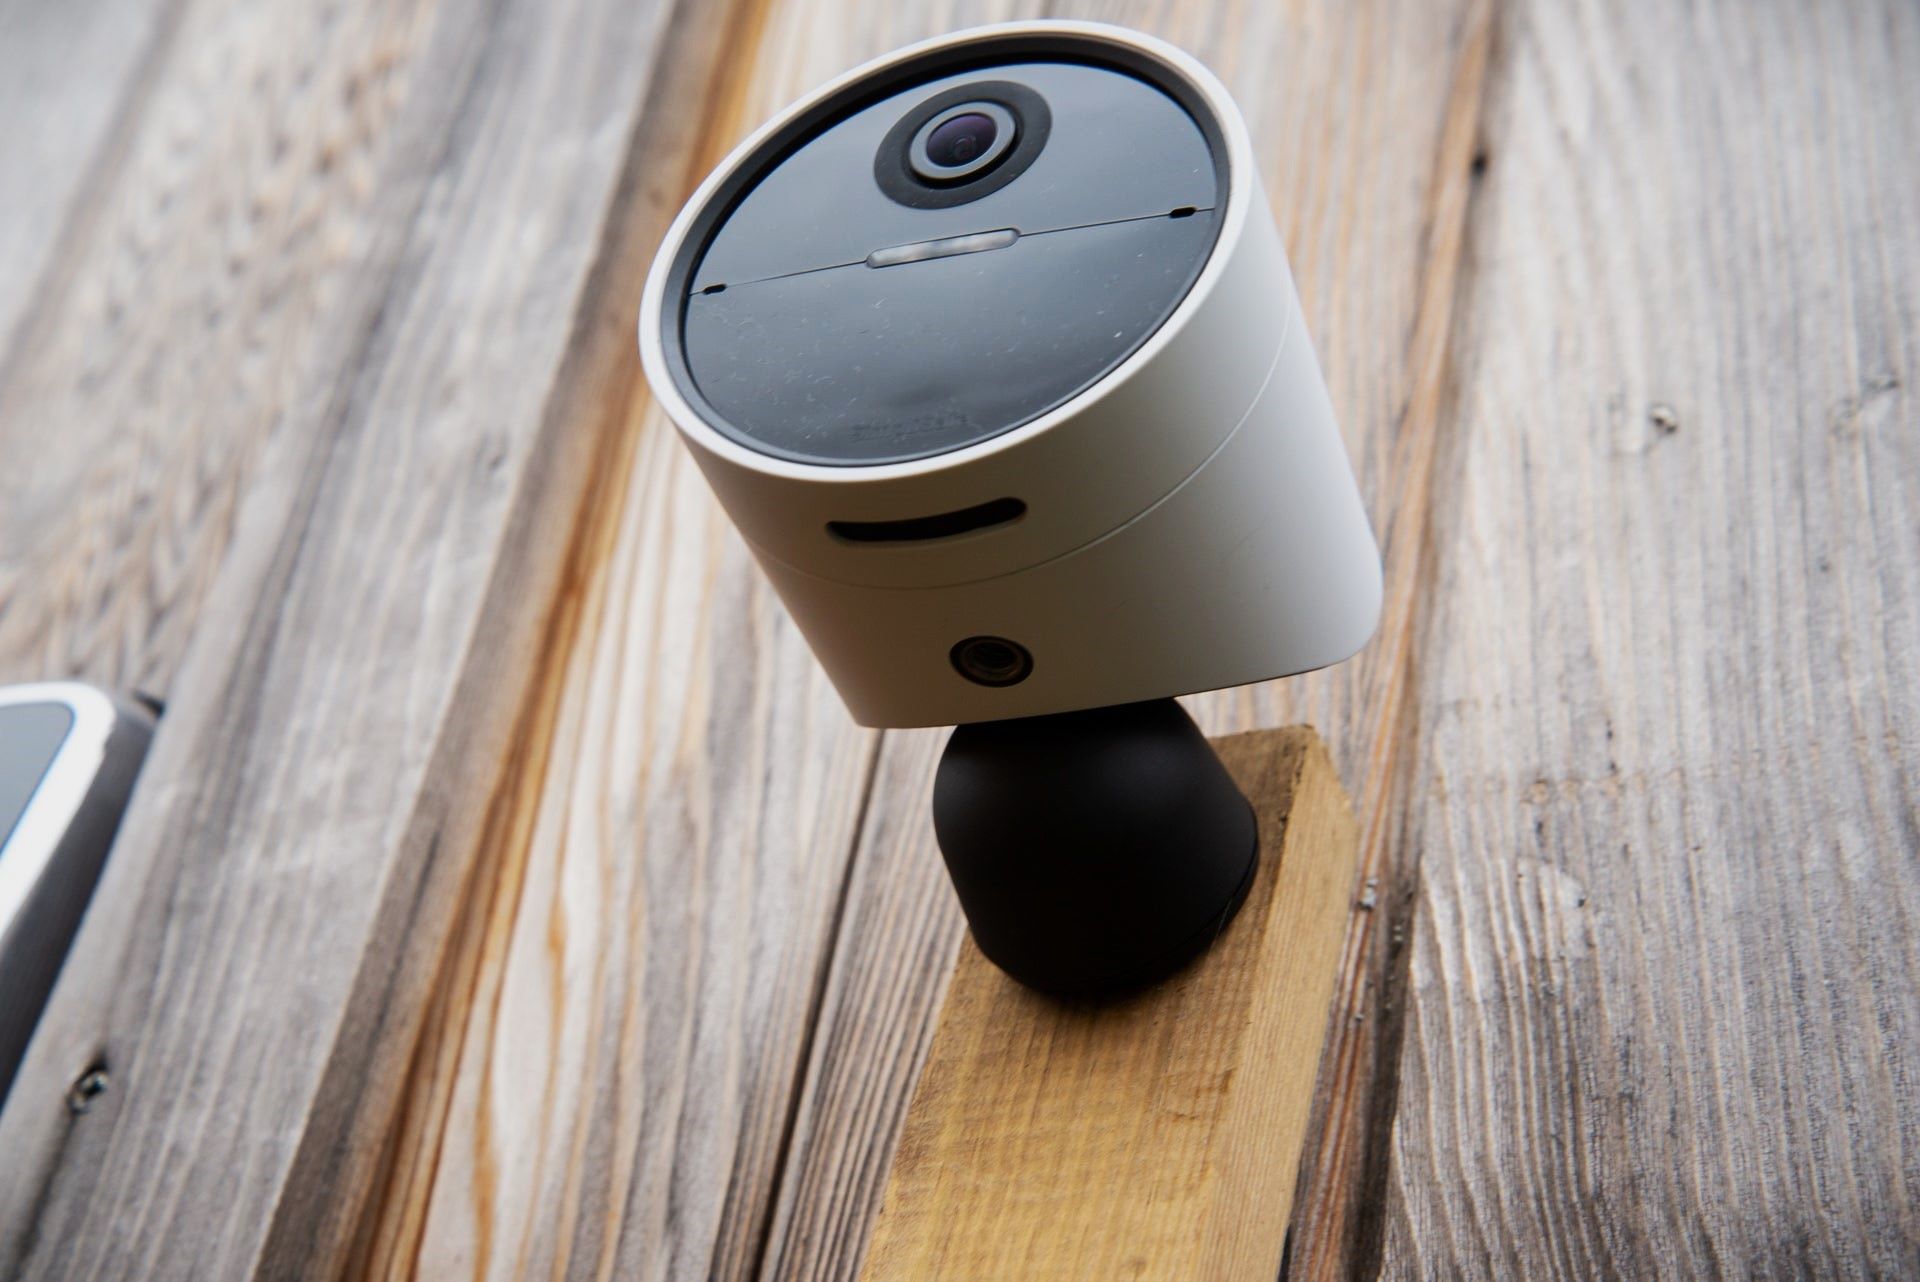
Step 4: Installing the Camera Outdoors
With your Samsung Indoor Camera weatherproofed and ready for outdoor use, it’s time to install it in its designated outdoor location. Follow these steps to ensure a successful installation:
- Choose the Right Location: Select a location that provides a clear and unobstructed view of the area you want to monitor. Consider factors such as the optimal viewing angle, proximity to power source, and accessibility for maintenance and adjustments.
- Mounting the Camera: Attach the mounting bracket to the desired mounting surface using appropriate screws and anchors. Make sure the bracket is secure and level. Then, carefully attach the outdoor housing with the Samsung Indoor Camera to the mounting bracket, following the manufacturer’s instructions.
- Adjust the Camera Position: Once the camera is mounted, adjust its position to achieve the desired viewing angle. Use the camera’s pan, tilt, and zoom features (if available) to fine-tune the camera’s field of view.
- Connect the Power: Connect the camera’s power cable to a nearby power outlet using the appropriate extension cable (if necessary). Ensure all connections are secure and protected from the elements.
- Check the Network Connection: If your Samsung Indoor Camera requires a network connection, make sure it is properly connected to your network router or wireless access point. Test the connection and ensure the camera can communicate with your monitoring system.
- Test the Camera: Before leaving the installation site, perform a thorough test of the camera’s functionality. Verify that the video feed is clear and properly capturing the desired areas. Adjust any settings as needed to ensure optimal performance.
Throughout the installation process, it’s important to follow all safety guidelines and take necessary precautions to avoid accidents or damage to the camera or property. If you are unsure about any step of the installation, it is always advisable to seek professional assistance.
By carefully installing your Samsung Indoor Camera outdoors, you are now ready to enjoy enhanced security and monitoring capabilities for your home or property.
Read more: How To Get My Outdoor Camera Working
Step 5: Testing and Adjustments
After installing your Samsung Indoor Camera outdoors, it’s crucial to thoroughly test its functionality and make any necessary adjustments. This step will ensure that your camera is capturing clear and accurate footage while effectively monitoring your property. Follow these steps for testing and adjustments:
- Check the Video Feed: Monitor the live video feed from your camera to ensure that it is capturing the desired areas and providing clear visuals. Make note of any blind spots or areas that may require repositioning.
- Adjust Camera Settings: Access the camera’s settings menu and adjust any relevant settings such as brightness, contrast, and resolution. These settings will optimize the image quality and ensure accurate surveillance.
- Test Night Vision: If your Samsung Indoor Camera has night vision capabilities, test this feature in low-light conditions to ensure visibility during nighttime. Make adjustments as needed to enhance night vision performance.
- Check Camera Connectivity: Verify that your camera is properly connected to the network and can be accessed remotely if applicable. Test the remote access features, such as viewing the live feed through a smartphone or computer, to ensure seamless connectivity.
- Perform Motion and Sound Detection Tests: Activate the camera’s motion and sound detection features and test their reliability. Walk within the camera’s field of view to confirm that it properly detects and captures these events.
- Check Recording and Storage: If your camera has recording capabilities, ensure that it is properly saving the recordings to your desired storage device or cloud service. Check the storage capacity and make any necessary adjustments.
- Make Further Adjustments: Based on the test results, make any additional adjustments to the camera’s position, angle, or settings. This will help optimize its performance and ensure comprehensive coverage of your property.
It’s important to perform regular maintenance and testing of your outdoor camera to ensure its continued functionality. Clean the camera lens periodically to remove any dirt or debris that may obstruct the view. Regularly check for any signs of damage or wear and address them promptly for optimal performance.
By thoroughly testing and making necessary adjustments, you can depend on your Samsung Indoor Camera for reliable outdoor surveillance and enhanced security.
Conclusion
With a few modifications and careful installation, you can successfully convert your Samsung Indoor Camera into an outdoor camera, bolstering the security and surveillance of your property. By assessing your camera’s capabilities, purchasing the necessary equipment, weatherproofing it, installing it in the designated outdoor location, and performing thorough testing and adjustments, you can enjoy the benefits of outdoor monitoring.
Remember to consider the specifications of your camera, the environmental conditions of the installation location, and the compatibility of the equipment you purchase. Take the time to ensure a proper weatherproofing process, protecting your camera from rain, dust, and other elements. Select the right location and securely mount the camera with the provided bracket.
Throughout the conversion process, make sure to test the camera’s functionality, adjust settings as needed, and verify that it properly captures clear footage. Regular testing and maintenance will help ensure your outdoor camera continues to perform optimally.
By taking these steps, you can enhance the security and surveillance capabilities of your property, providing you with peace of mind and the ability to monitor your home and loved ones even when you are away.
Remember, if you are unsure about any step of the process or if you want professional assistance, it’s always best to seek the help of an expert. They can provide guidance tailored to your specific camera model and ensure a successful conversion to an outdoor camera.
Investing in a converted outdoor camera allows you to take full advantage of your Samsung Indoor Camera’s capabilities and provides an added layer of protection for your home and family.
Frequently Asked Questions about How To Make My Samsung Indoor Camera An Outdoor Camera
Was this page helpful?
At Storables.com, we guarantee accurate and reliable information. Our content, validated by Expert Board Contributors, is crafted following stringent Editorial Policies. We're committed to providing you with well-researched, expert-backed insights for all your informational needs.