Home>Home Security and Surveillance>How To Install A Nest IQ Outdoor Camera
Home Security and Surveillance
How To Install A Nest IQ Outdoor Camera
Modified: March 6, 2024
Learn how to easily install the Nest IQ Outdoor Camera for enhanced home security and surveillance. Step-by-step guide for hassle-free setup.
(Many of the links in this article redirect to a specific reviewed product. Your purchase of these products through affiliate links helps to generate commission for Storables.com, at no extra cost. Learn more)
Introduction
Welcome to our comprehensive guide on how to install a Nest IQ Outdoor Camera. With the advancement of technology, home security systems have become more accessible and user-friendly than ever before. The Nest IQ Outdoor Camera is a top-of-the-line surveillance device that offers advanced features to enhance the security of your home. In this article, we will walk you through the step-by-step process of installing the Nest IQ Outdoor Camera, ensuring that you can enjoy peace of mind and a secure environment.
Home security is a top priority for many homeowners, and having a reliable outdoor camera is an essential component of a comprehensive security system. The Nest IQ Outdoor Camera is equipped with cutting-edge technology, including facial recognition, advanced motion detection, and 4K Ultra HD video quality, allowing you to monitor and protect your property with incredible clarity.
In the following sections, we will guide you through the entire installation process, from unboxing the camera to adjusting the settings. We will cover everything you need to know, including gathering the necessary tools and materials, choosing the perfect installation location, mounting the camera securely, connecting it to power and Wi-Fi, adjusting camera settings, and testing its functionality.
Whether you are a tech-savvy homeowner or a beginner looking to enhance your home security, this guide is designed to assist you at every step. We will provide easy-to-follow instructions and tips to ensure a successful installation process. By the end of this guide, you will have a fully functional Nest IQ Outdoor Camera, ready to protect your home and provide you with peace of mind.
Before we dive into the installation process, make sure you have your Nest IQ Outdoor Camera ready and all the necessary tools on hand. It’s time to take control of your home security and create a safe environment for you and your loved ones. Let’s get started!
Key Takeaways:
- Installing a Nest IQ Outdoor Camera involves unboxing, gathering tools, choosing a location, mounting, connecting to power and Wi-Fi, adjusting settings, and testing. Each step is crucial for a successful installation.
- The Nest IQ Outdoor Camera offers advanced features like facial recognition, high-resolution video, motion detection, and night vision. Customizing settings and regular testing ensure optimal performance for enhanced home security.
Read more: Nest IQ Outdoor Camera: Where Is The IQ Code
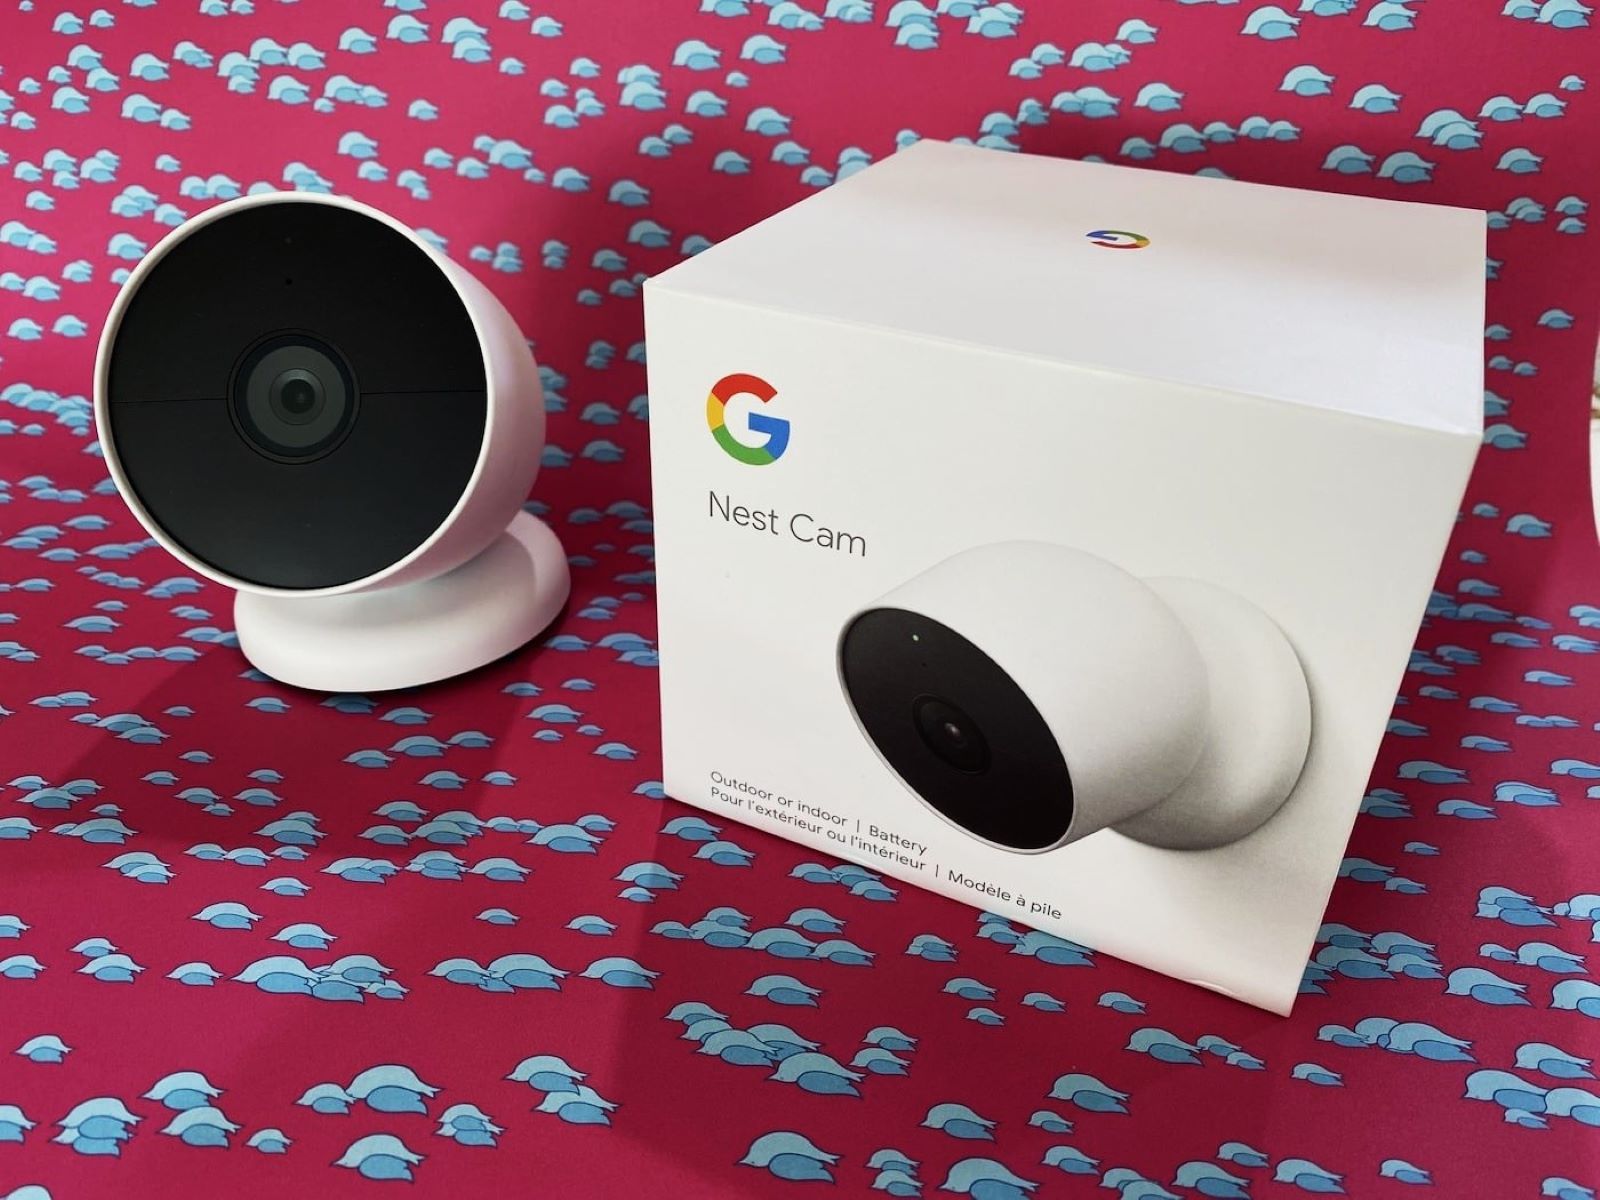
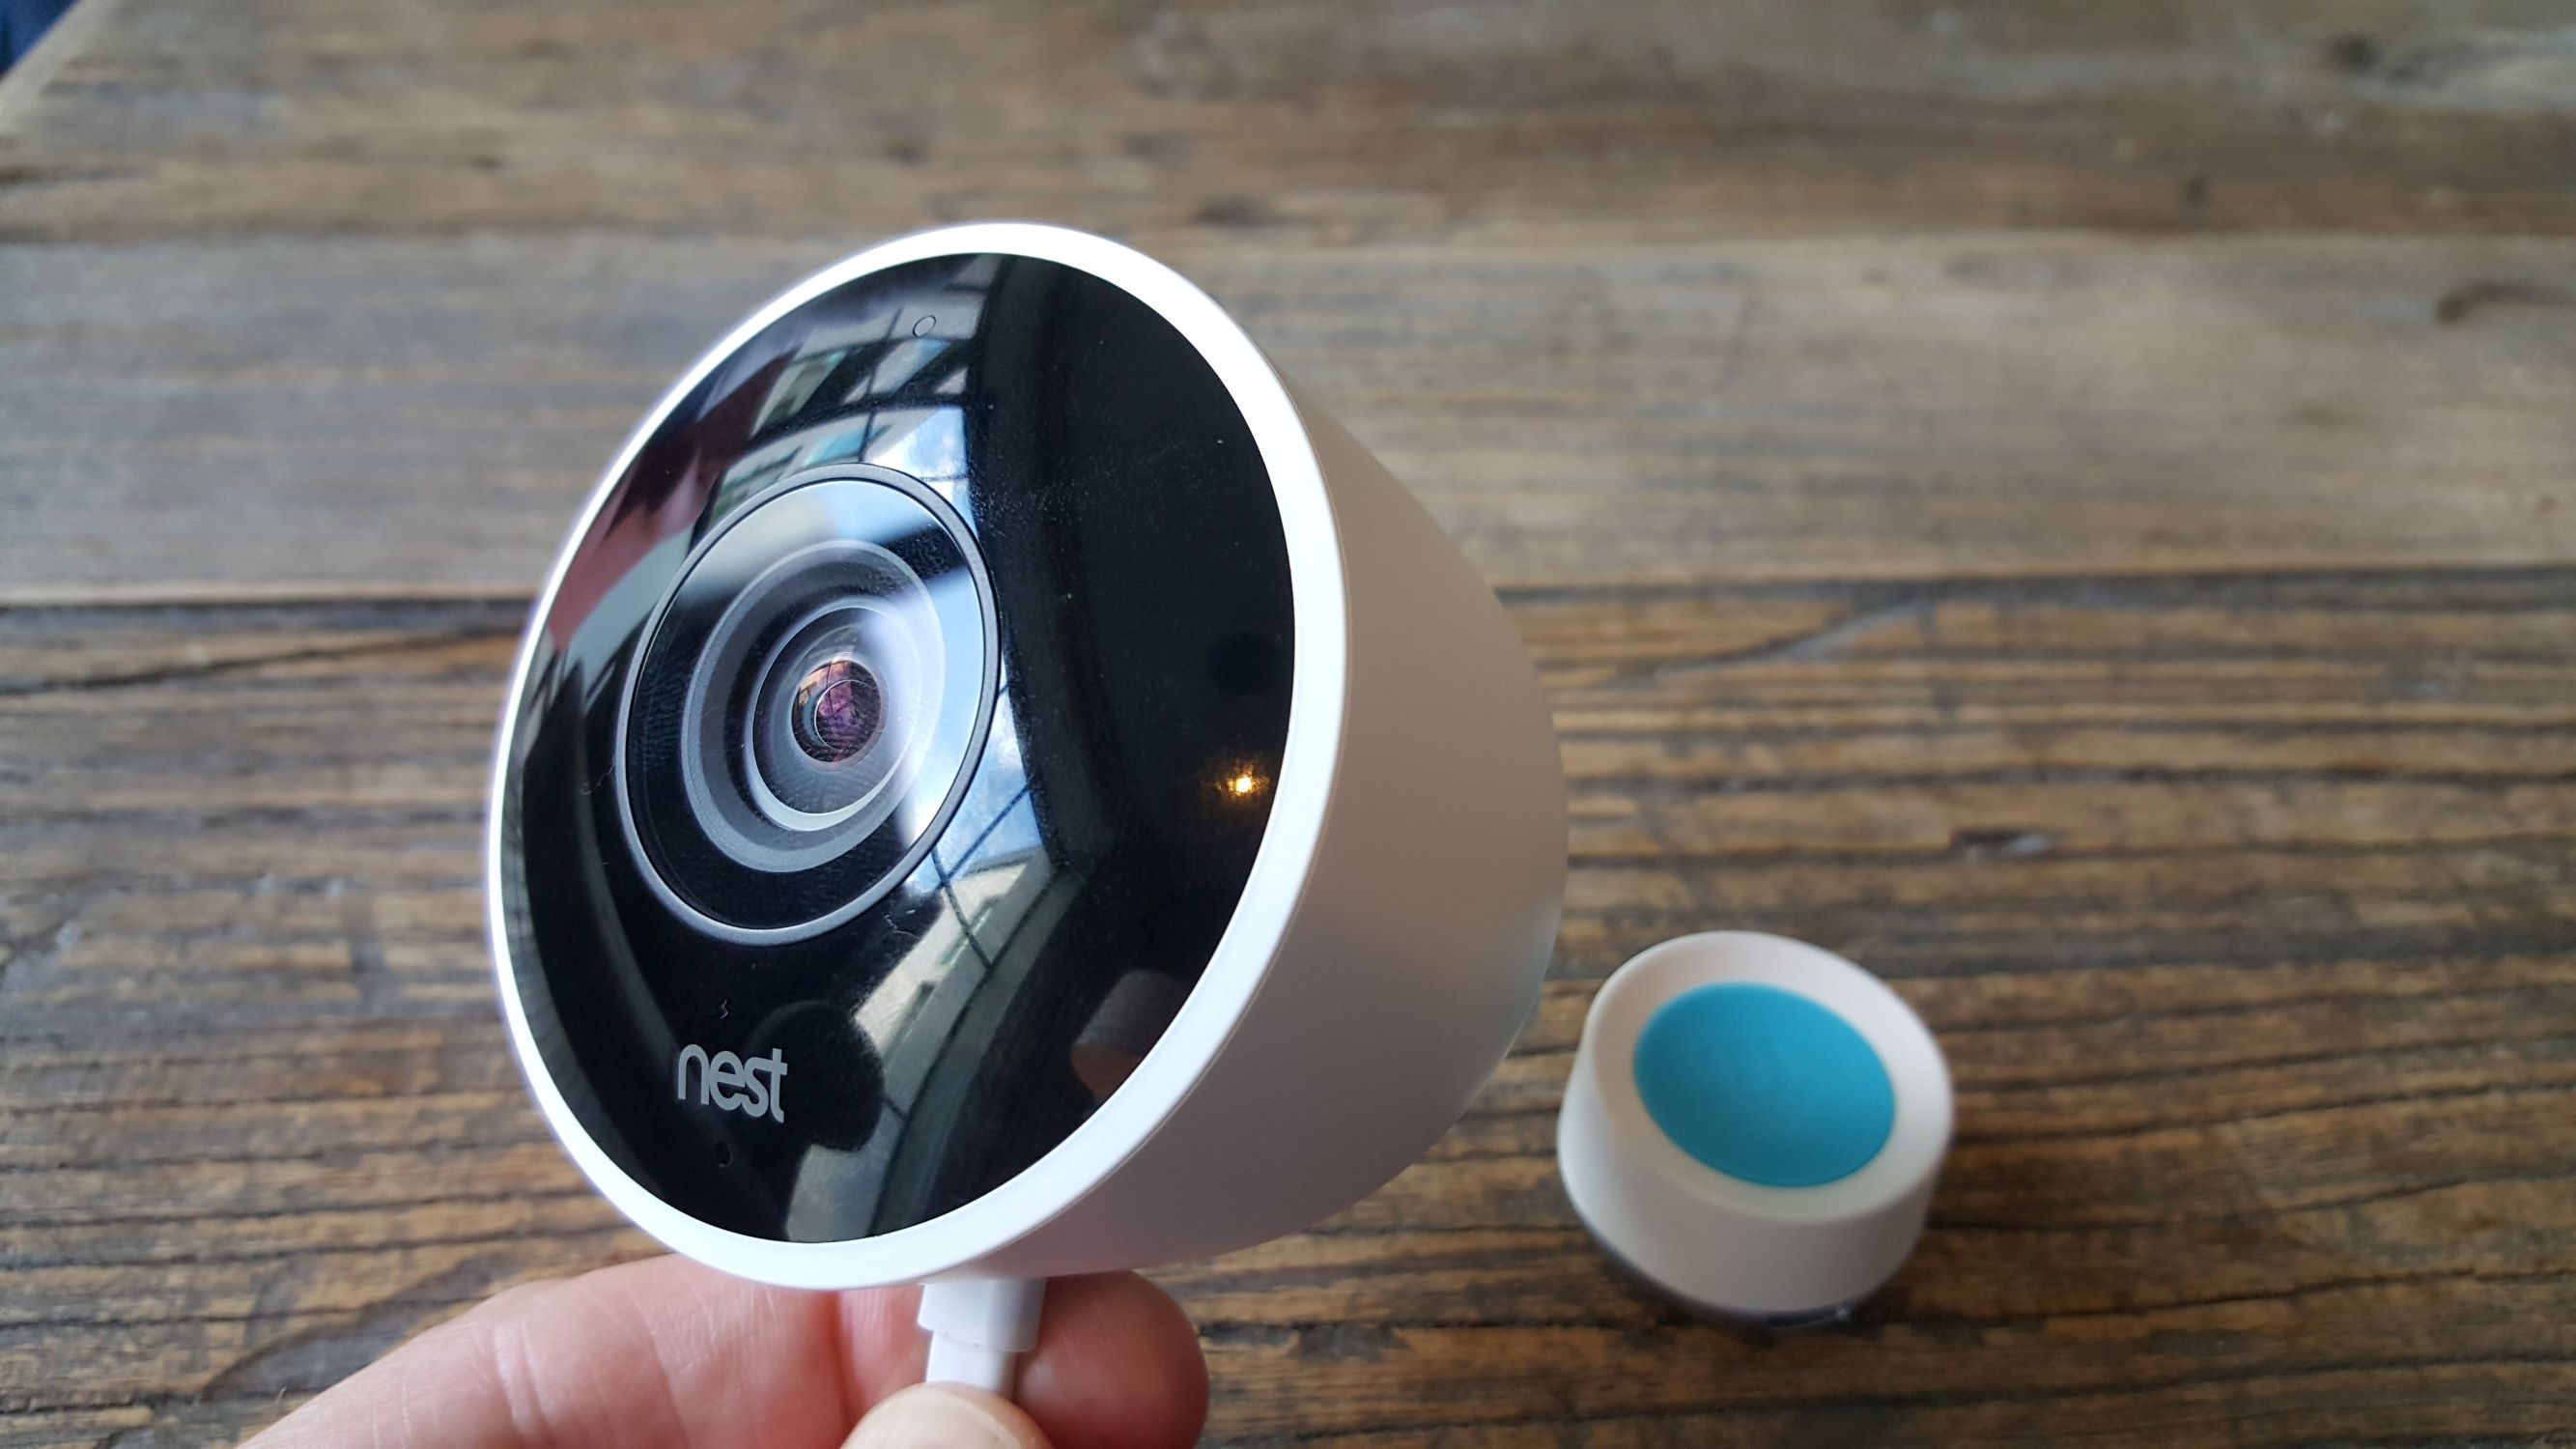
Step 1: Unboxing the Nest IQ Outdoor Camera
Before you begin the installation process, it’s important to unbox your Nest IQ Outdoor Camera carefully. The box should contain the camera itself, along with any accompanying accessories.
Start by opening the box and removing all the contents. Take a moment to inspect the camera and ensure that there is no visible damage. If you notice any issues, such as cracks or dents, contact the retailer or Nest customer support for assistance.
Inside the box, you will find the Nest IQ Outdoor Camera, a wall mount, a cable guard, a power adapter, and any additional screws or mounting hardware. Carefully remove each item from its packaging.
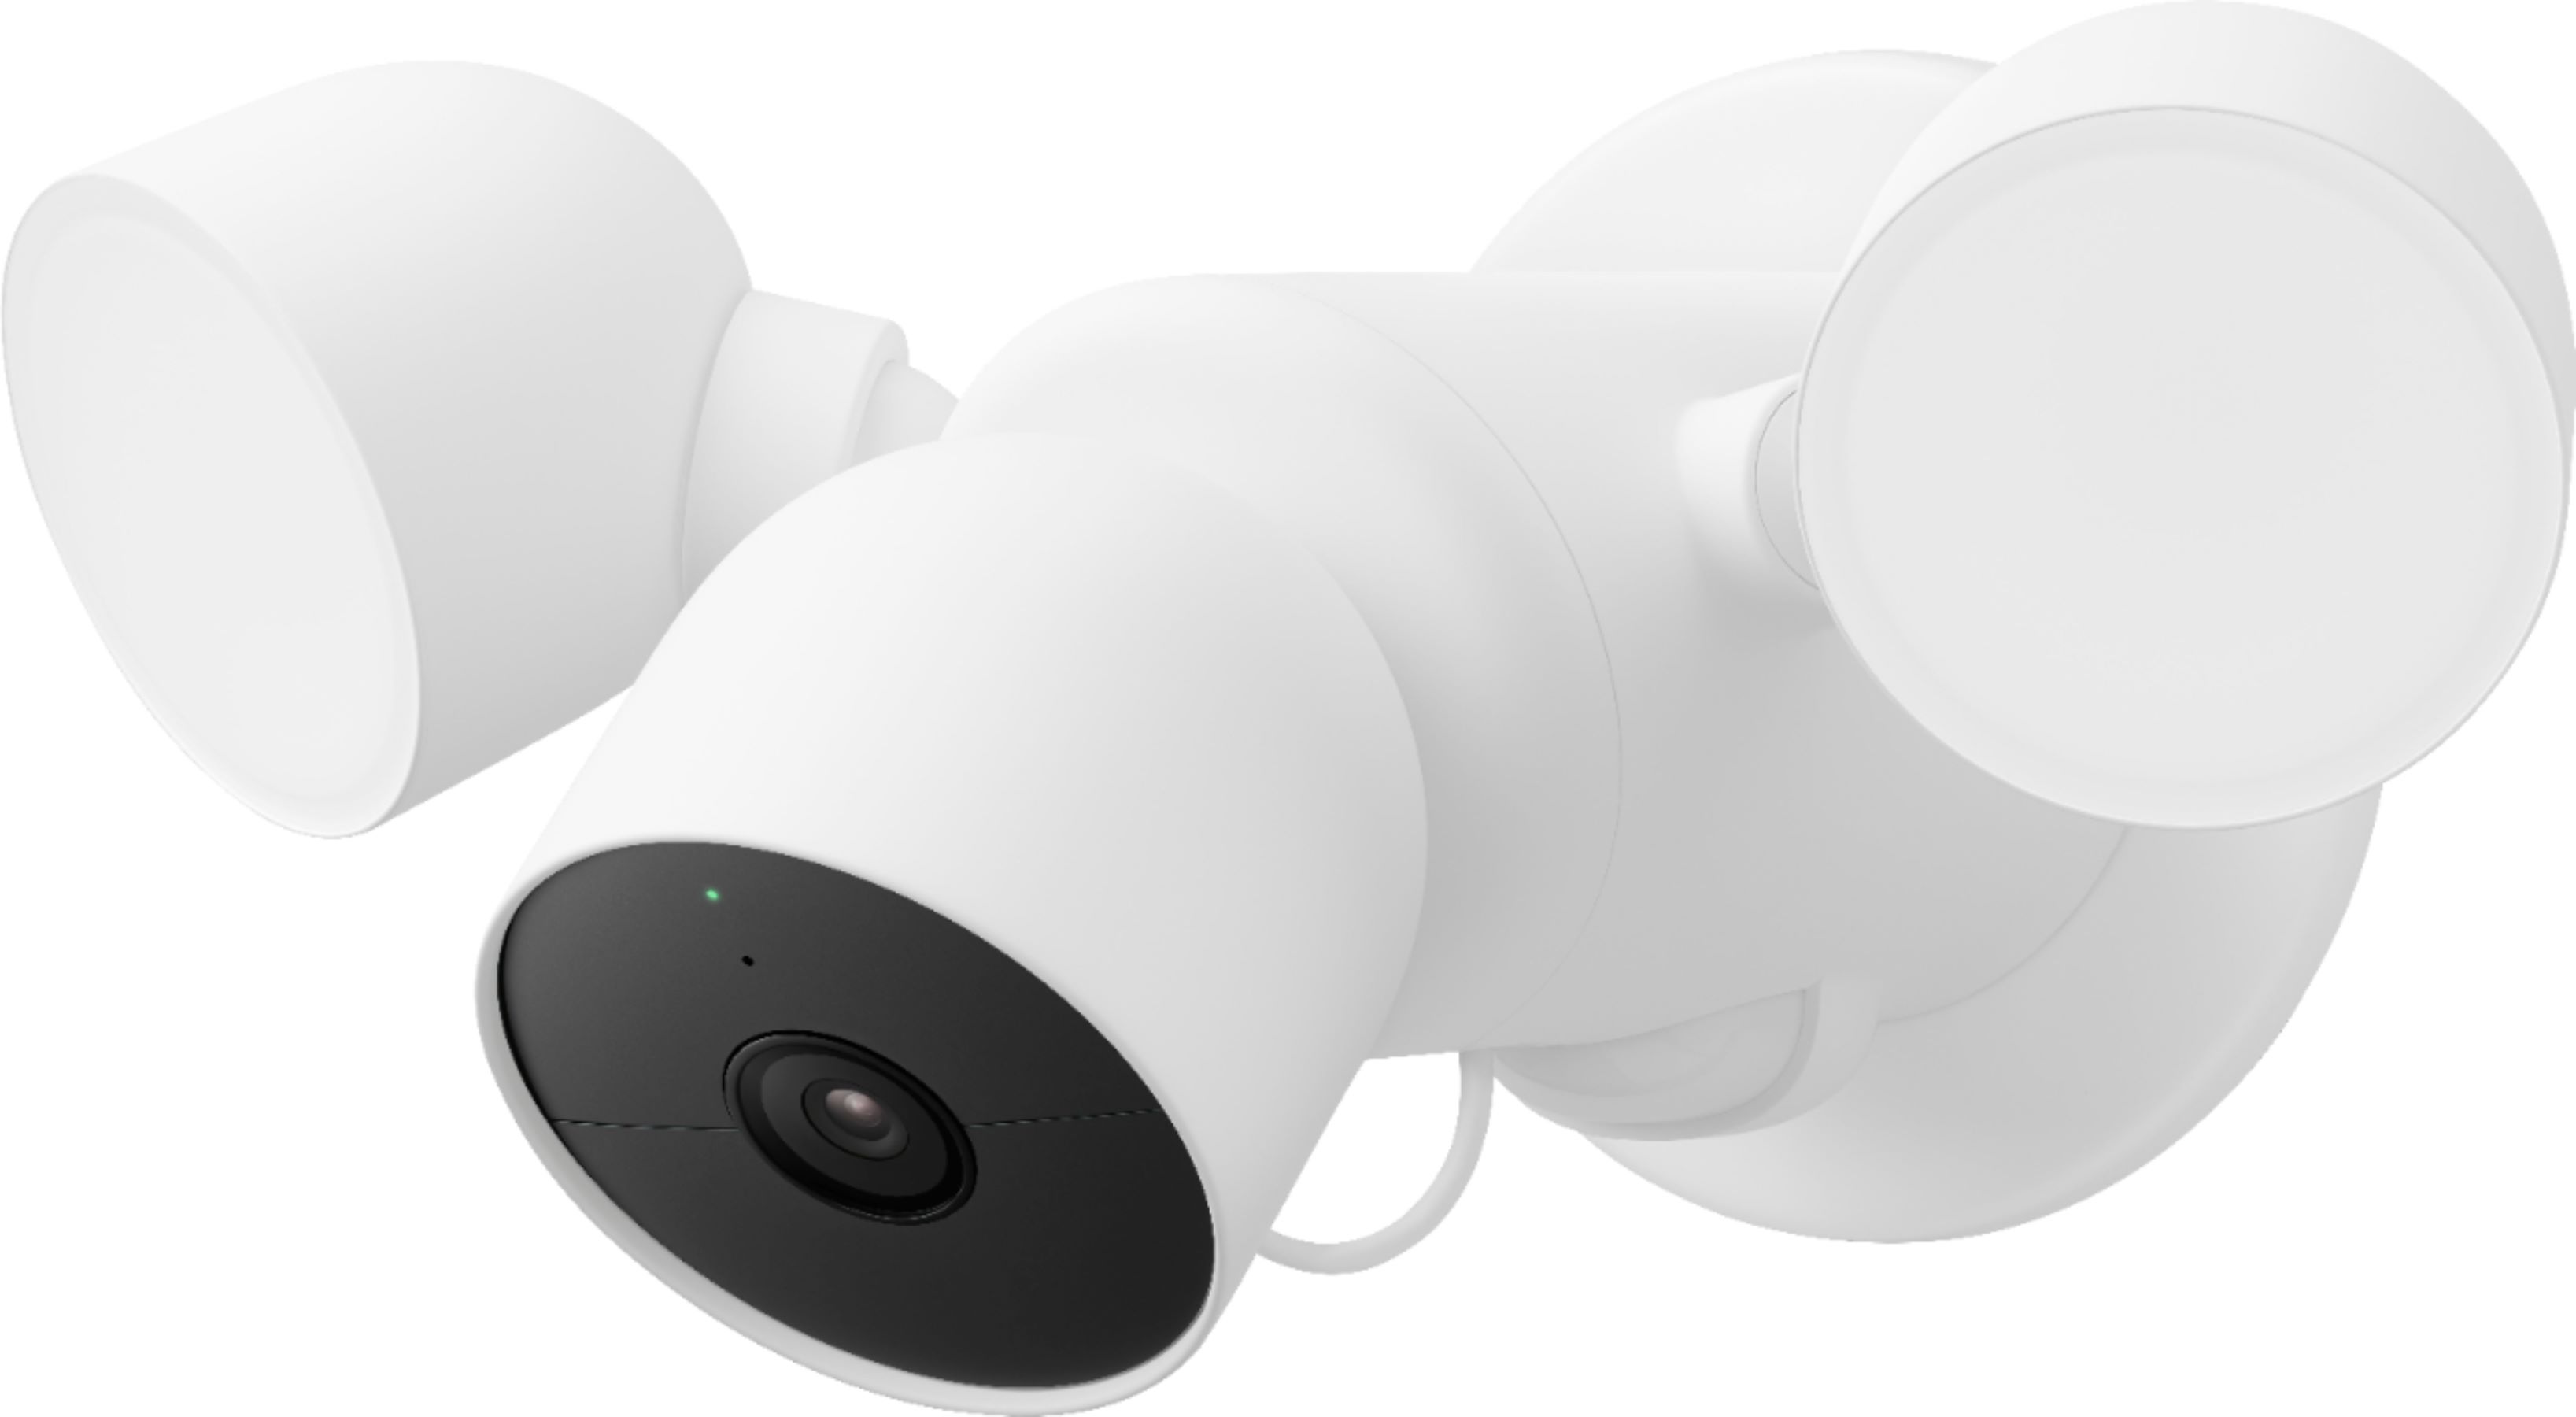
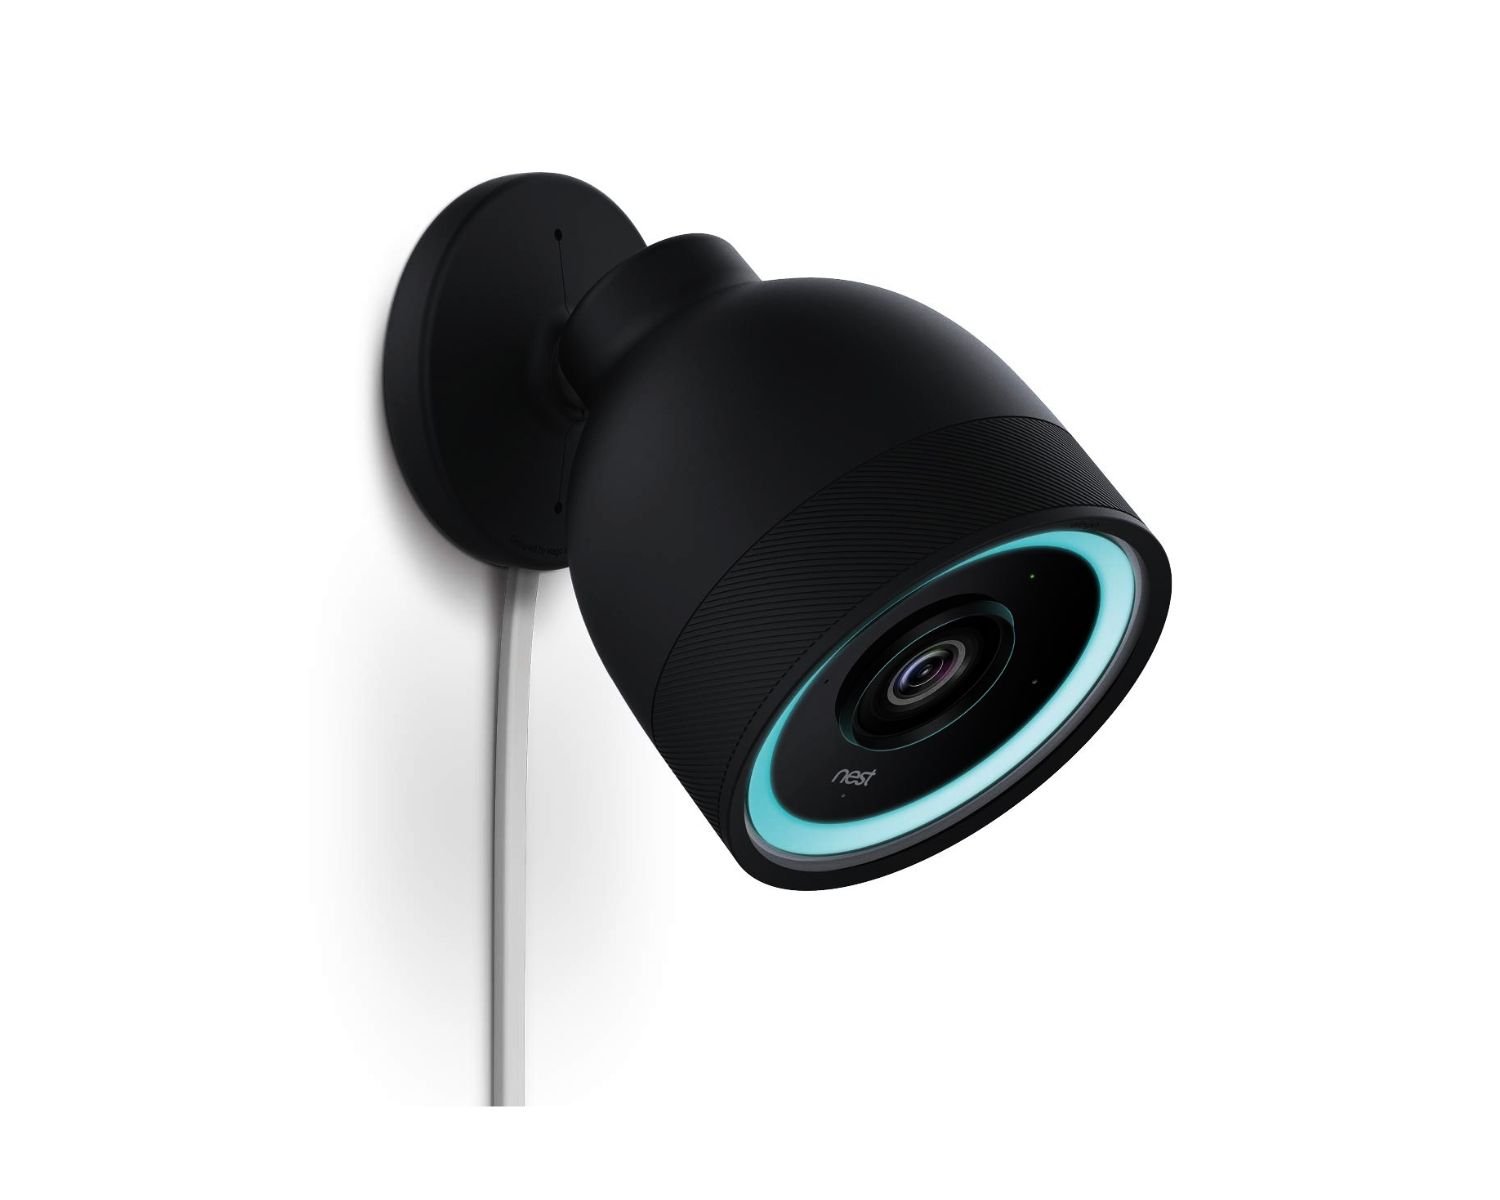
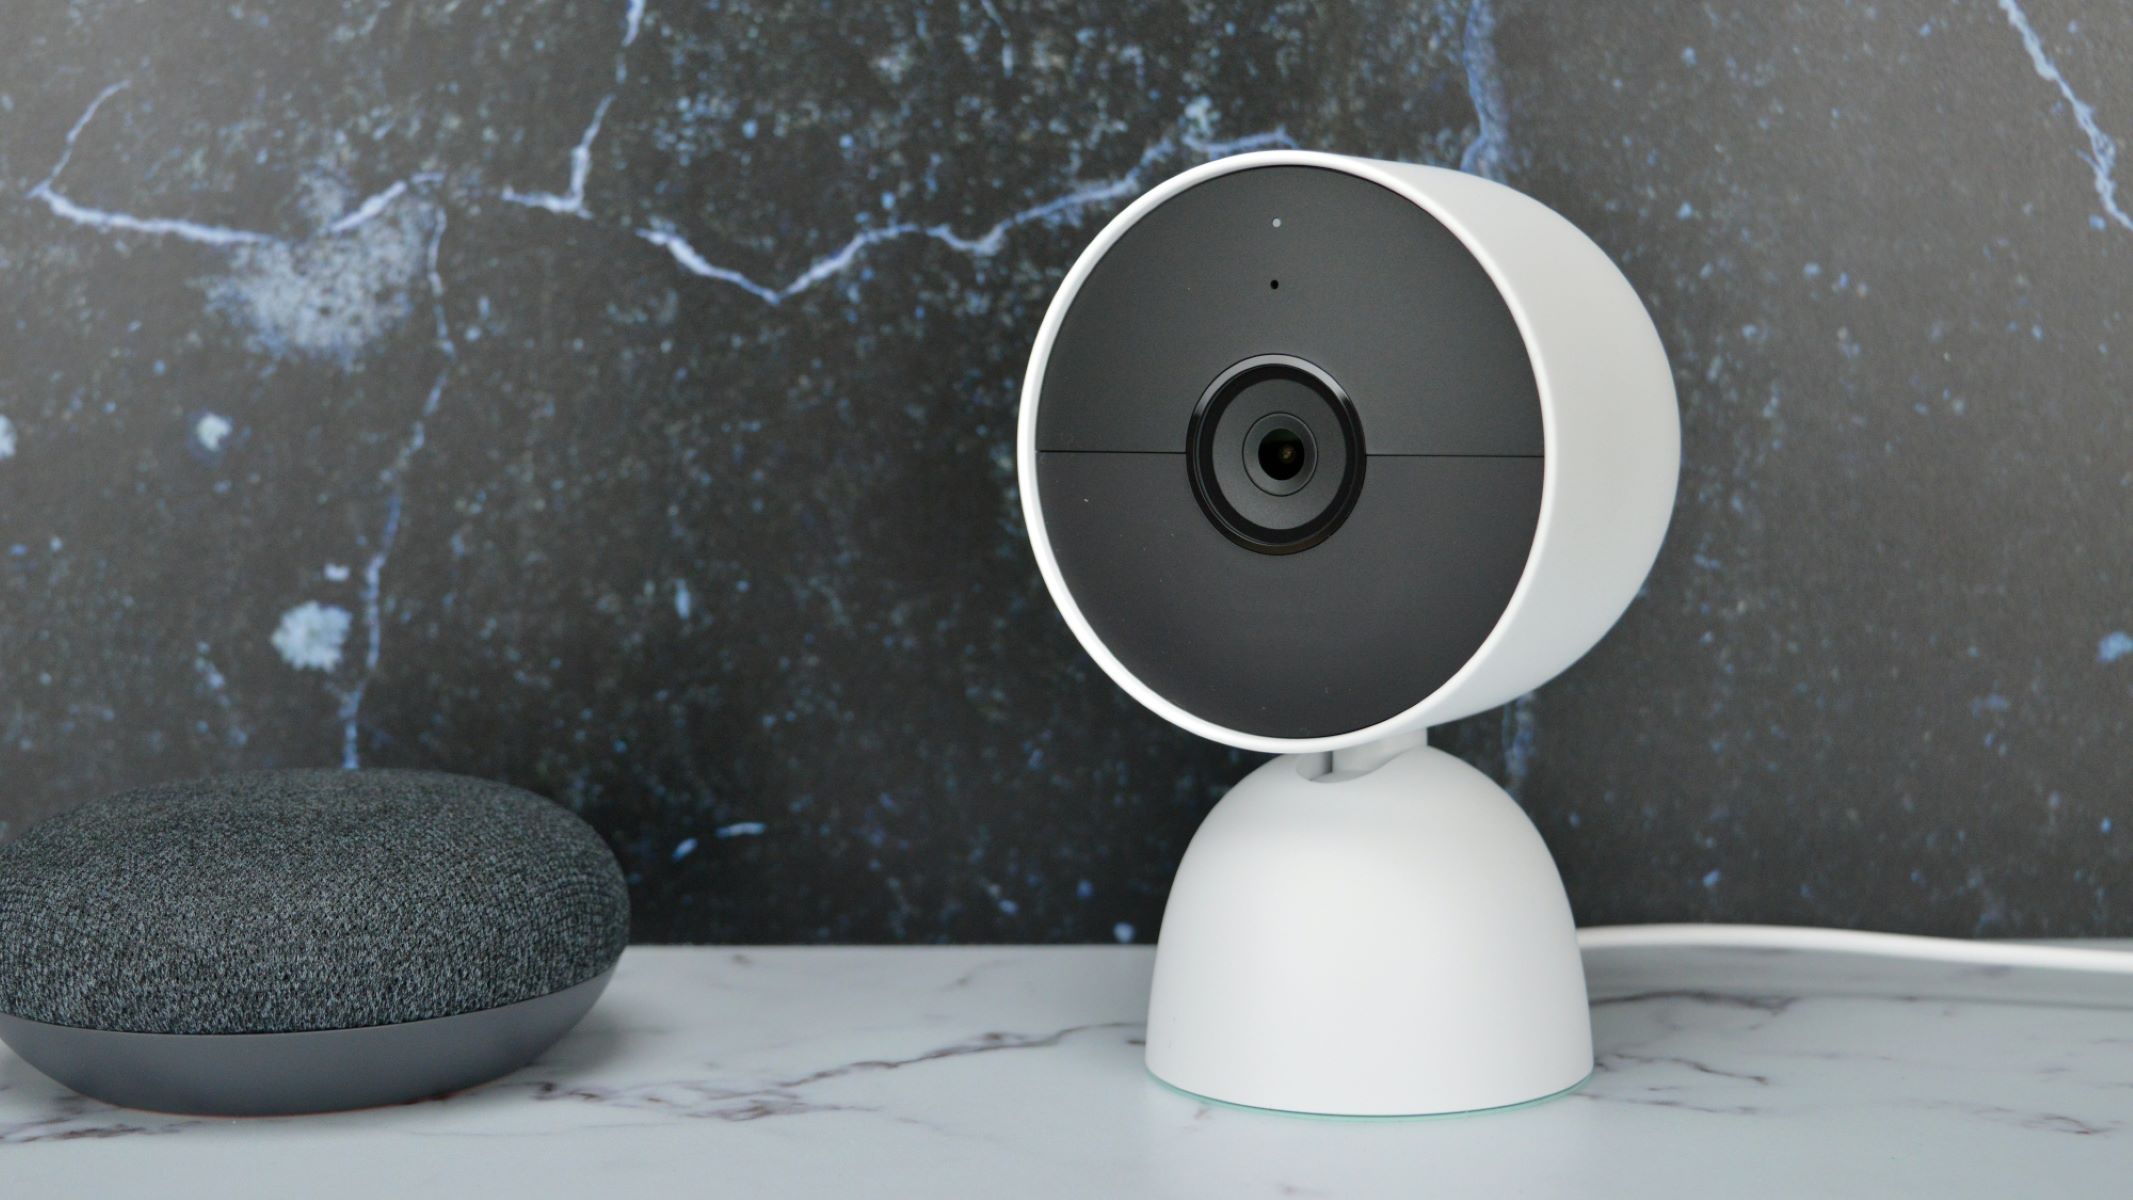
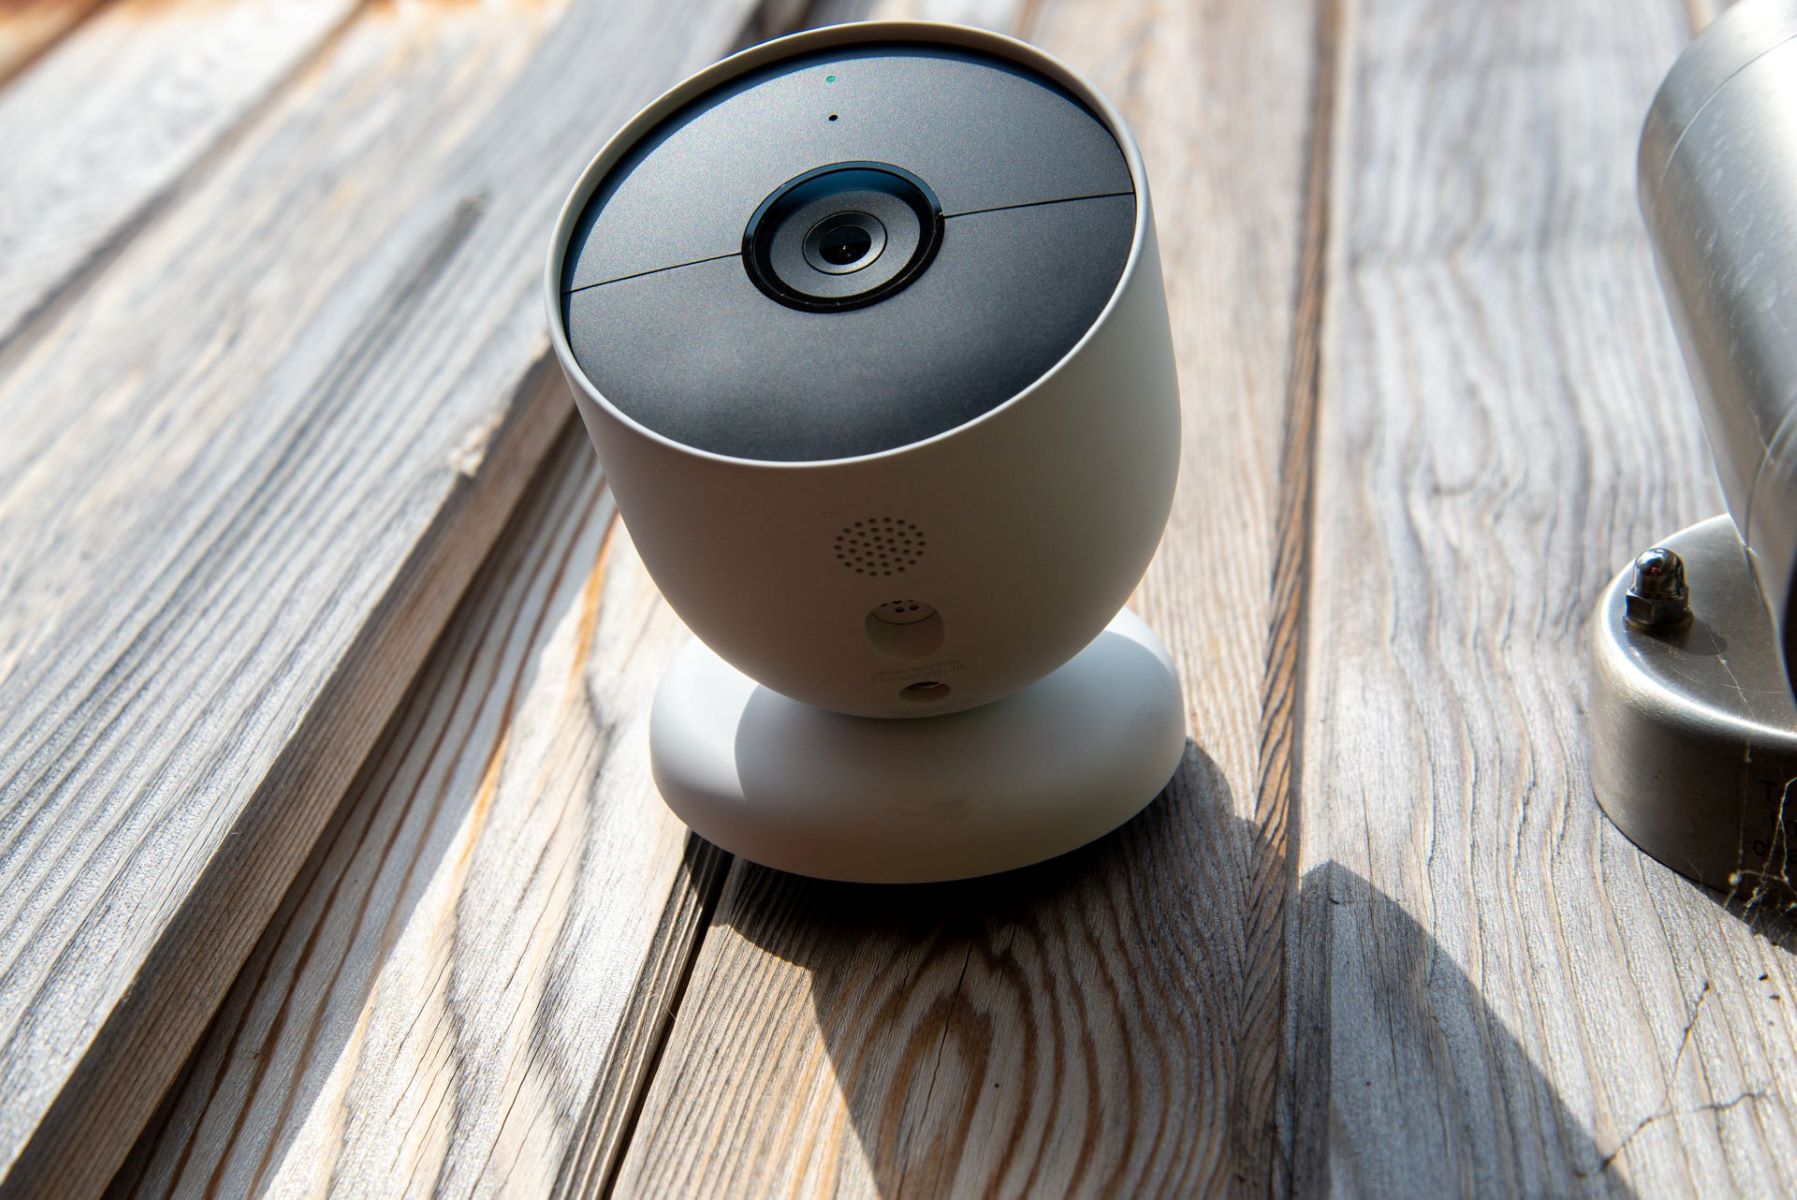
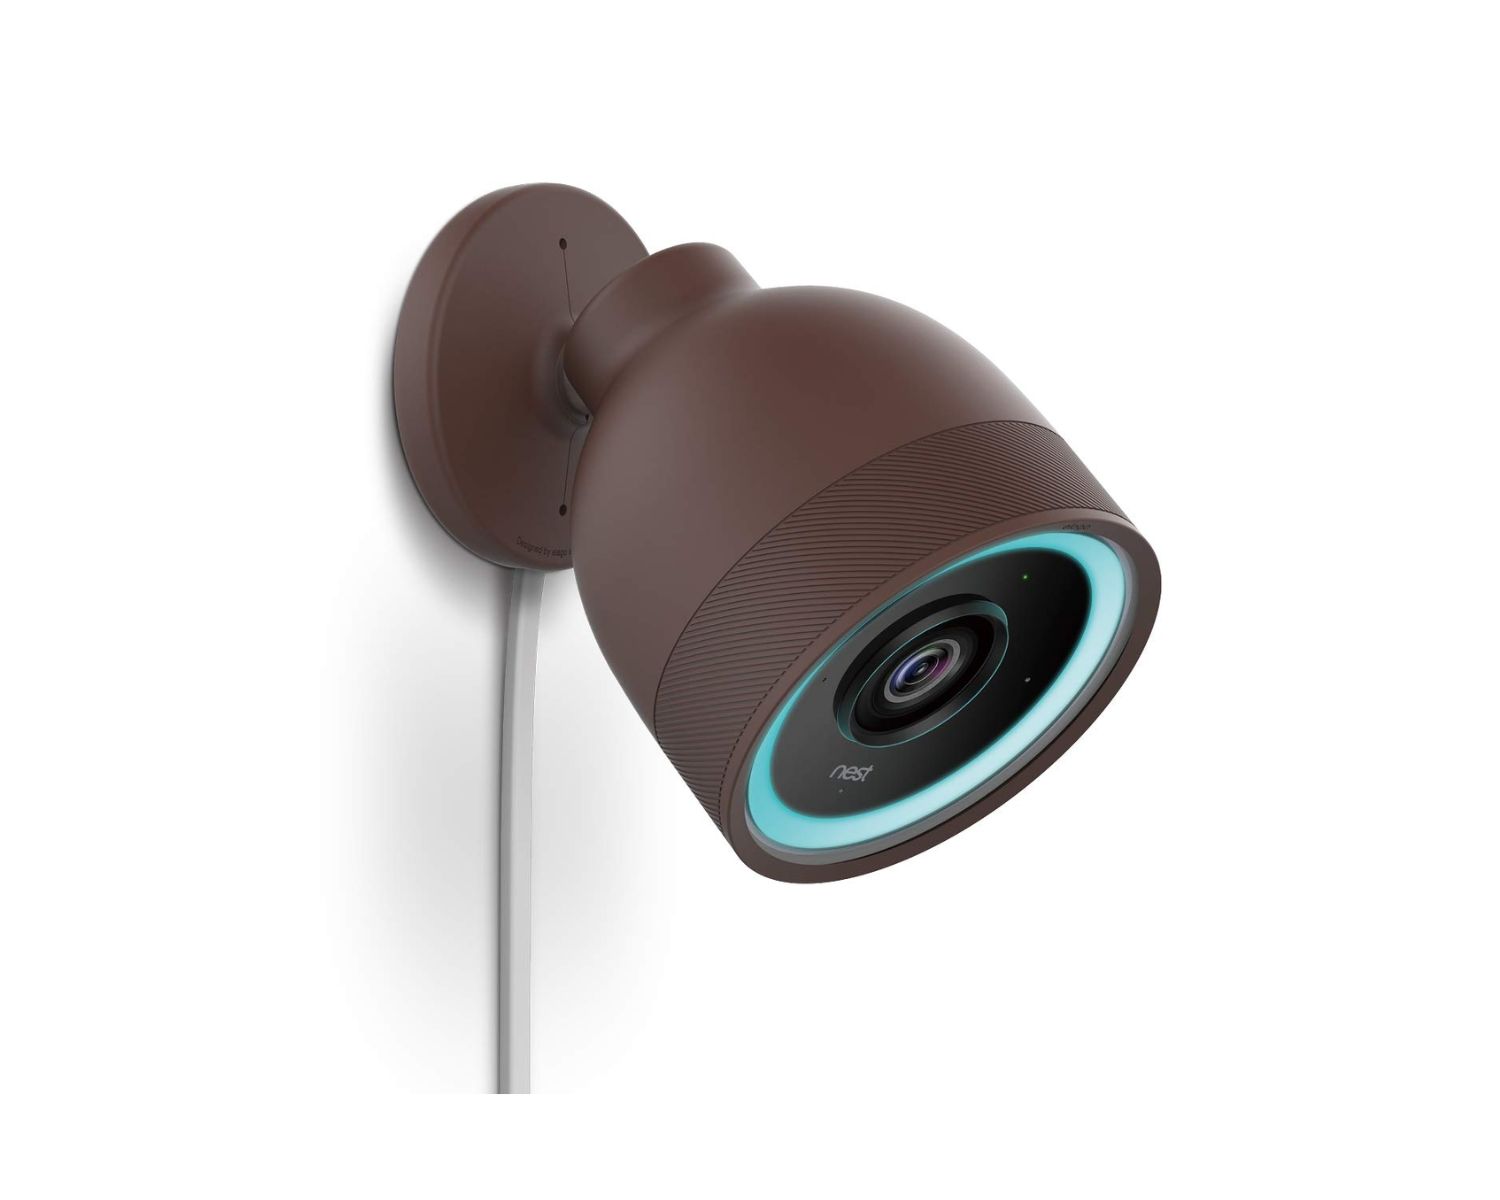
Once you have unboxed everything, take a moment to familiarize yourself with the different components of the camera. The Nest IQ Outdoor Camera features a sleek and compact design, with a camera lens and the Nest logo prominently displayed on the front. On the back of the camera, you will find the power connector and the mounting bracket connection.
Additionally, ensure that the camera is equipped with the necessary cables, including the power cable and Ethernet cable, if applicable.
It’s also a good idea to check the camera’s serial number and make a note of it. You will need this information during the setup process.
By carefully unboxing and inspecting your Nest IQ Outdoor Camera, you can ensure that all the necessary components are in good condition, ready for installation. With everything unpacked and ready to go, you’re one step closer to enhancing the security of your home.
Step 2: Gathering the Necessary Tools and Materials
Before you begin the installation process of your Nest IQ Outdoor Camera, it’s important to gather all the necessary tools and materials. Having everything on hand will ensure a smooth and efficient installation process.
Here are the tools and materials you will need:
- Drill and drill bits: You will need a drill to create holes for mounting the camera and securing it in place. Make sure you have the appropriate drill bits for the surface you will be mounting the camera on, such as wood, brick, or concrete.
- Screwdriver: A screwdriver will be needed to tighten the screws and secure the camera in place.
- Tape measure: Use a tape measure to accurately measure the distance between mounting points and ensure proper alignment.
- Pencil or marker: Marking the drilling locations with a pencil or marker will help ensure accurate placement of the mounting holes.
- Level: A level will help you ensure that the camera is straight and properly aligned during installation.
- Ladder or step stool: Depending on the height at which you plan to install the camera, you may need a ladder or step stool to reach the mounting location safely.
- Power drill: If you will be mounting the camera on a hard surface, such as brick or concrete, a power drill will make the installation process quicker and easier.
- Power source: Ensure that you have a nearby power source available for connecting the camera to power. This can be an outdoor electrical outlet or an indoor power source with a long enough cable to reach the camera.
- Optional: Ethernet cable: If you prefer a wired connection for added stability or in case of poor Wi-Fi signal, make sure you have an Ethernet cable of sufficient length.
By gathering these tools and materials beforehand, you will be well-prepared for the installation process of your Nest IQ Outdoor Camera. This will save you time and ensure that you have everything you need to complete the installation successfully.
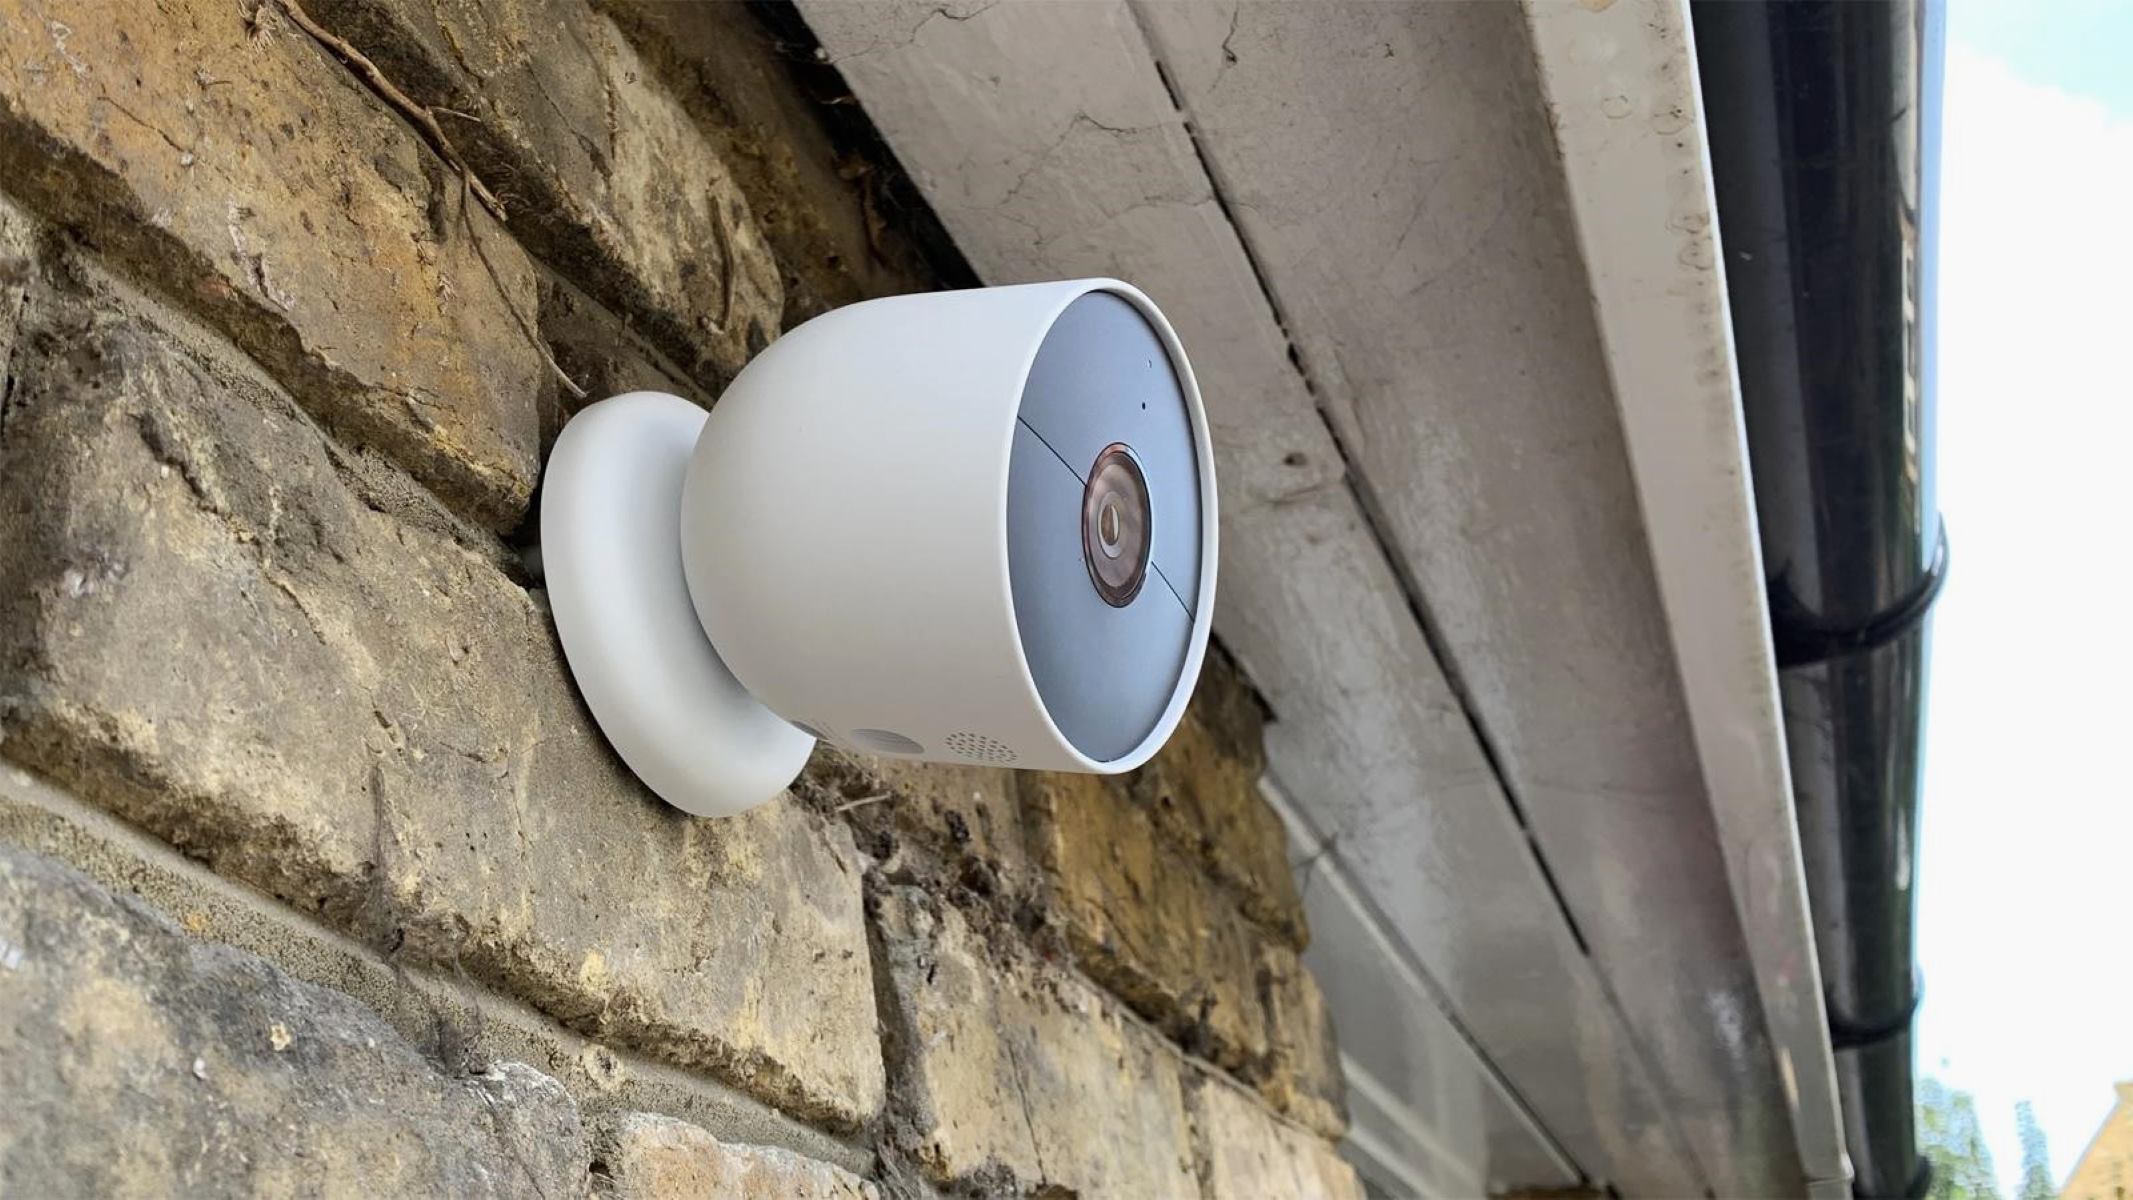
Step 3: Choosing the Installation Location
Choosing the right installation location for your Nest IQ Outdoor Camera is crucial to ensure optimal functionality and coverage. Here are some factors to consider when selecting the perfect spot:
- Outdoor coverage: Consider the areas outside your home that you want the camera to monitor. Look for locations that provide a wide field of view and cover entry points, such as doors, windows, and driveways.
- Accessibility: Ensure that the chosen location is easily accessible for maintenance or adjustments if needed. Avoid installing the camera in areas that are difficult to reach or require the use of a ladder or other equipment.
- Mounting surface: Depending on the structure of your home, you may need to choose a suitable mounting surface. For example, if you have wooden siding, you can easily mount the camera with screws. If you have brick or concrete walls, you may need additional tools or hardware.
- Height: Consider the height at which you want to install the camera. Mounting the camera higher up provides a wider field of view and reduces the risk of tampering or vandalism.
- Obstructions: Take note of any potential obstructions that may hinder the camera’s view. These can include trees, shrubs, or other objects that may block the line of sight or trigger false motion detection alerts.
- Power source: Ensure that the chosen location is within reach of a power source. If the camera needs to be positioned far from an electrical outlet, consider using an extension cord or consult a professional electrician for assistance.
- Wi-Fi signal: The Nest IQ Outdoor Camera requires a stable Wi-Fi connection for optimal performance. Make sure the chosen location has a strong Wi-Fi signal. If the signal is weak, consider using a Wi-Fi extender to improve coverage.
- Weather resistance: The Nest IQ Outdoor Camera is designed to withstand various weather conditions, but it’s still important to choose a location that offers some protection from direct sunlight, rain, and extreme temperatures.
Take your time to evaluate different potential installation locations and consider these factors to choose the best spot for your Nest IQ Outdoor Camera. Once you have identified the ideal location, you’ll be ready to proceed with mounting the camera and connecting it to power.
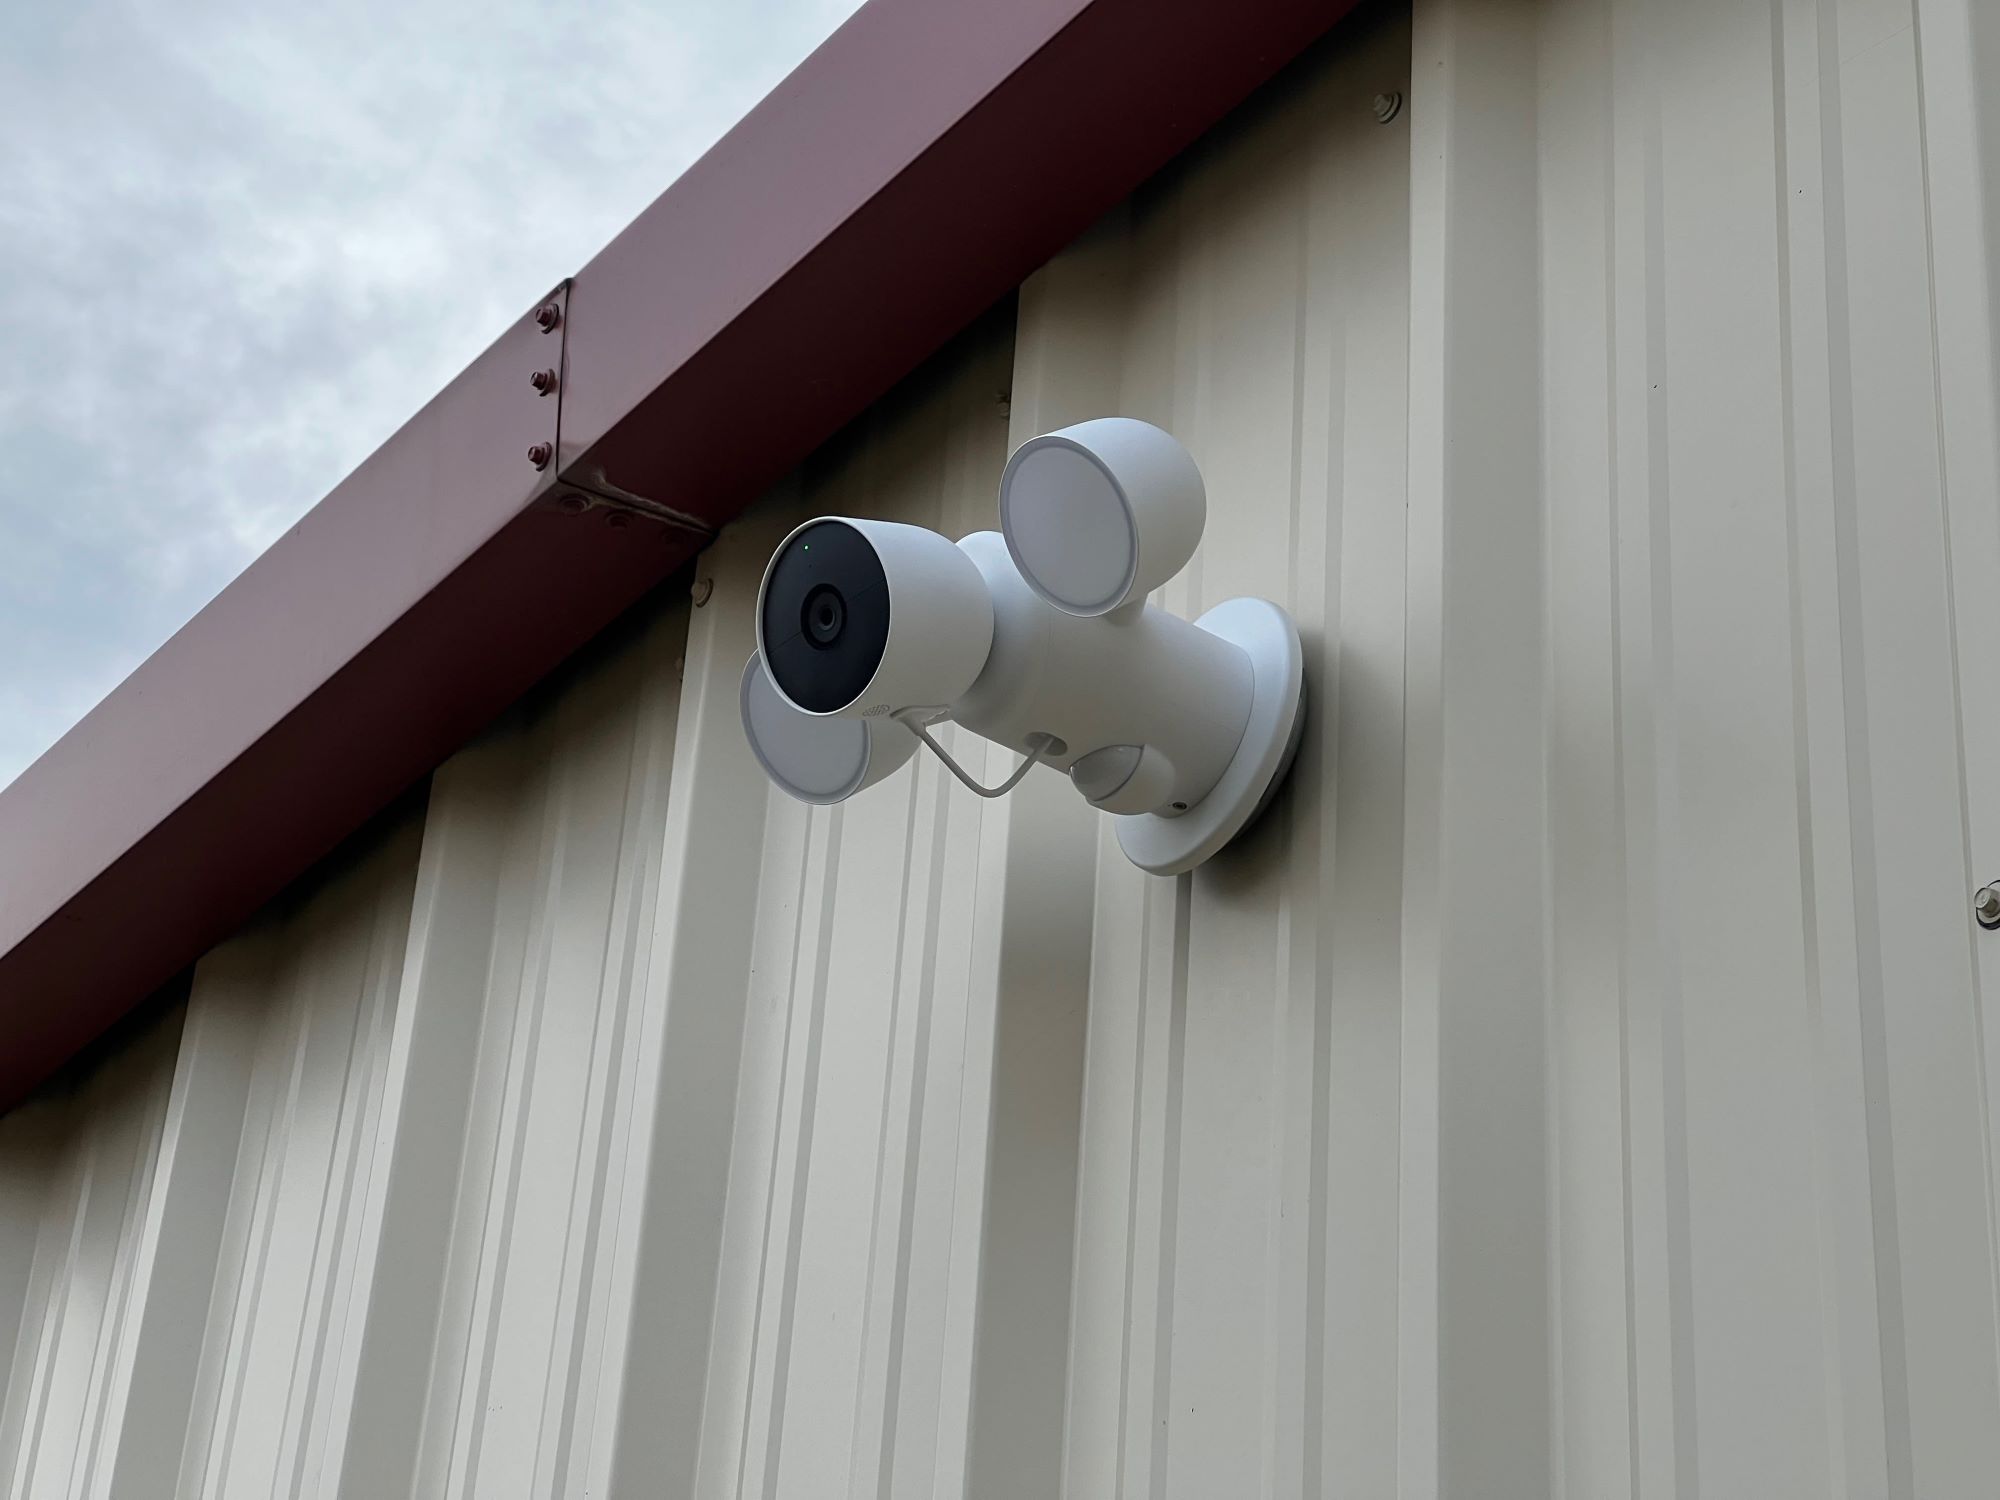
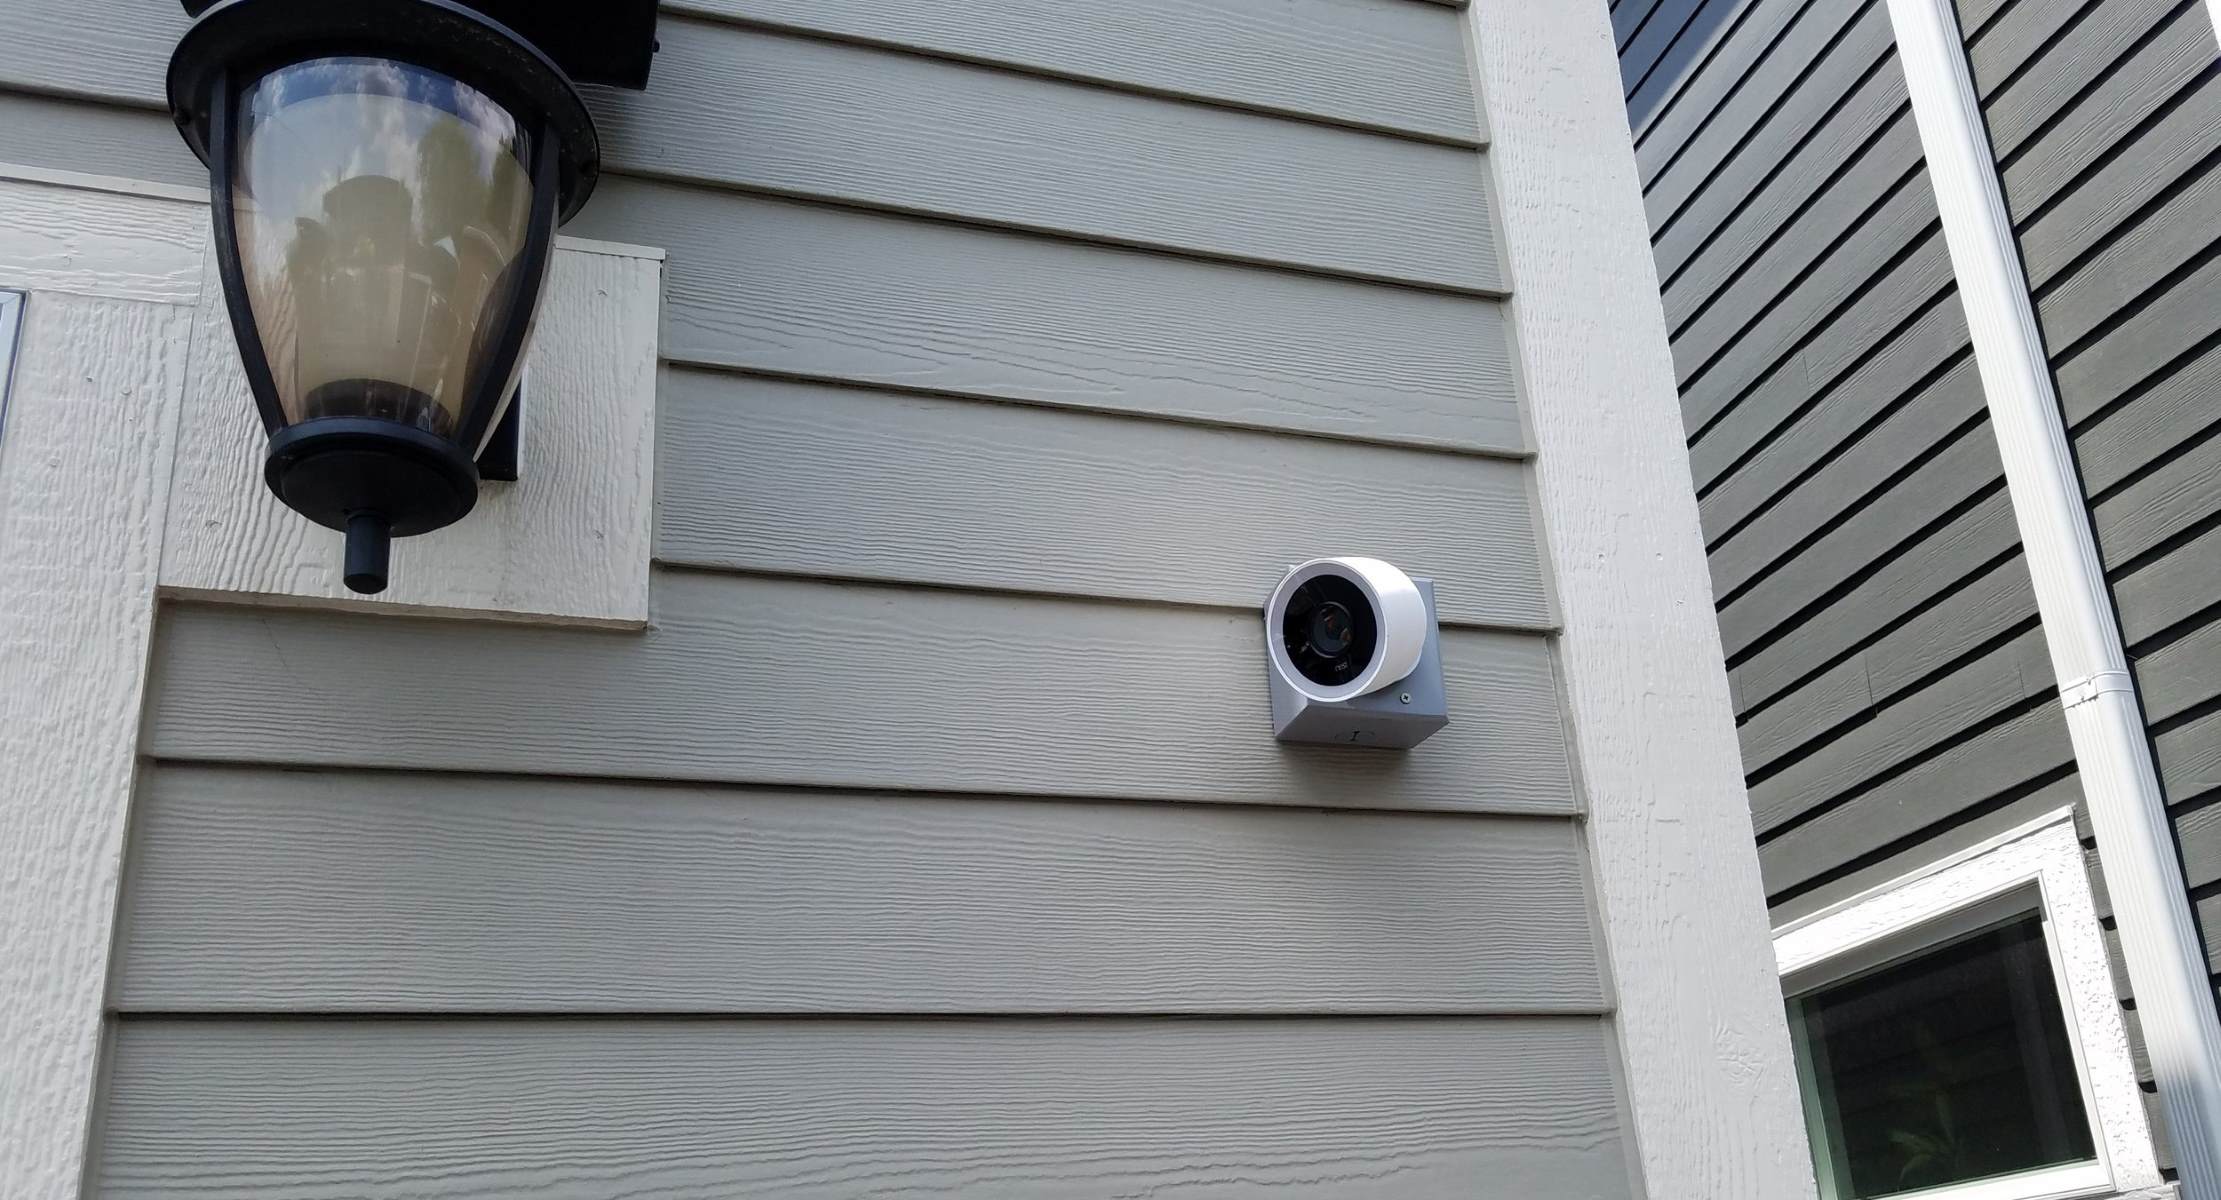
Step 4: Mounting the Camera
Now that you’ve chosen the perfect location for your Nest IQ Outdoor Camera, it’s time to mount it securely. Follow these steps to ensure a proper and stable installation:
- Prepare the mounting surface: Clean the surface where you plan to mount the camera to remove any dirt, dust, or debris. This will ensure a firm and secure attachment.
- Hold the wall mount against the wall: Position the wall mount at the desired height and angle. Use a level to make sure it’s properly aligned. Mark the drilling locations on the wall with a pencil or marker.
- Drill pilot holes: Using a drill with the appropriate bit, create pilot holes at the marked locations. Make sure the holes are deep enough to accommodate the screws provided with the camera.
- Attach the wall mount: Align the screw holes on the wall mount with the pilot holes you drilled. Securely attach the wall mount to the wall using the screws provided. Ensure that the wall mount is firmly in place.
- Connect the camera to the wall mount: The Nest IQ Outdoor Camera should easily attach to the wall mount. Align the camera with the mounting bracket and slide it onto the bracket until it clicks into place.
- Tighten the screws: Once the camera is securely attached to the wall mount, use a screwdriver to tighten the screws on the bottom of the camera. This will ensure that the camera is firmly held in place.
- Adjust the camera position: With the camera mounted, you can adjust its position to achieve the desired view. Use the swivel feature to angle the camera up, down, or side-to-side. Refer to the camera’s manual for specific instructions on adjusting its position.
By following these steps, you will have successfully mounted your Nest IQ Outdoor Camera. Ensure that the camera is stable, aligned properly, and securely attached to the wall mount. Take a moment to double-check the camera’s position and make any necessary adjustments before proceeding to the next step.
Now that the camera is mounted, the next step is to connect it to a power source. We will cover this in detail in the next step.
Before installing your Nest IQ Outdoor Camera, make sure to check the Wi-Fi signal strength in the installation area using your smartphone. This will help ensure a strong and reliable connection for your camera.
Read more: When Did Nest IQ Outdoor Camera Come Out
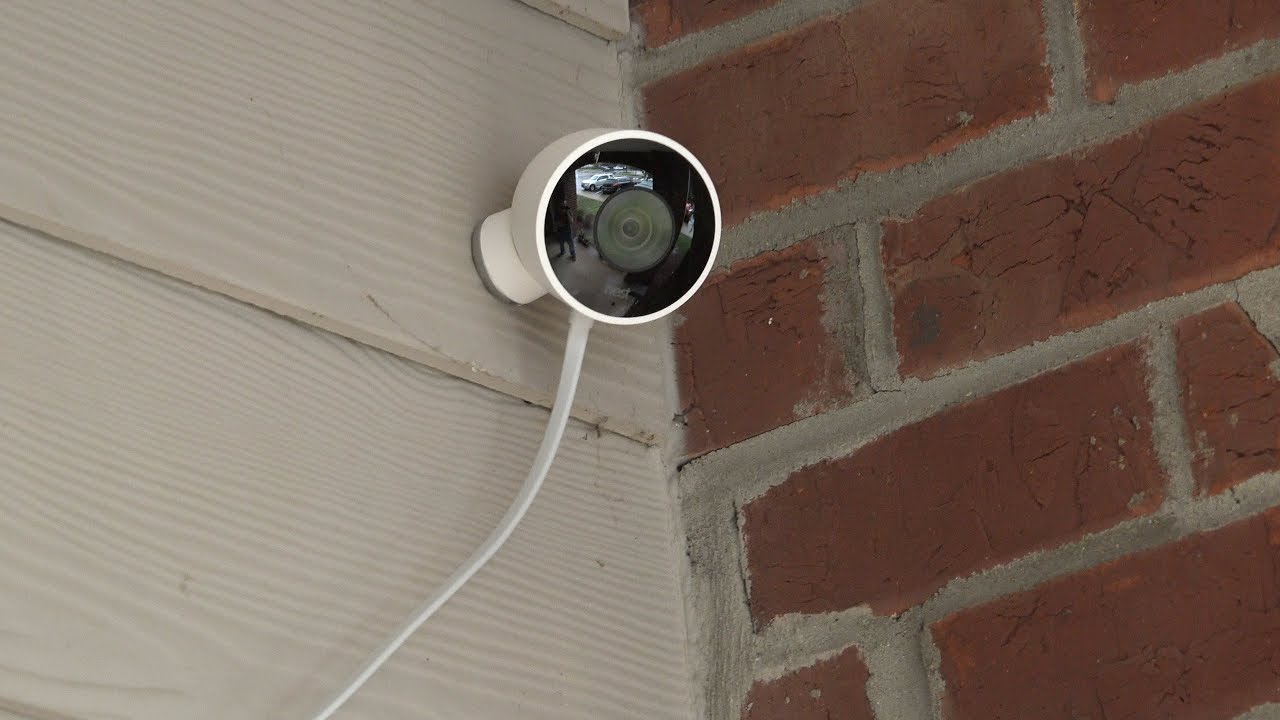
Step 5: Connecting the Camera to Power
Now that your Nest IQ Outdoor Camera is securely mounted, it’s time to connect it to a power source. Follow these steps to ensure a proper power connection:
- Locate the power adapter: Locate the power adapter that came with your Nest IQ Outdoor Camera. It should be included in the package.
- Plug in the power adapter: Connect the power adapter to an electrical outlet that is within reach of the camera. Ensure that the outlet is suitable for outdoor use and protected from the elements.
- Connect the power cable: Plug one end of the power cable into the power adapter, and the other end into the power port on the back of the camera. Make sure the connection is secure.
- Tidy up the cables: Arrange the power cable neatly along the wall or mounting surface to prevent any tripping hazards or damage to the cable. You can use cable clips or ties to secure the cable in place.
- Verify the power LED: The power LED on the front of the camera should light up once it’s connected to power. This indicates that the camera is receiving power and is ready for the next steps.
It’s important to ensure that the camera is connected to a stable power source to ensure uninterrupted operation. Regularly check the power connection to make sure it remains secure and free from damage.
With the camera successfully connected to power, it’s time to move on to the next step: connecting the camera to Wi-Fi.
Step 6: Connecting the Camera to Wi-Fi
Now that your Nest IQ Outdoor Camera is securely mounted and powered on, it’s time to connect it to your Wi-Fi network. Follow these steps to ensure a successful Wi-Fi connection:
- Download the Nest app: If you haven’t already, download the Nest app on your smartphone or tablet. The Nest app is available for both iOS and Android devices.
- Launch the Nest app: Open the Nest app and log in to your Nest account. If you don’t have an account, you will need to create one.
- Add a new device: In the app, tap the “+” button or look for the option to add a new device. Select “Nest IQ Outdoor Camera” from the list of available devices.
- Scan the QR code: Use your smartphone or tablet’s camera to scan the QR code on the back of the camera. This will help the app recognize and pair with your specific camera.
- Follow the on-screen instructions: The Nest app will guide you through the setup process. Follow the on-screen instructions to connect the camera to your Wi-Fi network.
- Enter your Wi-Fi network credentials: Provide your Wi-Fi network name (SSID) and password when prompted by the app. Make sure to enter the correct credentials to ensure a successful connection.
- Wait for the camera to connect: The camera will attempt to connect to your Wi-Fi network. This process may take a few minutes. Make sure your smartphone or tablet remains connected to the same Wi-Fi network during this time.
- Verify the Wi-Fi connection: Once the camera is successfully connected to your Wi-Fi network, you will receive a confirmation message in the Nest app. You will now be able to access and control the camera remotely.
It’s essential to have a stable Wi-Fi connection for optimal camera performance. Ensure that the camera is within range of your Wi-Fi router and that the signal is strong enough.
Once your Nest IQ Outdoor Camera is successfully connected to Wi-Fi, you can proceed to the next step: adjusting camera settings to meet your specific requirements.
Step 7: Adjusting Camera Settings
Now that your Nest IQ Outdoor Camera is connected to your Wi-Fi network, it’s time to adjust the camera settings to tailor them to your specific needs. Follow these steps to customize the settings:
- Open the Nest app: Launch the Nest app on your smartphone or tablet and log in to your Nest account if not already logged in.
- Select your camera: From the app’s home screen, select the Nest IQ Outdoor Camera from the list of devices associated with your account.
- Access the camera settings: Tap on the settings icon or look for the option to access the camera settings. This will allow you to make adjustments and customize the camera features.
- Adjust video quality: Depending on your preferences and internet bandwidth, you may want to adjust the video quality settings. Higher video quality offers better clarity but consumes more bandwidth.
- Configure motion detection: Explore the motion detection settings to customize how the camera detects and captures motion events. You can adjust the sensitivity, activity zones, and notifications for motion detection alerts.
- Set up familiar face alerts: If you have enabled facial recognition, you can specify familiar faces in the app. This allows the camera to send you alerts when recognized individuals are detected.
- Explore additional features: Depending on the specific model of your Nest IQ Outdoor Camera, there may be additional settings and features available. Take some time to explore and configure these options to enhance your camera experience.
- Save and apply changes: Once you have made the necessary adjustments to the camera settings, save the changes in the Nest app. The camera will now operate according to your customized preferences.
By adjusting the camera settings, you can ensure that the Nest IQ Outdoor Camera is optimized for your specific requirements. Take advantage of the various settings and features available to enhance security, customize alerts, and tailor the camera to your unique needs.
Now that you have customized the camera settings, it’s time to test the functionality and ensure that everything is working as expected. Let’s move on to the final step.
Step 8: Testing the Camera
After successfully setting up and adjusting the settings of your Nest IQ Outdoor Camera, it’s crucial to test its functionality to ensure that everything is working as expected. Follow these steps to test your camera:
- Position yourself within the camera’s field of view: Step outside and walk around the areas that the camera is covering. Make sure you are visible in the camera’s field of view.
- Monitor the live video feed: Open the Nest app on your smartphone or tablet and select the Nest IQ Outdoor Camera. Check the live video feed to see if it displays a clear and crisp image of your surroundings.
- Trigger motion detection: Move within the camera’s field of view and test the motion detection capabilities. Check if the camera detects your movement and sends you alerts accordingly.
- Test night vision: If your Nest IQ Outdoor Camera is equipped with night vision, wait until it’s dark outside and test the night vision functionality. Ensure that the camera provides clear and well-illuminated footage in low-light conditions.
- Verify the facial recognition feature: If you have enabled facial recognition, have someone familiar to the camera walk into the view and check if the camera recognizes and identifies them correctly.
- Review the recorded footage: Access the app’s playback feature to review the recorded footage and verify that it is being saved properly.
- Check remote access: If you plan on accessing the camera remotely, ensure that you can view the live video feed and control the camera’s features from outside your home network.
Testing your Nest IQ Outdoor Camera will help you identify any issues or areas for improvement. If you encounter any problems during the testing process, consult the Nest support resources or reach out to their customer support for assistance.
Once you are satisfied with the camera’s performance and confident that everything is working correctly, you can consider your Nest IQ Outdoor Camera successfully installed and ready to provide you with enhanced home security and surveillance.
Congratulations! You have completed the installation and testing process for your Nest IQ Outdoor Camera. Enjoy the peace of mind that comes with having a high-quality and reliable outdoor surveillance system.
Remember to regularly maintain and check your camera to ensure it continues to function optimally. Stay vigilant, and use the camera’s features to protect your home and loved ones.
Thank you for following this comprehensive installation guide. We hope you found it helpful and informative. Wishing you a secure and safe living environment!
Read more: How To Reset Nest Outdoor Camera
Conclusion
Installing a Nest IQ Outdoor Camera is a significant step towards enhancing the security and surveillance of your home. By following the steps outlined in this comprehensive guide, you can successfully set up and configure your camera, ensuring its optimal performance.
From unboxing the camera to selecting the installation location, mounting the camera securely, connecting it to power and Wi-Fi, adjusting camera settings, and testing its functionality, each step plays a crucial role in ensuring a successful installation process.
The Nest IQ Outdoor Camera offers advanced features such as facial recognition, high-resolution video quality, motion detection, and night vision capabilities. By adjusting its settings and customizing its features, you can tailor the camera to meet your specific needs and preferences.
Regularly monitor the camera’s live feed, review recorded footage, and take advantage of remote access to stay connected and informed about the security of your home even when you’re away.
Remember, a well-placed and properly installed outdoor camera can significantly deter potential intruders and provide you with peace of mind. Additionally, the camera can help you monitor your property, keep an eye on deliveries, and ensure the safety of your loved ones.
If you encounter any difficulties during the installation process or have questions about your Nest IQ Outdoor Camera, refer to the Nest support resources or reach out to their customer support for assistance.
We hope this guide has equipped you with the knowledge and confidence to install and utilize your Nest IQ Outdoor Camera effectively. By taking this step towards enhancing your home security, you’re making a proactive effort to create a safer living environment.
Thank you for choosing a Nest IQ Outdoor Camera and for following this installation guide. Stay vigilant, stay secure, and enjoy the added protection and peace of mind provided by your new outdoor surveillance system.
Frequently Asked Questions about How To Install A Nest IQ Outdoor Camera
Was this page helpful?
At Storables.com, we guarantee accurate and reliable information. Our content, validated by Expert Board Contributors, is crafted following stringent Editorial Policies. We're committed to providing you with well-researched, expert-backed insights for all your informational needs.