Home>Home Security and Surveillance>How To Install Zmodo Outdoor Camera
Home Security and Surveillance
How To Install Zmodo Outdoor Camera
Modified: May 6, 2024
Learn how to install a Zmodo outdoor camera for your home security and surveillance needs. Follow our step-by-step guide and ensure your property is protected.
(Many of the links in this article redirect to a specific reviewed product. Your purchase of these products through affiliate links helps to generate commission for Storables.com, at no extra cost. Learn more)
Introduction
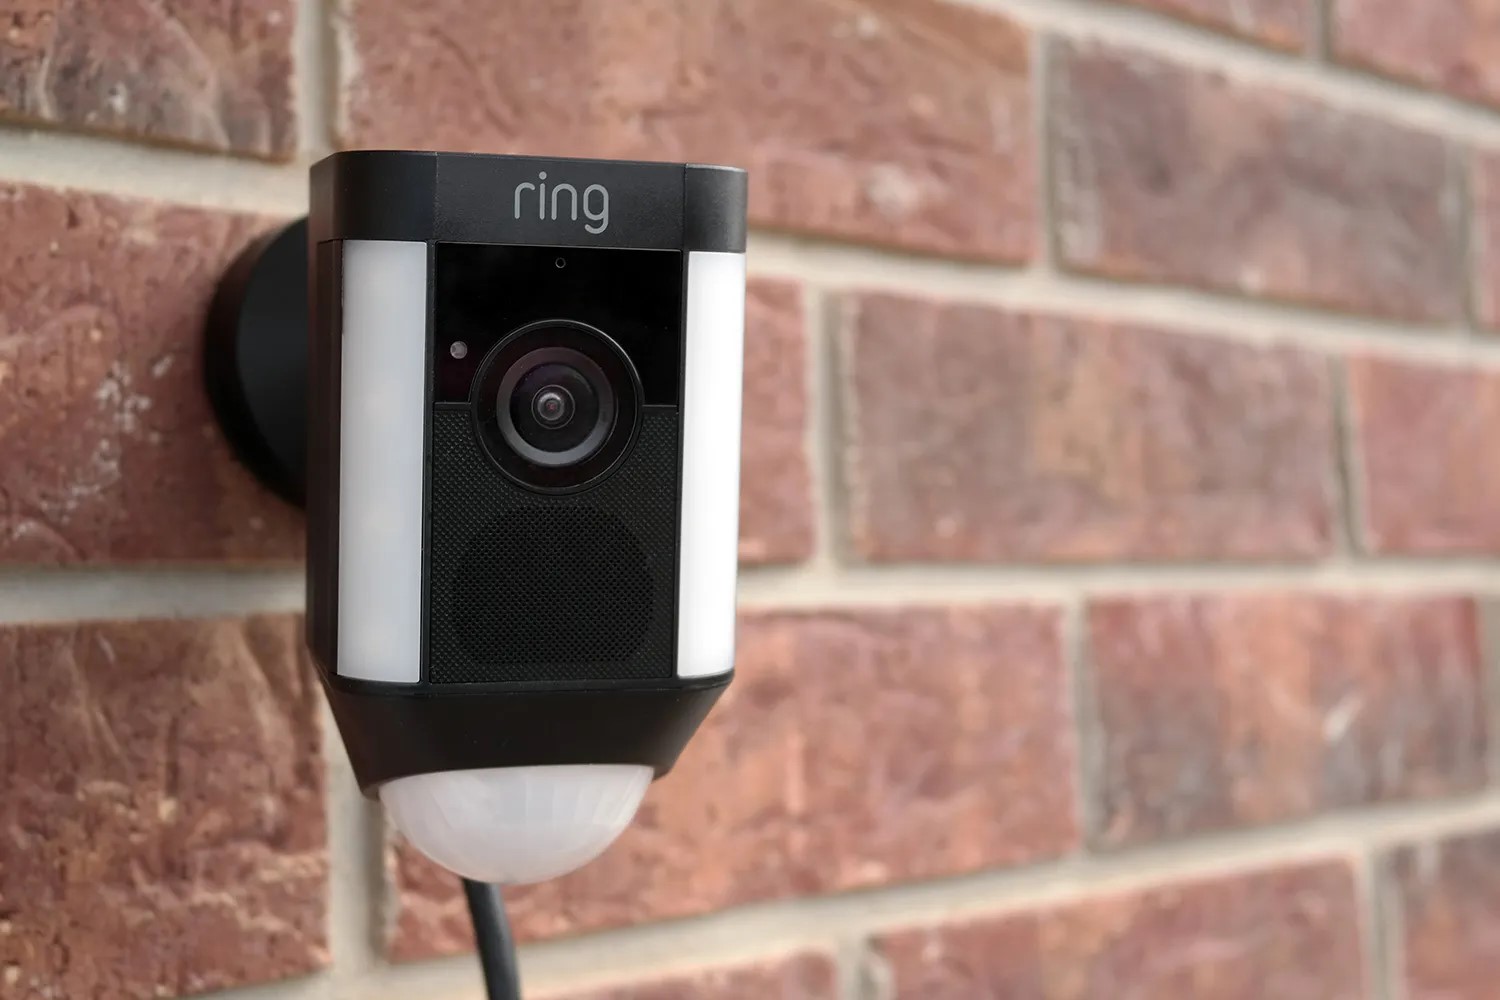
Welcome to our guide on how to install a Zmodo outdoor camera. With the increasing need for home security and surveillance, installing outdoor cameras has become a popular way to protect your property and loved ones. Zmodo is a trusted brand that offers a range of high-quality cameras with advanced features. Whether you want to monitor your front door, backyard, or any other outdoor area, this guide will provide you with step-by-step instructions on how to install a Zmodo outdoor camera.
Installing an outdoor camera can seem daunting if you’ve never done it before, but rest assured, it is a relatively straightforward process that can be completed by anyone with basic DIY skills. By following the steps outlined in this guide, you’ll be able to set up your Zmodo camera and start enjoying enhanced security and peace of mind.
Before we dive into the installation process, it’s important to note that each Zmodo camera model may have specific requirements and instructions. Be sure to refer to the user manual or online resources provided by Zmodo for your specific camera model to ensure accurate installation. Now, let’s get started!
Key Takeaways:
- Installing a Zmodo outdoor camera is a straightforward process that involves gathering the necessary equipment, choosing the right installation location, and securely mounting the camera bracket. Connecting the camera to power and Wi-Fi, downloading the Zmodo app, and configuring the camera settings are essential steps for successful installation.
- After installing and setting up your Zmodo outdoor camera, it’s important to test its functionality to ensure proper operation. Regular maintenance and monitoring of the camera’s performance will help you enjoy enhanced security and peace of mind knowing that your property and loved ones are being monitored and protected.
Step 1: Gather the necessary equipment
Before you begin the installation process, it’s essential to gather all the necessary equipment. Having everything on hand will ensure a smooth and hassle-free installation. Here’s a list of the equipment you’ll need:
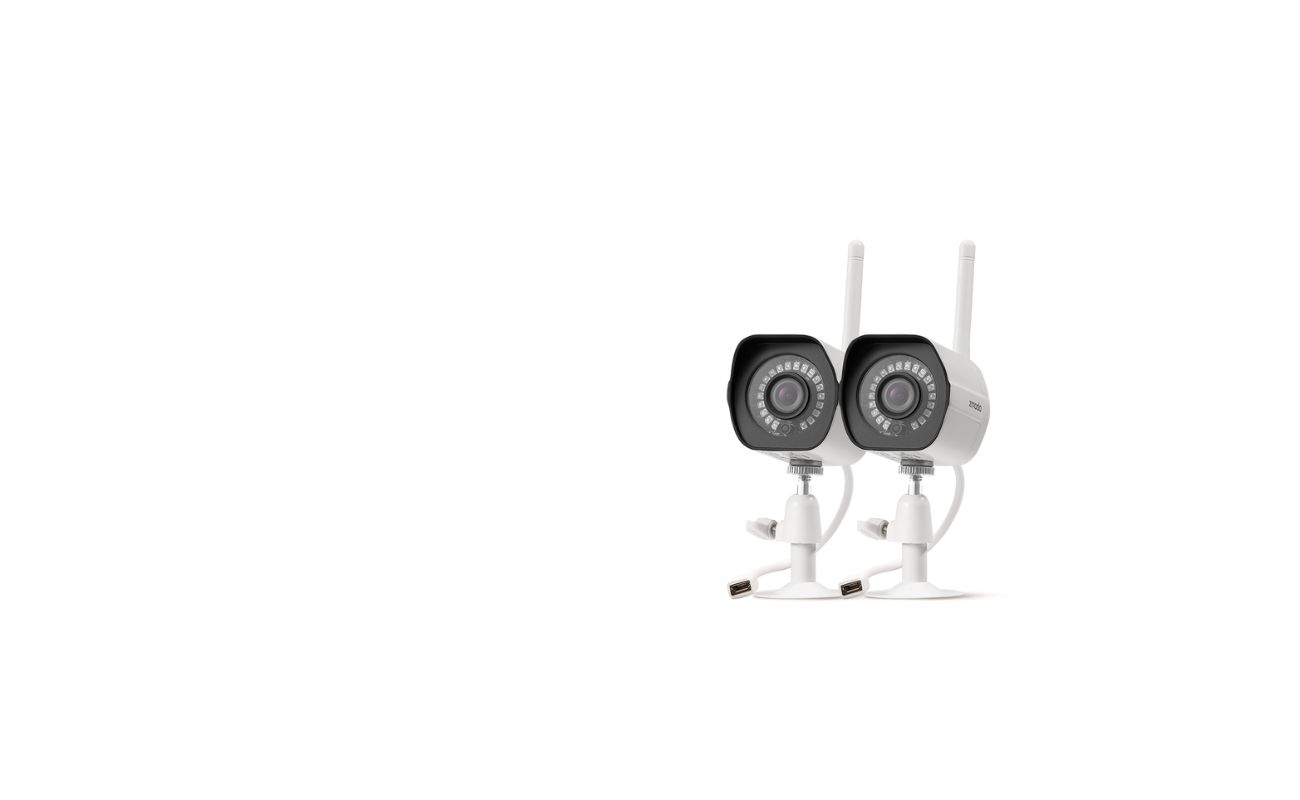
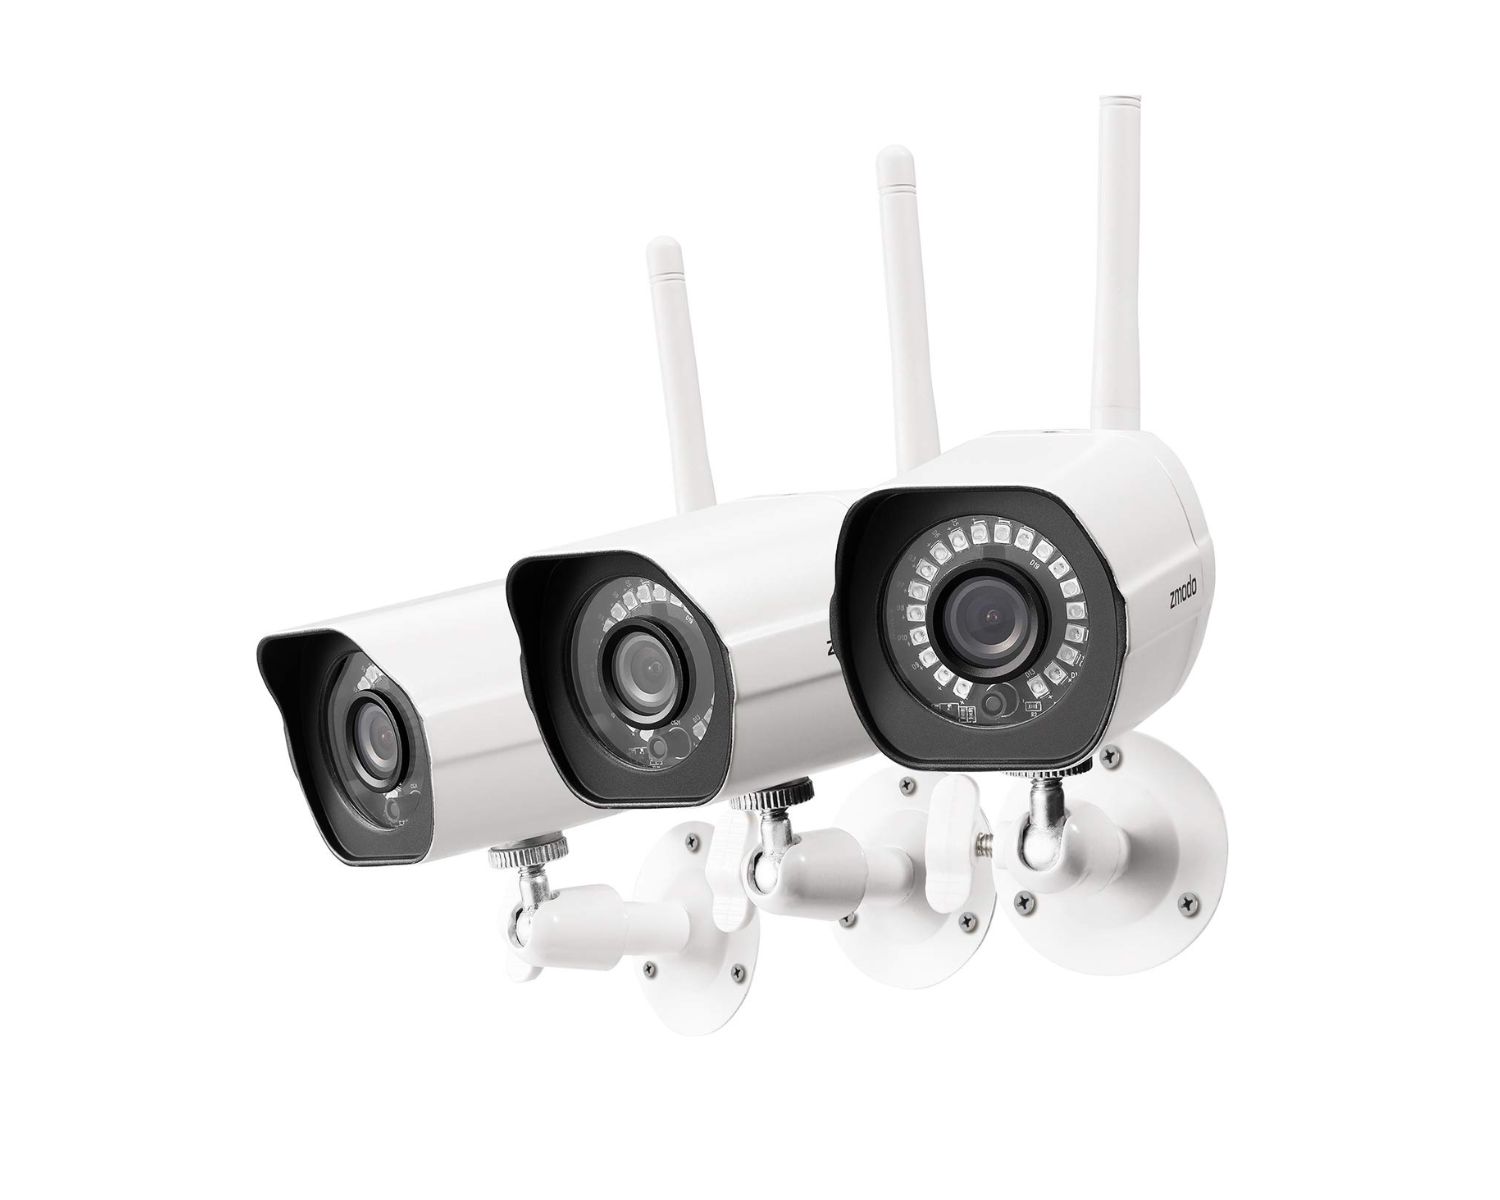
- Zmodo outdoor camera
- Power adapter and cable
- Mounting bracket and screws
- Drill and appropriate drill bit
- Wi-Fi network and password
- Smartphone or tablet
- Zmodo app (available for iOS and Android)
Before proceeding, make sure you have your Wi-Fi network details and password readily available. Additionally, ensure that your smartphone or tablet is connected to the same Wi-Fi network that you’ll be connecting the Zmodo camera to.
Now that you have all the necessary equipment, let’s move on to the next step: choosing the installation location.
Step 2: Choose the installation location
Choosing the right location for your Zmodo outdoor camera is crucial for maximizing the effectiveness of your home security. Here are a few factors to consider when selecting the installation location:
- Visibility: Look for a spot that provides a clear view of the area you want to monitor. Avoid obstructions, such as trees or bushes, that could potentially block the camera’s view.
- Height: Install the camera at a height that allows for a wide-angle view while still capturing clear images. A recommended height is around 9 to 10 feet above the ground.
- Coverage: Determine the area you want the camera to cover, whether it’s your driveway, front porch, or backyard. Make sure the placement allows for optimal coverage.
- Accessibility: Ensure that the camera is easily accessible for maintenance, such as cleaning or adjusting the angle. Avoid hard-to-reach locations that may require special equipment or risk personal injury.
- Power source: Confirm that there is a nearby power source for connecting the camera’s power adapter. It’s important to consider the length of the power cable and choose a location that allows for a secure connection.
Keep in mind that the Zmodo outdoor camera is designed to withstand various weather conditions, but it’s still important to choose a location that offers some protection from direct sunlight and extreme weather elements.
Once you’ve selected the installation location, it’s time to move on to the next step: mounting the camera bracket.
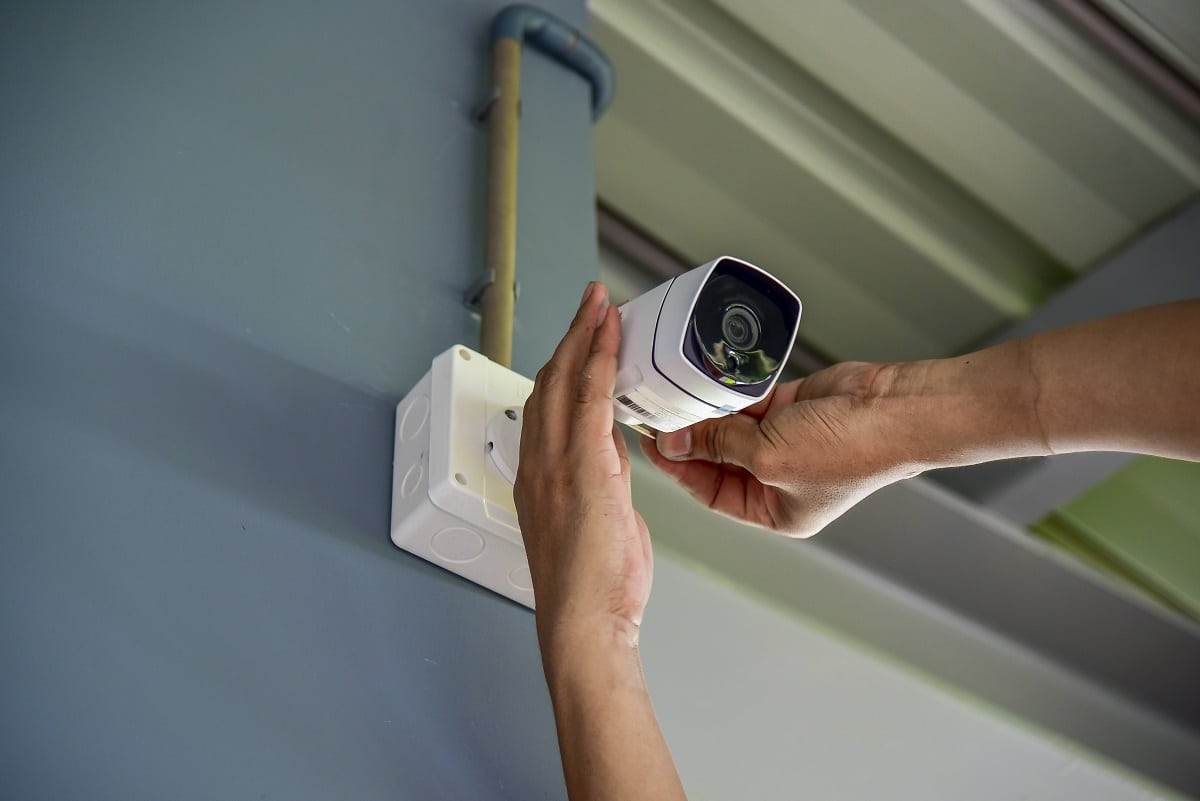
Step 3: Mount the camera bracket
Mounting the camera bracket is an essential step in the installation process as it provides a secure base for your Zmodo outdoor camera. Follow these steps to mount the camera bracket:
- Using a drill and the appropriate drill bit, create pilot holes where you plan to mount the bracket. Ensure that the holes are slightly smaller than the diameter of the provided screws.
- Align the bracket with the pilot holes and use the provided screws to attach it firmly to the surface. Make sure it is level and securely fastened.
- Double-check the bracket’s stability by gently giving it a few taps. It should feel solid and not wobble.
- Once the bracket is securely mounted, adjust its angle to ensure the camera will capture the desired view. Tighten any screws or knobs on the bracket to fix the angle in place.
Remember to consider the mounting height and angle to achieve the best viewing angle for your specific needs. Also, be mindful of any local regulations or homeowners’ association guidelines that may affect the placement and installation of outdoor cameras.
Now that the camera bracket is securely in place, we can move on to the next step: connecting the camera to a power source.
Step 4: Connect the camera to power source
Once you have mounted the camera bracket, it’s time to connect your Zmodo outdoor camera to a power source. Here’s how you can do it:
- Locate the power adapter that came with your Zmodo camera. Plug one end of the power cable into the adapter and the other end into a nearby electrical outlet.
- Ensure that the power source is stable and reliable. Avoid using extension cords or power strips, if possible, as they may affect the camera’s performance. If you must use an extension cord, make sure it is of high quality and suitable for outdoor use.
- After connecting the power adapter, gently thread the camera’s power cable through the bracket’s opening to keep it secure and hidden from view.
- Check that the power indicator light on the camera is illuminated. This indicates that the camera is receiving power.
Properly powering your Zmodo outdoor camera is vital for it to function effectively. Ensure that the power source remains connected at all times to maintain continuous surveillance and prevent any interruptions in the camera’s performance.
With the camera successfully connected to power, we can now move on to the next step: connecting the camera to your Wi-Fi network.
Step 5: Connect the camera to Wi-Fi network
Connecting your Zmodo outdoor camera to your Wi-Fi network is necessary for remote access and control. Follow these steps to establish a connection:
- Ensure that your smartphone or tablet is connected to the same Wi-Fi network that you want to connect your Zmodo camera to.
- Open the Zmodo app on your mobile device and log in to your Zmodo account. If you don’t have an account, create one by following the on-screen instructions.
- Select the “+” or “Add Device” option in the app to initiate the setup process.
- Follow the on-screen instructions to put your Zmodo camera into Wi-Fi setup mode. This usually involves pressing and holding a specific button on the camera or using the app to generate a QR code for the camera to scan.
- Once in setup mode, the Zmodo camera will search for available Wi-Fi networks. Select your network from the list of options.
- Enter your Wi-Fi password when prompted to establish a secure connection between the camera and your network.
- Wait for the camera to complete the Wi-Fi setup process. This may take a few moments.
- Once the connection is established, you will see a notification or indicator in the app confirming the successful Wi-Fi connection.
Ensure that you have a stable and reliable Wi-Fi signal in the location where the Zmodo camera is installed. Weak Wi-Fi connectivity may result in intermittent or poor camera performance.
With the camera successfully connected to your Wi-Fi network, we can proceed to the next step: downloading and installing the Zmodo app.
When installing a Zmodo outdoor camera, make sure to carefully read the installation instructions provided by the manufacturer. It is important to properly secure the camera to a stable surface and ensure that the cables are properly connected for optimal performance.
Step 6: Download and install the Zmodo app
To access and control your newly connected Zmodo outdoor camera, you’ll need to download and install the Zmodo app on your smartphone or tablet. Follow these steps to get started:
- Open the App Store (iOS) or Google Play Store (Android) on your mobile device.
- In the search bar, type “Zmodo” and press enter. Look for the official Zmodo app developed by Zmodo Technology Corporation.
- Select the Zmodo app from the search results and tap on the “Install” or “Get” button to begin the download and installation process.
- Wait for the app to download and install on your device. This may take a few moments, depending on your internet connection.
- Once the app is installed, locate the Zmodo app icon on your home screen or app drawer and launch the app.
- If you haven’t done so already, log in to your Zmodo account using the credentials you created earlier. If you already logged in during the previous steps, you may be automatically logged in.
Ensure that you have a stable internet connection on your mobile device when downloading and installing the Zmodo app. This will help ensure a smooth installation process and seamless camera control.
With the Zmodo app successfully downloaded and installed, we can move on to the next step: adding the camera to the app.
Step 7: Add the camera to the Zmodo app
Once you have the Zmodo app installed on your mobile device, it’s time to add your Zmodo outdoor camera to the app. Follow these steps to complete the camera setup:
- Launch the Zmodo app on your smartphone or tablet.
- Log in to your Zmodo account if you haven’t already done so.
- Select the “+” or “Add Device” option in the app.
- Choose “Add a device manually” or a similar option to manually add your Zmodo camera.
- Enter the required information, such as the camera’s name and serial number. The serial number can usually be found on the camera or its packaging.
- Follow the on-screen instructions to complete the camera’s addition process. This may involve scanning a QR code or entering additional Wi-Fi network details.
- Wait for the Zmodo app to detect and connect to your camera. This may take a few moments.
- Once the camera is successfully added to the app, you will see a notification or confirmation message indicating that the setup is complete.
Make sure you provide accurate information during the camera setup process to ensure a seamless connection between the camera and the Zmodo app. Double-check the camera’s serial number and other details to avoid any errors.
With your Zmodo outdoor camera successfully added to the Zmodo app, we can proceed to the next step: configuring camera settings.
Step 8: Configure camera settings
Now that you have added your Zmodo outdoor camera to the Zmodo app, it’s time to configure the camera settings according to your preferences. Follow these steps to customize your camera settings:
- Open the Zmodo app on your smartphone or tablet.
- Tap on the camera name or icon to access the camera’s live feed and settings.
- Explore the various options and settings available in the Zmodo app. These may include motion detection sensitivity, notification settings, video quality, and more.
- Adjust the camera’s settings according to your requirements. For example, you can enable motion detection and set up specific areas to be monitored for movement.
- Configure notification settings to receive alerts on your mobile device when motion is detected or other events occur near the camera.
- Consider setting up a schedule for the camera’s recording or monitoring activities, ensuring it aligns with your specific needs and preferences.
- Take some time to familiarize yourself with the various features and options available in the Zmodo app. Experiment with them to find the settings that suit your requirements best.
It’s important to regularly check the camera’s settings to ensure they are optimized for your specific needs. Fine-tuning the settings can help improve the camera’s performance and minimize false motion alerts.
Now that you have configured the camera settings, we can move on to the next step: testing the camera to ensure proper functionality.
Read more: How To Reset Zmodo Outdoor Camera
Step 9: Test the camera
After configuring the settings of your Zmodo outdoor camera, it’s important to test its functionality to ensure everything is in working order. Follow these steps to test your Zmodo camera:
- Open the Zmodo app on your smartphone or tablet.
- Select the camera you want to test from the app’s camera list.
- Ensure that the camera is displaying a live feed in the app. You should be able to see the area being monitored by the camera.
- Move around the monitored area to trigger motion detection. Observe if the camera captures the movement and sends you a notification.
- Check the quality of the recorded footage by viewing the saved clips in the app’s storage or cloud storage, if available.
- Test the camera’s night vision capabilities by checking if it can effectively capture clear footage in low-light or dark conditions.
- If your Zmodo camera has two-way audio functionality, test it by speaking through the app to see if you can communicate effectively with someone near the camera.
- Ensure that all remote viewing features, such as accessing the camera feed from outside your home network, are functioning properly.
- Continuously monitor the camera’s performance over the next few days to check for any anomalies or issues that may arise.
Testing the camera’s functionality allows you to make any necessary adjustments or troubleshoot any issues early on. If you encounter any problems during the testing phase, consult the user manual or reach out to Zmodo’s customer support for assistance.
With the camera successfully tested and functioning as expected, you can now enjoy the enhanced security and surveillance offered by your Zmodo outdoor camera.
Congratulations! You have completed the installation and setup process for your Zmodo outdoor camera. By following the steps outlined in this guide, you have taken an important step towards improving the security and monitoring capabilities of your home. Remember to periodically check and maintain your camera to ensure uninterrupted performance. Stay safe and enjoy the peace of mind that comes with a reliable home security system!
If you have any questions or encounter any difficulties during the installation process, feel free to refer back to this guide or seek further assistance from Zmodo support.
Conclusion
Installing a Zmodo outdoor camera is a practical and effective way to enhance the security and surveillance of your home. With the step-by-step guide provided in this article, you now have the knowledge and confidence to successfully install and set up your Zmodo camera.
By following the detailed steps outlined in this guide, you have learned how to gather the necessary equipment, choose the ideal installation location, mount the camera bracket securely, connect the camera to a power source, establish a connection to your Wi-Fi network, download and install the Zmodo app, add the camera to the app, configure the camera settings, and test its functionality.
Remember to refer to the specific user manual and guidelines provided by Zmodo for your camera model to ensure accurate installation and optimal performance. Fine-tune the camera settings according to your preferences and regularly test its functionality to ensure it meets your security needs.
With your Zmodo outdoor camera successfully installed and properly set up, you can now enjoy the peace of mind and added security knowing that your property and loved ones are being monitored and protected. The Zmodo app provides convenient access to live footage, motion alerts, and other essential features, allowing you to stay connected and informed wherever you are.
Don’t forget to periodically check on the camera’s performance and maintain it to ensure uninterrupted functionality. If you encounter any challenges or have further questions, refer to the Zmodo support resources or contact their customer support for assistance.
Now that you are equipped with the knowledge and skills to install and set up your Zmodo outdoor camera, take action and enhance the security of your home today!
Now that you've mastered installing your Zmodo outdoor camera, why not learn more about other top-notch security options? Dive into our article on what is the best rated outdoor camera to compare features and find the perfect fit for your needs. Security doesn't stop at just cameras; understanding why you need home security can provide deeper insights into protecting your loved ones and property. For tech enthusiasts looking to streamline life, our guide on 12 best home automation for 2024 offers the latest in smart home technology. Each read promises valuable tips and practical advice!
Frequently Asked Questions about How To Install Zmodo Outdoor Camera
Was this page helpful?
At Storables.com, we guarantee accurate and reliable information. Our content, validated by Expert Board Contributors, is crafted following stringent Editorial Policies. We're committed to providing you with well-researched, expert-backed insights for all your informational needs.