Home>Home Security and Surveillance>How To Install Blink Outdoor Cameras

Home Security and Surveillance
How To Install Blink Outdoor Cameras
Modified: March 6, 2024
Learn how to easily install Blink Outdoor Cameras for a comprehensive home security and surveillance system. Enhance your peace of mind today.
(Many of the links in this article redirect to a specific reviewed product. Your purchase of these products through affiliate links helps to generate commission for Storables.com, at no extra cost. Learn more)
Introduction
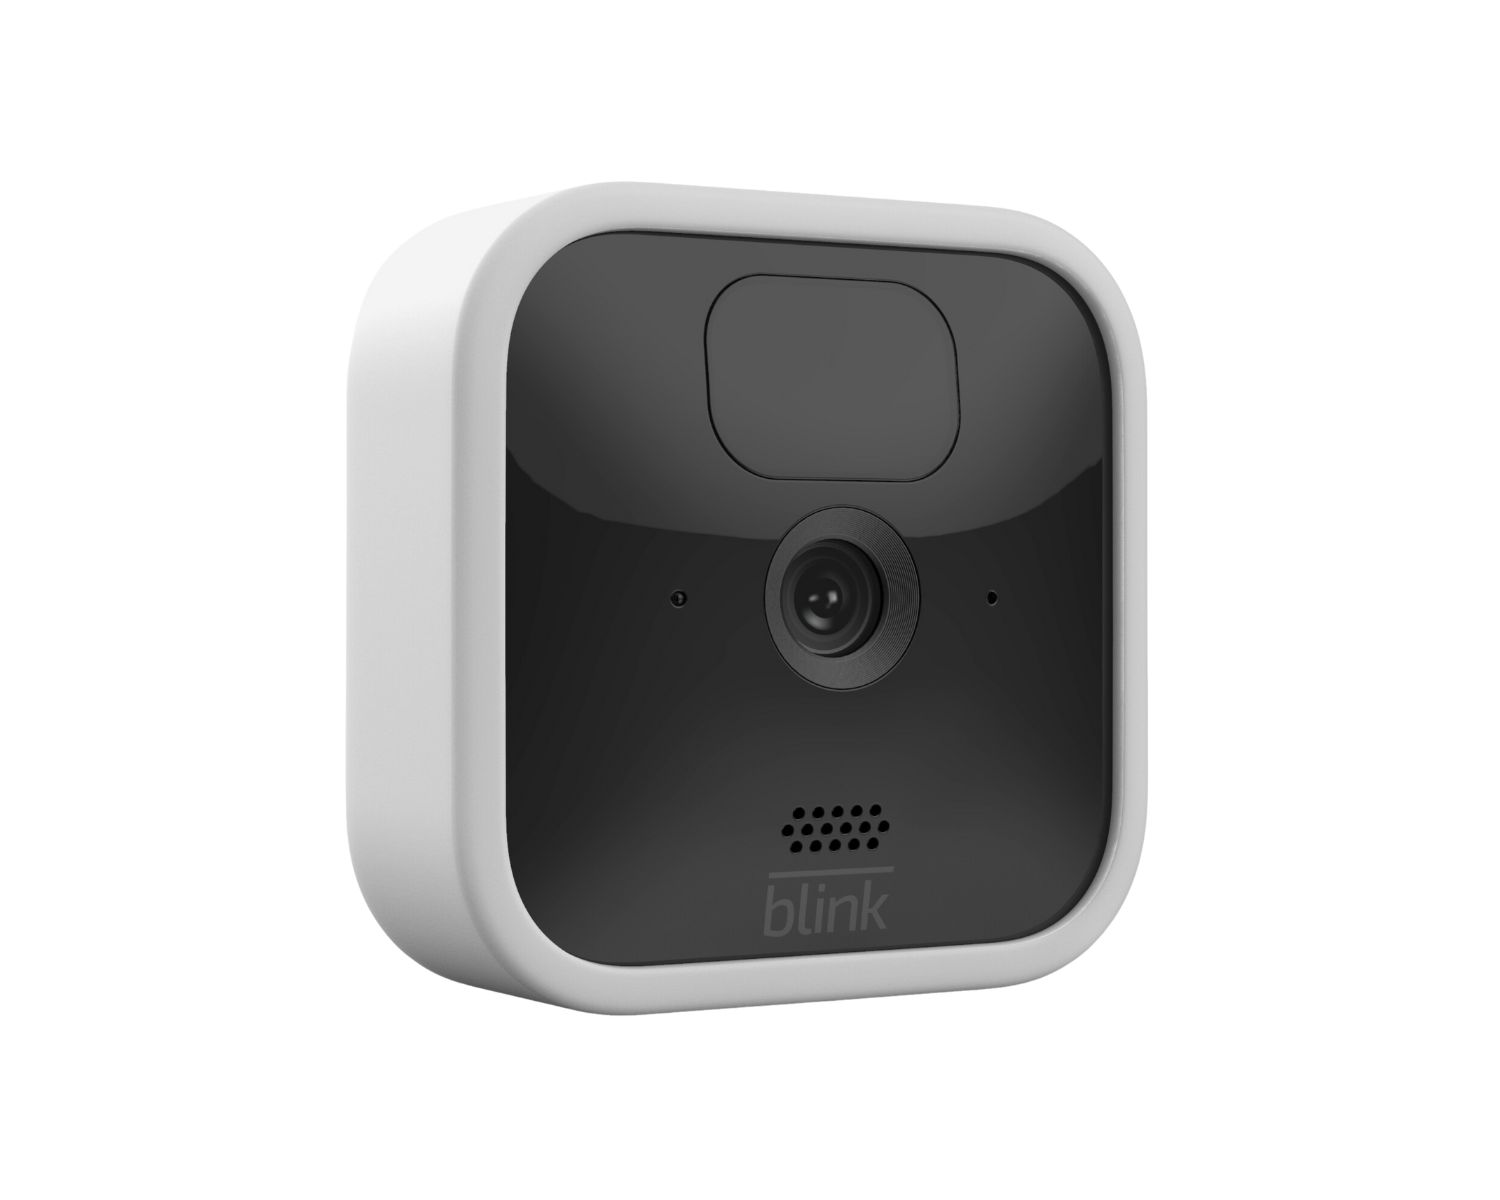
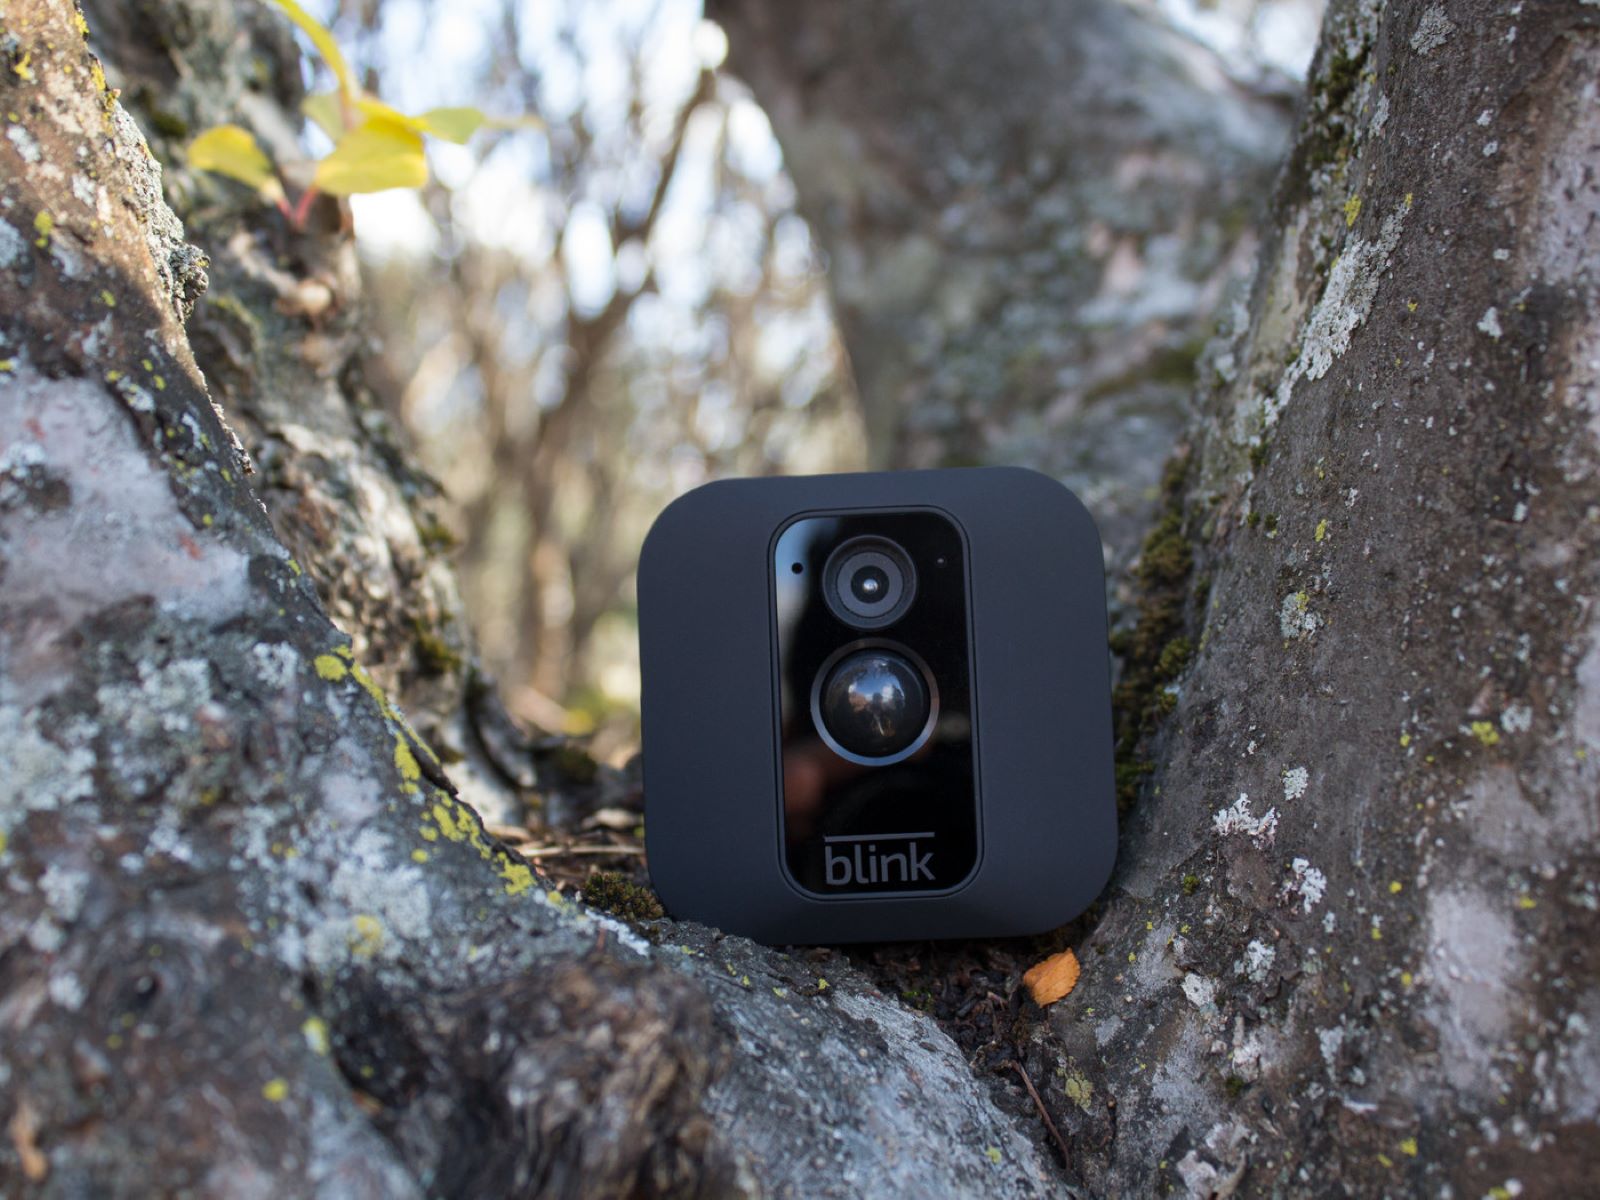
Welcome to the world of home security and surveillance! In today’s uncertain times, ensuring the safety of our homes and loved ones has become a top priority. Thanks to advancements in technology, it has never been easier to monitor our homes remotely and have peace of mind, even when we’re away. One such solution that has gained popularity is the installation of Blink Outdoor cameras.
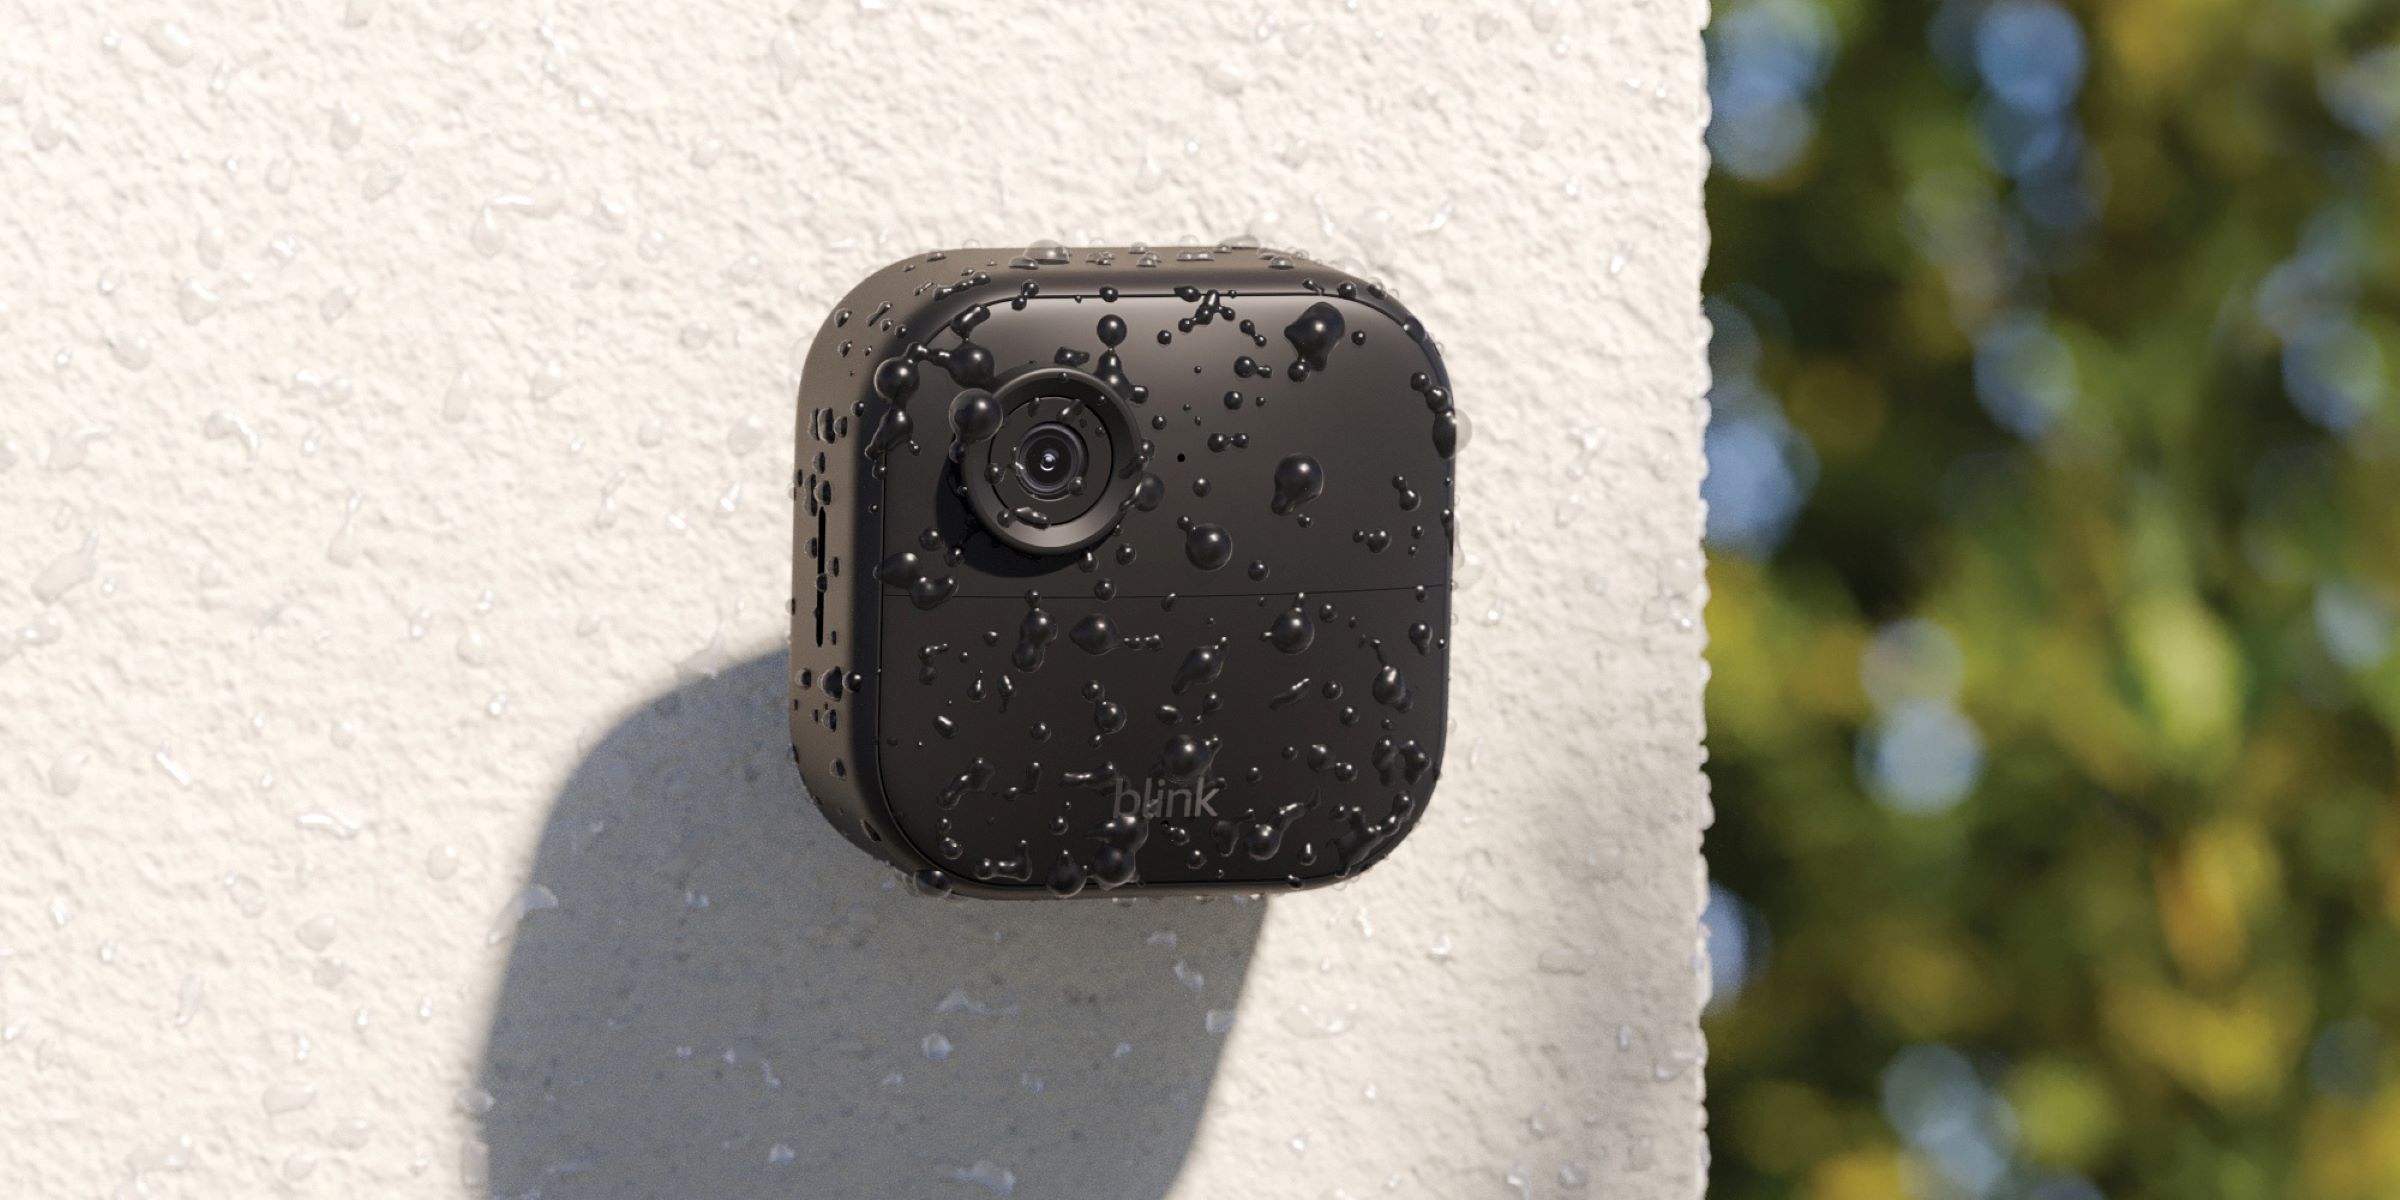
Blink Outdoor cameras are a versatile and reliable option for home surveillance. They are easy to install, offer high-quality video and audio recordings, and can be accessed remotely through a smartphone or tablet. Whether you want to keep an eye on your property, deter potential intruders, or monitor specific areas of your home, Blink Outdoor cameras have got you covered.
In this article, we will guide you through the step-by-step process of installing Blink Outdoor cameras and setting them up for optimal performance. By the end of this tutorial, you will have a comprehensive understanding of how to install and optimize your Blink Outdoor cameras to ensure the safety and security of your home.
So, without further ado, let’s dive into the exciting world of Blink Outdoor cameras and explore how to set them up properly!
Key Takeaways:
- Setting up Blink Outdoor cameras is a breeze! From unboxing to testing, follow the steps to ensure optimal performance and enjoy the peace of mind provided by these state-of-the-art devices.
- Strategically position and adjust the settings of your Blink Outdoor cameras for maximum coverage and effectiveness. Regular testing and maintenance are crucial for long-term security and performance.
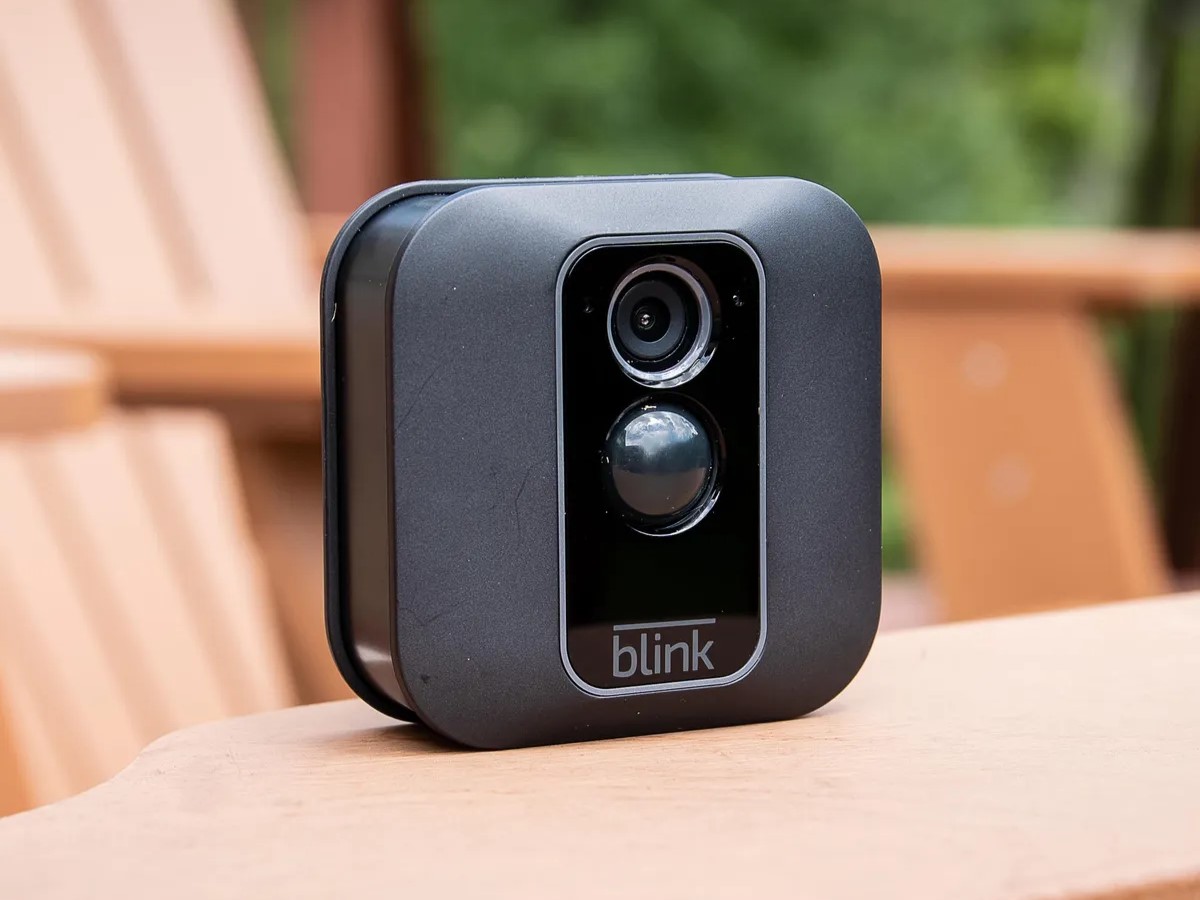
Step 1: Unboxing the Blink Outdoor Cameras
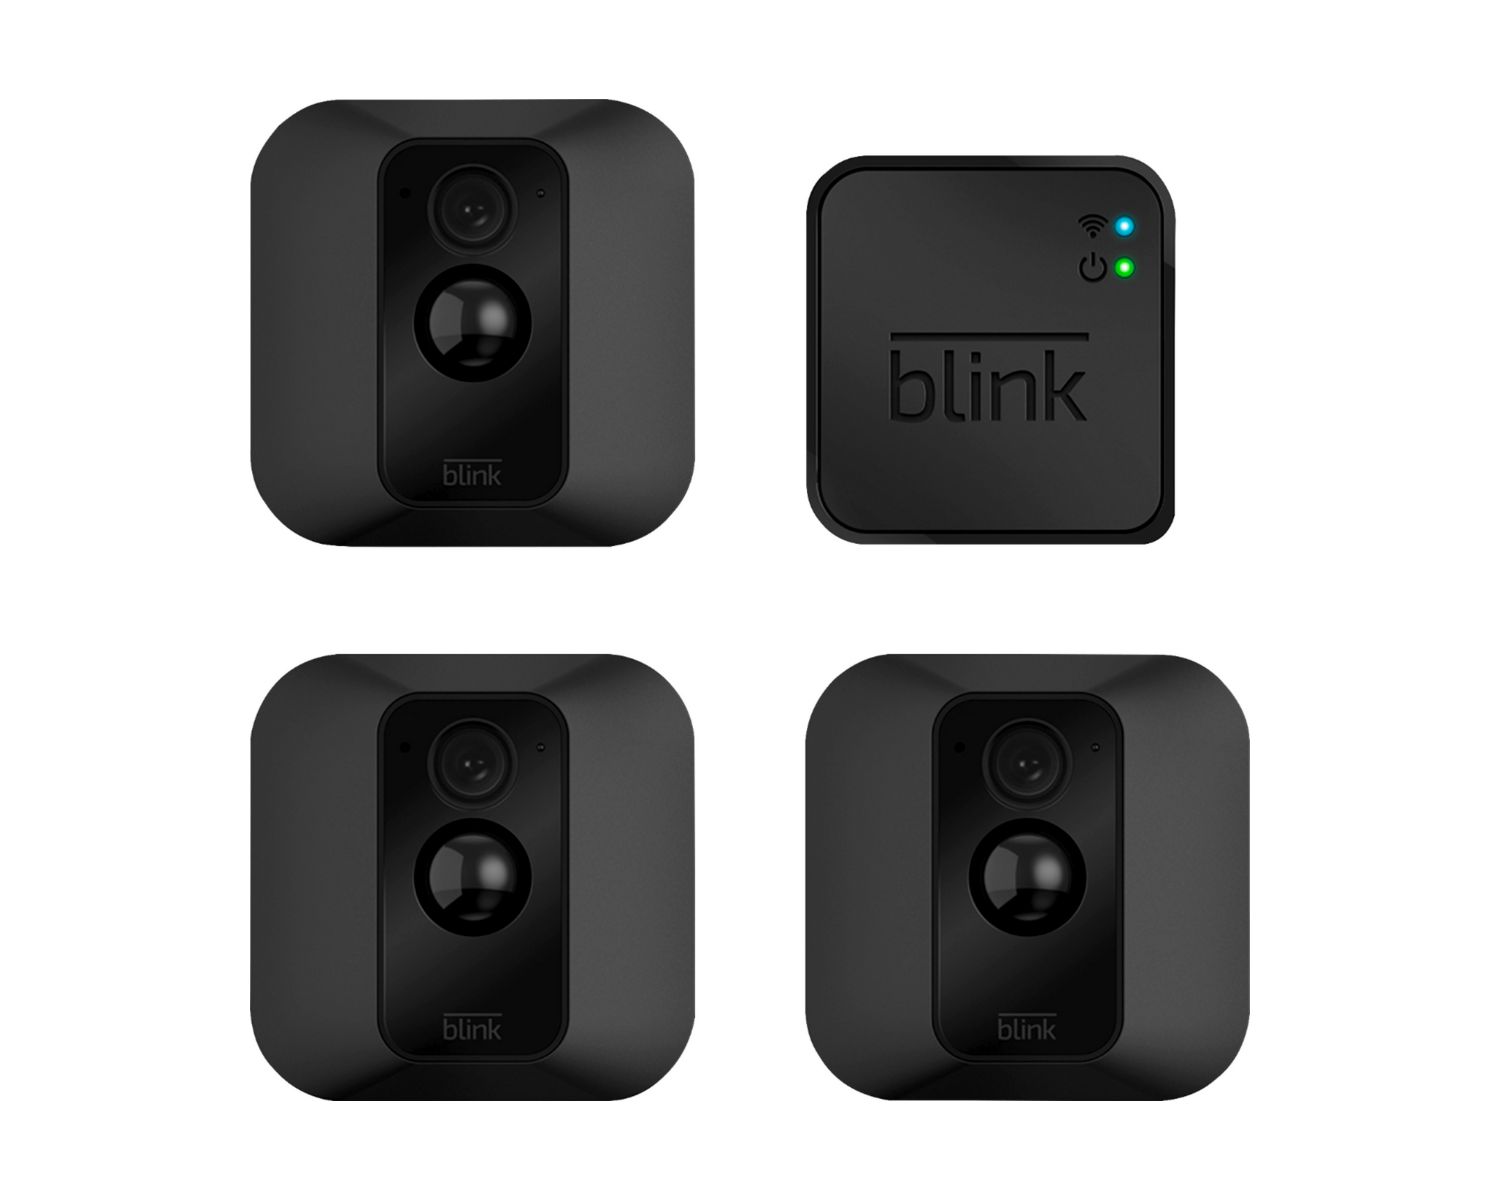
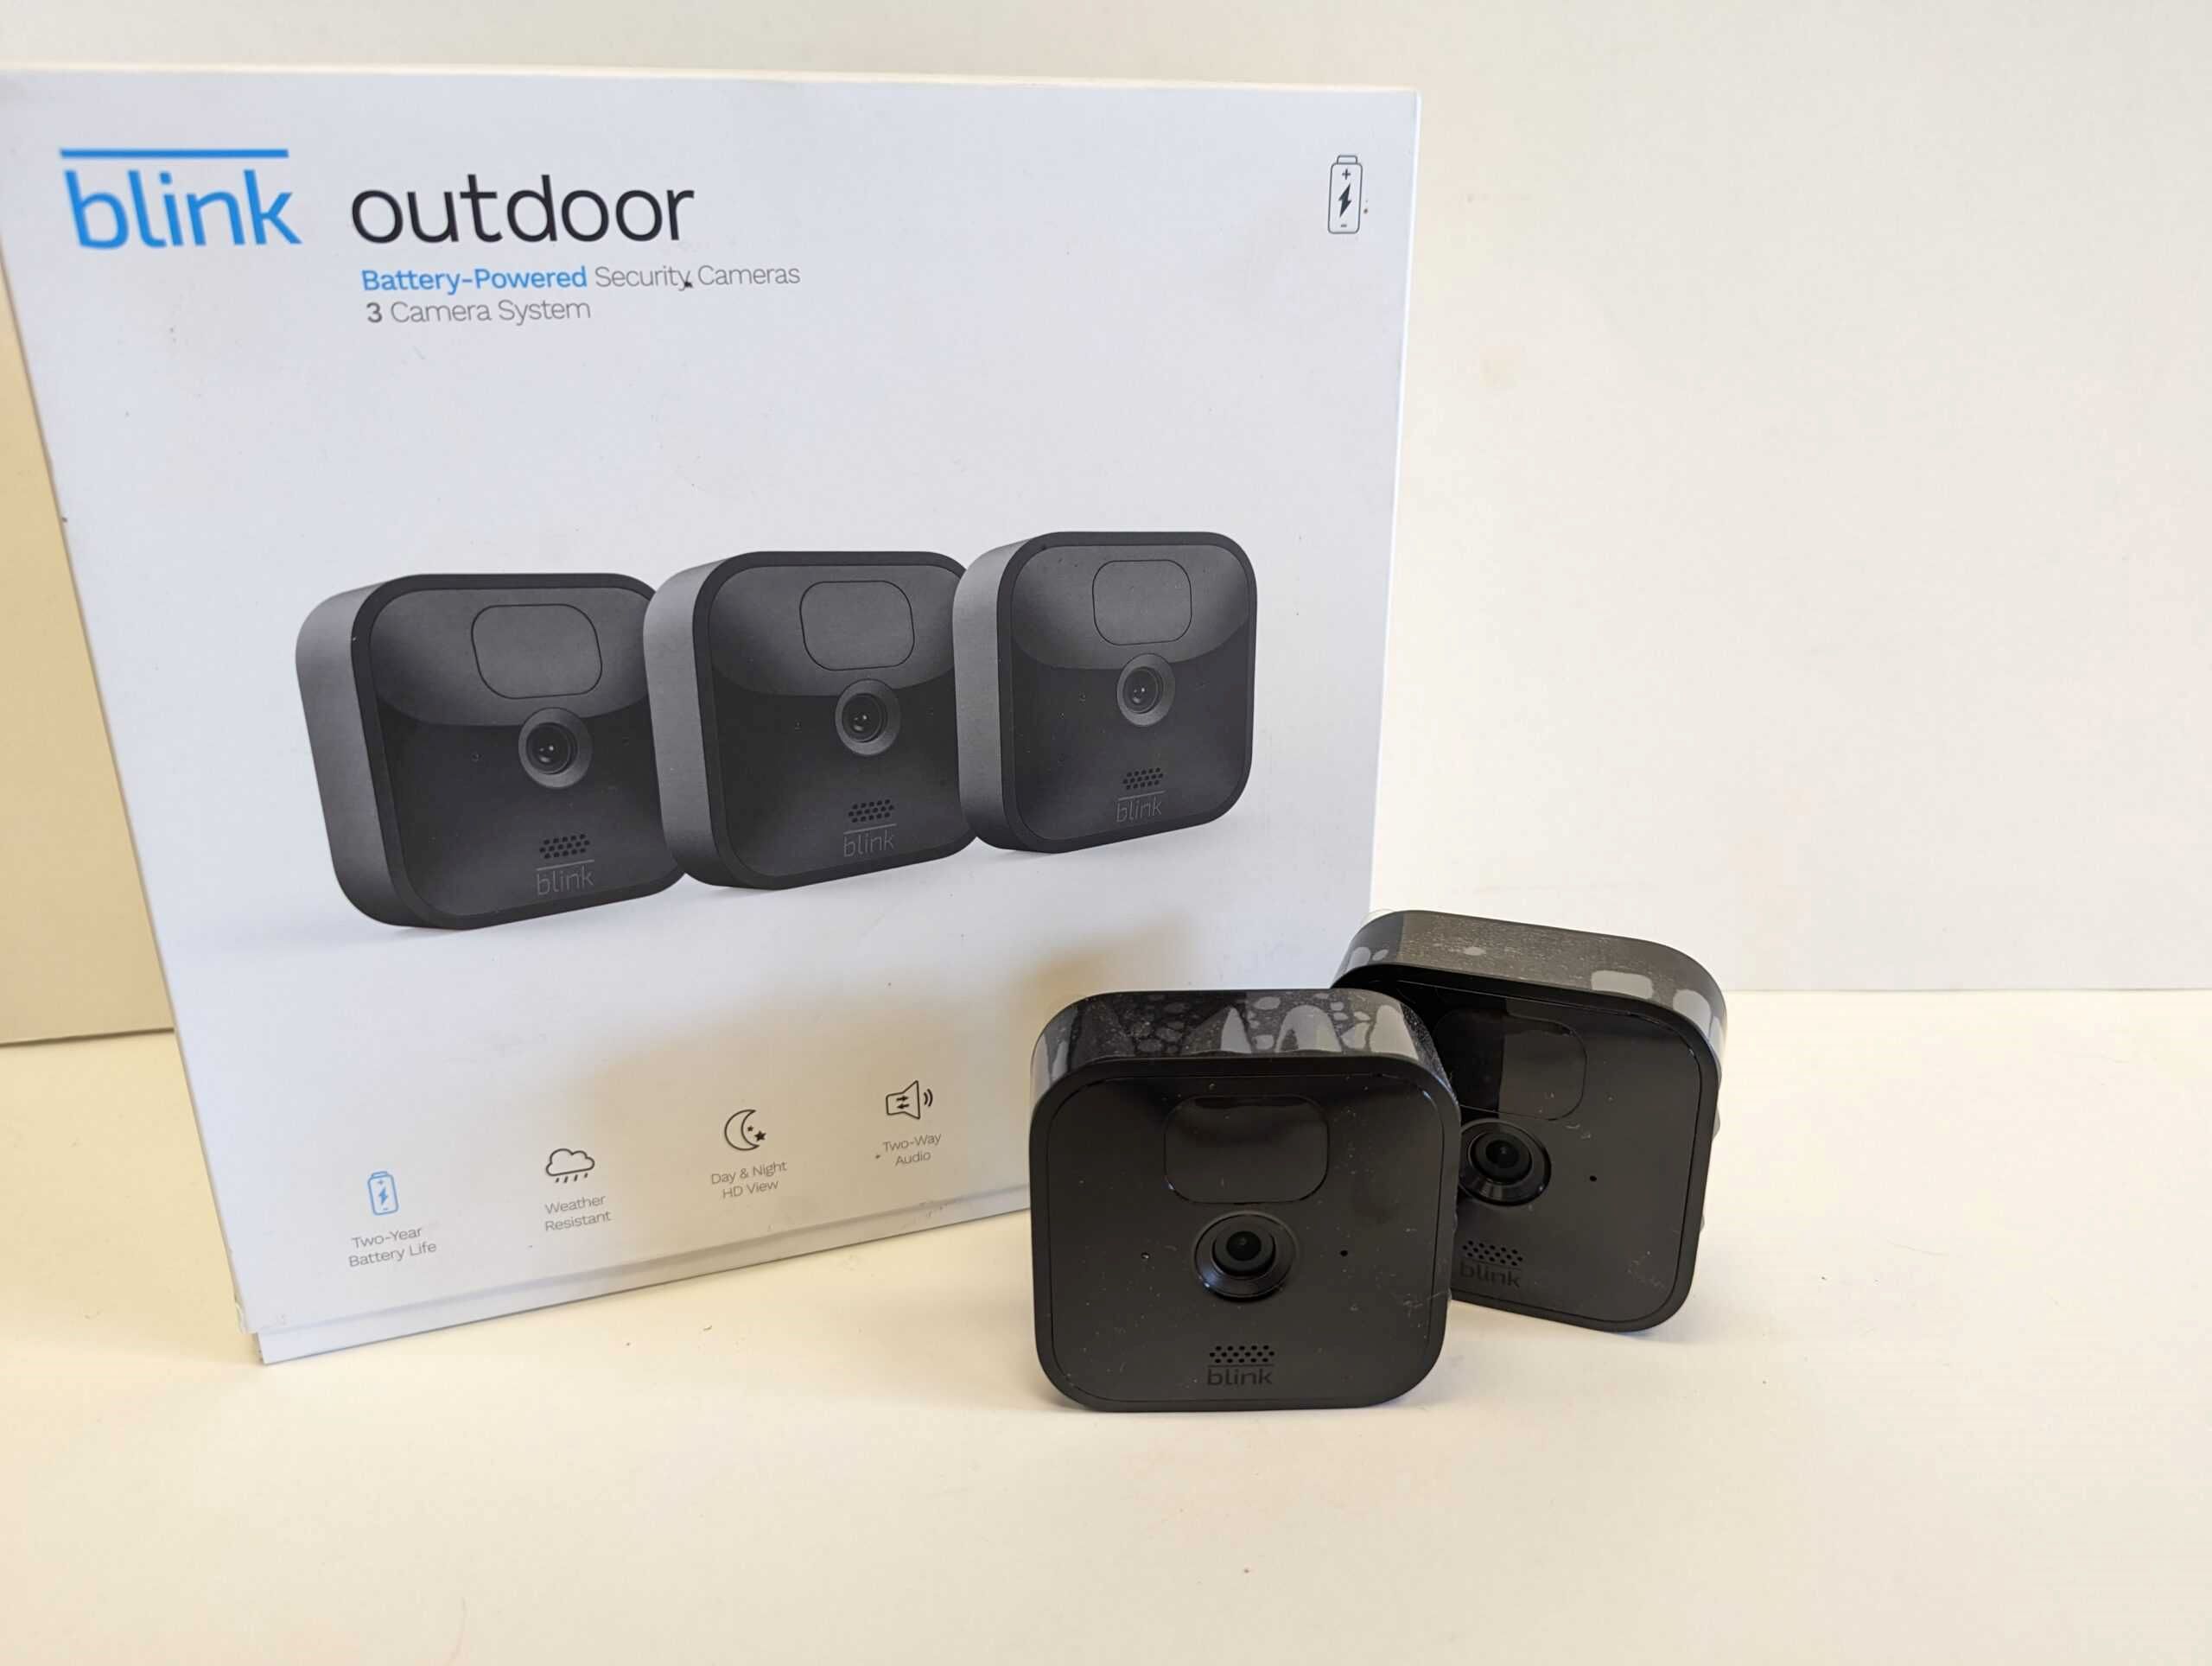
The first step in setting up your Blink Outdoor cameras is to unbox them and familiarize yourself with the contents. When you open the box, you will find the following items:
- Blink Outdoor cameras
- Mounting brackets
- Screws and anchors
- Sync Module
- USB cable
- Power adapter
Take a moment to inspect each item and ensure that everything is in perfect condition. Any damaged or missing components should be reported to the manufacturer immediately for a replacement.
Once you have confirmed that all the necessary items are present, it’s time to move on to the next step.
Step 2: Setting Up the Sync Module
The Sync Module is an essential component of the Blink Outdoor camera system. It acts as the central hub that connects your cameras to your Wi-Fi network and allows you to access and control them remotely. Setting up the Sync Module is straightforward and can be done in a few simple steps:
- Choose a suitable location for the Sync Module near your Wi-Fi router. Ensure that it is within range for a stable connection.
- Connect the provided USB cable to the Sync Module and plug it into a power outlet using the included power adapter.
- Wait for the Sync Module to power on and establish a connection. The LED light on the module will blink blue, indicating that it is ready to be set up.
- Download the Blink app from the App Store or Google Play Store and create an account if you haven’t already.
- Launch the Blink app and tap on the “+” icon to add a device.
- Select “Sync Module” from the list of available devices and follow the on-screen instructions to complete the setup process.
- During the setup, you will be prompted to connect the Sync Module to your home Wi-Fi network. Make sure you have your Wi-Fi credentials handy and enter them when prompted.
- Once the Sync Module is successfully connected to your Wi-Fi, the LED light will turn solid blue, indicating a successful connection.
With the Sync Module set up, you are now ready to move on to the next step of installing your Blink Outdoor cameras.
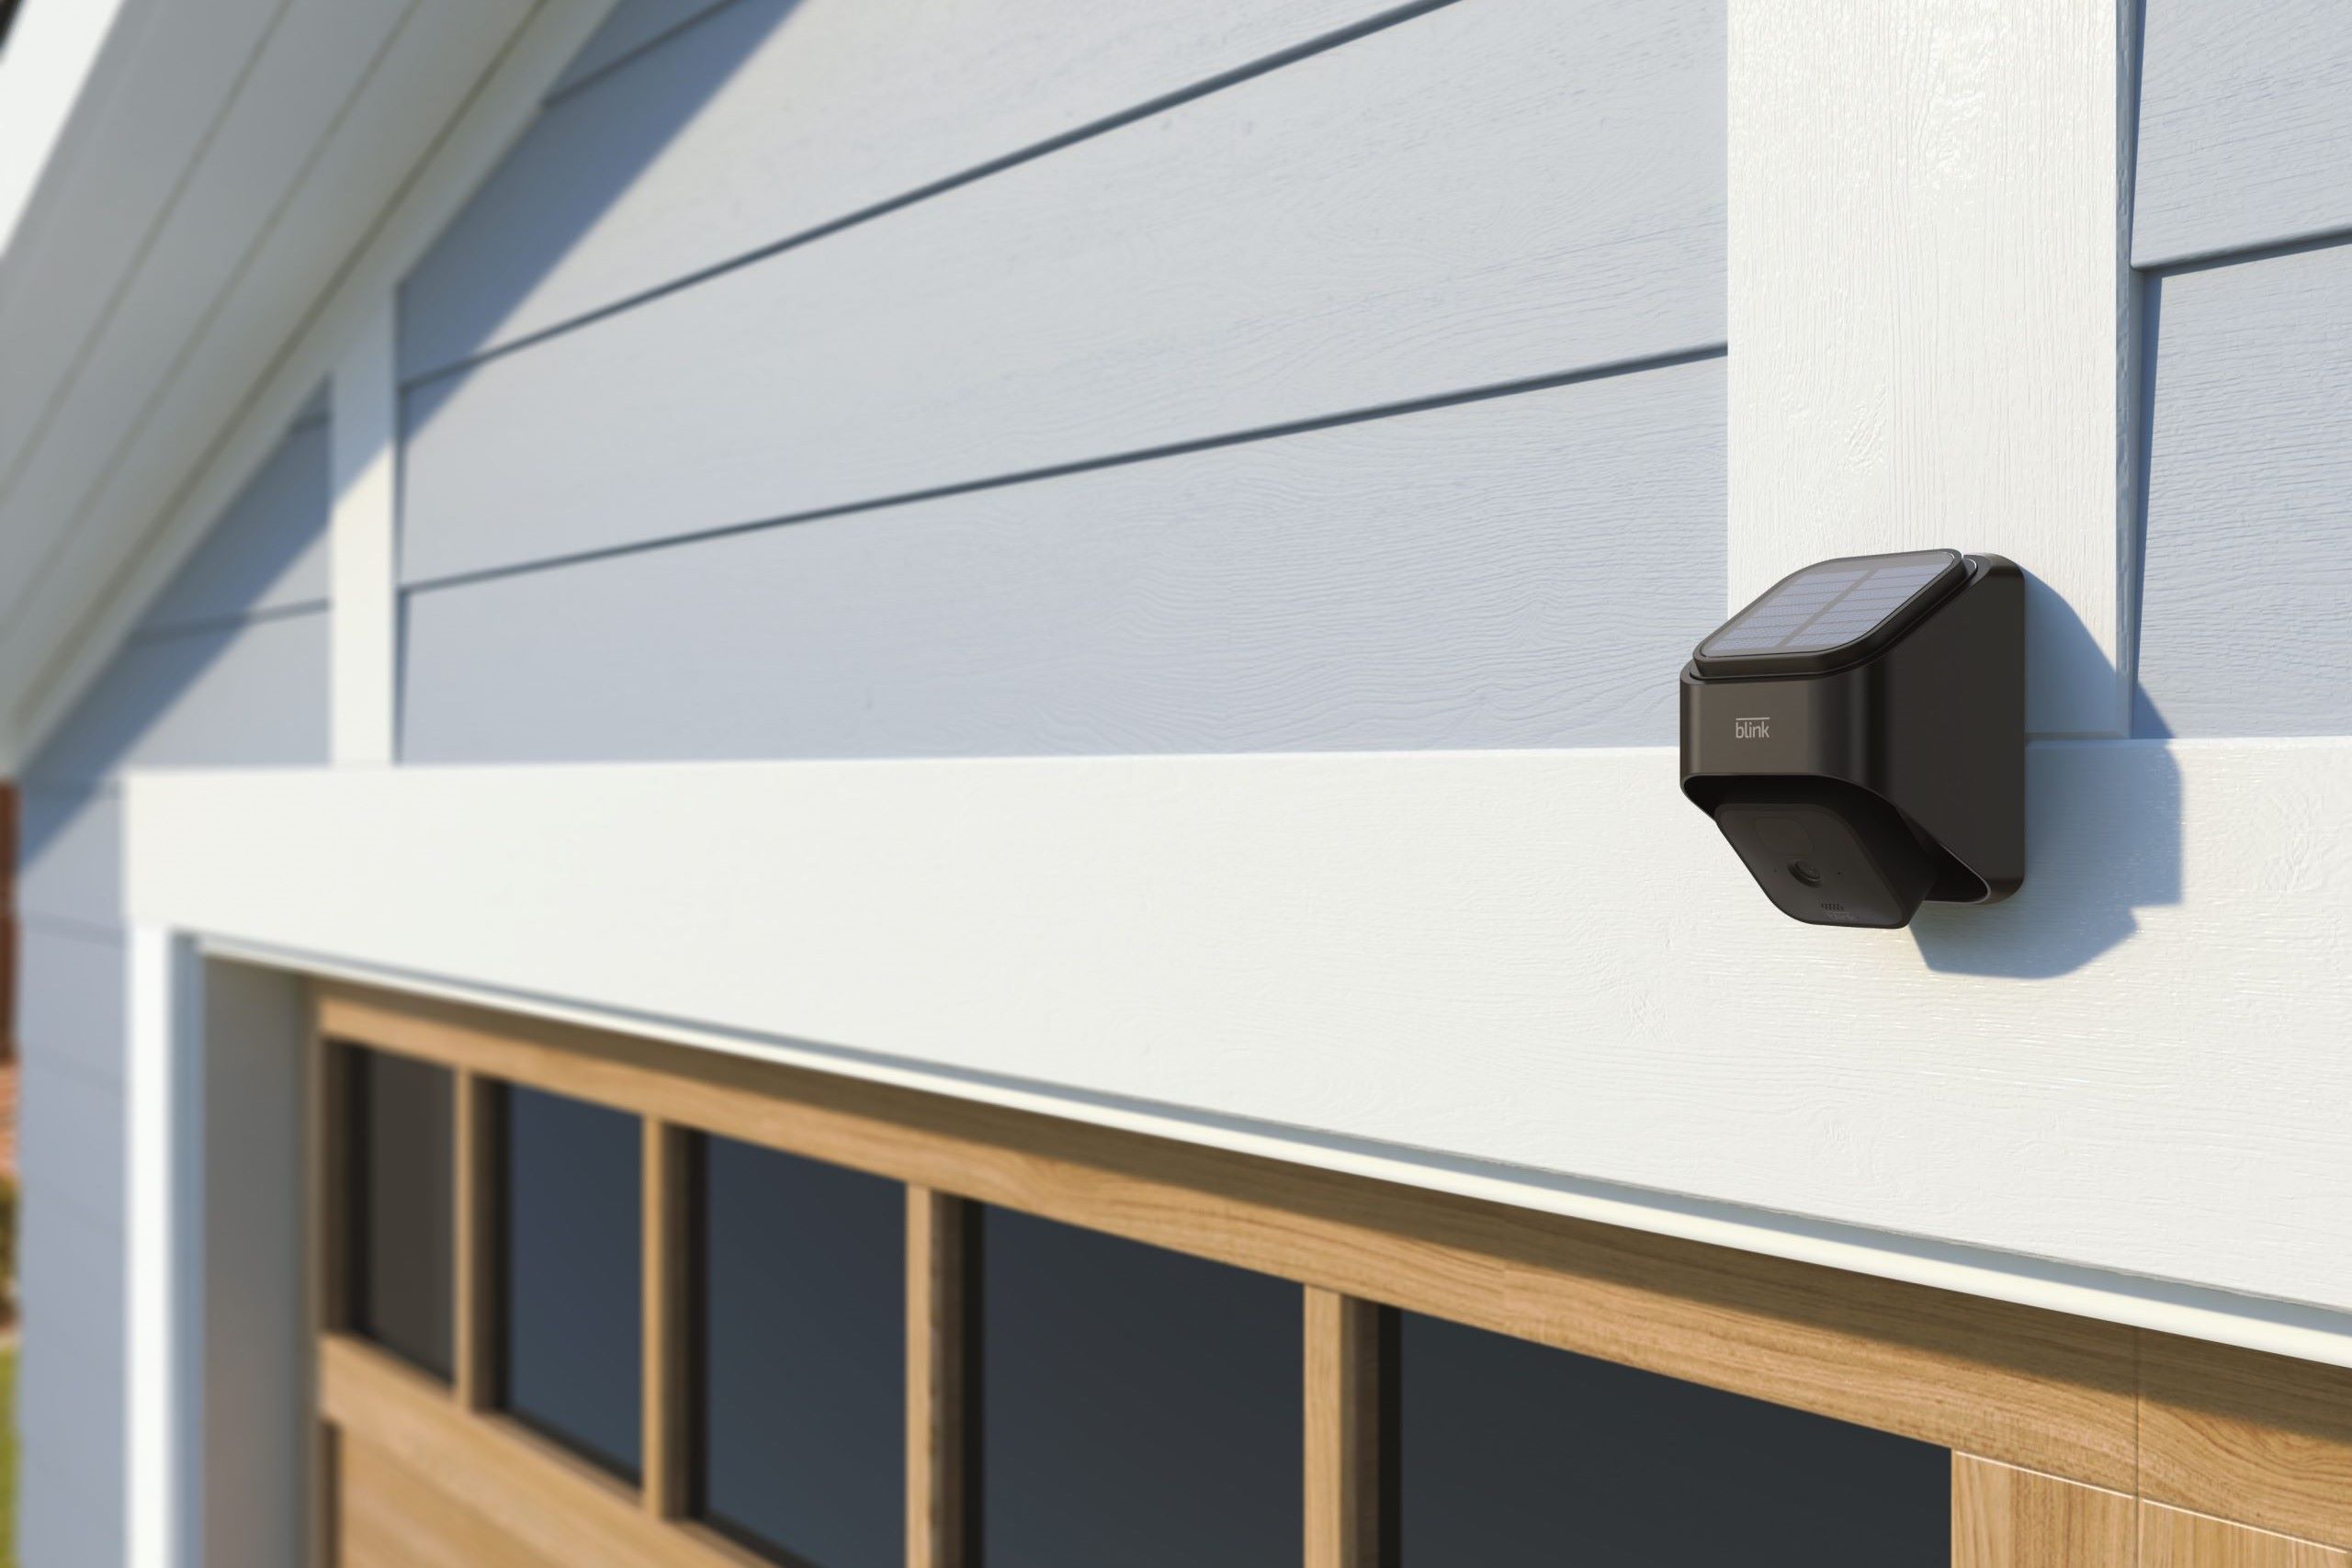
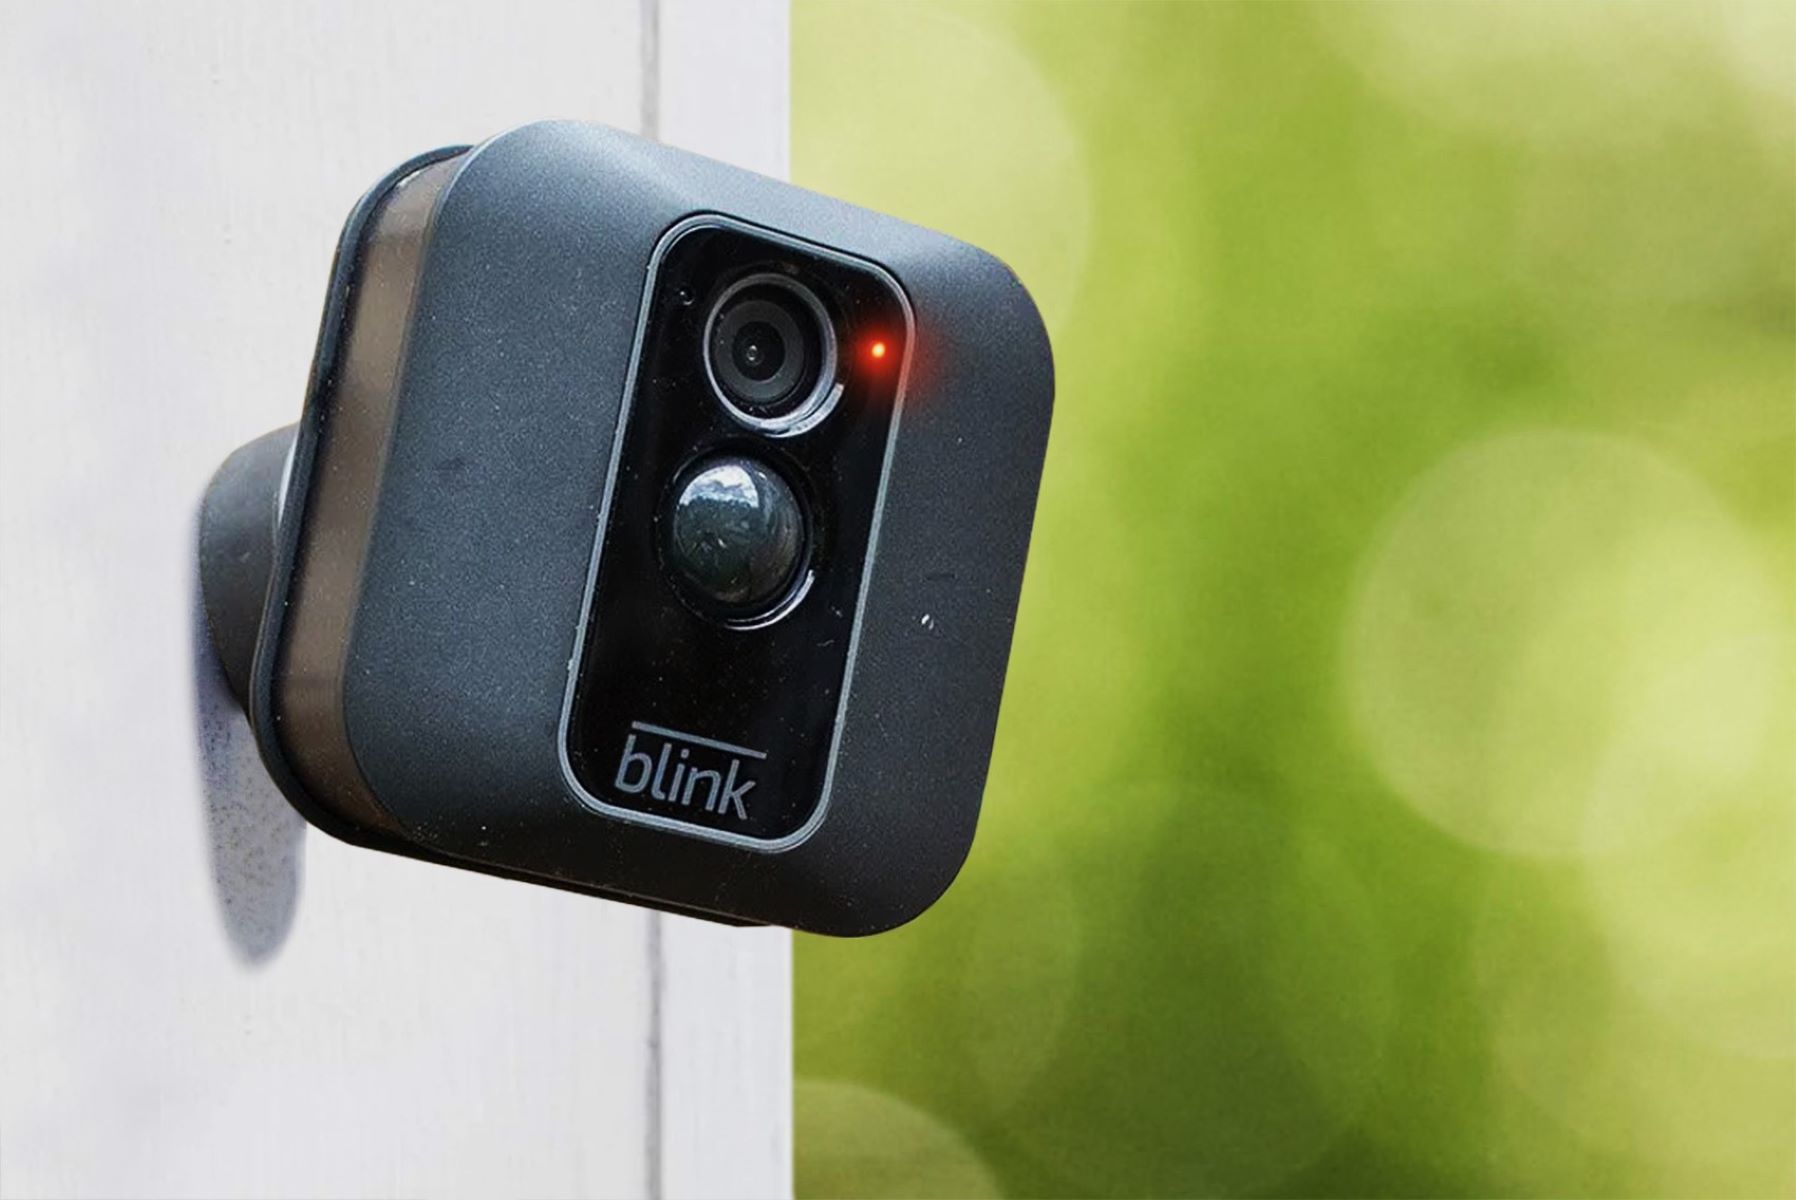
Step 3: Mounting the Cameras
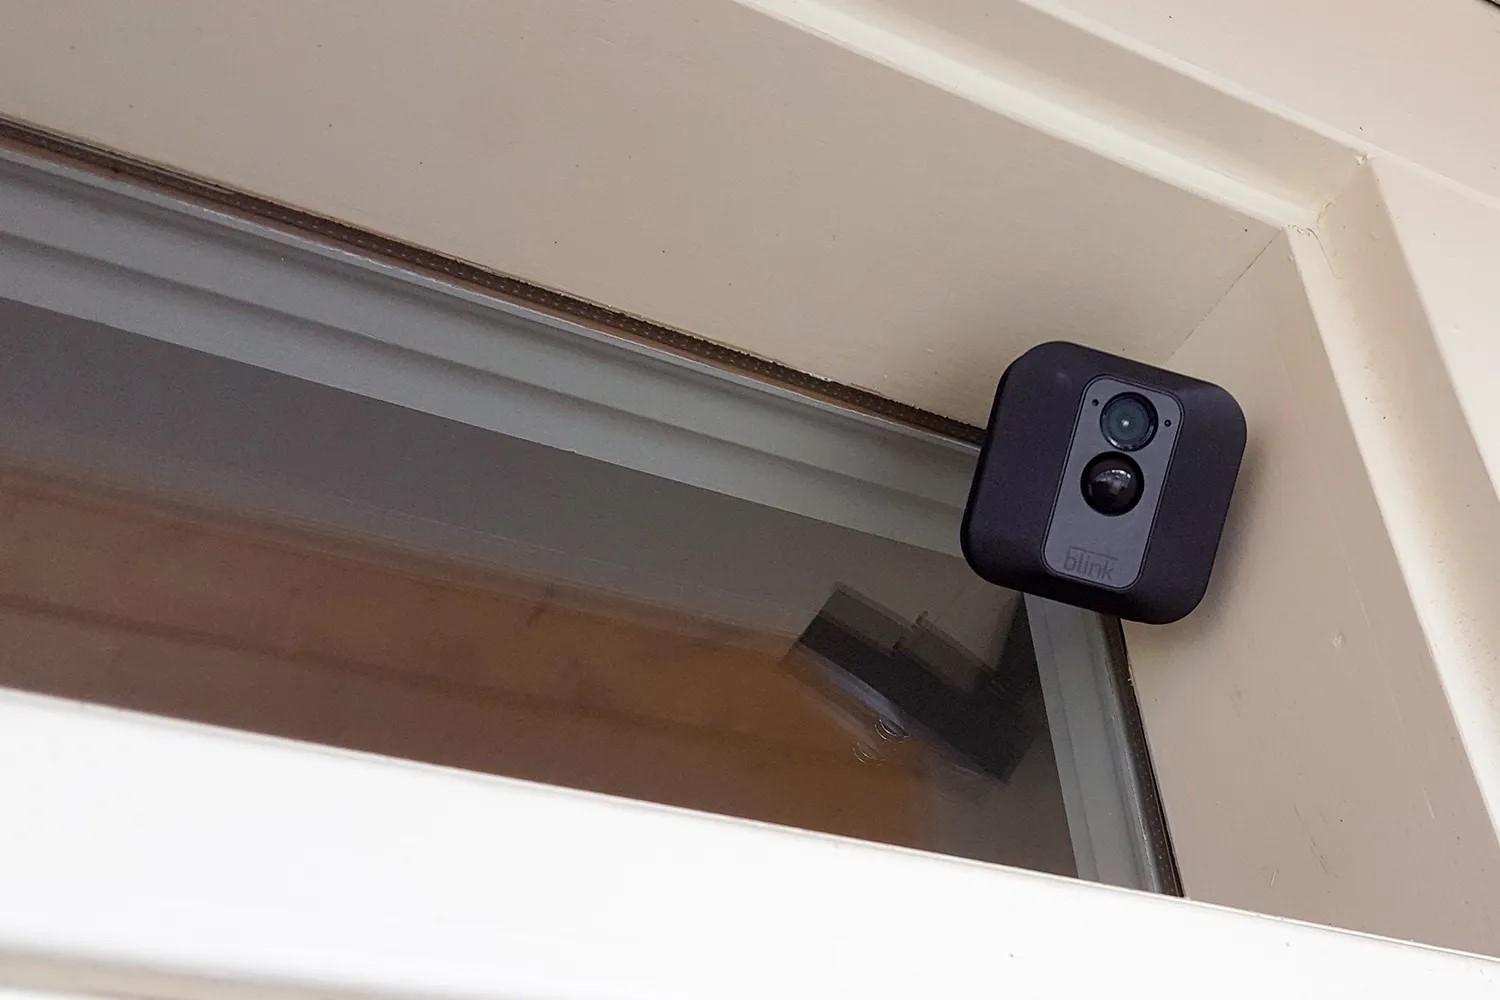
Now that the Sync Module is set up, it’s time to mount your Blink Outdoor cameras in the desired locations. Mounting the cameras properly is crucial to ensure optimal coverage and functionality. Follow these steps to mount your cameras securely:
- Select the locations where you want to install the cameras. Consider areas that require monitoring, such as entryways, driveways, or backyard.
- Using the provided mounting brackets, hold them against the wall or surface where you plan to mount the camera.
- Mark the drilling holes on the wall through the holes in the mounting bracket.
- Using a drill, carefully create pilot holes for the screws or anchors.
- Place the mounting bracket back on the wall and secure it in place using the provided screws or anchors.
- Attach the Blink Outdoor camera to the mounting bracket by aligning the slots on the camera with the corresponding slots on the bracket.
- Slide the camera downwards until it locks into place.
- Ensure that the camera is securely mounted and can’t be easily tampered with or knocked out of position.
Repeat this process for each camera you have. Remember to space out the cameras strategically to cover the desired areas effectively.
Once all the cameras are securely mounted, you are ready to proceed to the next step and connect them to your Wi-Fi network.
Step 4: Connecting the Cameras to Wi-Fi
Now that your Blink Outdoor cameras are securely mounted, it’s time to connect them to your Wi-Fi network. Follow these steps to ensure a seamless and reliable connection:
- Launch the Blink app on your smartphone or tablet.
- Navigate to the “Devices” tab and locate the camera you want to connect.
- Tap on the camera to access its settings.
- Select “Device Settings” and then choose “Wi-Fi Network.”
- The app will search for available Wi-Fi networks. Select your network from the list.
- Enter the password for your Wi-Fi network when prompted.
- Wait for the camera to establish a connection with your Wi-Fi network. This may take a few moments.
- Once the camera is connected, you will receive a confirmation message in the app.
- Repeat this process for each camera, connecting them one by one to your Wi-Fi network.
It’s important to note that a stable Wi-Fi connection is crucial for the optimal performance of your Blink Outdoor cameras. Make sure that your Wi-Fi signal is strong and consistent where the cameras are installed. If you encounter any connection issues, consider moving the Sync Module closer to the cameras or using Wi-Fi extenders to strengthen the signal.
With the cameras successfully connected to your Wi-Fi network, it’s time to move on to the next step and position the cameras for optimal coverage.
When installing Blink Outdoor cameras, make sure to place them within the recommended Wi-Fi range for a strong connection. This will ensure reliable performance and video streaming.
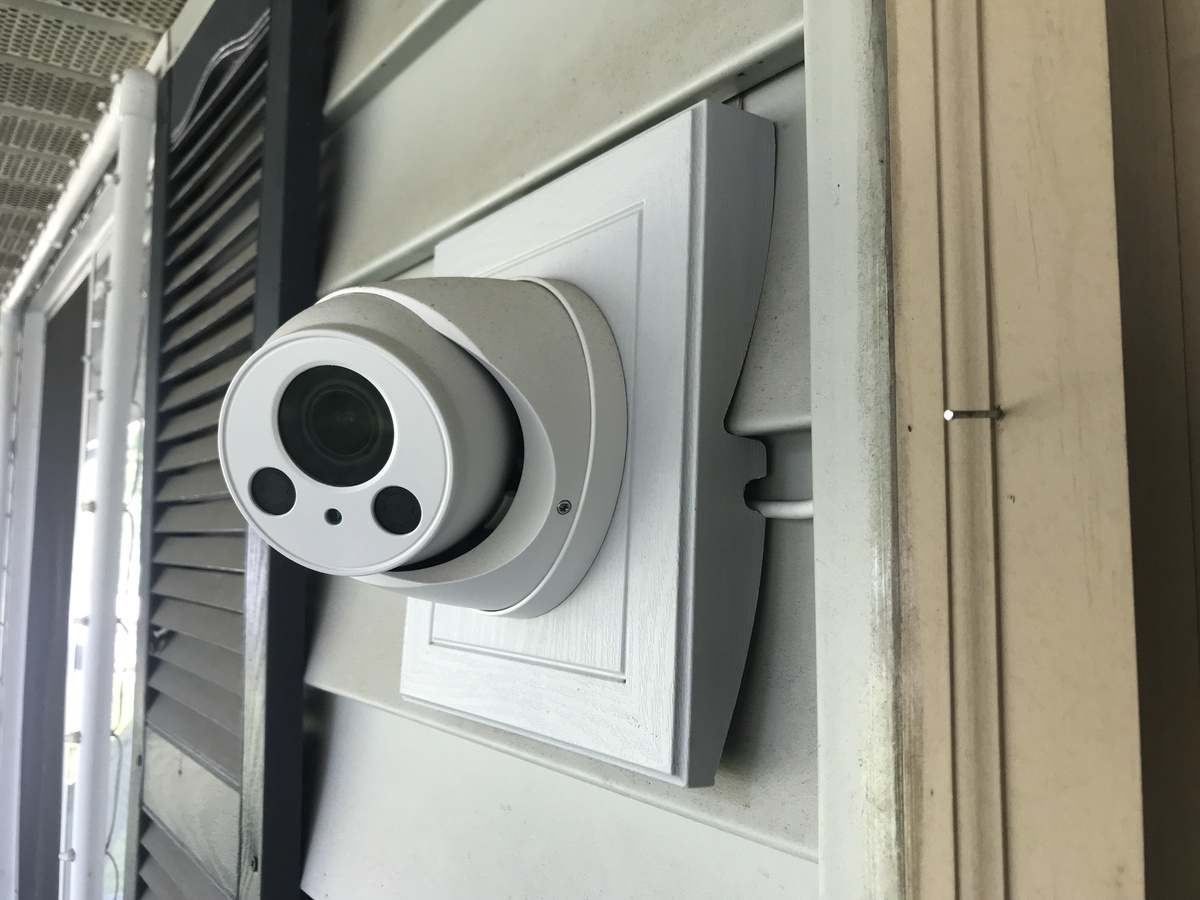
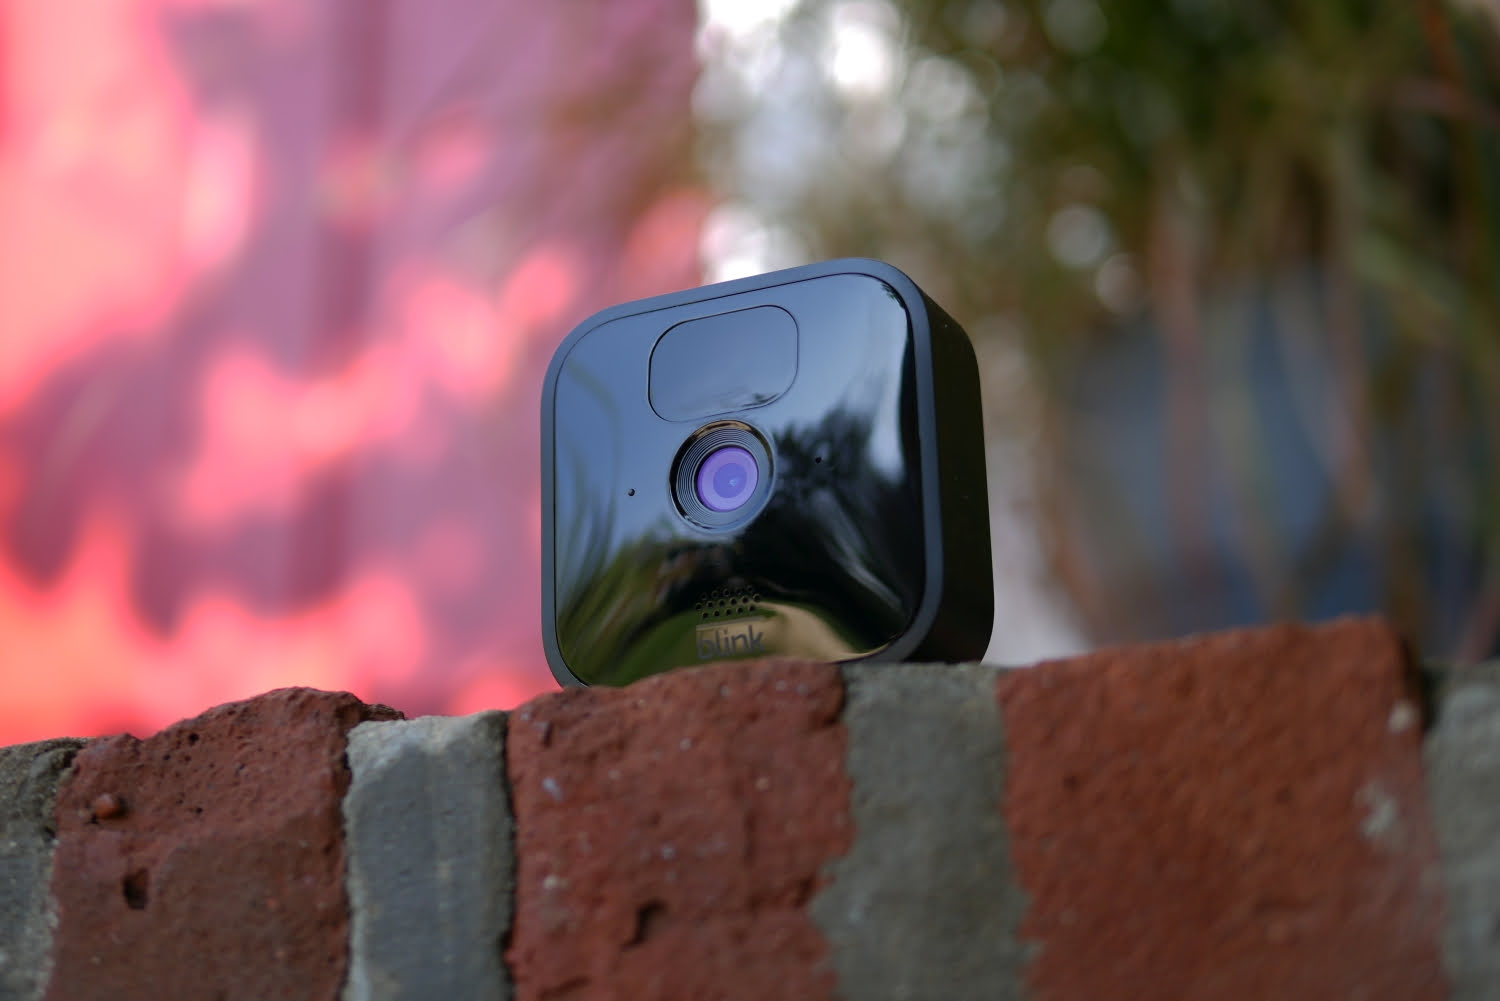
Step 5: Positioning the Cameras
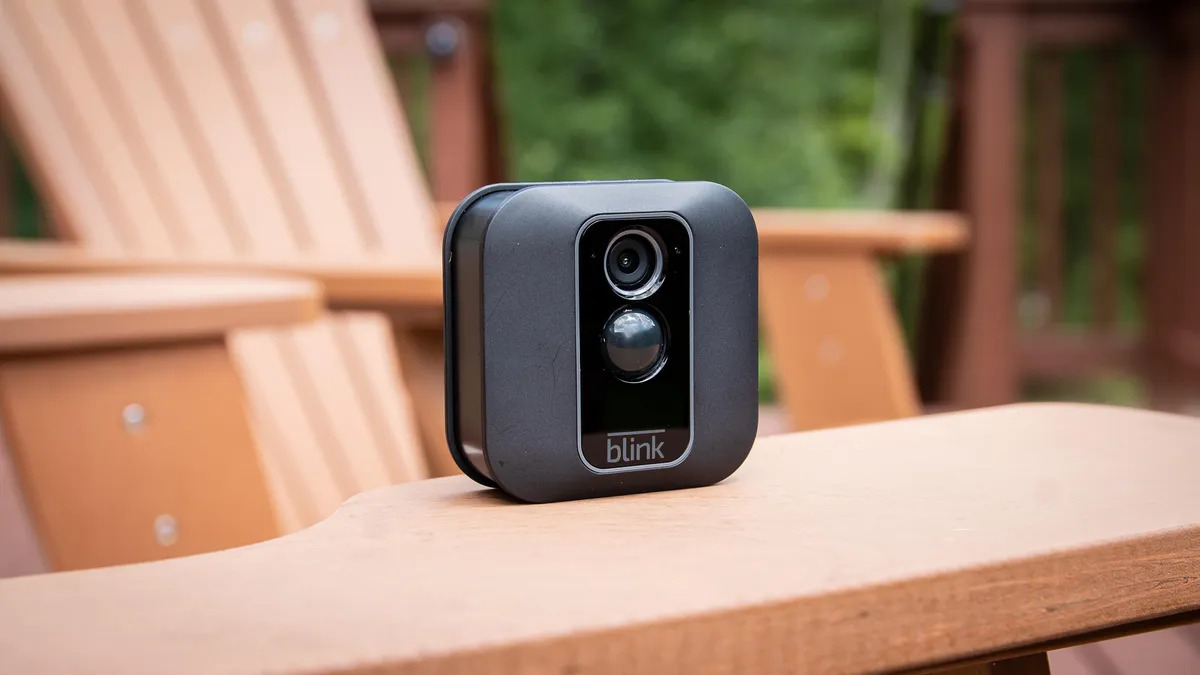
Properly positioning your Blink Outdoor cameras is essential for getting the best coverage and maximizing their effectiveness. Here are some tips to help you position your cameras strategically:
- Consider the areas you want to monitor and prioritize them. Common areas include entrances, driveways, and backyard.
- Ensure that the camera’s field of view covers the desired area without any obstructions. Trim any bushes or foliage that may block the camera’s view.
- Angle the camera slightly downwards to capture a clear view of any potential movement or activity.
- Avoid pointing the camera directly at a light source, as it may interfere with image quality.
- If possible, position the cameras out of reach to prevent tampering or theft.
- Consider using additional accessories such as weatherproof covers or mounts for added protection and flexibility in positioning.
It’s important to note that the number of cameras you have will determine the extent of coverage you can achieve. Evaluate your specific security needs and adjust the camera positions accordingly.
After positioning the cameras, it’s time to fine-tune their settings for optimal performance. Let’s move on to the next step.
Step 6: Adjusting Camera Settings
Once your Blink Outdoor cameras are positioned, it’s time to fine-tune their settings to ensure they meet your specific needs. Here are some key settings you can adjust:
- Motion Detection Sensitivity: You can customize the sensitivity of the camera’s motion detection feature. This will determine how easily the camera is triggered by movement.
- Activity Zones: Define specific areas in the camera’s field of view where you want it to detect motion. This can help reduce false alarms and focus on the areas that matter most.
- Clip Length: Determine the duration of video clips recorded when motion is detected. Shorter clip lengths conserve battery life, while longer clips ensure more comprehensive coverage.
- Video Quality: Adjust the video quality settings based on your preference. Higher quality settings may consume more storage space and bandwidth.
- Night Vision: Enable or disable the camera’s night vision feature, depending on your needs. Night vision provides visibility in low-light conditions.
- Alert Notifications: Choose whether to receive push notifications or email alerts when motion is detected by the camera.
Access these settings through the Blink app by selecting the specific camera from the “Devices” tab and navigating to the camera’s settings. Make adjustments based on your preferences and the unique characteristics of your home.
Experiment with different settings to find the optimal configuration that suits your needs. Remember that you can always adjust these settings as your requirements change over time.
With the camera settings adjusted, it’s time to move on to the final step and test the functionality of your Blink Outdoor cameras.
Step 7: Testing the Cameras
After setting up and adjusting the settings of your Blink Outdoor cameras, it’s important to conduct a thorough test to ensure that everything is functioning as expected. Here’s how you can test the functionality of your cameras:
- Use the Blink app to arm the cameras and activate the motion detection feature.
- Move within the camera’s field of view and test if the motion detection is triggered. You should receive a push notification or email alert indicating that motion has been detected.
- Check the recorded video clips in the Blink app to verify the quality and clarity of the recordings.
- Test the night vision capability of the cameras by checking if they capture clear footage in low-light conditions.
- Verify that the cameras are properly connected to the Sync Module and your Wi-Fi network by checking for any connectivity issues.
- Make any necessary adjustments to camera positions, settings, or Wi-Fi connectivity based on the test results.
By conducting a comprehensive test, you can have confidence in the functionality of your Blink Outdoor cameras. It’s important to note that regularly testing and maintaining your cameras is essential for long-term performance and security.
Congratulations! You have successfully completed the installation and testing of your Blink Outdoor cameras. Now you can enjoy the added security and peace of mind provided by these state-of-the-art devices.
Remember to periodically check the camera’s batteries and firmware updates to ensure optimal performance and stay up to date with any new features or enhancements introduced by the manufacturer.
Now that you’re familiar with the installation and setup process, you can expand your security system by adding more Blink Outdoor cameras to cover additional areas of your home or property.
Thank you for joining us on this journey of setting up Blink Outdoor cameras. Stay safe and enjoy the enhanced security features they provide!
Conclusion
Securing your home and ensuring the safety of your loved ones is of utmost importance, and installing the Blink Outdoor cameras can provide you with the peace of mind you need. Throughout this comprehensive guide, we have walked you through the step-by-step process of setting up and optimizing your Blink Outdoor cameras for optimal performance.
From unboxing the cameras to mounting them in strategic locations, from connecting them to your Wi-Fi network to adjusting the camera settings, we covered every aspect to ensure a seamless and effective installation. By following these steps, you have successfully integrated Blink Outdoor cameras into your home security system.
With Blink Outdoor cameras, you now have the ability to monitor your home remotely, receive real-time notifications, and record high-quality videos. These cameras offer an effective deterrent against potential intruders and provide you with the evidence needed in case of any suspicious or criminal activity.
Remember, regular testing and maintenance of your Blink Outdoor cameras are essential to ensure their continued functionality and reliability. Stay up to date with firmware updates and periodically check batteries to ensure optimum performance.
Now, with your Blink Outdoor cameras installed, you can enjoy enhanced security and peace of mind. So sit back, relax, and know that you have taken a crucial step in safeguarding your home and loved ones. Stay vigilant and stay safe!
Thank you for choosing Blink Outdoor cameras as a part of your home security system. Feel free to explore the Blink app’s additional features and expand your system further for comprehensive coverage.
Frequently Asked Questions about How To Install Blink Outdoor Cameras
Was this page helpful?
At Storables.com, we guarantee accurate and reliable information. Our content, validated by Expert Board Contributors, is crafted following stringent Editorial Policies. We're committed to providing you with well-researched, expert-backed insights for all your informational needs.