Home>Home Security and Surveillance>How To Install A Vivint Outdoor Camera

Home Security and Surveillance
How To Install A Vivint Outdoor Camera
Modified: May 6, 2024
Learn how to easily install a Vivint outdoor camera for enhanced home security and surveillance. Follow our step-by-step guide to ensure a successful installation process.
(Many of the links in this article redirect to a specific reviewed product. Your purchase of these products through affiliate links helps to generate commission for Storables.com, at no extra cost. Learn more)
Introduction
Welcome to the world of home security and surveillance! Protecting your home and loved ones is a top priority, and one of the most effective ways to do so is by installing a Vivint outdoor camera. With its advanced features and cutting-edge technology, a Vivint outdoor camera helps you keep an eye on your property and deter potential intruders.
In this article, we will guide you through the process of installing a Vivint outdoor camera step by step. Whether you are a DIY enthusiast or a beginner, we’ve got you covered.
Before we dive into the installation process, it’s important to note that safety should always be your top priority. If you are not comfortable working with electrical components or mounting equipment, it’s recommended to seek professional help.
Now let’s get started with the installation process and help you achieve a secure and protected home.
Key Takeaways:
- Installing a Vivint outdoor camera is a DIY-friendly process, but safety comes first. Gather the right tools, choose the perfect location, and follow the step-by-step guide for a secure and protected home.
- After installation, test and troubleshoot your Vivint outdoor camera to ensure it functions effectively. Enjoy peace of mind with advanced features like motion detection and remote accessibility for comprehensive home security.
Read more: How To Remove Vivint Outdoor Camera
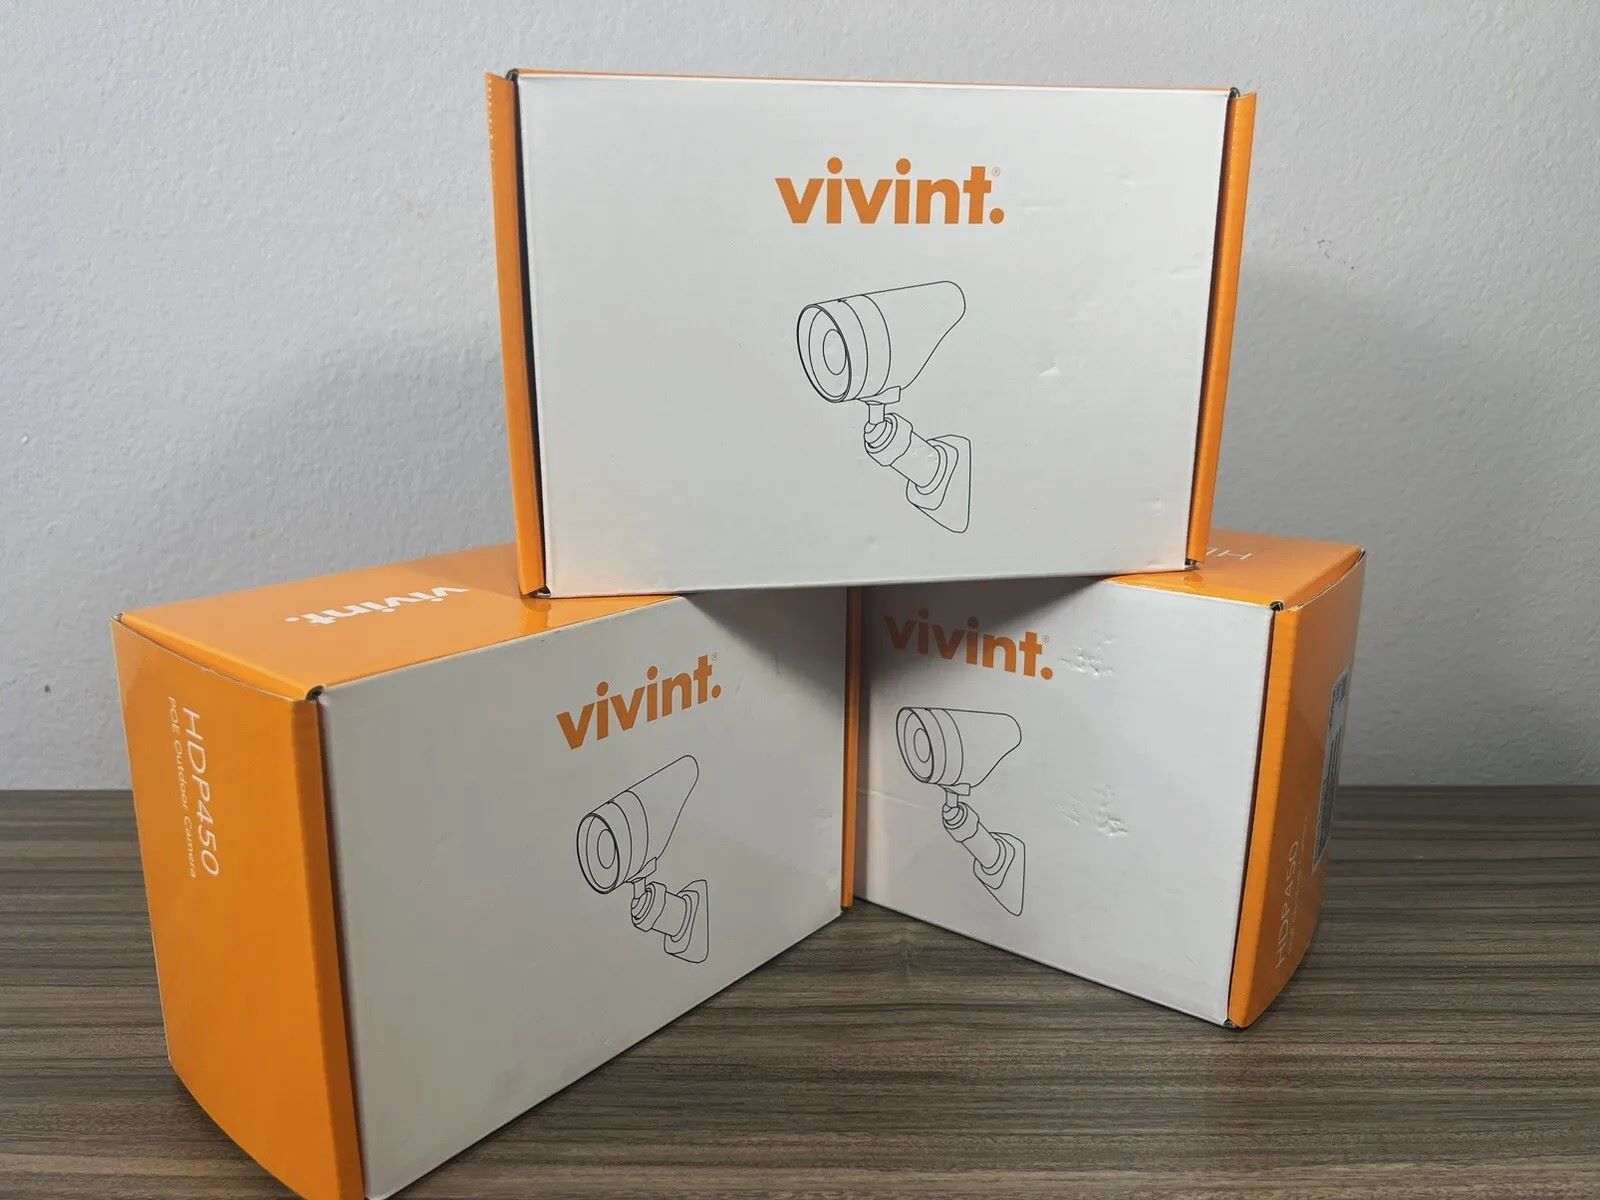
Step 1: Gather Necessary Tools and Equipment
Before you begin the installation process, make sure you have all the necessary tools and equipment at hand. This will ensure a smooth and hassle-free installation. Here’s a list of items you’ll need:
- Vivint outdoor camera kit
- Drill
- Screwdriver
- Level
- Tape measure
- Power drill bit
- Mounting screws
- Power supply
- Ethernet cable
Having these tools and equipment ready will save you time and effort during the installation process. Ensure that all the components are in good condition and functioning properly.
Once you have gathered all the necessary tools and equipment, you are ready to move on to the next step and choose the perfect location for installing your Vivint outdoor camera.
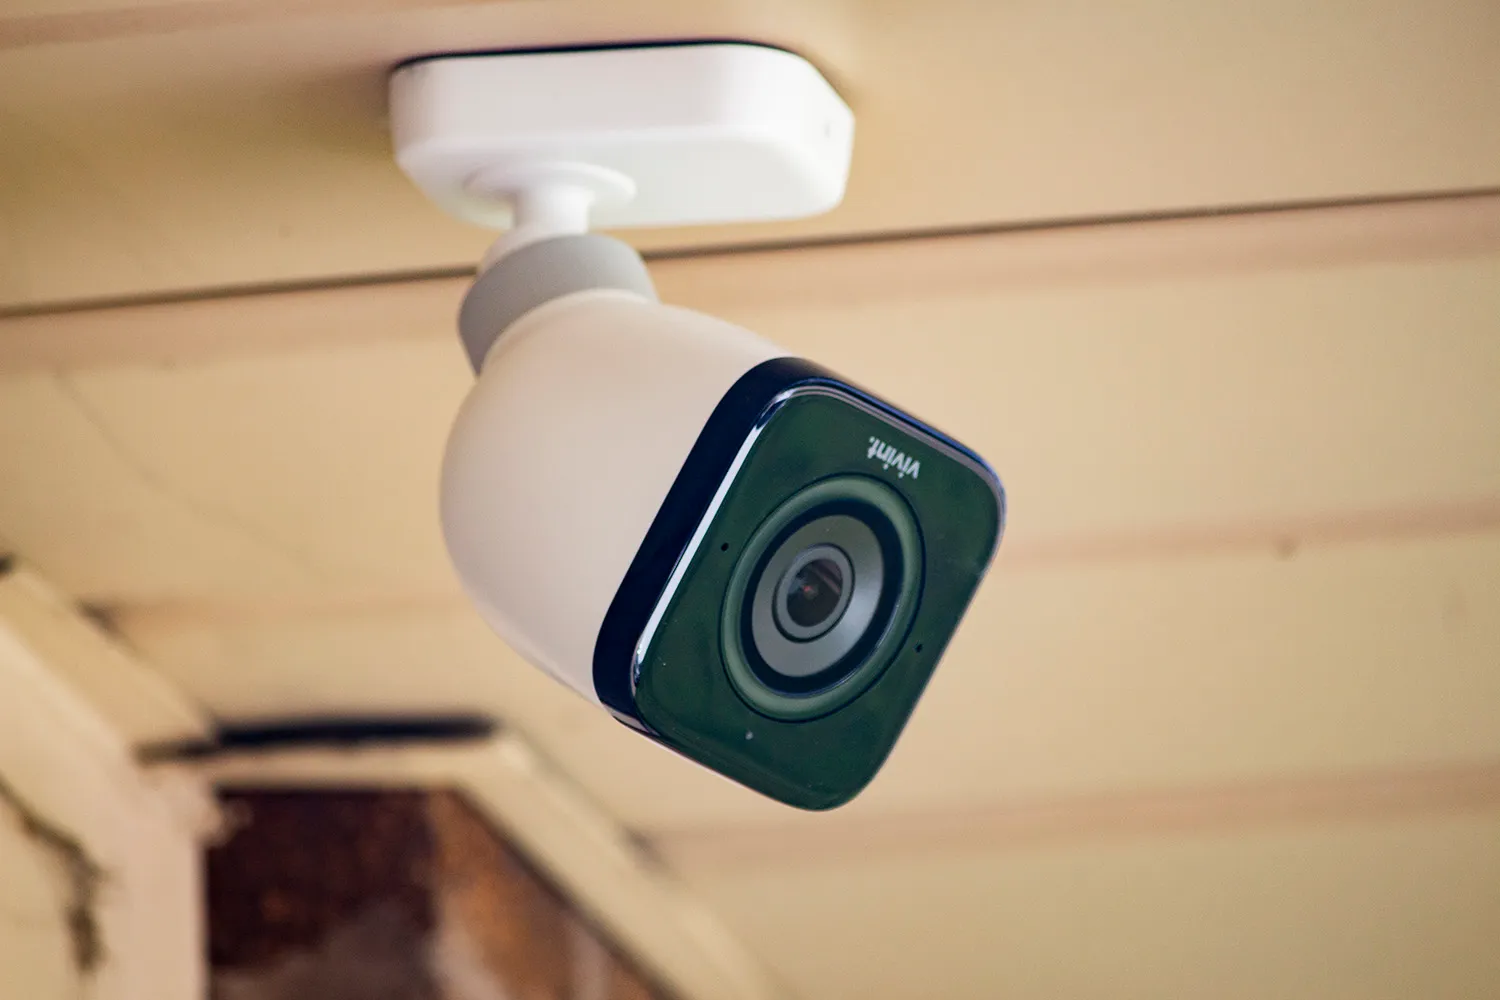
Step 2: Choose the Perfect Location for Installation
Choosing the right location for your Vivint outdoor camera is crucial for maximizing its effectiveness. Here are a few factors to consider when selecting the perfect spot:
- Visibility: Ensure that the camera has a clear line of sight and can capture a wide viewing angle. This will allow it to monitor a larger area effectively.
- Height: Mount the camera at a height where it is out of reach but still provides a good view. Generally, a recommended height is 9-10 feet from the ground.
- Accessibility: Consider accessibility for maintenance and cleaning purposes. You should be able to reach the camera easily without any hindrance.
- Lighting: Evaluate the lighting conditions in the area you plan to install the camera. It’s best to avoid locations with excessive glare or backlighting, as it can affect the camera’s visibility.
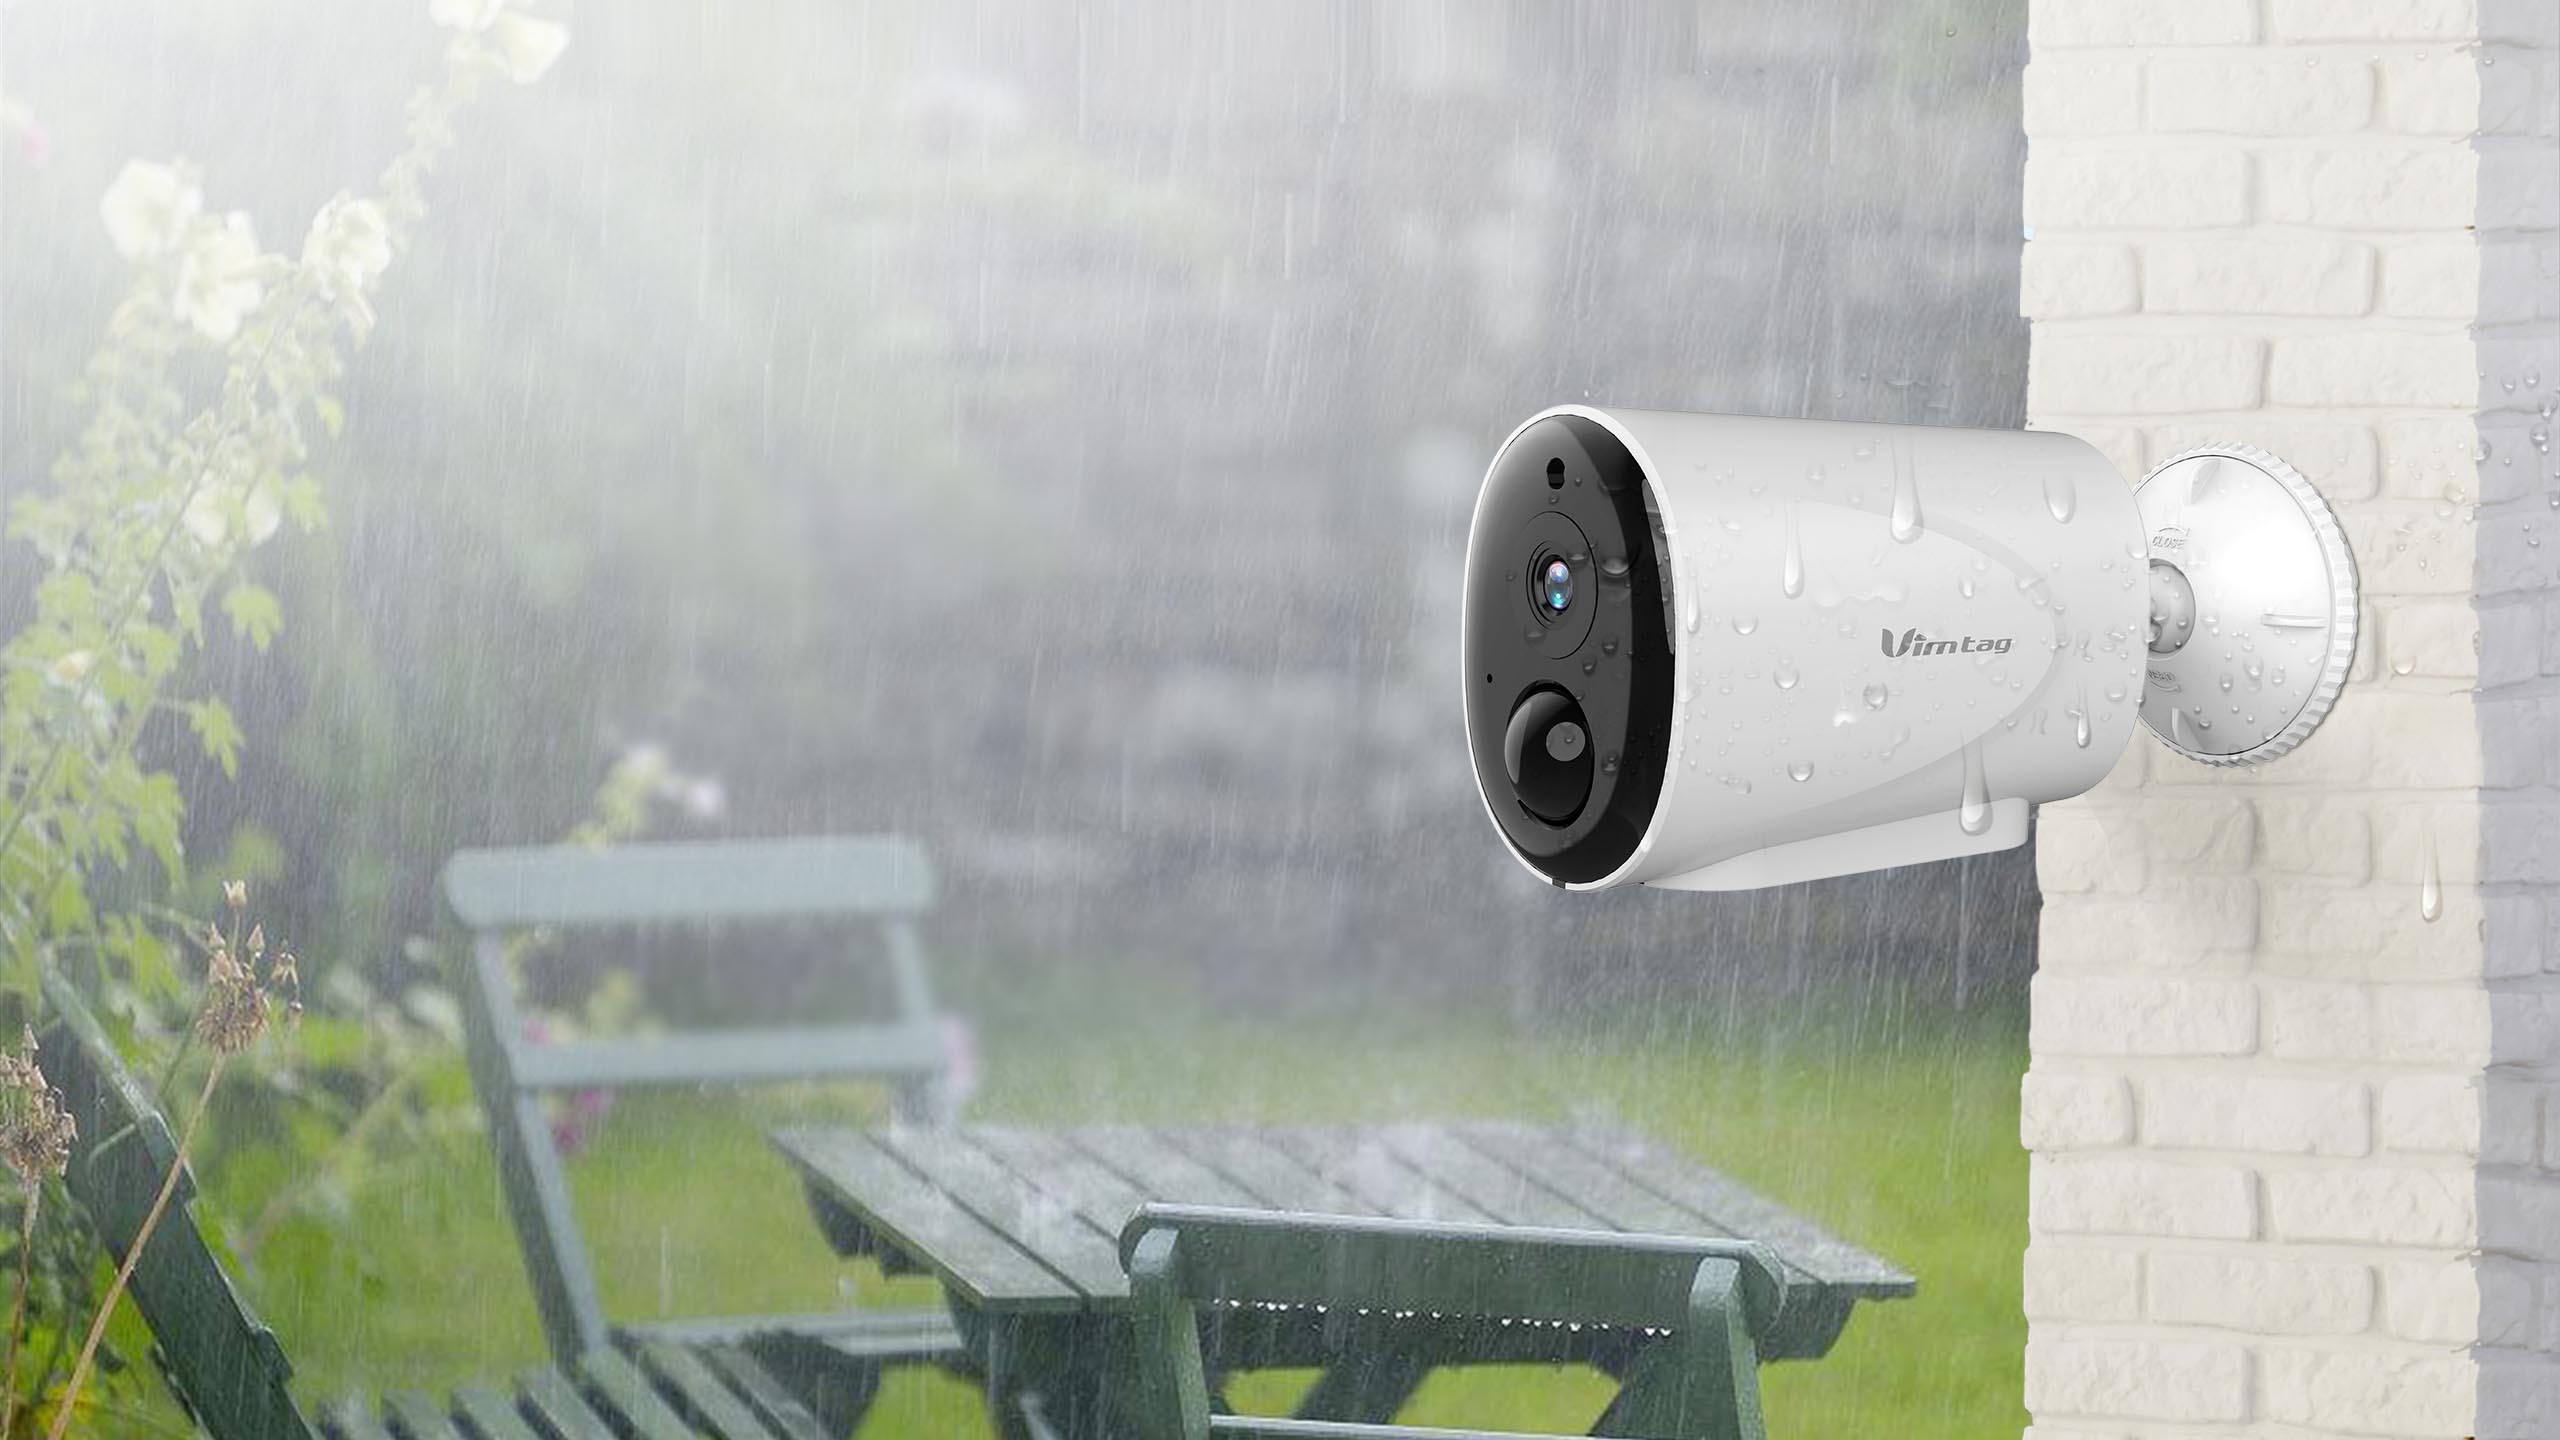
- Protection: Take into account the weather conditions in your area. Ensure that the camera is protected from rain, direct sunlight, and extreme temperatures.
Once you have assessed these factors, you can move on to installing the camera bracket in the chosen location. This will provide a secure base for mounting the Vivint outdoor camera.
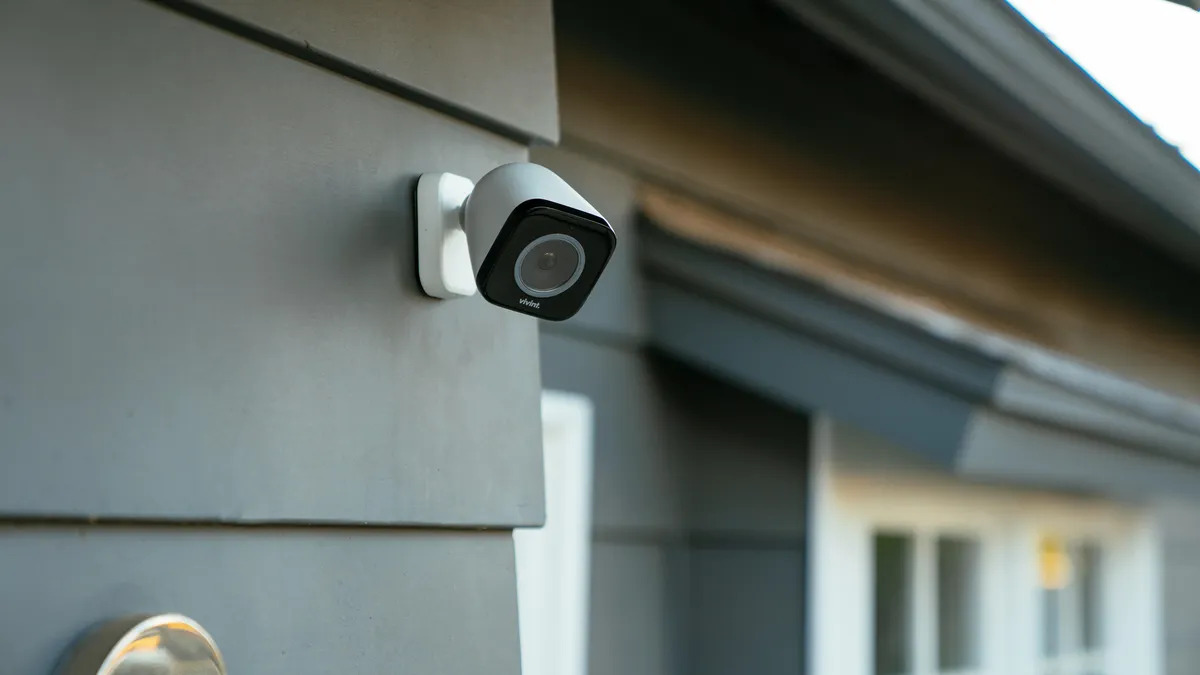
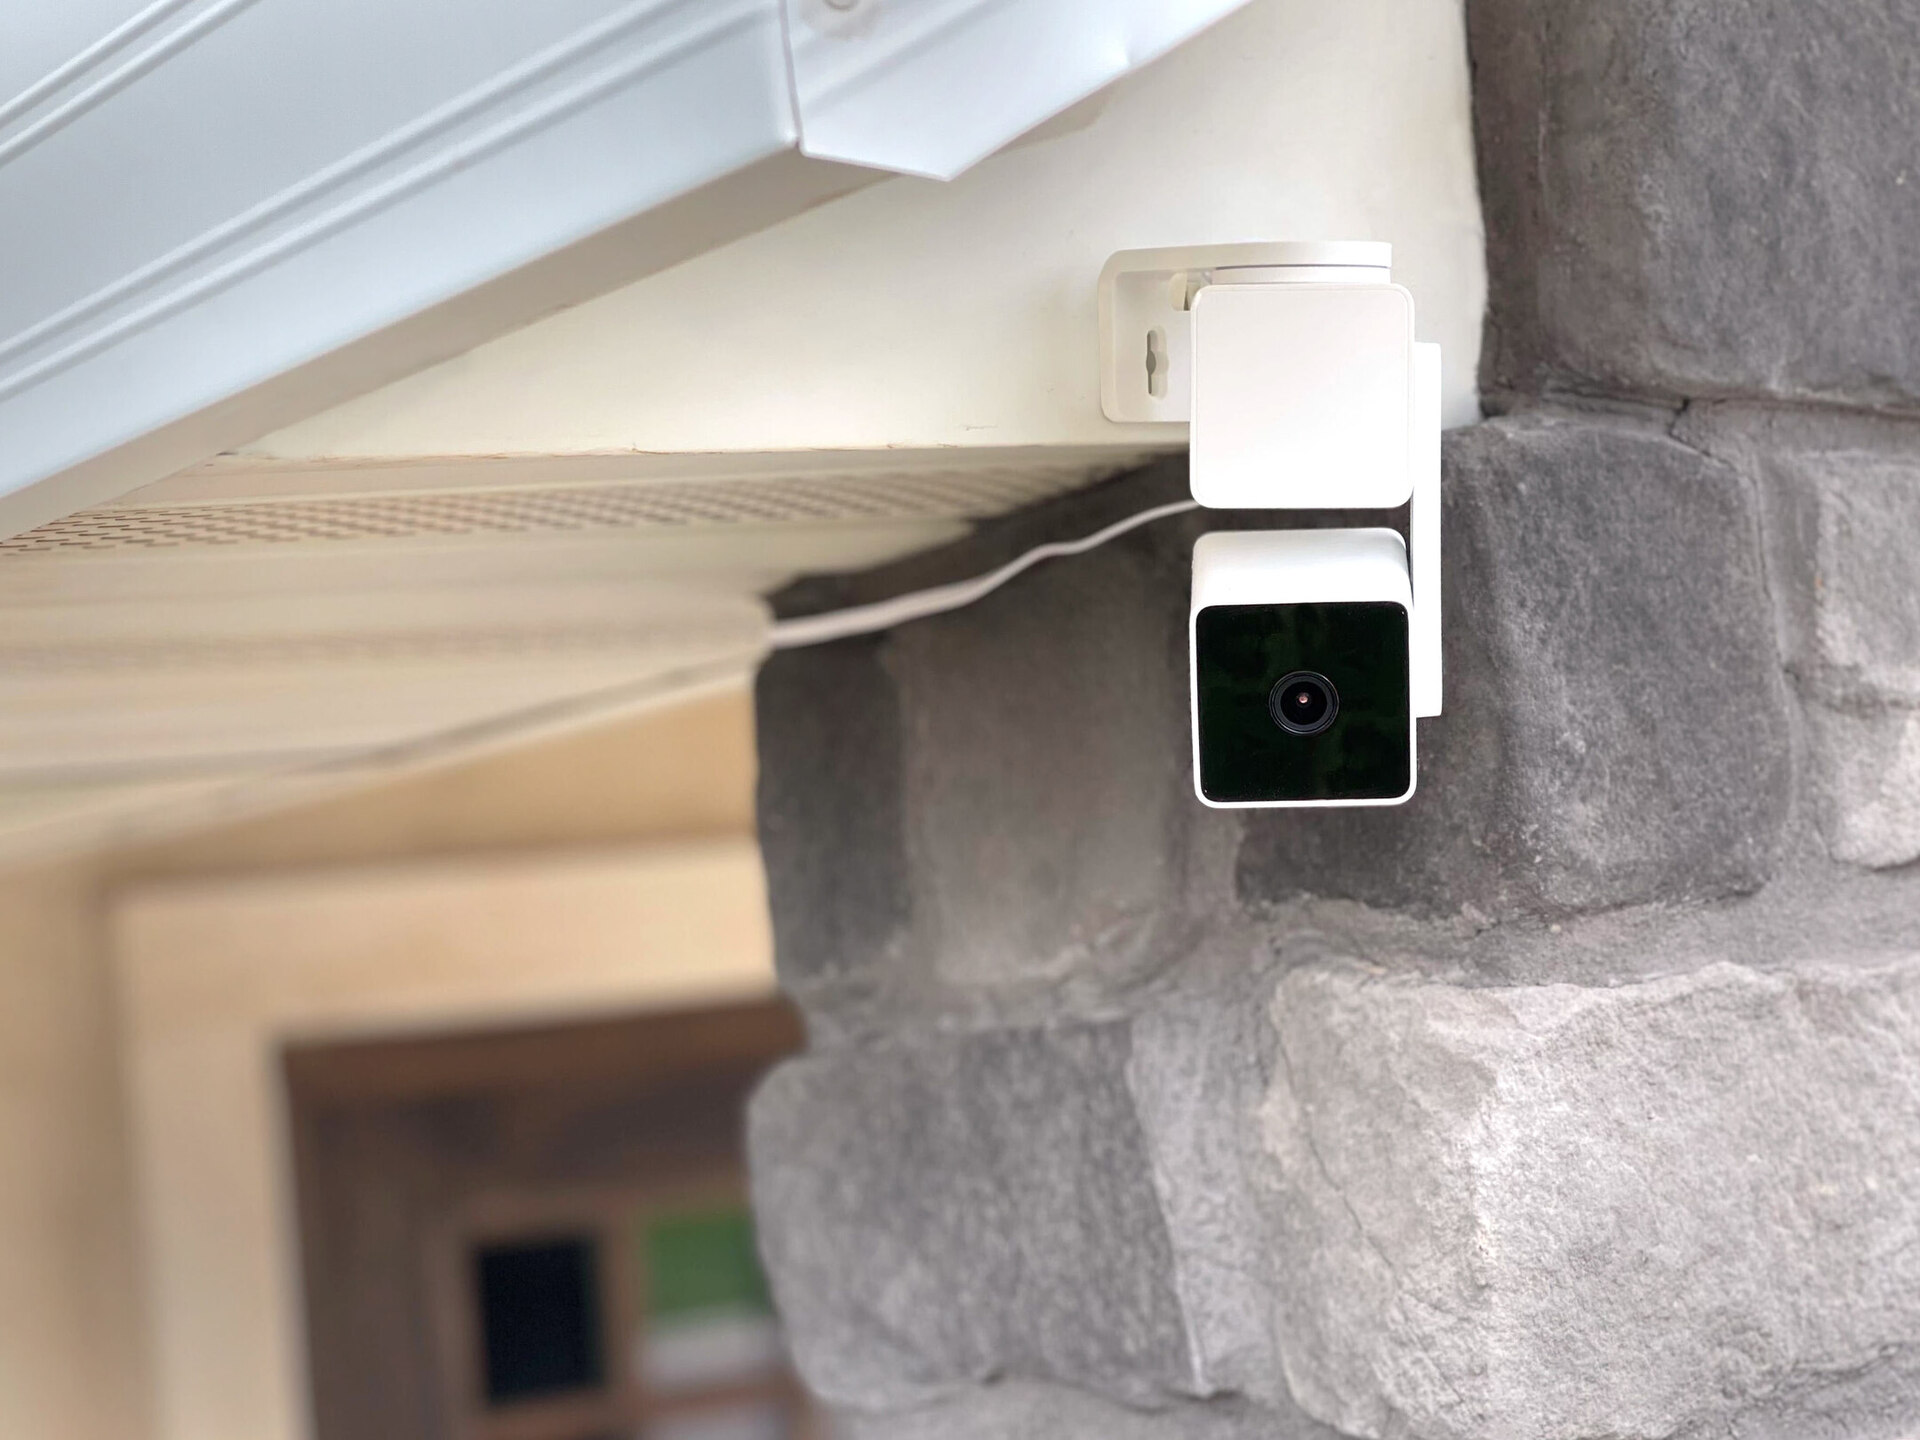
Step 3: Mounting the Camera Bracket
With the location chosen, it’s time to mount the camera bracket. The bracket serves as a secure base for attaching the Vivint outdoor camera. Follow these steps to mount the bracket:
- Hold the camera bracket against the wall or surface in the desired location.
- Using a pencil or marker, mark the spots where you will drill the holes for mounting.
- Use a drill with the appropriate drill bit to create the holes according to the marked spots.
- Insert wall anchors into the drilled holes for added stability. These anchors will ensure that the screws hold firmly in place.
- Align the camera bracket with the holes and secure it to the wall using mounting screws and a screwdriver.
- Check the bracket’s stability by gently pulling on it to make sure it is securely fastened.
It’s important to make sure the camera bracket is level and securely attached to prevent any misalignment or instability. Taking your time during the mounting process will ensure a sturdy and reliable base for your Vivint outdoor camera.
Once the bracket is securely mounted, you can proceed to the next step and set up the wiring and power supply for the camera.
Step 4: Wiring and Power Supply Setup
Proper wiring and power supply setup are essential for the functioning of your Vivint outdoor camera. Follow these steps to ensure a seamless installation:
- Locate the nearest power source and ensure it meets the voltage requirements of your camera.
- Connect the power supply to the camera’s power input port. Make sure the connection is secure.
- If using an Ethernet connection, connect one end of the Ethernet cable to the camera’s Ethernet port and the other end to your router.
- Securely route the cable from the camera to the router, ensuring it is not exposed or at risk of being damaged.
- If your camera supports Wi-Fi connectivity, follow the manufacturer’s instructions to connect it to your home Wi-Fi network.
When setting up the wiring, it is important to keep it organized and hidden, both for aesthetic reasons and to prevent potential damage. Use cable clips or conduits to secure and conceal the wires along the mounting surface or on the wall.
Once the wiring and power supply are set up, it’s time to move on to the next step and attach the camera to the bracket.
When installing a Vivint outdoor camera, make sure to place it in a location with a clear view of the area you want to monitor. Also, ensure that it is within range of your Wi-Fi network for a strong connection.
Read more: How Much Is The Vivint Outdoor Camera
Step 5: Attaching the Camera to the Bracket
Now that you have the camera bracket securely mounted and the wiring properly set up, it’s time to attach the Vivint outdoor camera to the bracket. Follow these steps:
- Align the camera with the mounting holes on the bracket.
- Insert the screws provided with the camera into the mounting holes and tighten them using a screwdriver.
- Make sure the camera is securely attached to the bracket and cannot be easily moved or tampered with.
Double-check the alignment and stability of the camera to ensure it is properly positioned and won’t come loose over time. Also, ensure that the camera is facing the desired direction and has a clear view of the intended surveillance area.
With the camera securely attached to the bracket, you can proceed to the next step and adjust the camera angle and focus to optimize its performance.
Step 6: Adjusting Camera Angle and Focus
Properly adjusting the camera angle and focus is crucial to ensure optimal surveillance coverage. Follow these steps to adjust the angle and focus of your Vivint outdoor camera:
- Access the camera’s settings through the Vivint app or the camera’s web interface.
- Locate the camera angle adjustment controls or settings.
- Using the app or interface, adjust the camera’s angle horizontally and vertically to capture the desired surveillance area.
- Check the live feed or preview on the app to ensure the camera view is aligned with your expectations.
- If the camera supports manual focus adjustment, use the controls to focus the image. Alternatively, some cameras have auto-focus capabilities.
During the adjustment process, consider the height of the camera, the distance to the surveillance area, and any potential obstacles that might hinder visibility. It’s important to find the right balance between capturing a wide field of view and maintaining clear and focused images.
Take your time to fine-tune the camera angle and focus until you achieve the desired surveillance coverage. Once you are satisfied, proceed to the next step and connect the camera to your Vivint system.
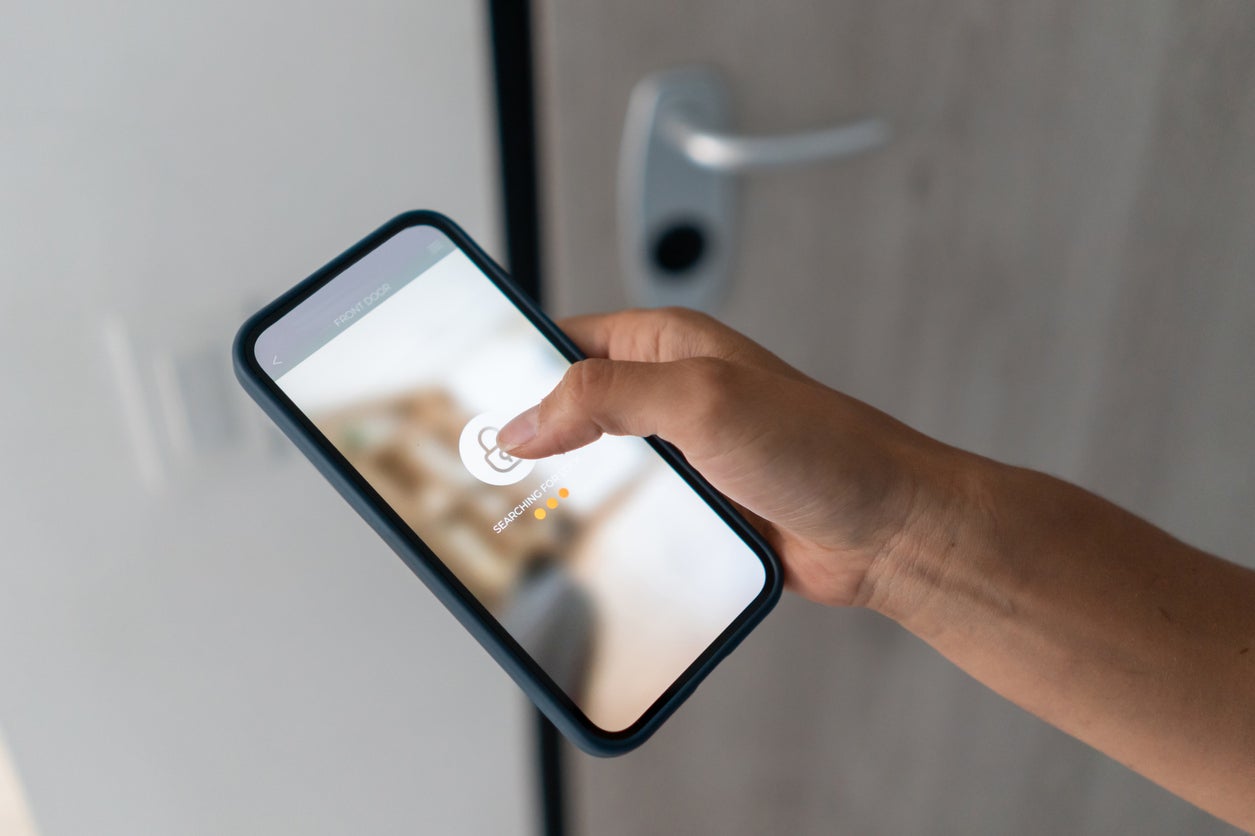
Step 7: Connecting Camera to Vivint System
Connecting your Vivint outdoor camera to your Vivint system is essential to ensure seamless integration and comprehensive home security. Follow these steps to connect your camera to the Vivint system:
- Launch the Vivint app or access the Vivint web portal.
- Navigate to the camera settings or device management section.
- Select the option to add a new camera to your Vivint system.
- Follow the on-screen instructions to scan the QR code or enter the camera’s unique identification information.
- Once the camera is detected, select it from the list and confirm the connection.
- Wait for the camera to sync with the Vivint system, which may take a few minutes.
- Once the connection is established, you should see the live feed of your camera on the Vivint app or web portal.
Ensure that your Vivint system is properly installed and configured before connecting the camera. This includes setting up the base station, sensors, and other devices that are part of your home security system.
After connecting the camera to the Vivint system, you’ll have access to advanced features such as motion detection, two-way audio, and remote access to the camera feed from anywhere using the Vivint app.
With the camera successfully connected to your Vivint system, you are almost done. The next step involves testing and troubleshooting to ensure everything is working properly.
Step 8: Testing and Troubleshooting
Testing your Vivint outdoor camera and troubleshooting any potential issues is crucial to ensure its functionality and effectiveness. Follow these steps to test and troubleshoot your camera:
- Check the camera feed: Open the Vivint app or web portal and verify that you can see the live feed from the camera. Make sure the image quality is clear and the camera coverage aligns with your expectations.
- Test motion detection: Trigger motion in front of the camera and confirm that it detects and records the activity. Adjust the sensitivity settings if necessary.
- Verify remote access: Test the ability to access the camera feed remotely using the Vivint app or web portal on your smartphone or computer. Ensure that you can view the live feed and perform any necessary actions, such as panning or zooming.
- Test recording and storage: Check if the camera properly records and stores the footage. Review the recorded clips and ensure they are accessible through the Vivint system.
- Verify notifications: Enable motion detection notifications and ensure that you receive alerts when motion is detected near the camera.
- Troubleshoot connectivity issues: If you are experiencing connectivity problems, make sure your camera is within range of your Wi-Fi network and that the signal strength is sufficient. Restart your router and camera if needed.
- Refer to the user manual and support resources: If you encounter any technical issues or have questions about specific features, consult the user manual or reach out to Vivint customer support for assistance.
By thoroughly testing and troubleshooting your Vivint outdoor camera, you can identify any potential issues early on and ensure that it operates reliably and provides the desired home security and surveillance coverage.
With the camera successfully tested and any issues resolved, you can now enjoy the peace of mind and enhanced security that a Vivint outdoor camera brings to your home.
Read more: How To Add Outdoor Camera To Vivint System
Conclusion
Installing a Vivint outdoor camera is a great step towards enhancing the security and surveillance of your home. By following the step-by-step guide outlined in this article, you can ensure a successful installation process, allowing you to monitor your property and protect your loved ones with ease.
From gathering the necessary tools and equipment to adjusting the camera angle and connecting it to your Vivint system, each step is crucial in achieving optimal functionality and performance. Take your time during the installation process, paying close attention to details to ensure everything is set up correctly.
Remember, if you are unsure about any step, it’s always best to seek professional assistance to ensure proper installation and avoid any potential risks or damages.
Once your Vivint outdoor camera is installed and connected, regularly test and troubleshoot to ensure its proper functioning. Performing tests, such as checking the camera feed, motion detection, and remote access, will give you peace of mind knowing that your camera is effectively monitoring your home.
With its advanced features, including motion detection, two-way audio, and remote accessibility, the Vivint outdoor camera offers comprehensive home security and surveillance. Combined with a reliable Vivint system, you can have full control over your home’s security and gain the ability to monitor and protect your property from anywhere, at any time.
So, take the necessary steps to install your Vivint outdoor camera and enjoy the increased peace of mind and security it brings to your home. Protect what matters most while keeping an eye on your property with this cutting-edge security solution.
Now that you're up to speed on installing your Vivint outdoor camera, you might be curious about further securing and streamlining your home. For those intrigued by the latest advancements, our detailed guide on home automation systems offers a look into cutting-edge technology to simplify daily routines. If integrating technology seamlessly into your living space sounds appealing, check out our insights on smart home technology. Lastly, for readers prioritizing safety, our review on reliable home security systems provides valuable information to make informed decisions on protecting your household.
Frequently Asked Questions about How To Install A Vivint Outdoor Camera
Was this page helpful?
At Storables.com, we guarantee accurate and reliable information. Our content, validated by Expert Board Contributors, is crafted following stringent Editorial Policies. We're committed to providing you with well-researched, expert-backed insights for all your informational needs.