Home>Home Security and Surveillance>How To Install A Kasa Outdoor Camera
Home Security and Surveillance
How To Install A Kasa Outdoor Camera
Modified: September 1, 2024
Increase your home security and surveillance with our step-by-step guide on installing a Kasa Outdoor Camera. Safeguard your property and loved ones today!
(Many of the links in this article redirect to a specific reviewed product. Your purchase of these products through affiliate links helps to generate commission for Storables.com, at no extra cost. Learn more)
Introduction
Welcome to the world of home security and surveillance! In this article, we will guide you through the process of installing a Kasa Outdoor Camera, a powerful and versatile device that will help you monitor and protect your home. Whether you want to keep an eye on your property while you’re away or enhance the safety of your loved ones, the Kasa Outdoor Camera is the perfect solution.
Home security is no longer a luxury reserved for the wealthy; it has become a necessity in today’s uncertain world. With the advancements in technology, home security systems have become more affordable and accessible than ever before. The Kasa Outdoor Camera combines cutting-edge features with easy installation, allowing you to take control of your home’s security without breaking the bank.
Before we dive into the installation process, let’s take a moment to understand the benefits of having a home security system. A home security system not only deters potential burglars and intruders but also provides you with peace of mind. It allows you to monitor your home in real-time and receive instant notifications on your smartphone when any suspicious activity is detected. With the Kasa Outdoor Camera, you can keep an eye on your property whether you’re at work, on vacation, or simply relaxing at home.
Now that we’ve covered the importance of home security, let’s move on to the installation process. Installing a Kasa Outdoor Camera is a straightforward task that can be completed by anyone with basic DIY skills. By following the steps outlined in this article, you will have your camera up and running in no time.
Key Takeaways:
- Installing a Kasa Outdoor Camera is easy and affordable, providing peace of mind by allowing you to monitor your home remotely and receive instant notifications of any suspicious activity.
- Choosing the right installation spot, connecting to Wi-Fi, and testing the camera’s functionality are crucial steps to ensure your Kasa Outdoor Camera effectively safeguards your home.
Read more: How To Install A Vivint Outdoor Camera
Step 1: Gather the Required Materials
Before you start the installation process, it’s important to gather all the necessary materials. Having everything in place will make the installation smoother and more efficient. Here are the materials you’ll need:
- Kasa Outdoor Camera: This is the main device you’ll be installing. Make sure it comes with all the necessary components, including the camera unit, mounting bracket, power adapter, and Ethernet cable.
- Power Drill: You’ll need a power drill to make holes for mounting the camera bracket.
- Screwdriver: A screwdriver will be used to secure the camera bracket in place.
- Power Extension Cable: Depending on the distance between the camera unit and the nearest power outlet, you may need a power extension cable to reach the camera.
- Network Router: To connect the Kasa Outdoor Camera to your home network, you’ll need a network router.
- Smartphone or Tablet: You’ll need a smartphone or tablet to download the Kasa Smart app and set up the camera.
- Wi-Fi Network: Make sure you have a stable Wi-Fi network with internet access. This will be used to connect the camera to your smartphone and enable remote monitoring.
Once you have gathered these materials, you’re ready to move on to the next step. Having everything prepared beforehand will save you time and prevent any unnecessary interruptions during the installation process.
Step 2: Choose the Ideal Spot for Installation
Choosing the right spot for installation is crucial to ensure optimal performance and coverage of your Kasa Outdoor Camera. Here are a few factors to consider when selecting the ideal location:
- Viewing Angle: The camera’s viewing angle determines how much area it can cover. Depending on your specific needs, consider whether you want a wide-angle view or a more focused view of a particular area.
- Coverage Area: Identify the areas of your property that you want to monitor. This could include entry points, driveways, gardens, or any other vulnerable areas.
- Obstructions: Take note of any potential obstructions such as trees, walls, or fences that may obstruct the camera’s view or cause false motion detections.
- Accessibility: Ensure that the chosen installation spot is easily accessible for maintenance and adjustments in the future.
To maximize the effectiveness of your Kasa Outdoor Camera, consider the following tips:
- Mount the camera at a height that provides a clear view of the designated area, but is out of reach and less prone to tampering.
- Avoid mounting the camera near bright lights that could cause glare or interfere with the camera’s night vision capabilities.
- If possible, position the camera in an inconspicuous location to prevent potential intruders from tampering with or disabling the device.
Once you have identified the ideal spot for installation, proceed to the next step to mount the camera bracket.
Step 3: Mount the Camera Bracket
Now that you have chosen the perfect spot for your Kasa Outdoor Camera, it’s time to mount the camera bracket. This bracket acts as a sturdy base for attaching the camera unit. Follow these steps to mount the bracket:
- Using your power drill, carefully make two holes in the desired location for the bracket. Ensure that the holes are level and spaced apart according to the bracket’s dimensions.
- Insert wall anchors into the drilled holes. These anchors will provide stability and prevent the screws from becoming loose over time.
- Align the camera bracket over the anchors and secure it in place using the provided screws and your screwdriver. Make sure the bracket is firmly attached to the wall or surface.
Once the camera bracket is securely mounted, you’re ready to proceed to the next step of connecting the power supply.
Note: If you’re planning to install the camera on a different surface, such as a ceiling or a pole, make sure to use an appropriate mounting method that suits your specific installation requirements.
Step 4: Connect the Power Supply
With the camera bracket securely mounted, it’s time to connect the power supply to your Kasa Outdoor Camera. Follow these steps to ensure a proper and safe connection:
- Locate the power adapter that came with your camera. Connect one end of the power adapter to the camera’s power input port.
- Next, plug the other end of the power adapter into a nearby electrical outlet. Ensure that the outlet is easily accessible and provides a stable power source.
- If the distance between the camera and the power outlet is too far, you may need to use a power extension cable. Connect the power extension cable to the power adapter, and then plug it into the outlet.
- Double-check that all connections are secure and properly fitted. Avoid overstretching the power cables or placing them in a way that may cause a trip hazard or damage to the cables.
By connecting the power supply, the Kasa Outdoor Camera will be ready for the next step – attaching the camera unit to the bracket.
Note: It’s important to handle electrical connections with caution. If you are unsure about the process or have concerns about your electrical wiring, it is recommended to seek professional assistance to ensure a safe and proper power connection for your camera.
When installing a Kasa Outdoor Camera, make sure to place it within the Wi-Fi range of your router for a stable connection. Also, use the Kasa app to guide you through the installation process step by step.
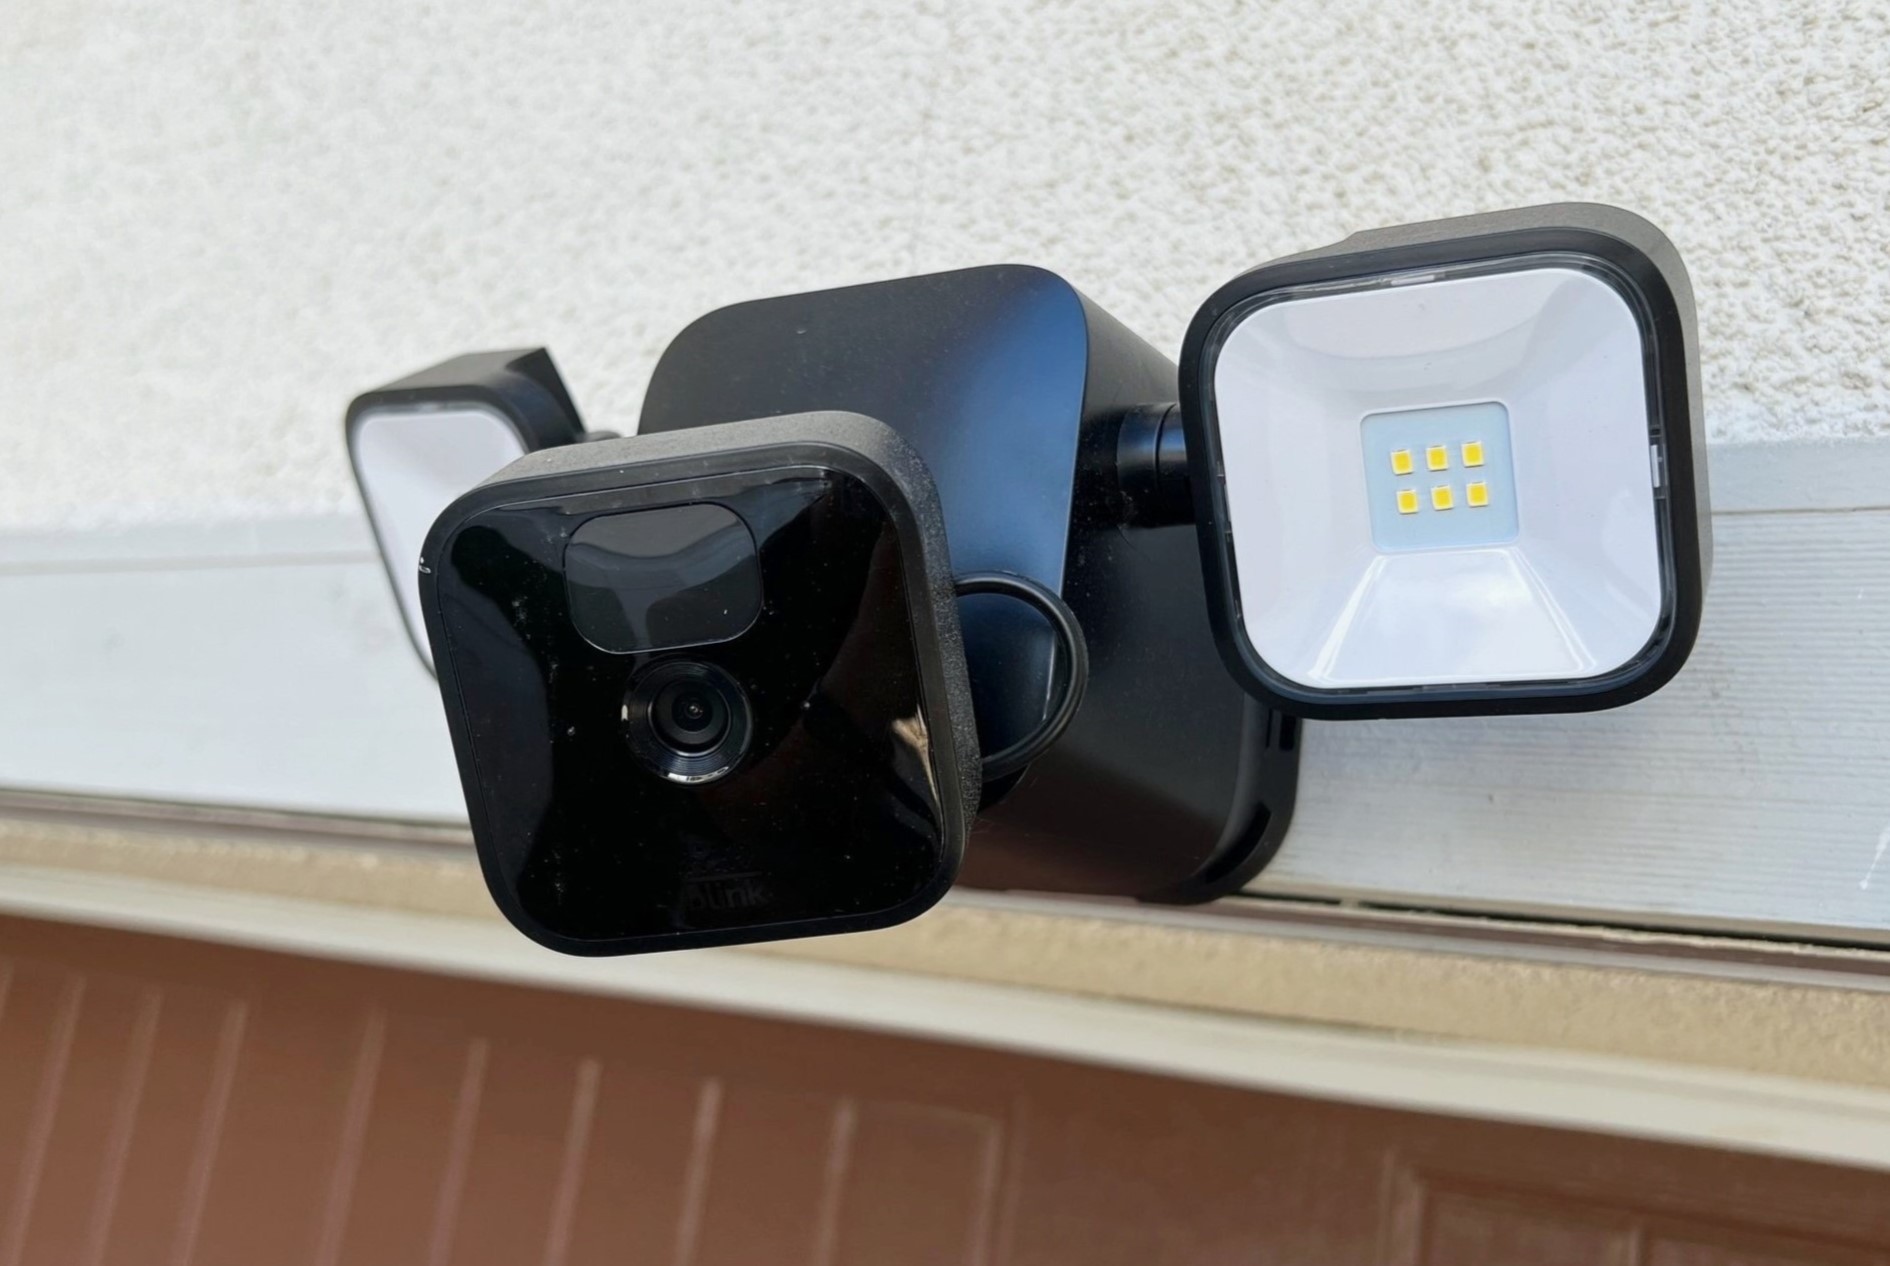
Read more: How To Install Blink Outdoor Cameras
Step 5: Attach the Camera to the Bracket
Now that the camera bracket is securely mounted and the power supply is connected, it’s time to attach the camera unit to the bracket. Follow these steps to complete this stage of the installation:
- Take the camera unit and carefully align it with the mounting bracket. The camera should fit snugly and securely onto the bracket.
- Once the camera is aligned, gently slide it downwards or twist it clockwise (depending on the specific mounting mechanism) until it locks into place.
- Double-check that the camera is firmly attached to the bracket and ensure that it is facing the desired direction with the lens pointing towards the area you wish to monitor.
By attaching the camera to the bracket, you have completed a significant step in the installation process. The camera is now securely positioned and ready for the next steps of configuring the settings and connecting it to your Wi-Fi network.
Note: Handle the camera with care during this step to avoid any accidental drops or damage to the device. If you’re unsure about the mounting process, refer to the manufacturer’s instructions or consult with a professional for guidance.
Step 6: Configure the Camera Settings
With the camera securely attached to the bracket, it’s time to configure the settings on your Kasa Outdoor Camera. This step involves connecting your smartphone or tablet to the camera and customizing various settings according to your preferences. Follow these steps to configure the camera settings:
- Download and install the Kasa Smart app on your smartphone or tablet. You can find the app on the App Store (for iOS) or Google Play Store (for Android).
- Open the app and create an account if you don’t already have one. Sign in to your account once it’s set up.
- Follow the on-screen instructions in the app to add a new device. Select the Kasa Outdoor Camera from the list of available devices.
- Ensure that your smartphone or tablet is connected to the same Wi-Fi network that you want to connect your camera to.
- Wait for the app to detect the camera. Once detected, follow the prompts to complete the setup process.
- During the setup process, you will have the option to customize various camera settings, such as motion detection sensitivity, activity zones, notification preferences, and more. Take your time to configure these settings according to your specific requirements.
By configuring the camera settings, you can personalize the functionality of your Kasa Outdoor Camera and tailor it to meet your security needs. Once you have completed this step, you’re ready to move on to the next step of connecting the camera to your Wi-Fi network.
Note: Make sure to follow the instructions provided by the app during the setup process. The exact steps may vary slightly depending on the app version and firmware of your camera.
Step 7: Connect the Camera to Your Wi-Fi Network
Now that you have configured the camera settings, it’s time to connect your Kasa Outdoor Camera to your Wi-Fi network. This will enable you to remotely monitor and access the camera’s feed from your smartphone or tablet. Follow these steps to connect the camera to your Wi-Fi network:
- Ensure that your smartphone or tablet is connected to the same Wi-Fi network that you want to connect your camera to.
- Open the Kasa Smart app on your smartphone or tablet.
- Select the Kasa Outdoor Camera from the list of devices in the app.
- Follow the on-screen instructions to connect the camera to your Wi-Fi network. This usually involves scanning a QR code or manually entering your Wi-Fi network’s credentials.
- Once the camera is connected to your Wi-Fi network, it will take a few moments to establish the connection.
- Once the connection is established, your camera will be successfully connected to your Wi-Fi network.
With the camera successfully connected to your Wi-Fi network, you can now access the camera’s feed and monitor your property remotely from anywhere with an internet connection. This step brings you one step closer to ensuring the security and surveillance of your home.
Note: It’s important to have a stable Wi-Fi network with good coverage to ensure uninterrupted access to your camera. If you encounter any issues during the Wi-Fi connection process, refer to the manufacturer’s instructions or consult their customer support for assistance.
Step 8: Test the Camera
After completing the previous steps, it’s crucial to test your Kasa Outdoor Camera to ensure that it is functioning properly and capturing the desired footage. Follow these steps to test your camera:
- Launch the Kasa Smart app on your smartphone or tablet.
- Select the Kasa Outdoor Camera from the list of devices in the app.
- Tap on the live view option to access the camera’s live feed.
- Observe the live feed to ensure that the camera provides a clear and high-quality image of the monitored area.
- Test the camera’s various features such as motion detection, night vision, and two-way audio (if applicable) to ensure they are functioning as expected.
- Make any necessary adjustments to the camera’s placement or settings based on your testing results.
During the testing phase, pay attention to the camera’s performance in different lighting conditions and its responsiveness to motion or sound detection. Additionally, test the camera’s ability to send alerts or notifications to your smartphone or tablet when triggered by activity.
If you encounter any issues during the testing phase, refer to the camera’s user manual, troubleshooting guide, or contact the manufacturer’s customer support for assistance. It’s important to address any issues promptly to ensure the optimal performance of your Kasa Outdoor Camera.
By thoroughly testing your camera, you can gain confidence in its capabilities and ensure that it is ready to provide you with reliable surveillance and security for your home.
Read more: How To Install Eufy Outdoor Camera
Conclusion
Congratulations! You have successfully installed and set up your Kasa Outdoor Camera for home security and surveillance. With its advanced features and ease of use, you can now have peace of mind knowing that your property is being monitored and protected.
By following the step-by-step guide outlined in this article, you have learned how to gather the required materials, choose the ideal spot for installation, mount the camera bracket, connect the power supply, attach the camera to the bracket, configure the camera settings, connect it to your Wi-Fi network, and test its functionality. Each step is crucial to ensure the optimal performance of your Kasa Outdoor Camera.
Remember, home security is a continuous process. Regularly check and maintain your camera, update its firmware, and review the camera’s settings and features to ensure its effectiveness. Additionally, consider integrating your Kasa Outdoor Camera with other home security devices, such as door/window sensors or a smart security system, for enhanced protection.
With your Kasa Outdoor Camera in place, you can now monitor your home remotely, receive alerts, and keep an eye on your property anytime, anywhere. Whether you’re at work, on vacation, or simply away from home, you can have peace of mind knowing that your home is securely monitored.
Remember, home security is an essential aspect of protecting your loved ones and your property. By investing in a reliable and smart outdoor camera like the Kasa Outdoor Camera, you’re taking a proactive step to enhance the safety and security of your home.
So, go ahead and enjoy the benefits of your Kasa Outdoor Camera. Stay vigilant, stay connected, and keep your home safe and secure!
Frequently Asked Questions about How To Install A Kasa Outdoor Camera
Was this page helpful?
At Storables.com, we guarantee accurate and reliable information. Our content, validated by Expert Board Contributors, is crafted following stringent Editorial Policies. We're committed to providing you with well-researched, expert-backed insights for all your informational needs.