Home>Home Security and Surveillance>How To Make A Night Vision Camera With IR LED Board For Raspberry Pi

Home Security and Surveillance
How To Make A Night Vision Camera With IR LED Board For Raspberry Pi
Modified: March 6, 2024
Learn how to create a home security and surveillance system by making a night vision camera with an IR LED board for Raspberry Pi. Ensure your property's safety with this DIY project!
(Many of the links in this article redirect to a specific reviewed product. Your purchase of these products through affiliate links helps to generate commission for Storables.com, at no extra cost. Learn more)
Introduction
Home security is a top priority for many homeowners, and advances in technology have made it easier than ever to protect your property. One important aspect of home security is surveillance, which allows you to monitor your surroundings and keep an eye on any potential threats. While there are many commercial surveillance cameras available on the market, they can be expensive and may not always meet your specific requirements.
However, with a little bit of knowledge and some basic components, you can easily create your own night vision camera using a Raspberry Pi and an IR LED board. This DIY project is not only cost-effective but also gives you the flexibility to customize and upgrade the camera according to your needs.
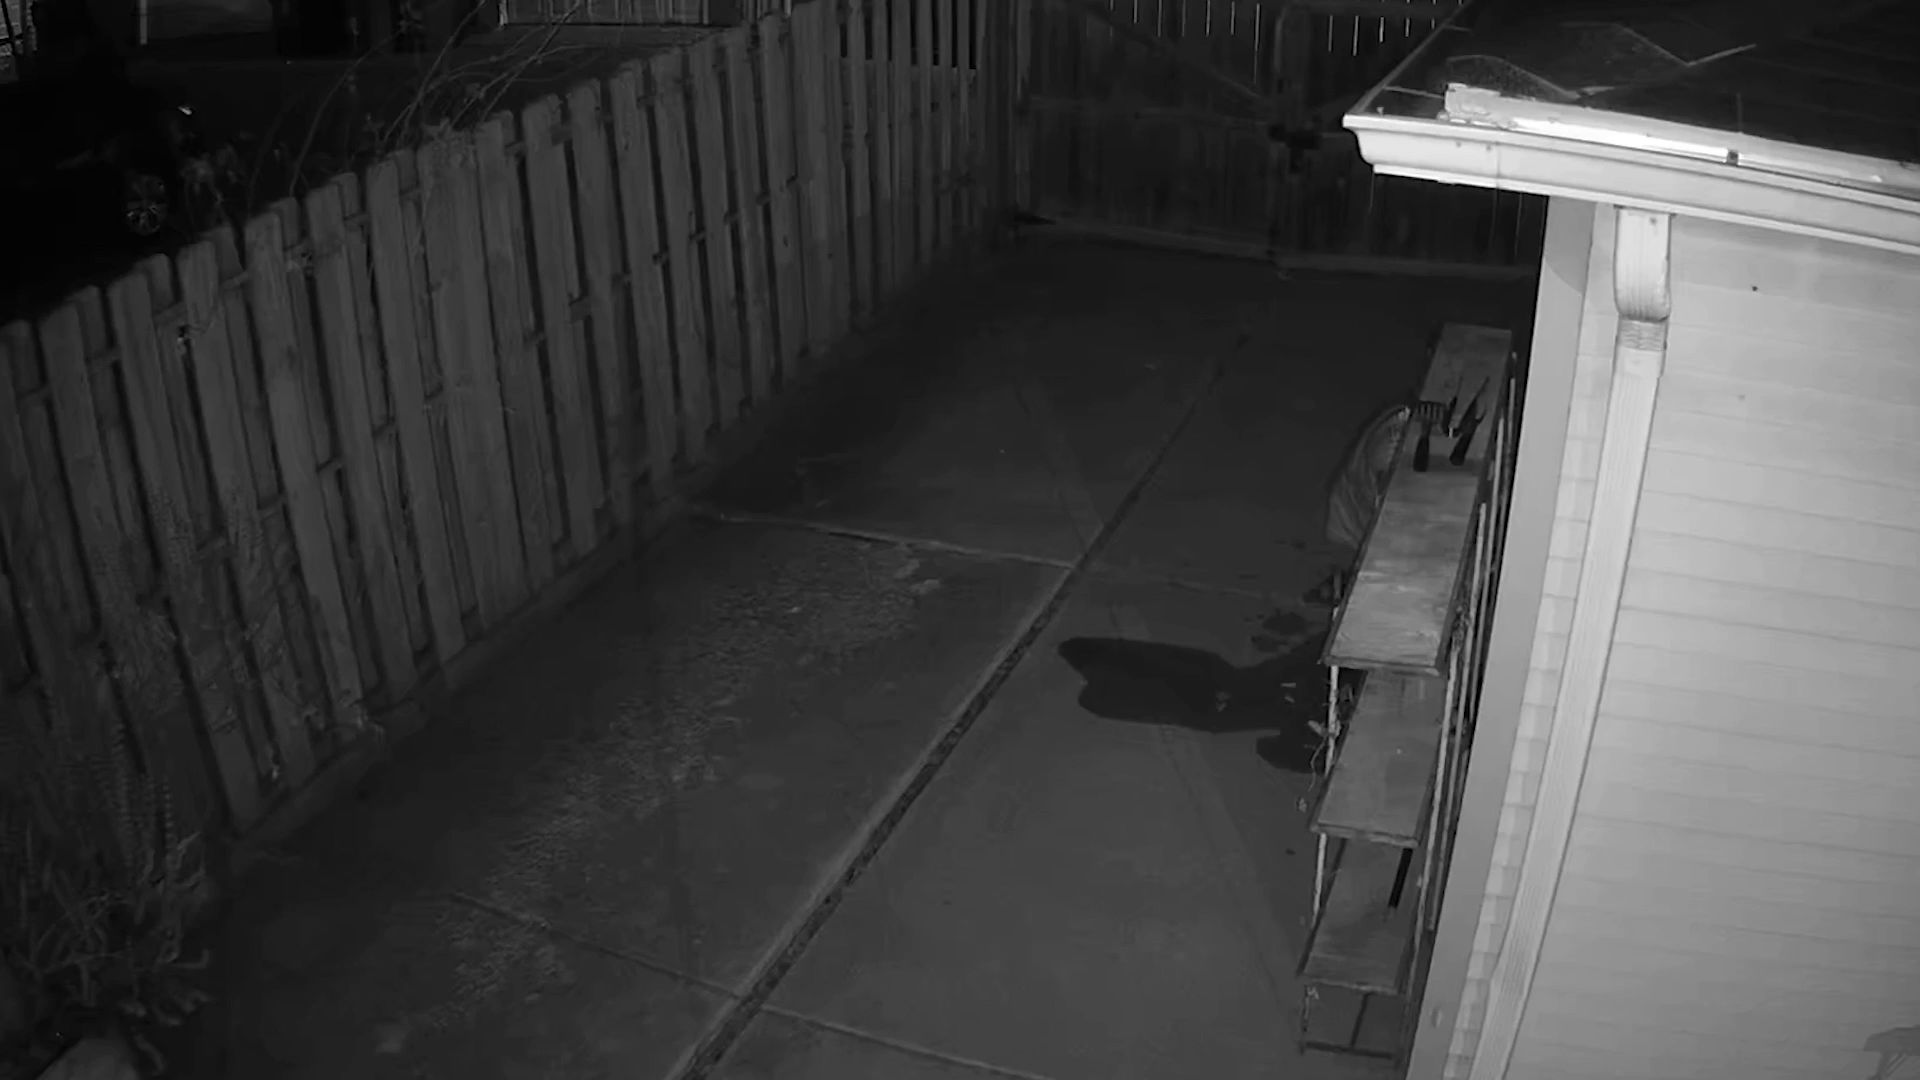
In this article, we will provide a step-by-step guide on how to make a night vision camera with an IR LED board for a Raspberry Pi. By the end of this tutorial, you’ll have a fully functioning surveillance camera that can capture high-quality, infrared images even in the darkest environments.
Key Takeaways:
- You can create your own night vision camera using a Raspberry Pi and an IR LED board. It’s a fun and cost-effective DIY project that allows you to monitor your surroundings even in the dark.
- With the power of Raspberry Pi and some basic components, you can customize and upgrade your night vision camera. It’s a creative way to enhance home security and surveillance while saving money.
Read more: How To Make A Night Vision Camera
Materials Needed
Before you get started with building your night vision camera, make sure you have the following materials:
- Raspberry Pi: This single-board computer will serve as the brains of your camera system. You can choose from various models, but the Raspberry Pi 3 or Raspberry Pi 4 is recommended for optimal performance.
- IR LED Board: This board emits infrared light, which is essential for night vision. Make sure to select an IR LED board that is compatible with the Raspberry Pi and has a sufficient range for your surveillance needs.
- Camera Module: The Raspberry Pi Camera Module is a small, high-resolution camera that connects directly to the Raspberry Pi. This camera will capture the images or videos recorded by your night vision camera.
- Jumper Wires: These wires are used to connect the components together. Make sure you have enough male-to-male jumper wires to establish the connections.
- Micro SD Card: You’ll need a micro SD card to install the Raspberry Pi operating system. Ensure that you have a compatible micro SD card with a minimum capacity of 8GB.
- Power Supply: The Raspberry Pi requires a stable power supply to operate. Make sure to have a suitable power adapter that provides enough power to the Raspberry Pi and other components.
- Computer or Laptop: You’ll need a computer or laptop to set up the Raspberry Pi and install the necessary software.
- Internet Connection: An internet connection is required to download the Raspberry Pi operating system and software updates.
These are the basic materials you’ll need to build your own night vision camera. Depending on your specific requirements, you may also need additional accessories such as a protective case for the Raspberry Pi or a tripod for mounting the camera.
Step 1: Gathering the Components
Before you begin assembling your night vision camera, it’s essential to gather all the necessary components. Here’s a breakdown of the components you’ll need:
- Raspberry Pi: Start by obtaining a Raspberry Pi board. The Raspberry Pi 3 or Raspberry Pi 4 models are recommended for this project due to their enhanced performance capabilities.
- IR LED Board: Select an IR LED board that is compatible with the Raspberry Pi and has a suitable range for your surveillance needs. Ensure that it can emit infrared light to enable night vision.
- Camera Module: The Raspberry Pi Camera Module is a compact and high-resolution camera that directly connects to the Raspberry Pi board. This camera will capture the images or videos recorded by your night vision camera.
- Jumper Wires: Acquire male-to-male jumper wires to establish the connections between the Raspberry Pi board and the IR LED board.
- Micro SD Card: You’ll need a micro SD card with a minimum capacity of 8GB to install the Raspberry Pi operating system (OS).
- Power Supply: Ensure that you have a suitable power adapter to provide a stable power supply to the Raspberry Pi and other components.
- Computer or Laptop: You will require a computer or laptop to set up the Raspberry Pi and install the necessary software.
- Internet Connection: An internet connection is essential for downloading the Raspberry Pi OS and software updates.
Once you have gathered all the necessary components, you’re ready to proceed to the next step: preparing the Raspberry Pi for the night vision camera setup.
Step 2: Preparing the Raspberry Pi
Now that you have gathered all the components, it’s time to prepare the Raspberry Pi for the night vision camera setup. Follow the steps below:
- Insert the micro SD card into your computer or laptop.
- Download the latest version of the Raspberry Pi operating system (OS) from the official Raspberry Pi website (https://www.raspberrypi.org/downloads/). Choose the appropriate OS based on your Raspberry Pi model.
- Use a software like Etcher (https://etcher.io/) to write the downloaded OS image to the micro SD card.
- Once the OS is written to the micro SD card, safely eject the card from your computer or laptop.
- Insert the micro SD card into the card slot on the Raspberry Pi board.
- Connect the Raspberry Pi to a monitor or TV using an HDMI cable.
- Plug in a USB keyboard and mouse into the Raspberry Pi’s USB ports.
- Connect the Raspberry Pi to the internet using an Ethernet cable or Wi-Fi (if applicable).
- Finally, plug in the power supply to turn on the Raspberry Pi.
Once the Raspberry Pi is powered up, you should see the operating system booting on the connected monitor or TV. Follow the on-screen instructions to complete the initial setup, such as configuring the language, keyboard layout, and network settings.
Now that your Raspberry Pi is up and running, the next step is to connect the IR LED board for night vision capabilities. Keep reading to learn how to make the connection.
When assembling your night vision camera with IR LED board for Raspberry Pi, make sure to carefully follow the wiring instructions to avoid damaging the components. Double check your connections before powering it on to ensure everything is properly set up.
Step 3: Connecting the IR LED Board to the Raspberry Pi
With the Raspberry Pi prepared, it’s time to connect the IR LED board to enable night vision functionality. Follow these steps:
- Make sure the Raspberry Pi is powered off and disconnected from the power supply.
- Locate the GPIO (General Purpose Input/Output) pins on the Raspberry Pi board. These are a series of pins used for connecting external devices.
- Identify the GPIO pins labeled for 3.3V power, ground (GND), and digital output (GPIO).
- Connect a jumper wire from the 3.3V pin on the Raspberry Pi to the VCC (Voltage Common Collector) pin on the IR LED board. This provides power to the IR LED board.
- Connect another jumper wire from a GND pin on the Raspberry Pi to the GND pin on the IR LED board. This establishes the ground connection.
- Lastly, connect a jumper wire from a GPIO pin on the Raspberry Pi (for example, GPIO4) to the input pin on the IR LED board. This GPIO pin will control the IR LED board and turn it on or off.
Ensure that the connections are secure and properly aligned. Double-check the pins and wires to ensure there are no loose connections that could interfere with the functionality.
Once you have connected the IR LED board to the Raspberry Pi, you are ready to proceed with setting up the night vision software. Keep reading to learn how to do this in the next step.
Read more: What Makes A Great Night Vision Camera
Step 4: Setting up the Night Vision Software
Now that you have connected the IR LED board to the Raspberry Pi, it’s time to set up the night vision software. Follow these steps:
- Ensure that your Raspberry Pi is powered on and connected to the internet.
- Open a terminal window on your Raspberry Pi or connect to it remotely using SSH.
- Update the Raspberry Pi to the latest software packages by running the following commands:
sudo apt update
sudo apt upgrade - Install the necessary dependencies by running the following command:
sudo apt install python3-picamera python3-rpi.gpio - Create a new Python script using a text editor. You can name it
night_vision.pyor any other name you prefer. - Copy and paste the following code into the Python script:
import RPi.GPIO as GPIO from picamera import PiCamera from time import sleep GPIO.setwarnings(False) GPIO.setmode(GPIO.BOARD) GPIO.setup(7, GPIO.OUT) camera = PiCamera() def toggle_ir_led(state): GPIO.output(7, state) # Turn on the IR LED toggle_ir_led(True) # Capture an image camera.capture('image.jpg') # Wait for a few seconds sleep(5) # Turn off the IR LED toggle_ir_led(False) # Capture another image camera.capture('image_night_vision.jpg') # Clean up the GPIO pins GPIO.cleanup() - Save the Python script and exit the text editor.
- Make the Python script executable by running the following command:
chmod +x night_vision.py
Now, the night vision software is set up on your Raspberry Pi. This script will utilize the IR LED board to capture two images: one with the night vision enabled and one without it. The images will be saved as image.jpg and image_night_vision.jpg, respectively.
Next, we will test the functionality of the night vision camera in the following step.
Step 5: Testing the Night Vision Camera
With the night vision software set up, it’s time to test the functionality of your night vision camera. Follow these steps:
- Ensure that the IR LED board is properly connected to the Raspberry Pi and the night vision Python script is saved as
night_vision.py. - Open a terminal window on the Raspberry Pi or connect remotely using SSH.
- Navigate to the directory where you saved the
night_vision.pyscript. - Run the following command to execute the script:
./night_vision.py - The IR LED board should turn on, indicating that the night vision feature is activated.
- After a few seconds, the camera will capture an image and save it as
image.jpgin the same directory. - The IR LED board will then turn off, and another image will be captured and saved as
image_night_vision.jpg, which represents an image taken with night vision enabled. - Check the directory for the saved images and open them to verify that the night vision camera is functioning correctly.
Congratulations! You have successfully tested your night vision camera. You can further customize the Python script to meet your specific requirements, such as capturing video instead of images or integrating motion detection.
Feel free to experiment and explore additional functionalities to enhance your night vision camera setup.
Now that you have built your own night vision camera with an IR LED board for the Raspberry Pi, you can enjoy enhanced surveillance capabilities and the peace of mind that comes with a customized and cost-effective security solution.
Conclusion
Building your own night vision camera with an IR LED board for the Raspberry Pi is a rewarding DIY project that offers numerous benefits. By following the step-by-step guide outlined in this article, you have gained the knowledge and skills needed to create a cost-effective surveillance solution tailored to your specific needs.
With the Raspberry Pi serving as the core component, coupled with the IR LED board and camera module, you have the ability to capture high-quality images or video in low-light or even complete darkness. This opens up a world of possibilities for monitoring your home, property, or any other desired location.
By utilizing the power of the Raspberry Pi and the flexibility of the Python programming language, you can further extend the capabilities of your night vision camera. You can implement features such as motion detection, remote monitoring, or even integration with smart home systems.
Through this DIY approach, not only do you save money by avoiding the need to invest in expensive commercial surveillance cameras, but you also have the opportunity to personalize and customize your setup. You can choose the specific components, experiment with different software options, and fine-tune the functionality to meet your requirements.
Remember to prioritize safety and security when setting up your night vision camera. Ensure that all electrical connections are properly made and secured, and follow best practices for network security to protect your data and privacy.
In conclusion, embarking on the journey to create your own night vision camera with an IR LED board for the Raspberry Pi allows you to immerse yourself in the world of DIY home security and surveillance. Embrace the possibilities, unleash your creativity, and enjoy the enhanced peace of mind that comes from having your own customized surveillance solution.
Frequently Asked Questions about How To Make A Night Vision Camera With IR LED Board For Raspberry Pi
Was this page helpful?
At Storables.com, we guarantee accurate and reliable information. Our content, validated by Expert Board Contributors, is crafted following stringent Editorial Policies. We're committed to providing you with well-researched, expert-backed insights for all your informational needs.
