Home>Home Security and Surveillance>How To Set Up A Night Vision Camera And Have An Alarm Connected To It
Home Security and Surveillance
How To Set Up A Night Vision Camera And Have An Alarm Connected To It
Modified: March 6, 2024
Learn how to easily set up a night vision camera for home security and surveillance. Connect it to an alarm system for added protection and peace of mind.
(Many of the links in this article redirect to a specific reviewed product. Your purchase of these products through affiliate links helps to generate commission for Storables.com, at no extra cost. Learn more)
Introduction
Welcome to the world of home security and surveillance! In an age where safety and peace of mind are paramount, it’s essential to have a reliable system in place to protect your home and loved ones. One crucial component of any comprehensive security setup is a night vision camera connected to an alarm system. This powerful combination allows you to monitor your property even in the darkest of hours and receive immediate alerts in case of any suspicious activity.
In this article, we will guide you through the process of setting up a night vision camera and connecting it to an alarm system. Whether you’re a DIY enthusiast or a homeowner looking to enhance your security measures, this step-by-step guide will provide you with the necessary information to ensure a smooth and successful installation.
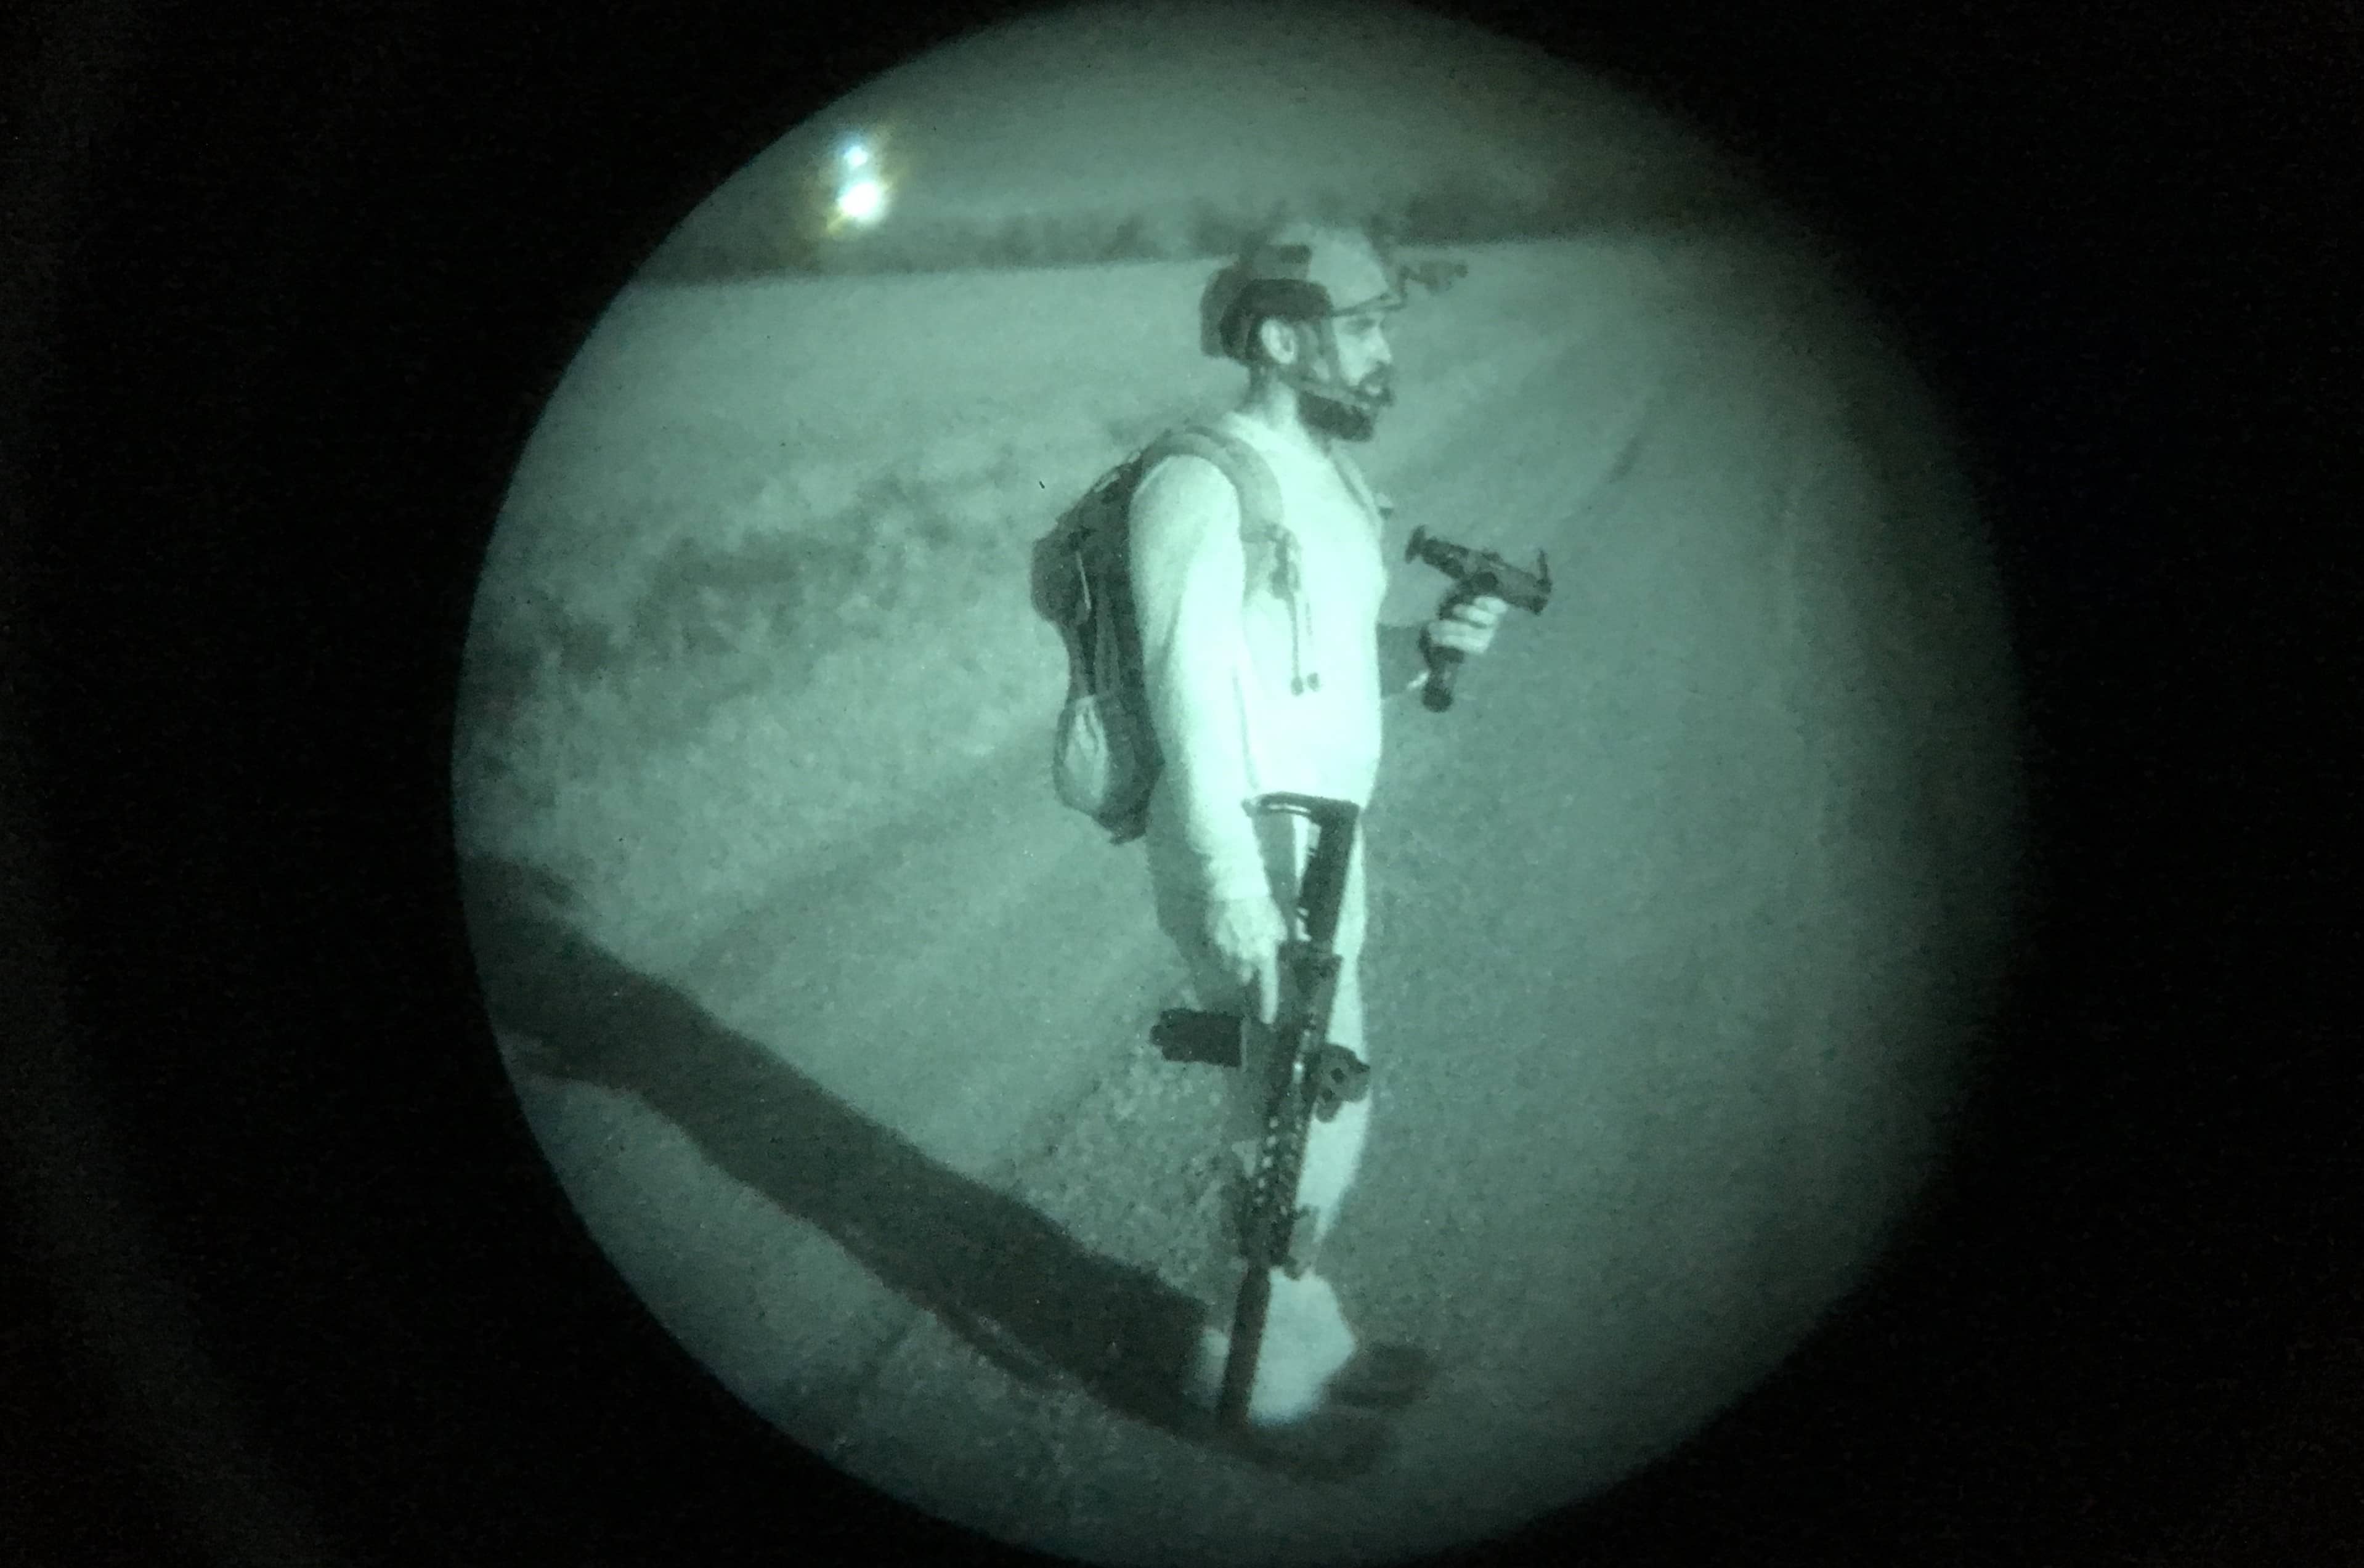
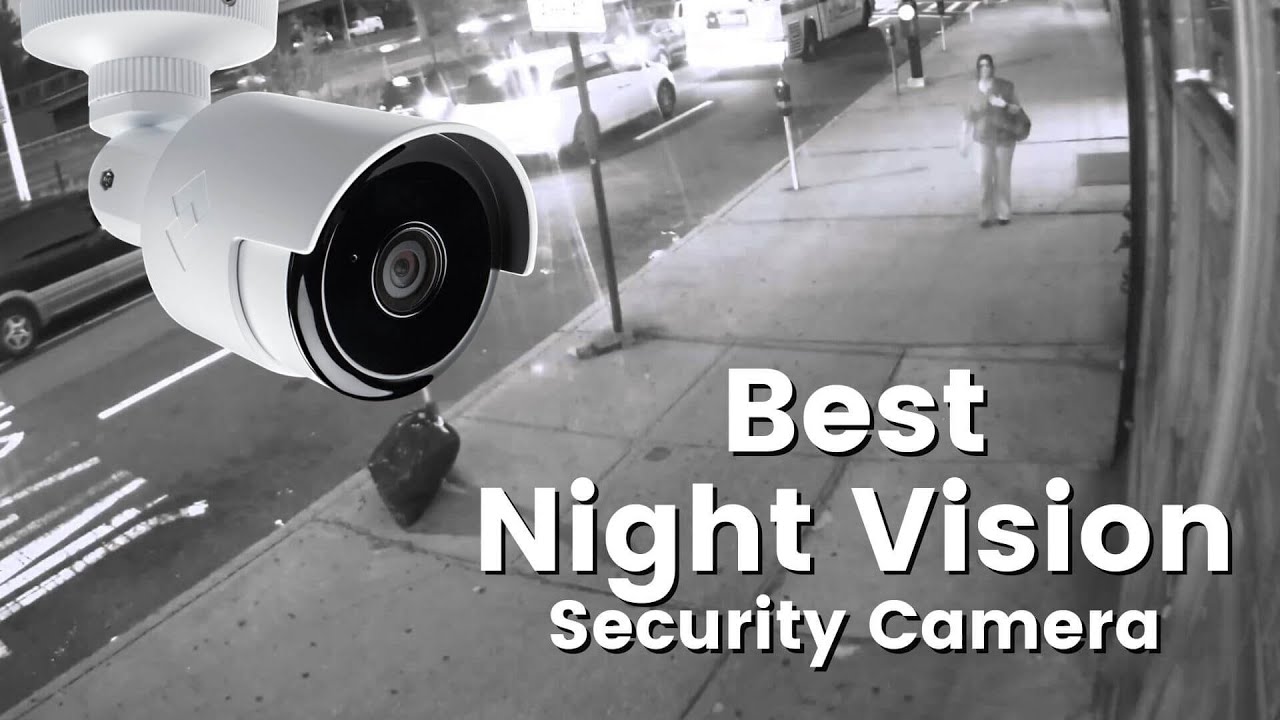
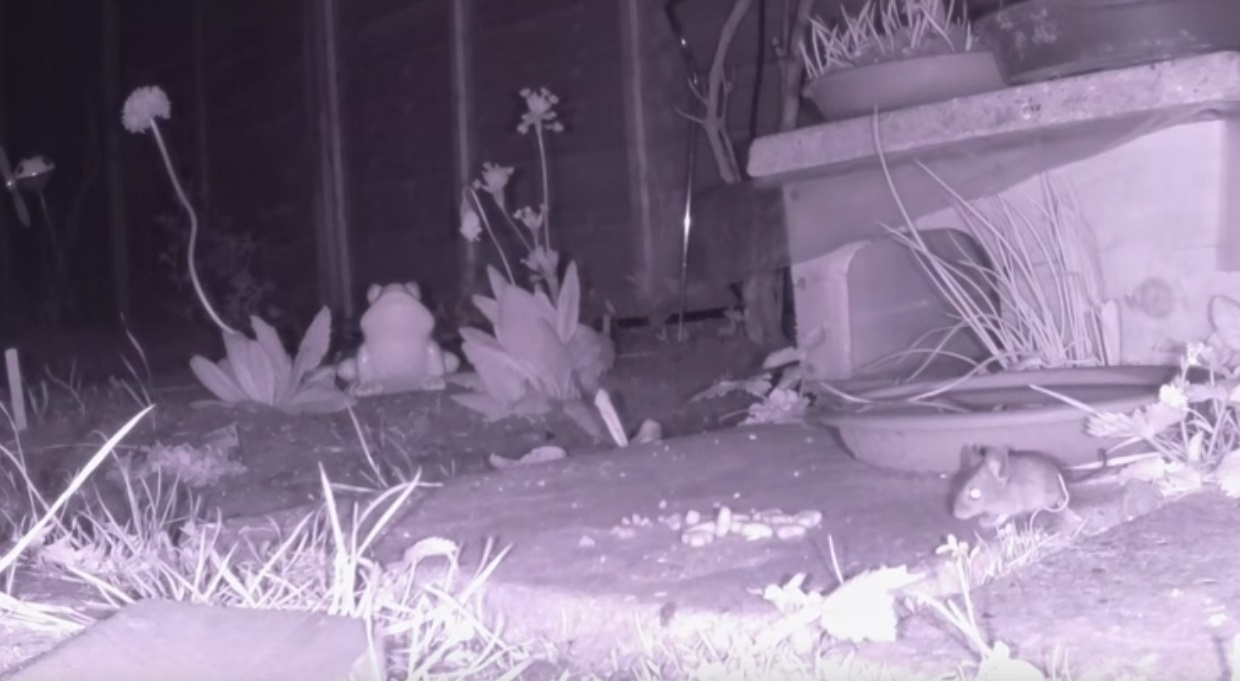
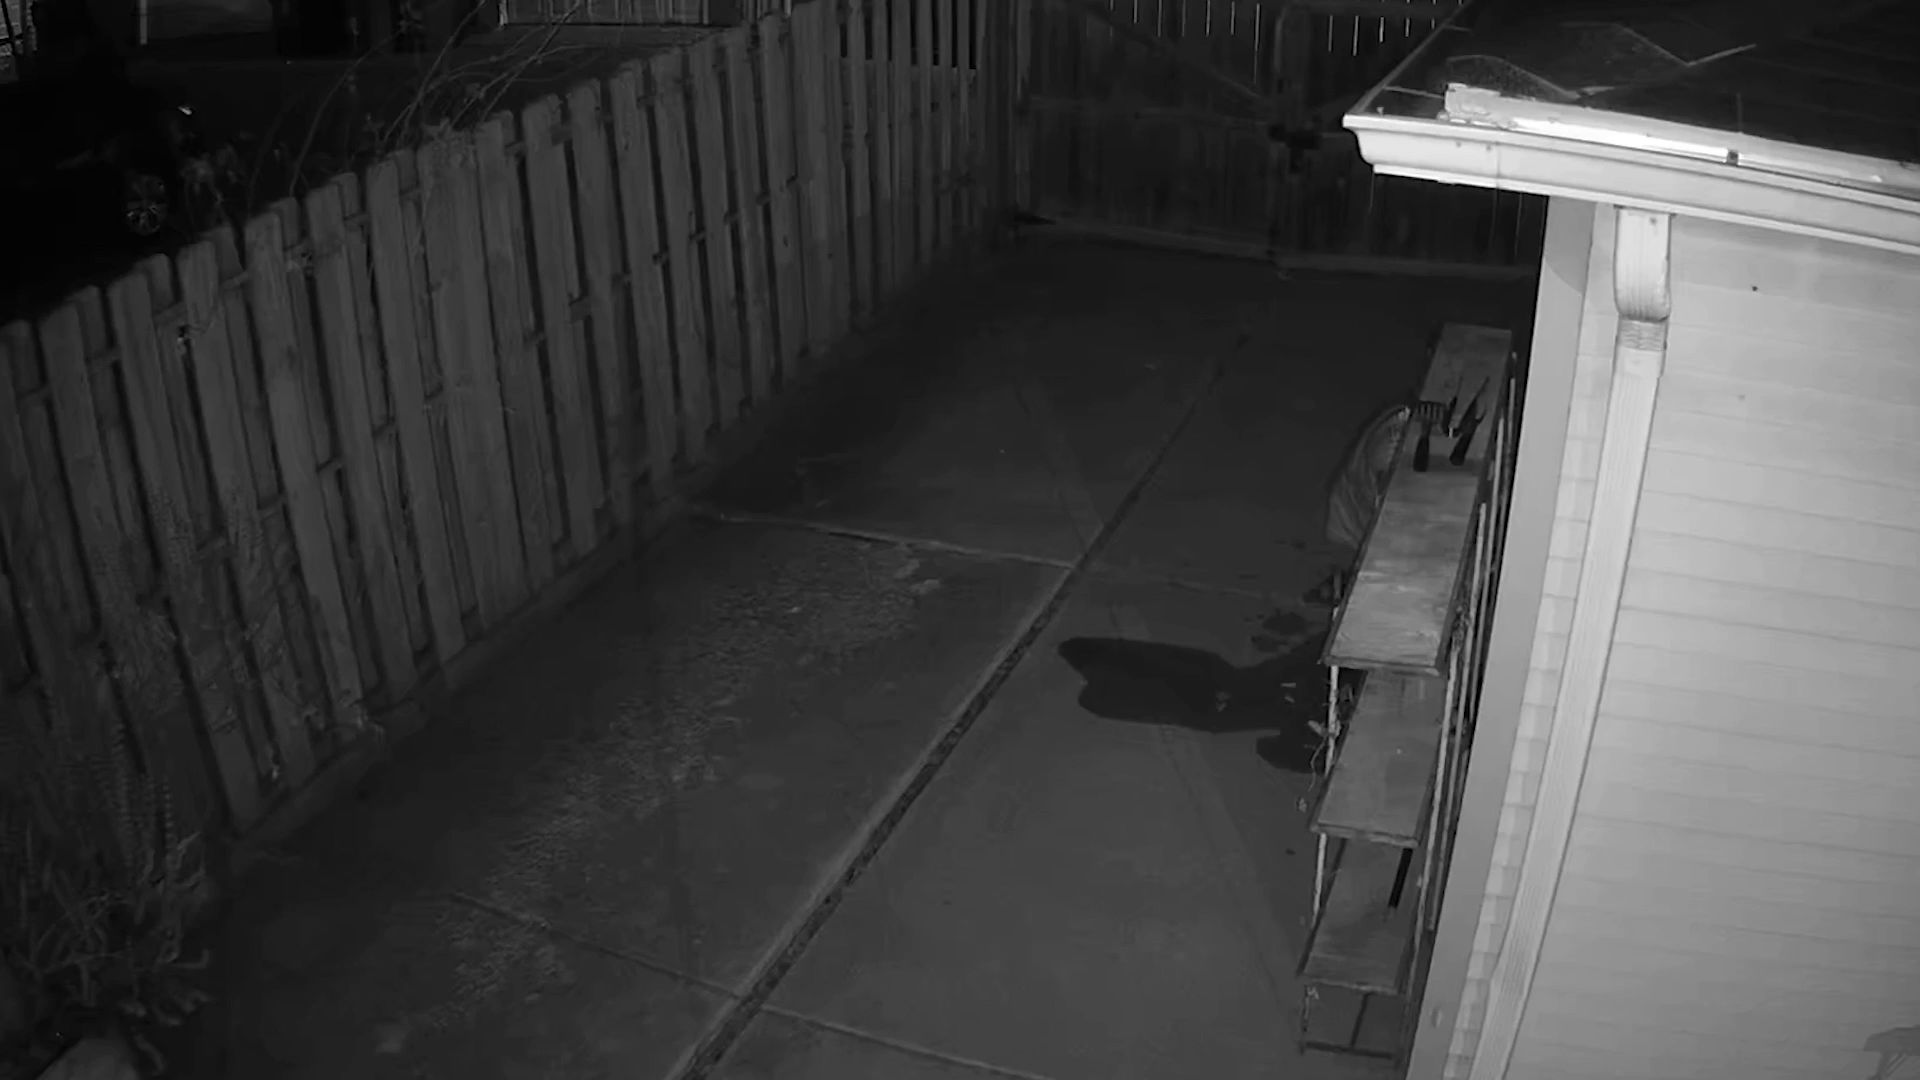
Before we dive into the technical details, it’s important to understand the benefits of having a night vision camera and an alarm system. The night vision feature allows the camera to capture clear and detailed footage, even in low-light or completely dark conditions. This is crucial for 24/7 surveillance, as most criminal activities tend to occur under the cover of darkness. With a night vision camera, you won’t miss any crucial details, ensuring the safety of your home and loved ones even at night.
An alarm system acts as a proactive measure to alert you in real-time when there is a potential security breach. By integrating your night vision camera with an alarm system, you can receive instant notifications on your smartphone or through a monitored central station, giving you the ability to take immediate action if necessary. The combination of visual surveillance and audio alerts provides an extra layer of security and helps to deter any potential intruders.
Now that we understand the importance of having a night vision camera and an alarm system, let’s move on to the step-by-step process of setting up this powerful security solution. Make sure to gather all the necessary equipment before you begin, and don’t forget to perform any required research on local regulations and permits pertaining to home surveillance systems.
Key Takeaways:
- Setting up a night vision camera connected to an alarm system enhances home security by capturing clear footage in low-light conditions and providing real-time alerts for potential security breaches.
- Proper installation, testing, and maintenance of the security setup ensure reliable surveillance, offering peace of mind and proactive protection for your home and loved ones.
Read more: Which Cars Have Night Vision Cameras
Step 1: Gather Necessary Equipment
Before you can start setting up your night vision camera and connecting it to an alarm system, you need to gather all the necessary equipment. Here’s a list of essential items you will need:
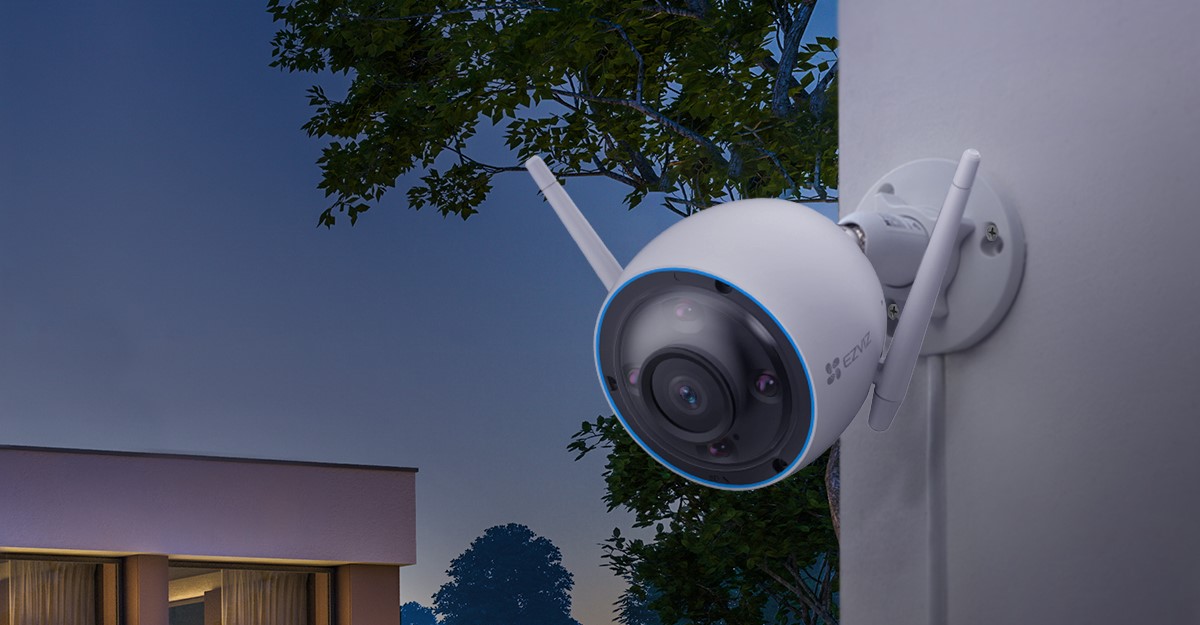
- Night Vision Camera: Choose a high-quality night vision camera that suits your specific needs. Look for features such as infrared capabilities, high-resolution video output, and remote access capabilities.
- Alarm System: Select an alarm system that is compatible with your night vision camera and offers the desired features, such as motion detection, smartphone notifications, and integration capabilities with other security devices.
- Power Supply: Ensure you have an appropriate power supply for your night vision camera and alarm system. This can be in the form of AC power outlets or battery backup options.
- Mounting Brackets and Hardware: Depending on the camera and alarm system chosen, you may need mounting brackets and hardware to properly secure and position the devices.
- Network Cables and Connectors: If your camera and alarm system require a wired connection, make sure to have the necessary network cables and connectors.
- Power Cables and Adapters: Ensure you have the appropriate power cables and adapters to connect your devices to the power supply.
- Router and Ethernet Cable: If you plan on accessing your camera remotely or connecting it to your home network, you will need a router and an Ethernet cable to establish a connection.
- Smartphone or Computer: You will need a device to access and configure your camera and alarm system. This can be a smartphone, tablet, or computer with internet connectivity.
- Tools: Depending on the installation requirements, you may need basic tools such as a drill, screwdriver, and cable management accessories.
- User Manuals and Documentation: Keep the user manuals and documentation for all the equipment handy. These resources will guide you through the setup process in case you encounter any difficulties.
Ensure you have all the necessary equipment before proceeding to the next steps. Take the time to familiarize yourself with the specifications and user manuals of the devices you have chosen to ensure a smooth installation process. Now that you have everything ready, it’s time to move on to determining the optimal placement for your night vision camera.
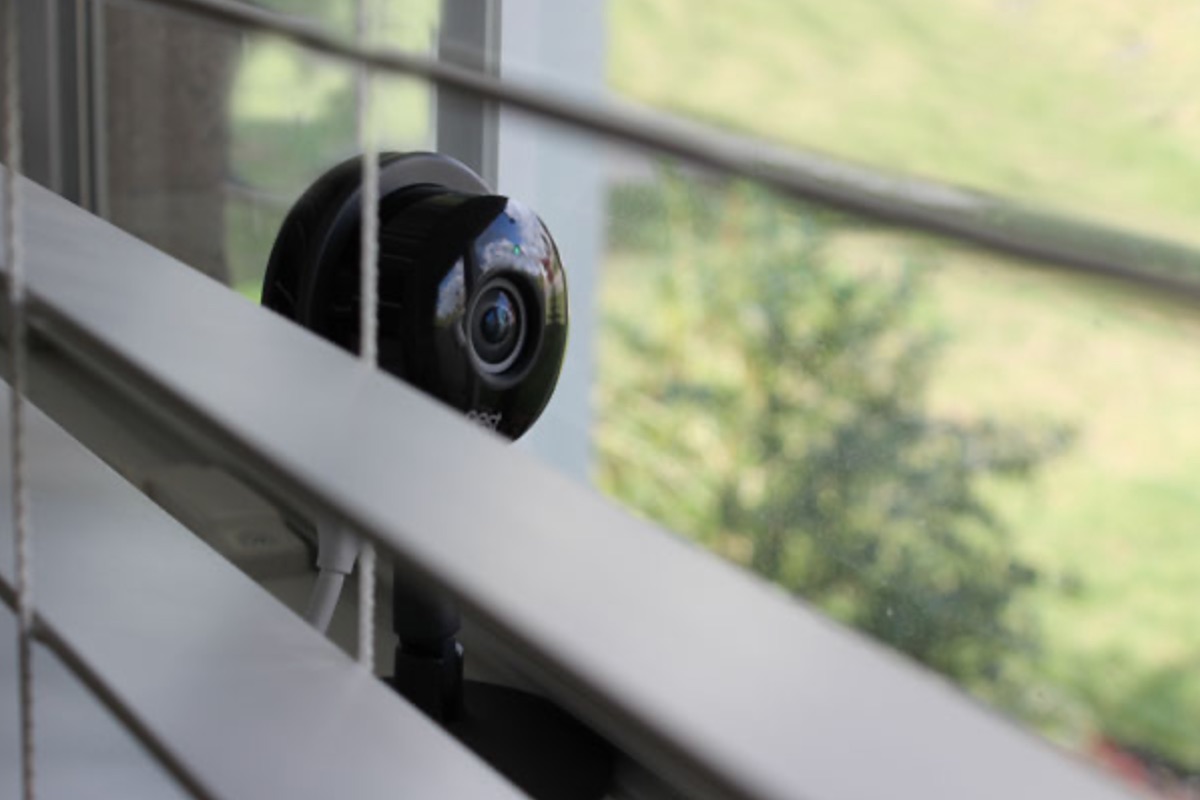
Step 2: Determine Camera Placement
Choosing the right location for your night vision camera is crucial to maximize its effectiveness and coverage. Here are some factors to consider when determining the optimal camera placement:
- Wide Coverage Area: Assess the areas you want to monitor and determine the camera’s field of view. Consider placing the camera in a position that can capture a wide range, such as entrances, driveways, or high-risk areas.
- Elevation and Angle: Position the camera at an optimal height and angle to capture clear footage. A higher vantage point can provide a broader view, while angling the camera can reduce glare and reflections.
- Obstructions: Identify any potential obstructions, such as trees or walls, that might obstruct the camera’s view. Clear any obstacles that might hinder the camera’s line of sight.
- Indoor vs. Outdoor: Determine whether you want to install the camera indoors or outdoors. Outdoor cameras need to be weatherproof and able to withstand various environmental conditions.
- Power Source Accessibility: Ensure that the camera’s power source is easily accessible. If you are installing an outdoor camera, consider the availability of power outlets or the need for a battery backup.
- Privacy Considerations: Respect the privacy of your neighbors and comply with any local regulations regarding camera placement and recording capabilities. Avoid pointing the camera towards private areas of neighboring properties.
Take your time to walk around your property and evaluate potential camera locations. Consider the most vulnerable areas, such as entrances, garages, and backyards. Additionally, think about the best angles to capture any potential intruders or suspicious activities. It may be helpful to sketch a layout of your property and mark potential camera positions for reference.
Once you have identified the ideal camera placement locations, you can proceed to the next step: installing the night vision camera.
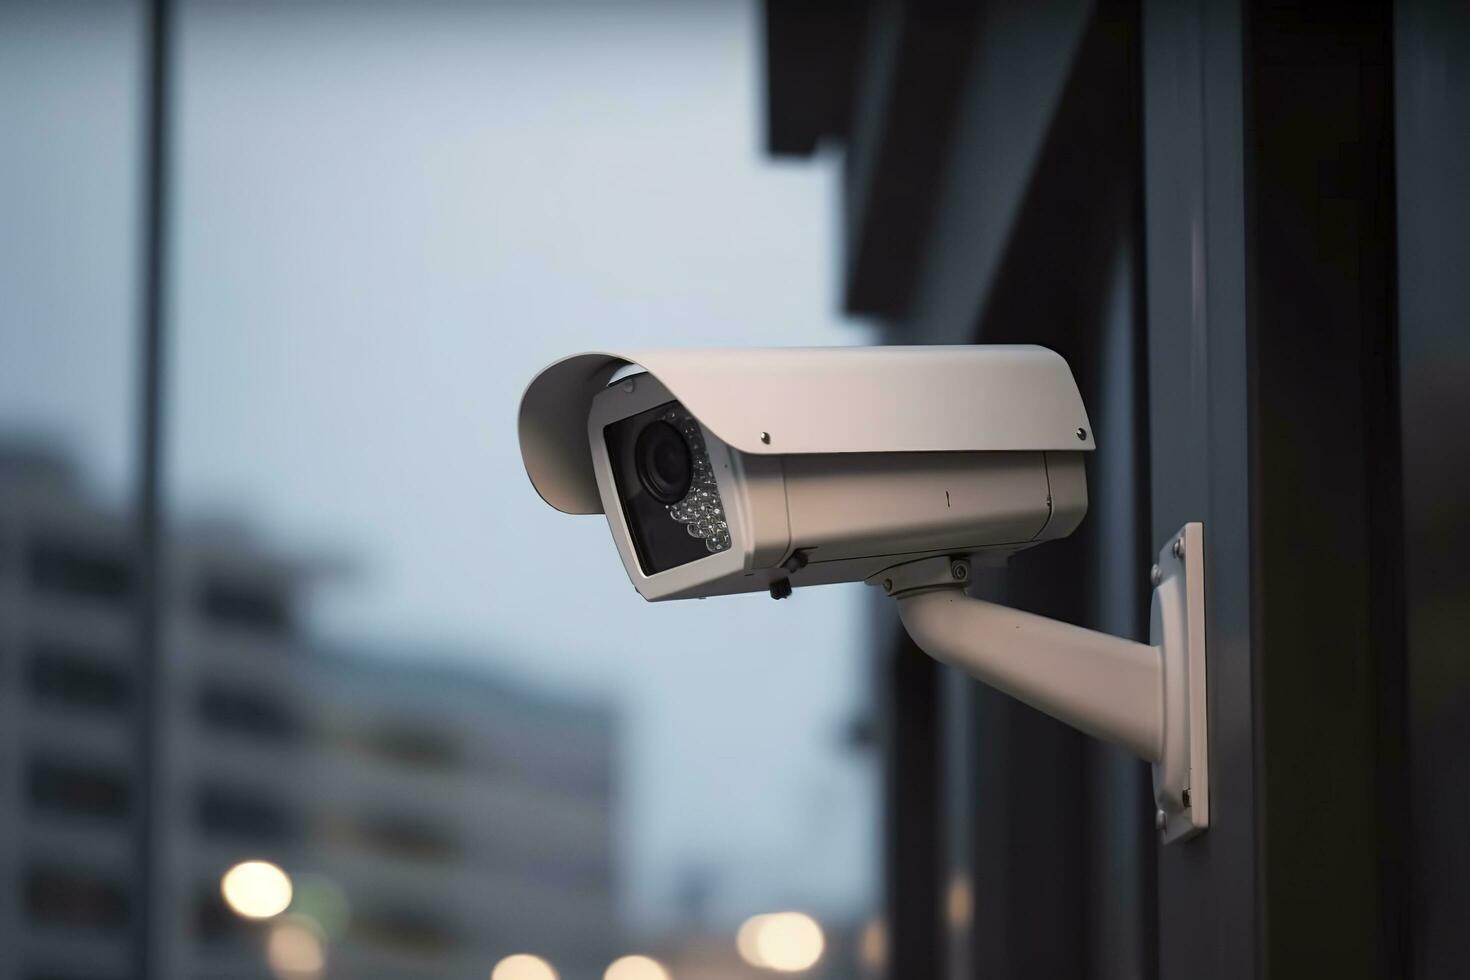
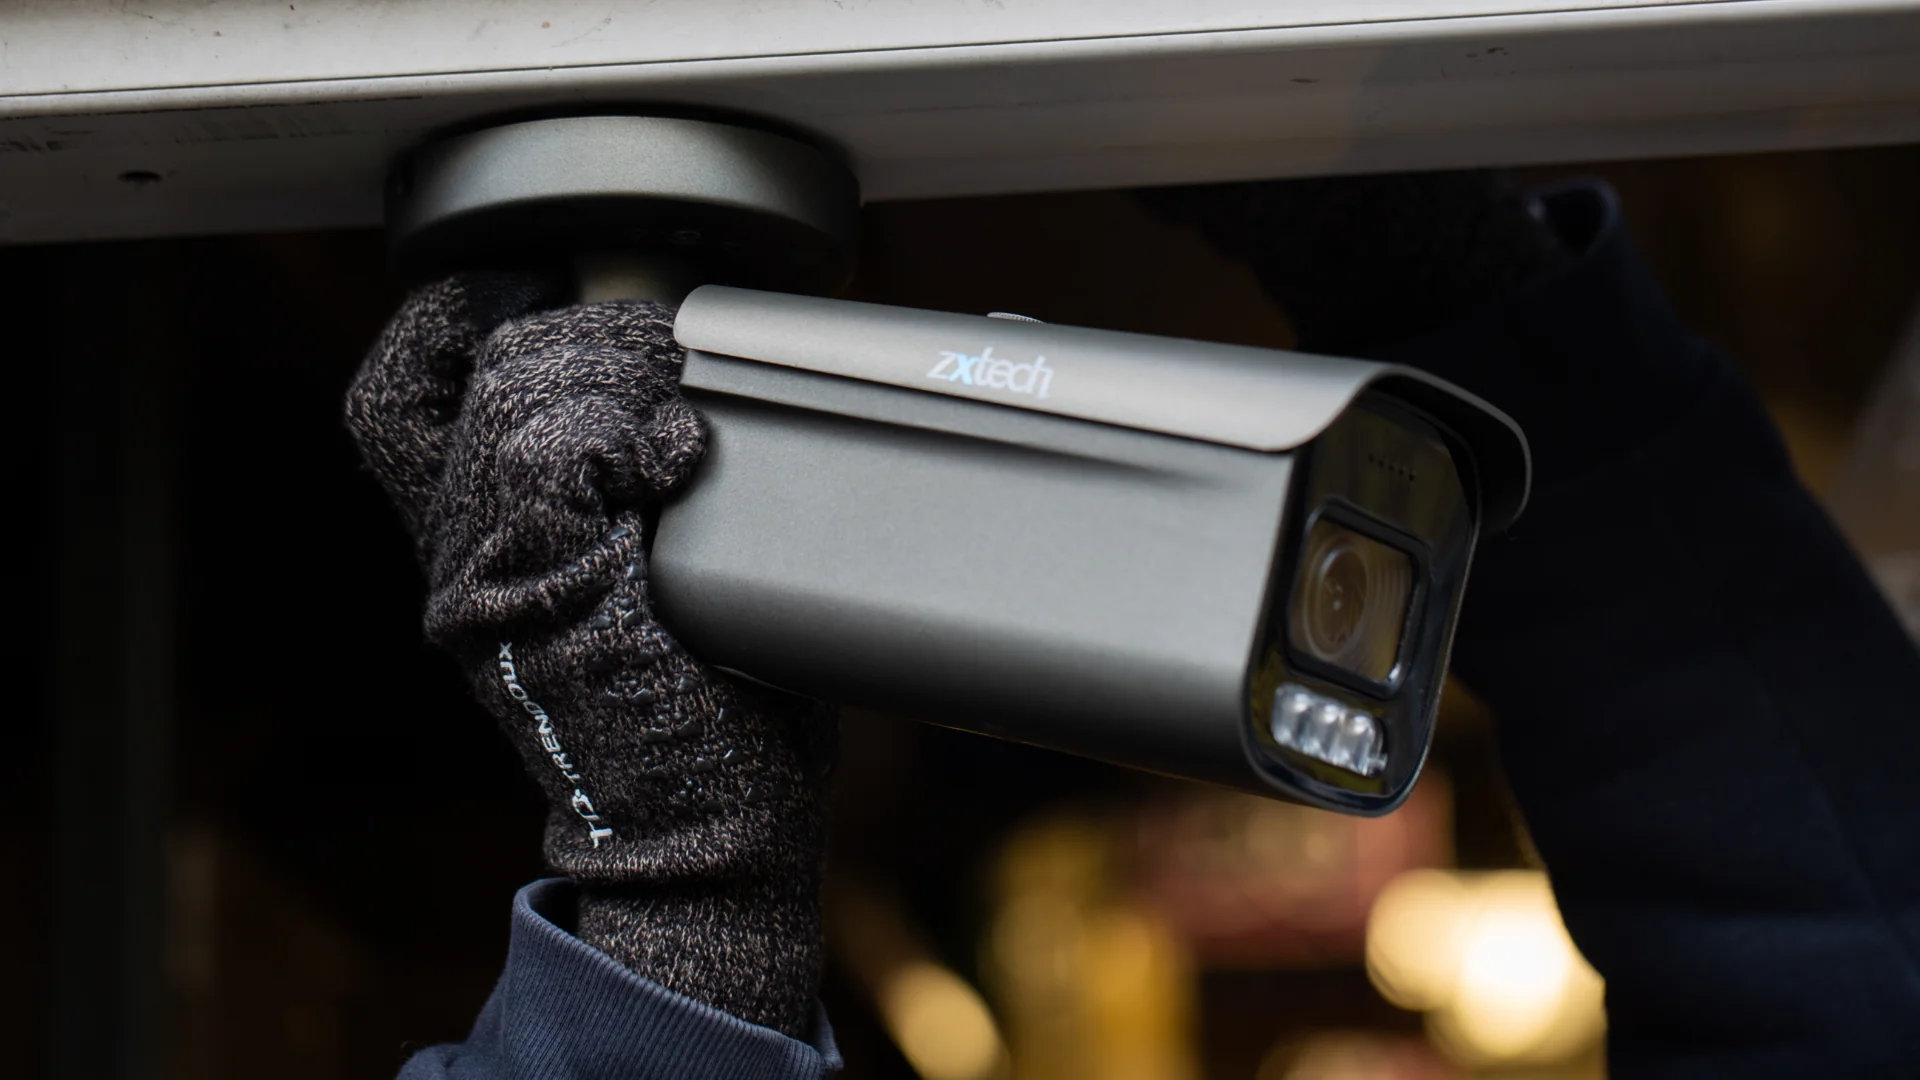
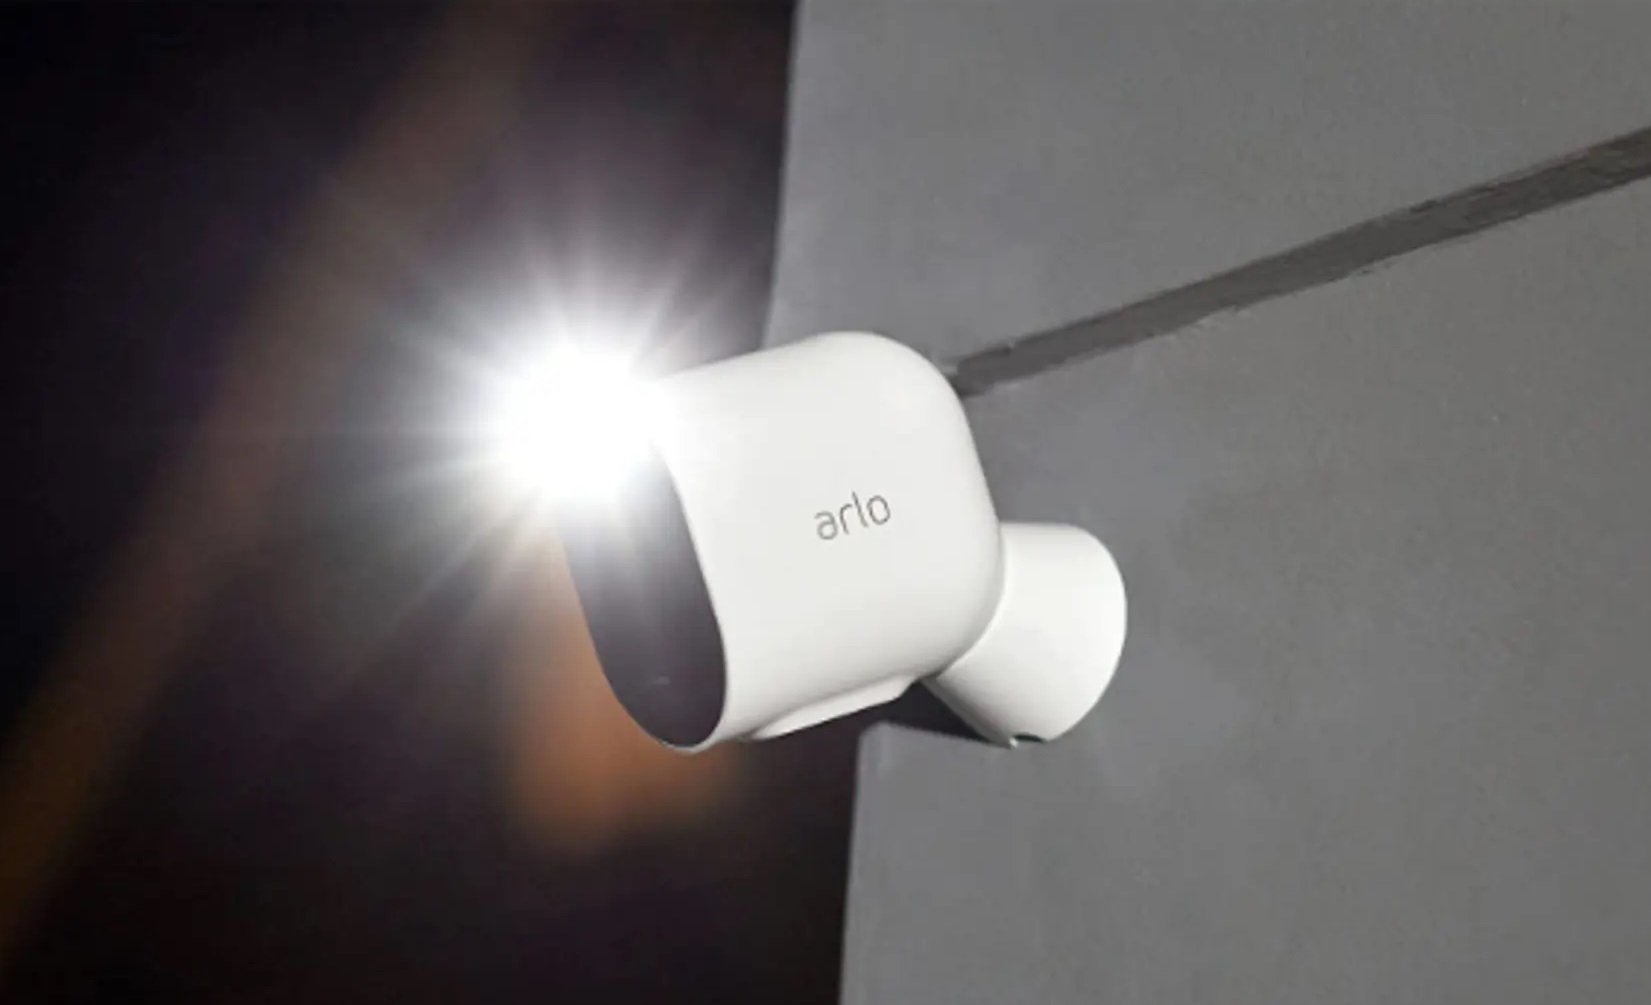
Step 3: Install Night Vision Camera
Now that you have determined the optimal placement for your night vision camera, it’s time to install it. Follow these steps to ensure a successful installation:
- Gather your tools: Before you begin, make sure you have all the necessary tools handy, such as a drill, screwdriver, and any mounting brackets provided with your camera.
- Position the camera: Place the camera in the chosen location and ensure it is level. Use a level tool to ensure the camera is perfectly straight, especially if you are installing it on a wall or ceiling.
- Mark the mounting holes: With the camera in position, use a pencil or marker to mark the spots where you will need to drill holes to mount the camera. Make sure the holes align with the mounting brackets if they are required.
- Drill holes and secure the camera: Using the appropriate drill bit, carefully drill the marked holes. Once the holes are drilled, attach the camera to the mounting brackets securely using screws or other hardware provided.
- Adjust the camera angle: After securing the camera, adjust the angle to ensure it captures the desired area. Refer to the camera’s user manual for specific instructions on how to adjust the camera angle.
- Secure cables and wiring: If your camera requires wiring, ensure that the cables are securely attached to the camera and properly routed to the power source or network connections. Use cable management accessories, such as clips or conduit, to keep the cables organized and protected.
- Test the camera: Once the camera is installed, power it on and verify that it is functioning properly. Check the live video feed and adjust the settings if necessary to optimize the image quality. Ensure that the night vision feature is activated and providing clear images in low-light conditions.
Remember to refer to the user manual and follow the manufacturer’s instructions throughout the installation process. If you are unsure about any step, consult a professional or reach out to customer support for assistance. With your night vision camera successfully installed, you can now move on to connecting it to a power source.
Step 4: Connect Camera to Power Source
Now that your night vision camera is installed, it’s time to connect it to a power source. Follow these steps to ensure a proper connection:
- Locate the power input: Identify the power input port on your camera. It is usually located on the back or bottom of the device.
- Choose a power source: Determine whether you’ll be using an AC power outlet or a battery backup to power your camera. If you have an outdoor camera, ensure that the power source is weatherproof and suitable for outdoor use.
- Connect the power cable: Insert one end of the power cable into the power input port of the camera. Make sure it fits securely and is properly aligned.
- Connect the other end of the power cable: Depending on the power source you’re using, connect the other end of the power cable to an AC power outlet or the designated ports on the battery backup system.
- Ensure a stable power supply: Confirm that the power source is stable and providing adequate power to the camera. Check the camera’s LED indicator to ensure it is receiving power. Consult the camera’s user manual for specific power requirements.
- Verify camera functionality: Turn on the camera and verify that it is functioning properly. Check the live video feed to confirm that the camera is capturing images and the night vision feature is working as intended.
Properly connecting your camera to a power source is crucial for its reliable operation. Ensure that all connections are secure and the power supply is stable to avoid any interruptions in surveillance.
It is important to note that if you plan to connect your camera wirelessly using batteries, follow the manufacturer’s instructions for battery insertion and replacement. Regularly check the battery levels to ensure uninterrupted surveillance.
With your camera successfully connected to a power source, you can now move on to configuring the camera settings and optimizing its performance for your specific surveillance needs.
Make sure to position your night vision camera in a strategic location with a clear view. Connect the camera to a compatible alarm system for added security. Test the system regularly to ensure it’s functioning properly.
Read more: How To Blind A Night Vision Camera
Step 5: Configure Camera Settings
After connecting your night vision camera to a power source, it’s time to configure the settings to optimize its performance and tailor it to your specific surveillance needs. Follow these steps to ensure proper configuration:
- Access the camera’s interface: Depending on the camera model, you can typically access its settings through a mobile app, web browser, or dedicated software. Consult the camera’s user manual for instructions on how to access the interface.
- Set up network connectivity: If you plan to access the camera remotely or connect it to your home network, follow the instructions in the camera’s manual to connect it to your Wi-Fi network or Ethernet cable.
- Configure basic settings: Set the date, time, and time zone on the camera to ensure accurate recording and scheduling. Adjust the image preferences, such as brightness, contrast, and resolution, to enhance the video quality.
- Enable motion detection: Activate the motion detection feature to receive notifications whenever movement is detected within the camera’s field of view. Customize the sensitivity levels to minimize false alarms.
- Set recording preferences: Determine whether you want the camera to continuously record or only when motion is detected. Configure the recording duration, storage preferences, and overwrite options according to your needs and available storage capacity.
- Configure night vision settings: Adjust the night vision settings to optimize the camera’s performance in low-light conditions. Enable or adjust the intensity of the infrared LEDs and make sure the night vision mode is automatically triggered in low-light situations.
- Set up remote access: If desired, configure remote access capabilities to view the camera’s live feed and recordings from anywhere using your smartphone, tablet, or computer. Follow the instructions in the camera’s manual to set up remote access securely.
- Test the settings: After configuring the camera settings, perform tests to ensure everything is functioning as desired. Walk around the camera’s view and test the motion detection capabilities. Monitor the live feed and verify the recording and playback functionalities.
Remember to keep the camera’s firmware up to date by regularly checking for software updates provided by the manufacturer. Firmware updates often include important bug fixes and performance enhancements.
By properly configuring the camera settings, you can tailor its operation to your specific needs and ensure efficient and effective surveillance. With the camera settings configured, you’re now ready to install the alarm system and connect it to your night vision camera.
Step 6: Install Alarm System
An alarm system is a crucial component of your home security setup, providing an added layer of protection and alerting you to potential security breaches. Follow these steps to install your alarm system:
- Gather your tools and equipment: Before you begin, gather all the necessary tools and equipment for installing the alarm system. This may include sensors, control panel, keypad, and mounting hardware.
- Select strategic alarm system components: Determine the areas in your home where you want to install alarm system components. Common areas include entry points such as doors and windows. Additionally, consider installing motion detectors in high-risk areas.
Remember to consult the user manual and follow the manufacturer’s instructions for installing your specific alarm system. If you are unsure or uncomfortable with any step, consider seeking assistance from a professional installer.
With the alarm system successfully installed, you are now ready to connect it to your night vision camera and create a comprehensive security solution for your home.
Step 7: Connect Camera to Alarm System
Connecting your night vision camera to your alarm system allows for seamless integration and enhanced security features. Follow these steps to connect the camera to the alarm system:
- Review alarm system compatibility: Ensure that your camera and alarm system are compatible and can be connected. Check the specifications and documentation of both devices to confirm compatibility.
- Identify alarm system integration options: Determine the available integration options provided by your alarm system. This may include wired or wireless connections, network compatibility, or specific protocols.
- Connect the camera to the alarm system’s control panel: Depending on the integration option chosen, follow the manufacturer’s instructions to connect the camera to the alarm system’s control panel. This may involve wiring or configuring a network connection.
- Configure camera triggers: Set up the camera to be triggered by specific events detected by the alarm system. For example, you may want the camera to start recording when a sensor is triggered or when the alarm system is armed.
- Synchronize alarm system alerts with camera notifications: Configure the alarm system to send alerts to the camera, such as motion detection triggers or alarm activation. This synchronization enables the camera to capture relevant footage during alarm events.
- Test the camera and alarm system integration: Perform tests to ensure that the camera is properly connected to the alarm system and the synchronization between the two devices is functioning correctly. Trigger alarms and monitor camera responses to verify the integration.
- Adjust settings as needed: Fine-tune the camera and alarm system settings to optimize the integration. This may involve adjusting recording durations, adjusting camera sensitivity, or modifying alarm triggers.
Remember to consult the user manuals and documentation provided by the camera and alarm system manufacturers for specific instructions on connecting and configuring the devices. If you encounter any difficulties during the process, reach out to customer support for assistance.
Once your camera is successfully connected to the alarm system, you can enjoy the added security benefits of seamless integration, synchronized alerts, and comprehensive surveillance coverage.
Step 8: Test and Troubleshoot the Setup
Testing and troubleshooting your security setup is essential to ensure that everything is working correctly and to address any potential issues. Follow these steps to test and troubleshoot your system:
- Test camera functionality: Check the live feed from your night vision camera to ensure it is capturing clear and high-quality video. Verify that the night vision feature is working correctly in low-light conditions.
- Trigger motion detection: Walk around the camera’s field of view to test the motion detection feature. Ensure that the camera is detecting motion and triggering the appropriate actions, such as recording or sending notifications.
- Activate the alarm system: Arm the alarm system and test the sensors by opening windows or doors. Verify that the alarm is triggered, and the appropriate notifications or alerts are sent to your designated devices or monitoring service.
- Check system integration: Verify that the camera and alarm system are seamlessly integrated. Test the synchronization between the camera and alarm system to ensure that the camera responds appropriately to alarm events.
- Review recording and storage: Check the recordings captured by the camera to ensure they are being saved properly. Confirm that the storage capacity is sufficient and that recordings are accessible when needed.
- Address any issues: If you encounter any issues during testing, refer to the documentation and user manuals to troubleshoot the problem. This might involve checking connections, adjusting settings, or contacting customer support for assistance.
- Perform regular maintenance: Establish a maintenance routine to ensure your security setup continues to function optimally. This might involve cleaning the camera lens, checking for firmware updates, and replacing batteries as needed.
Testing and troubleshooting your setup regularly is important to proactively identify and address any potential issues. This will help to ensure that your home security and surveillance system operates reliably and provides the protection you need.
Remember to document any changes, settings, or troubleshooting steps you perform. This can be helpful for future reference or if you need to consult customer support for further assistance.
With your security setup fully tested and functioning properly, you can have peace of mind knowing that you have taken proactive steps to protect your home and loved ones.
Read more: How To Fix A Night Vision Camera
Conclusion
Congratulations! You have successfully set up a night vision camera connected to an alarm system, creating a comprehensive home security and surveillance solution. By following the step-by-step guide outlined in this article, you have enhanced the safety of your home and can now enjoy peace of mind knowing that your property is protected around the clock.
The combination of a night vision camera and an alarm system provides powerful features and benefits. The night vision camera ensures clear and detailed surveillance even in low-light or dark conditions, capturing any potential security breaches. The alarm system adds an extra layer of protection by alerting you and triggering deterrent actions in case of any suspicious activity.
Throughout the setup process, you have gathered the necessary equipment, determined the optimal camera placement, installed the night vision camera, connected it to a power source, configured camera settings, installed the alarm system, connected the camera to the alarm system, and tested the entire system for functionality.
Remember to regularly maintain your security setup by performing routine checks, addressing any issues promptly, and keeping up with firmware updates. This will ensure that your system continues to operate at its best and provides reliable protection for years to come.
As technology advances, consider exploring additional features and upgrades to further enhance your home security. This may include integrating your system with smart home devices, accessing your camera remotely through mobile apps, or expanding your alarm system with additional sensors.
By investing in a comprehensive home security and surveillance system, you have taken a proactive step towards safeguarding your home and loved ones. Enjoy the peace of mind that comes with knowing you have a powerful security solution in place, providing you with a safe and secure environment.
Frequently Asked Questions about How To Set Up A Night Vision Camera And Have An Alarm Connected To It
Was this page helpful?
At Storables.com, we guarantee accurate and reliable information. Our content, validated by Expert Board Contributors, is crafted following stringent Editorial Policies. We're committed to providing you with well-researched, expert-backed insights for all your informational needs.