Home>Home Security and Surveillance>How To Get Night Vision Camera On IPhone

Home Security and Surveillance
How To Get Night Vision Camera On IPhone
Modified: October 20, 2024
Learn how to transform your iPhone into a night vision camera for enhanced home security and surveillance. Discover step-by-step instructions to unlock this valuable feature.
(Many of the links in this article redirect to a specific reviewed product. Your purchase of these products through affiliate links helps to generate commission for Storables.com, at no extra cost. Learn more)
Introduction
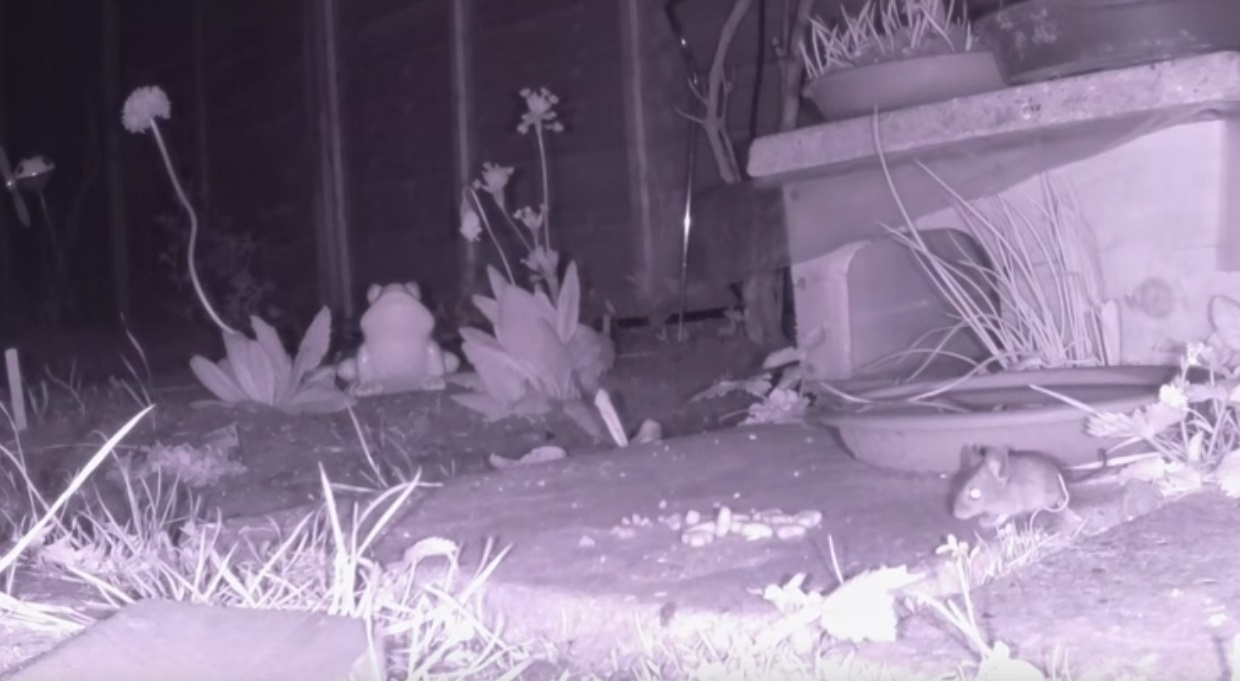
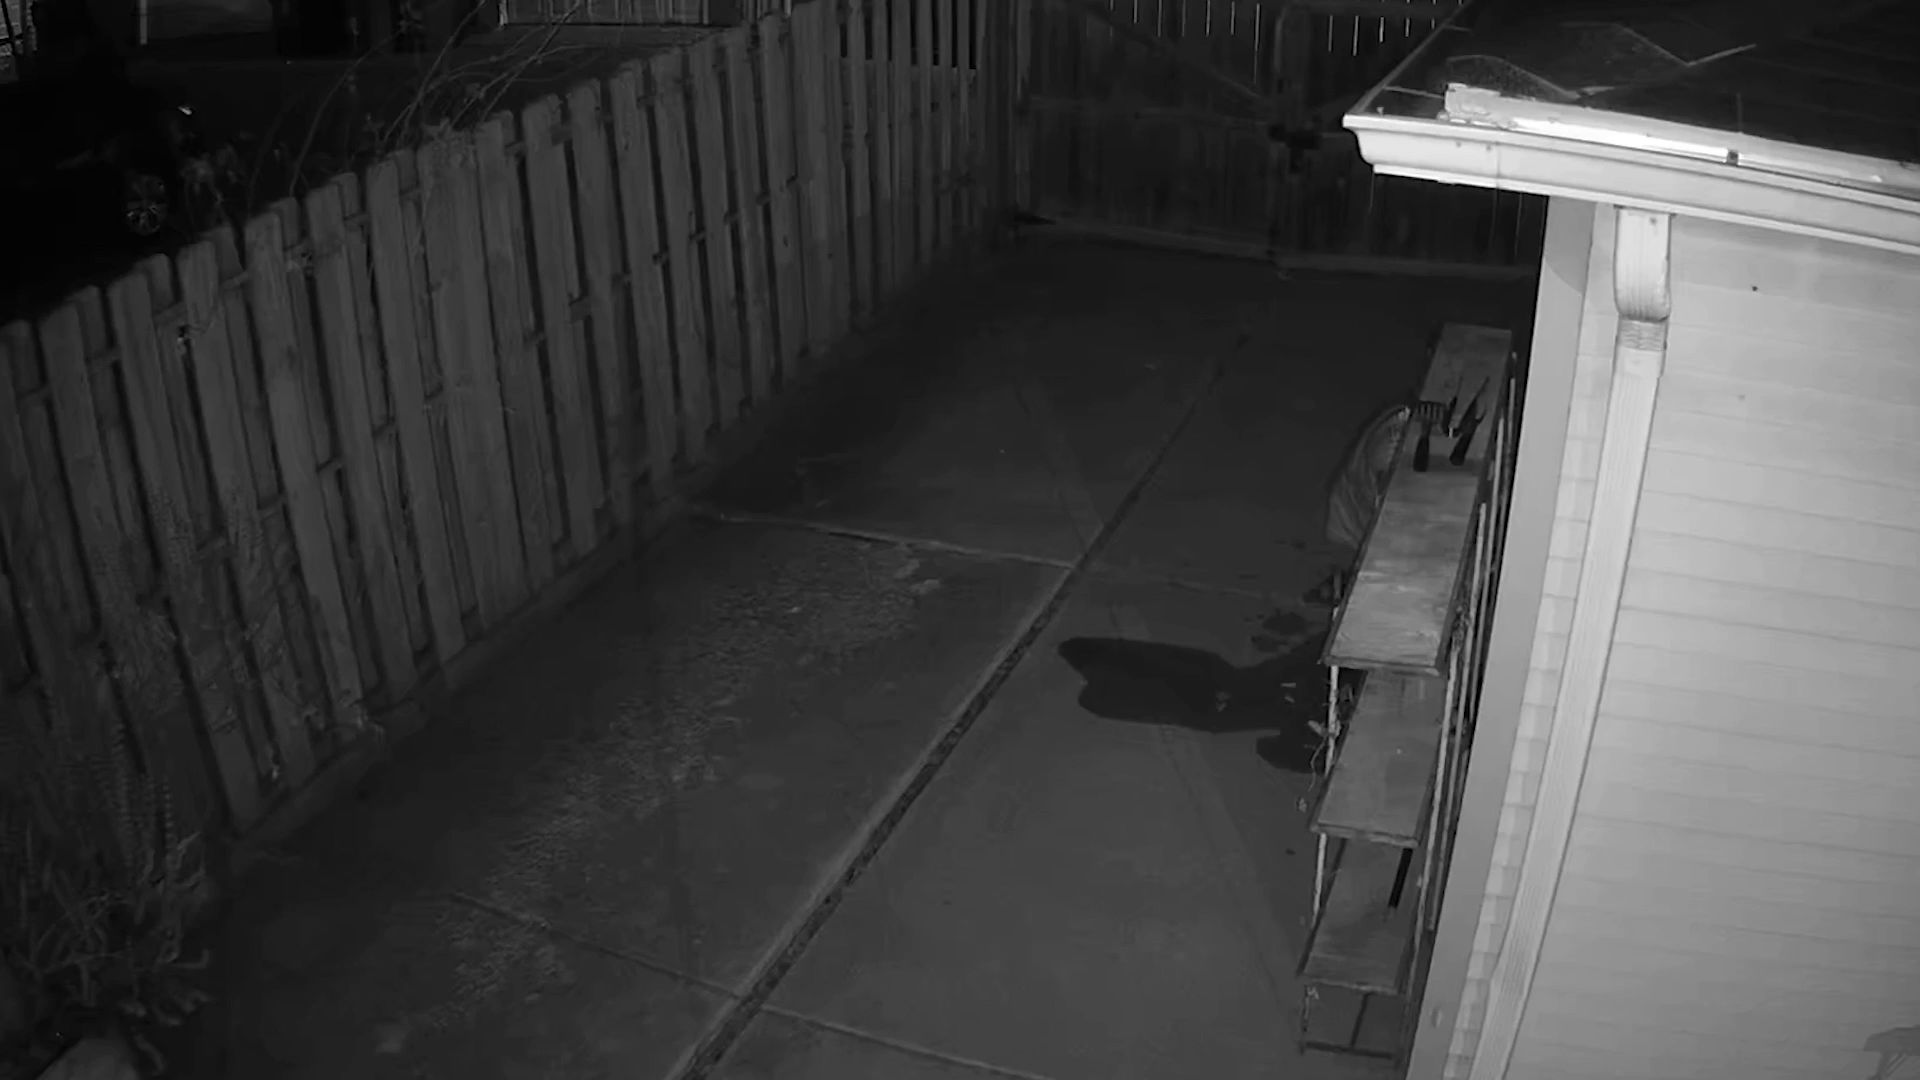
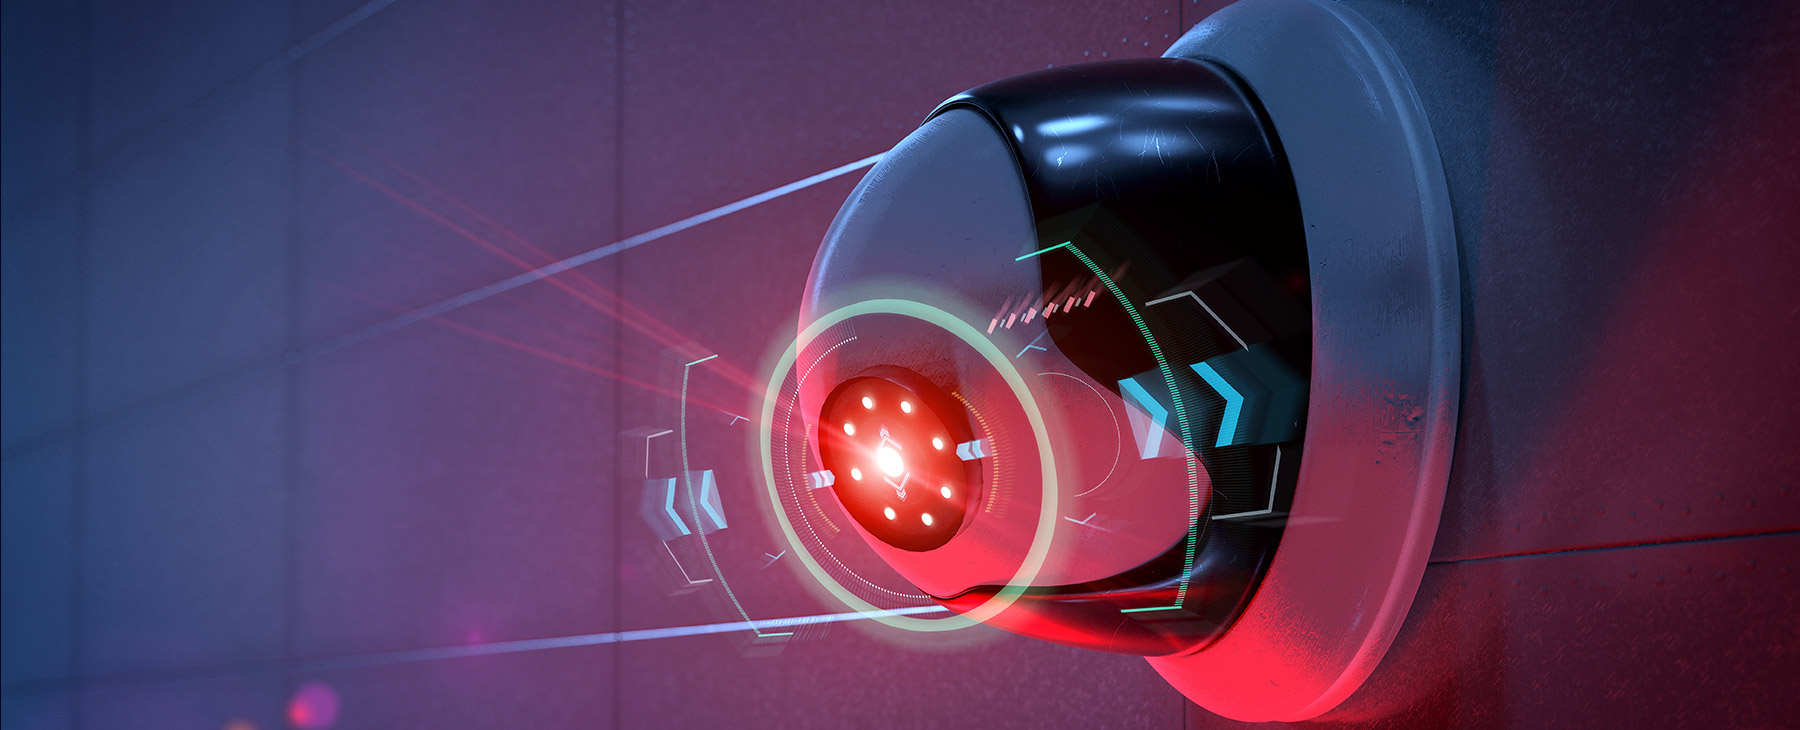
When it comes to home security and surveillance, having a reliable night vision camera is essential. The ability to see clearly in low-light or no-light conditions can greatly enhance the effectiveness of your security measures. While most dedicated night vision cameras can be quite expensive, did you know that you can actually turn your iPhone into a night vision camera? That’s right! With the advancements in technology and the availability of specialized apps and accessories, you can now capture clear and crisp images even in the darkest of environments.
In this article, we will explore various methods that you can use to transform your iPhone into a night vision camera. Whether you’re an aspiring investigator, a night owl adventurer, or simply someone looking to improve your home security, these techniques will help you achieve optimal night vision capabilities without breaking the bank.
Are you ready to unlock the hidden night vision capabilities of your iPhone? Let’s dive in!
Key Takeaways:
- Transform your iPhone into a night vision camera using apps, attachments, or camera settings. Enhance home security or explore the night with clear and detailed images, all without breaking the bank.
- Explore the hidden world after dark with your iPhone’s newfound night vision capabilities. Capture stunning images, ensure a safer home, and experience nighttime adventures like never before.
Read more: How To Blind A Night Vision Camera
Method 1: Using Night Vision Apps
One of the easiest and most affordable ways to turn your iPhone into a night vision camera is by using specialized night vision apps. These apps utilize the existing camera hardware and enhance its capabilities to capture images in low-light conditions.
There are several night vision apps available on the App Store, but it’s important to choose one that is highly rated and trusted by users. One such app is “Night Vision Cam”. This app uses advanced algorithms to amplify the available light and improve the visibility in dark environments. Simply download and install the app from the App Store, launch it, and you’re ready to explore the night!
Once you have the night vision app installed, you can adjust various settings to optimize your night vision experience. Most apps offer features like brightness control, contrast adjustment, and even filters to enhance the image quality. Experiment with these settings to find the perfect balance between visibility and image clarity.
It’s worth noting that while night vision apps can significantly improve low-light image capture, they may not provide the same level of clarity as dedicated night vision cameras. However, they are a great option for casual use or situations where a dedicated camera is not available.
Now that you have a night vision app installed on your iPhone, you can confidently explore the darkness and uncover the hidden secrets of the night.
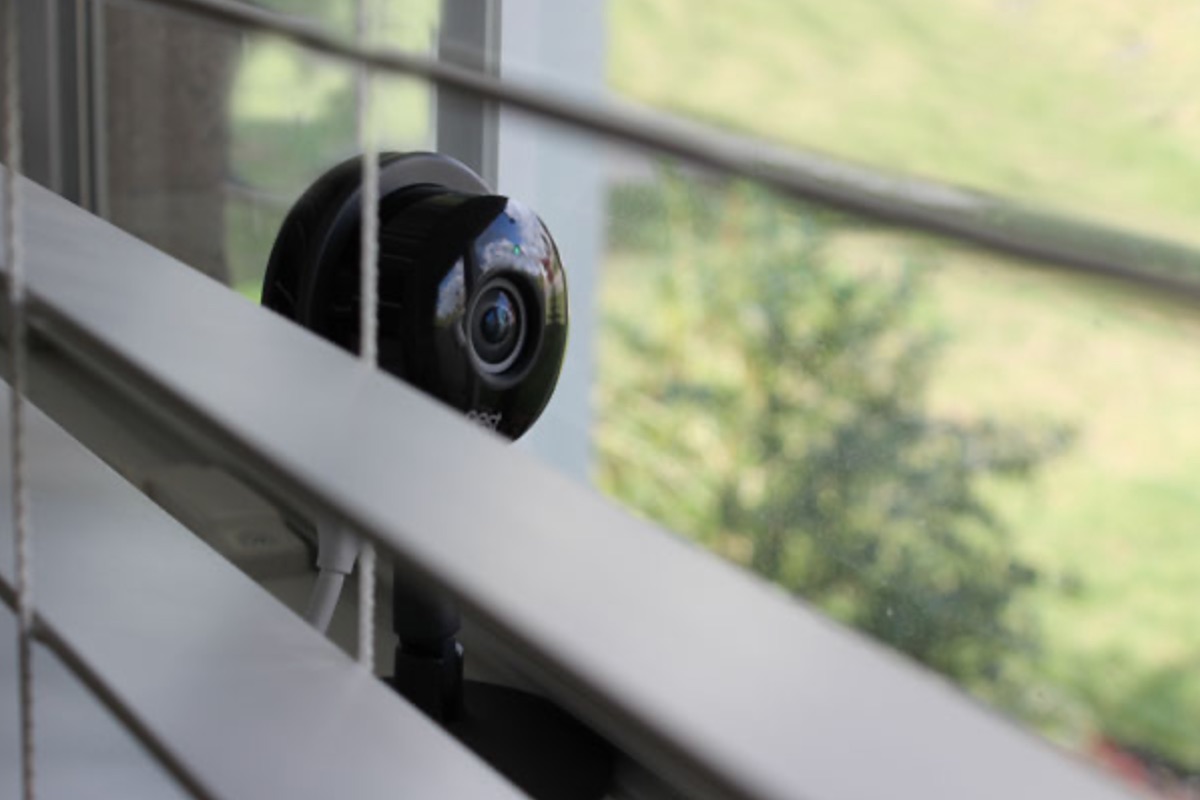
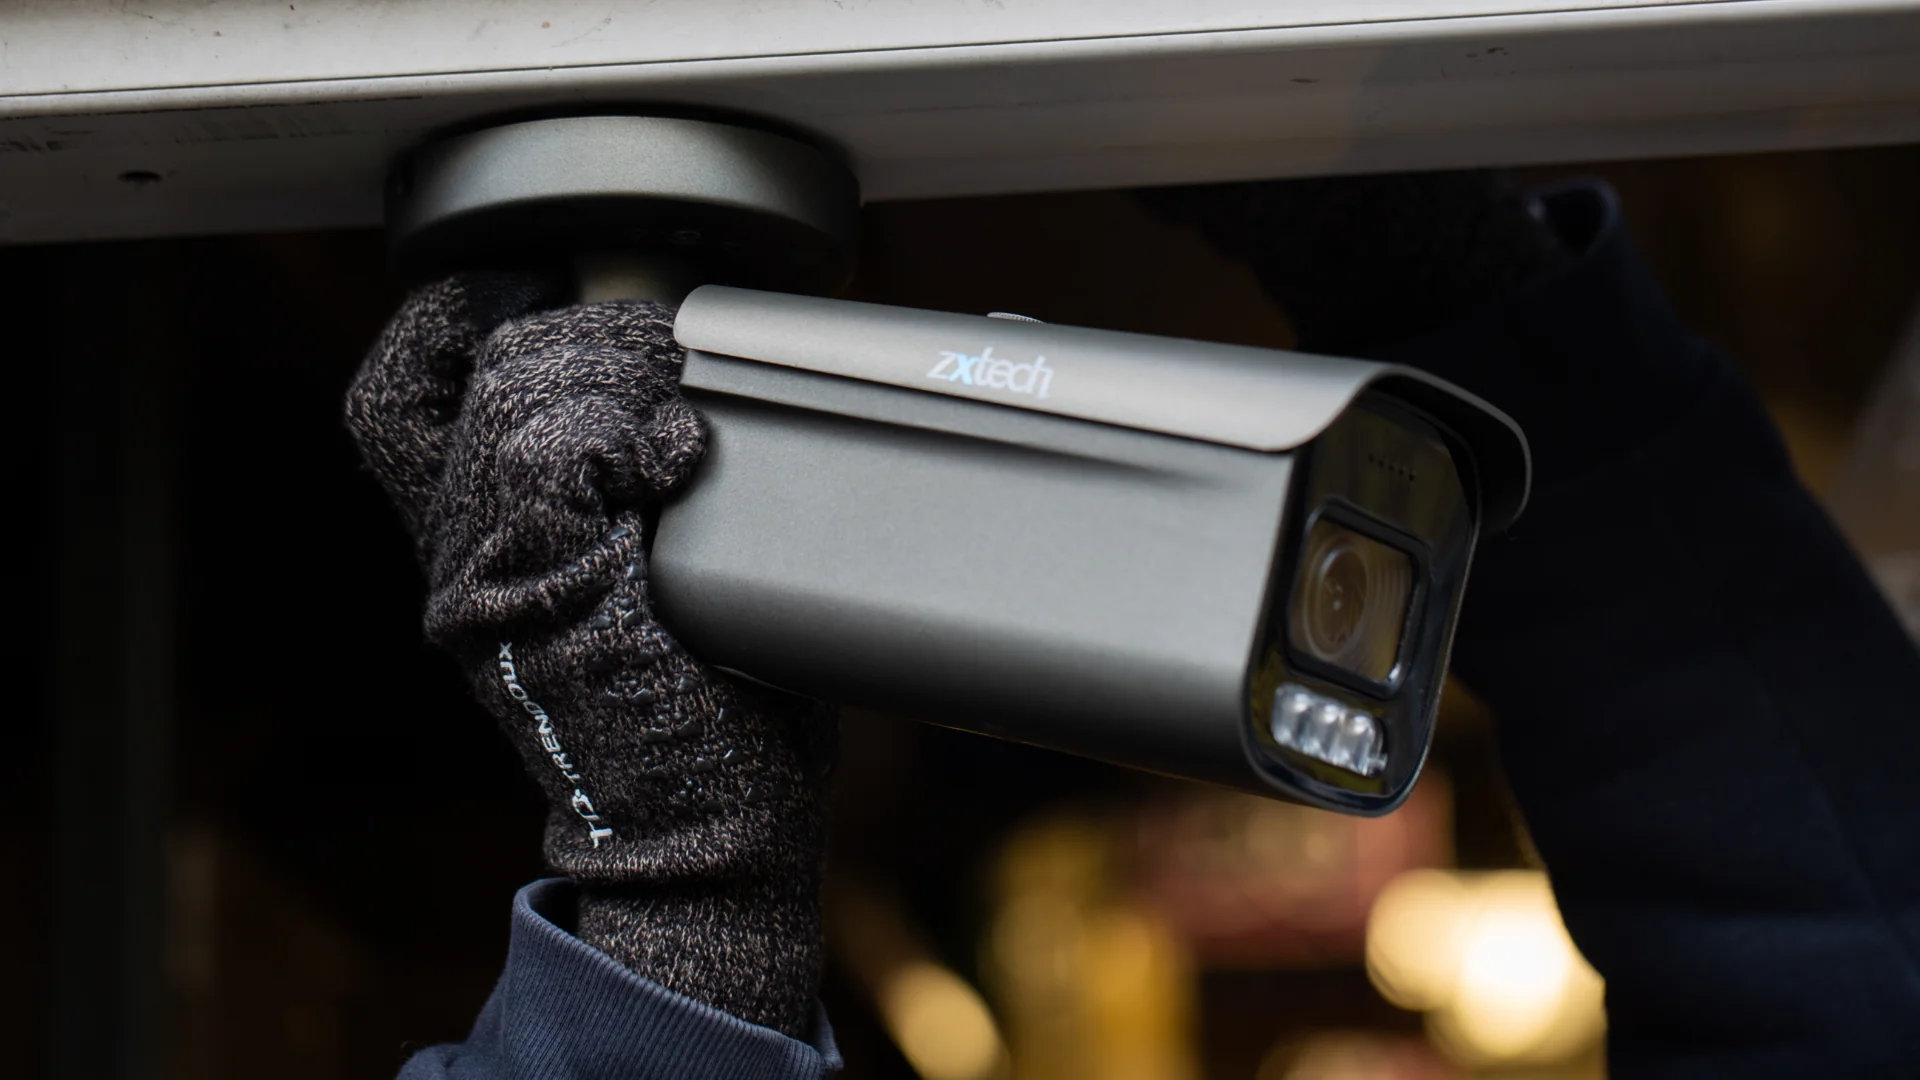
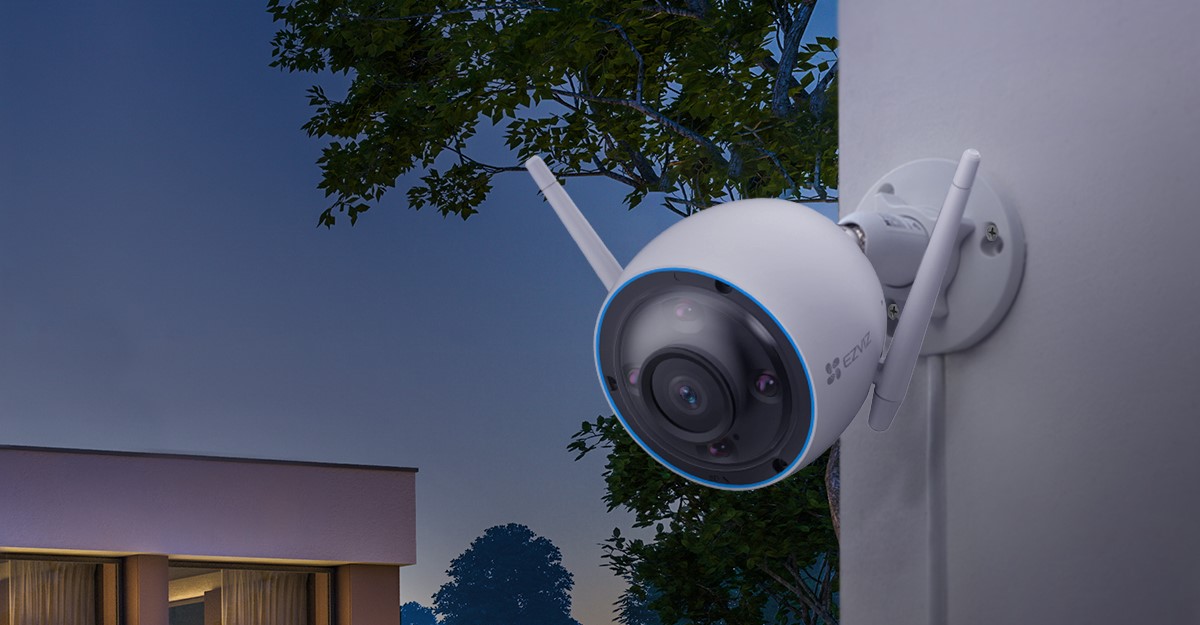
Method 2: Using External Night Vision Camera Attachments
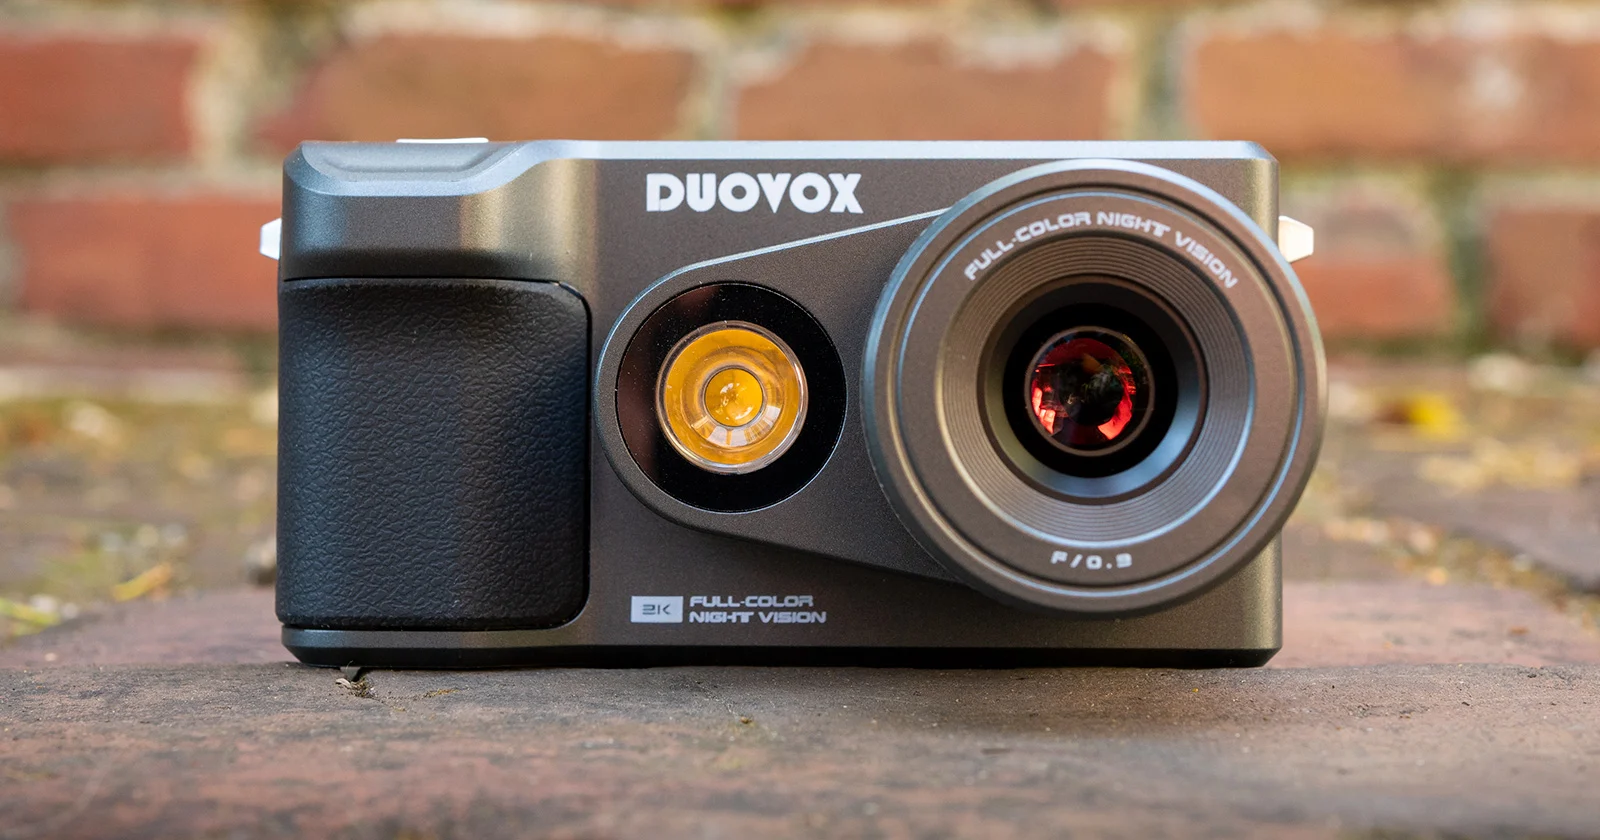
If you’re looking for a more professional and high-quality night vision experience with your iPhone, you can consider using external night vision camera attachments. These attachments are designed to fit securely onto your iPhone and provide enhanced night vision capabilities.
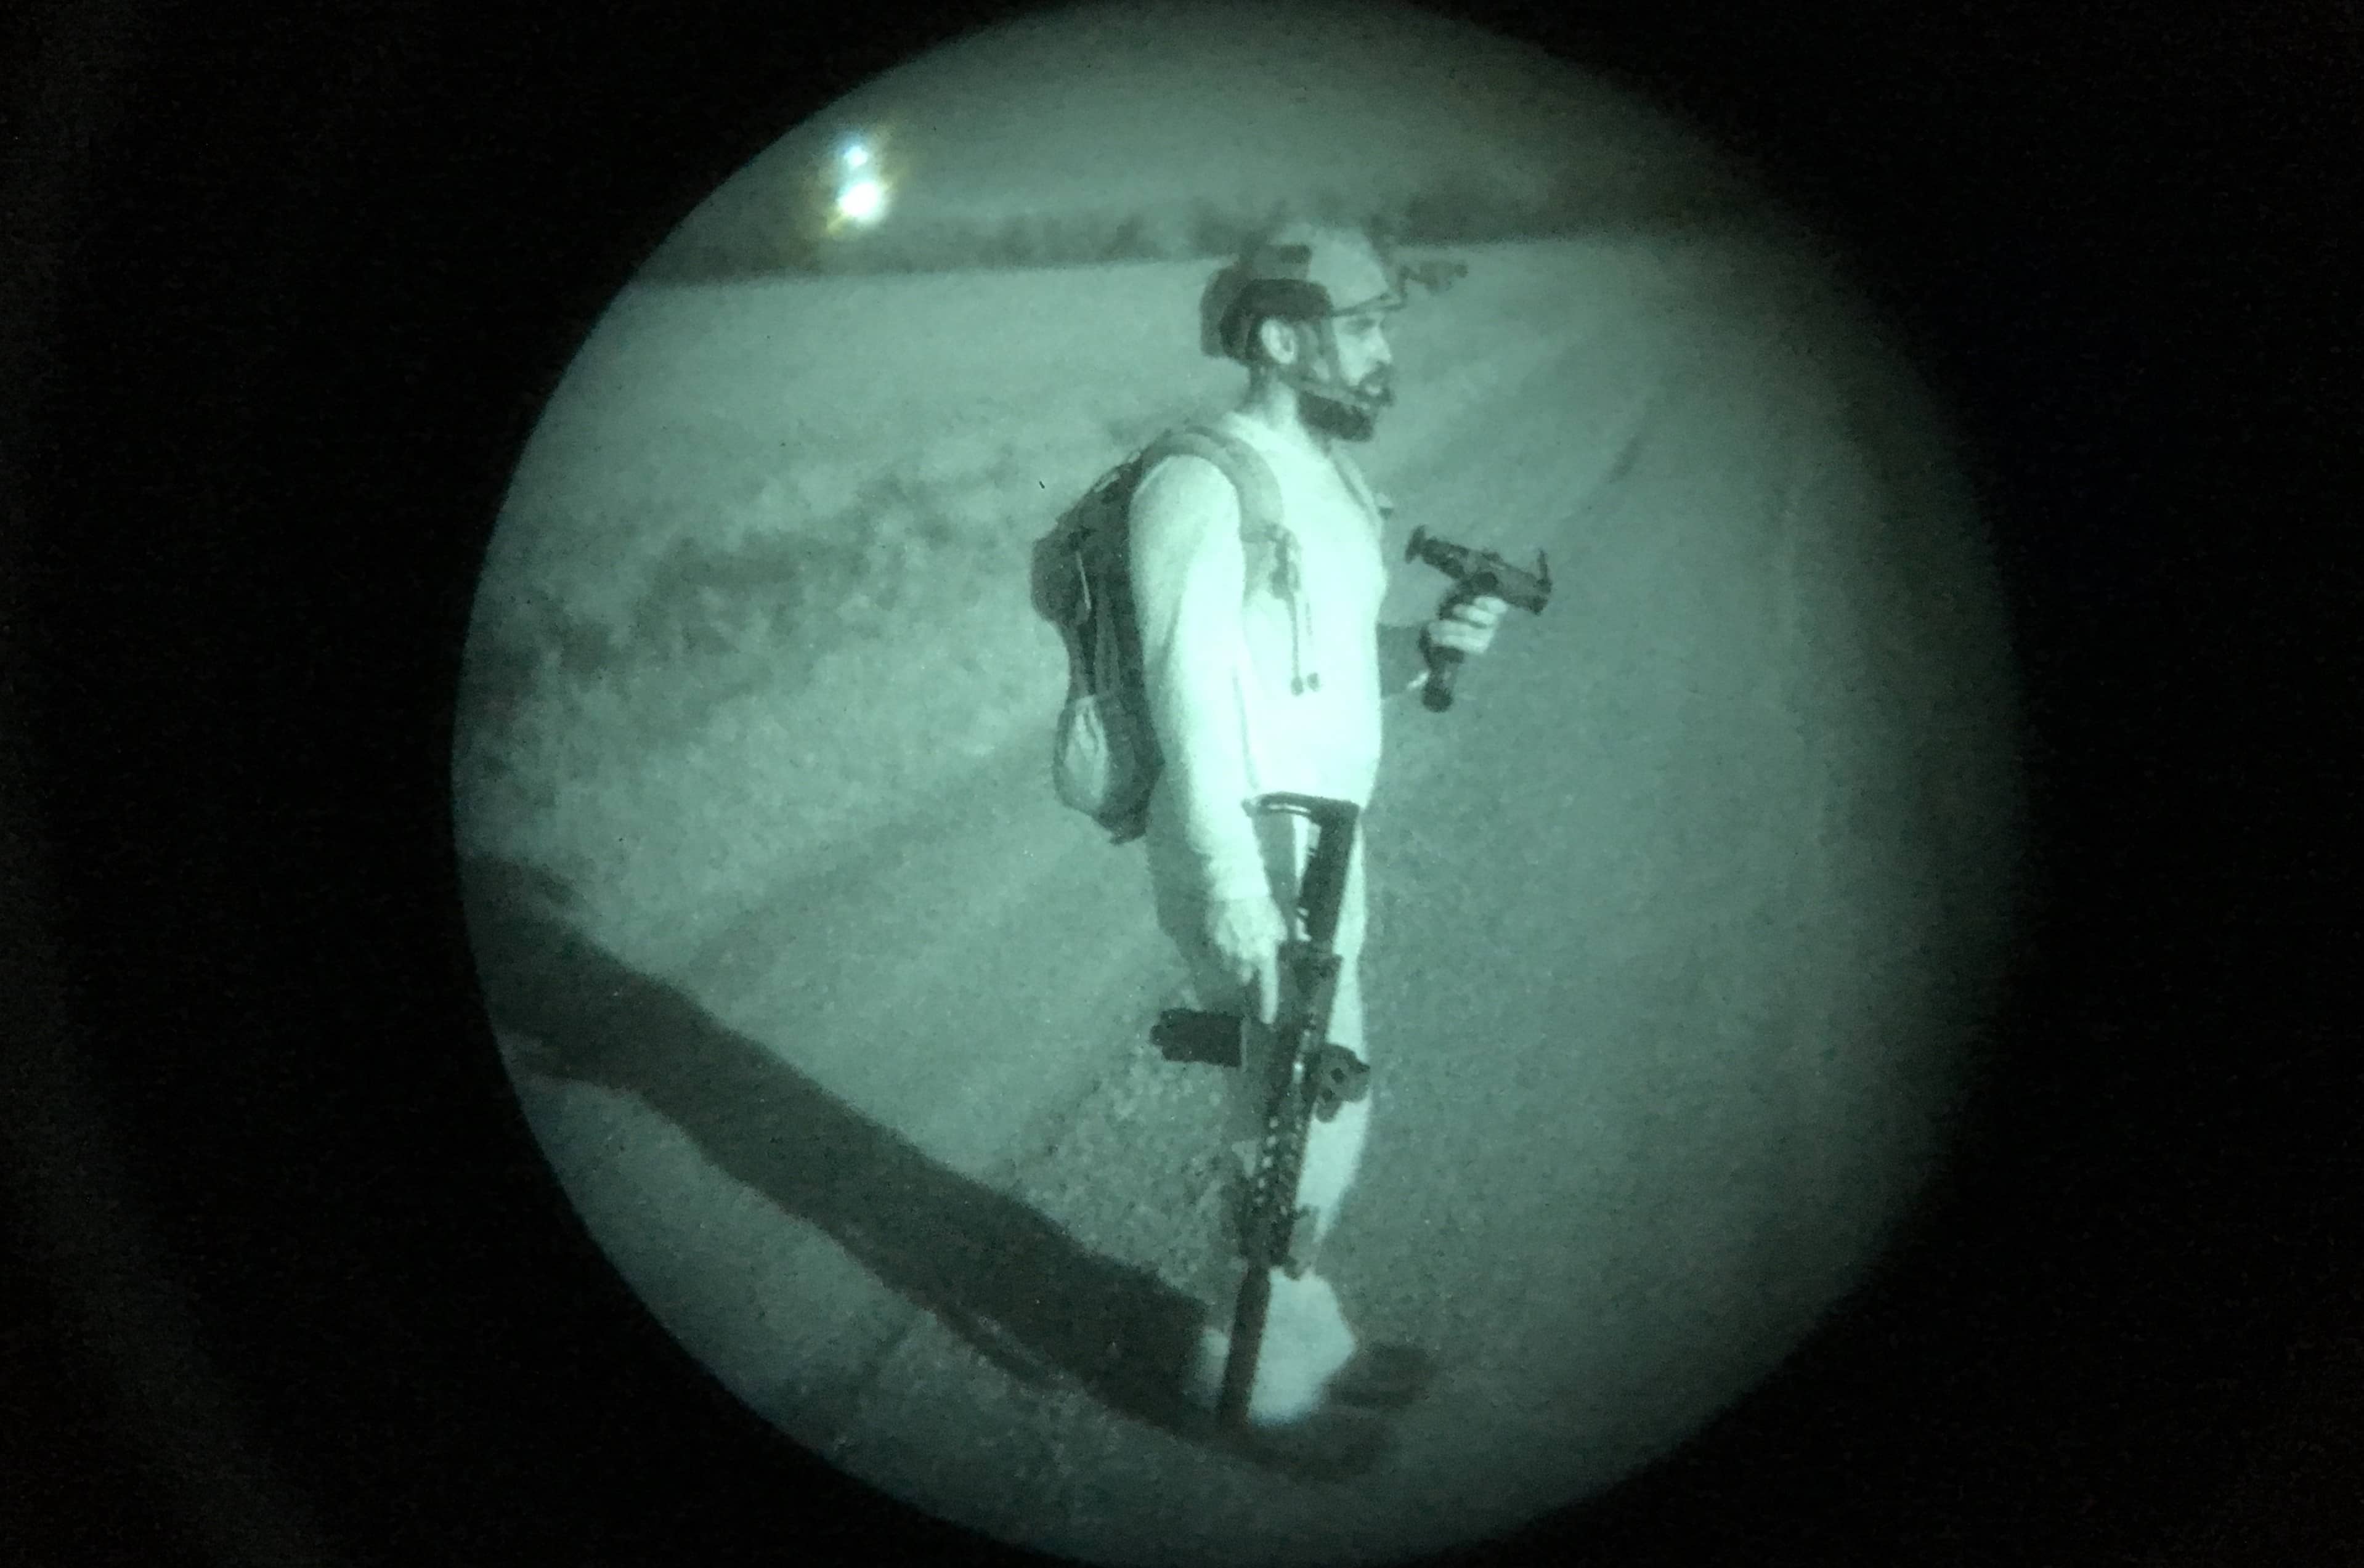
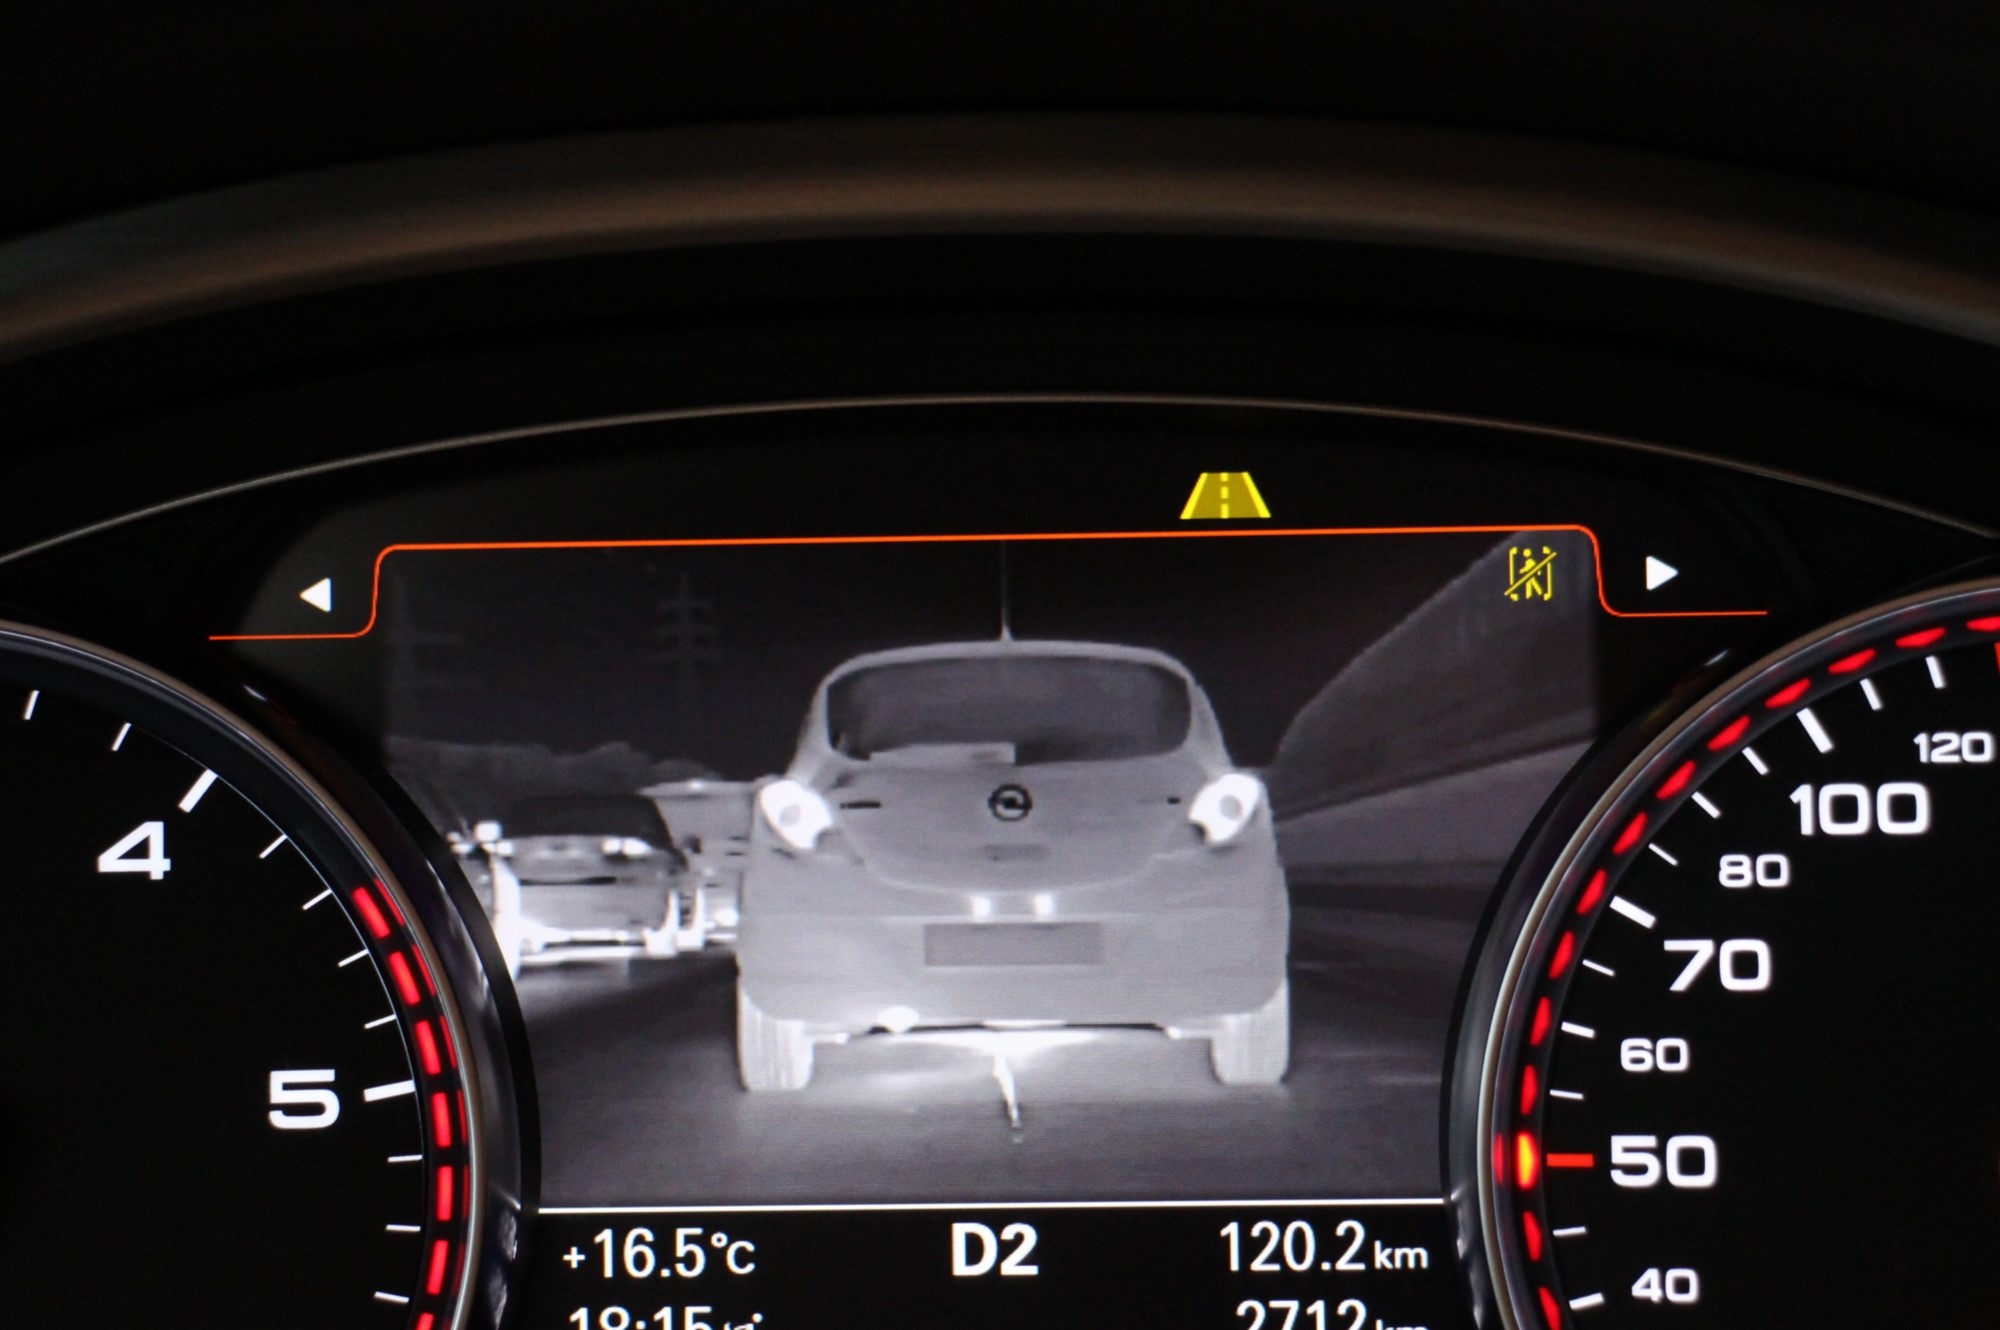
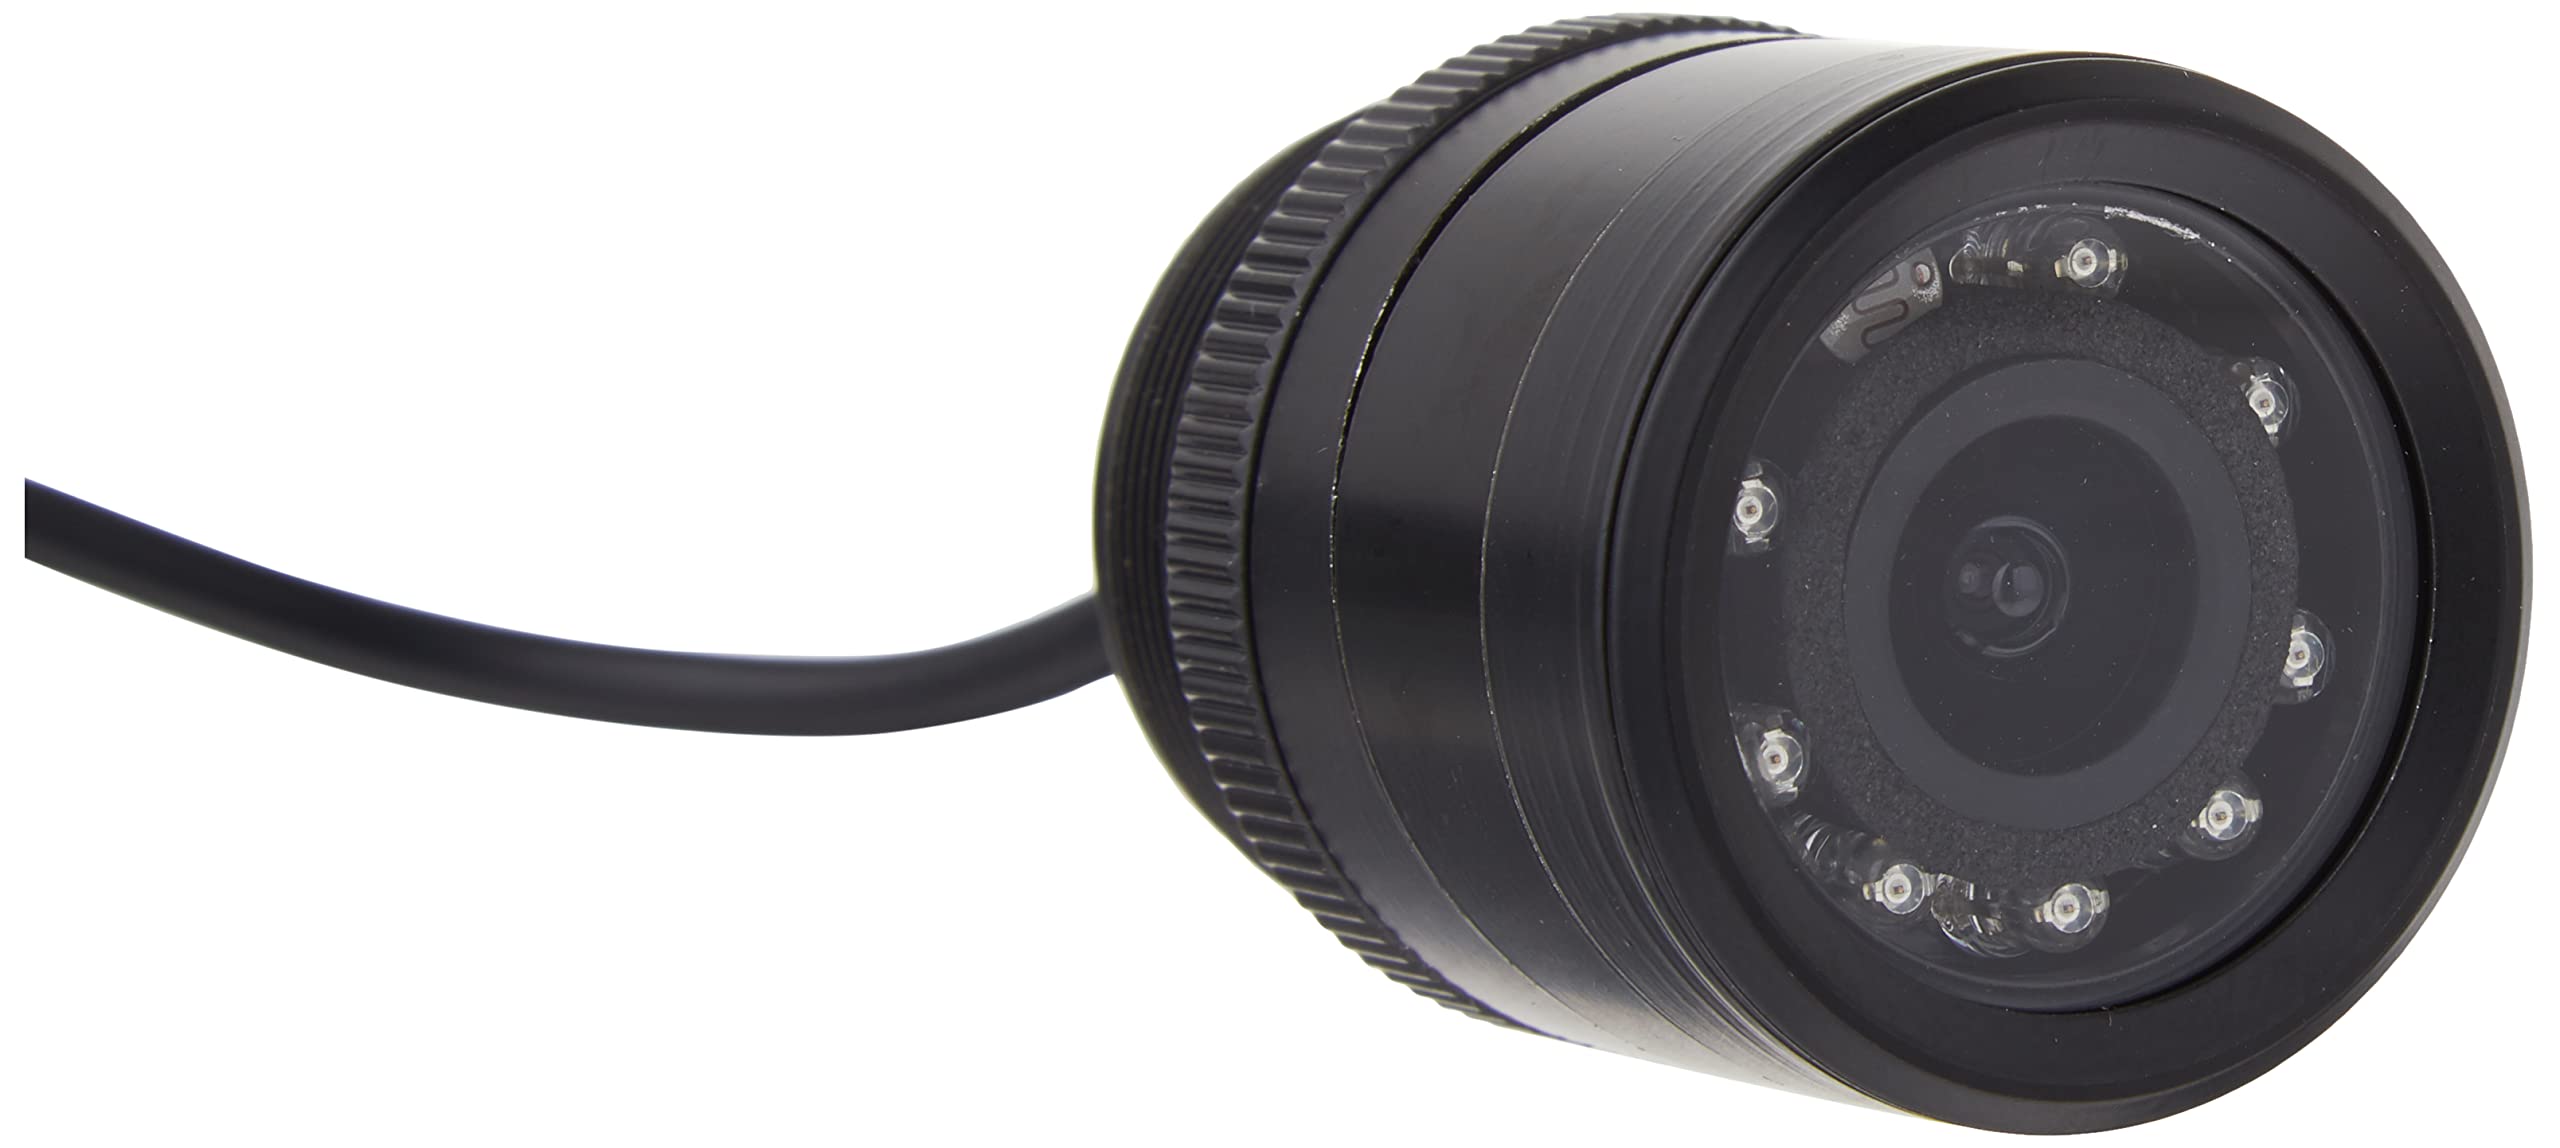
There are a few different types of night vision camera attachments available in the market, including thermal imaging cameras and infrared (IR) cameras. Thermal imaging cameras use heat signatures to create an image, allowing you to see even in complete darkness. IR cameras, on the other hand, use infrared radiation to capture images.
To use an external night vision camera attachment, simply connect it to your iPhone’s charging port or lightning connector, depending on the model. Once connected, the camera attachment will seamlessly integrate with your iPhone’s camera app, allowing you to capture high-quality night vision images.
When choosing an external camera attachment, consider factors such as image resolution, range, and the ability to adjust settings. Some attachments offer additional features like video recording, image enhancement filters, and even live streaming capabilities.
Keep in mind that external camera attachments may be more expensive than night vision apps, but they can provide a significant improvement in image quality and overall night vision performance. If you require a more professional and robust night vision solution, investing in an external camera attachment could be a worthwhile option.
With an external night vision camera attachment, your iPhone becomes a powerful tool for capturing detailed images in the darkest of environments.
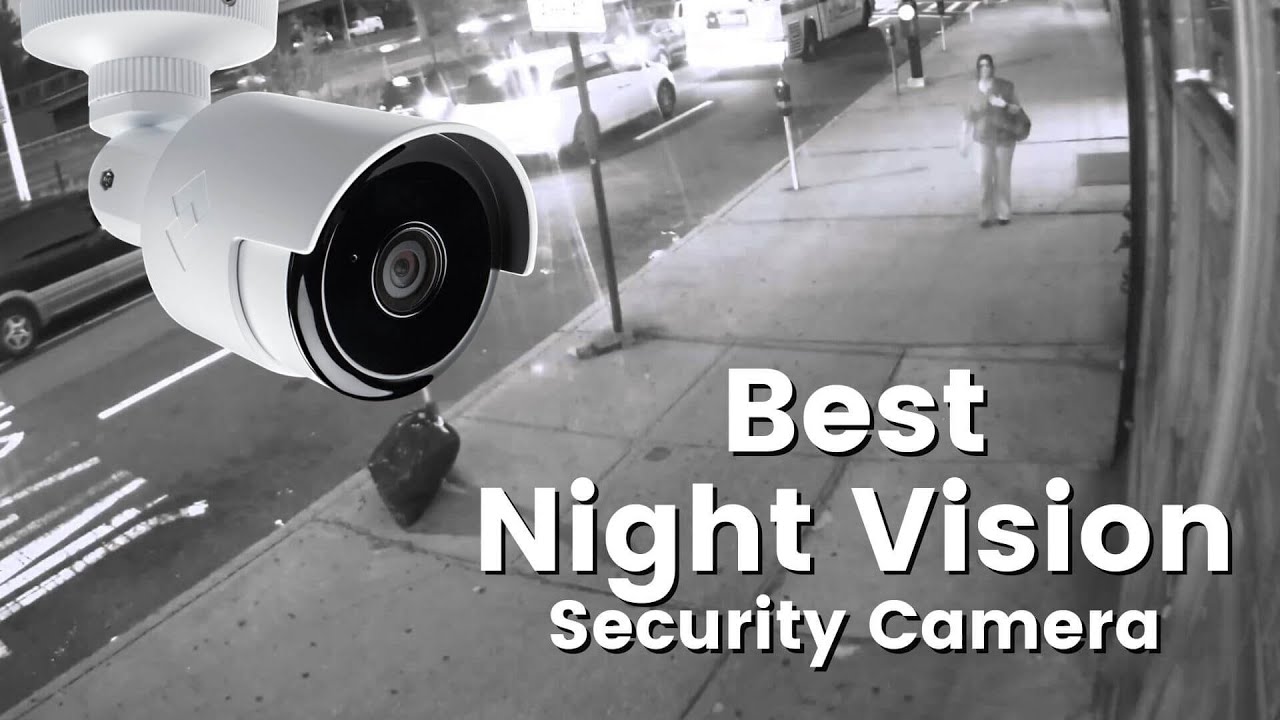
You can use a night vision app from the App Store to turn your iPhone camera into a night vision camera. These apps use the phone’s existing camera and enhance the image to make it visible in low light or darkness. Just search for “night vision camera” in the App Store and choose the app that best fits your needs.
Method 3: Adjusting Camera Settings for Better Night Vision
If you don’t want to rely on additional apps or external attachments, you can still improve the night vision capabilities of your iPhone by adjusting the camera settings. Even though the default camera settings are optimized for general use, tweaking certain settings can significantly enhance low-light image capture.
Here are a few camera settings you can adjust to improve your iPhone’s night vision:
- ISO: ISO determines the camera’s sensitivity to light. In low-light conditions, increasing the ISO can help capture brighter images. However, be cautious as higher ISO settings can introduce noise or graininess to the image. Experiment with different ISO levels to find the sweet spot for your specific lighting situation.
- Exposure: Adjusting the exposure allows you to control the amount of light that enters the camera’s sensor. Increasing the exposure can brighten up the image, but be careful not to overexpose it, as it can lead to loss of detail. Conversely, decreasing the exposure can help capture more details in darker areas.
- Focus: Ensuring that your iPhone camera is focused properly is vital for capturing clear night vision images. In low-light conditions, it may be challenging for the camera to autofocus accurately. You can manually tap on the screen to adjust the focus on your desired subject or use the manual focus feature in certain camera apps.
- Stabilization: Shaky hands can result in blurry images, especially in low-light situations where the camera needs longer exposure times. Turning on the camera’s optical image stabilization or enabling the digital stabilization feature can help reduce blur caused by camera shake.
Remember, each iPhone model and camera app may have slightly different settings and features. Consult your device’s user manual or explore the camera app’s settings menu to find the options mentioned above.
By optimizing the camera settings, you can make the most out of your iPhone’s built-in capabilities and capture clearer and more detailed night vision images.
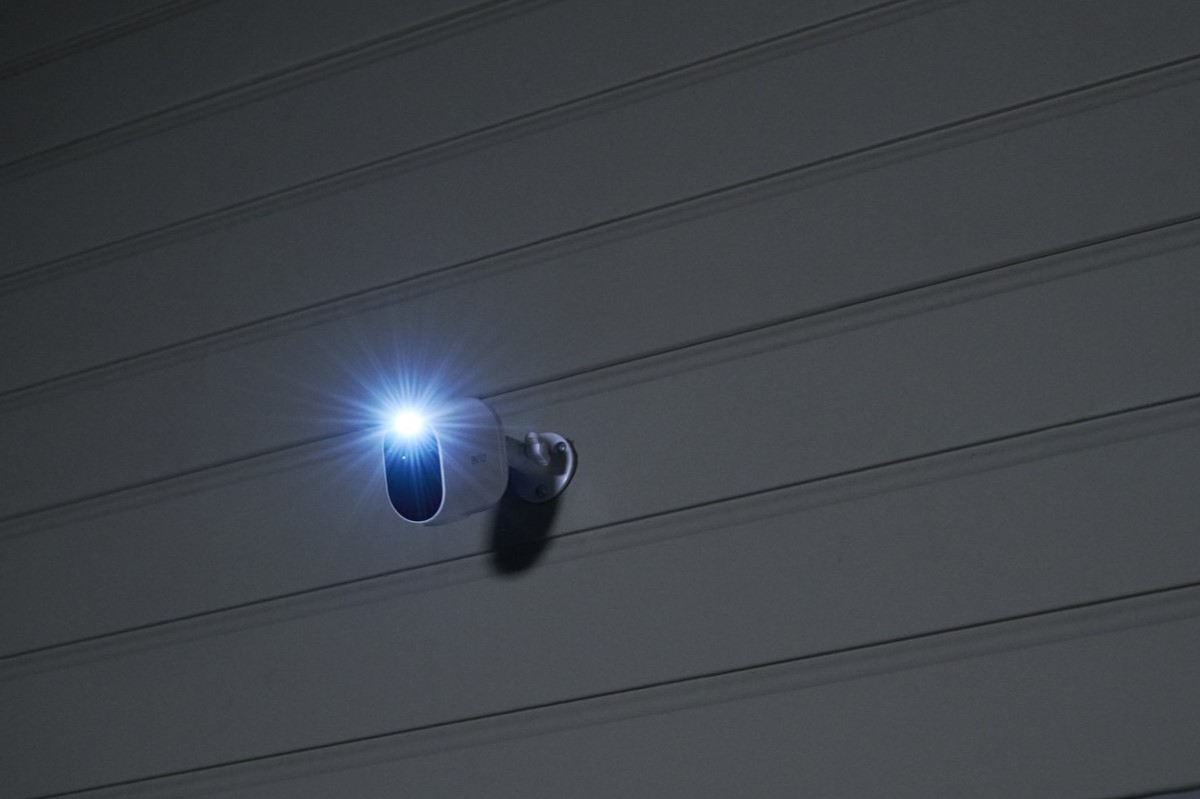
Method 4: Using Infrared Illuminators with iPhone Camera
If you’re looking for an advanced and professional night vision solution for your iPhone, utilizing infrared (IR) illuminators can greatly enhance the camera’s capabilities in low-light conditions.
Infrared illuminators emit infrared light that is invisible to the human eye but can be detected by the iPhone’s camera. These illuminators effectively “light up” the surrounding area with infrared light, allowing the camera to capture clear and detailed images even in complete darkness.
To use infrared illuminators with your iPhone, follow these steps:
- Choose the right illuminator: There are various types of infrared illuminators available, including handheld devices, clip-on attachments, and even standalone units. Consider your specific needs and requirements to select the most suitable illuminator for your iPhone.
- Mount the illuminator: Depending on the type of illuminator you choose, you may need to attach it to your iPhone or position it adjacent to the device. Follow the manufacturer’s instructions for proper mounting and alignment.
- Adjust settings: Once the illuminator is mounted, you may need to adjust the camera settings to optimize the night vision experience. Since each illuminator and camera app may have varying intensity levels, experiment with different settings to achieve the desired results.
- Capture stunning night vision images: With the infrared illuminator in place, your iPhone camera will be able to capture clear and detailed images in pitch-black darkness. Use this advanced night vision solution for professional surveillance tasks or any situation where maximum visibility is crucial.
It’s important to note that utilizing infrared illuminators may require additional investment compared to other methods. However, if you prioritize high-quality night vision capabilities and require professional-grade surveillance, the use of infrared illuminators with your iPhone camera can deliver outstanding results.
In summary, incorporating infrared illuminators with your iPhone camera can unlock a whole new level of night vision performance, ensuring that you capture clear and detailed images even in the darkest of environments.
Read more: How To Fix A Night Vision Camera
Conclusion
Turning your iPhone into a night vision camera is not only a convenient and cost-effective solution but also an exciting way to explore the hidden world after dark. Whether you’re looking to enhance your home security, experience nighttime adventures, or conduct professional surveillance tasks, the methods discussed in this article can help you achieve optimal night vision capabilities with your iPhone.
By using night vision apps, you can quickly and easily transform your iPhone into a night vision camera. These apps enhance the camera’s low-light performance and provide features like brightness control and image filters for improved visibility and image quality.
If you’re seeking a more professional-grade night vision experience, external night vision camera attachments offer enhanced capabilities. By connecting these attachments to your iPhone, you can capture high-quality night vision images and even access advanced features like video recording and image enhancement filters.
For those who prefer to work with the built-in camera, adjusting the camera settings can significantly improve night vision performance. By tweaking settings such as ISO, exposure, focus, and stabilization, you can optimize your iPhone’s low-light image capture and achieve clearer and more detailed night vision images.
Finally, for the most advanced and professional night vision solution, incorporating infrared illuminators with your iPhone camera is the way to go. These illuminators emit infrared light, allowing the camera to capture clear and detailed images even in complete darkness, making them ideal for professional surveillance tasks.
Remember, the method you choose will depend on your specific needs, budget, and desired level of night vision performance. Whether you opt for apps, attachments, camera settings, or infrared illuminators, the possibilities for transforming your iPhone into a reliable night vision camera are endless.
So, go ahead and explore the nocturnal world with your enhanced night vision capabilities. Capture stunning images, ensure a safer home, and experience nighttime adventures like never before with your iPhone’s newfound ability to see clearly after dark.
Frequently Asked Questions about How To Get Night Vision Camera On IPhone
Was this page helpful?
At Storables.com, we guarantee accurate and reliable information. Our content, validated by Expert Board Contributors, is crafted following stringent Editorial Policies. We're committed to providing you with well-researched, expert-backed insights for all your informational needs.