Home>Home Security and Surveillance>What Is The Negative And Positive Wire On A Night Vision Camera
Home Security and Surveillance
What Is The Negative And Positive Wire On A Night Vision Camera
Modified: March 6, 2024
Discover the importance of the negative and positive wires in a night vision camera for your home security and surveillance. Learn how they contribute to clearer and more reliable footage.
(Many of the links in this article redirect to a specific reviewed product. Your purchase of these products through affiliate links helps to generate commission for Storables.com, at no extra cost. Learn more)
Introduction
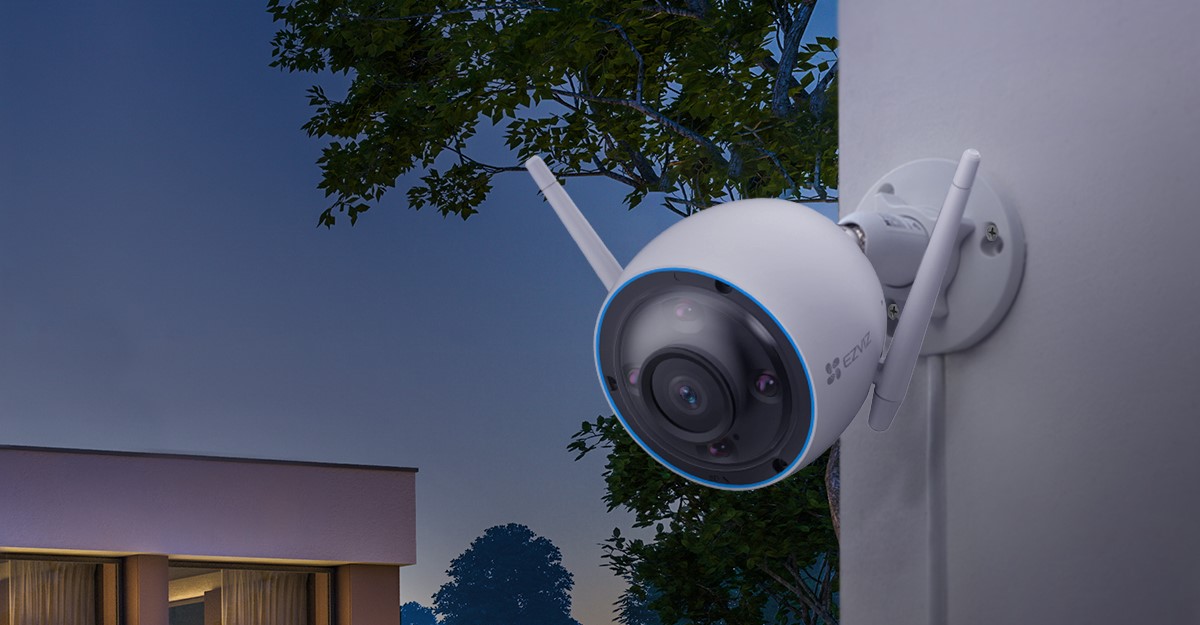
Welcome to the world of home security and surveillance! With the increasing need to protect our homes and loved ones, the demand for advanced security systems has skyrocketed. One indispensable component of any robust security setup is a night vision camera. These cameras are designed to provide clear and detailed footage in low-light or complete darkness, ensuring that you have 24/7 surveillance capabilities.
In this article, we will delve into the technical aspects of night vision cameras, specifically focusing on the positive and negative wires. Understanding the function and importance of these wires is crucial for proper installation and troubleshooting. So, let’s explore the nitty-gritty details of night vision camera wiring and shed light on the positive and negative wires.
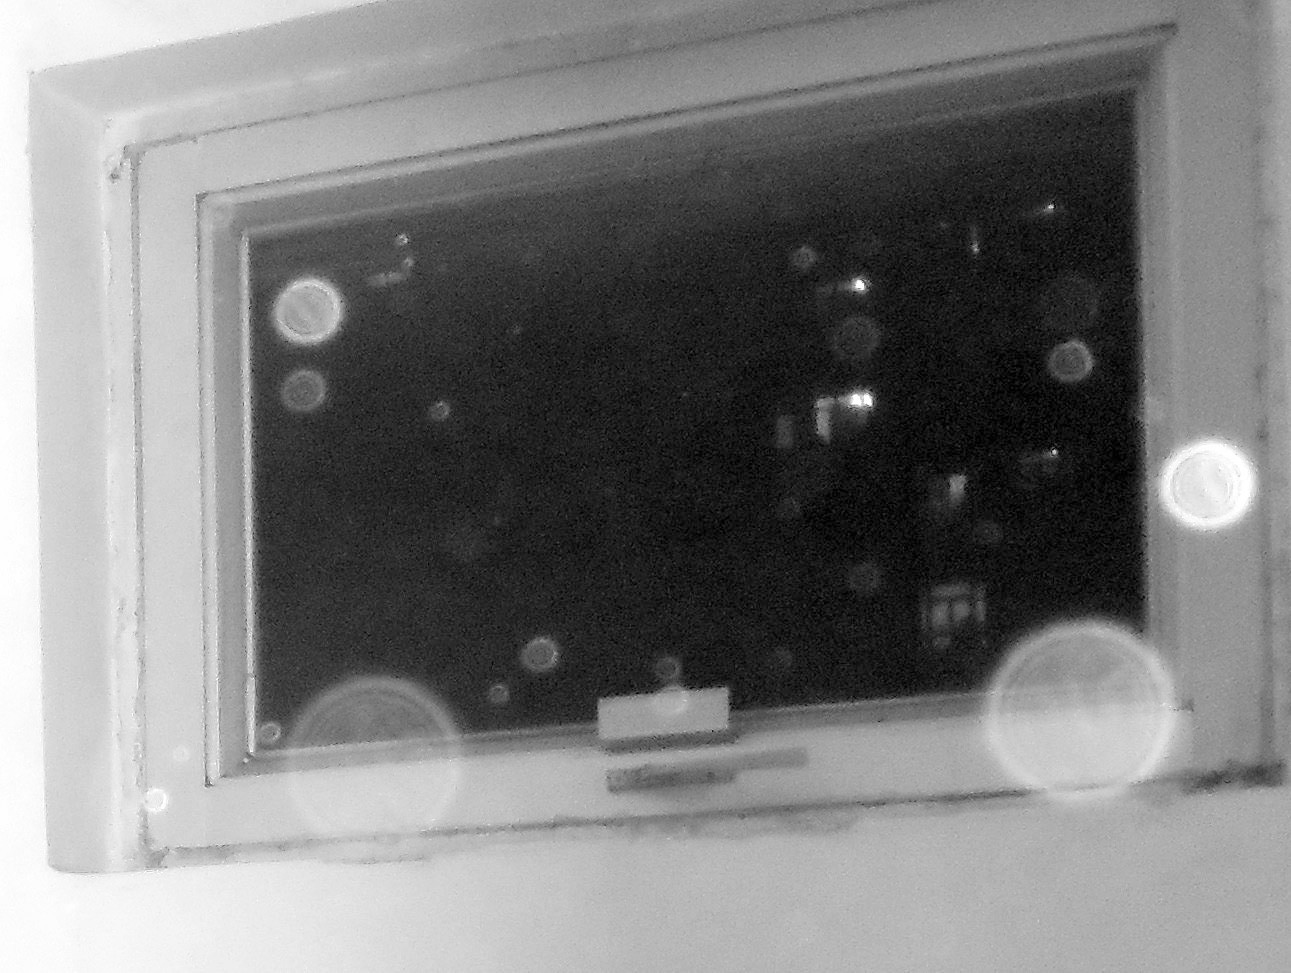
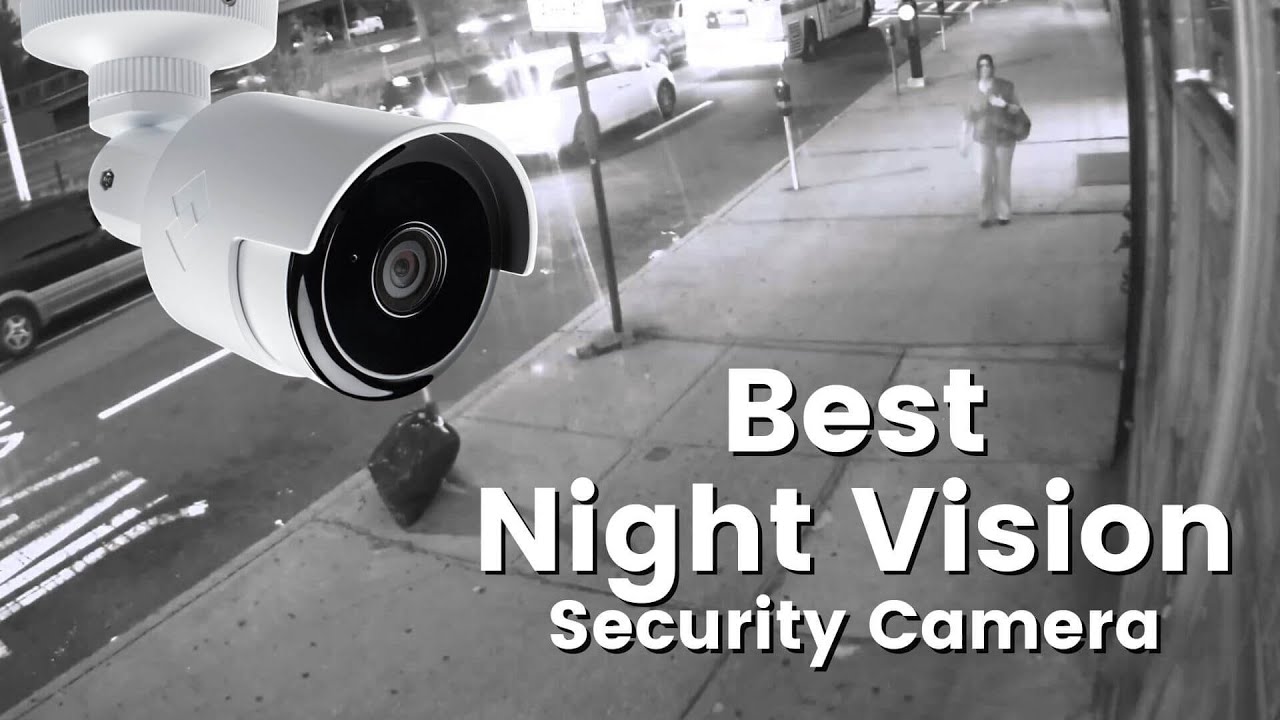
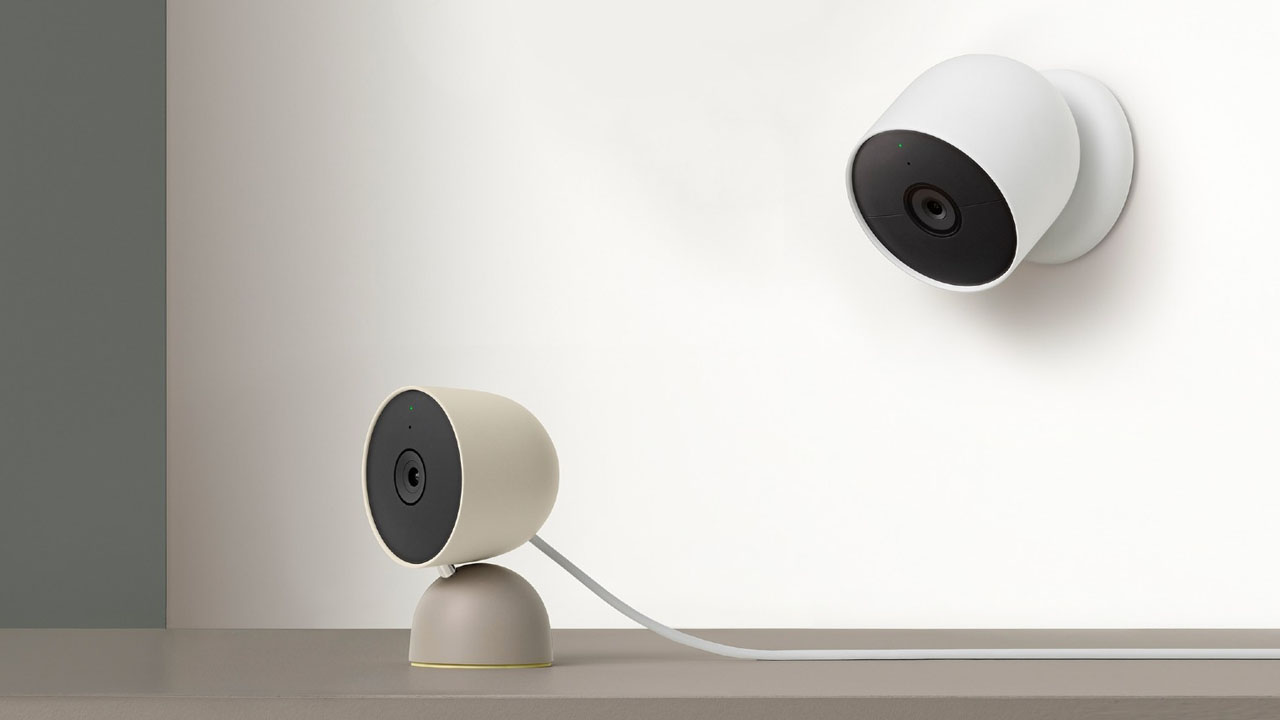
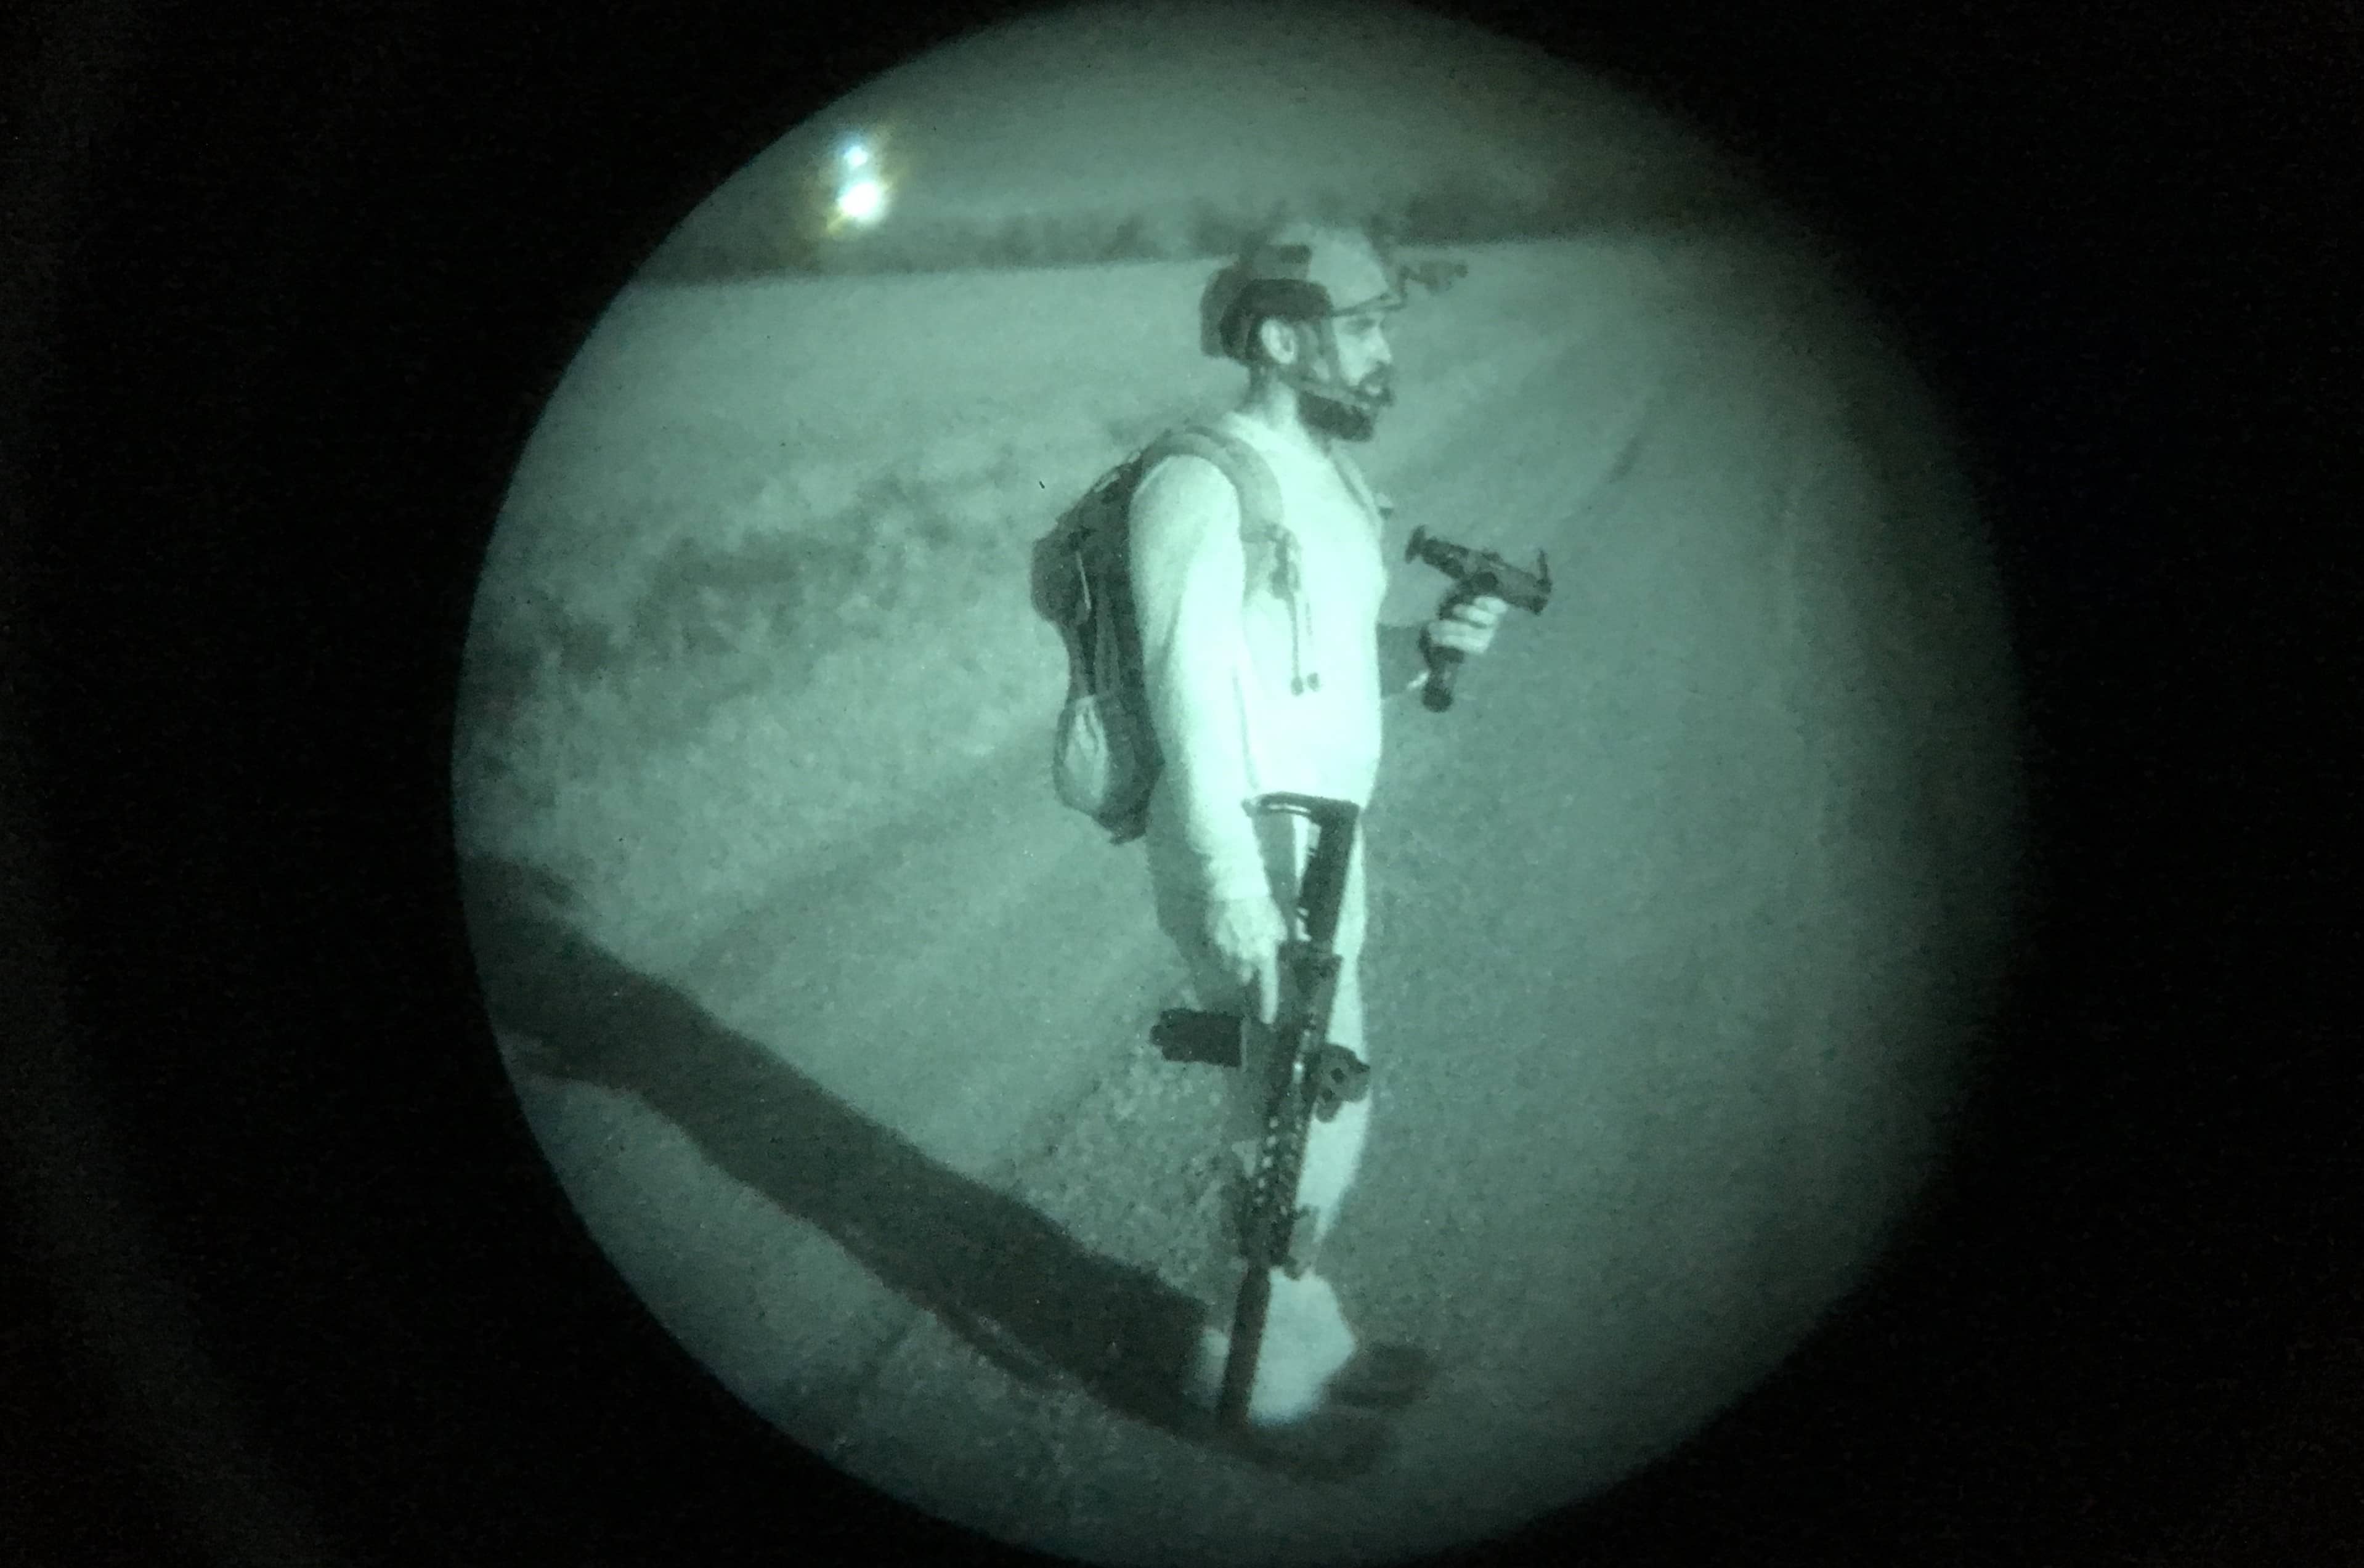
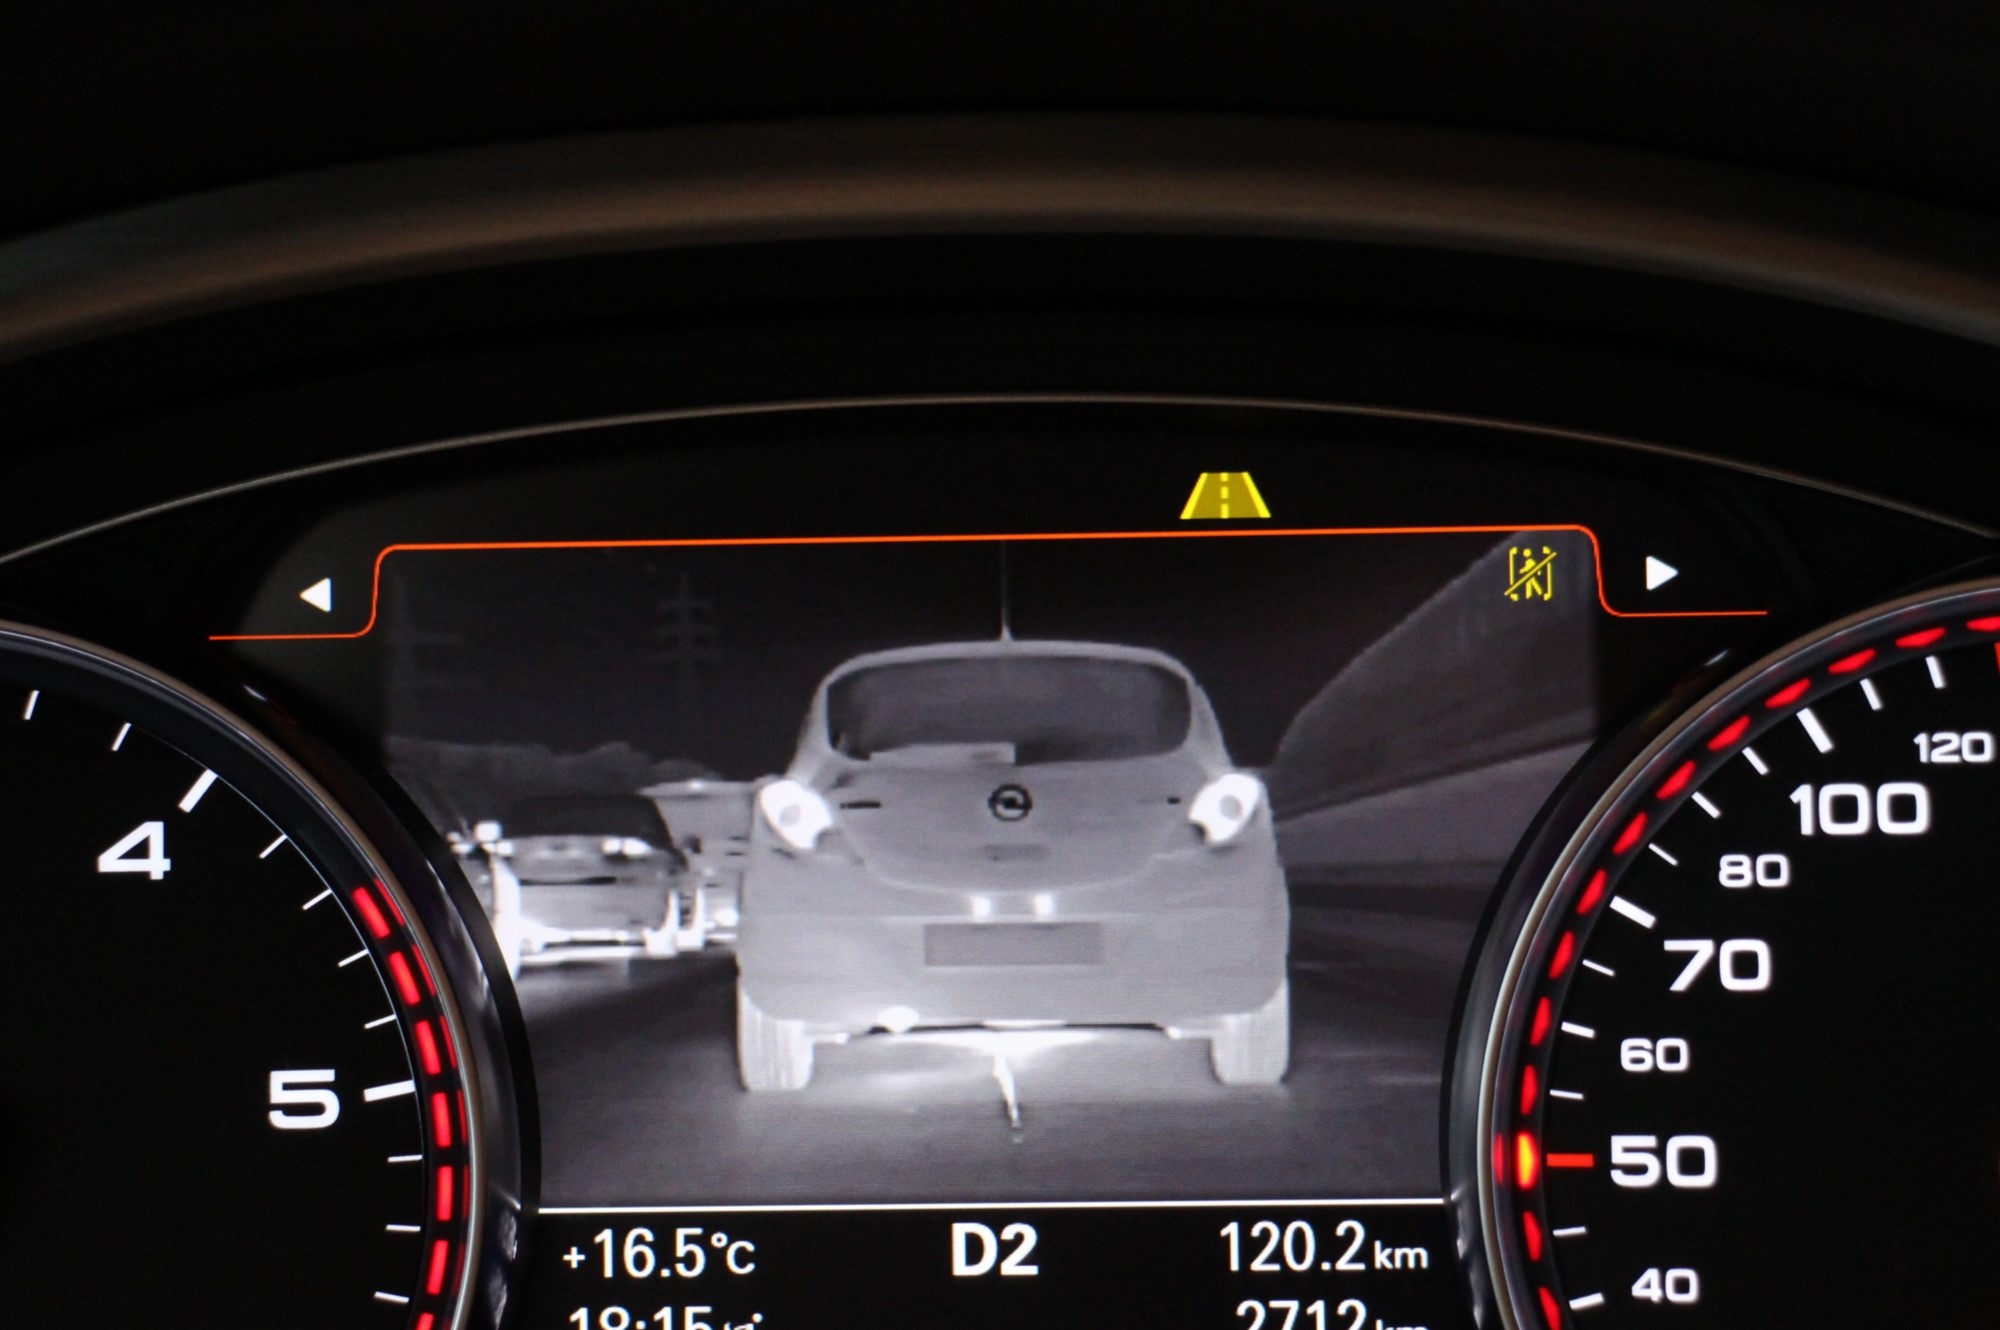
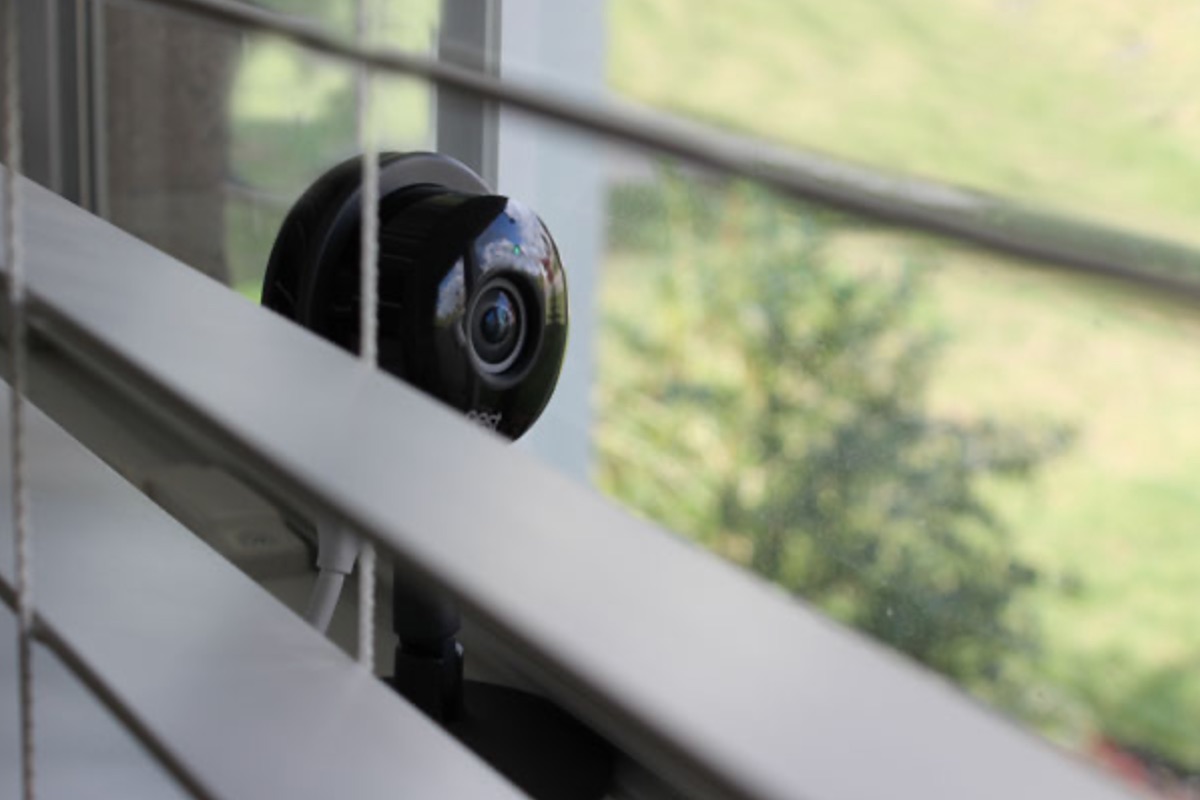
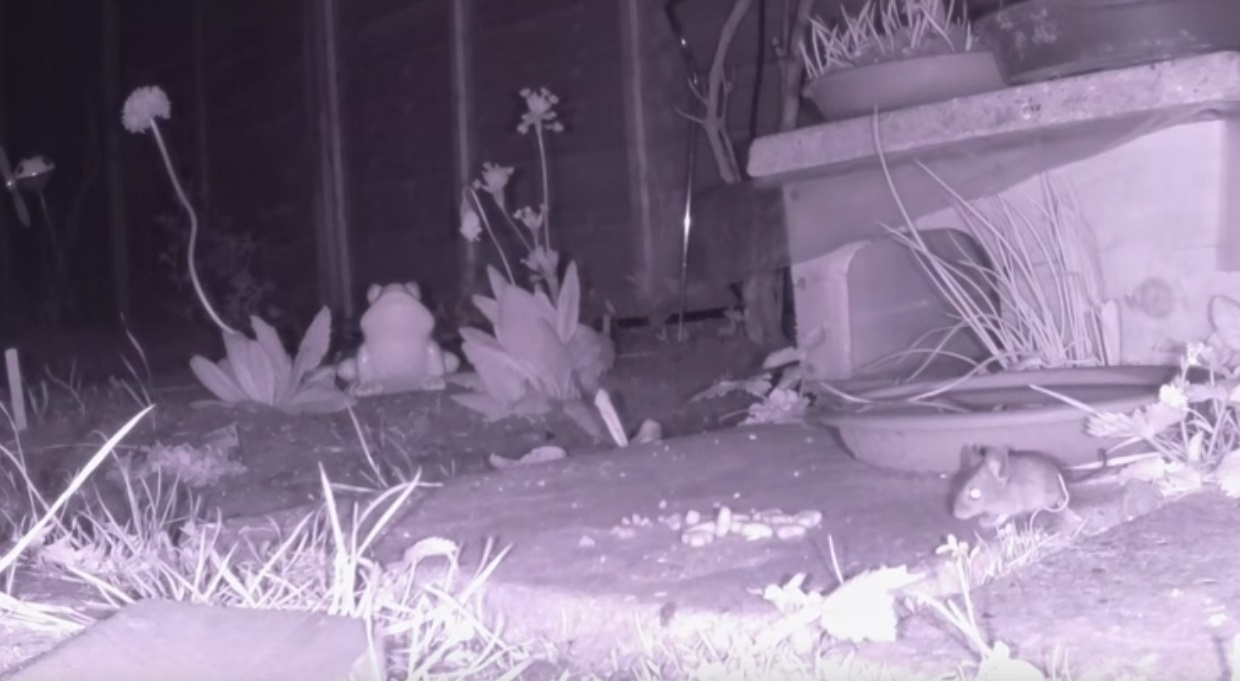
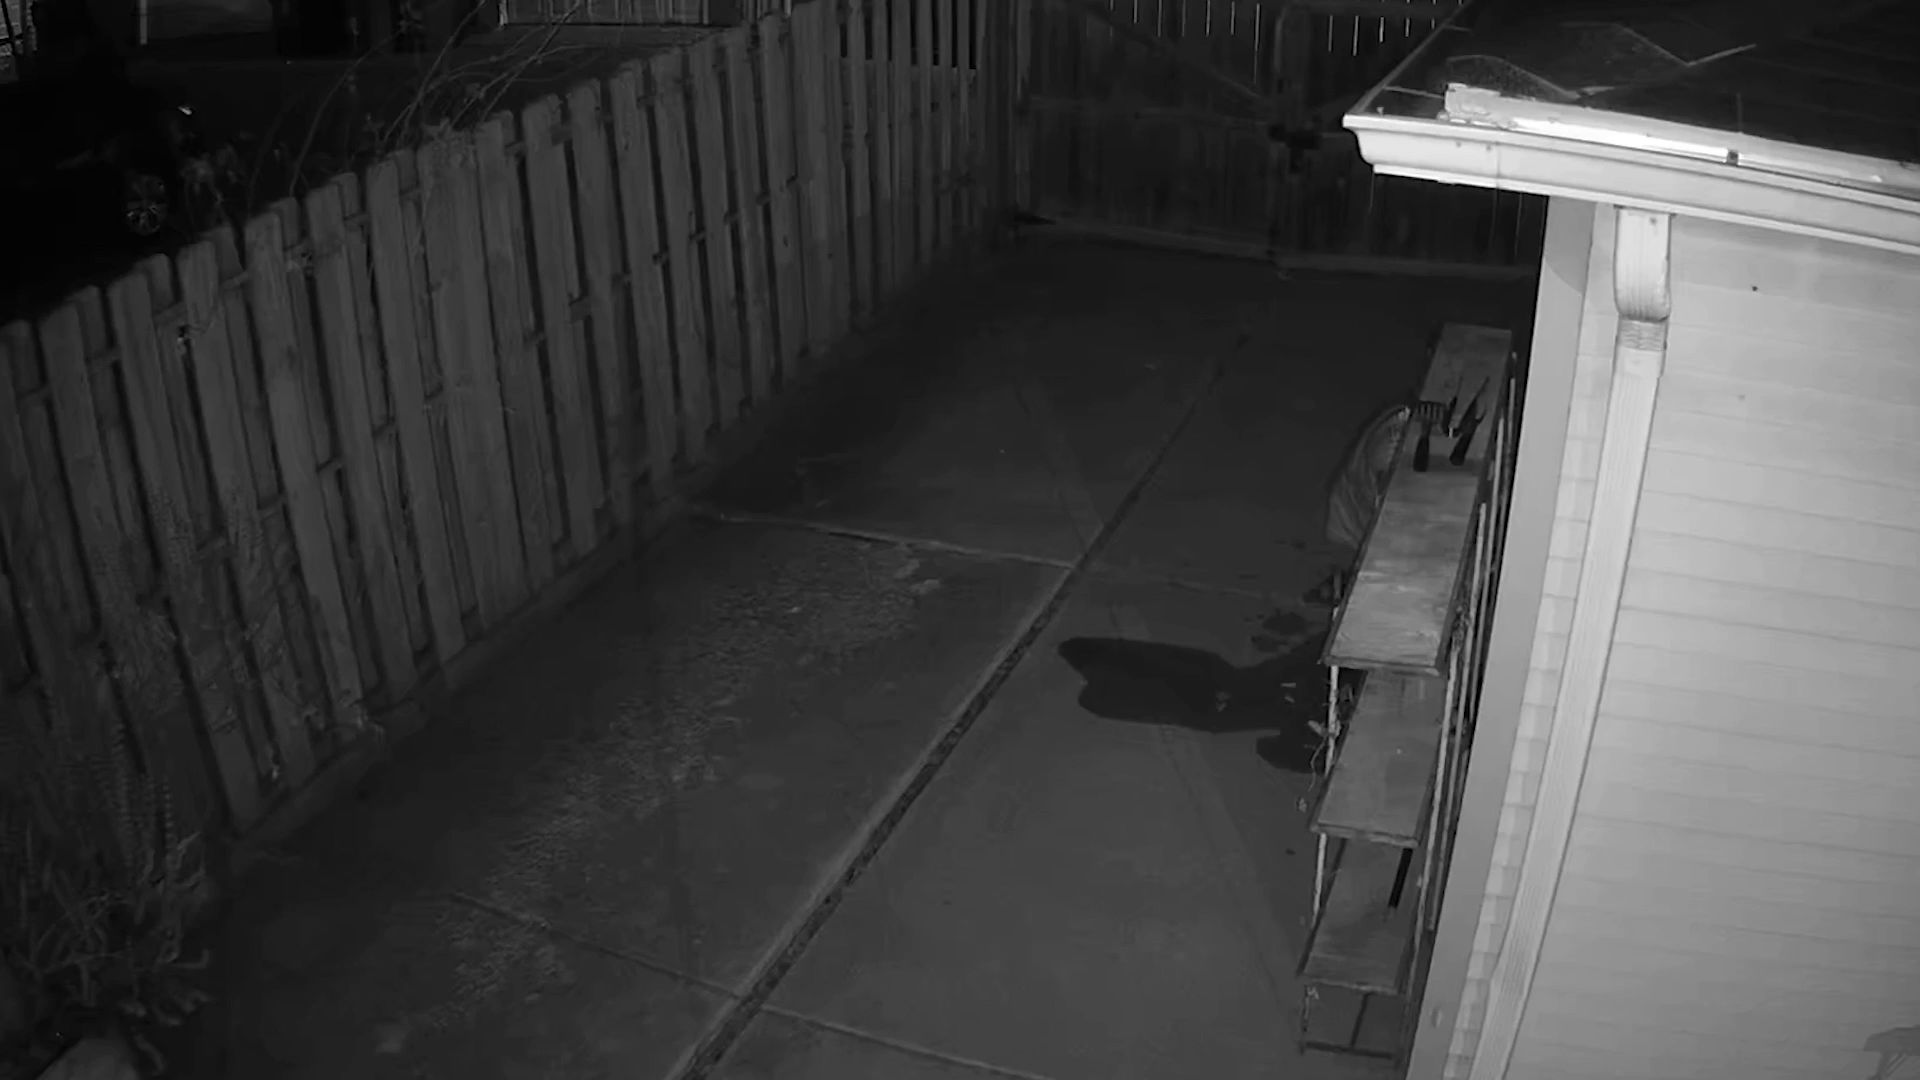
Before we dive into the specifics, it’s important to have a basic understanding of night vision cameras. These cameras are equipped with infrared (IR) technology that allows them to capture images and videos in low-light conditions. Infrared light is invisible to the naked eye but is detected by the camera, enabling clear visibility even in complete darkness.
Night vision cameras are commonly used for home security, outdoor surveillance, and even wildlife observation. With their ability to see in the dark, they provide an extra layer of security and peace of mind.
Key Takeaways:
- Night vision cameras rely on positive and negative wires for power and safety. The positive wire delivers power to the camera and its infrared LEDs, while the negative wire completes the electrical circuit and prevents interference.
- Proper installation and troubleshooting of night vision camera wiring are essential for effective surveillance. Follow manufacturer guidelines, check for wiring issues, and seek professional help if needed to ensure a secure home environment.
Understanding Night Vision Cameras
Before we discuss the positive and negative wires of a night vision camera, it’s important to have a comprehensive understanding of how these cameras work and the various components involved.
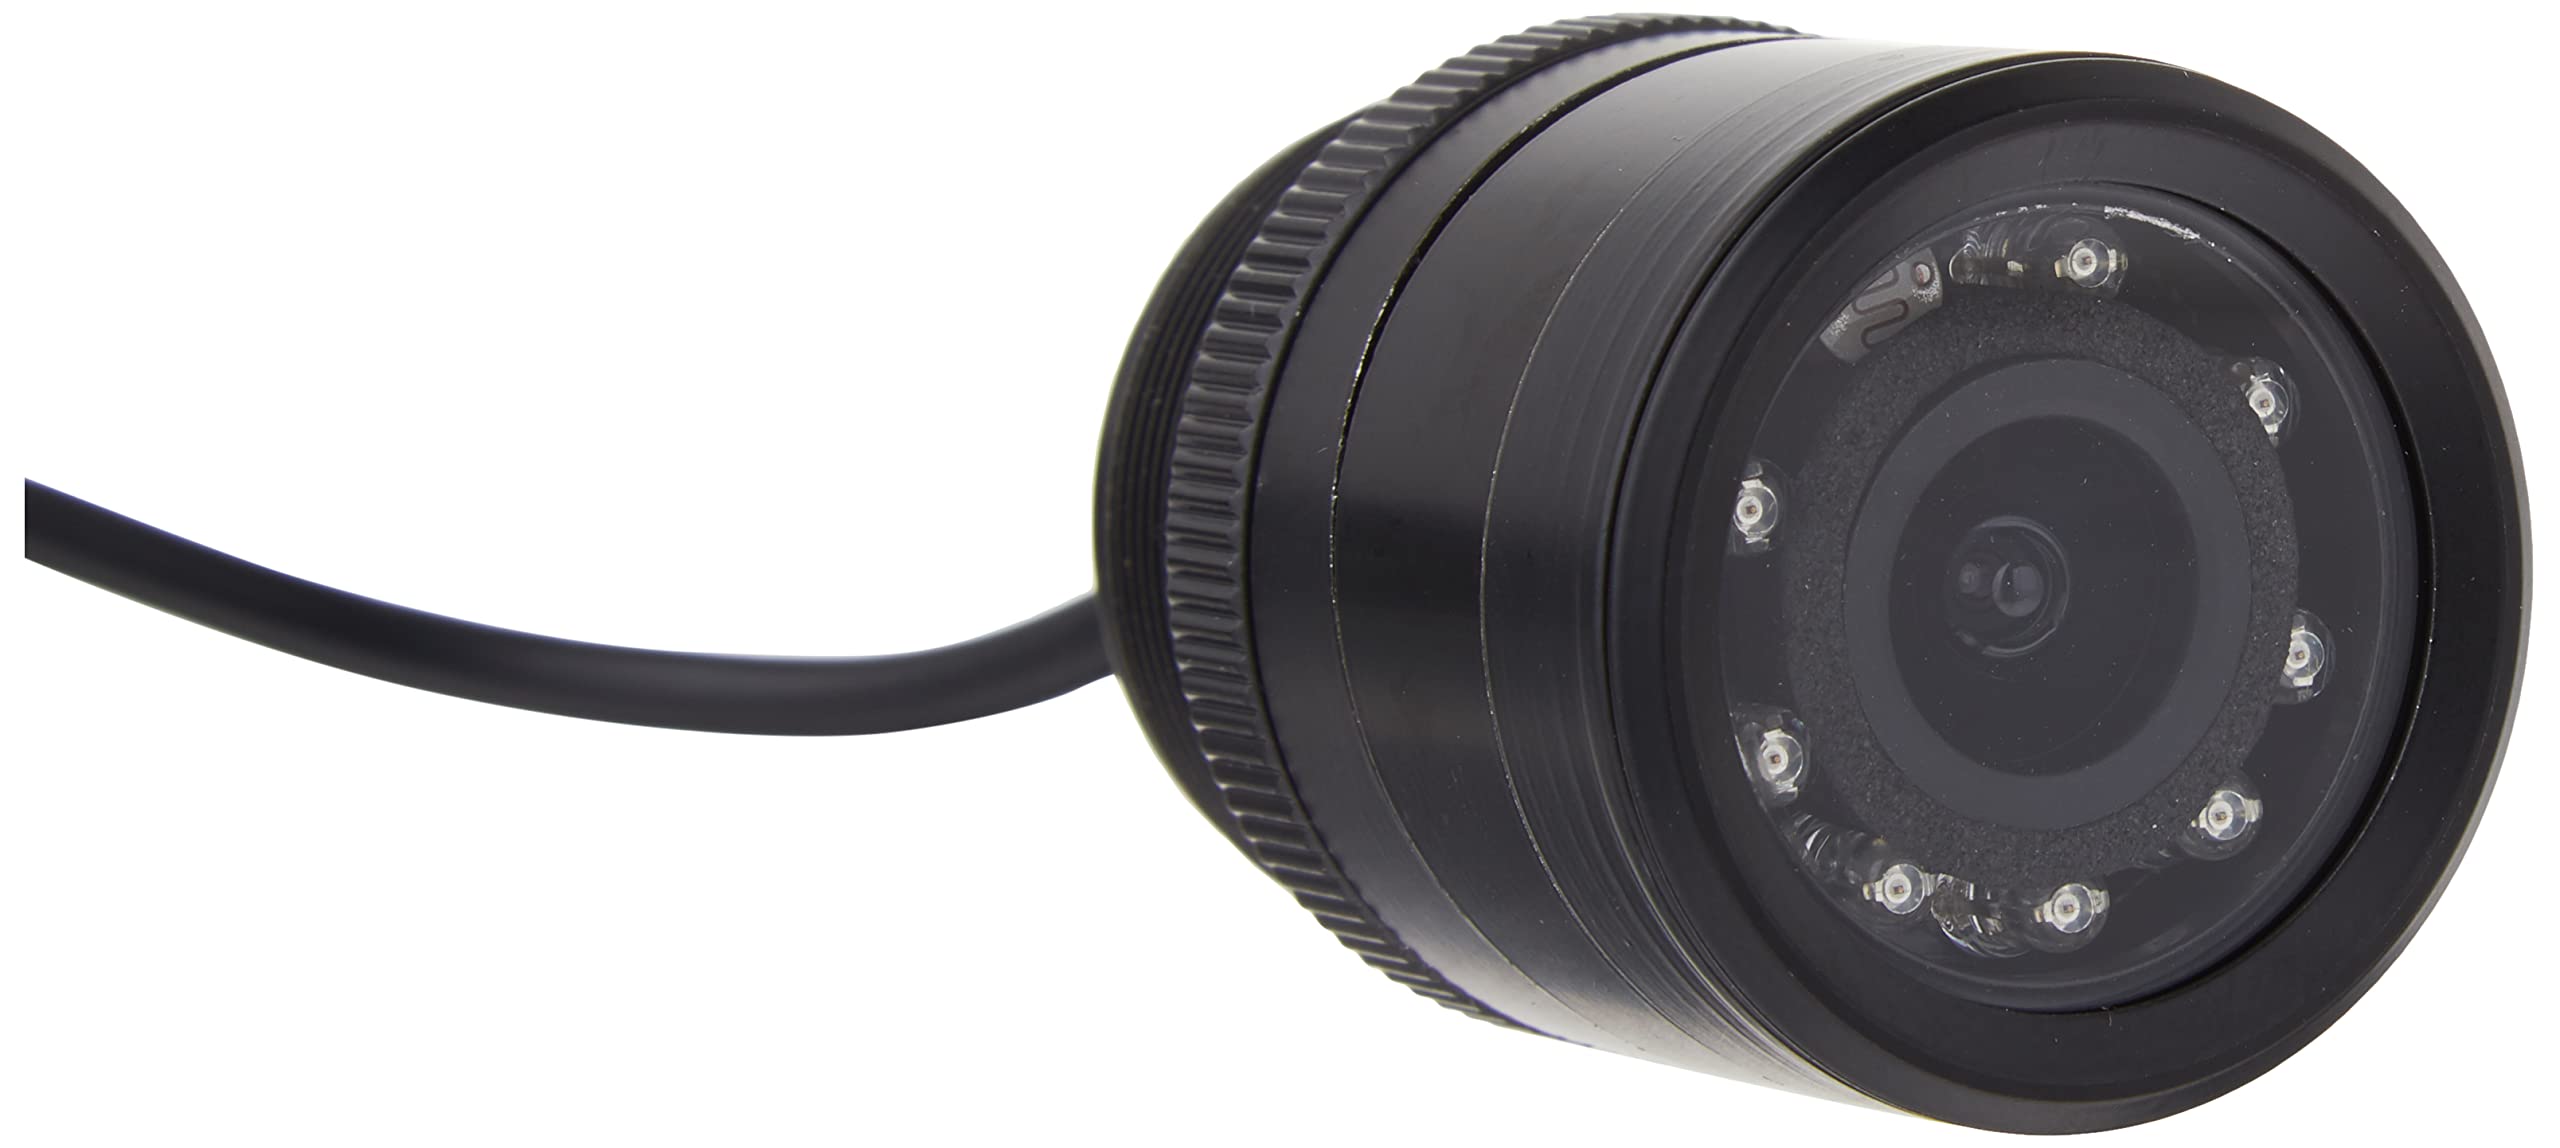
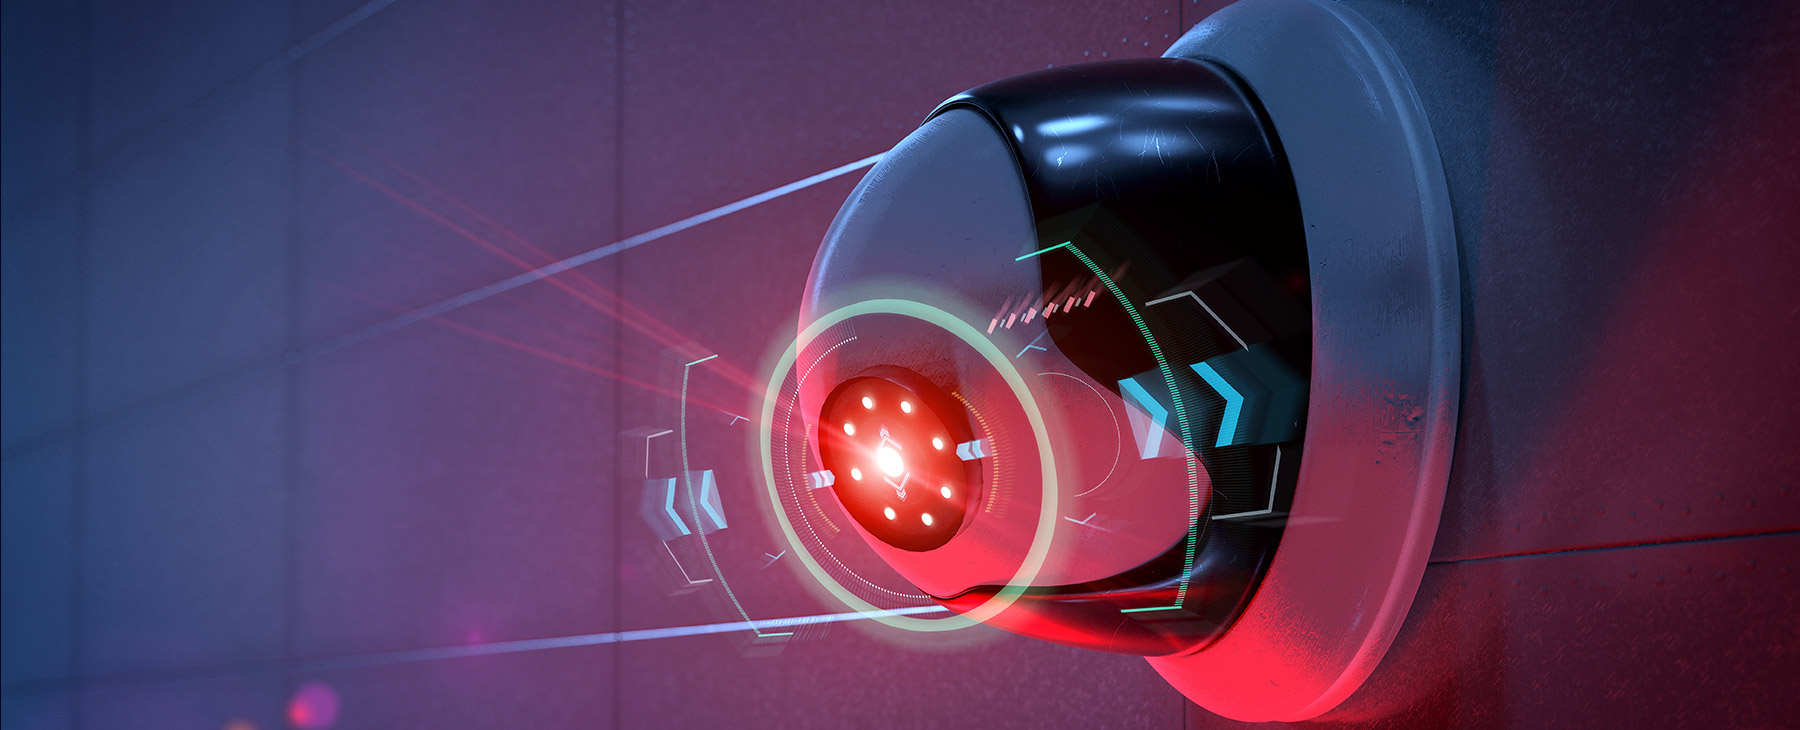
Night vision cameras utilize infrared technology to capture images and videos in low-light or completely dark environments. They are equipped with infrared LEDs (Light Emitting Diodes) that emit infrared light, which is invisible to the human eye but can be detected by the camera’s sensor.
When the infrared light hits objects in the camera’s field of view, it reflects back to the camera, creating an image. The camera’s sensor then captures this reflected light and translates it into a visible image or video.
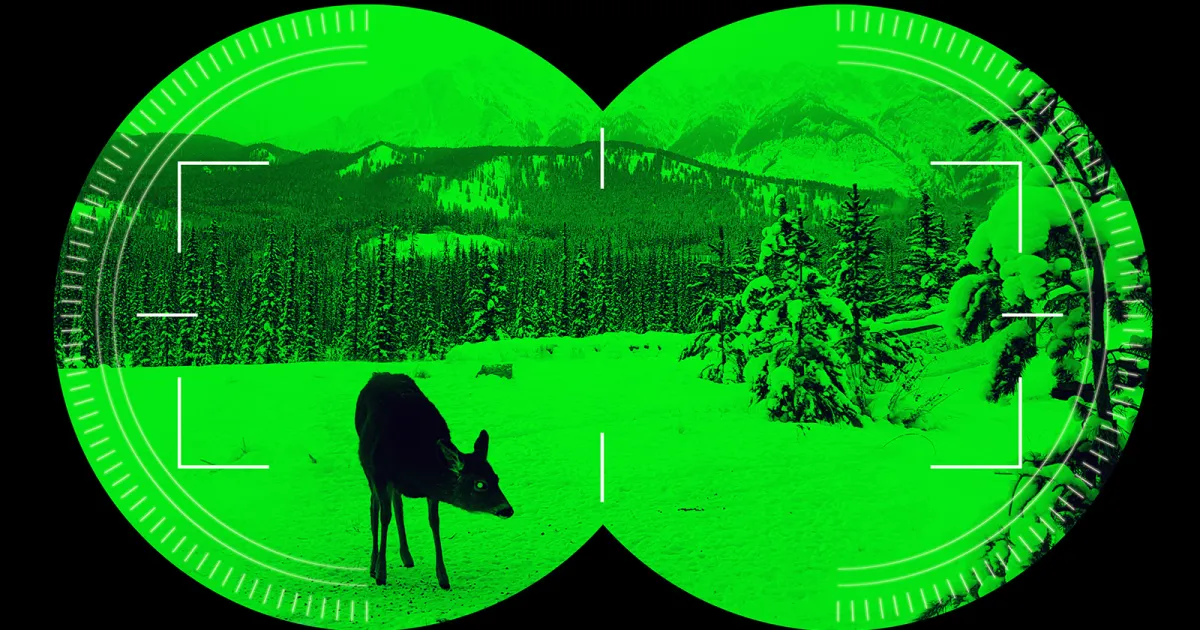
There are two types of night vision cameras: active and passive. Active cameras emit their own infrared light to illuminate the surroundings, while passive cameras rely on existing sources of infrared light, such as ambient street lights or the moon.
Active night vision cameras typically provide better image quality in complete darkness since they can control the intensity of their own infrared light. However, they may be more noticeable due to the emitted light.
Now that we have a grasp of the basics, let’s move on to the positive and negative wires of these cameras, as they play a crucial role in the proper functioning of the system.
Positive Wire: Function and Importance
The positive wire of a night vision camera is an essential component that ensures the proper functioning of the camera system. It is responsible for delivering the necessary power to the camera and its different components, including the infrared LEDs.
The positive wire connects to the power source or power supply unit, such as a DVR (Digital Video Recorder) or a separate power adapter. This wire carries the electrical current from the power source to the camera, enabling it to operate effectively.
Without the positive wire, the night vision camera would not receive any power, rendering it non-functional. This wire acts as the lifeline of the camera, supplying consistent and regulated power for it to capture high-quality footage in low-light conditions.
Moreover, the positive wire also ensures that the infrared LEDs receive the required power to emit infrared light. These infrared LEDs are crucial for night vision functionality as they illuminate the area of surveillance and allow the camera to capture clear images and videos in darkness.
It is important to note that the positive wire should be properly connected to a reliable power source. It is recommended to follow the manufacturer’s guidelines and specifications for the camera’s power requirements. Using an incompatible power supply or improper wiring can lead to voltage fluctuations, power surges, or even permanent damage to the camera.
When installing or troubleshooting the positive wire of a night vision camera, ensure that all connections are secure and insulated from any potential damage or interference. This will help maintain a stable power supply and avoid any disruptions in the camera’s performance.
In summary, the positive wire of a night vision camera is responsible for providing the necessary power to the camera and its components, including the infrared LEDs. It is a vital element in ensuring the effective operation of the camera system and capturing clear footage in low-light conditions.
Negative Wire: Function and Importance
The negative wire of a night vision camera is just as crucial as the positive wire in ensuring the proper functioning of the camera system. While the positive wire delivers the power, the negative wire completes the electrical circuit and provides a return path for the current.
The negative wire, also known as the ground wire, is connected to the camera’s power supply unit or the grounding point in the electrical system. It acts as a reference point for the electrical current and helps maintain stability and safety in the camera’s operation.
One of the primary functions of the negative wire is to prevent electrical interference and potential damage to the camera components. By establishing a solid connection to the ground, the negative wire ensures that any stray voltage or electromagnetic interference is safely diverted away from the camera.
Furthermore, the negative wire plays a vital role in maintaining a balanced electrical system. It helps regulate the voltage and prevents potential voltage spikes or fluctuations that could harm the camera or disrupt its performance.
Just like the positive wire, it is crucial to properly connect and secure the negative wire to its designated grounding point. This ensures a stable electrical connection and minimizes the risk of electrical hazards or disruptions in the camera’s functionality.
When installing or troubleshooting the negative wire, it is important to ensure that it is not interconnected with other wires, especially the positive wire. This can result in electrical shorts or malfunctions that could damage the camera or compromise its performance.
In summary, the negative wire, or the ground wire, of a night vision camera is responsible for completing the electrical circuit and providing a safe return path for the current. It helps prevent electrical interference, maintains system stability, and safeguards the camera and its components from potential damage.
The positive wire on a night vision camera is usually red, while the negative wire is usually black. Always double-check the manufacturer’s instructions to be sure.
Wiring and Installation of Night Vision Cameras
Proper wiring and installation of night vision cameras are crucial to ensure their optimal performance and longevity. Follow these steps to correctly wire and install your night vision camera:
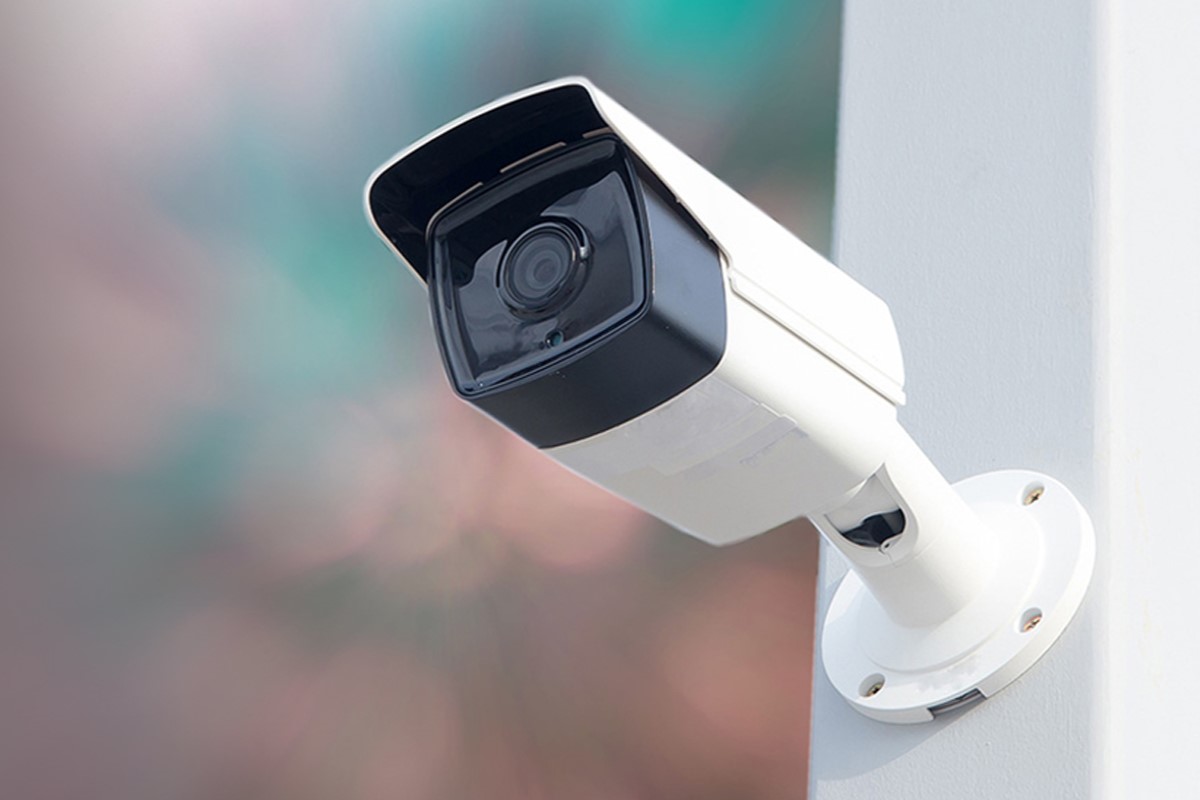
- Choose the Ideal Location: Select a strategic location for your night vision camera, keeping in mind the areas you want to monitor and the camera’s field of view. Consider factors such as lighting conditions, potential obstructions, and coverage area.
- Mounting the Camera: Depending on the surveillance needs, mount the camera on a sturdy surface using brackets or mounts provided by the manufacturer. Ensure that the camera is securely fixed and angled correctly for optimal coverage.
- Plan the Wiring Route: Determine the path for the wiring, ensuring it remains hidden and protected from potential damage. Carefully measure the length of the wires to reach the camera location and the power source.
- Connect the Cables: Begin by connecting the positive wire (usually red) and the negative wire (usually black) from the camera to their respective terminals on the power supply unit or DVR. Make sure the connections are secure and insulated to prevent any electrical issues.
- Power Source: Connect the power supply unit or power adapter to a reliable power outlet. Double-check that the power source matches the camera’s power requirements as specified by the manufacturer.
- Run the Wires: Carefully run the wires along the planned route, making use of conduits or cable channels to protect them. Ensure that the wiring is neatly organized and concealed to maintain a tidy and professional installation.
- Test the Connections: Once the wiring is complete, check all the connections to ensure they are properly secured and insulated. Test the camera to verify that it is receiving power and capturing clear footage.
- Adjustments and Settings: Make any necessary adjustments to the camera’s position and settings to optimize its performance. This may include adjusting the focus, enabling night vision mode, or configuring motion detection settings.
It is essential to carefully follow the manufacturer’s instructions and guidelines during the installation process. If you are unsure about any aspect of the wiring or installation, it is recommended to seek professional assistance.
Remember, the correct wiring and installation of your night vision camera are crucial for its effectiveness and longevity. By taking the time to properly install and set up your camera, you can ensure reliable surveillance and peace of mind for your home or property.
Tips for Troubleshooting Wiring Issues
While proper installation is key to preventing wiring issues with your night vision camera, occasional problems may still arise. Here are some useful tips for troubleshooting wiring issues:
- Check Power Supply: Verify that the power supply unit or power adapter is working correctly. Ensure that it is securely connected to a reliable power outlet and that the power source matches the camera’s requirements.
- Inspect Wiring Connections: Examine all wiring connections, including the positive and negative wires, for any loose or damaged connections. Reconnect or repair any faulty connections and ensure they are properly insulated.
- Test Voltage Levels: Use a multimeter to measure the voltage levels at different points along the wiring. Compare the readings to the camera’s recommended voltage range to ensure it is receiving adequate power.
- Look for Physical Damage: Check the wiring for any visible signs of damage, such as cuts, frayed insulation, or exposed wires. Replace or repair damaged sections of the wiring to avoid any electrical hazards.
- Inspect Cable Length: Ensure that the length of the cables is sufficient to reach the camera location without being stretched or bent excessively. Avoid sharp bends or kinks in the wiring, as these can cause signal loss or damage.
- Check for Interference: Identify any potential sources of interference, such as other electronic devices or electrical cables running parallel to the camera wiring. Keep the camera wiring away from sources of electromagnetic interference to maintain signal integrity.
- Eliminate Shorts: Make sure that the positive and negative wires are not interconnecting or touching each other. Shorts between these wires can cause electrical malfunctions or damage the camera.
- Test with Alternate Components: If possible, test the camera with different cables, a power supply unit, or a power adapter to identify if any specific component is causing the wiring issue.
- Consult a Professional: If you have tried troubleshooting the wiring issues yourself but are still facing difficulties, it may be best to seek assistance from a professional technician or installer. They can diagnose and resolve complex wiring problems efficiently.
Remember, safety should always be your top priority when dealing with electrical components. If you are unsure or uncomfortable with troubleshooting the wiring issues yourself, it is always advisable to consult a professional for assistance.
By following these tips and taking the necessary precautions, you can effectively troubleshoot wiring issues with your night vision camera and ensure uninterrupted surveillance for your home or property.
Conclusion
Installing a night vision camera is a valuable investment in securing your home or property. Understanding the function and importance of the positive and negative wires is crucial for successful installation and troubleshooting. The positive wire delivers the necessary power to the camera and its components, while the negative wire completes the electrical circuit and provides a safe return path for the current.
When wiring and installing your night vision camera, it is essential to choose an ideal location, mount the camera securely, plan the wiring route, and carefully connect the positive and negative wires. Following the manufacturer’s instructions and guidelines will help ensure a proper installation process.
In case of any wiring issues, thorough troubleshooting is necessary. Checking the power supply, inspecting wiring connections, testing voltage levels, and addressing potential interference are some of the troubleshooting steps you can take. If you encounter persistent issues, consulting a professional technician is recommended.
By paying attention to the wiring and installation process, you can enjoy the benefits of your night vision camera and have the peace of mind that comes with enhanced security. Remember to maintain the cleanliness and integrity of the wiring and regularly inspect the connections to ensure optimal performance.
With the right knowledge and techniques, you can confidently wire and install your night vision camera, creating a safer and more secure environment for yourself and your loved ones.
Frequently Asked Questions about What Is The Negative And Positive Wire On A Night Vision Camera
Was this page helpful?
At Storables.com, we guarantee accurate and reliable information. Our content, validated by Expert Board Contributors, is crafted following stringent Editorial Policies. We're committed to providing you with well-researched, expert-backed insights for all your informational needs.