Home>Ideas and Tips>Backyard Garden Irrigation System: DIY to Water Your Plants Easily
Ideas and Tips
Backyard Garden Irrigation System: DIY to Water Your Plants Easily
Modified: October 28, 2024
Create an efficient DIY backyard garden irrigation system to water your plants easily, conserve water, and ensure consistent moisture levels.
(Many of the links in this article redirect to a specific reviewed product. Your purchase of these products through affiliate links helps to generate commission for Storables.com, at no extra cost. Learn more)
Creating a backyard garden irrigation system is an excellent way to ensure your plants receive the right amount of water without the hassle of manual watering. This article will guide you through the process of setting up a DIY irrigation system, highlighting various methods and materials you can use. Whether you have a small garden or a large greenhouse, these steps will help you create an efficient and eco-friendly watering system.
Why You Need a DIY Irrigation System
Before diving into the DIY process, let's explore why an irrigation system is essential for your garden:
- Efficiency: Manual watering can be time-consuming and often results in overwatering or underwatering. An irrigation system ensures that your plants receive the right amount of water at the right time.
- Water Conservation: Drip irrigation methods significantly reduce water runoff and waste, making them an eco-friendly choice.
- Consistency: Automatic watering systems provide consistent moisture levels, which is crucial for healthy plant growth.
- Cost-Effectiveness: While initial setup costs may seem high, DIY irrigation systems can save you money in the long run by reducing the need for frequent hose replacements and manual labor.
Materials Needed
To create a DIY irrigation system, you'll need the following materials:
- PVC Clear Vinyl Tubing: This is one of the most affordable and flexible options for creating your irrigation lines. It's easy to cut, snap together, and replace as needed.
- PVC Couplings and Splitters: These are used to connect and split the tubing, allowing you to customize your system according to your garden's layout.
- Landscape Fabric Pins: These help keep the lines in place and prevent them from getting tangled or damaged.
- Reservoir: A small length of larger pipe that connects to your water source via a hose.
- Hose Reducer Coupling: This connects the hose to the reservoir, ensuring a secure and leak-free connection.
- Drippers or Emitters: These are the final components that deliver water directly to the roots of your plants, reducing evaporation and runoff.
- Water Timer (Optional): A programmable water timer can automate your watering schedule, ensuring your plants receive water even when you're away.
Step-by-Step Guide to Creating a DIY Irrigation System
Step 1: Map Out Your Garden Space
Before gathering your supplies, it's crucial to map out your garden space. This involves measuring your garden and drawing a rough map of it using the measurements. This step will help you determine how much tubing and other materials you'll need.
TIP: If you've already done this as part of starting a vegetable garden, you can pull it from your garden notebook journal.
Step 2: Plan Your Water Lines
Next, diagram where you want your water lines to go based on your garden set-up. For example, you might want a main line that feeds an arm with a soaker hose attached to each bed. Think about your property's water pressure and how long a run it will support. You can run as many main lines as you want and use hose splitters or timers with double, triple, or quadruple hose connectors if needed.
TIP From a Reader: To factor the rate of water required for the system and the amount of water available from your water source, you can calculate by timing how long it takes to fill a 3 or 5-gallon bucket then multiplying by a factor to determine how many gallons per hour of water you have available. This will tell you how much total gallons per hour of water you have available. Then add up your planned watering system rates used by soaker hoses, drip emitters, etc. (these are shown on the item packaging). Most of the time you should have plenty of water. But nice to be on the safe side.
Step 3: Gather Your Supplies
Once you have your plan in place, gather all the necessary supplies:
- PVC Clear Vinyl Tubing
- PVC Couplings and Splitters
- Landscape Fabric Pins
- Reservoir
- Hose Reducer Coupling
- Drippers or Emitters
- Water Timer (Optional)
Step 4: Connect the Reservoir
Hook up your hose to the pipe reducer coupling and you're ready to get cracking If you're using a rain barrel, make sure it's attached to the reservoir via a hose.
TIP: For a more efficient system, consider moving your reservoir closer to the middle of the garden. This will reduce pressure loss over long runs and make it easier to expand your system.
Step 5: Lay Out Your Tubing
Cut sections of tubing according to your plan and attach them to the couplings. Run these lines down the length of each bed where you want the water to reach. Use landscaping fabric pins to keep the lines in place.
TIP: For drip irrigation systems using PVC pipes, it's essential to map out your design and measurements before heading to the hardware store. This will help ensure that all components fit together seamlessly.
Step 6: Add Drippers or Emitters
Poke small holes along the length of the tubing where you want the garden watered. The spaces between these holes should be slightly different in each bed based on how far apart each plant will be.
TIP: If using drippers or emitters, make sure they're spaced correctly according to their specifications. This ensures that each plant receives an adequate amount of water without overwatering.
Step 7: Test Your System
Before planting, test your irrigation system by running water through it. Check for leaks and ensure that all components are functioning correctly.
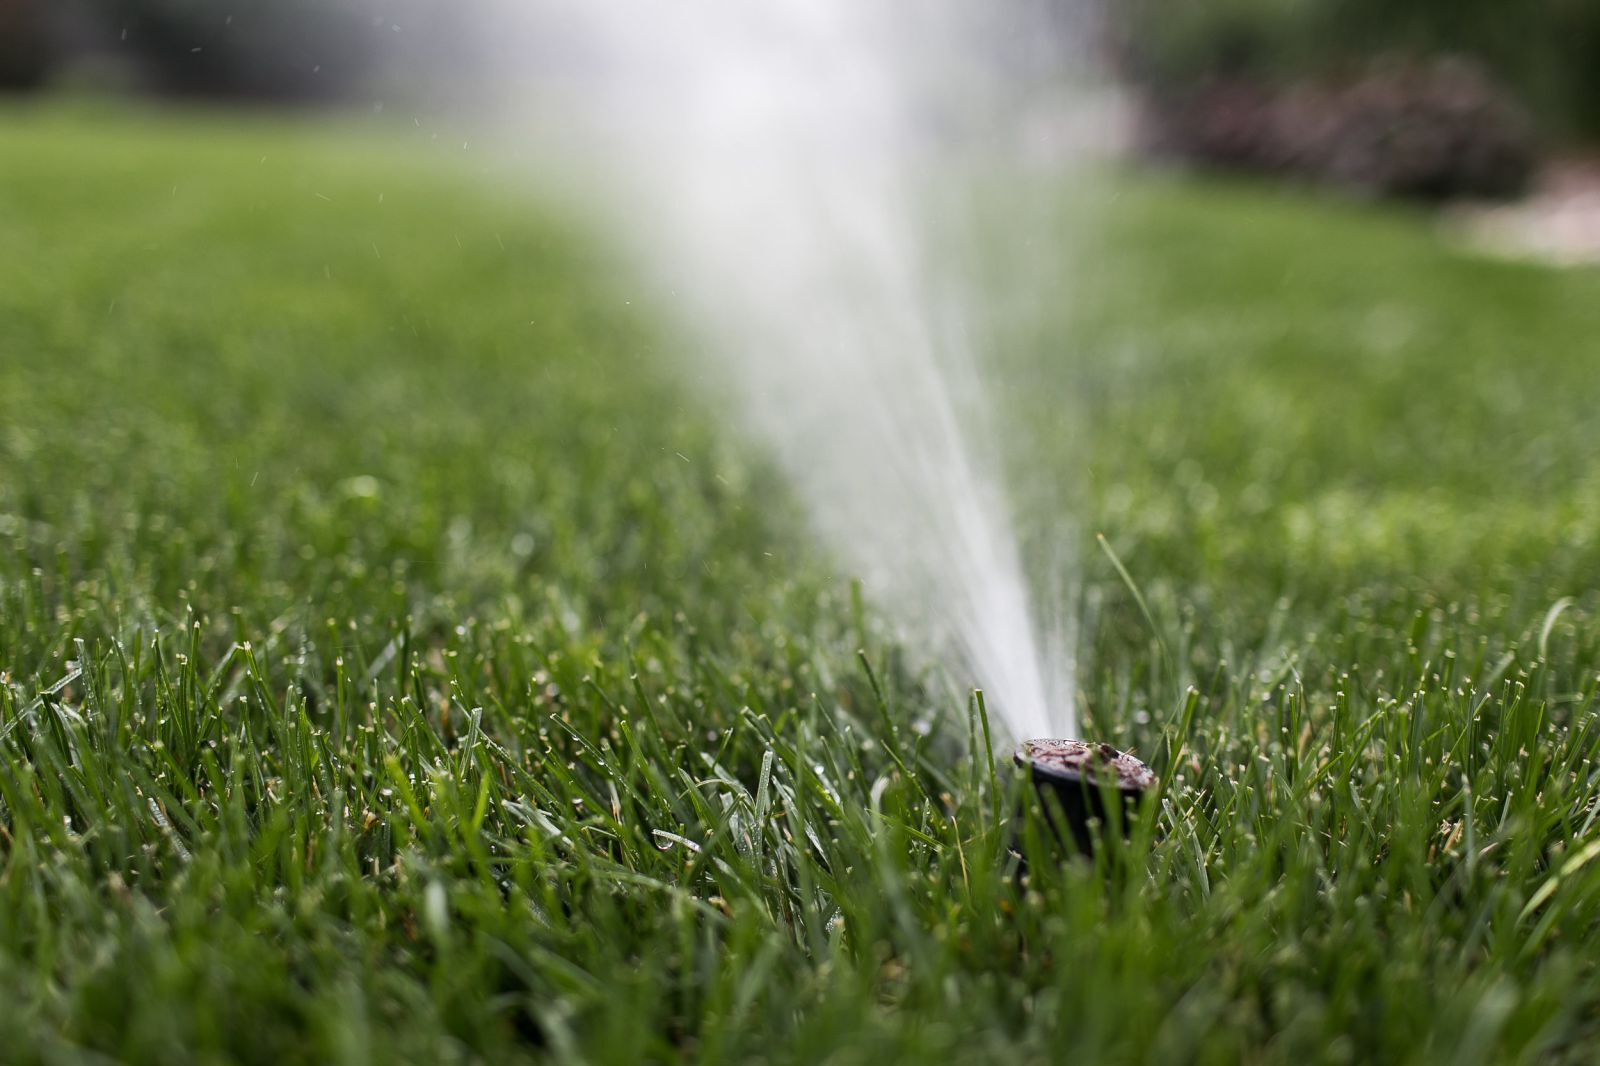
TIP: If using a soaker hose method, lay out the hose along your rows of vegetables and connect it to a timed sprinkler system for added efficiency.
Optional: Add a Water Timer
If you want to automate your watering schedule, consider adding a programmable water timer. This can be directly screwed onto an outside tap and programmed to turn on daily at set times. This feature is perfect for busy gardeners or those who go away on holiday.
TIP: Use a garden tap splitter with your timer so that you can keep your irrigation system plugged in at all times while also having a spare connector for filling your watering can.
Benefits of a DIY Irrigation System
Creating a DIY irrigation system offers numerous benefits:
- Affordability: Using PVC clear vinyl tubing and other affordable materials keeps costs low.
- Flexibility: Customizable systems can be adapted to any garden layout or size.
- Eco-Friendliness: Drip irrigation methods conserve water by reducing runoff and waste.
- Efficiency: Automatic watering ensures consistent moisture levels, promoting healthy plant growth.
- Convenience: No more daily watering chores; let your system do the work for you.
Additional Methods for Creating a Homemade Garden Irrigation System
While PVC tubing is a popular choice, there are other methods you can consider:
Drip Irrigation Using Soaker Hoses
Soaker hoses have been around for a long time and are an easy way to create a homemade garden irrigation system in just a few hours. Simply lay out the soaker hose along your rows of vegetables and connect it to a timed sprinkler system for added efficiency.
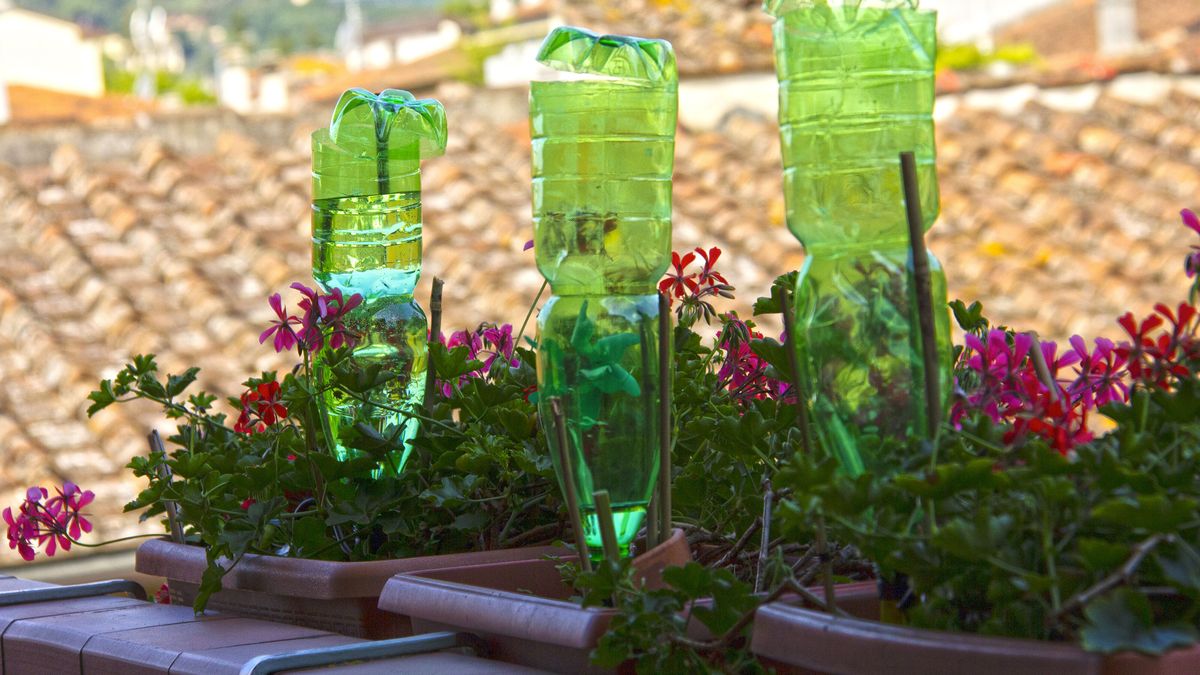
DIY Ollas – Clay Pot Irrigation System
If you're going away for a few days and don't want your garden to suffer, consider using a clay pot irrigation system. Ollas, or clay pots, have been used for centuries for providing water to crops. An easy way to create your own ollas is to use unglazed terracotta flower pots. The water seeps through the terracotta at a relatively slow pace, ensuring steady moisture levels even when you're away.
Common Challenges and Solutions
While creating a DIY irrigation system is generally straightforward, there are some common challenges you might encounter:
- Water Pressure Issues: If your water pressure is low, it may not reach the farthest extent of your irrigation lines. In this case, consider using shorter runs or installing additional pumps if necessary.
- Leakage: Regularly check for leaks in your system by running water through it and inspecting all connections.
- Clogging: Make sure your drippers or emitters are not clogged by debris or mineral buildup. Clean them regularly if needed.
Conclusion
Creating a backyard garden irrigation system using DIY methods is not only cost-effective but also eco-friendly and efficient. By following these steps and considering various materials and methods, you can ensure that your plants receive the right amount of water at the right time. Whether you're a seasoned gardener or just starting out, this guide will help you create an automatic watering system that keeps your garden thriving all year round.
Final Tips
- Regular Maintenance: Regularly inspect and maintain your irrigation system to ensure it continues functioning efficiently.
- Customization: Be flexible with your design; different plants may require different watering schedules.
- Expansion: As your garden grows, expand your irrigation system accordingly to meet its needs.
With these tips and techniques, you'll be well on your way to creating an effective DIY garden irrigation system that will keep your plants happy and healthy for years to come
Was this page helpful?
At Storables.com, we guarantee accurate and reliable information. Our content, validated by Expert Board Contributors, is crafted following stringent Editorial Policies. We're committed to providing you with well-researched, expert-backed insights for all your informational needs.
0 thoughts on “Backyard Garden Irrigation System: DIY to Water Your Plants Easily”