Home>Technology>Smart Home Devices>How To Assign An IP Address To A Printer
Smart Home Devices
How To Assign An IP Address To A Printer
Modified: February 18, 2024
Learn how to assign an IP address to your printer for seamless integration with smart home devices. Follow our step-by-step guide for easy setup.
(Many of the links in this article redirect to a specific reviewed product. Your purchase of these products through affiliate links helps to generate commission for Storables.com, at no extra cost. Learn more)
Introduction
Welcome to the era of smart homes, where every device is interconnected, making our lives more convenient and efficient. One essential component of a smart home is a network-connected printer, allowing you to effortlessly print from any device within your home network. However, to ensure seamless connectivity, assigning an IP address to your printer is crucial.
In this comprehensive guide, we will delve into the world of IP addresses, exploring the significance of static and dynamic IP addresses for printers. Whether you are a tech enthusiast or a novice in the realm of networking, this article will equip you with the knowledge and skills to assign an IP address to your printer, troubleshoot common issues, and optimize your printing experience.
Key Takeaways:
- Assigning a static IP address to your printer provides predictability and control, ensuring consistent accessibility and seamless communication within your smart home network.
- By leveraging dynamic IP address assignment, your printer seamlessly integrates into your smart home network, adapting to changes and ensuring uninterrupted printing capabilities across various devices.
Read more: How To Add A Printer With An IP Address
Understanding IP Addresses
Before delving into the process of assigning an IP address to a printer, it’s essential to grasp the fundamentals of IP addresses. An IP address, short for Internet Protocol address, is a numerical label assigned to each device connected to a computer network that uses the Internet Protocol for communication. It serves as a unique identifier, enabling devices to communicate with each other within a network.
There are two primary types of IP addresses: static and dynamic. A static IP address is manually configured for a device, and it remains constant over time. This type of IP address is ideal for devices that require permanent accessibility, such as printers and servers. On the other hand, a dynamic IP address is automatically assigned to a device by a network’s Dynamic Host Configuration Protocol (DHCP) server. Dynamic IP addresses are temporary and subject to change, making them suitable for devices that do not require a fixed address.
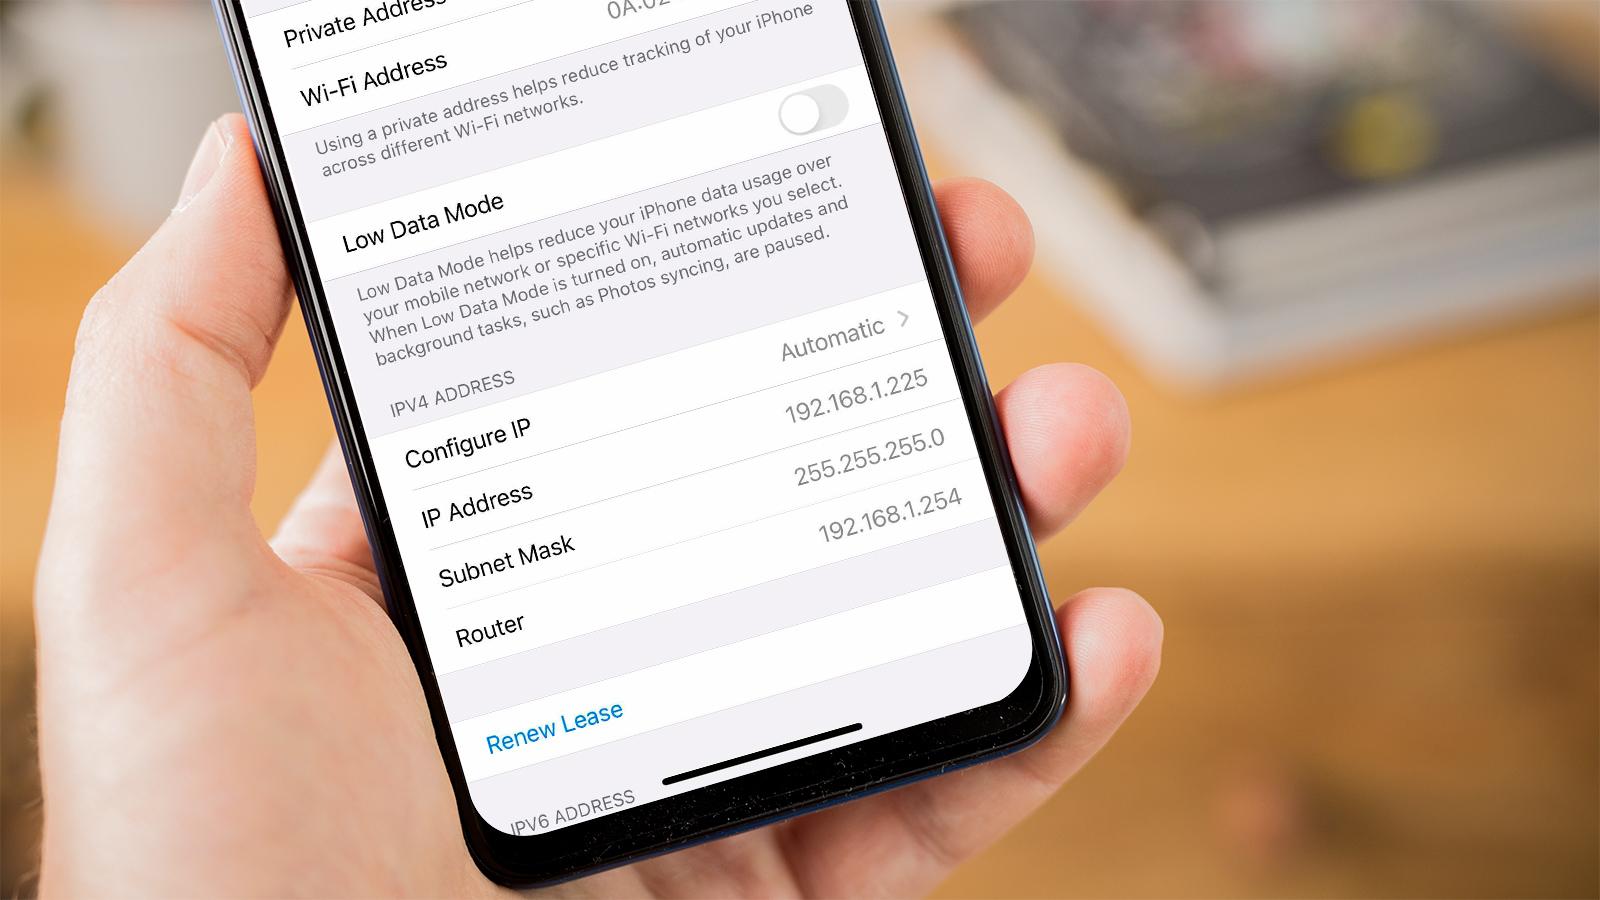
IP addresses are typically expressed in a four-part format, known as IPv4, such as 192.168.1.1. Each part consists of a number ranging from 0 to 255, separated by periods. With the increasing number of connected devices worldwide, the transition to IPv6, which offers a significantly larger pool of unique IP addresses, is underway to accommodate the growing demand for networked devices.
Understanding the distinction between static and dynamic IP addresses is crucial when configuring a printer within a network. Whether you opt for a static or dynamic IP address for your printer, it’s essential to consider the specific requirements of your printing environment and the level of control and predictability you seek over the printer’s network connectivity.
Assigning a Static IP Address to a Printer
Assigning a static IP address to your printer involves configuring the printer with a fixed address that remains constant over time. This ensures consistent accessibility and seamless communication within your network. Here’s a step-by-step guide to assigning a static IP address to your printer:
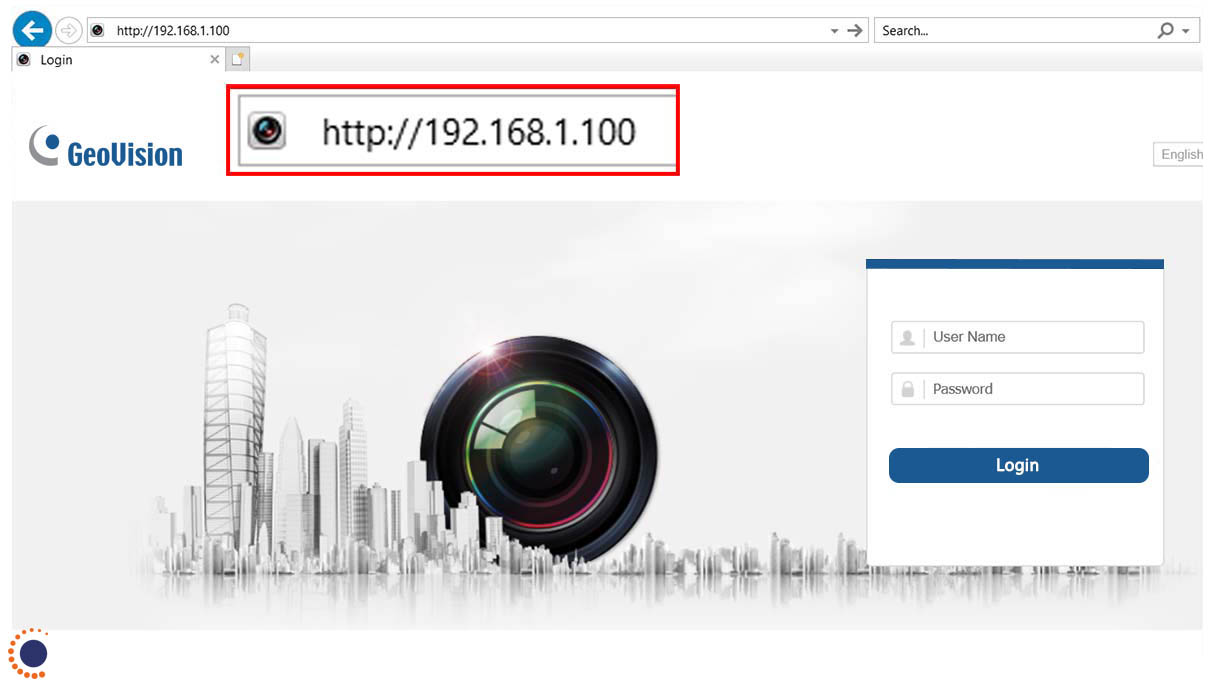
- Access the Printer’s Web Interface: To begin, access the printer’s web interface by entering its IP address into a web browser. This will vary depending on the printer model, so refer to the printer’s manual for specific instructions.
- Log in to the Printer’s Settings: Once you have accessed the printer’s web interface, log in using the administrator credentials. Again, consult the printer’s manual for the default username and password.
- Navigate to the Network Settings: Within the printer’s settings, locate the network or TCP/IP settings. Here, you will find the option to set a static IP address for the printer.
- Assign the Static IP Address: Enter the desired static IP address, subnet mask, gateway, and DNS server information as per your network configuration. Ensure that the static IP address you assign is within the range of your network’s IP addresses and does not conflict with any existing devices.
- Save the Settings: After entering the static IP address details, save the settings within the printer’s web interface. The printer will then be configured with the specified static IP address, ensuring consistent connectivity within your network.
By assigning a static IP address to your printer, you gain greater control over its network accessibility and eliminate the risk of address conflicts or disruptions in communication. This method is particularly advantageous for printers that serve as dedicated network resources, providing a reliable and fixed point of access for printing from various devices in your smart home environment.
To assign an IP address to a printer, access the printer’s settings through the control panel or web interface. Look for the network or TCP/IP settings and enter the desired IP address, subnet mask, and gateway. Be sure to save the changes before exiting.
Assigning a Dynamic IP Address to a Printer
Assigning a dynamic IP address to your printer involves configuring it to obtain an IP address automatically from a DHCP server within your network. This dynamic allocation of IP addresses simplifies network management and is well-suited for devices that do not require a fixed address. Here’s a step-by-step guide to assigning a dynamic IP address to your printer:
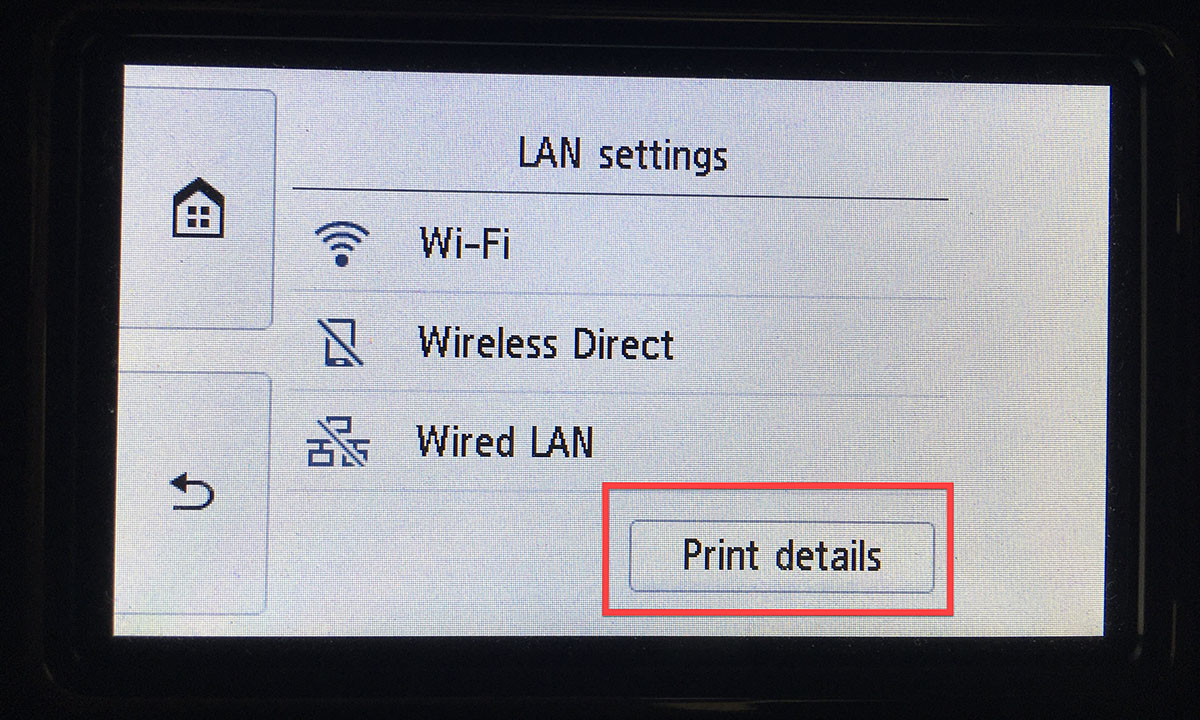
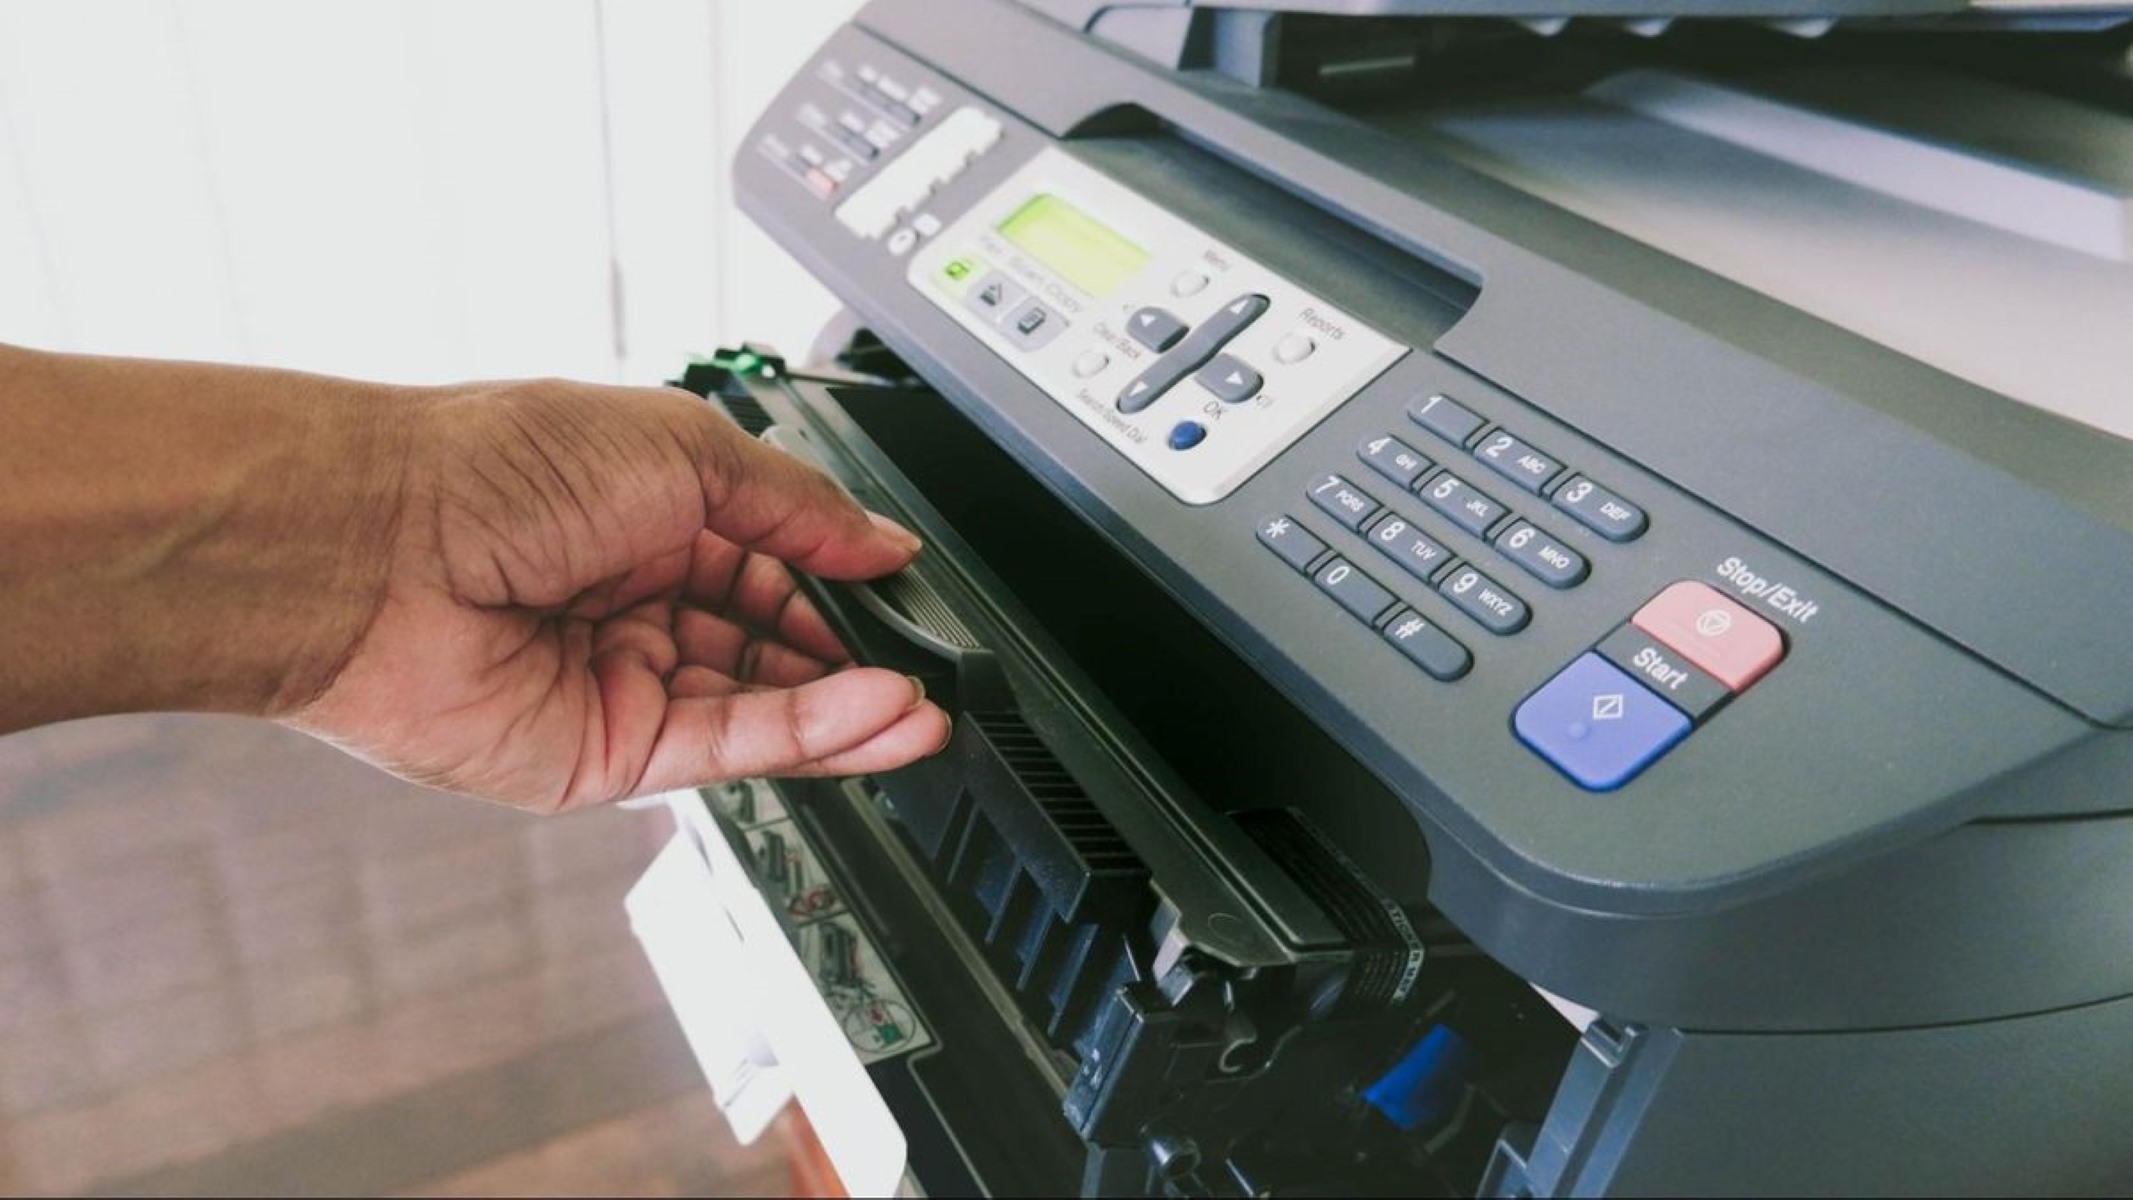
- Access the Printer’s Control Panel: Begin by accessing the control panel of your printer. Depending on the printer model, navigate to the network or settings menu to initiate the IP address configuration.
- Select Dynamic (DHCP) Configuration: Within the network settings, select the option for dynamic or DHCP configuration. This instructs the printer to obtain its IP address automatically from the DHCP server on the network.
- Save the Settings: Once you have selected the dynamic IP configuration, save the settings within the printer’s control panel. The printer will then initiate the process of obtaining an IP address from the DHCP server.
- Verify the Assigned IP Address: After saving the settings, verify that the printer has successfully obtained an IP address from the DHCP server. This information can typically be found within the network settings or through a network configuration page printed from the printer.
Assigning a dynamic IP address to your printer streamlines the network configuration process and is well-suited for environments where flexibility and automatic address allocation are preferred. It eliminates the need for manual IP address assignment and simplifies the addition of new devices to the network without the risk of address conflicts.
By leveraging dynamic IP address assignment, your printer seamlessly integrates into your smart home network, dynamically adapting to changes in the network infrastructure and ensuring uninterrupted printing capabilities across various devices.
Troubleshooting Common Issues
While assigning an IP address to a printer can greatly enhance its connectivity within your smart home network, it’s not uncommon to encounter challenges during the configuration process. Here are some common issues and troubleshooting tips to ensure a smooth and seamless setup:
- IP Address Conflict: If you experience network connectivity issues or receive an IP address conflict notification, verify that the assigned IP address for the printer is unique and does not conflict with any other device on the network. Adjust the IP address as needed to resolve conflicts.
- Network Communication Errors: In cases where the printer is unable to communicate with other devices on the network, ensure that the subnet mask, gateway, and DNS server information entered during the IP address configuration are accurate and aligned with your network settings.
- DHCP Configuration Errors: If you encounter difficulties with dynamic IP address assignment, ensure that the DHCP server on your network is operational and capable of assigning IP addresses. Additionally, verify that the printer is configured to obtain an IP address automatically through DHCP.
- Firewall and Security Settings: Check the firewall and security settings on your network to ensure that they do not restrict communication with the printer. Adjust firewall rules and security settings as necessary to allow seamless printing communication within the network.
- Printer Firmware Updates: Periodically check for firmware updates for your printer to ensure compatibility with the latest network protocols and address any known issues related to IP address assignment and network connectivity.
By addressing these common issues and implementing the troubleshooting tips provided, you can overcome potential obstacles and optimize the network connectivity of your printer within your smart home environment. Should you encounter persistent challenges, referring to the printer’s manual or seeking assistance from the manufacturer’s support resources can provide valuable insights and resolutions.
Read more: How To Know IP Address Of Printer
Conclusion
As smart home technology continues to revolutionize our daily lives, the seamless integration of network-connected printers plays a pivotal role in enhancing productivity and convenience. Whether you opt for a static or dynamic IP address assignment, the process of configuring your printer within your home network empowers you to print effortlessly from various devices while enjoying the benefits of a connected ecosystem.
Understanding the nuances of IP addresses, including the distinction between static and dynamic allocation, equips you with the knowledge to make informed decisions based on your specific network requirements and preferences. Assigning a static IP address to your printer offers predictability and control, ensuring a fixed point of access for printing, while dynamic IP address assignment simplifies network management and accommodates evolving network configurations.
By following the step-by-step guides provided in this article, you can confidently configure your printer with the appropriate IP address, troubleshoot common issues, and optimize its connectivity within your smart home network. Whether you are printing documents, photos, or creative projects, a well-configured printer seamlessly integrates into your smart home environment, delivering the convenience and efficiency you desire.
As you embark on your journey to enhance your smart home printing experience, remember that ongoing maintenance, firmware updates, and periodic network assessments contribute to the sustained performance of your network-connected printer. Embrace the possibilities of smart home technology, and let your printer be a reliable and indispensable component of your connected lifestyle.
With a deeper understanding of IP address assignment and a proactive approach to troubleshooting, your printer becomes a seamless extension of your smart home, catering to your printing needs with precision and reliability.
Frequently Asked Questions about How To Assign An IP Address To A Printer
Was this page helpful?
At Storables.com, we guarantee accurate and reliable information. Our content, validated by Expert Board Contributors, is crafted following stringent Editorial Policies. We're committed to providing you with well-researched, expert-backed insights for all your informational needs.

0 thoughts on “How To Assign An IP Address To A Printer”