Home>Ideas and Tips>Creating A DIY Photo Wall With Family Memories

Ideas and Tips
Creating A DIY Photo Wall With Family Memories
Published: November 4, 2024
Create a DIY photo wall to showcase cherished family memories. Follow our step-by-step guide to personalize your home decor with love and nostalgia.
(Many of the links in this article redirect to a specific reviewed product. Your purchase of these products through affiliate links helps to generate commission for Storables.com, at no extra cost. Learn more)
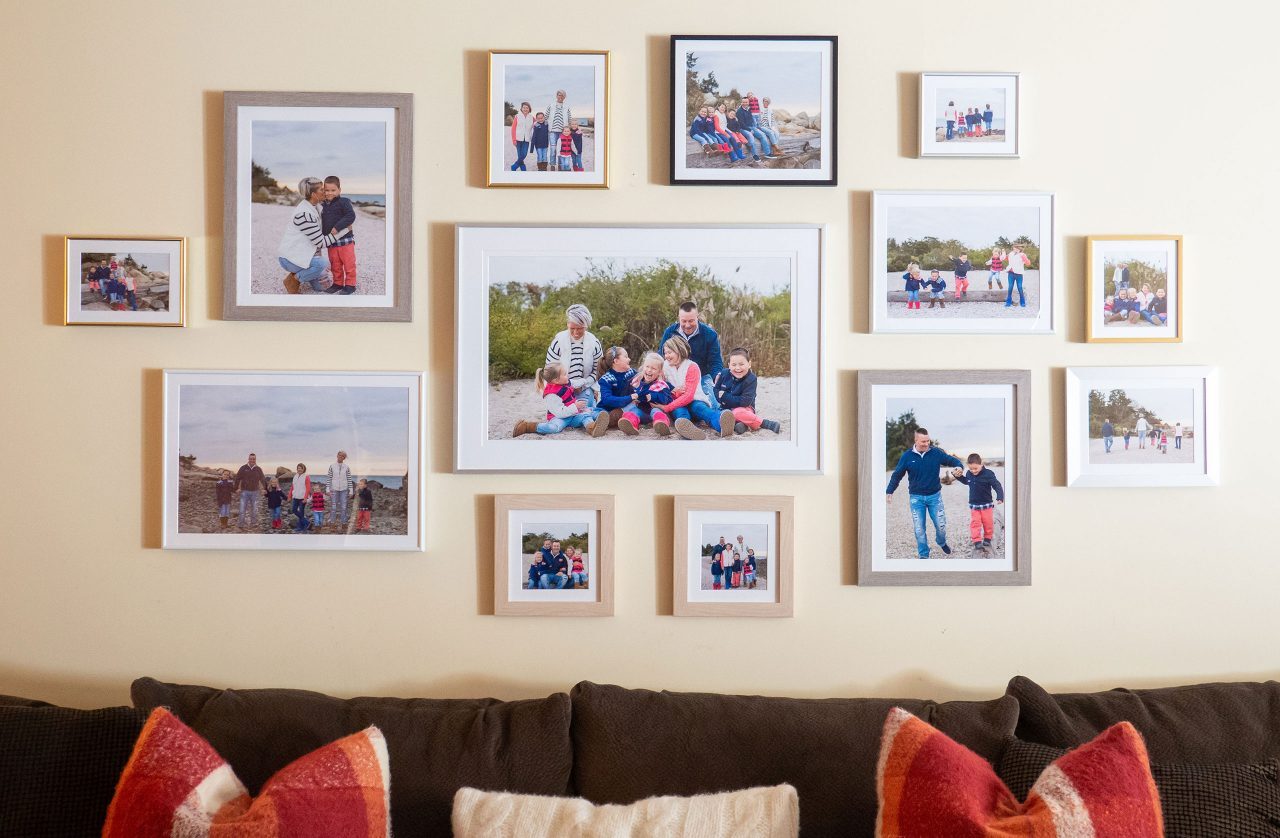
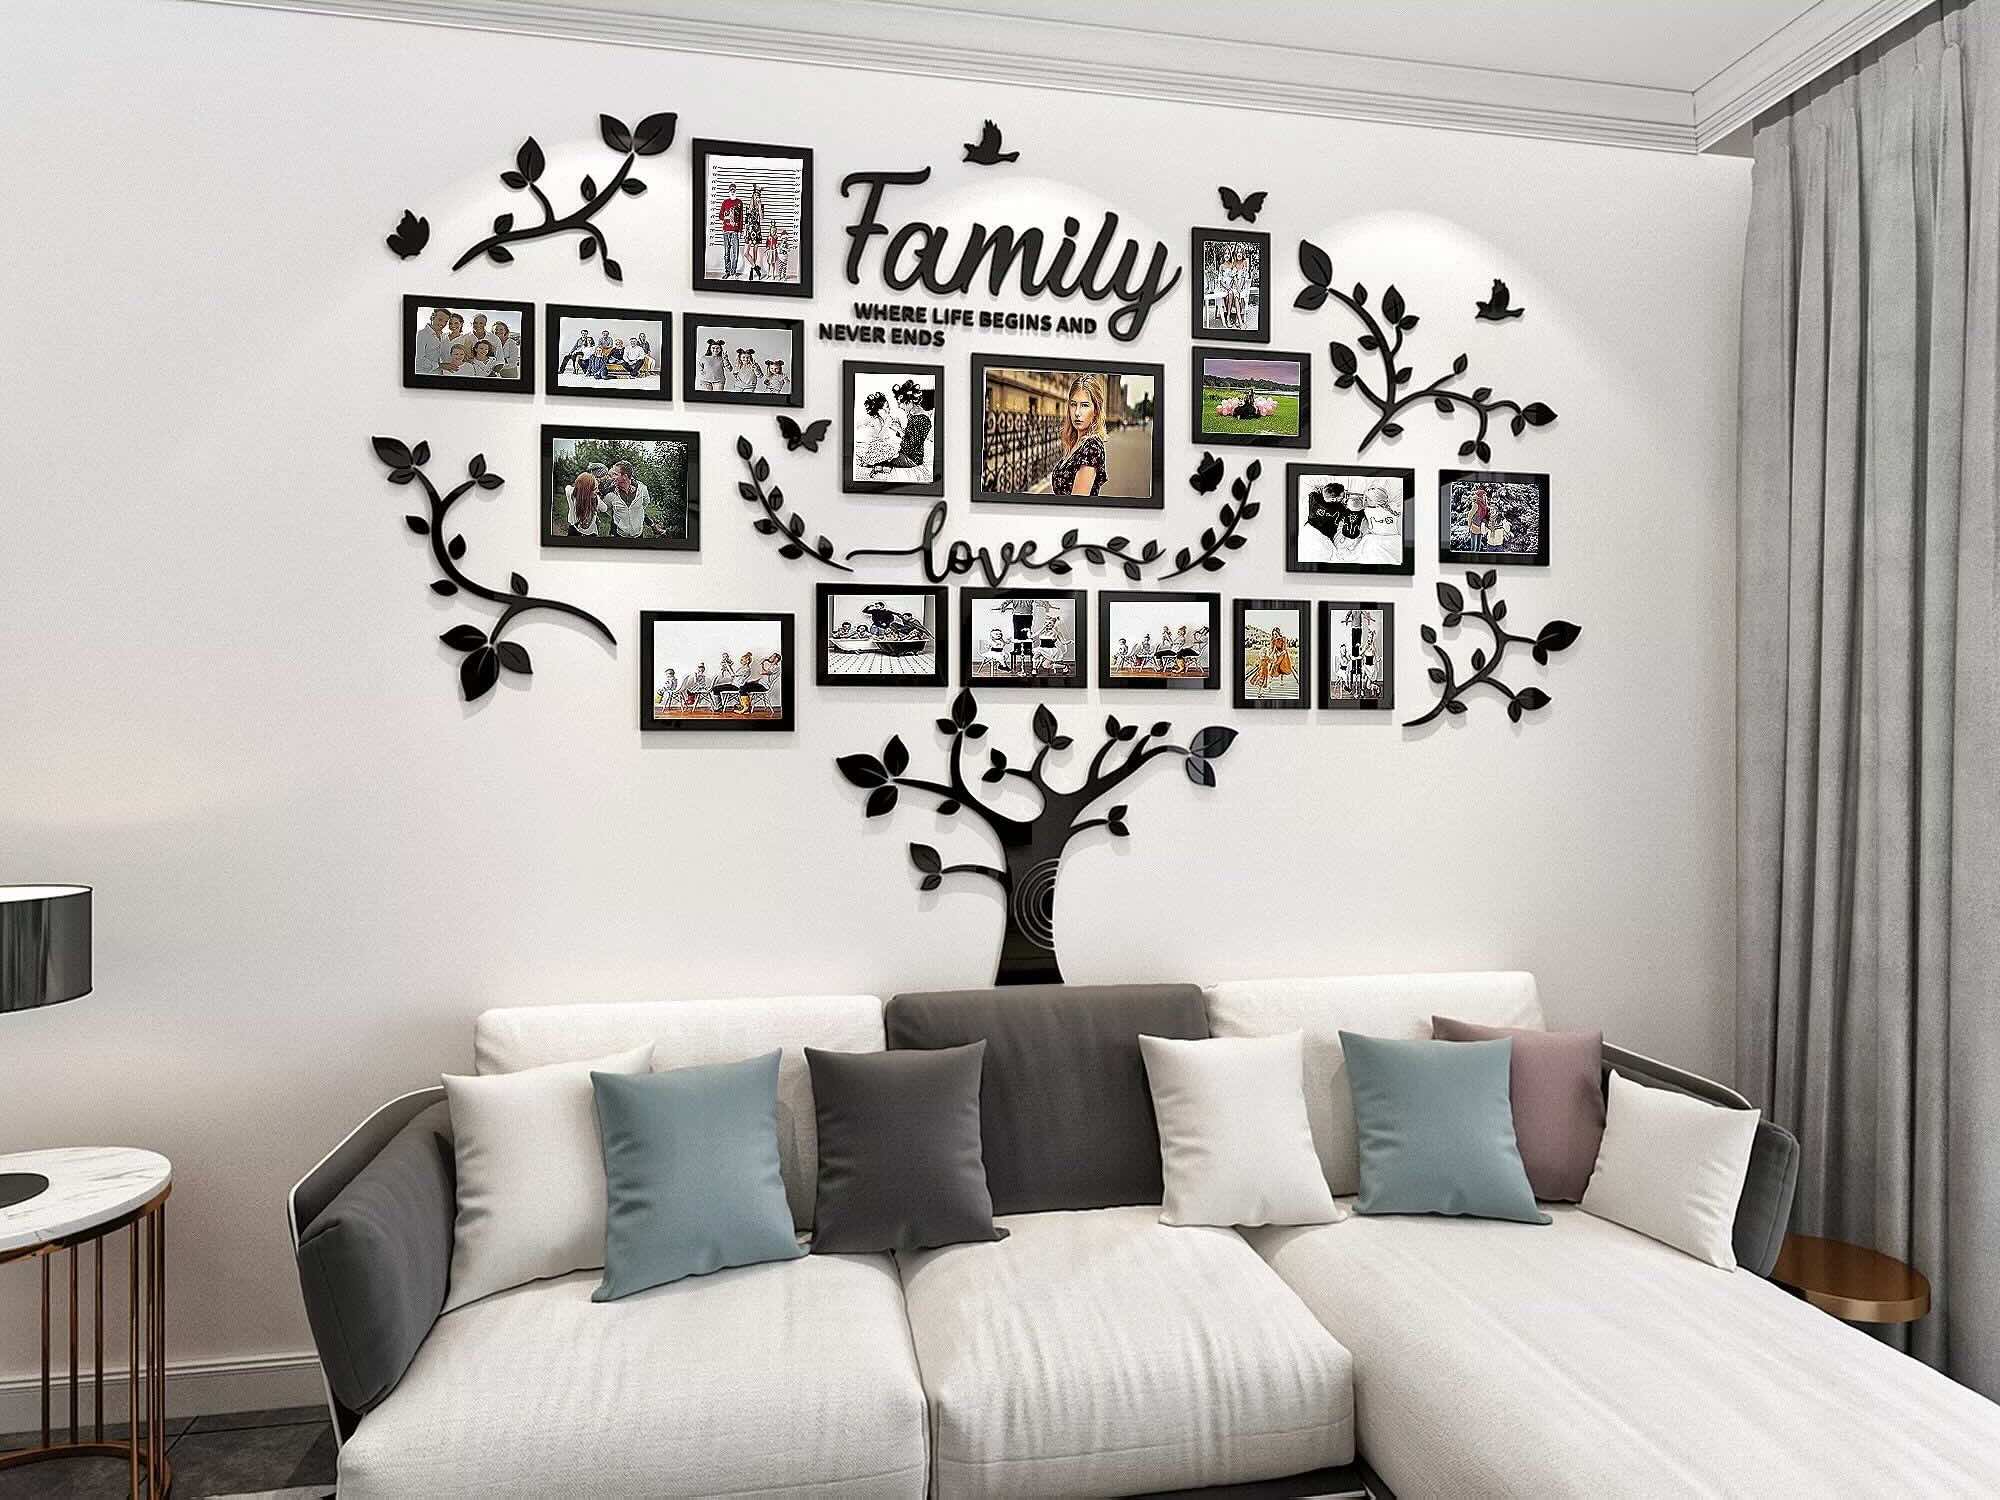
Creating a DIY photo wall with family memories is a fantastic way to celebrate the holiday season. It’s not just about decorating your home; it’s about creating a space that tells your family’s story. Imagine walking into a room and seeing a wall filled with photos of your loved ones, each picture capturing a special moment. It’s like having a visual diary that everyone can enjoy. Plus, it’s a great conversation starter when you have guests over. So, let’s dive into how you can create your own DIY photo wall that’s both beautiful and meaningful.
Why Create a DIY Photo Wall?
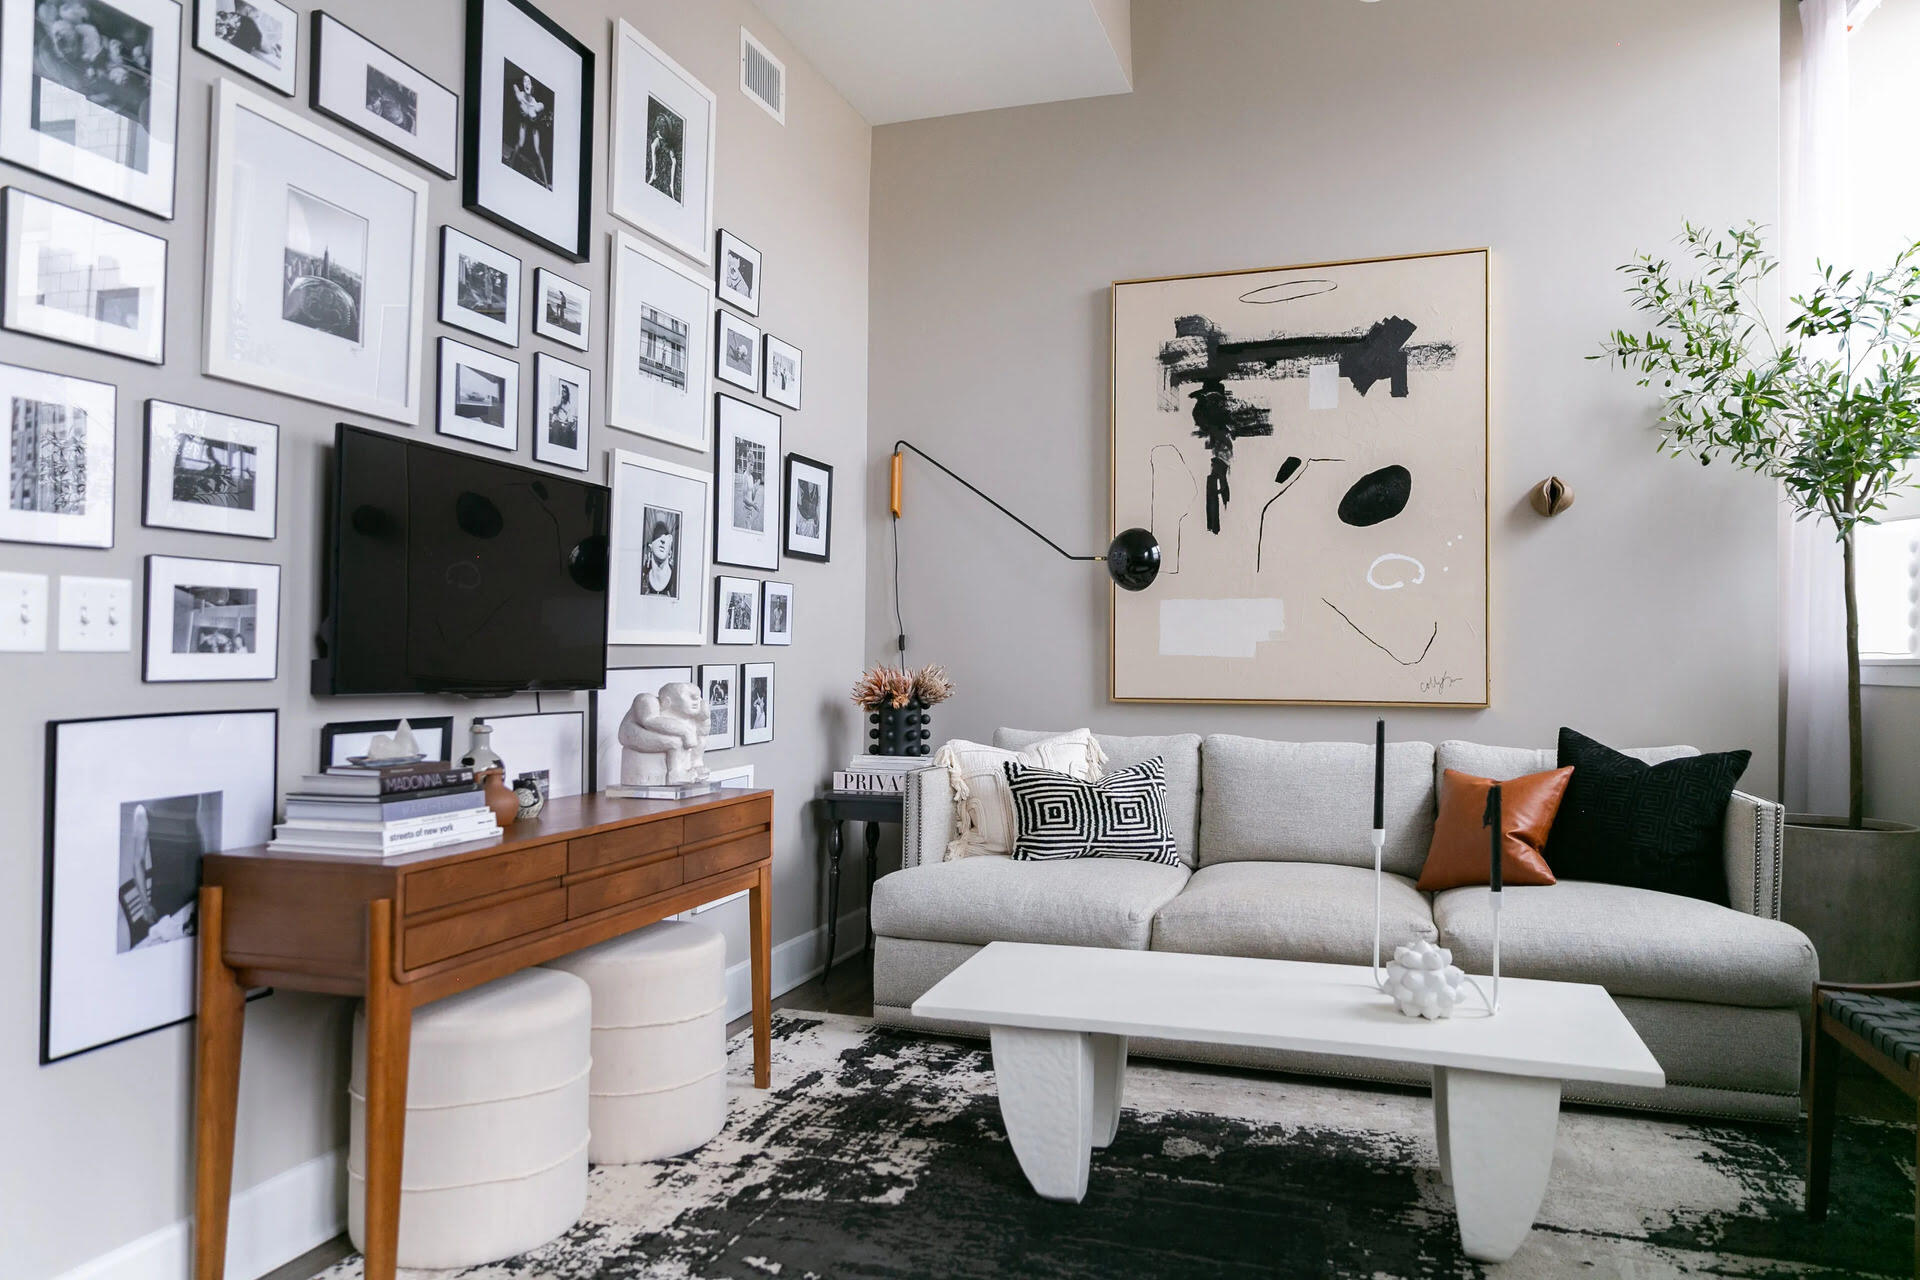
Creating a DIY photo wall offers several benefits. First off, it’s a way to personalize your space. You get to choose the photos that mean the most to you, making the wall uniquely yours. It’s not just about filling up a blank wall; it’s about creating a space that reflects your family’s journey. Secondly, it creates an emotional connection. Every time you walk past the wall, you’ll be reminded of those special moments. It’s a way to keep your loved ones close, even if they’re far away. Thirdly, it’s a great decorative element. A well-designed photo wall can be a stunning addition to any room, adding warmth and character. Finally, it’s easy to update. Unlike traditional wall art, you can easily swap out photos as new memories are made. This makes it a dynamic and ever-evolving piece of decor.
Gathering Materials
Before you start, gather all the necessary materials. Here’s what you’ll need:
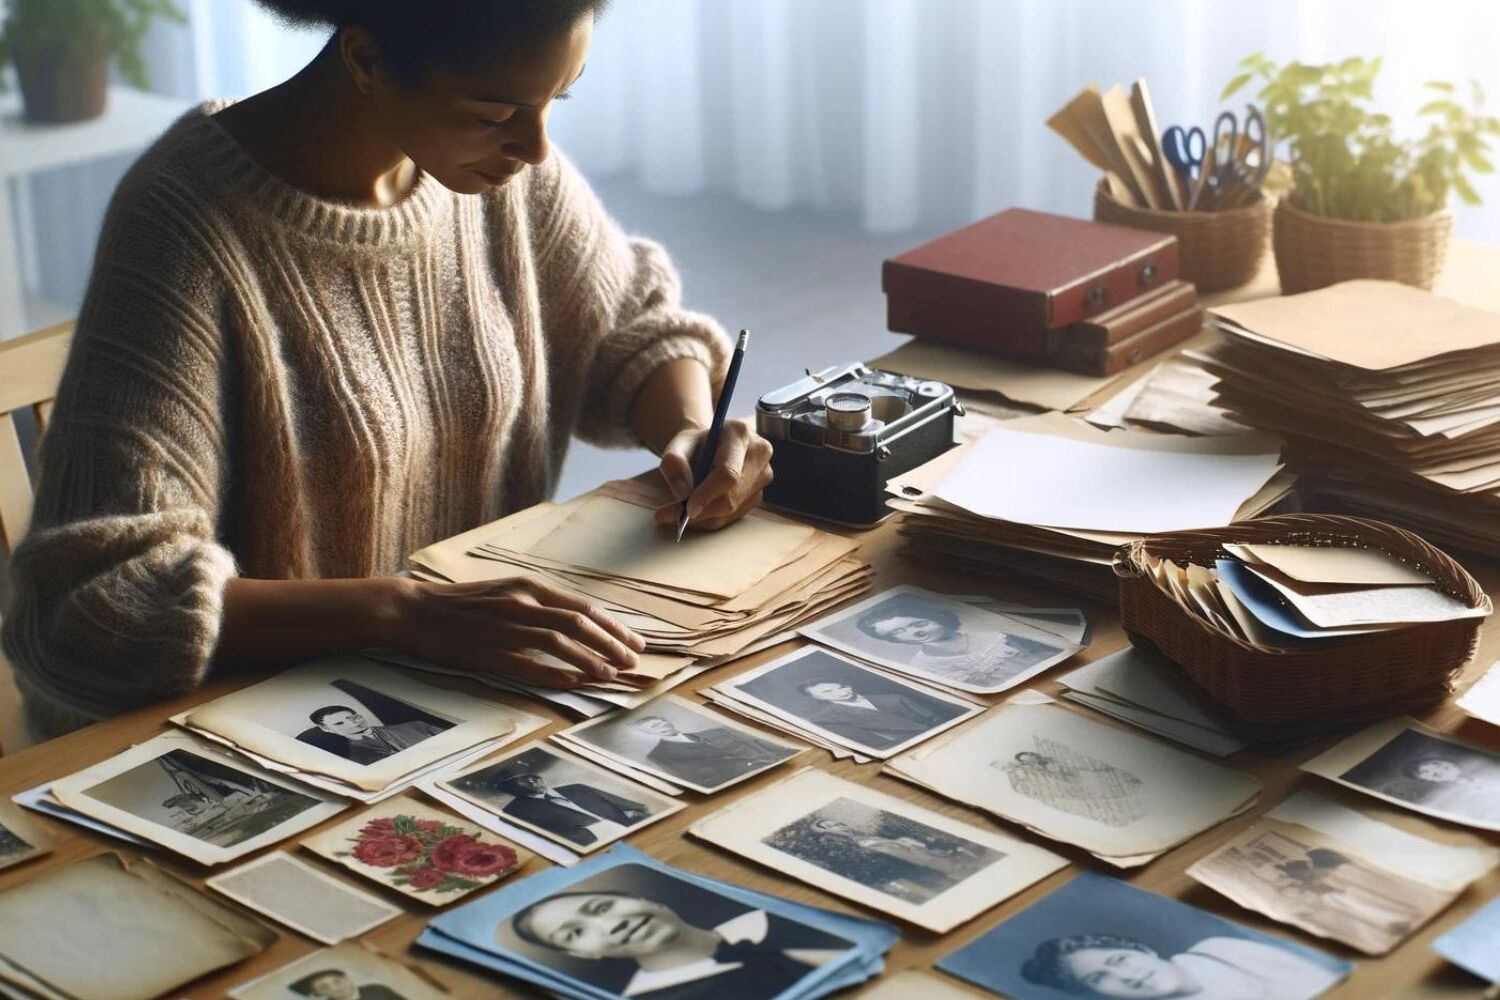
- Photos: Collect a variety of photos that capture special moments from your family’s history. These can be printed from digital files or taken recently.
- Frame Options:
- Picture Frames: Choose frames that complement your home decor. You can opt for traditional frames, shadow boxes, or even reclaimed wood frames for a rustic look.
- Frame Sizes: Select frames in different sizes to create a visually appealing arrangement.
- Adhesive or Hanging Hardware:
- Command Strips: These are great for hanging frames without damaging the walls.
- 3M Picture Hanging Strips: Another reliable option for hanging frames securely.
- Nails or Screws: If you prefer a more permanent solution, use nails or screws.
- Display Board or Canvas: A large display board or canvas can serve as the base for your photo wall.
- Design Tools:
- A large piece of paper or cardboard for sketching out your design.
- A ruler or straightedge.
- A pencil or marker.
Planning Your Design
Planning is key to creating an aesthetically pleasing photo wall. Here’s how to get started:
- Choose a Location: Decide where you want to place your photo wall. Common locations include living rooms, dining rooms, and hallways. Consider the lighting in the room; natural light can enhance the beauty of your photos.
- Sketch Out Your Design: Start by sketching out a rough layout on paper or cardboard. This will help you visualize how your photos will look together. Consider the size and shape of each frame as well as any gaps between them.
- Create a Theme: Think about the theme or story you want to tell with your photo wall. This could be a timeline of family events, milestones, or simply favorite memories.
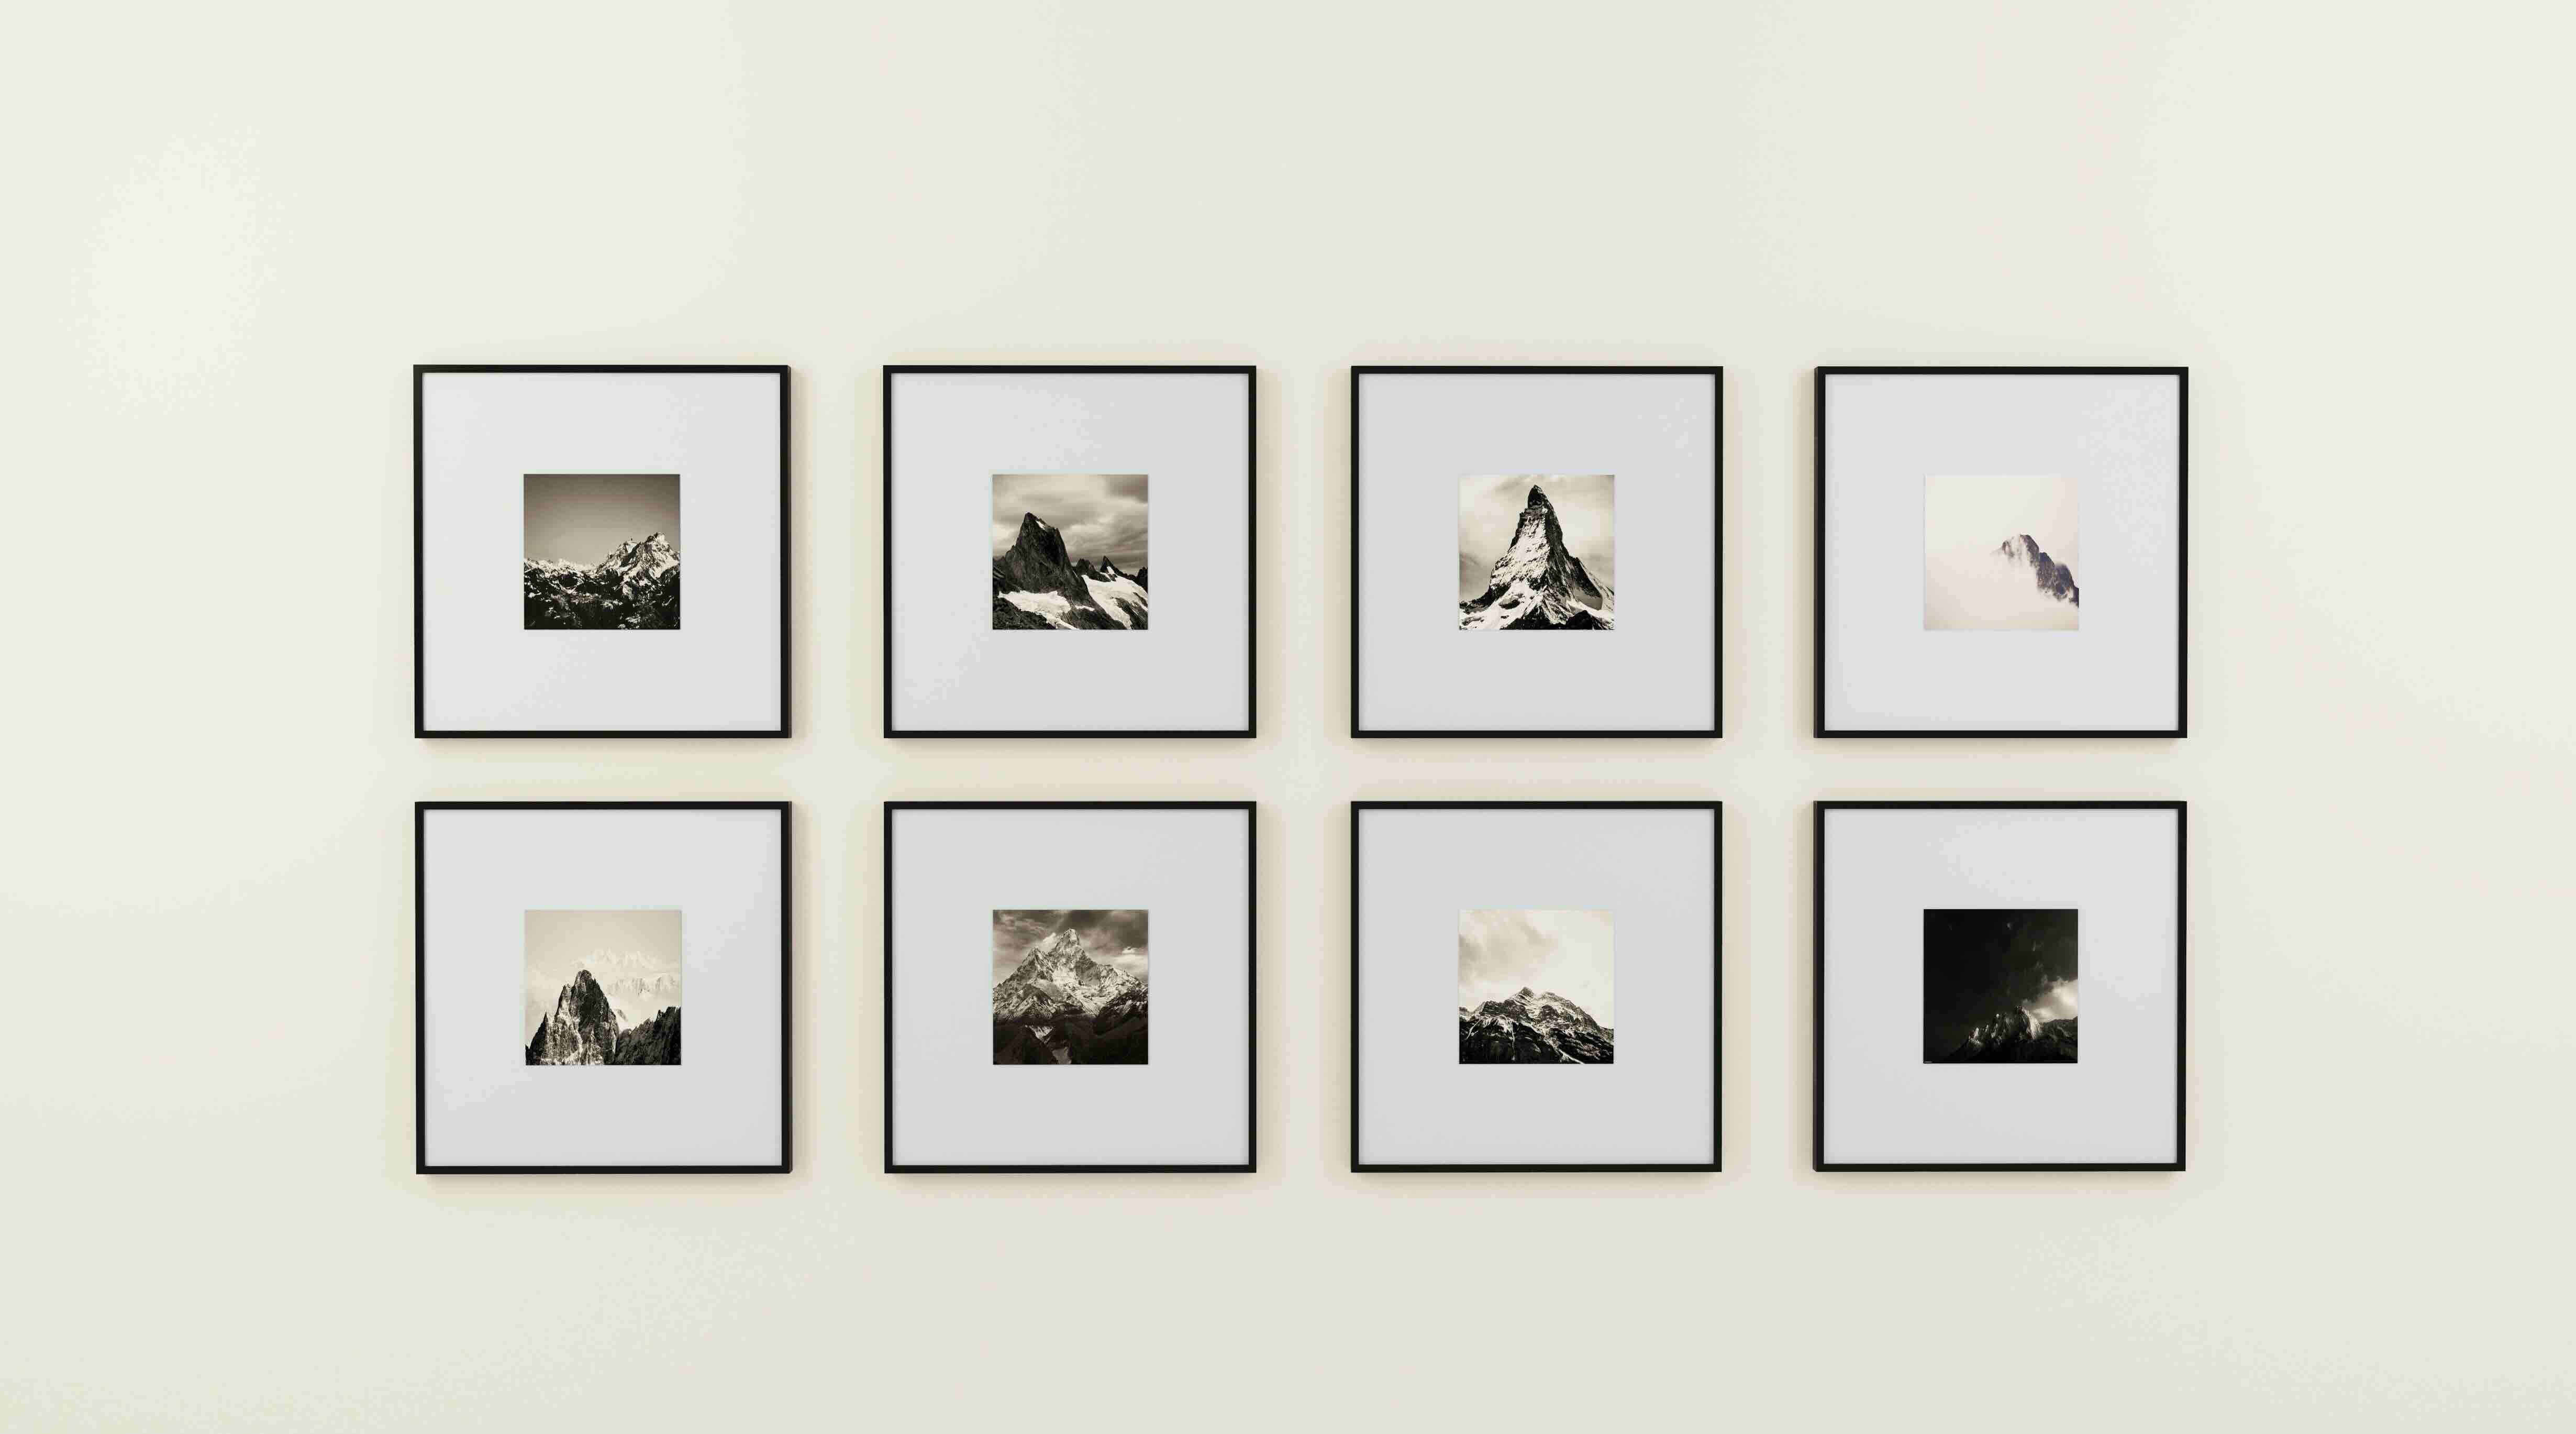
- Balance and Harmony: Aim for balance in your design by distributing frames evenly across the board or canvas. Ensure there is harmony in terms of color and style; mixing too many different frames can create visual chaos.
Printing Your Photos
Once you have planned your design, it’s time to print your photos. Here’s what to consider:
- Choose Printing Options: Decide whether you want to print your photos at home using a printer or take them to a professional printing service. Consider the quality of the prints; high-resolution prints will look much better than low-quality ones.
- Select Photo Sizes: Choose photo sizes that fit within your frame selection. Standard sizes include 4×6 inches, 5×7 inches, and 8×10 inches.
- Add Captions (Optional): If you want to add captions or descriptions under each photo, now is the time to do so.
Assembling Your Photo Wall
Now it’s time to assemble your DIY photo wall. Follow these steps:
- Arrange Frames: Start arranging frames on your display board or canvas according to your sketch design. Make adjustments as needed until you achieve the desired look.
- Hanging Frames: Use adhesive strips or hanging hardware according to your preference for hanging each frame securely on the wall.
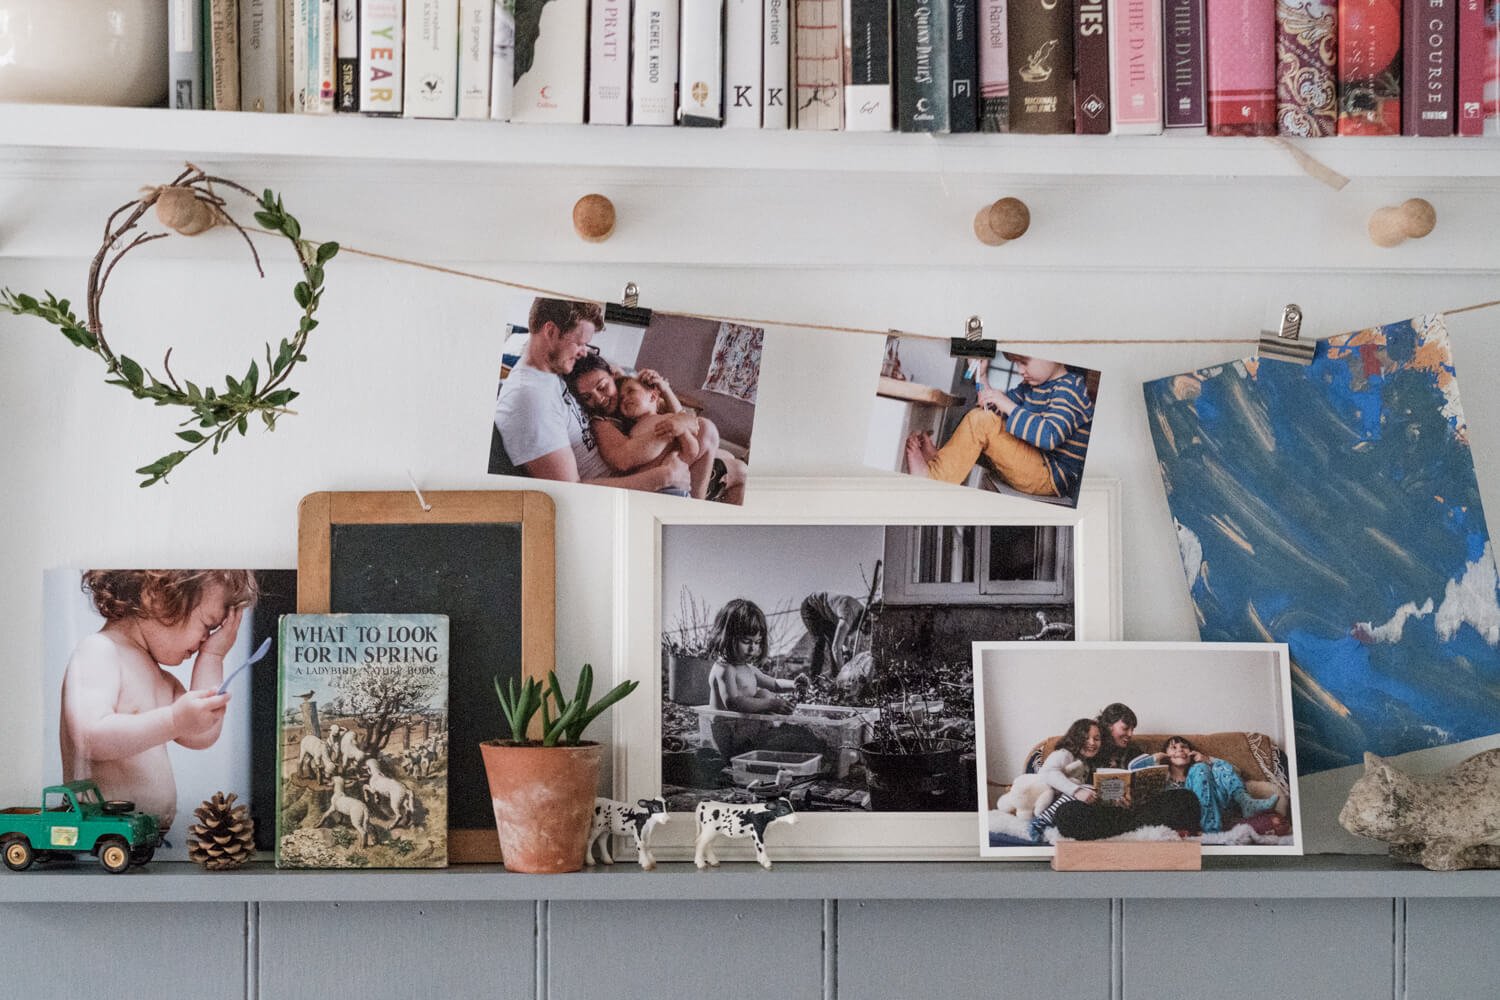
- Adding Final Touches: Double-check that all frames are evenly spaced and leveled correctly. Add any finishing touches such as hanging additional decorations like garlands or ribbons around the frames for extra flair during holidays like Christmas.
Read more: How To Store Family Photos
Tips for Maintenance
To keep your DIY photo wall looking its best over time, follow these tips:
- Avoid Direct Sunlight: Direct sunlight can cause colors in photos to fade over time; consider placing it away from direct sunlight if possible.
- Clean Regularly: Dust off frames periodically using soft cloths; avoid using harsh chemicals which could damage prints.
- Rotate Photos Occasionally: Rotate photos occasionally so that older ones don’t get hidden behind newer ones; this keeps everything fresh-looking without needing major updates every year!
Additional Ideas for Holiday Decor
If you’re looking for ways to enhance the holiday spirit further, here are some additional ideas incorporating the same theme:
- Christmas Tree Decorations: Hang small framed photos around Christmas tree branches adding a unique twist to traditional ornaments!
- Garland Accents: Use garlands made out of ribbons and bows to hang between frames adding festive flair instantly!
- Holiday-Themed Frames: Choose frames specifically designed for the holiday season featuring festive patterns and colors matching the overall theme perfectly!
By incorporating these ideas into your existing project, you’ll not only enhance the overall aesthetic appeal but also create a cohesive look throughout your entire house, making every room feel festive and welcoming to guests alike!
Creating such a personalized space filled with love and laughter truly makes a difference, making memories last a lifetime beyond mere decorations alone. So go ahead, start planning today – turn ordinary rooms into extraordinary ones filled with warmth and joy shared among loved ones forevermore!
Was this page helpful?
At Storables.com, we guarantee accurate and reliable information. Our content, validated by Expert Board Contributors, is crafted following stringent Editorial Policies. We're committed to providing you with well-researched, expert-backed insights for all your informational needs.



0 thoughts on “Creating A DIY Photo Wall With Family Memories”