Articles
How To Make A Memory Quilt Using Photos
Modified: October 19, 2024
Learn how to make a beautiful memory quilt using your favorite photos with our helpful articles. Transform your cherished pictures into a personalized keepsake that will warm your heart for years to come.
(Many of the links in this article redirect to a specific reviewed product. Your purchase of these products through affiliate links helps to generate commission for Storables.com, at no extra cost. Learn more)
Introduction
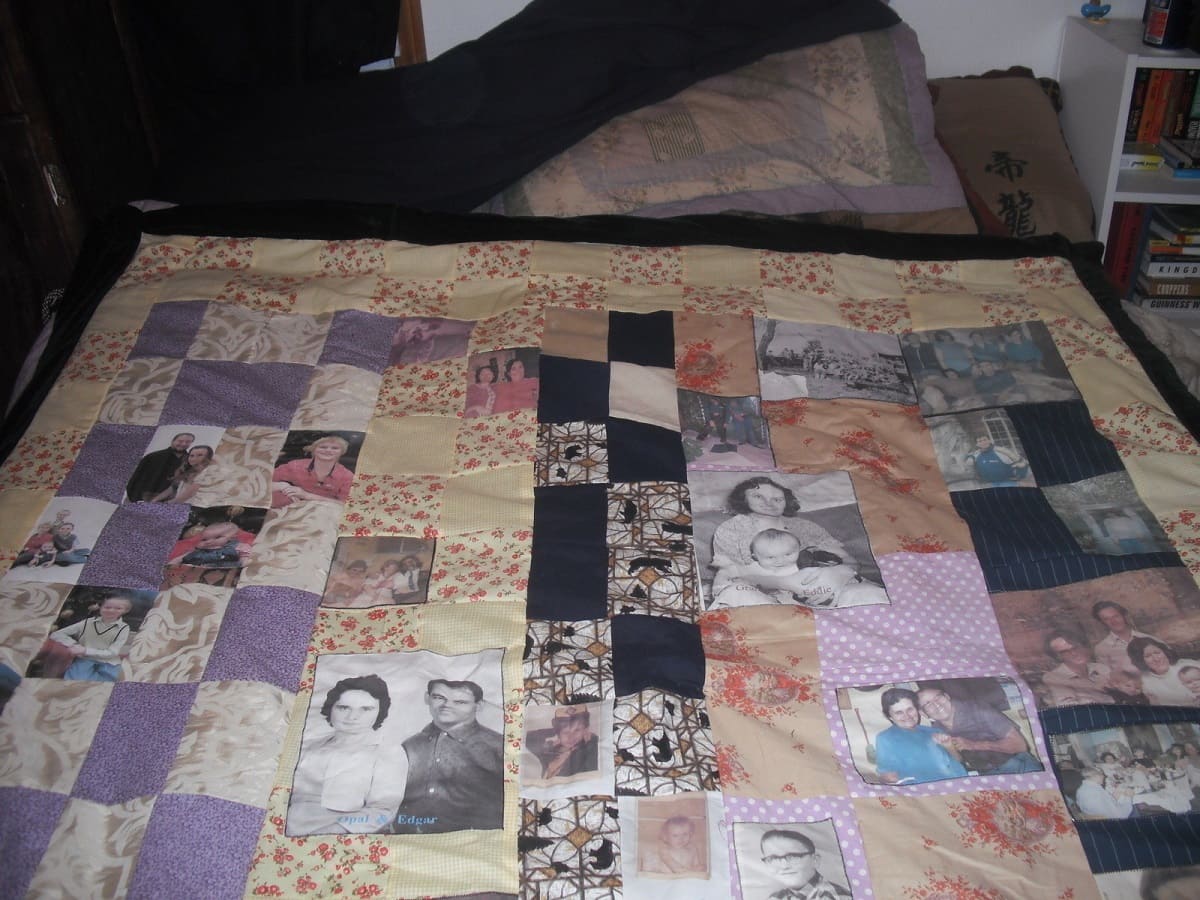
Creating a memory quilt using photos is a wonderful way to preserve precious memories and capture the essence of special moments in a tangible and lasting form. Whether it’s a quilt to commemorate a milestone event, honor a loved one, or simply showcase cherished memories, this project allows you to combine the warmth and comfort of a quilt with the personal touch of photographs.
A memory quilt can serve as a heartfelt gift for a loved one or a beautiful keepsake for yourself. It’s a unique and meaningful way to celebrate milestones such as weddings, graduations, or the birth of a child. It can also be a touching remembrance of someone dear who has passed away.
In this article, we will guide you through the process of creating your own memory quilt using photos. From gathering materials to finishing touches, we’ll provide you with step-by-step instructions and useful tips to ensure your quilt reflects your memories in the most beautiful way.
Before we dive into the details, it’s important to note that creating a memory quilt requires some basic sewing skills. However, don’t be discouraged if you’re new to quilting. This project is achievable for beginners, and with practice and patience, you too can create a stunning memory quilt that will be cherished for years to come.
So, let’s gather our materials, unleash our creativity, and embark on this heartwarming journey of creating a memory quilt that captures the essence of our most treasured memories.
Key Takeaways:
- Preserve cherished memories by creating a unique memory quilt using photos, fabric, and personal touches. Celebrate milestones and honor loved ones with a heartfelt and lasting keepsake.
- Through careful photo selection, fabric planning, and creative embellishments, craft a memory quilt that captures the essence of your most treasured memories. Embrace the sentimental journey of turning fabric and photos into a tangible piece of personal history.
Read more: How To Make A Quilt With Photos
Gathering Materials
Before starting your memory quilt project, it’s important to gather all the necessary materials. Here’s a list of what you’ll need:
- Fabric: Choose a high-quality fabric for the quilt top and backing. Consider the theme or color scheme you want to incorporate. You can opt for plain, patterned, or even themed fabric depending on the style you envision for your memory quilt.
- Photos: Gather the photos you want to include in your quilt. Choose images that hold special meaning, evoke fond memories, or represent the theme of the quilt. Consider creating copies of the photos rather than using originals to preserve their integrity.
- Photo Transfer Paper: You’ll need special photo transfer paper to transfer the images onto fabric. Choose a brand that offers good quality transfers and follow the instructions provided.
- Quilt Batting: The batting is the layer of insulation that gives the quilt its warmth and structure. Select batting made from natural fibers like cotton or wool for a comfortable and breathable quilt.
- Thread: Opt for high-quality thread that matches or complements the colors of your fabric and photos. Consider using a thread with a bit of sheen to add a touch of elegance to your quilt.
- Sewing Machine: A reliable sewing machine will make the quilting process faster and more efficient. Ensure that your machine is in good working condition, with the necessary accessories like a walking foot or quilting foot.
- Quilting Ruler and Rotary Cutter: These tools are essential for accurately measuring and cutting fabric and photos. Look for a clear quilting ruler with measurements markings and a rotary cutter with a sharp blade.
- Iron and Ironing Board: A well-pressed fabric is crucial for precise quilting. Have an iron and ironing board handy to press your fabric and photos as you work.
- Pins or Clips: These will help you hold the layers of fabric and photos together as you prepare for quilting.
- Quilting Needles: Choose needles specifically designed for quilting. They are slightly longer and have a sharper point, making it easier to sew through multiple layers of fabric.
Now that you have gathered all the necessary materials, you’re ready to move on to the next step: selecting and preparing your photos.
Selecting and Preparing Photos
Choosing the right photos for your memory quilt is an essential step in creating a meaningful and visually appealing piece. Here are some tips to help you select and prepare your photos:
- Theme and Story: Determine the theme or narrative you want your memory quilt to convey. Are you commemorating a specific event, celebrating a loved one, or showcasing a collection of meaningful memories? Consider how the selected photos will contribute to the overall story you want to tell through your quilt.
- Image Quality: Choose photos that are clear, well-lit, and high-resolution. They will transfer onto fabric more accurately, resulting in better clarity and detail. If you have older or damaged photos, consider using photo editing software to enhance them before printing or transferring them onto fabric.
- Size and Placement: Plan the size and placement of your photos on the quilt. You can choose to have photos of various sizes scattered across the quilt or opt for a more organized grid pattern. Lay out the selected photos on a design board or a table to get a visual idea of how they will look together.
- Editing and Cropping: Crop or edit the photos as needed to remove unwanted elements and focus on the main subject. Consider using photo editing software to adjust the brightness, contrast, and color tones of the images for a cohesive look.
- Add Captions or Quotes: To further personalize your memory quilt, you can add captions or quotes that correspond to the photos. These can be handwritten or printed on fabric labels that are sewn onto the quilt. Choose words that hold significant meaning and enhance the storytelling aspect of your quilt.
- Print Quality: When printing your photos, use a high-quality printer and photo paper specifically designed for image transfers. Follow the instructions provided by the manufacturer to achieve the best results.
- Test Transfers: Before transferring the photos onto the actual fabric, it’s wise to conduct test transfers on scrap fabric. This will allow you to make any necessary adjustments and ensure the desired outcome before working on the final quilt.
By carefully selecting and preparing your photos, you can create a memory quilt that truly captures the essence of your cherished memories. Once you have your photos ready, it’s time to move on to the exciting part: choosing the fabric and layout for your memory quilt.
Choosing Fabric and Layout
The choice of fabric and layout for your memory quilt plays a significant role in showcasing your photos and creating a visually appealing design. Here are some tips to help you select the right fabric and plan the layout for your quilt:
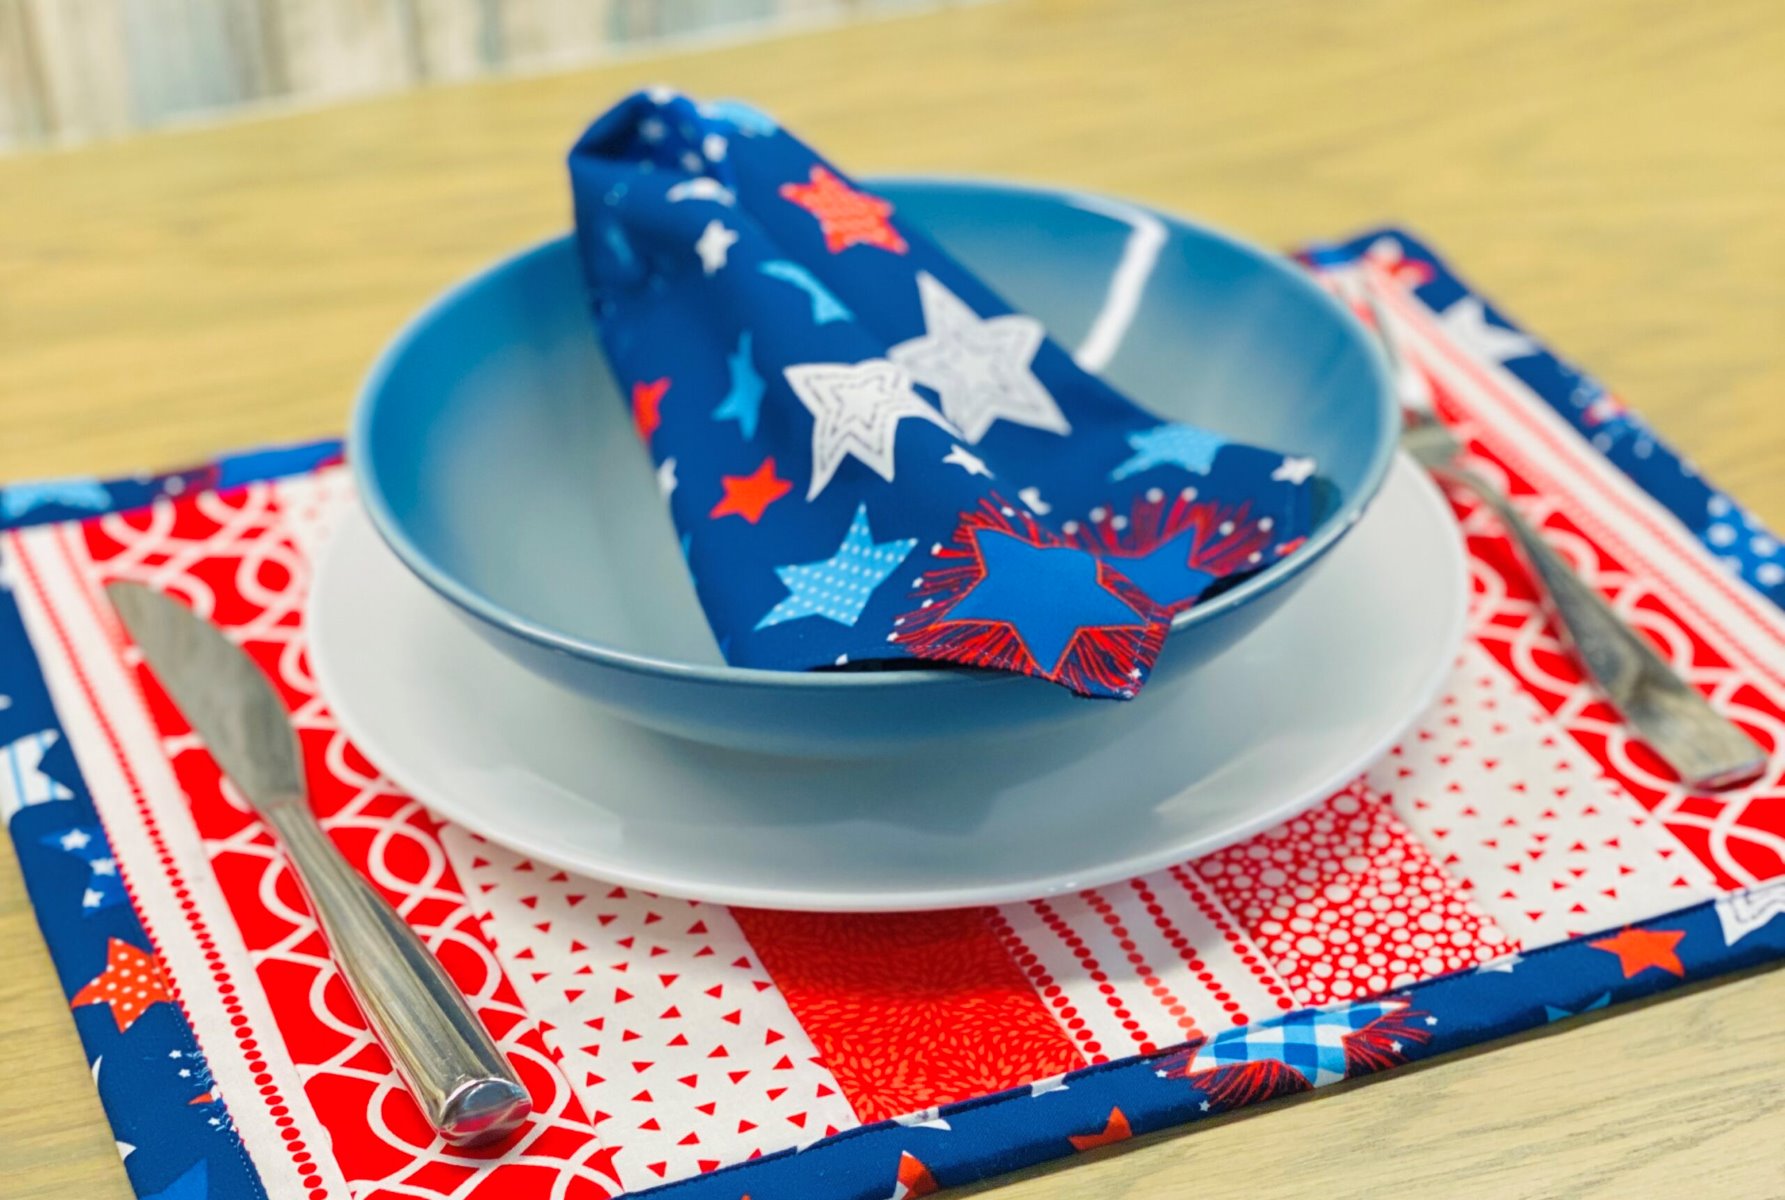
- Fabric Selection: Consider the overall theme and feel you want for your memory quilt. Do you envision a vibrant and colorful design or a more subdued and elegant look? Choose fabrics that not only complement the colors in your photos but also reflect the overall mood and style you wish to convey. You can opt for solids, prints, or even patterned fabric depending on your personal preference.
- Color Palette: Establish a cohesive color palette for your quilt by pulling inspiration from the photos themselves. Look for shades and tones that are present in the images and select fabric that complements those colors. Consider using a few neutral-colored fabrics to balance the overall look and make the photos stand out.
- Contrasting Fabrics: Incorporating contrasting fabrics can add depth and interest to your memory quilt. Mix fabrics with different textures, patterns, or scales to create visual variety. This will make your quilt visually appealing while allowing the photos to take center stage.
- Photo Placement: Plan how you want to place your photos on the quilt. You can create a central focal point with a larger photo and surround it with smaller images. Alternatively, you can distribute the photos evenly across the quilt for a balanced look. Experiment with different arrangements before finalizing the layout.
- Sashing and Borders: Consider adding sashing and borders to your memory quilt. Sashing is strips of fabric placed between the photo blocks, allowing each image to stand out individually. Borders can frame the entire quilt and create a clean and finished look. Choose fabrics and widths that complement the overall design.
- Quilt Size and Shape: Determine the size and shape of your memory quilt based on your intended use and personal preference. Whether you want a small lap quilt, a baby quilt, or a larger bed-sized quilt, make sure the scale and proportions of your photos and fabric align with the desired dimensions.
- Sketch or Design Board: Create a sketch or use a design board to visualize your layout. This will help you experiment with different fabric combinations, photo placements, and overall design before starting the construction. It’s a valuable step to ensure you’re satisfied with the overall look and feel of your memory quilt.
By carefully selecting fabric and planning the layout, you can create a memory quilt that not only showcases your photos but also portrays your unique style and vision. Once you have settled on the fabric and layout, it’s time to transfer your photos onto fabric and add personal touches to make your memory quilt truly special.
When selecting photos for your memory quilt, choose images that hold special meaning and evoke strong emotions to create a truly personal and meaningful quilt.
Transferring Photos onto Fabric
Transferring photos onto fabric is a key step in creating a memory quilt that beautifully showcases your cherished memories. Follow these steps to ensure a successful photo transfer:
- Choose the Right Transfer Method: There are various methods available to transfer photos onto fabric, including iron-on transfers, freezer paper transfers, and gel-medium transfers. Select a method that works best for your specific fabric and desired outcome. Read the instructions carefully and gather the necessary materials.
- Prepare the Fabric: Wash and iron your fabric to remove any dirt or wrinkles. This will ensure a smooth surface for the photo transfer. If needed, apply a starch spray to make the fabric stiffer and more conducive to transferring the photo.
- Print the Photos: Follow the specific guidelines provided by the transfer method you have chosen. Print the photos onto the transfer paper, making sure to mirror or reverse the images if necessary. Use a high-resolution printer for the best results.
- Cut and Position the Photos: Cut out the printed photos, leaving a small border around the edges. Arrange them on the fabric, experimenting with the layout until you are satisfied with the placement. Use pins or fabric-friendly adhesive to temporarily hold the photos in place.
- Transfer the Photos: Follow the instructions provided with your chosen transfer method to adhere the photos to the fabric. This may involve ironing, applying heat, or using specific mediums. Be careful to apply even pressure and follow the recommended temperature and timing guidelines.
- Peel and Reveal: Once the transfer process is complete, carefully peel off the backing paper or remove any excess transfer medium according to the instructions. Your photos should now be transferred onto the fabric, capturing your cherished memories in a tangible form.
- Set and Seal: To ensure longevity and durability, it’s important to set and seal the transferred photos. This may involve heat-setting the image with an iron or applying a fabric sealant or spray. Follow the recommended instructions for your specific transfer method to achieve the best results.
Transferring photos onto fabric is a rewarding process that brings your memories to life in a personalized and unique way. Take your time, follow the instructions carefully, and practice on scrap fabric if needed before working on your final quilt. Now that your photos are successfully transferred, it’s time to add embellishments and personalize your memory quilt even further.
Read more: How Do You Make A Memory Quilt
Adding Embellishments and Personalization
Adding embellishments and personal touches to your memory quilt elevates its visual appeal and makes it truly unique. Here are some ideas to consider when embellishing and personalizing your quilt:
- Embroidery and Appliqué: Consider adding embroidery or appliqué to enhance your photos or create additional visual interest. You can embroider names, dates, or special messages near the corresponding photos. Appliqué allows you to add fabric shapes or designs that complement the overall theme or represent significant elements in the photos.
- Buttons, Beads, and Charms: Adding buttons, beads, or charms can bring another level of texture and dimension to your quilt. Sew them onto specific areas of the quilt to draw attention or create a playful decorative element.
- Ribbon and Lace: Incorporating ribbon or lace into your memory quilt can add elegance and softness. Attach strips of ribbon or lace along the borders or between photo blocks to create a delicate and feminine touch.
- Fabric Markers: Fabric markers are a fun and easy way to personalize your quilt even further. You can write quotes, initials, or short messages directly on the fabric surrounding the photos. Experiment with different colors and handwriting styles to add a personal and artistic flair.
- Memorabilia and Keepsakes: If you have small memorabilia or keepsakes that correspond to the photos, consider incorporating them into the quilt. This could be items like pressed flowers, fabric scraps from special garments, or small trinkets that hold sentimental value. Sew them onto the quilt as additional embellishments.
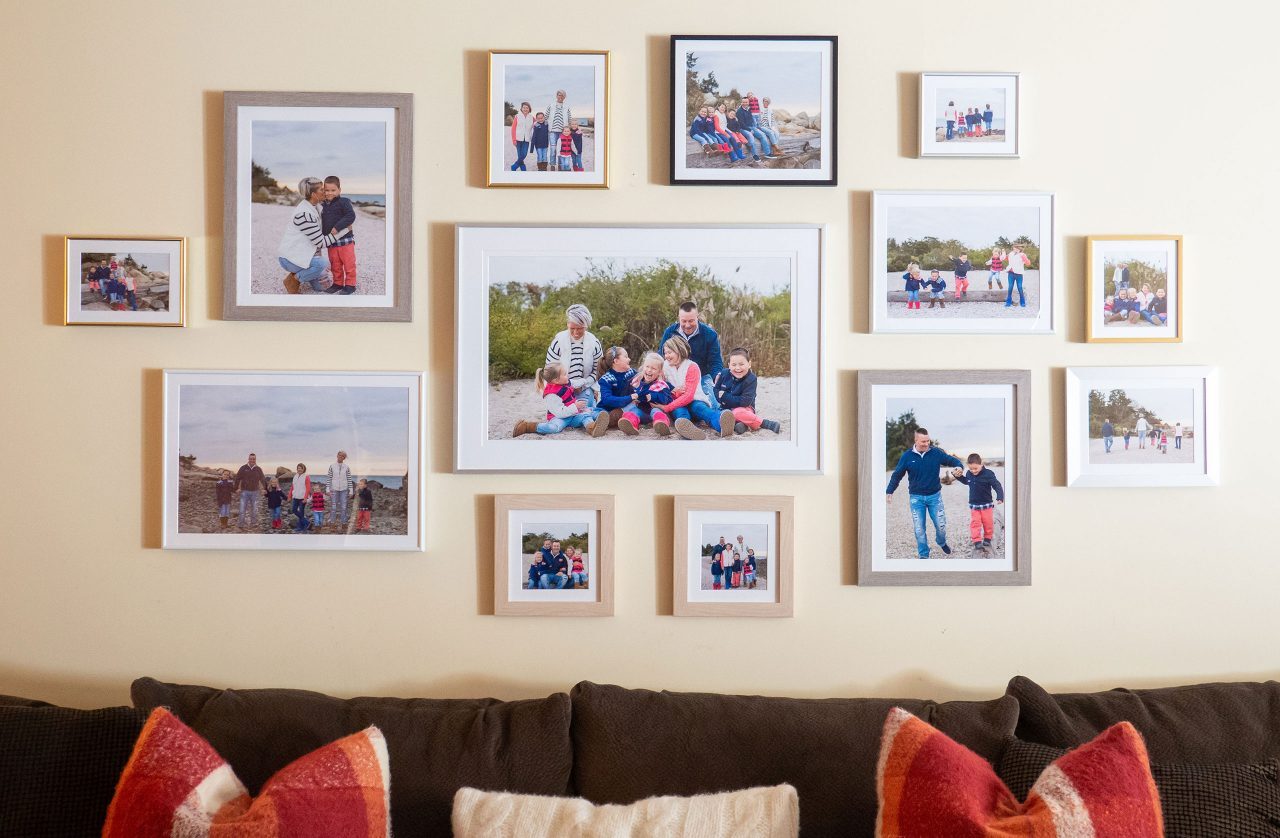
- Photo Frames or Mats: To further highlight and protect your photos, consider adding fabric frames or mats around each image. This creates a polished and professional look, enhancing the overall presentation of your memory quilt.
- Quilt Labels: Sew a personalized quilt label onto the back of your quilt. Include your name, the date of creation, and any other details you want to preserve for future generations. Quilt labels add a thoughtful and sentimental touch, making your memory quilt even more special.
Don’t be afraid to get creative and experiment with different embellishments and personalization techniques. The goal is to make your memory quilt uniquely yours and reflect the memories and emotions attached to the photos. Take your time and enjoy the process of adding these personal touches to your quilt.
With the embellishments in place, it’s time to move on to the final steps of quilting and finishing your memory quilt.
Quilting and Finishing
The quilting and finishing stage of creating a memory quilt brings together all the elements you’ve worked on so far and transforms it into a complete and beautifully crafted piece. Follow these steps to quilt and finish your memory quilt:
- Layer the Quilt: Start by laying out your quilt backing fabric with the right side facing down. Place the batting on top, followed by the quilt top with the right side facing up. Smooth out any wrinkles or creases in the layers, ensuring they are aligned properly.
- Basting: To hold the layers together during quilting, baste them using either safety pins or temporary fabric adhesive spray. Work from the center outward, smoothing the fabric as you go to prevent puckering or bulging.
- Quilting Design: Decide on the quilting design you want to use. This can be as simple as stitching in the ditch along the seams or as complex as intricate free-motion quilting. Choose a design that complements the overall style of your memory quilt and enhances the photos.
- Quilting Techniques: Employ the quilting technique that best suits your quilting design. This can include straight-line quilting, free-motion quilting, stippling, or any other technique that allows you to achieve the desired effect. Take your time and quilt at a pace that feels comfortable to you.
- Binding: Once you have completed the quilting, it’s time to apply the binding. Prepare fabric strips that are double the desired width of your binding. Attach the binding to the quilt, folding it over the raw edges and stitching it in place. Trim any excess fabric and miter the corners for a clean finish.
- Finishing Touches: After binding, take a final look at your memory quilt for any loose threads or imperfections. Trim any stray threads and press the quilt to give it a polished and professional look.
Once the quilting and finishing process is complete, step back and admire your masterpiece. Your memory quilt is now ready to be cherished and appreciated for years to come. The time, effort, and love you poured into creating this quilt will be felt every time you wrap yourself in its warmth or share it with loved ones.
Remember, the journey of creating a memory quilt is a deeply personal one. Embrace your creativity, honor your memories, and enjoy the process of turning fabric and photos into a tangible piece of your history.
Now that you’ve completed your memory quilt, take a moment to reflect on the memories it holds and the stories it tells. Your quilt is a testament to the moments that have shaped you, and it will continue to be a cherished heirloom for generations to come.
Conclusion
Congratulations, you have successfully completed your memory quilt! Through the thoughtful selection of photos, careful planning of fabric and layout, creative embellishments, and skilled quilting, you have crafted a unique and cherished piece that captures the essence of your most treasured memories.
A memory quilt is more than just a collection of fabric and photos; it is a sentimental journey through your personal history. Each stitch represents a moment in time, a milestone, or a bond shared with loved ones. It’s a tangible reminder of the joy, love, and special moments that have shaped your life.
As you wrap yourself in the warmth of your memory quilt, take a moment to reflect on the memories it holds. Let it be a source of comfort, inspiration, and gratitude for the experiences that have brought you to this present moment.
Remember, a memory quilt is not only a beautiful keepsake for yourself but also a heartfelt gift for loved ones. It is a tribute to the relationships you hold dear, a tangible expression of the love and memories shared between family and friends.
Creating a memory quilt is a labor of love, requiring patience, creativity, and attention to detail. It’s a journey that allows you to connect with your past, celebrate the present, and leave a legacy for future generations.
So, as you embark on your memory quilt project, I encourage you to pour your heart into the process. Let your creativity shine, your memories guide you, and your stitches tell a story that will be cherished for years to come.
Now, gather your materials, select your photos, and immerse yourself in the world of memory quilting. Unleash your creativity, let your memories flow, and create a masterpiece that will be passed down through generations. Your memory quilt awaits, ready to be filled with the warmth and love of your unique journey.
Frequently Asked Questions about How To Make A Memory Quilt Using Photos
Was this page helpful?
At Storables.com, we guarantee accurate and reliable information. Our content, validated by Expert Board Contributors, is crafted following stringent Editorial Policies. We're committed to providing you with well-researched, expert-backed insights for all your informational needs.


0 thoughts on “How To Make A Memory Quilt Using Photos”