Articles
How To Build Retaining Wall On A Slope
Modified: August 27, 2024
Learn how to build a sturdy retaining wall on a slope with our informative articles. Find step-by-step instructions and expert tips to get started today!
(Many of the links in this article redirect to a specific reviewed product. Your purchase of these products through affiliate links helps to generate commission for Storables.com, at no extra cost. Learn more)
Introduction
Building a retaining wall on a slope can provide both functional and aesthetic benefits to your outdoor space. Whether you need to level a sloping yard, prevent erosion, or create terraced gardens, a well-constructed retaining wall can transform the look and functionality of your landscape.
In this article, we will guide you through the steps of building a retaining wall on a slope, from assessing the slope and soil conditions to the construction and finishing touches. By following these guidelines, you can ensure the stability and durability of your retaining wall while adding value and beauty to your property.
Before we delve into the construction process, it’s important to note that building a retaining wall on a slope requires careful planning, proper materials, and, in some cases, the assistance of a professional. Safety should always be your priority, so if you’re unsure or the slope is particularly steep, it’s recommended to consult a structural engineer or a landscaping professional.
Now, let’s explore the key considerations and steps involved in building a retaining wall on a slope.
Key Takeaways:
- Building a retaining wall on a slope requires careful assessment of the slope grade and soil conditions, choosing the right materials, and meticulous construction to ensure stability and longevity.
- Incorporating proper drainage, backfilling, and adding finishing touches such as caps and landscaping are essential for creating a visually appealing and durable retaining wall on a slope.
Read more: How To Build Stairs In A Retaining Wall
Assessing the Slope and Soil Conditions
Before you begin building your retaining wall on a slope, it’s crucial to assess the slope grade and examine the soil type and stability. These factors will determine the design, materials, and construction techniques you should employ.
Understanding the slope grade
Start by evaluating the slope gradient of your land. Steeper slopes require more extensive retaining wall structures to hold back the soil and prevent erosion. Measure the height and length of the slope, and determine the angle of the grade. This information will help you determine the size and dimensions of the retaining wall.
It’s important to note that certain local building codes may regulate the maximum height and dimensions of retaining walls. So, be sure to check with your local authorities to ensure compliance.
Examining the soil type and stability
The soil conditions on your slope will greatly influence the stability and effectiveness of your retaining wall. Different soil types have varying drainage capabilities and load-bearing capacities. Understanding the soil on your property is essential for the success of your project.
If you’re unsure about the soil composition, you can conduct a soil test or consult a soil engineer. They will assess factors such as soil compaction, moisture content, and bearing capacity. This information will help you choose the appropriate materials and construction methods to ensure the longevity and stability of your retaining wall.
In addition to the soil type, it’s important to consider the presence of any groundwater or drainage issues. Excessive water pressure can impact the integrity of the retaining wall, so you may need to incorporate proper drainage measures such as weep holes or perforated pipes to allow water to escape.
By thoroughly assessing the slope grade and soil conditions, you can make informed decisions about the design, materials, and construction techniques required for your retaining wall on a slope. This initial step is crucial for laying a solid foundation and ensuring the long-term stability and success of your project.
Choosing the Right Material for the Retaining Wall
Selecting the appropriate material for your retaining wall is essential for both functionality and aesthetics. There are various options available, each with its own benefits and considerations. Here are three popular choices:
Read more: How To Build A Brick Retaining Wall
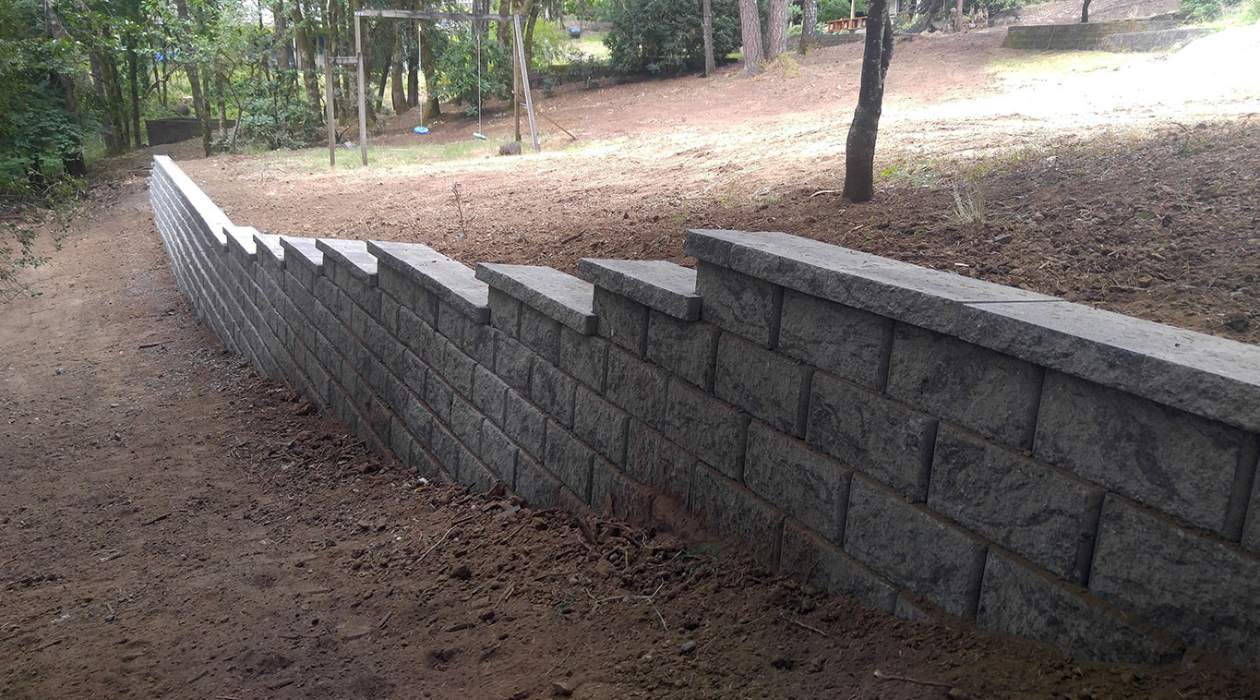
Concrete blocks
Concrete blocks, also known as segmental retaining wall units, are a versatile and durable option for building a retaining wall on a slope. These pre-cast blocks come in various sizes, shapes, and colors, allowing for creative designs and customization. Concrete blocks are relatively easy to install and can be stacked and interlocked to create a stable structure.
One of the advantages of concrete blocks is their strength and durability. They can withstand the pressure from the soil and provide excellent stability. Additionally, they are resistant to rot, pests, and climate changes, making them a low-maintenance option for long-term use.
Natural stone
If you’re looking for a more rustic and natural look, natural stone can be an excellent choice for your retaining wall. Natural stone provides a timeless and aesthetically pleasing appearance and can blend seamlessly with the surrounding landscape.
There is a wide range of natural stones to choose from, including limestone, sandstone, granite, and fieldstone. Each type of stone has its own unique characteristics and colors, giving you the flexibility to create a personalized design.
While natural stone can be more labor-intensive to install compared to other materials, it offers exceptional durability and longevity. It is resistant to weathering, requires minimal maintenance, and can withstand the test of time.
Timber sleepers
Timber sleepers, also known as wood retaining walls, provide a natural and warm aesthetic to your outdoor space. They are commonly made from treated hardwood or pressure-treated pine, which enhances their resistance to rot, insects, and decay.
One of the advantages of timber sleepers is their versatility. They can be easily cut and shaped to create curved and angled walls, allowing for unique and creative designs. Additionally, timber sleepers are relatively lightweight, making them easier to handle and install compared to other materials.
However, it’s important to note that timber sleepers may have a shorter lifespan compared to other materials, especially when in direct contact with soil and moisture. Regular maintenance, such as inspecting for rot and treating with protective coatings, is essential to ensure their longevity.
When choosing the right material for your retaining wall on a slope, consider factors such as durability, aesthetics, maintenance requirements, and budget. Assess the specific needs of your project and consult with a professional if necessary to make an informed decision.
Preparing the Site for Construction
Before you can start building your retaining wall on a slope, it’s essential to properly prepare the site. This includes clearing vegetation and debris, excavating the area, and compacting the soil. By taking these steps, you’ll create a stable and level foundation for your retaining wall.
Read more: How To Build A Retaining Wall For A Driveway
Clearing vegetation and debris
Begin by clearing any vegetation, such as grass, weeds, and shrubs, from the area where the retaining wall will be constructed. Remove any large rocks, tree roots, or other obstacles that could interfere with the construction process or compromise the stability of the wall. This ensures that you have a clean and open space to work with.
Consider renting equipment such as a brush cutter or a mini excavator to aid in the vegetation and debris removal process. Always use caution and follow safety protocols when operating machinery.
Excavating the area
Next, you’ll need to excavate the area where the retaining wall will be installed. This involves digging a trench along the slope to create a level surface for the base of the wall. The width and depth of the trench will depend on the specific requirements of your project and the size of your chosen retaining wall materials.
Use a shovel, an excavator, or other appropriate excavation equipment to carefully remove the soil. Be sure to set aside any excess soil, as it can be used later for backfilling.
During the excavation process, it’s important to maintain a consistent depth and ensure that the trench is level. Use a string level, a line level, or a laser level to check the accuracy of the excavation and make any necessary adjustments.
Compacting the soil
After excavating, it’s crucial to properly compact the soil in the trench to create a stable base for your retaining wall. Use a compactor or a hand tamper to firmly pack the soil, eliminating air pockets and ensuring a solid foundation for the wall.
Pay special attention to compacting the soil in the corners and edges of the trench, as these areas can be prone to instability if not properly compacted. Take your time and make several passes with the compactor or tamper to achieve the desired level of compaction.
By taking the time to clear vegetation, excavate correctly, and compact the soil, you’ll establish a solid and stable base for your retaining wall construction. Proper site preparation is essential for the long-term durability and effectiveness of your retaining wall.
Installing the Foundation
The foundation is a critical component of a retaining wall on a slope as it provides stability and support. This section will guide you through the steps of installing the foundation, including digging trenches for footings, pouring concrete footings, and adding reinforcement if necessary.
Read more: How To Build A Concrete Retaining Wall
Digging trenches for footings
The first step in constructing the foundation is to dig trenches for the footings. These footings will act as a solid base for the retaining wall and help distribute the weight evenly. The size and depth of the trenches will depend on the height and size of the wall.
Use a shovel or an excavator to dig the trenches, ensuring that they are wide enough to accommodate the footings and deep enough to reach stable, undisturbed soil. It’s important to excavate below the frost line if you live in an area that experiences freezing temperatures.
When digging the trenches, it’s crucial to maintain a consistent depth and ensure that they are level along the slope. Use a string level or a laser level to check the accuracy and make any necessary adjustments.
Pouring concrete footings
Once the trenches are prepared, it’s time to pour the concrete footings. Concrete footings provide a solid and stable base for the retaining wall, ensuring it can resist the pressure exerted by the soil.
Prepare the concrete mix according to the manufacturer’s instructions, ensuring that it has the appropriate strength and consistency. Pour the concrete into the trenches, filling them to the desired height. Use a screed or a straight board to level the surface of the footings.
Allow the concrete footings to cure and harden according to the recommended time specified by the concrete manufacturer. This ensures that they achieve their maximum strength and stability before proceeding with the construction of the retaining wall.
Adding reinforcement if necessary
In some cases, especially for taller retaining walls, it may be necessary to add reinforcement to the footings. Reinforcement, such as rebar or steel mesh, helps enhance the strength and stability of the retaining wall system.
Before pouring the concrete footings, determine if reinforcement is required based on the height and load-bearing capacity of the retaining wall. If necessary, place the reinforcement in the trenches, ensuring it is properly positioned and secured.
Reinforcement should be placed in a grid pattern, evenly distributed throughout the footings to provide optimal support. Follow the specifications and guidelines provided by an engineer or local building codes to determine the appropriate placement and spacing of the reinforcement.
By following these steps and ensuring a solid foundation through properly excavated trenches, well-poured concrete footings, and appropriate reinforcement, you’ll create a strong and stable base for your retaining wall.
Building the Retaining Wall
Building the retaining wall is the key step in creating a stable structure that can hold back the soil on the slope. This section will cover the process of setting the first row of blocks, stones, or sleepers, building subsequent rows, ensuring proper drainage, and using geogrid for added stability.
Setting the first row of blocks/stones/sleepers
Start by laying the first row of blocks, stones, or sleepers at the base of the excavated trench. Ensure that they are level, using a level tool to confirm their alignment. If necessary, adjust the placement of the blocks or stones by adding or removing soil beneath them.
Make sure that the first row is tightly fitted against each other and that there are no gaps between them. This helps maintain the integrity and stability of the retaining wall.
For concrete blocks or timber sleepers, you can use construction adhesive or mortar to help secure the first row in place. Apply the adhesive or mortar according to the manufacturer’s instructions, ensuring proper coverage and adhesion.
Building subsequent rows
Continue building the retaining wall by adding subsequent rows of blocks, stones, or sleepers. Offset the joints of each row, similar to how you would place bricks in a wall, for added structural strength.
For interlocking concrete blocks or timber sleepers, continue stacking them on top of each other until you reach the desired height. Use a level tool to check the alignment and ensure that each row is level along the length of the wall.
For natural stone walls, use a combination of larger and smaller stones to create a stable and visually pleasing arrangement. Fit the stones tightly together, using a mallet or rubber mallet to adjust their position as needed.
Ensuring proper drainage
Proper drainage is essential for the longevity and functionality of your retaining wall. Water can build up behind the wall and exert pressure, potentially causing damage. To prevent this, incorporate proper drainage measures.
Install a perforated drainpipe or weep holes at the base of the retaining wall. This allows water to escape and prevents hydrostatic pressure from building up behind the wall. Connect the drainpipe to a suitable drainage system to ensure water flows away from the wall and does not cause any erosion or instability.
Using geogrid for added stability
In some cases, especially for taller walls or walls supporting heavy loads, it may be necessary to incorporate geogrid for added stability. Geogrid is a mesh-like material that is placed between the layers of soil and the retaining wall to distribute forces and provide additional support.
Follow the manufacturer’s instructions for the placement and installation of geogrid. Typically, it is laid horizontally within the layers of soil, extending from the back of the retaining wall into the slope. This helps prevent soil movement, improves stability, and enhances the overall strength of the retaining wall system.
By meticulously setting the first row, building subsequent rows, ensuring proper drainage, and considering the use of geogrid if needed, you will create a robust and stable retaining wall on the slope.
Backfilling and Compacting
Once the retaining wall is built, the next crucial step is backfilling and compacting the space behind the wall. This process helps to provide additional stability and support to the structure. Here are the steps for backfilling and compacting:
Filling the space behind the wall
The space behind the retaining wall needs to be filled with backfill material. Backfill material is typically a mixture of gravel, crushed stone, and soil. This material helps to promote proper drainage and prevents the buildup of excessive pressure against the wall.
Begin by placing the backfill material in the space directly behind the wall. Start at the base and work your way up, ensuring even distribution of the material. Use a shovel or a small loader to carefully add the backfill, taking care not to damage the wall or disturb its alignment.
As you fill the space, periodically use a rake or a shovel to distribute the backfill and eliminate any air pockets or voids. This helps to ensure uniform compaction and stability.
Compact the backfill material
After the backfill material is in place, it’s crucial to compact it to maximize its density and stability. Proper compaction is essential for preventing settling, soil movement, and potential damage to the retaining wall.
Use a plate compactor or a hand tamper to compact the backfill material. Start at the base of the wall and work your way up, applying repeated passes with the compactor or tamper. Pay particular attention to the area directly behind the wall, as this is where the greatest compaction is needed.
While compacting, periodically check the levelness and alignment of the retaining wall to ensure no adjustments are needed. Avoid excessive compaction, as it may exert unnecessary pressure on the wall and compromise its stability.
Continue compacting until the backfill material is firmly packed and there are no visible voids or gaps. The compacted backfill provides additional support to the retaining wall, enhances its stability, and creates a solid foundation for any landscaping or structures built above.
It’s important to note that proper drainage is crucial for the long-term stability of the retaining wall. Ensure that the backfill material and the surrounding area are adequately graded to allow water to drain away from the wall. This helps prevent water buildup behind the wall, which can exert excessive pressure and compromise its integrity.
By carefully backfilling and compacting the space behind the wall, you will promote stability, prevent settling, and enhance the overall durability of your retaining wall on a slope.
Finishing Touches
Once the retaining wall is built and the backfill is compacted, it’s time to add the finishing touches to enhance the aesthetic appeal and functionality of the wall. This includes adding a cap or coping for the wall and incorporating it seamlessly into the surrounding area through landscaping. Here are the steps for the finishing touches:
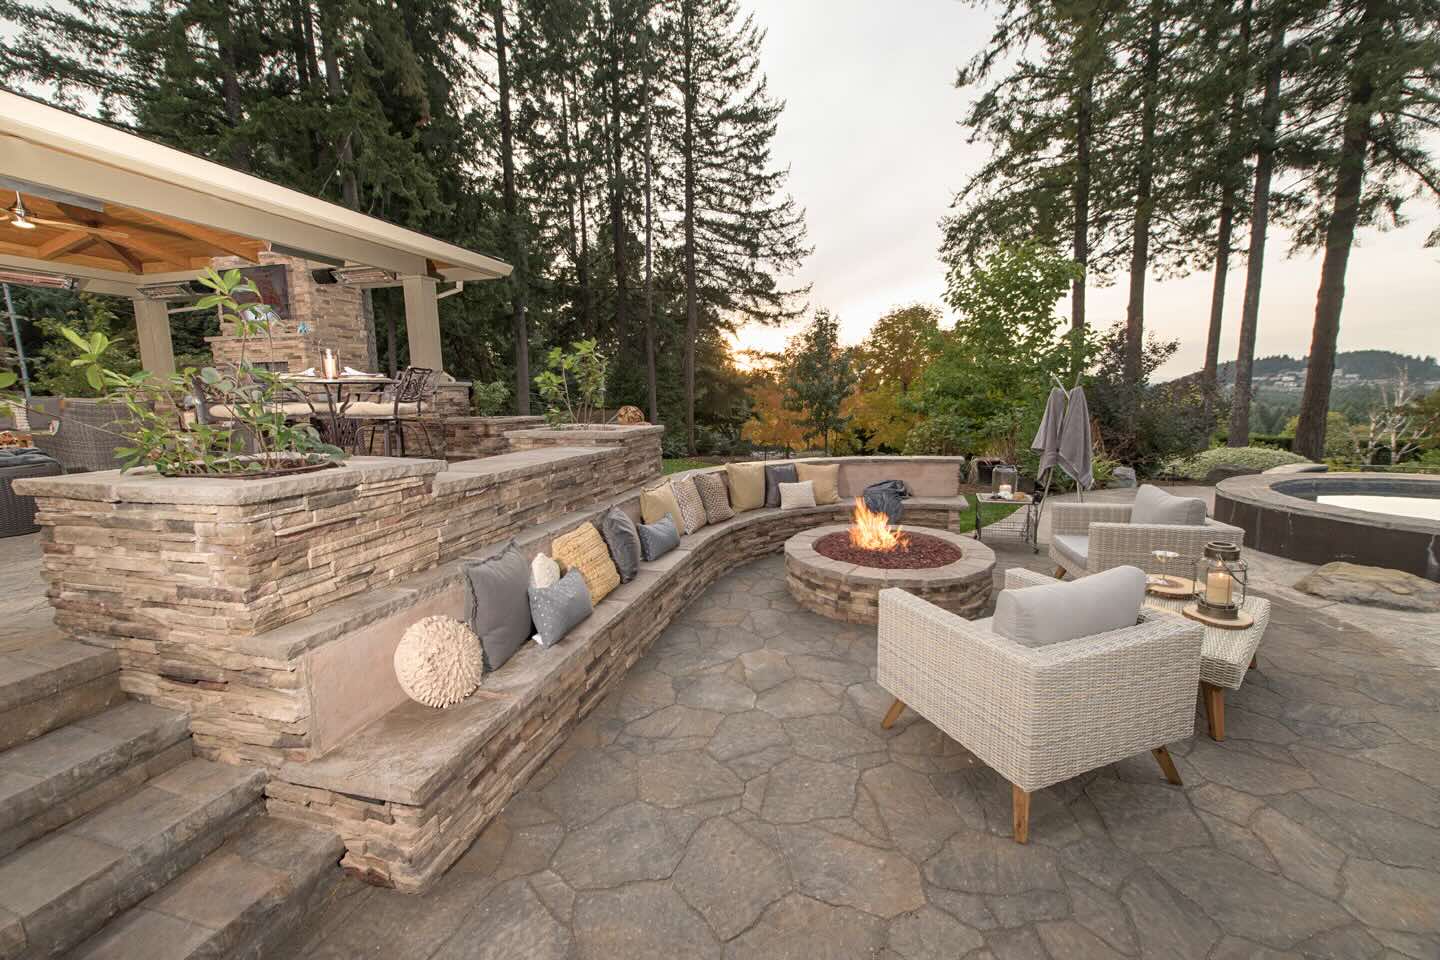
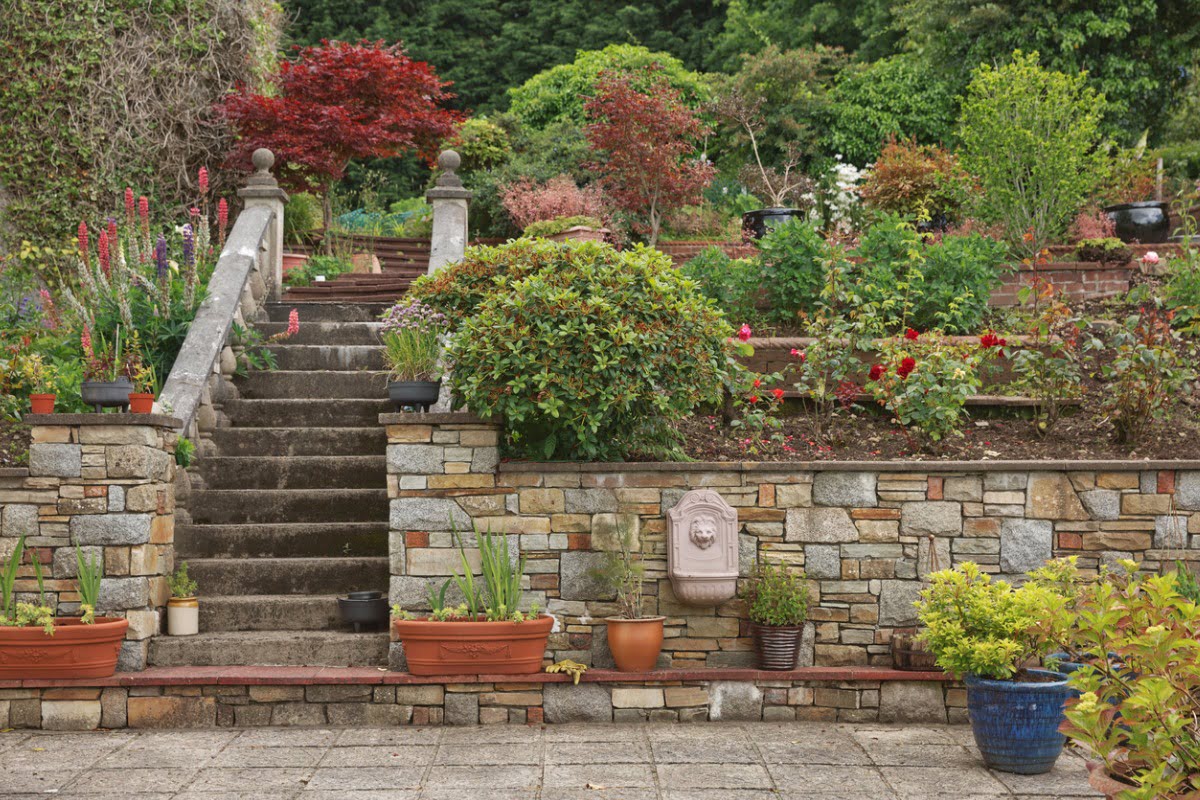
Adding a cap or coping for the wall
To provide a polished and cohesive look to your retaining wall, consider adding a cap or coping on the top. A cap or coping acts as a protective barrier that helps prevent moisture penetration and adds a neat and finished appearance to the wall.
There are various options for wall caps or copings, including concrete caps, natural stone caps, or engineered coping stones. Choose a material that complements the design and style of your retaining wall.
Carefully place the caps or copings on top of the retaining wall, ensuring they are level and secure. Use construction adhesive or mortar to adhere them to the blocks or stones below, if necessary. This will help provide stability and prevent shifting or displacement over time.
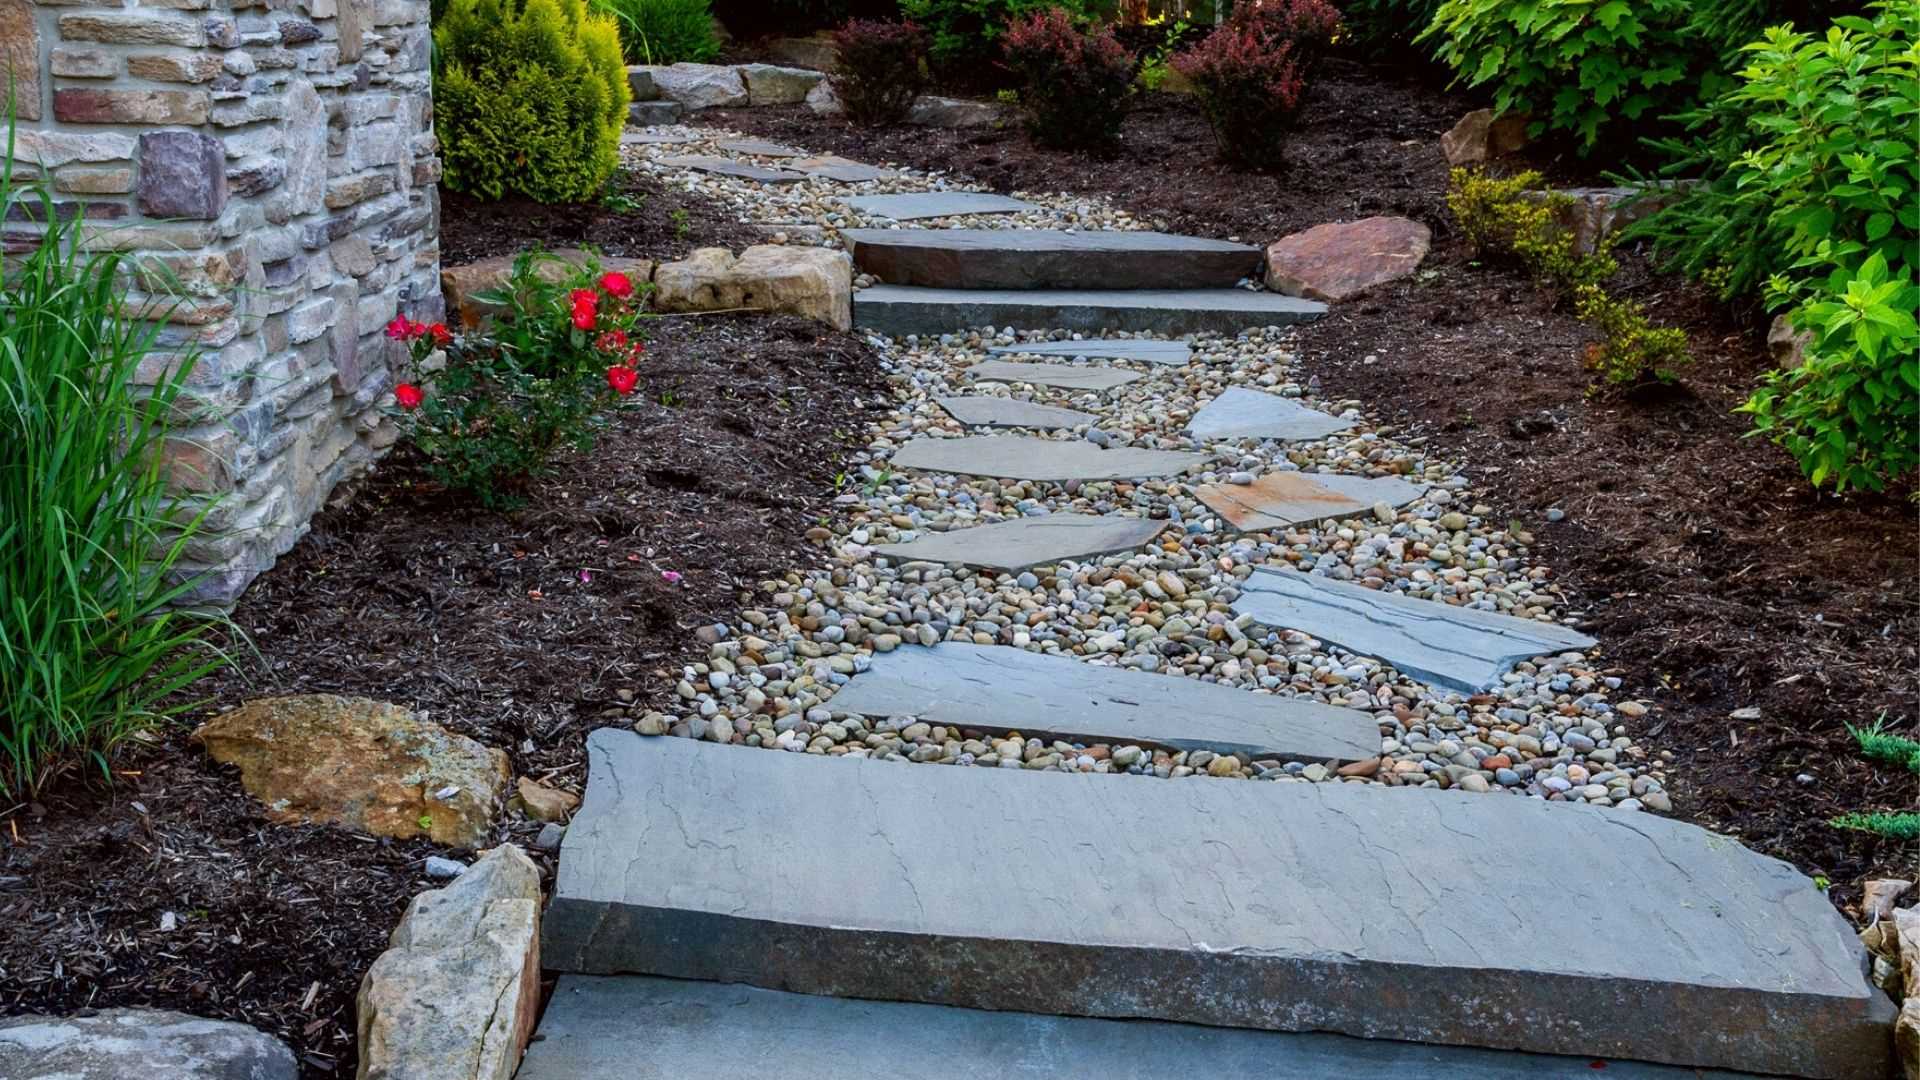
Landscaping and incorporating the wall into the surrounding area
To seamlessly integrate the retaining wall into the surrounding landscape, consider incorporating landscaping elements around and in front of the wall.
Planting vegetation, such as shrubs, flowers, or climbing vines, alongside the slope can soften the appearance of the wall and create a natural transition between the wall and the rest of the garden. Select plants that are suitable for the site conditions and ensure they won’t interfere with the structural integrity of the wall.
Consider adding decorative elements like mulch, rocks, or pavers around the base of the retaining wall to create a visually appealing border and enhance the overall aesthetics of the area.
You can also add lighting fixtures to highlight the wall during the evening and create an inviting ambiance. Strategically placed outdoor lights can add both functionality and a decorative touch to the area.
When landscaping around the retaining wall, ensure proper drainage is maintained. Avoid obstructing the weep holes or drainage system, and use soil and plants that promote good water flow and prevent erosion.
By adding a cap or coping to the wall and carefully incorporating the wall into the surrounding area through landscaping, you can create a visually pleasing and harmonious outdoor space that enhances the beauty and functionality of your retaining wall.
Conclusion
Building a retaining wall on a slope requires careful planning, proper materials, and skilled execution. By following the right steps and considering important factors such as assessing the slope grade, examining soil conditions, choosing the right materials, preparing the site, installing a solid foundation, building the wall, backfilling and compacting, and adding the finishing touches, you can create a retaining wall that is functional, visually appealing, and built to last.
Retaining walls on slopes serve multiple purposes, including leveling a sloping yard, preventing erosion, creating terraced gardens, and enhancing the overall aesthetics of your outdoor space. However, it’s vital to remember that safety should always be a top priority. If you have a particularly steep slope or are unsure about the construction process, it’s advisable to consult with a professional structural engineer or a landscaping expert.
Throughout the construction process, it’s important to ensure proper drainage behind the wall and account for any potential water pressure or soil movement. By taking these precautions, you can prevent damage to the wall and maintain its stability over time.
Finally, don’t overlook the importance of incorporating landscaping elements and adding a cap or coping to the wall. These finishing touches not only enhance the overall appearance of the retaining wall but also help integrate it seamlessly into the surrounding area.
Whether you’re building a small garden retaining wall or a large structural wall, following the proper steps, using quality materials, and paying attention to detail throughout the process will result in a well-built retaining wall that not only serves its purpose but also adds value and beauty to your property.
Remember, building a retaining wall on a slope can be a challenging task, but with the right knowledge and execution, you can create a functional and visually appealing structure that will enhance your outdoor space for years to come.
Now that you've mastered building a retaining wall on a slope, why not spruce up your garden's aesthetics? Our detailed guide on garden fence ideas offers practical and stylish solutions to enhance your landscaping efforts. Whether you're looking to create a cozy nook or secure your blossoming beds, these designs cater to every taste and need. Dive into our resourceful article and transform your outdoor space into a stunning haven today!
Frequently Asked Questions about How To Build Retaining Wall On A Slope
Was this page helpful?
At Storables.com, we guarantee accurate and reliable information. Our content, validated by Expert Board Contributors, is crafted following stringent Editorial Policies. We're committed to providing you with well-researched, expert-backed insights for all your informational needs.


0 thoughts on “How To Build Retaining Wall On A Slope”