Articles
How To Blow Up Photos For Wall Art
Modified: December 7, 2023
Learn how to blow up photos for stunning wall art with our step-by-step articles. Discover techniques for enlarging and preserving image quality.
(Many of the links in this article redirect to a specific reviewed product. Your purchase of these products through affiliate links helps to generate commission for Storables.com, at no extra cost. Learn more)
Introduction
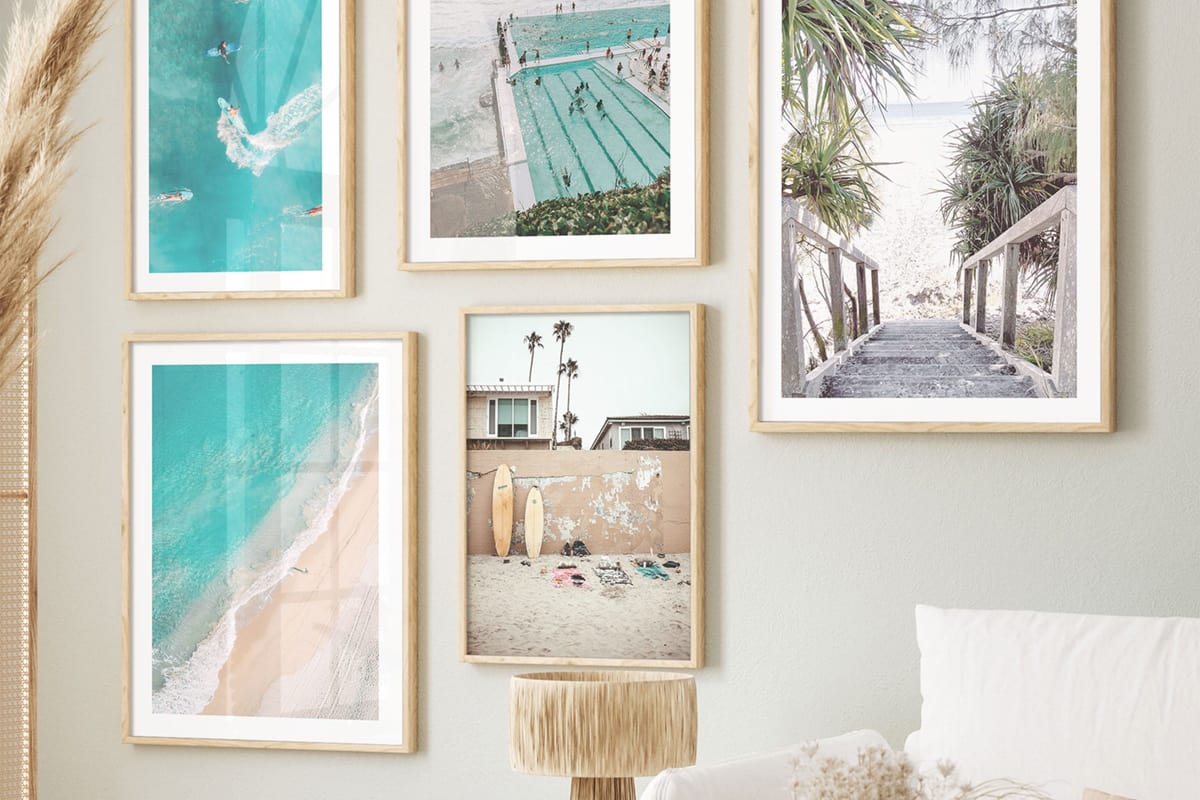
When it comes to decorating your living space, adding a personal touch can make all the difference. One way to showcase your creativity and unique style is by creating wall art using blown-up photos. Whether it’s a stunning landscape, a cherished family portrait, or a captivating piece of artwork, enlarging photos for wall art can transform any room into a gallery-like space.
In this article, we will guide you through the process of blowing up photos for wall art. We’ll cover everything from choosing the right photo to selecting the suitable printing method and preparing the photo for enlargement. Additionally, we’ll explore options for using a professional printing service or doing it yourself at home. Finally, we’ll discuss mounting and framing the enlarged photo and how to display your wall art to create a visually captivating space.
So, if you’re ready to unleash your creativity and make a statement with your wall art, let’s dive into the world of photo enlargement!
Key Takeaways:
- Unleash Your Creativity: Blowing up photos for wall art allows you to express your unique style and personality, transforming any space into a gallery-like environment that reflects your individuality and creativity.
- Elevate Your Space: Whether working with a professional printing service or taking on the process at home, creating blown-up photo wall art adds a personal touch, telling a story, and enhancing your living space with visually captivating and meaningful displays.
Read more: How To Light Up Wall Art
Choosing the Right Photo
One of the most crucial steps in creating wall art from blown-up photos is selecting the right image. The photo you choose sets the tone and aesthetic of the entire piece, so it’s essential to pick something that resonates with you and complements your space. Here are a few tips to help you choose the perfect photo:
- Consider the Theme: Think about the overall theme or vibe you want to create in the room. Do you prefer a serene and calming atmosphere, or do you want to inject energy and vibrancy? Choose a photo that aligns with the intended mood.
- Showcase Your Interests: Displaying photos of something you’re passionate about can add a personal touch to your wall art. Whether it’s a hobby, a favorite travel destination, or a beloved pet, choose a photo that reflects your interests and personality.
- Quality Matters: Pay attention to the resolution and clarity of the photo you’re considering. Blowing up low-resolution images can result in a pixelated or blurry outcome. Opt for high-resolution images to ensure sharp details and vibrant colors.
- Balance and Composition: Look for photos with a balanced composition and visually pleasing elements. This can include the rule of thirds, leading lines, or interesting patterns. A well-composed photo will have a greater impact when enlarged.
- Emotional Connection: Choose a photo that evokes emotions or brings back cherished memories. Wall art is not only about aesthetics; it can also be meaningful and sentimental.
Once you’ve narrowed down your options based on these considerations, take your time to review and compare the choices. Visualize how each photo would fit into your space and complement your existing decor. Trust your instincts and select a photo that truly speaks to you.
Remember, the photo you choose will be the focal point of your wall art, so make sure it’s something you’ll enjoy looking at every day. With the right photo, you’re off to a great start in creating a stunning piece of blown-up wall art!
Selecting the Suitable Printing Method
Once you have chosen the perfect photo for your wall art, the next step is to determine the most suitable printing method. The printing method you choose will have a significant impact on the final result, including the quality, durability, and overall look of the blown-up photo. Here are a few popular printing methods to consider:
- Inkjet Printing: Inkjet printing is a widely used method for printing blown-up photos. It offers high-resolution prints with vibrant colors and excellent detail. This method is ideal for reproducing photos with intricate details and smooth gradients. Inkjet prints are often long-lasting and can be printed on a variety of papers or canvas options.
- Dye Sublimation Printing: Dye sublimation printing involves transferring dye onto a specially coated paper or fabric using heat. This method offers exceptional color accuracy and sharpness. Dye sublimation prints are known for their durability and resistance to fading, making them suitable for long-term display.
- Acrylic Printing: Acrylic printing involves printing the photo onto a transparent acrylic panel, creating a sleek and modern look. The image is infused into the acrylic, resulting in vibrant colors and excellent clarity. Acrylic prints are durable, scratch-resistant, and can give your blown-up photo a three-dimensional effect.
- Canvas Printing: Canvas printing is a popular choice for creating wall art. The photo is printed directly onto high-quality canvas fabric, giving it a textured and artistic look. Canvas prints are often stretched onto a wooden frame, allowing you to display the artwork as it is without the need for additional framing.
- Metal Printing: Metal printing involves printing the photo onto a metal surface, such as aluminum or steel. This method offers a contemporary and unique appeal, with the photo appearing vibrant and reflective. Metal prints are durable, lightweight, and can withstand various environmental conditions.
Consider the style and aesthetic you want to achieve when selecting the printing method. Think about the overall look and feel of your space and choose a method that complements your interior decor. Additionally, consider factors such as budget, longevity, and the desired impact of the blown-up photo.
It’s also worth noting that professional printing services often offer a range of options when it comes to printing methods. Research different printing providers and compare their offerings to find the one that aligns with your preferences and budget.
By carefully selecting the most suitable printing method, you can ensure that your blown-up photo will be visually stunning, durable, and bring your wall art to life.
Preparing the Photo for Enlargement
Before sending your chosen photo for enlargement, it’s essential to take the time to properly prepare it for the process. Adequate preparation will help ensure that the blown-up photo retains its quality and looks its best. Here are some steps to follow when preparing the photo:
- Check the Resolution: Verify that your photo has a high enough resolution to be blown up without losing quality. Low-resolution images may appear pixelated or blurry when enlarged. Aim for a resolution of at least 300 pixels per inch (PPI) for the best results.
- Crop and Adjust: Consider cropping the photo or making any necessary adjustments to improve composition and enhance the overall aesthetics. Use photo editing software to make adjustments to brightness, contrast, saturation, or color balance if needed.
- Remove Blemishes: Inspect the photo for any dust, scratches, or unwanted elements that could hinder the quality of the enlarged print. Use photo editing tools to remove blemishes or consider seeking the assistance of a professional retoucher if necessary.
- Choose the Color Space: Determine the color space that best suits your intended printing method. Typically, sRGB is the standard color space used for online sharing and printing purposes. However, if you are working with a professional printing service, they may have specific color space requirements. Consult their guidelines for the optimal color space.
- Sizing and Aspect Ratio: Decide on the desired dimensions and aspect ratio for the blown-up photo. Ensure that the sizing aligns with the space you plan to display the wall art. Maintain the original aspect ratio of the photo to prevent distortion. If necessary, crop the image or add white borders to adjust the aspect ratio.
- Save a Copy: Save a copy of the prepared photo in the appropriate file format recommended by the printing service or as a high-quality JPEG or TIFF file. This ensures that you have the original photo intact and ready for printing.
It’s crucial to remember that each printing service may have specific guidelines regarding file format requirements, color profiles, and image sizing. Familiarize yourself with their instructions and adhere to them when preparing the photo to ensure optimal results.
Taking the time to properly prepare your photo before enlargement will help maintain its quality and maximize the impact of your blown-up wall art. Once you’re satisfied with the preparation, you’re ready to proceed with the printing process.
Using a Professional Printing Service
When it comes to blowing up photos for wall art, working with a professional printing service can offer several advantages. These services have the expertise, equipment, and resources to deliver high-quality prints that truly do justice to your chosen photo. Here are some benefits of using a professional printing service:
- Quality and Expertise: Professional printing services have access to state-of-the-art printing equipment and employ skilled technicians who understand the intricacies of the printing process. They can ensure that your blown-up photo is printed with precision and attention to detail, resulting in stunning image quality and true-to-life colors.
- Wide Range of Materials: Professional printing services often offer a variety of materials to choose from for your wall art. Whether you prefer glossy or matte finishes, canvas or metal, they can provide options that suit your desired aesthetic and style.
- Customization and Options: Many professional printing services allow you to customize your print with options such as size variations, framing, and mounting. This enables you to create a unique piece of wall art that perfectly fits your vision and space.
- Color Calibration: Professional printing services use color calibration techniques to ensure accurate color reproduction. This means that the colors in your blown-up photo will match your original image, enhancing the overall visual impact and maintaining consistency.
- Convenience: Choosing a professional printing service allows you to delegate the printing process to experts, saving you time and effort. They handle all aspects of printing and can offer guidance or recommendations based on their experience.
- Expert Finishing: Professional printing services can provide additional services such as mounting, framing, or adding protective coatings to your wall art. These finishing touches enhance the overall presentation and longevity of your piece.
When selecting a professional printing service, be sure to research and compare different providers. Look for reviews, check their portfolio, and inquire about their printing techniques and materials. Additionally, consider factors such as turnaround time, pricing, and customer service to ensure a seamless experience.
By entrusting your blown-up photo to a professional printing service, you can have peace of mind knowing that your wall art will be handled with care and expertise, resulting in a high-quality print that is ready to be displayed and admired.
When blowing up photos for wall art, make sure to use high-resolution images to maintain quality. Low-resolution images may appear pixelated when enlarged.
Read more: How To Hang Up Wall Art
Blowing Up the Photo at Home
If you have the necessary equipment and skills, you may choose to blow up the photo for your wall art at home. While this approach requires more involvement and attention to detail, it allows for greater control over the entire process. Here are some steps to follow when blowing up the photo at home:
- Invest in a High-Quality Printer: To achieve professional-grade results, you’ll need a high-quality printer capable of printing large formats. Look for a printer that offers high-resolution printing and supports the paper or canvas material you intend to use for your wall art.
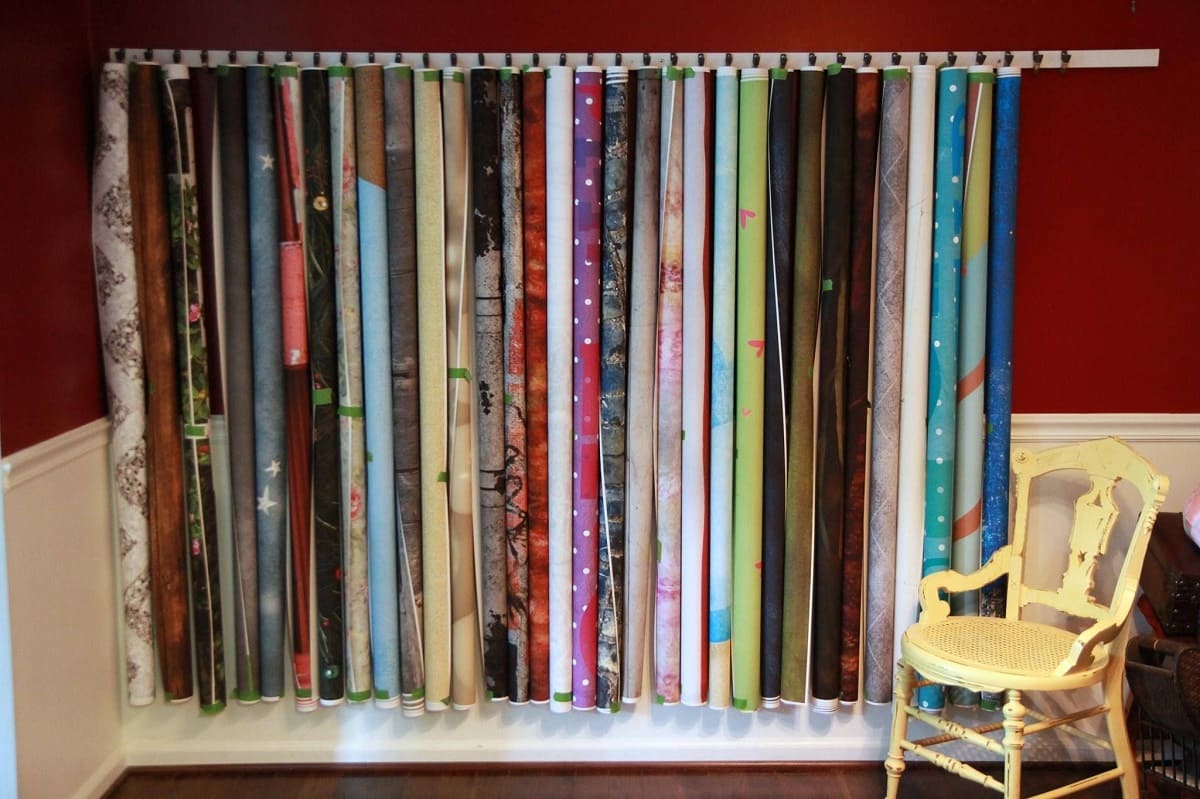
- Choose the Right Paper or Canvas: Select a high-quality paper or canvas specifically designed for printing photos. Consider factors such as texture, finish, and color reproduction to ensure the best possible outcome. Experiment with different options to find the one that suits your preferences and complements your chosen photo.
- Configure Printer Settings: Adjust the printer settings to optimize the print quality. Set the resolution to the highest possible setting and choose the appropriate color profile to ensure accurate color reproduction. Follow the instructions provided by your printer’s manufacturer for the best results.
- Print a Test Page: Before printing the full-size blown-up photo, it’s a good idea to print a smaller test page to assess the color accuracy and overall quality. This allows you to make any necessary adjustments before printing the final piece.
- Print the Blown-Up Photo: Load the chosen paper or canvas into the printer and print the blown-up version of your photo. Ensure that you have set the dimensions correctly to match the desired size of the wall art. Monitor the printing process carefully to detect and address any potential issues promptly.
- Allow Proper Drying Time: Once the printing is complete, give the print sufficient time to dry completely. Depending on the ink and paper or canvas used, this can take a few hours or longer. Handling the print prematurely may lead to smudging or damage.
Keep in mind that blowing up photos at home requires a level of expertise and access to high-quality equipment. It may take some trial and error before achieving the desired results. If you’re unsure or want professional-grade prints, it’s advisable to seek the services of a professional printing provider.
Nevertheless, blowing up photos at home can be a fulfilling and cost-effective option for those who enjoy a hands-on approach and have the necessary resources. With practice and attention to detail, you can create stunning blown-up photos for your wall art.
Mounting and Framing the Enlarged Photo
Once you have your blown-up photo in hand, the next step is to mount and frame it to give it a polished and professional look. Mounting and framing not only protect the photo but also enhance its overall appearance and make it ready for display. Here are some steps to follow when mounting and framing your enlarged photo:
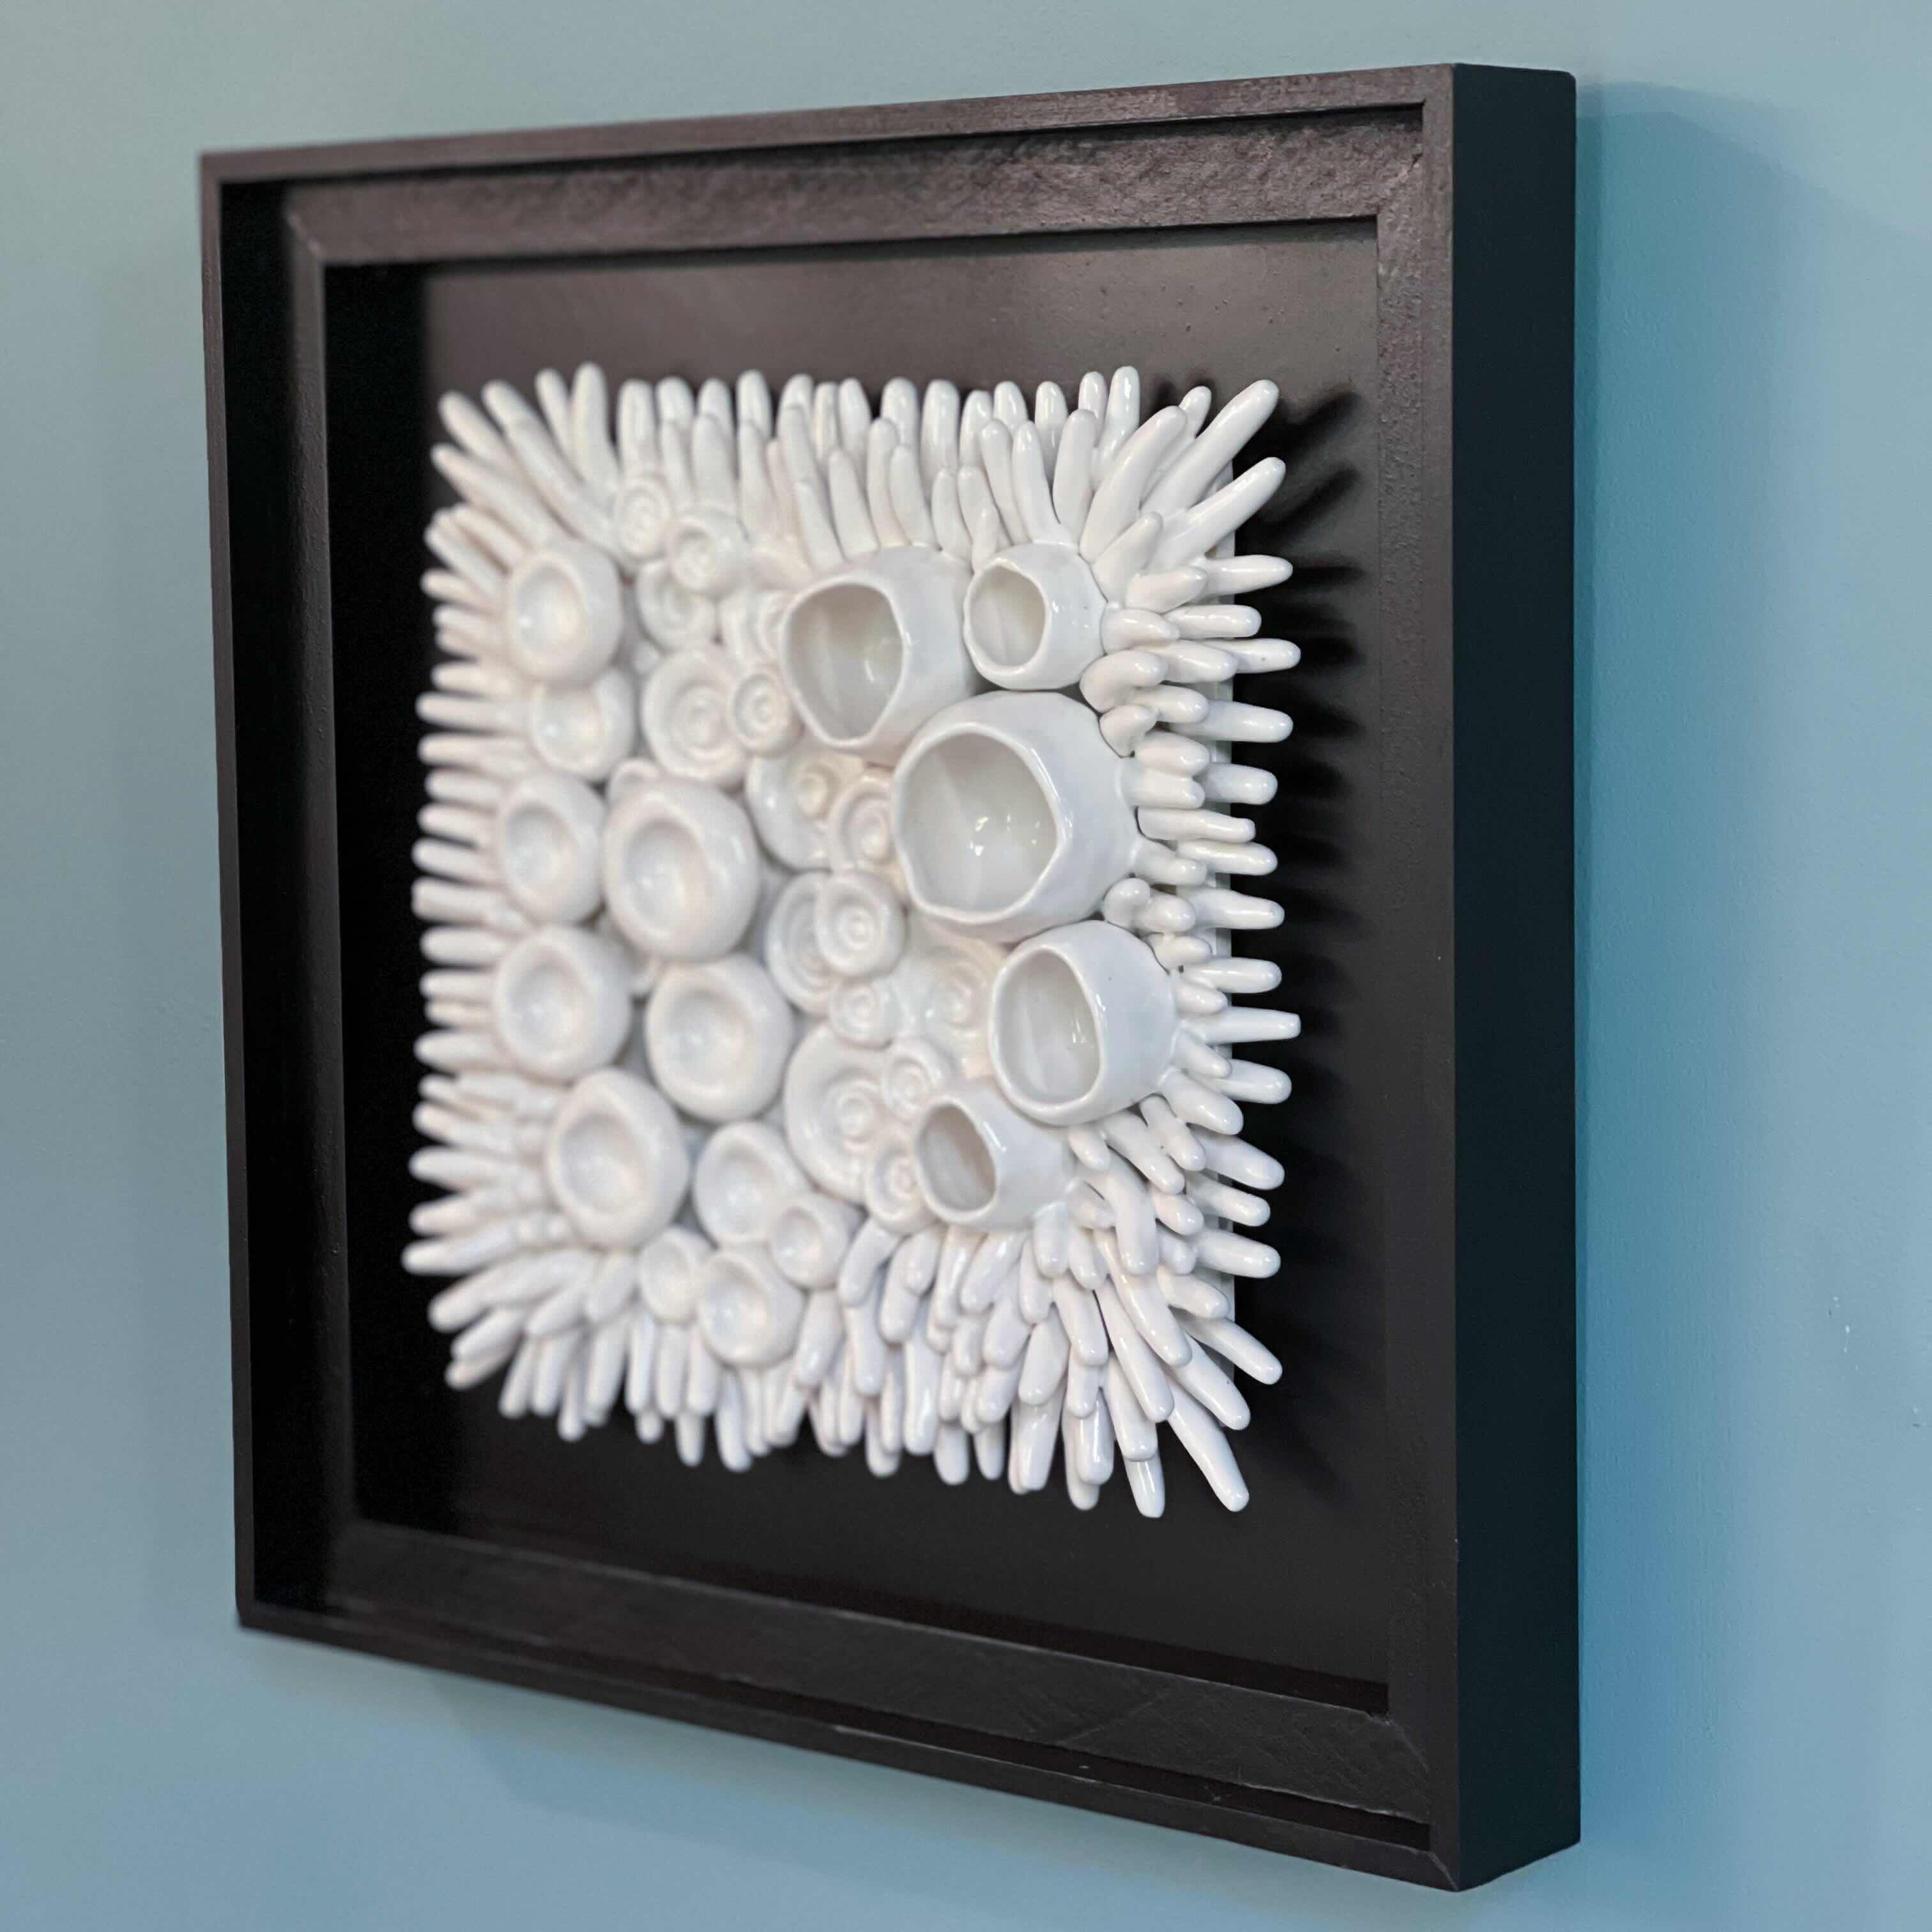
- Choose a Mat Board: Consider using a mat board to add a border around your photo. Mat boards not only provide a visual separation between the photo and the frame but also help protect the image by keeping it away from the glass.
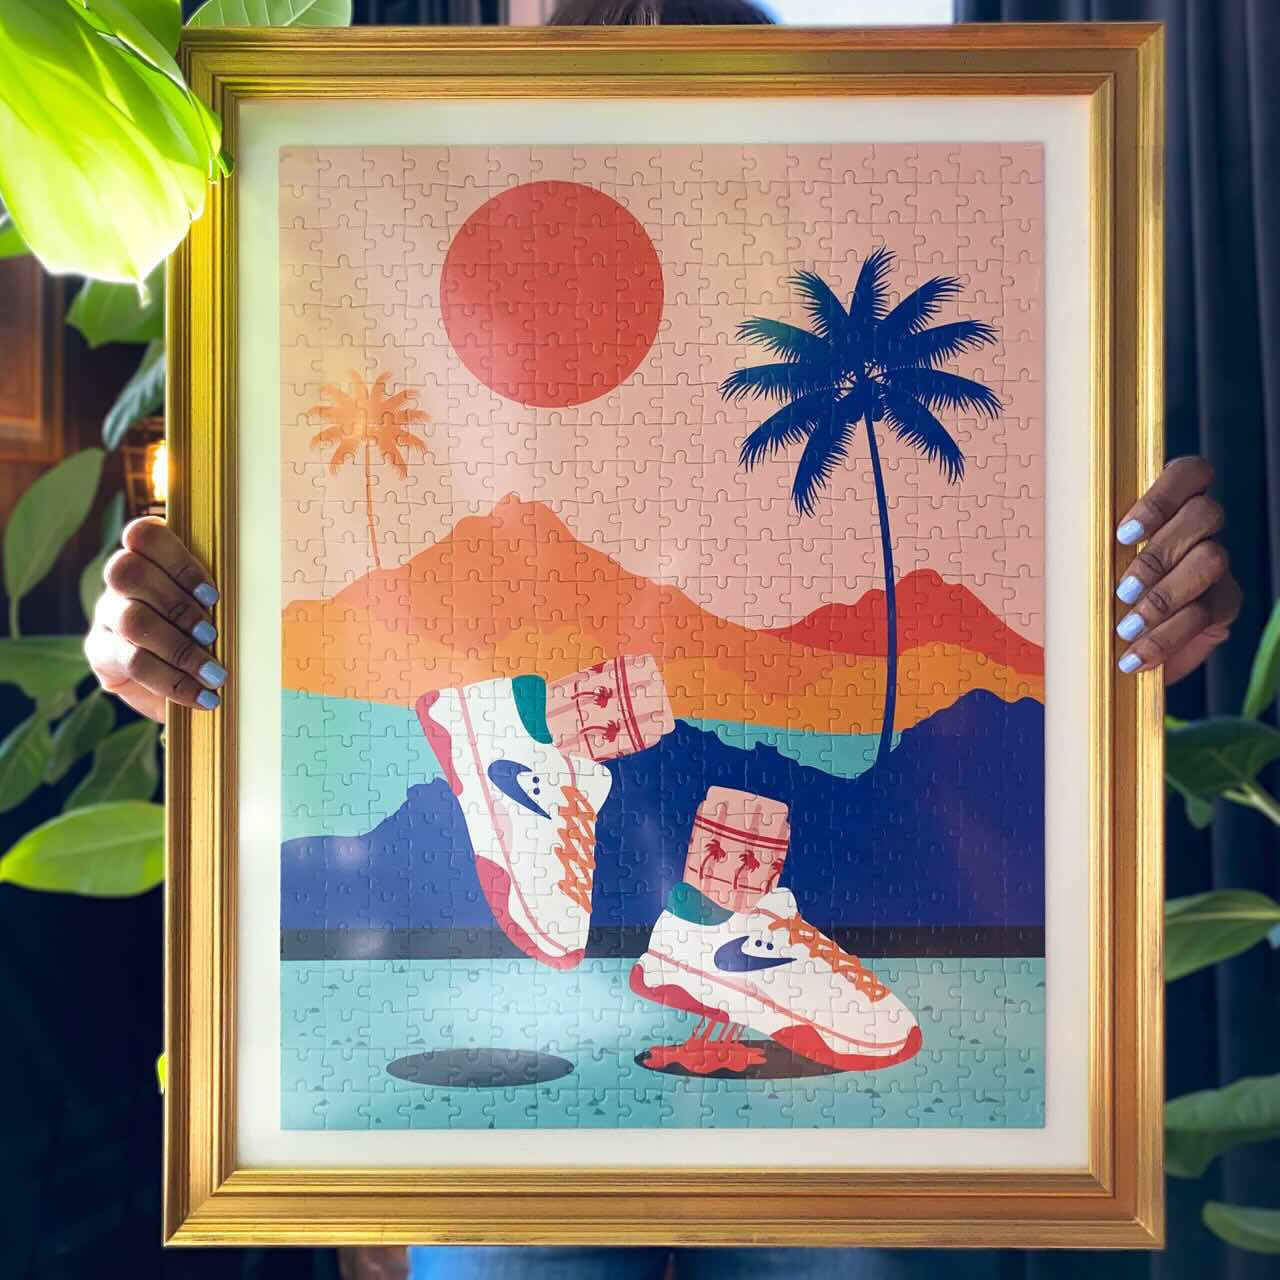
- Select a Frame: Choose a frame that complements your photo and matches the style and theme of your space. Frames come in various materials, finishes, and sizes, so select one that enhances the overall aesthetic of your wall art.
- Prepare the Photo: Carefully place your blown-up photo onto the mat board, ensuring it is centered and aligned. Use acid-free adhesives or photo corners to secure the photo in place. This helps prevent any damage or shifting over time.
- Attach the Mat Board: Once the photo is secured to the mat board, attach it to the chosen frame. Use acid-free tape, mounting corners, or adhesive to affix the mat board onto the frame. Ensure that the mat board is aligned correctly and positioned evenly within the frame.
- Add Protective Glass: Consider adding a layer of protective glass, such as acrylic or mineral glass, to shield your blown-up photo from dust, moisture, and UV rays. Opt for a non-reflective or anti-glare glass to minimize glare and maximize visibility.
- Inspect the Final Presentation: Before finalizing the mounting and framing process, carefully inspect the assembled wall art. Ensure that the photo is securely attached, the mat board is free from any wrinkles or damage, and the frame is in good condition without any scratches or defects.
If you’re uncertain about the mounting and framing process, you can consult a professional framer who can provide guidance and assistance. They have the expertise and tools to ensure a seamless and professional finish.
Remember, the goal of mounting and framing is to protect your blown-up photo while presenting it in the best possible way. By carefully following the steps and paying attention to detail, you can achieve a beautifully presented piece of wall art ready to be hung and admired.
Displaying Your Wall Art
Now that you’ve gone through the process of blowing up, mounting, and framing your photo, it’s time to showcase your wall art in a way that highlights its beauty and adds a captivating touch to your space. Here are some tips for displaying your wall art:
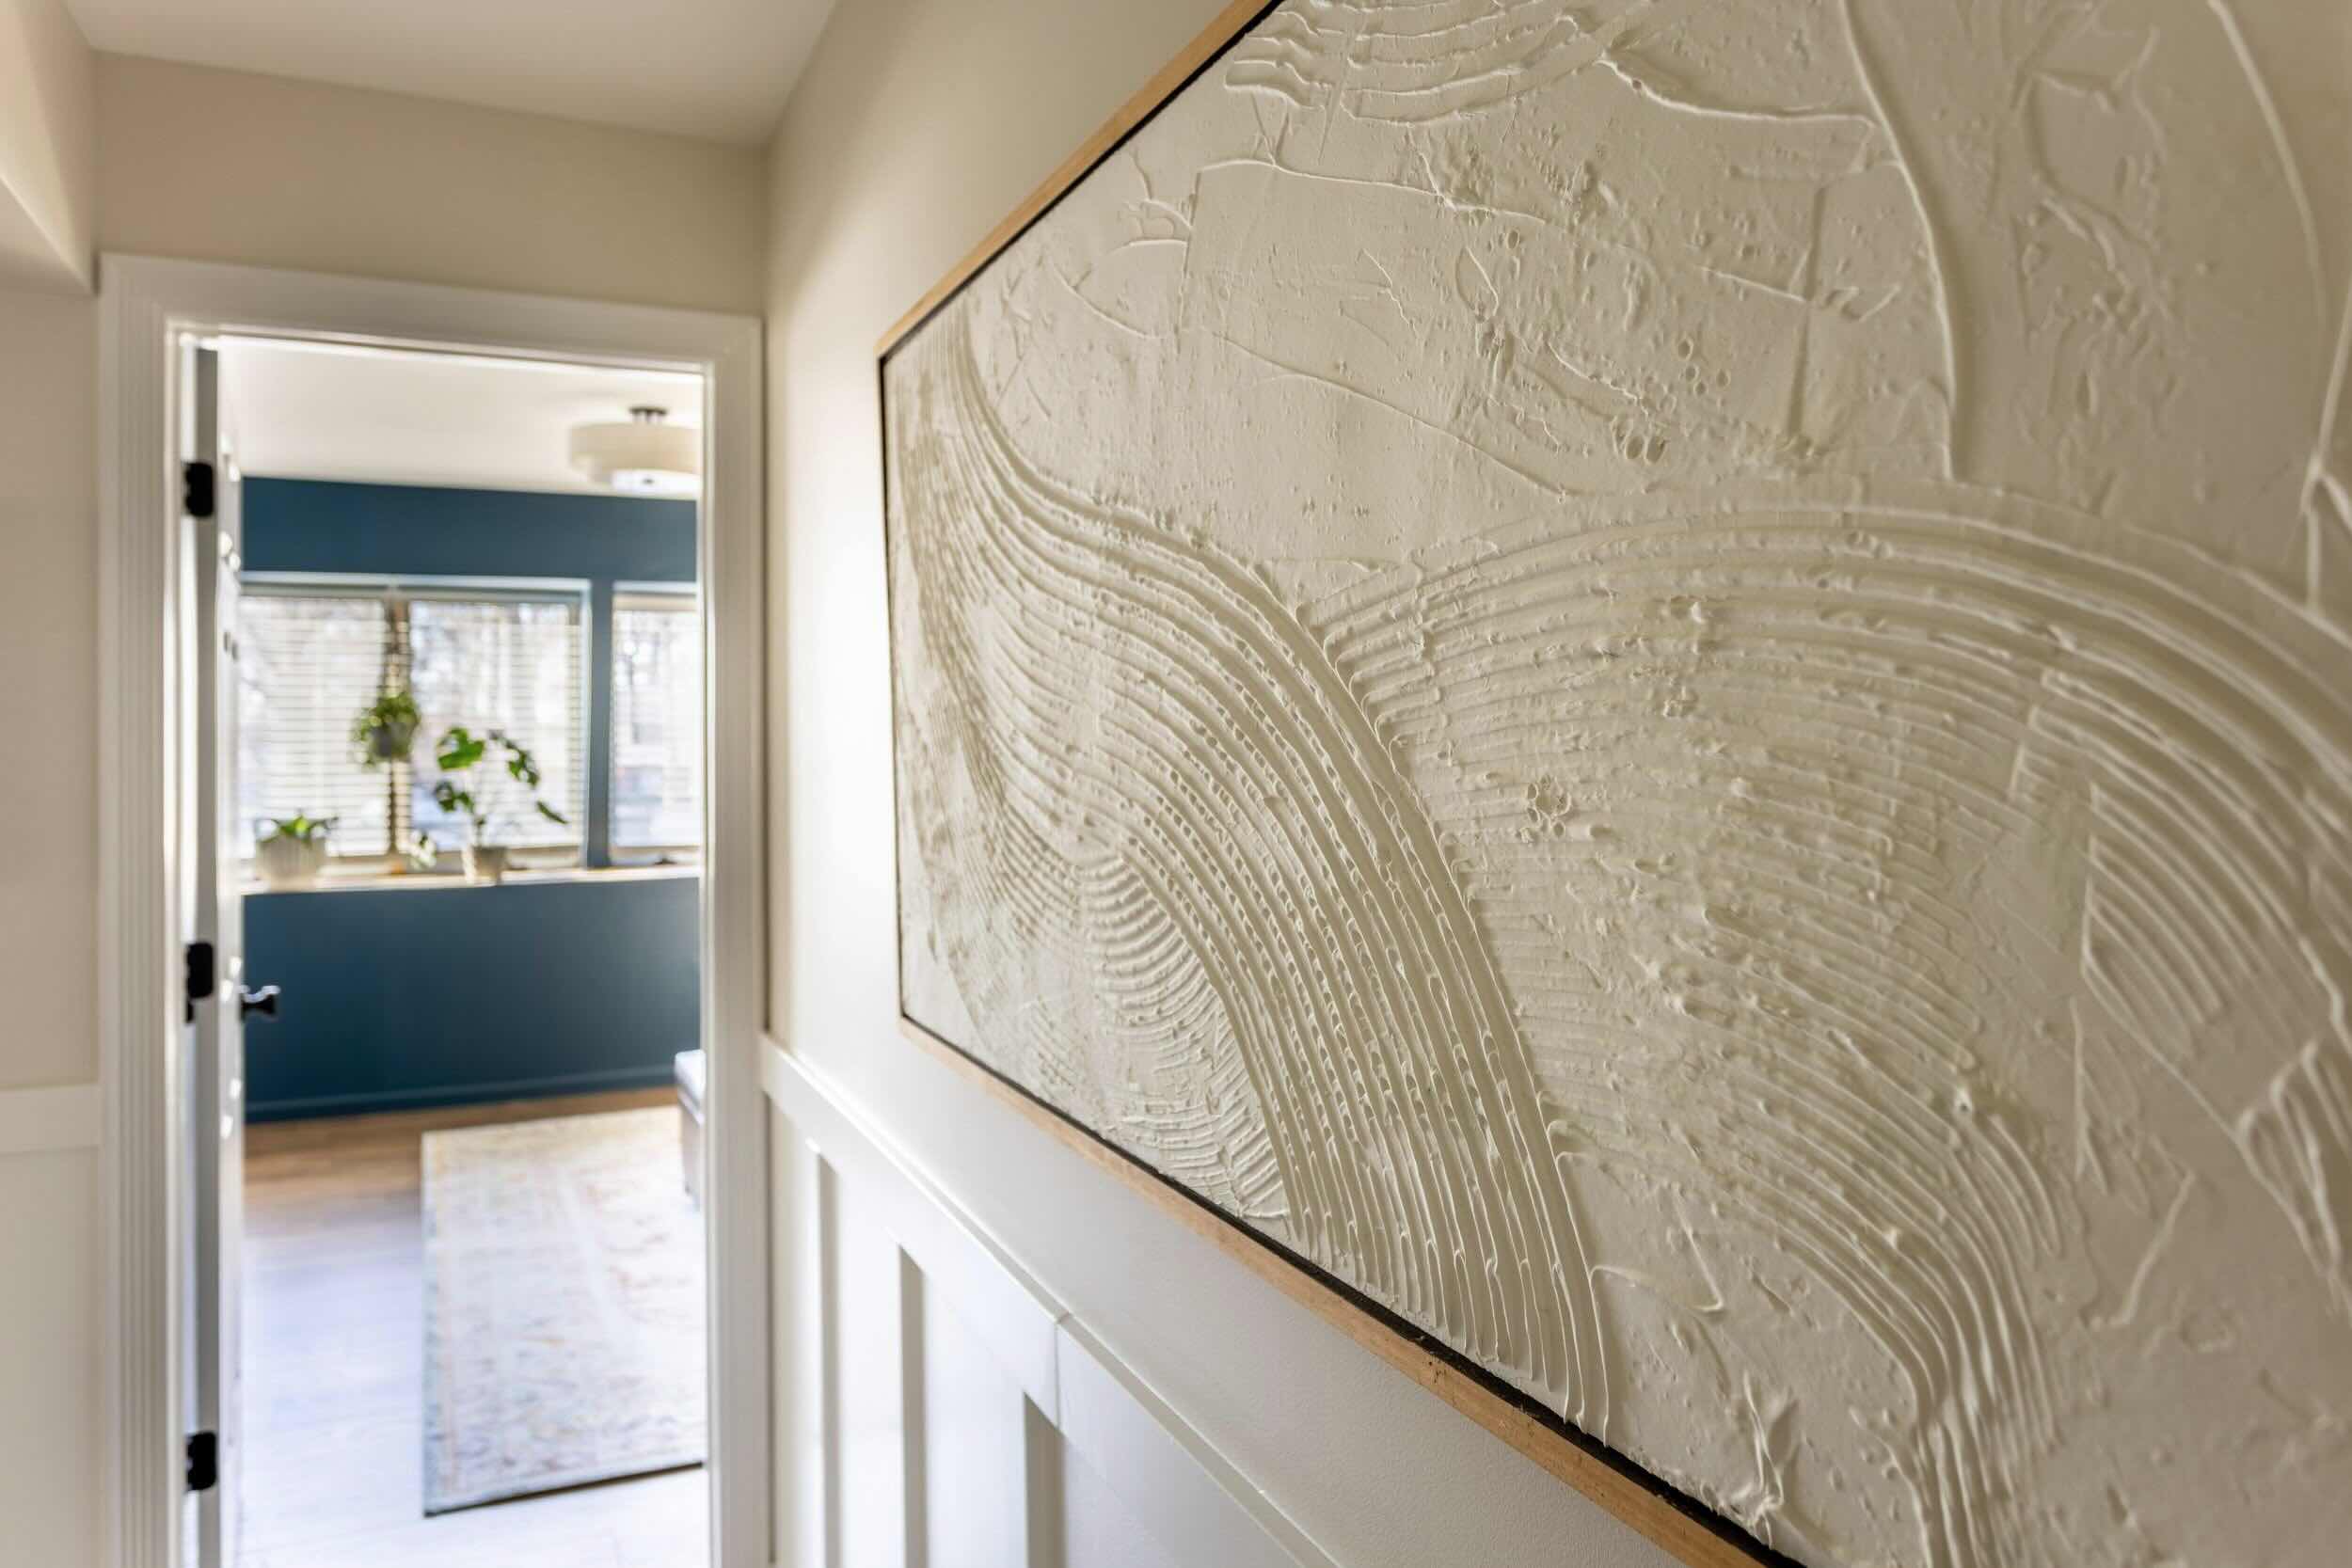
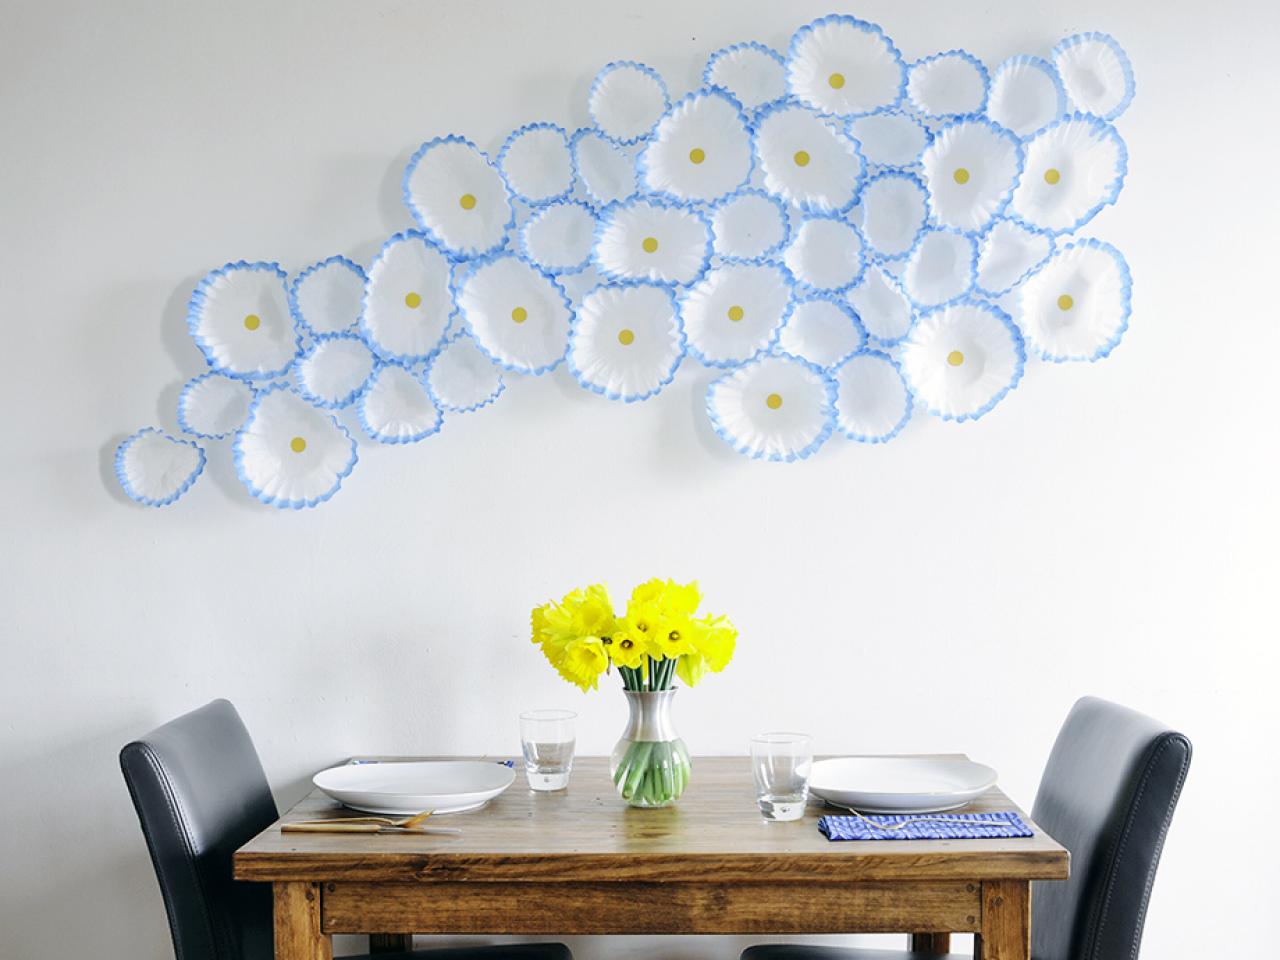
- Choose the Right Location: Select a prominent wall in your home that will serve as the focal point for displaying your wall art. Consider the lighting, existing decor, and the overall flow of the room. Ideally, choose a space where the wall art will be easily visible and appreciated.
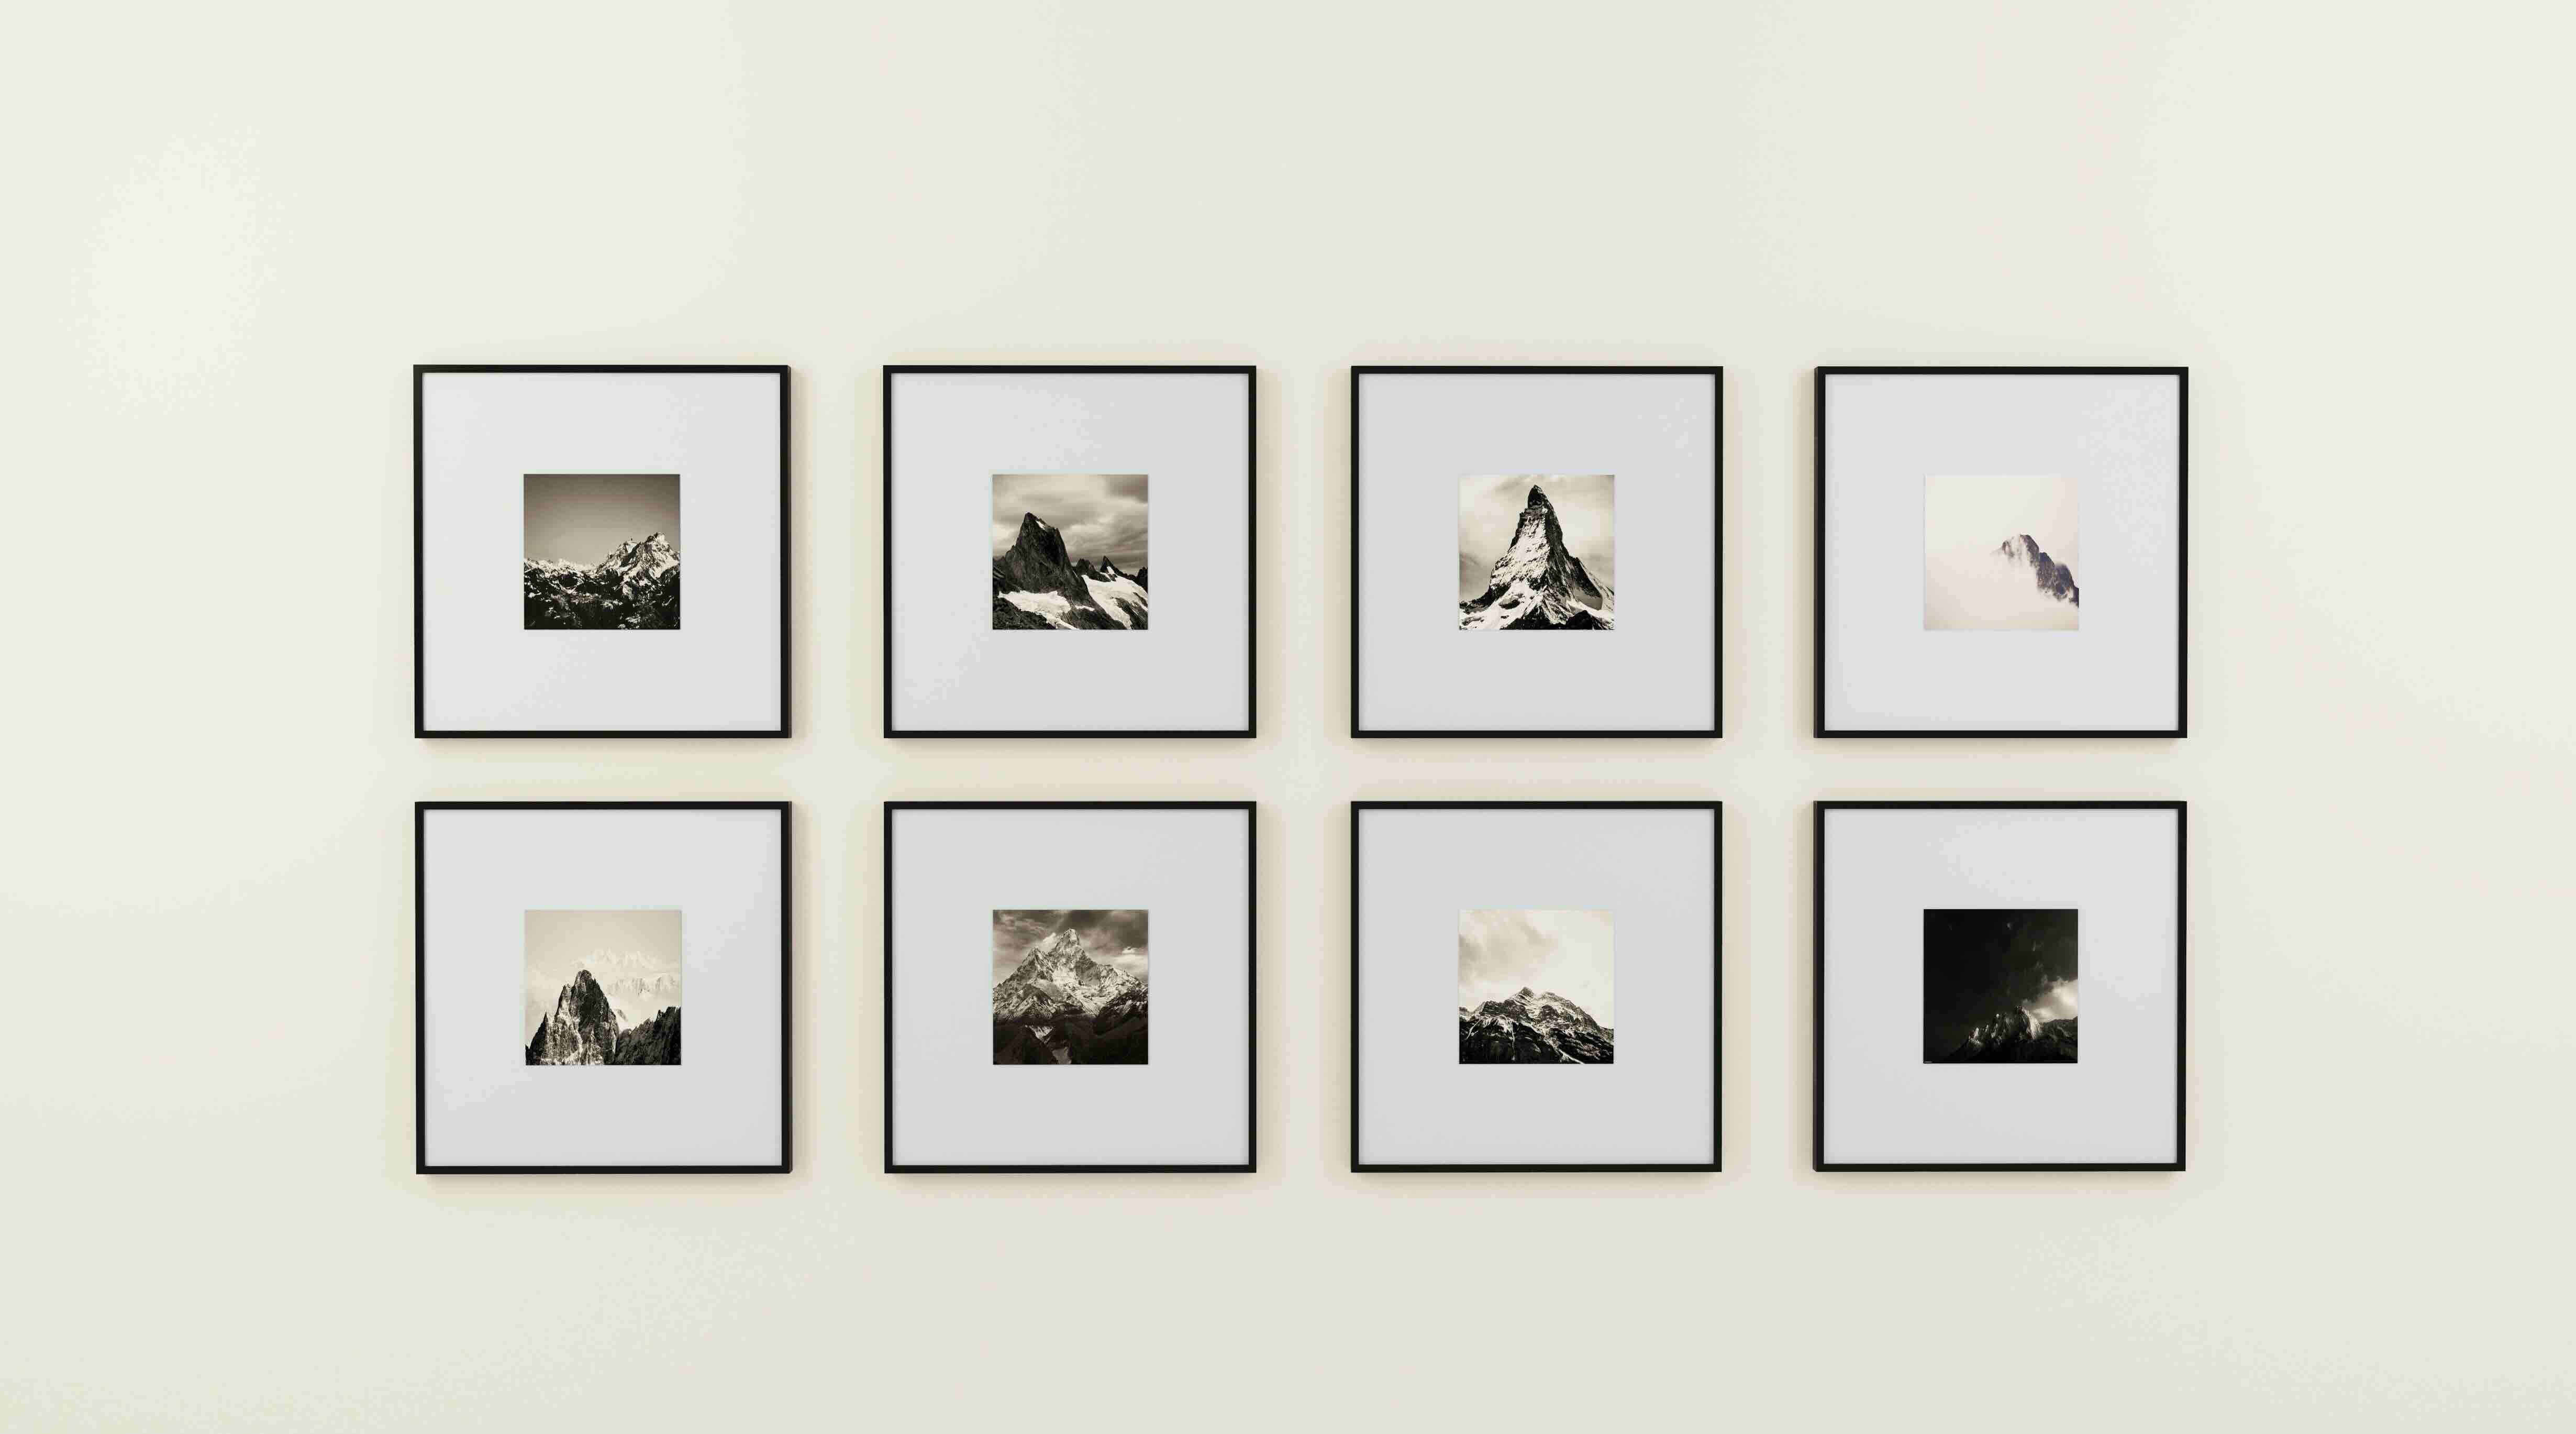
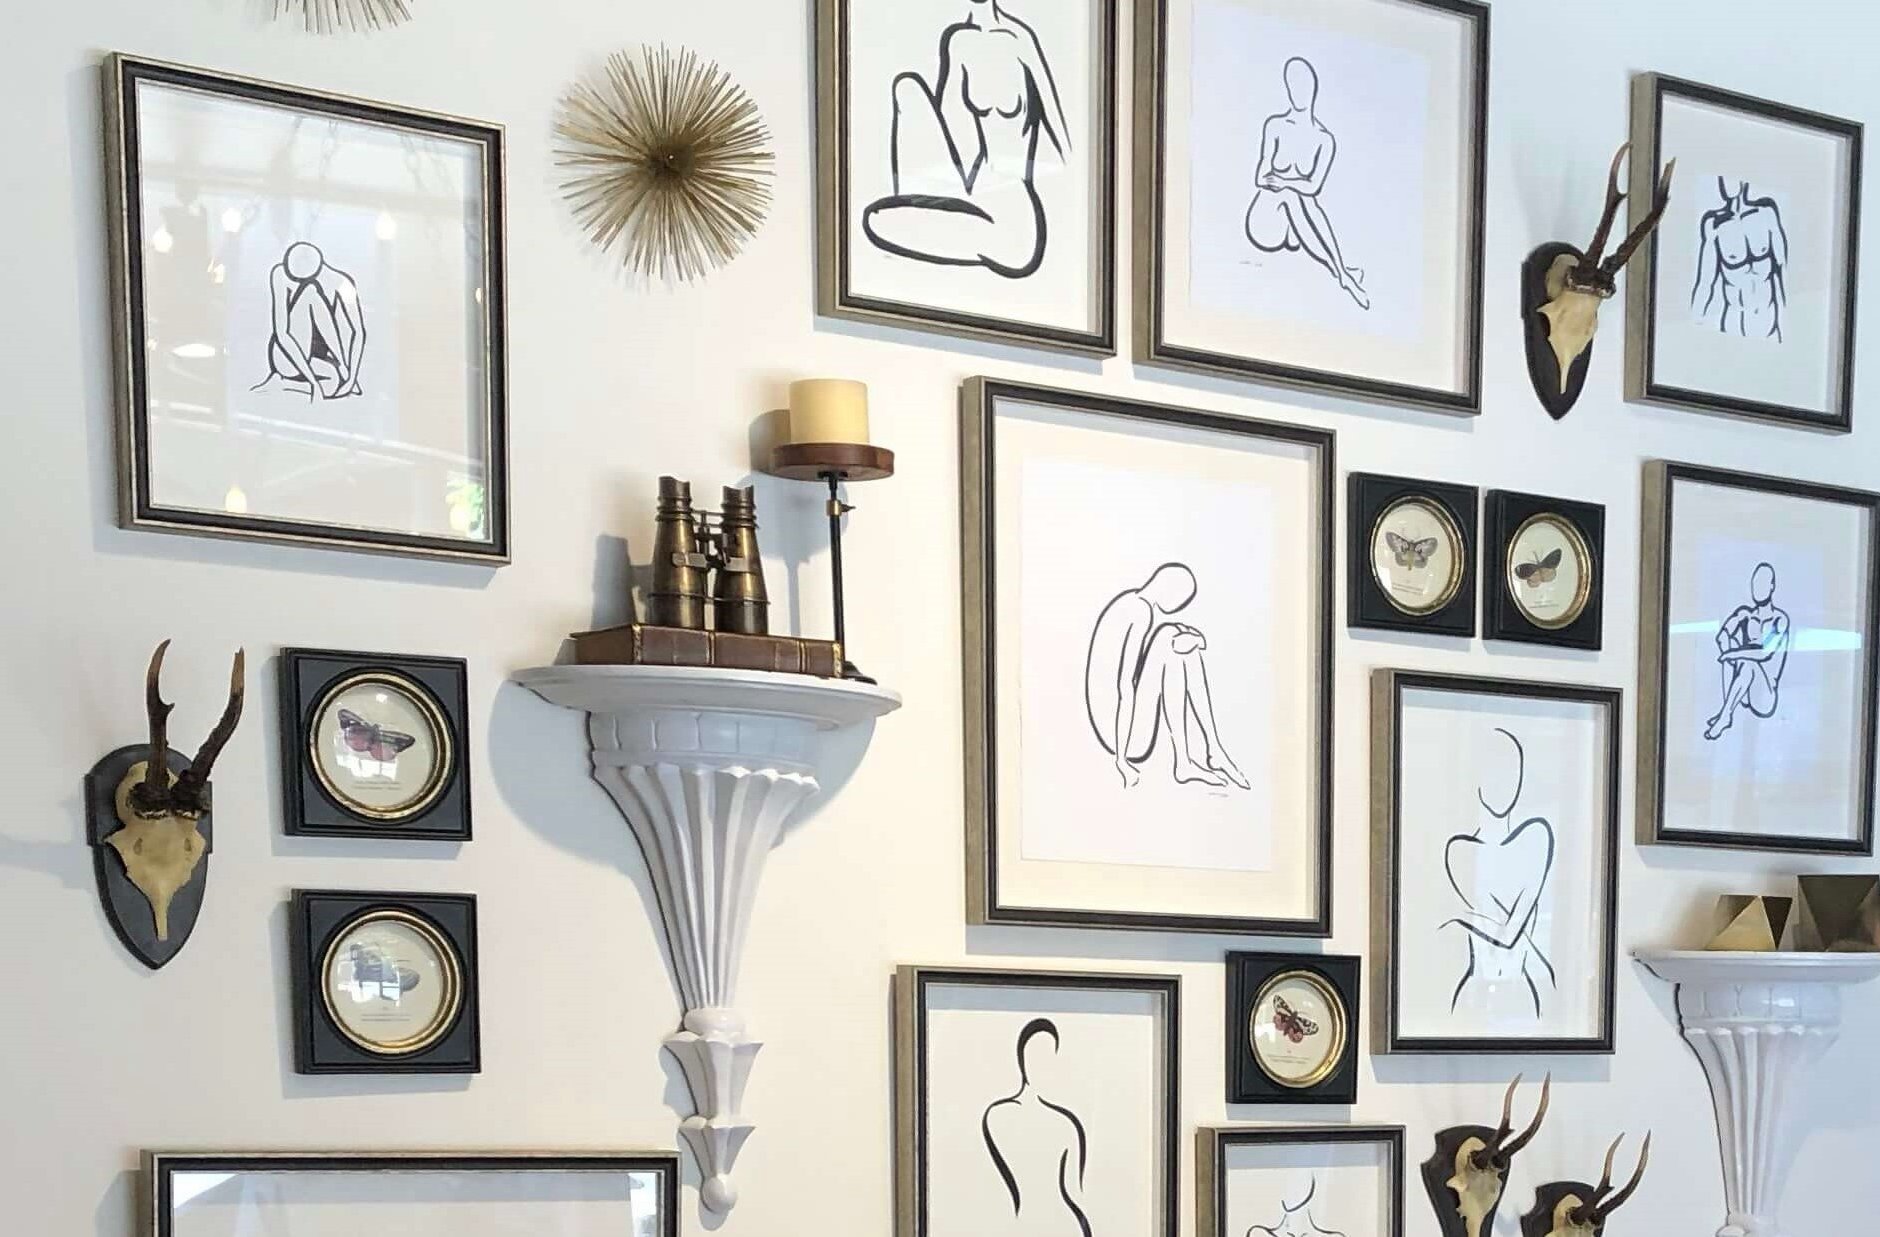
- Consider the Size and Proportions: Take into account the size of your blown-up photo and the available wall space. If you have a large wall, you can hang a single oversized piece or create a gallery wall by grouping smaller framed photos together. Ensure that the size and proportions of your wall art are in harmony with the surrounding elements.
- Hanging Height and Positioning: Hang your wall art at eye level, ensuring it is easily within view and not too high or low. Consider the height of the average person in your household and adjust accordingly. Additionally, position the wall art with enough breathing space around it to draw attention and make it the center of focus.
- Use Proper Hardware: Use appropriate hanging hardware suitable for the weight and size of your wall art. Heavy pieces may require hooks or wall anchors for added support. Follow the manufacturer’s instructions or seek professional assistance if needed to ensure secure mounting.
- Create Visual Balance: If you have multiple pieces of wall art to display, create a sense of visual balance. Distribute the pieces evenly or arrange them in a way that creates a harmonious composition. Experiment with different layouts before committing to a final arrangement.
- Consider Lighting: Illuminate your wall art to make it stand out even more. Use spotlights, track lighting, or picture lights to highlight the artwork and add a warm glow. Proper lighting enhances the colors, details, and overall visual impact of your wall art.
- Rotate and Refresh: Periodically rotate or refresh your wall art to keep your space dynamic and interesting. Change out the photos seasonally or whenever you feel the need for a new look. This allows you to showcase a variety of images and prevent visual monotony.
Remember that displaying your wall art is a personal expression of your style and creativity. Feel free to experiment, trust your instincts, and have fun with the process. Let your blown-up photo become a conversation piece and a source of inspiration for yourself and your guests.
By following these tips, you can create a visually captivating and aesthetically pleasing display of your wall art that brings joy and adds personality to your living space.
Conclusion
Blowing up photos for wall art is a fantastic way to showcase your creativity, add a personal touch to your living space, and create a visually captivating environment. Whether you choose to work with a professional printing service or take on the process at home, the end result will be a stunning piece of wall art that reflects your style and personality.
Throughout this article, we’ve explored the various steps involved in creating wall art from blown-up photos. We discussed the importance of choosing the right photo, selecting a suitable printing method, and properly preparing the photo for enlargement. We also explored options for using a professional printing service or navigating the process at home, as well as the crucial steps of mounting, framing, and displaying your wall art.
As you embark on your journey to create blown-up photo wall art, remember to consider your personal preferences, the style of your space, and the emotional connection you have with the chosen photo. Take the time to select the best printing method, prepare the photo meticulously, and ensure that the presentation of your wall art is impeccable.
Whether you decide to showcase a breathtaking landscape, a cherished family portrait, or a captivating piece of artwork, blown-up photos can transform any room into a gallery-like space. So, unleash your creativity, let your imagination soar, and allow your blown-up photo wall art to become a beautiful statement piece that enhances your living space.
Remember, the process of creating wall art from blown-up photos is not just about decoration; it’s about telling a story, expressing your individuality, and creating a space that is uniquely yours. Enjoy the journey and immerse yourself in the art of transforming your photographs into stunning wall art.
Frequently Asked Questions about How To Blow Up Photos For Wall Art
Was this page helpful?
At Storables.com, we guarantee accurate and reliable information. Our content, validated by Expert Board Contributors, is crafted following stringent Editorial Policies. We're committed to providing you with well-researched, expert-backed insights for all your informational needs.


0 thoughts on “How To Blow Up Photos For Wall Art”