Home>Garage Storage>A Before And After Garage Makeover Featuring A Functional Family Space

Garage Storage
A Before And After Garage Makeover Featuring A Functional Family Space
Modified: October 20, 2024
Transform your messy garage into a functional family space with our garage storage solutions. Discover the amazing before and after results of our garage makeover.
(Many of the links in this article redirect to a specific reviewed product. Your purchase of these products through affiliate links helps to generate commission for Storables.com, at no extra cost. Learn more)
Introduction
Welcome to the exciting world of garage makeovers! If you’re tired of stepping into a cluttered and disorganized garage every day, it’s time to transform it into a functional and stylish space that the entire family can enjoy.
Garages often become a dumping ground for everything we can’t find a place for in our homes. From holiday decorations and sports equipment to tools and gardening supplies, it’s easy for the garage to become chaotic and overwhelming. But fear not, with some careful planning and a few smart solutions, you can create a garage that is not only organized but also practical.
In this article, we will take you through the journey of a before and after garage makeover, highlighting the steps involved in turning a cluttered space into a functional family area. From assessing the space to installing shelving and creating a workspace, we’ll cover it all.
So let’s dive in and discover the exciting possibilities that lie within your garage!
Key Takeaways:
- Transform your cluttered garage into a functional family space by assessing the area, creating a design plan, and implementing organizational systems and a dedicated workspace. Add final touches for a personalized touch.
- Elevate your garage’s functionality with proper lighting, insulation, and ventilation. Consider adding a theme, comfortable seating, and greenery for a personalized and inviting space. Regular maintenance is key to sustaining the organization.
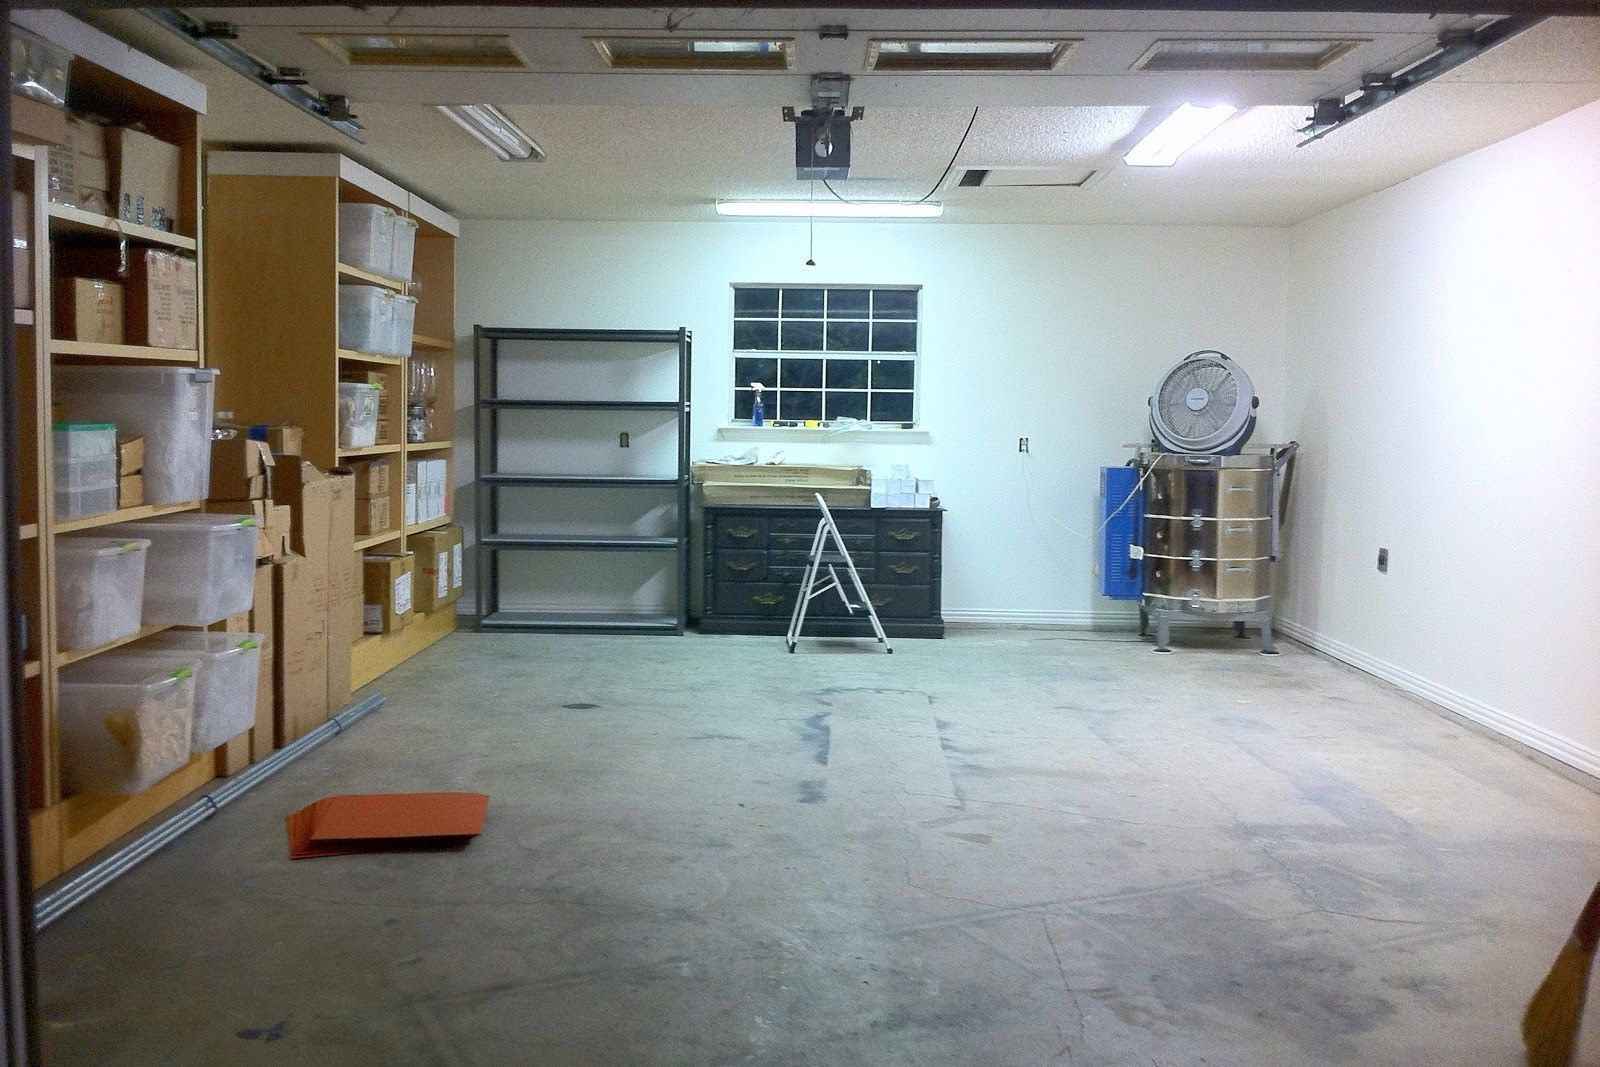
Before Photos
Before we begin the transformation process, let’s take a look at some before photos of our garage. As you can see, it is a typical space that has accumulated years of clutter. There are stacked boxes, random items strewn about, and barely any room to navigate.
One of the key aspects of a successful garage makeover is understanding the current state of the space. By documenting the “before” photos, you’ll have a clear visual reference to compare with the final result. This will not only help you stay motivated throughout the process but also allow you to appreciate the dramatic changes that will take place.
So, grab your camera or smartphone and take a few pictures of your garage from different angles. Capture the cluttered areas, the walls, and the floor. It might seem overwhelming at first, but trust me, these “before” photos will serve as a great reminder of how far you’ve come.
Once you have taken the photos, be prepared to roll up your sleeves and get to work. It’s time to transform this chaos into an organized and functional space that will make your life easier and more enjoyable.
Assessing the Space
Now that we have a clear understanding of how our garage looks before the makeover, it’s time to assess the space and determine what needs to be done. This step is crucial as it will help guide our decision-making process and ensure that the final result aligns with our goals and needs.
Start by taking a walk around your garage and observing the current layout. Look for any structural issues, such as cracks in the walls or uneven flooring, that may need to be addressed before proceeding with the makeover. Additionally, identify any specific challenges or limitations that you’ll need to work around, such as low ceilings or limited natural light.
Next, consider how you intend to use the garage. Are you primarily looking for storage solutions? Do you want to create a designated workspace or a space for hobbies and activities? Determining the purpose of the garage will help you prioritize your needs and make informed decisions during the makeover process.
Take note of the available space and think about how you can maximize it efficiently. Measure the dimensions of the garage, including the height of the walls, to ensure that any furniture or storage systems you choose will fit seamlessly. This will also help you envision the final layout and make adjustments as necessary.
Furthermore, consider the climate and environmental factors that may impact the garage. If your garage is prone to humidity or extreme temperature fluctuations, you’ll need to choose storage solutions and materials that are resistant to such conditions. It’s important to create a space that can withstand the elements and protect your belongings.
Finally, take stock of the items currently stored in the garage. Assess their frequency of use and determine what should be kept, donated, or thrown away. Clearing out unnecessary items will not only free up space but also make the organization process much easier.
By thoroughly assessing the space, understanding your goals, and considering the practical factors, you’ll be well-prepared to move forward with the garage makeover. So let’s proceed to the next step: creating a design plan that brings your vision to life.
Design Plan
With a clear assessment of the space and an understanding of your goals, it’s time to create a design plan for your garage makeover. This plan will serve as a roadmap, guiding you through the entire process and ensuring that all elements come together cohesively.
Start by envisioning the overall look and feel you want to achieve. Do you prefer a sleek and modern aesthetic or a more rustic and cozy vibe? Consider the existing style of your home and try to create a seamless transition between the garage and the rest of your living space.
Next, think about the color scheme that will best suit your design vision. Light and neutral colors can make a small garage appear more spacious, while bold and vibrant colors can add personality and interest. Take into account how the color choices will interact with the available natural and artificial lighting in the space.
Now, let’s focus on the functional aspects of the design plan. Determine the key areas you want to incorporate in your garage. This may include storage zones, a workspace, a dedicated area for sports equipment, or even a mini gym. Identify the specific needs of your family and prioritize accordingly.
Consider the types of storage solutions that will work best for your space. Wall-mounted shelves and cabinets are excellent for maximizing vertical storage, while freestanding racks and bins provide flexibility. Look for storage systems that are durable, adjustable, and easily accessible.
Don’t forget about the flooring! Consider upgrading your garage floor with a durable and easy-to-clean material such as epoxy or rubber tiles. This will not only enhance the overall aesthetic but also make maintenance a breeze.
Incorporating proper lighting is also crucial. Install bright LED lights or overhead fixtures to ensure that the garage is well-lit. Consider task-specific lighting in the workspace area and add accent lighting to highlight any focal points or design features.
Lastly, think about the finishing touches that will add personality and style to your garage. This could include artwork, decorative accents, or even a themed wall mural. Don’t be afraid to get creative and make the space uniquely yours.
Once you have a clear design plan in place, it’s time to start bringing it to life. In the next sections, we’ll explore the transformation process, step by step, from painting and flooring to organizing systems and creating functional areas. Get ready to see your garage undergo a remarkable makeover!
Painting and Flooring
One of the most transformative steps in any garage makeover is updating the paint and flooring. These elements can greatly enhance the overall look and feel of the space, creating a clean and inviting atmosphere.
Start by prepping the walls for painting. Remove any existing hooks, nails, or fixtures, and fill in any holes or cracks with spackling paste. Sand any rough patches to create a smooth surface. Next, apply a primer to ensure that the paint adheres properly and provides long-lasting coverage.
Now it’s time to choose a paint color that aligns with your design plan. Opt for bright and light colors to make the space appear larger. Whites, grays, and pastels are popular choices for garages. Apply two coats of paint, allowing sufficient drying time between coats.
While the walls are drying, turn your attention to the flooring. Depending on the condition of your garage floor, you may want to consider refinishing or replacing it. Epoxy coatings are an excellent option, as they create a durable and visually appealing surface that is resistant to stains and easy to clean. Alternatively, rubber tiles or vinyl flooring can provide a comfortable and cushioned surface.
Before applying any flooring material, clean the floor thoroughly, removing any dirt or debris. If refinishing, follow the instructions provided by the epoxy manufacturer, ensuring proper application and curing time. If opting for rubber tiles or vinyl flooring, measure and cut the materials to fit the garage space, following the manufacturer’s guidelines. Adhere them to the floor, ensuring a tight and secure fit.
Once the paint has dried and the floor is installed, you’ll notice an instant transformation in your garage. The fresh coat of paint brightens up the space and the new flooring provides a clean and polished look.
Remember, proper ventilation is essential during painting and flooring installation. Open the windows or use fans to ensure adequate airflow and allow the materials to dry and cure properly.
In the next section, we’ll explore various organizational systems that will help you maintain a clutter-free garage. From shelving and storage units to creative space-saving solutions, you’ll discover innovative ways to keep your garage neat and organized.
Read more: Creating A Functional Mudroom In A Garage
Organizational Systems
Now that you have a fresh coat of paint on the walls and a new floor in place, it’s time to tackle the organization of your garage. Implementing effective organizational systems will not only make it easier to find and access your belongings but also help maintain a clutter-free and functional space.
Start by assessing the storage needs of your garage. Take inventory of the items you plan to keep and categorize them into groups such as tools, seasonal decorations, sports equipment, and gardening supplies. This will give you a clear idea of the types and sizes of storage solutions you’ll need.
Wall-mounted shelves and cabinets are a great way to maximize vertical space. Install sturdy shelves on the walls, making sure to distribute the weight of stored items evenly. This will not only free up floor space but also keep items off the ground and easily accessible.
For smaller items and tools, consider using pegboards or slatwall systems. These versatile solutions allow you to hang items such as hammers, wrenches, and even bicycles. They provide a customizable and efficient method for organizing and displaying your belongings.
Utilize stackable bins and containers to store items that are used less frequently. Label each container to make it easier to locate specific items when needed. Clear plastic containers are ideal as they allow you to see the contents without having to open each one.
If you have a collection of smaller items such as screws, nails, or craft supplies, invest in small organizing drawers or cabinet organizers. These can be placed on workbenches or mounted on walls, providing easy access to your everyday essentials.
Consider utilizing overhead storage systems for bulky or seasonal items. Install ceiling-mounted racks or platforms to store items like camping gear, holiday decorations, or out-of-season clothes. This will free up valuable floor and wall space, allowing you to maximize every inch of your garage.
When organizing your garage, it’s important to create designated zones for different categories of items. This will help maintain order and prevent clutter from accumulating. For example, allocate a specific area for gardening tools and supplies, another area for sports equipment, and so on.
Remember, organization is an ongoing process. Regularly evaluate the effectiveness of your storage solutions and make adjustments as needed. As your needs change, be prepared to reorganize and optimize the space accordingly.
In the next section, we’ll dive into the process of installing shelving and storage units to further enhance the organization of your garage. Get ready to create a functional and efficient space that will make daily tasks a breeze.
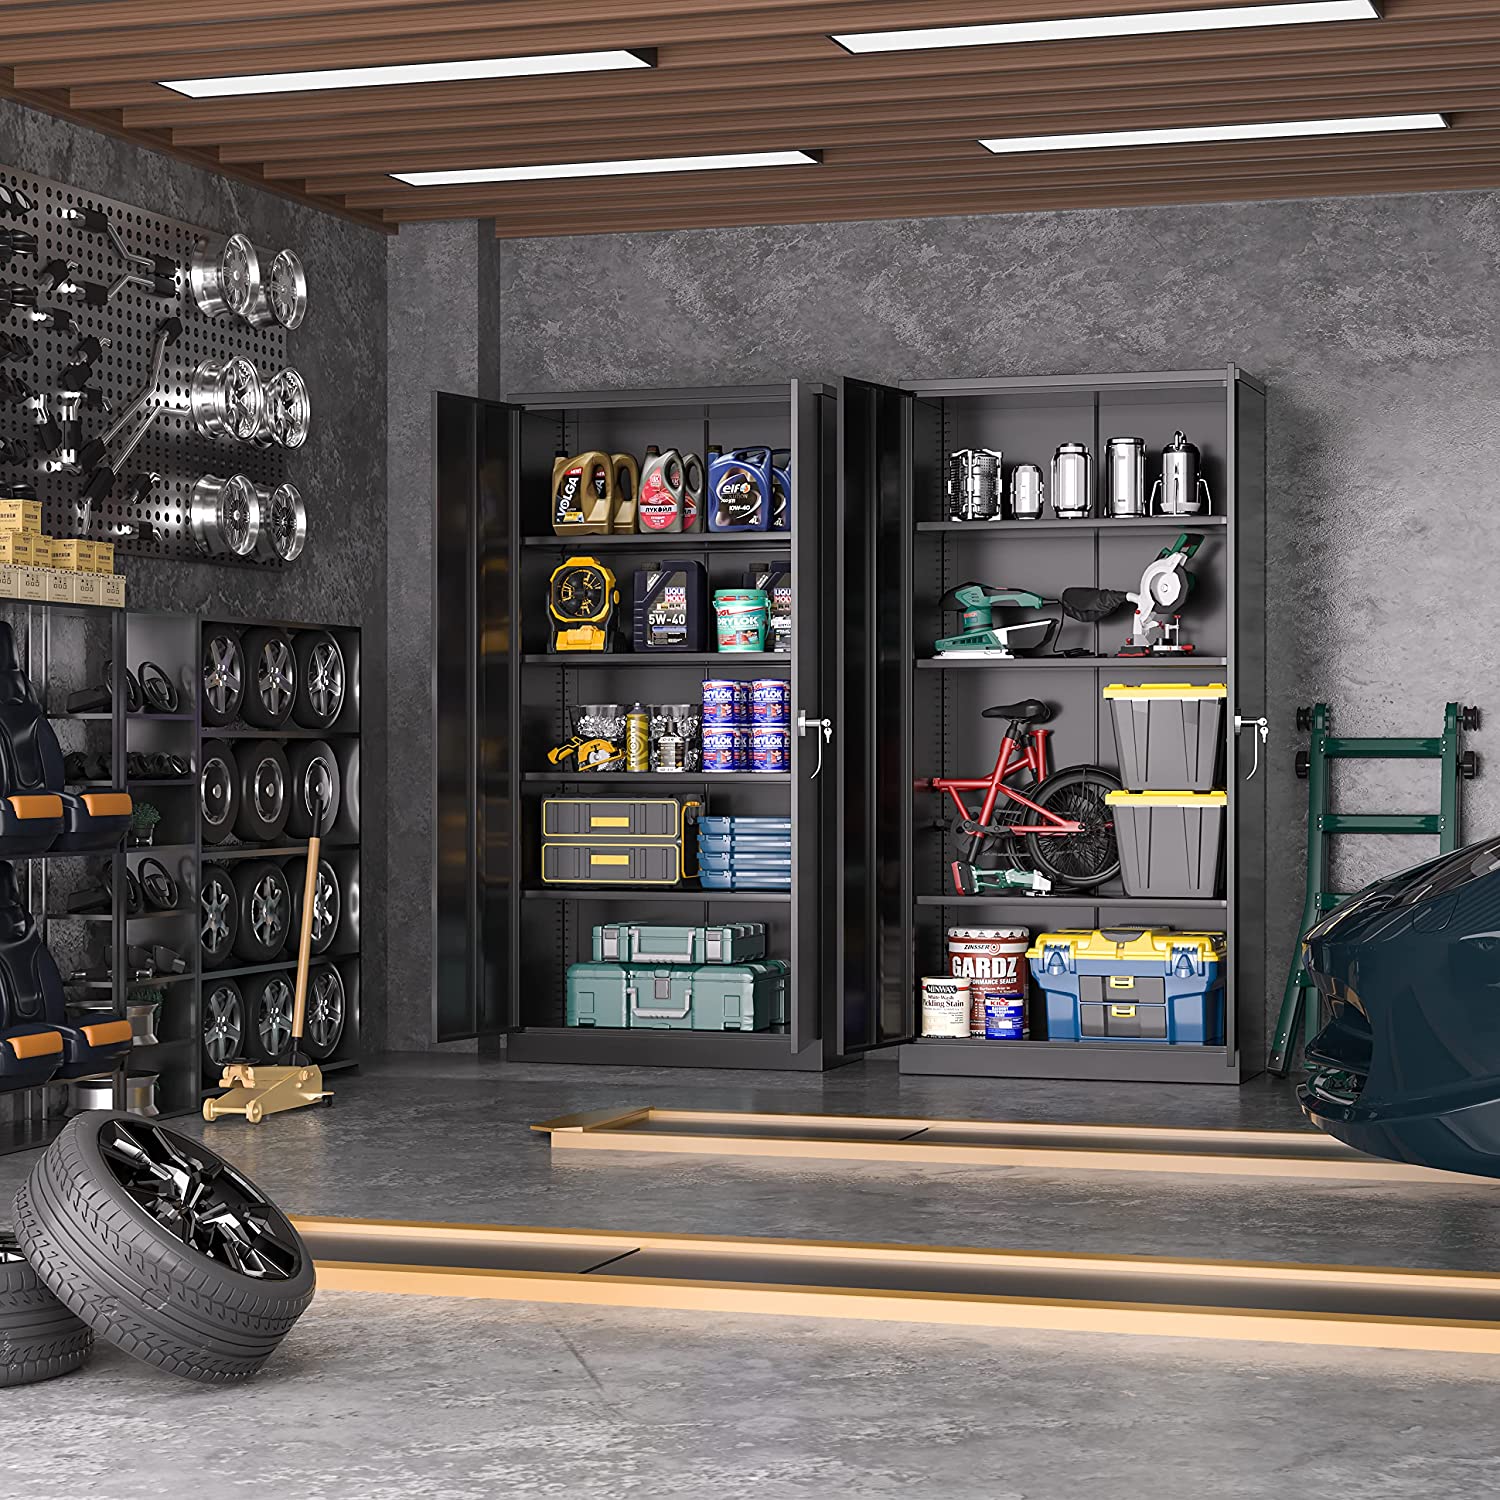
When planning a garage makeover, consider adding built-in storage solutions to keep the space organized and functional for the whole family. This will help maximize the use of the space and keep it clutter-free.
Installing Shelving and Storage
Now that you have determined the organizational systems that will work best for your garage, it’s time to put your plan into action by installing shelving and other storage units. This step is crucial for maximizing space and keeping your belongings organized and easily accessible.
Start by measuring the available wall space and determining the height and width of the shelving units you’ll need. Consider the weight of the items you’ll be storing to ensure that the shelves can support the load. Opt for sturdy and durable materials like steel or heavy-duty plastic.
If you prefer ready-made storage solutions, there are many options to choose from. Wall-mounted shelves with adjustable brackets are versatile and can be customized to fit your specific needs. They are ideal for storing bins, boxes, and other items.
Another popular option is freestanding metal or plastic storage racks. These units typically have multiple shelves and can be easily moved around, making them convenient for reconfiguring the space when needed. Look for racks with adjustable shelves to accommodate items of different sizes.
Make sure to anchor your shelves securely to the wall studs or use wall anchors for added stability. This will prevent the shelves from tipping over or collapsing, especially if heavy items are stored on them.
Consider incorporating hooks and hanging systems for storing large or awkwardly shaped items such as bicycles, ladders, and garden tools. Wall-mounted hooks or specialized hanging racks can keep these items off the floor, freeing up valuable space and reducing clutter.
For storing smaller items like nuts, bolts, or craft supplies, utilize storage bins or drawers. These can be mounted on the wall or placed on a workbench for easy access. Label each container to ensure you can quickly locate the items you need when you need them.
As you install your shelving and storage units, keep in mind the flow and functionality of the space. Create zones for different categories of items and arrange them in a way that makes sense for your daily activities. For example, place frequently used items within easy reach, while less frequently used items can be stored higher up or in less accessible areas.
Regularly reassess your storage needs and make adjustments as necessary. As you declutter and reorganize, take advantage of the opportunity to optimize your storage space and create a garage that is tailored to your specific needs.
With the shelving and storage units in place, you’ll notice an immediate improvement in the organization and functionality of your garage. In the next section, we’ll explore how to create a dedicated workspace within your garage, providing a place for projects, hobbies, and repairs.
Creating a Workspace
Having a dedicated workspace within your garage is essential for tackling projects, hobbies, and repairs. Whether you’re a DIY enthusiast or simply need a space for household tasks, creating a functional and organized workspace will enhance your productivity and make your garage even more versatile.
Start by identifying the ideal location for your workspace. Consider factors such as lighting, proximity to power outlets, and the amount of available space. A corner of the garage near a window or a wall with good overhead lighting is often a great choice.
Next, assess your specific needs and determine the size and layout of your workspace. Will you primarily be working on small-scale projects or larger ones that require a larger workbench? Measure the available space and choose a workbench or table that fits comfortably, leaving enough room for movement around it.
When selecting a workbench, look for one with a sturdy and durable surface, such as solid wood or a heavy-duty composite material. Consider features such as built-in storage drawers or shelves beneath the workbench, providing a convenient place to store tools and supplies.
Ensure that your workspace is well-equipped with essential tools. Depending on your projects, this may include a drill, hammer, screwdriver set, measuring tape, and other basic hand tools. Organize these tools within reach, using hanging racks or tool organizers to keep them neatly arranged.
Consider adding power outlets or an extension cord reel near your workspace to easily plug in and power your tools. This will save you time and prevent unnecessary tangles of cords.
For additional storage and organization, install a pegboard or a wall-mounted tool storage system above your workspace. This will keep your most frequently used tools within arm’s reach and allow you to easily locate and retrieve them whenever needed.
Don’t forget about the importance of proper lighting in your workspace. Install overhead lights or task lighting, such as clamp-on lamps or adjustable LED lights, to ensure adequate illumination for your projects. Good lighting will not only enhance visibility but also minimize eye strain.
Create a comfortable and ergonomic workspace by adding a stool or chair that provides proper support. Consider a chair with adjustable height and backrest for maximum comfort during long periods of work.
Personalize your workspace with a bulletin board or whiteboard where you can pin or write down project ideas, to-do lists, or important reminders. This will help keep you organized and focused on your tasks.
By creating a dedicated workspace in your garage, you will have a designated area to pursue your passions, complete projects, and tackle repairs. In the next section, we’ll explore how to add functionality to your garage by incorporating additional features and amenities.
Adding Functionality
Now that you’ve transformed your garage with a fresh coat of paint, new flooring, and organized storage systems, it’s time to delve into adding functionality to the space. By considering additional features and amenities, you can further enhance the usability of your garage and create a truly versatile area for the whole family to enjoy.
One of the key aspects of adding functionality is to optimize the use of space. Consider the vertical space in your garage and install overhead storage racks or shelving to make the most of it. This is especially useful for storing items that are used sparingly or during specific seasons.
If you have the luxury of extra square footage in your garage, consider dividing the space into different areas. You could create a dedicated workout area with exercise equipment, a small corner for hobbies or crafting, or even a cozy seating area for relaxation. These designated zones will help maximize the functionality of your garage.
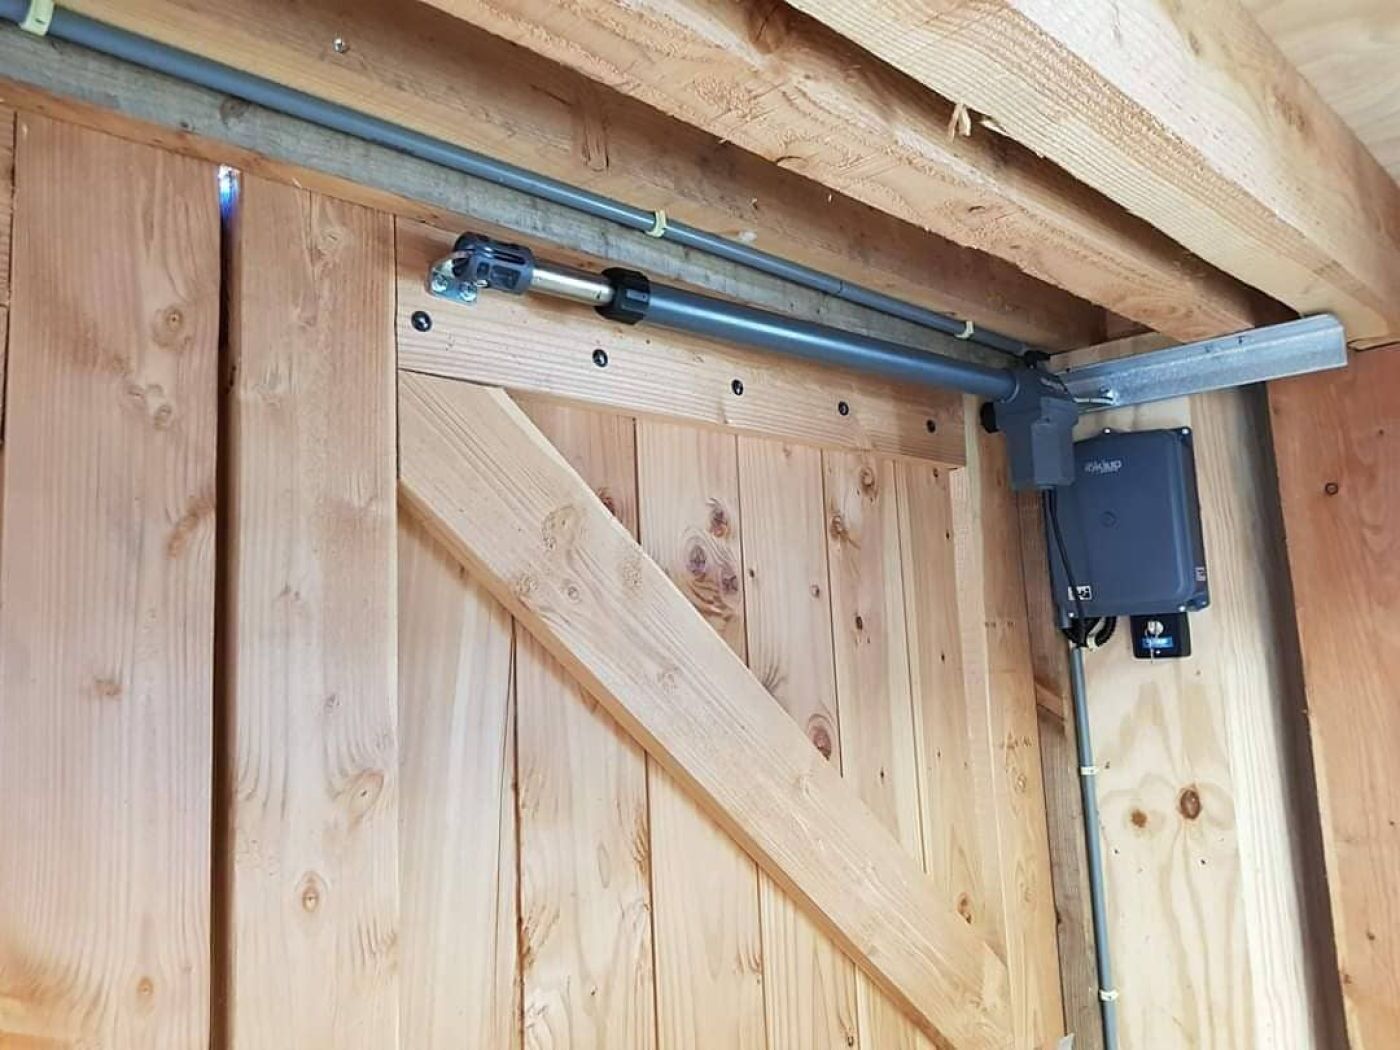
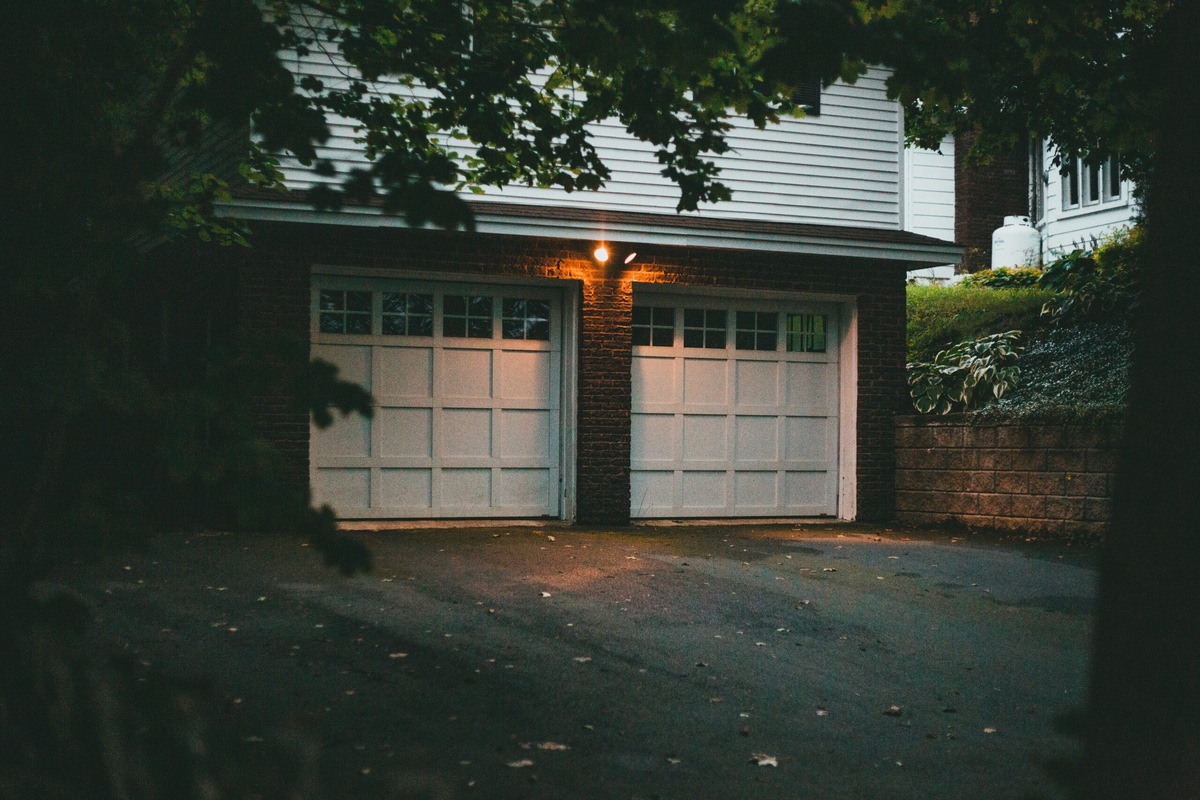
Integrating a functional and well-designed garage door is also important. Opt for a door that is insulated and weather-sealed to protect your garage from extreme temperatures and outside noise. Additionally, consider a door with windows to allow natural light to filter in, creating a brighter and more inviting atmosphere.
Adding insulation to your garage will not only make the space more comfortable but can also help reduce energy costs. Insulating the walls and ceiling will help regulate temperature and minimize outside noise, making it a more pleasant environment for any activities you plan to undertake.
Another practical feature to consider is installing a ventilation system or fan. This will help improve air circulation and remove any excess moisture or odors. Proper ventilation is particularly important if you plan to use your garage for activities that generate heat or produce fumes.
If you enjoy working on cars or other mechanical projects, consider installing a vehicle lift or an adjustable worktable. These features will make it easier to access the underside of your vehicle, and the height adjustability will provide greater flexibility for different tasks.
Don’t forget about the importance of safety. Install a fire extinguisher in a visible and easily accessible location. Keep a first aid kit on hand for any minor injuries that may occur during projects. Additionally, make sure your garage is well-lit to prevent accidents and consider adding security measures such as an alarm system or security cameras.
Lastly, make the space comfortable by ensuring it is well-insulated and equipped with heating and cooling systems to match your climate. This will allow you to use your garage year-round without discomfort.
By incorporating these additional features and amenities, you’ll transform your garage into a highly functional and versatile space that meets all your needs. Let’s move on to the final touches, where we’ll add the finishing details and personal touches that will make your garage truly unique.
Final Touches
Congratulations on reaching the final stage of your garage makeover! Now it’s time to add the finishing touches that will truly make your garage a reflection of your style and personality. These final details will bring cohesion and a sense of completeness to the space.
Start by considering the aesthetics of your garage. Add a splash of color with decorative accents such as artwork, posters, or decals that align with your interests and hobbies. Choose pieces that inspire you and make the space feel personalized and inviting.
Consider integrating a theme into your garage design. Whether it’s classic car memorabilia, a sports-themed area, or a vintage-inspired ambiance, incorporating a theme will tie the space together and create a cohesive look. Display collectibles, hang themed artwork, or utilize customized signage to reinforce the chosen theme.
If you have windows in your garage, dress them up with curtains or blinds that complement the overall design. This adds a touch of warmth and privacy to the space while allowing you to control the natural light flow.
Ensure that your garage is well-lit by incorporating both ambient and task lighting. Install ceiling lights or track lighting to provide overall illumination, and add task lighting above your workbench or in specific activity areas for enhanced visibility.
Don’t forget about the comfort of the space. Consider adding padding or cushions to your workbench or seating area, creating a cozy space where you can comfortably work or relax. Incorporate rugs or mats on the floor to add warmth and comfort underfoot.
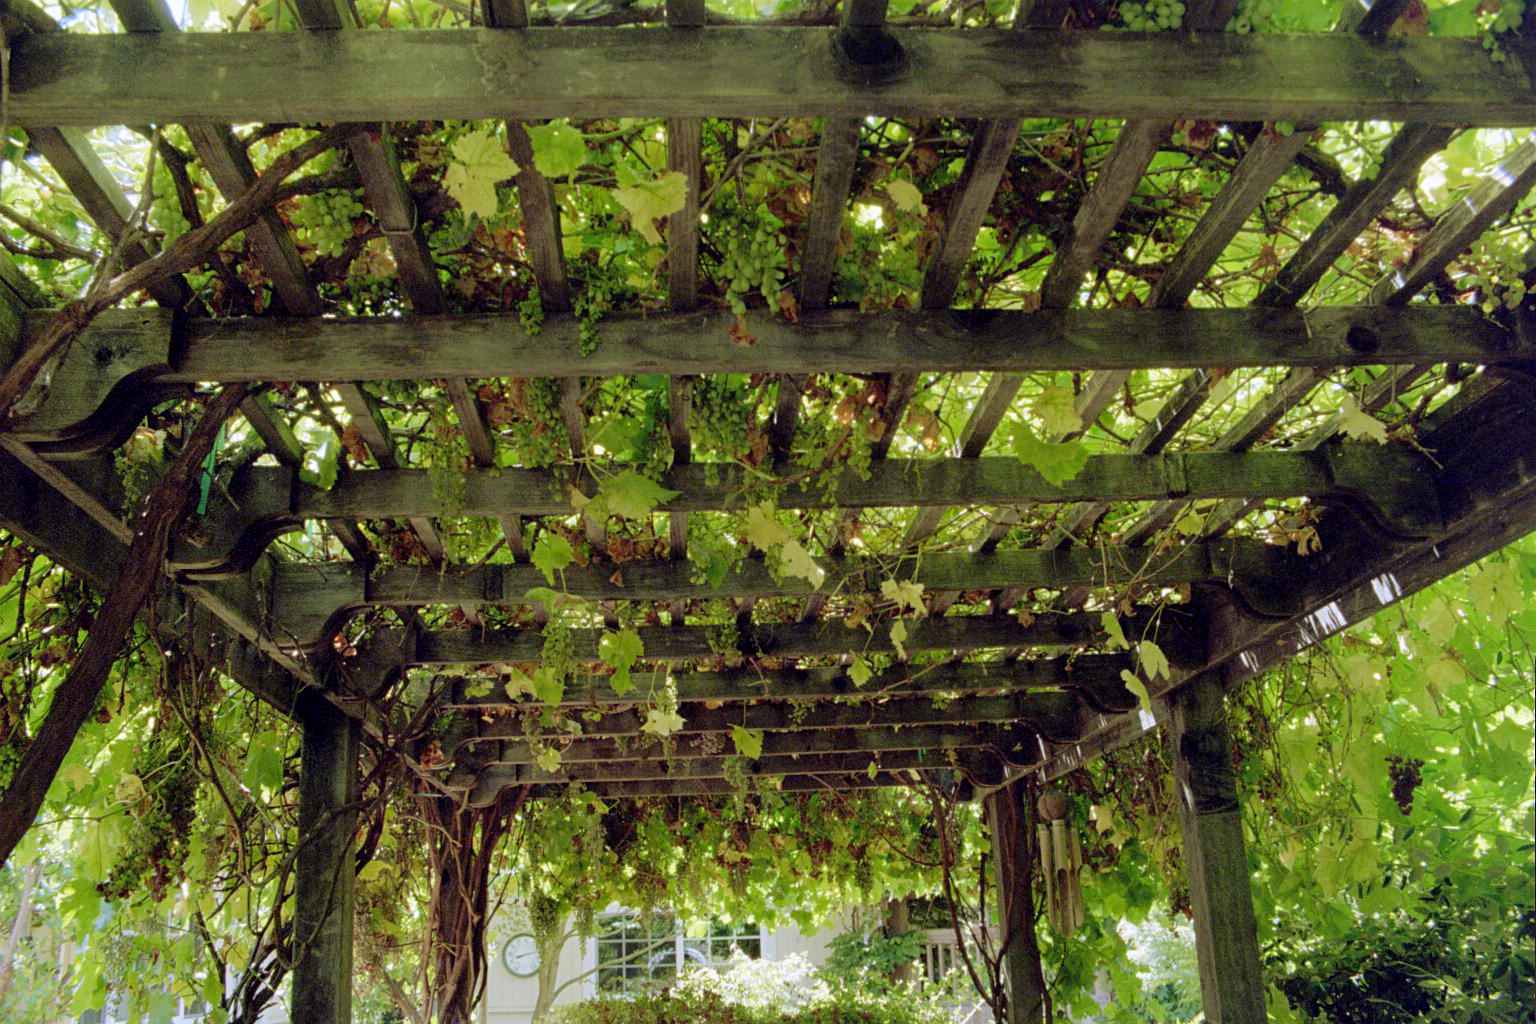
Adding greenery or plants to your garage can liven up the space and bring a touch of nature indoors. Choose low-maintenance plants that thrive in the garage environment, such as spider plants or snake plants, and place them strategically to enhance the ambiance.
Lastly, ensure that the space remains organized and clutter-free by implementing regular maintenance routines. Dedicate time to decluttering, cleaning, and reorganizing on a consistent basis. This will help prevent the garage from returning to its previously chaotic state and maintain its functionality.
By incorporating these final touches, your garage will become a space that not only serves its practical purpose but also reflects your unique style and personality. Take a step back and admire the transformation you’ve achieved.
As we conclude this journey, we hope that this garage makeover has inspired and guided you to create a functional and organized space that you and your family will enjoy for years to come. Cheers to your new and improved garage!
Conclusion
Congratulations on completing your garage makeover! You have successfully transformed a cluttered and disorganized space into a functional and stylish area that meets the needs of your family. Through careful planning, organizing, and adding the final touches, you have created a garage that not only enhances the overall aesthetics of your home but also provides practicality and convenience.
Throughout this journey, we started by assessing the space and understanding your goals. We then created a design plan that incorporated your vision, including painting and flooring to refresh the space. With the installation of shelving and organizational systems, your garage became a clutter-free zone where everything has its place.
We didn’t stop there – we also took the opportunity to create a dedicated workspace, allowing you to pursue your passions and hobbies. By adding functionality to the garage with features like overhead storage, proper ventilation, and insulation, you elevated the space to a whole new level.
To add the finishing touches, we discussed the importance of personalizing the garage with decorative accents, lighting, and comfort elements. These final details brought cohesion and a sense of personality to the space, making it uniquely yours.
Remember, maintaining the functionality and organization of your garage requires regular upkeep and decluttering. Schedule regular maintenance routines to keep the space clean and free from unnecessary clutter.
Your garage makeover not only provides a more functional and organized space but also enhances the overall value of your home. Whether you use it as a workshop, a storage area, or a family hangout space, your newly transformed garage will make everyday tasks easier and more enjoyable.
We hope this journey has inspired and empowered you to take your garage to new heights. So go ahead, open those doors and enjoy your newly transformed space. Embrace the possibilities, explore new hobbies, and make memories with your family in your revitalized garage!
Thank you for joining us on this garage makeover adventure. Here’s to a clean, organized, and functional garage that you can be proud of!
Frequently Asked Questions about A Before And After Garage Makeover Featuring A Functional Family Space
Was this page helpful?
At Storables.com, we guarantee accurate and reliable information. Our content, validated by Expert Board Contributors, is crafted following stringent Editorial Policies. We're committed to providing you with well-researched, expert-backed insights for all your informational needs.


0 thoughts on “A Before And After Garage Makeover Featuring A Functional Family Space”