Home>Ideas and Tips>DIY Guide To Installing A Tile Floor


Ideas and Tips
DIY Guide To Installing A Tile Floor
Published: August 28, 2024
Learn how to install a tile floor with our step-by-step DIY guide. From planning to grouting, achieve professional results in your home project.
(Many of the links in this article redirect to a specific reviewed product. Your purchase of these products through affiliate links helps to generate commission for Storables.com, at no extra cost. Learn more)
Installing a tile floor can be a rewarding DIY project that enhances the aesthetic and functionality of your home. However, it requires careful planning, preparation, and execution to ensure a professional-looking finish. This guide will walk you through the steps involved in installing a tile floor, from preparation to completion.
Step 1: Planning and Preparation
Before you start your project, it’s essential to plan and prepare thoroughly. Here are some key steps to consider:
1. Choose the Right Tiles
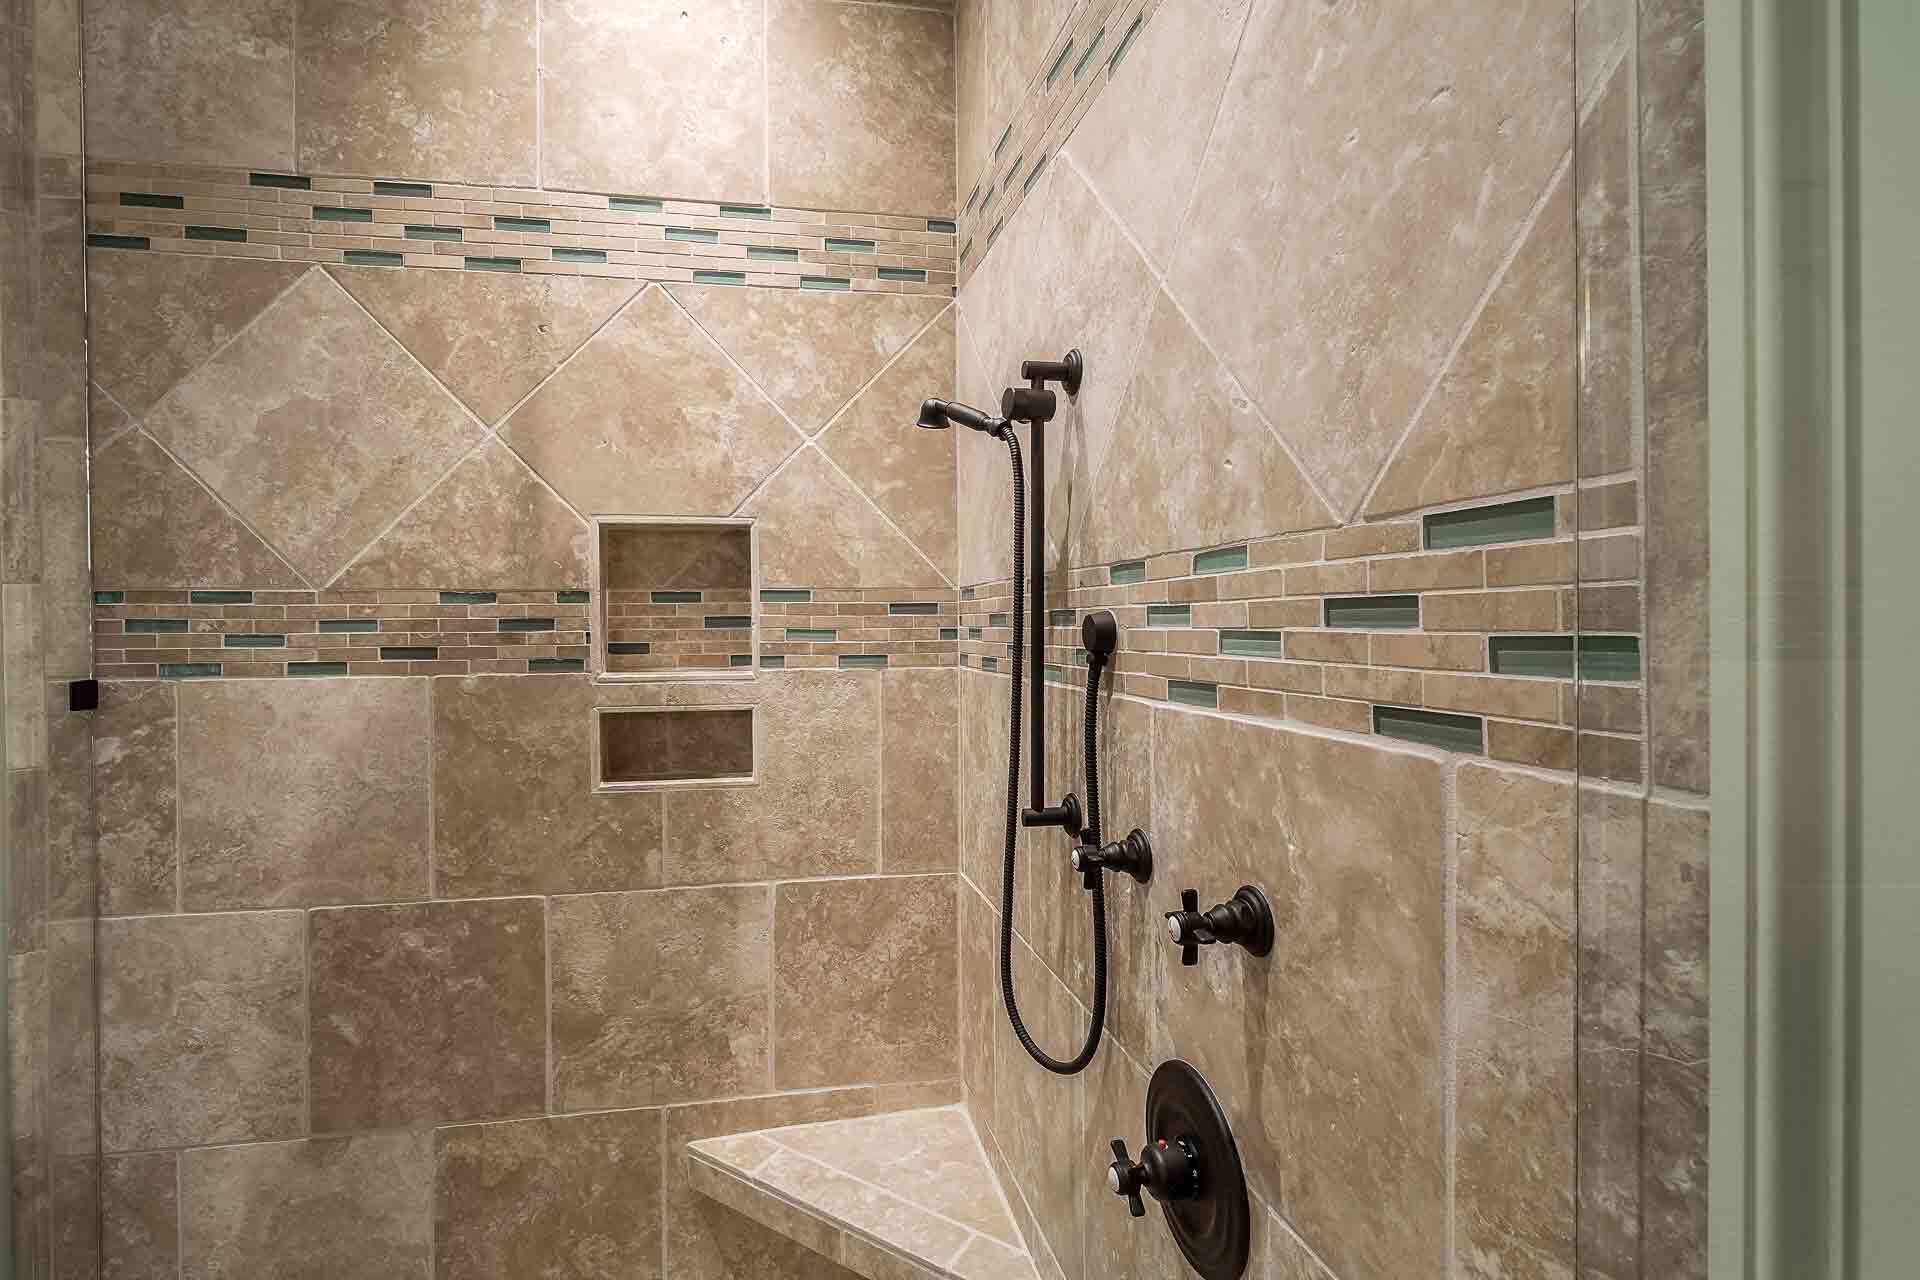
Selecting the right tiles is crucial for the success of your project. Consider factors such as durability, maintenance requirements, and aesthetic appeal. Different types of tiles include ceramic, porcelain, natural stone, and glass. Each type has its own advantages and disadvantages, so choose one that best fits your needs.
2. Measure Your Space
Measure the area where you plan to install the tiles. Take note of any obstructions like heating vents or electrical outlets. This will help you determine how many tiles you need and how to lay them out.
3. Gather Materials
Make a list of all the materials you'll need for the project. This includes:
- Tiles
- Adhesive (also known as thinset)
- Grout
- Grout float
- Grout sponge
- Tile cutter or wet saw
- Tile nippers
- Spacers
- Notched trowel
- Level
- Pencil and straightedge
- Safety goggles
- Knee pads
4. Prepare Your Subfloor
Ensure your subfloor is level and clean. Check for any cracks or unevenness and fill them with a self-leveling compound. If necessary, install a new underlayment material like plywood or cement board.
Read more: DIY Guide To Installing A Pebble Tile Floor
Step 2: Laying Out the Tiles
Laying out the tiles involves creating a pattern that looks balanced and visually appealing. Here’s how to do it:
1. Create a Template
Draw a grid on the floor using chalk or tape to help you visualize the layout. This will also serve as a guide when placing the tiles.
2. Determine the Pattern
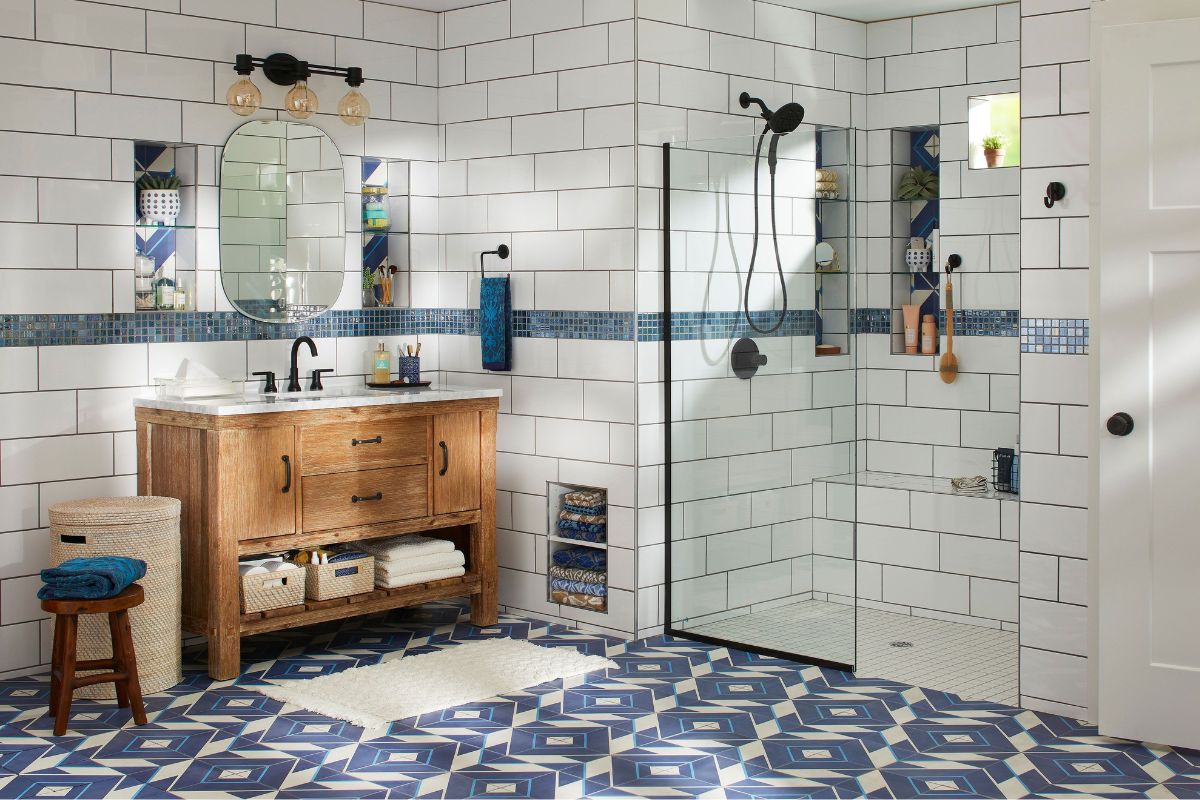
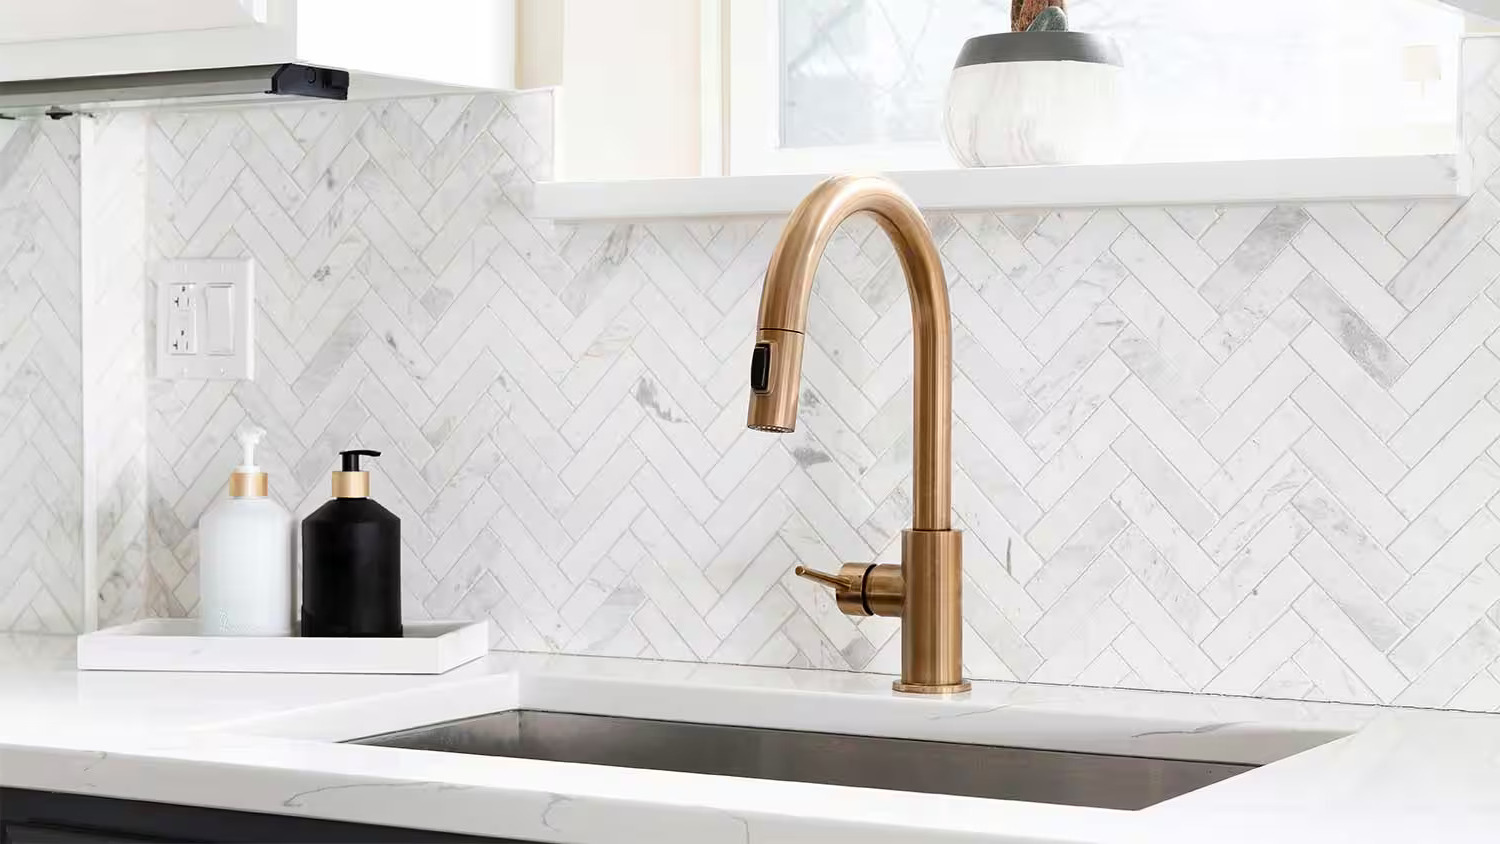
Choose a pattern that suits your taste. Common patterns include brick, herringbone, and linear. You can also create a custom pattern if you're feeling adventurous.
3. Start with a Corner
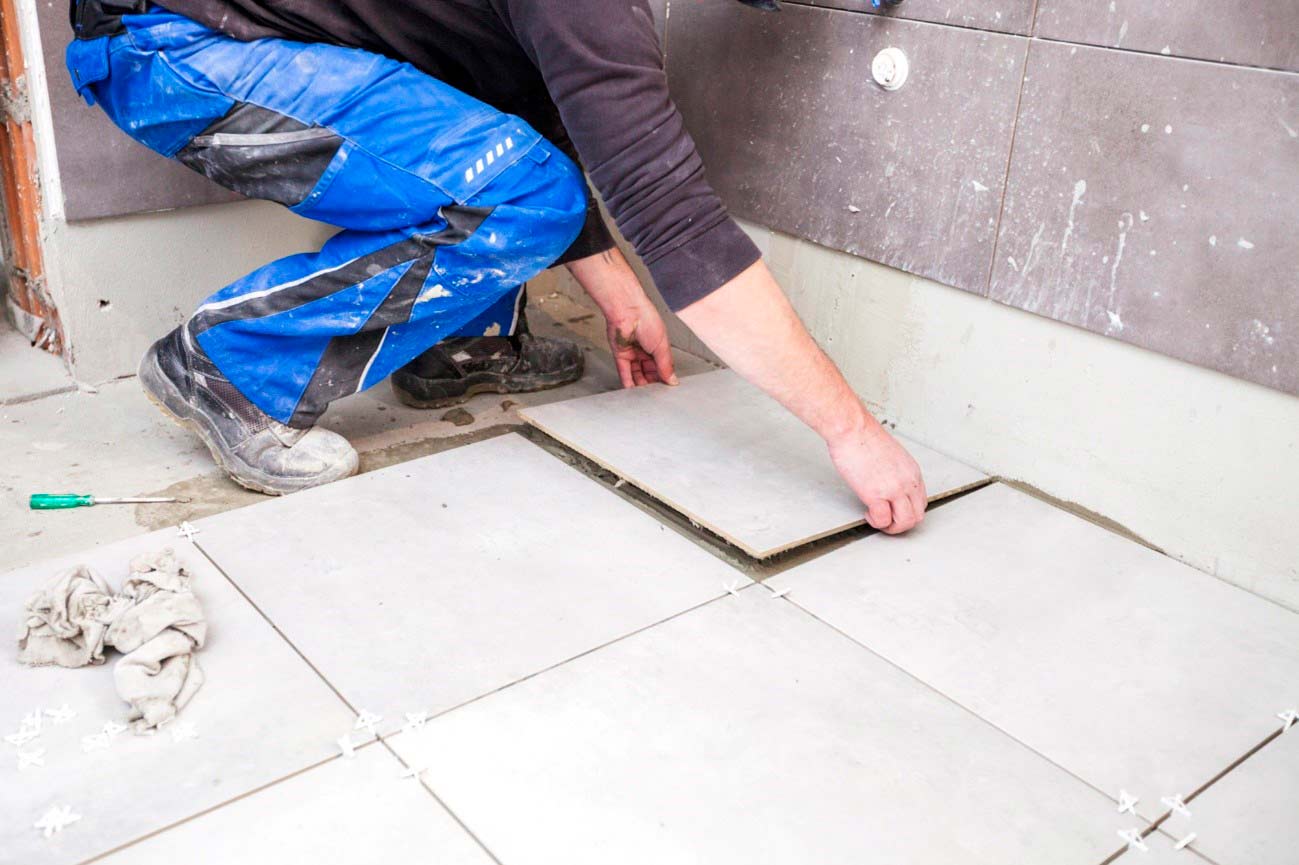
Begin by placing a tile in one corner of the room. Use spacers to maintain even spacing between tiles.
4. Work Your Way Outward
Continue placing tiles outward from the starting point, using spacers to keep them evenly spaced. Use a level to ensure each row is straight.
Step 3: Applying Adhesive
Applying adhesive (thinset) is crucial for securing the tiles to the subfloor. Here’s how to do it:
1. Mix the Adhesive
Follow the manufacturer’s instructions to mix the adhesive. Typically, you'll need to mix it with water in a bucket.
2. Apply the Adhesive
Use a notched trowel to apply a thin layer of adhesive to the subfloor. Hold the trowel at a 45-degree angle and spread it evenly across the area where you'll be placing the tile.
3. Lay Tiles with Adhesive
Place each tile onto the adhesive, pressing it firmly into place. Use a level to ensure each tile is straight and use spacers to maintain even spacing.
Step 4: Cutting Tiles
Cutting tiles is often necessary to fit them around obstructions or along edges. Here’s how to cut tiles:
1. Use a Tile Cutter
A tile cutter is the best tool for cutting tiles. It works by scoring the tile and then snapping it along the score line.
2. Use a Wet Saw
If you need to make more precise cuts or cut through multiple tiles at once, use a wet saw. This tool uses water to cool the blade and prevent it from overheating.
3. Use Tile Nippers
For small cuts or adjustments, use tile nippers. These are handheld tools that allow you to trim small pieces from the edges of tiles.
Step 5: Grouting
Grouting is the process of filling gaps between tiles with grout. Here’s how to do it:
1. Allow Adhesive to Set
Let the adhesive set for at least 24 hours before grouting. This ensures that it has fully hardened and won’t interfere with the grouting process.
2. Mix Grout
Follow the manufacturer’s instructions to mix the grout. Typically, you'll need to mix it with water in a bucket until it reaches a thick paste consistency.
3. Apply Grout
Use a grout float to apply grout between tiles, pressing it firmly into place. Hold the float at an angle and spread it evenly across each gap.
4. Clean Excess Grout
Use a damp grout sponge to wipe away excess grout from the surface of the tiles. Change the water frequently to prevent re-depositing grout onto the tiles.
Step 6: Sealing (Optional)
Sealing your tile floor can provide additional protection against stains and wear. Here’s how to seal your tiles:
1. Choose a Sealer
Select a tile sealer that matches your tile type (e.g., ceramic, porcelain). There are various types of sealers available, including water-based and solvent-based options.
2. Apply Sealer
Follow the manufacturer’s instructions to apply the sealer. Typically, you'll need to apply multiple coats over several days, allowing each coat to dry before applying the next one.
Conclusion
Installing a tile floor is a rewarding DIY project that requires careful planning and execution. By following these steps—choosing the right tiles, preparing your subfloor, laying out tiles, applying adhesive, cutting tiles as needed, grouting gaps between tiles, and optionally sealing your floor—you can achieve professional-looking results without professional help. Remember always to follow safety guidelines when working with power tools or hazardous materials like adhesives and grouts.
This comprehensive guide should help you navigate through every step of installing a tile floor successfully. Remember that patience is key when working on such projects; take your time to ensure each step is done correctly before moving on to the next one. Happy DIY-ing
Was this page helpful?
At Storables.com, we guarantee accurate and reliable information. Our content, validated by Expert Board Contributors, is crafted following stringent Editorial Policies. We're committed to providing you with well-researched, expert-backed insights for all your informational needs.



0 thoughts on “DIY Guide To Installing A Tile Floor”