
Articles
How To Raise Sagging Front Porch Roof
Modified: October 18, 2024
Learn the step-by-step process of raising a sagging front porch roof with our informative articles. Transform your porch into a sturdy and safe space.
(Many of the links in this article redirect to a specific reviewed product. Your purchase of these products through affiliate links helps to generate commission for Storables.com, at no extra cost. Learn more)
Introduction
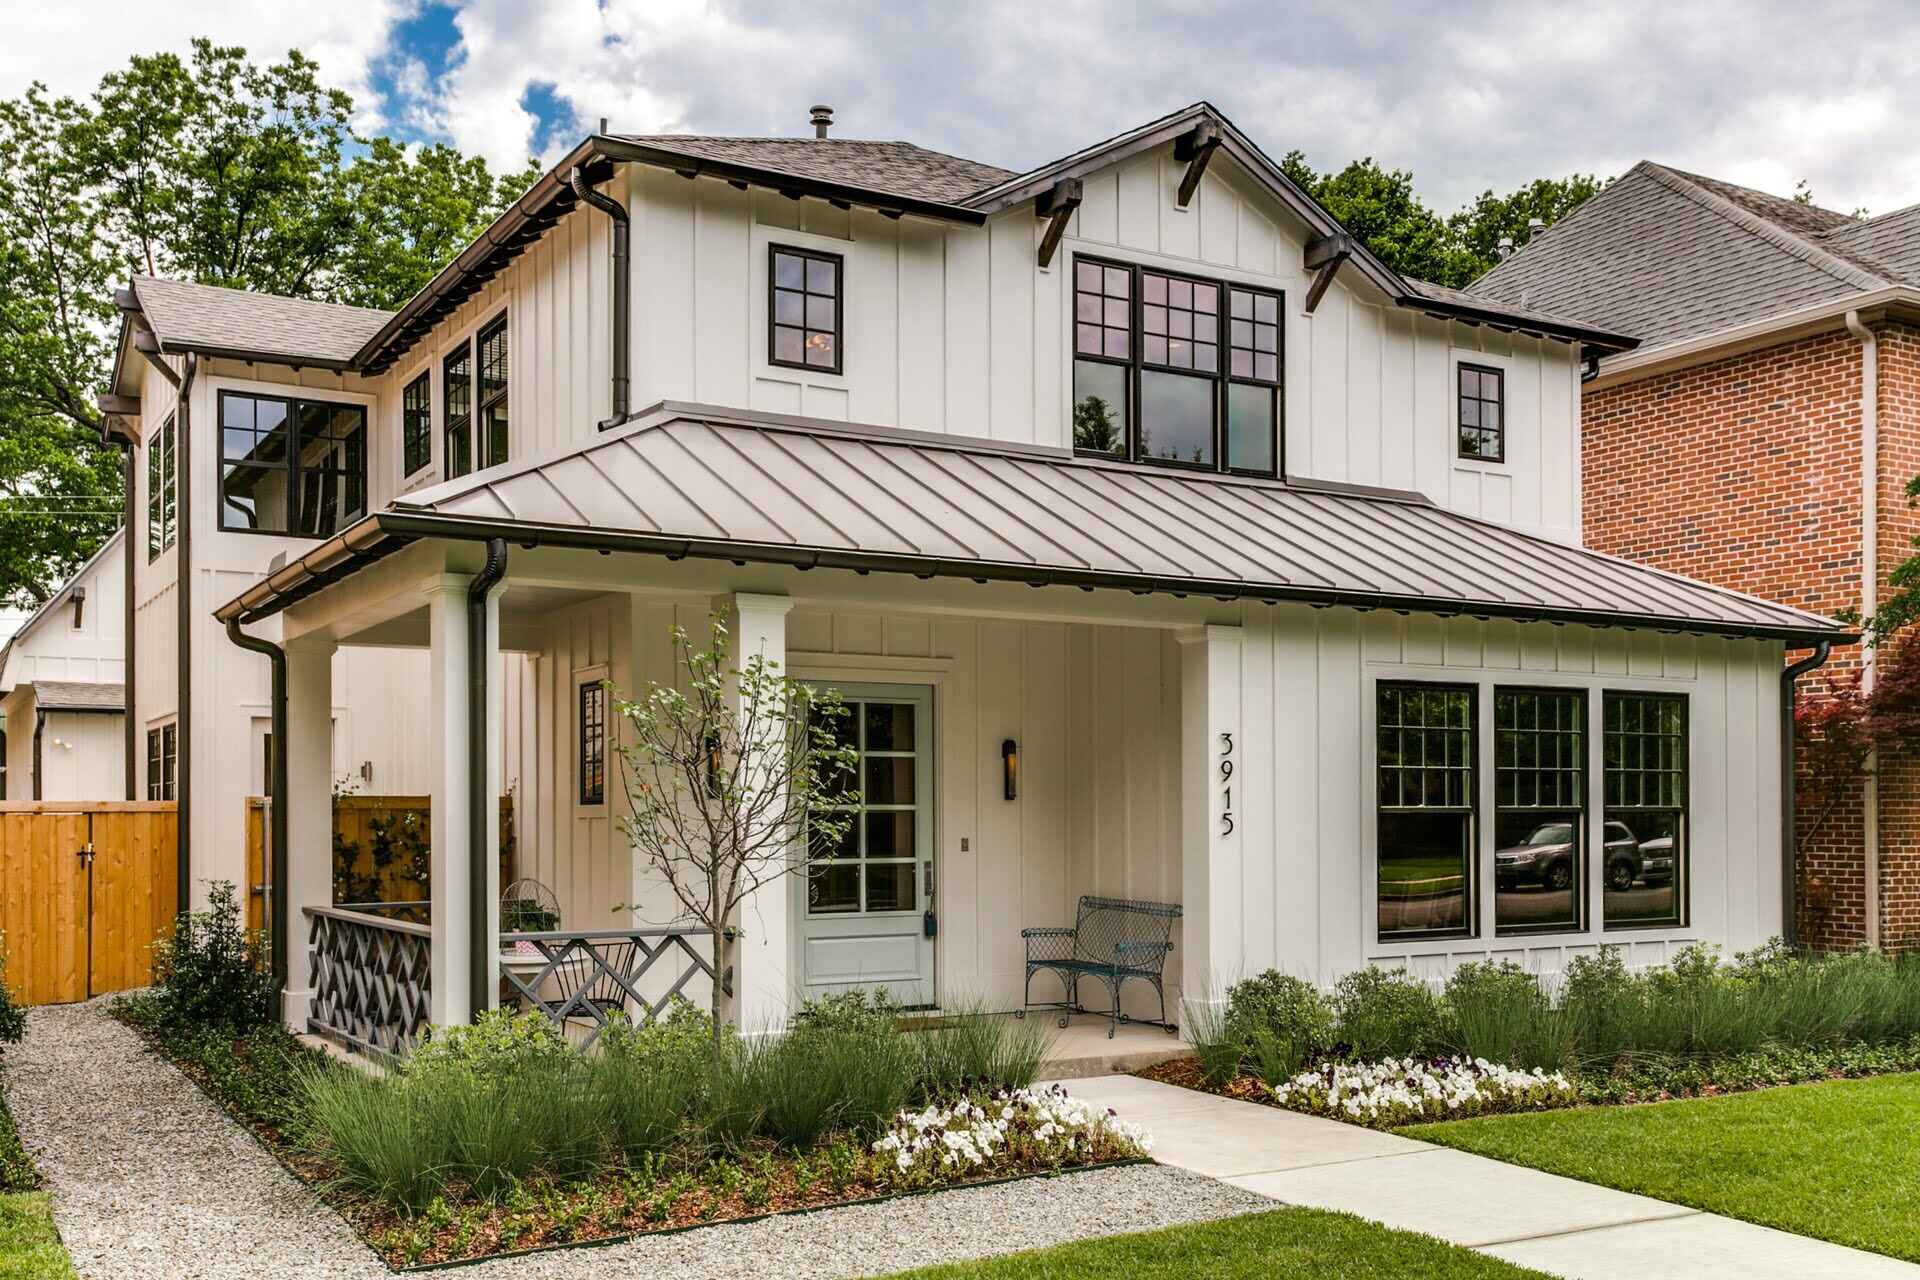
Welcome to our guide on how to raise a sagging front porch roof. Over time, the structural integrity of your porch roof may weaken, causing it to sag and lose its aesthetic appeal. Additionally, a sagging roof can pose serious safety risks if left unaddressed. Luckily, with the right knowledge and techniques, you can restore your porch roof to its former glory.
In this article, we will take you through a step-by-step process to assess, repair, and boost the sagging front porch roof. We’ll also discuss the materials you’ll need and provide helpful tips to make the task more manageable. So grab your tools and let’s get started on revitalizing your front porch!
Please note that this guide is intended for minor roof sagging issues. If you’re dealing with severe structural damage, it is recommended to consult with a professional contractor.
Key Takeaways:
- Revitalize your sagging front porch roof by following a step-by-step process to assess, repair, and reinforce the structure. Gather necessary materials, remove shingles, and install roofing felt for a sturdy, visually appealing result.
- Prioritize safety and thorough inspection when raising a sagging front porch roof. From reinforcing the structure to replacing shingles and finishing, ensure a durable and aesthetically pleasing outdoor space.
Read more: How To Frame Porch Roof
Step 1: Assess the Damage
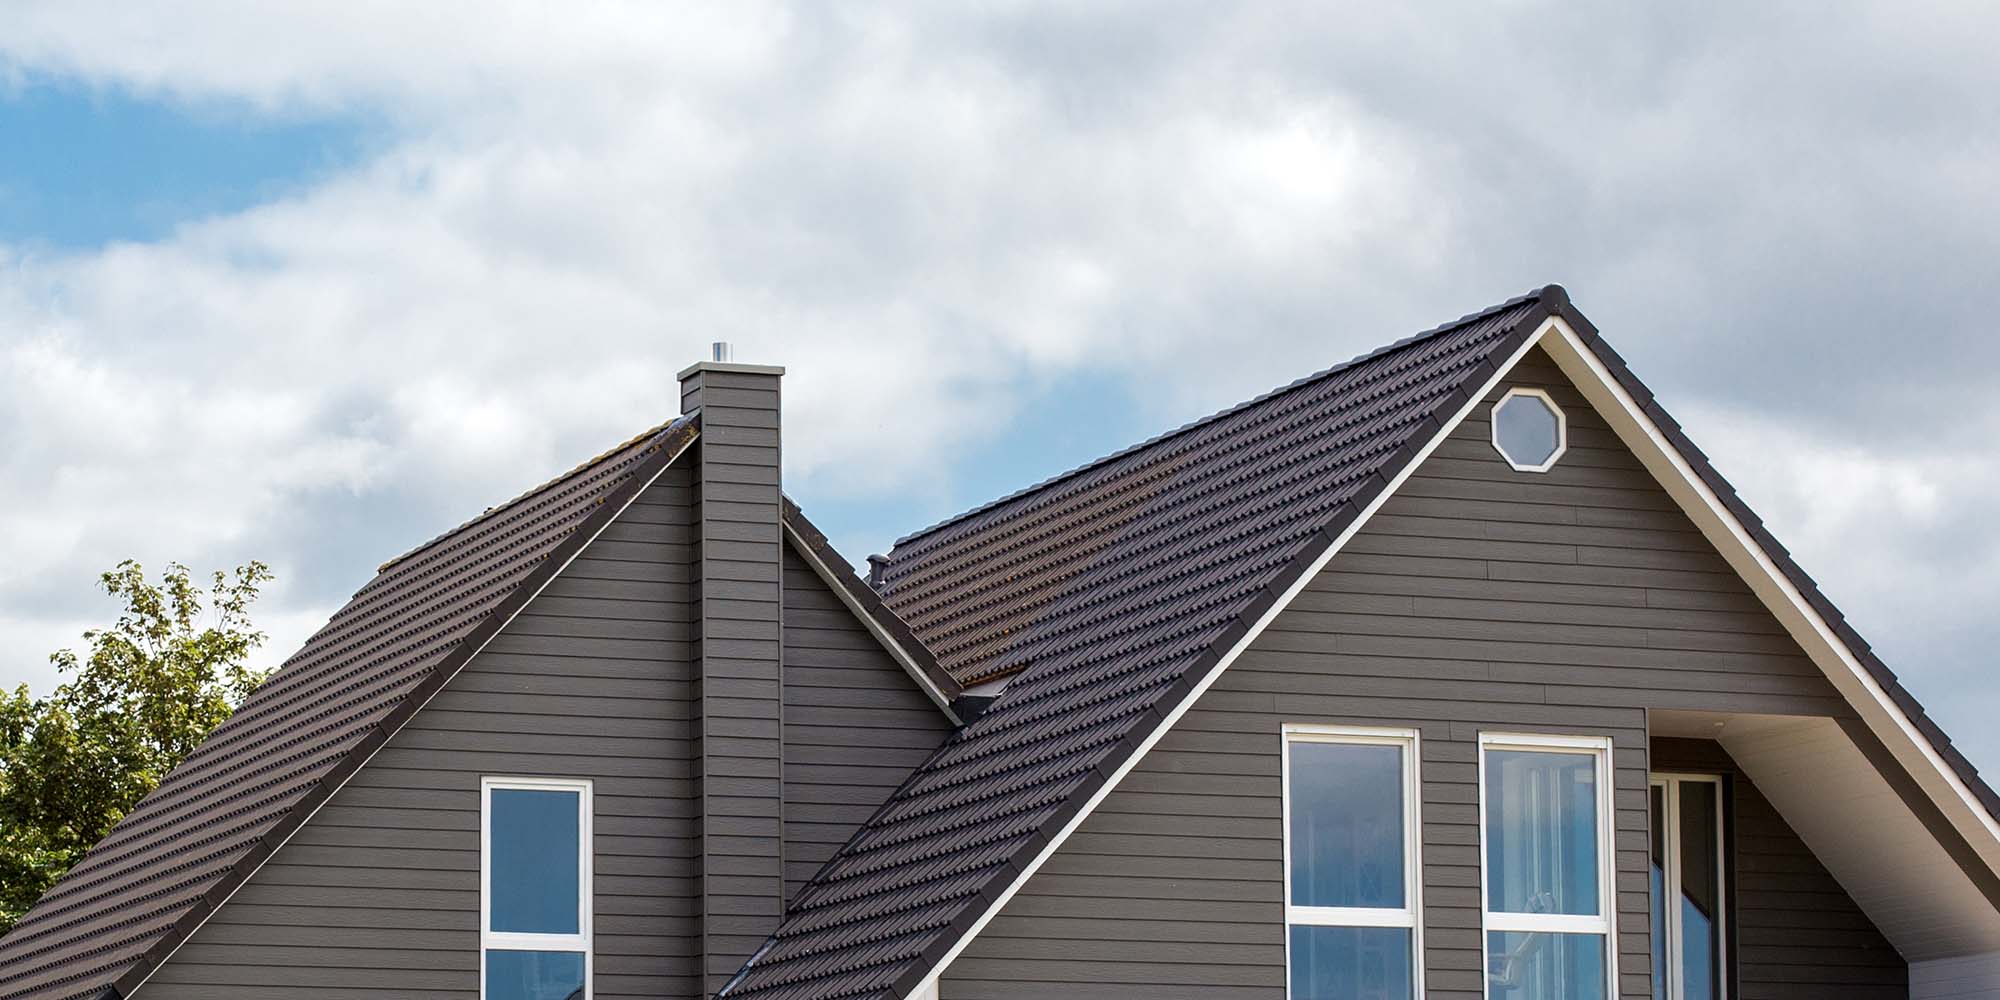
The first step in raising a sagging front porch roof is to assess the extent of the damage. Take a close look at the roof to determine the areas where the sagging is most pronounced. Look for any signs of cracks, rot, or damage to the roof structure, such as the rafters or beams supporting the roof.
It’s essential to understand that a sagging porch roof can be caused by various factors, including age, improper construction, water damage, or inadequate support. By accurately assessing the damage, you’ll be better equipped to develop the most appropriate plan of action and ensure a successful repair.
Here are a few indicators to look out for when assessing the damage:
- Sagging: Examine the roofline from multiple angles to identify any noticeable sagging. Use a level or a straight board to confirm the degree of sag.
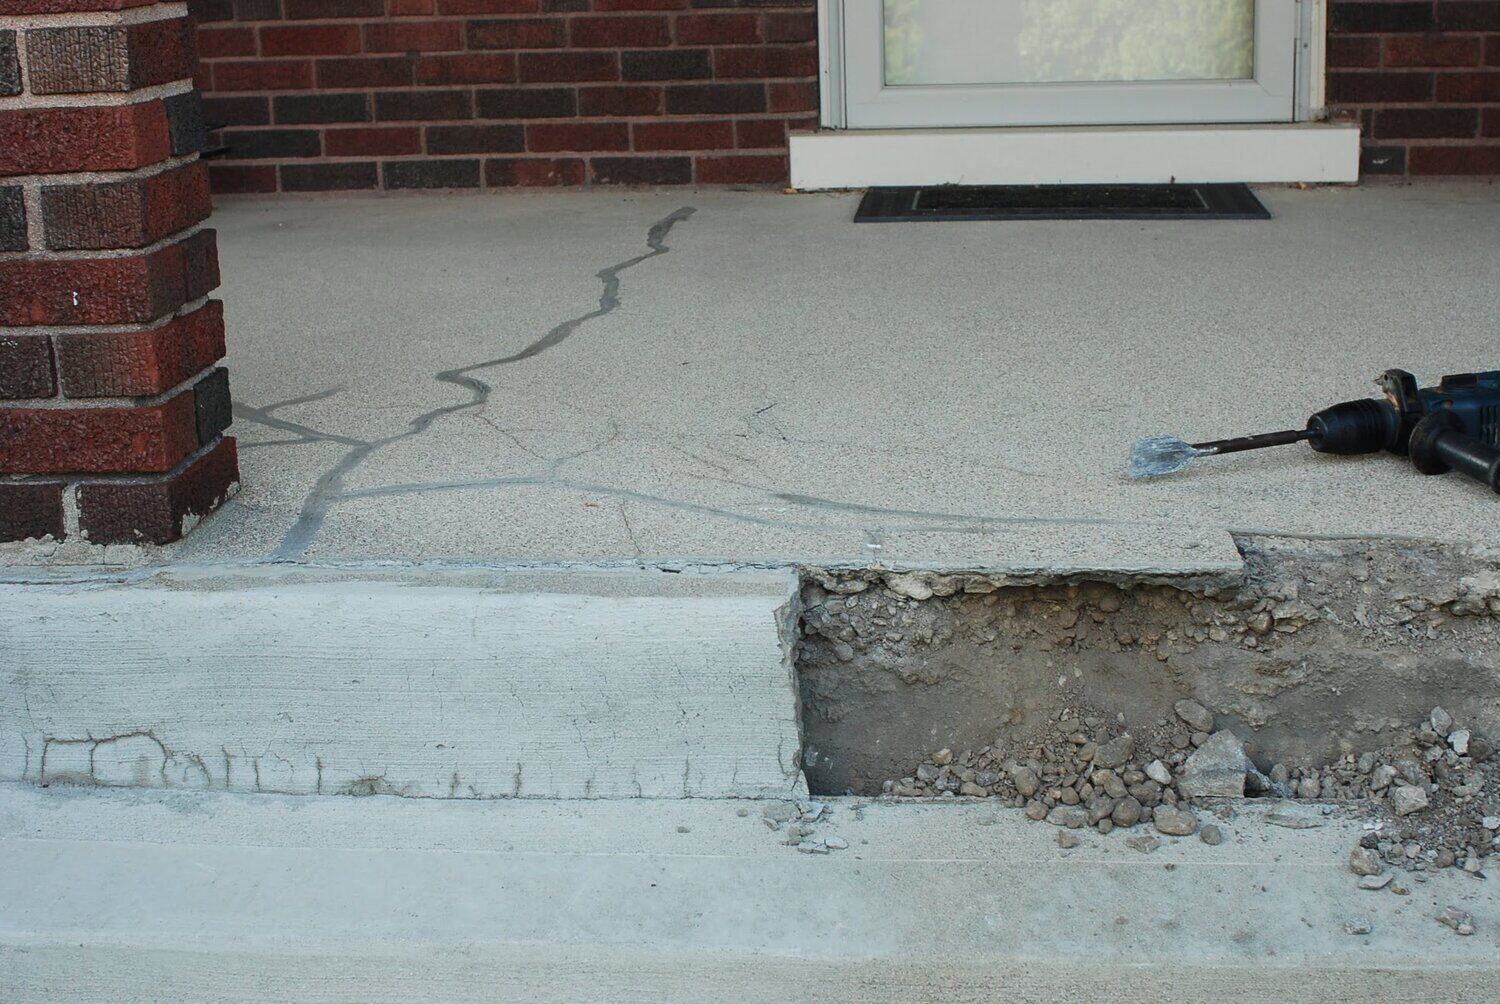
- Cracks or Gaps: Inspect the roof for any visible cracks or gaps in the structure. These can be indicative of weakened or damaged supports.
- Water Damage: Look for signs of water damage, such as discoloration, mold, or rot. Water can cause the wood to deteriorate, compromising the roof’s stability.
- Loose or Split Shingles: Check the condition of the shingles. Loose or split shingles can suggest underlying issues and contribute to the sagging roof.
Once you have completed a thorough assessment, take note of the specific areas that require attention. This will help guide your repair process and allow you to gather the necessary materials for the job ahead.
Remember, while it’s important to assess the damage yourself, if you are unsure about the severity or the structural integrity of your porch roof, it’s always a good idea to consult with a professional contractor before proceeding with any repairs.
Step 2: Gather the Necessary Materials
Before you begin raising your sagging front porch roof, it’s crucial to gather all the necessary materials. By having everything on hand, you can streamline the repair process and avoid unnecessary delays. Here is a list of commonly used materials for this project:
- Ladder: A sturdy ladder is essential for accessing the roof safely.
- Safety Gear: Wear appropriate safety gear, including gloves, goggles, and a helmet.
- Measuring Tape: Use a measuring tape to accurately assess the dimensions of the roof and its components.
- Level: A level will help you determine the degree of sagging and ensure your new roof is installed correctly.
- Hammer and Nails: These tools are necessary for removing and securing shingles and other roofing materials.
- Screws and Screwdriver: Use screws to reinforce the roof structure and a screwdriver to tighten them securely.
- Roofing Felt: Roofing felt provides an extra layer of protection against moisture and helps prolong the lifespan of the roof.
- Flashing: Flashing is used to prevent water penetration around roof openings, such as chimneys or vents.
- Shingles: Depending on the extent of the repair, you may need to replace damaged shingles or install new ones.
- Paint or Finish: If desired, choose paint or finish to enhance the appearance of your porch roof.
- Support Posts or Beams: For more significant repairs, you might need additional support posts or beams to reinforce the roof structure.
Ensure that all materials are of high quality and suitable for your specific repair needs. Consider the size and weight requirements of your porch roof to determine the correct quantities and types of materials.
By gathering all the necessary materials ahead of time, you’ll save yourself frequent trips to the hardware store and stay organized throughout the repair process.
Step 3: Remove Shingles and Roofing Materials
With your materials gathered, it’s time to move on to the next step: removing the shingles and other roofing materials from the sagging front porch roof. This step is crucial as it allows you to access the underlying structure and assess its condition accurately.
Here’s a guide on how to remove shingles and roofing materials:
- Begin at the top: Start by removing the shingles at the highest point of the roof. Use a pry bar or a claw hammer to carefully lift and remove the nails securing the shingles.
- Work systematically: Continue working your way down the roof, removing the shingles one row at a time. Take care not to damage the underlying roof structure.
- Inspect for damage: As you remove the shingles, closely examine the roof structure for any signs of rot, damage, or weak spots. If you notice any issues, make note of them for later repair.
- Remove other roofing materials: Alongside the shingles, you may find other roofing materials such as tar paper or underlayment. Remove these materials carefully, ensuring you’re not causing any further damage.
- Dispose of old materials: Properly dispose of the old shingles and roofing materials in a designated waste container. If possible, consider recycling materials to minimize environmental impact.
By removing the shingles and roofing materials, you’ll have a clean slate to work with, allowing for a thorough inspection and repair of the underlying structure. Remember, take your time and exercise caution to avoid any accidents or damage to the surrounding areas.
Once you’ve completed this step, you’re ready to move on to the next stage of raising your sagging front porch roof.
Step 4: Inspect and Reinforce the Roof Structure
Now that you’ve removed the shingles and roofing materials, it’s time to inspect the roof structure and reinforce it to address the sagging issue. This step is crucial in ensuring the long-term stability and durability of your front porch roof.
Here’s what you need to do:
- Thoroughly examine the roof structure: Take a close look at the rafters, beams, and other components of the roof structure. Look for signs of damage, rot, or weakness. Pay particular attention to areas where the sagging is most noticeable.
- Repair or replace damaged sections: If you come across any damaged or weakened areas, take the necessary steps to repair or replace them. This might involve reinforcing the existing structure with additional support beams, braces, or even replacing entire sections.
- Reinforce the weak spots: Identify the areas where the sagging is most prominent and reinforce them using support posts or beams. Make sure these reinforcements are securely installed and provide adequate support to counteract the sagging.
- Consider consulting a professional: If you’re unsure about the structural integrity of your roof or feel uncomfortable making these repairs yourself, it’s advisable to consult with a professional contractor. They can assess the situation and provide expert guidance and assistance.
During the inspection and reinforcement process, it’s essential to prioritize safety. Use appropriate safety gear, such as gloves and goggles, and take necessary precautions while working at heights.
By thoroughly inspecting and reinforcing the roof structure, you’ll address the root cause of the sagging and ensure a stable foundation for the rest of the repair process.
Once you’re confident in the condition and stability of the roof structure, you can proceed to the next step of raising your sagging front porch roof.
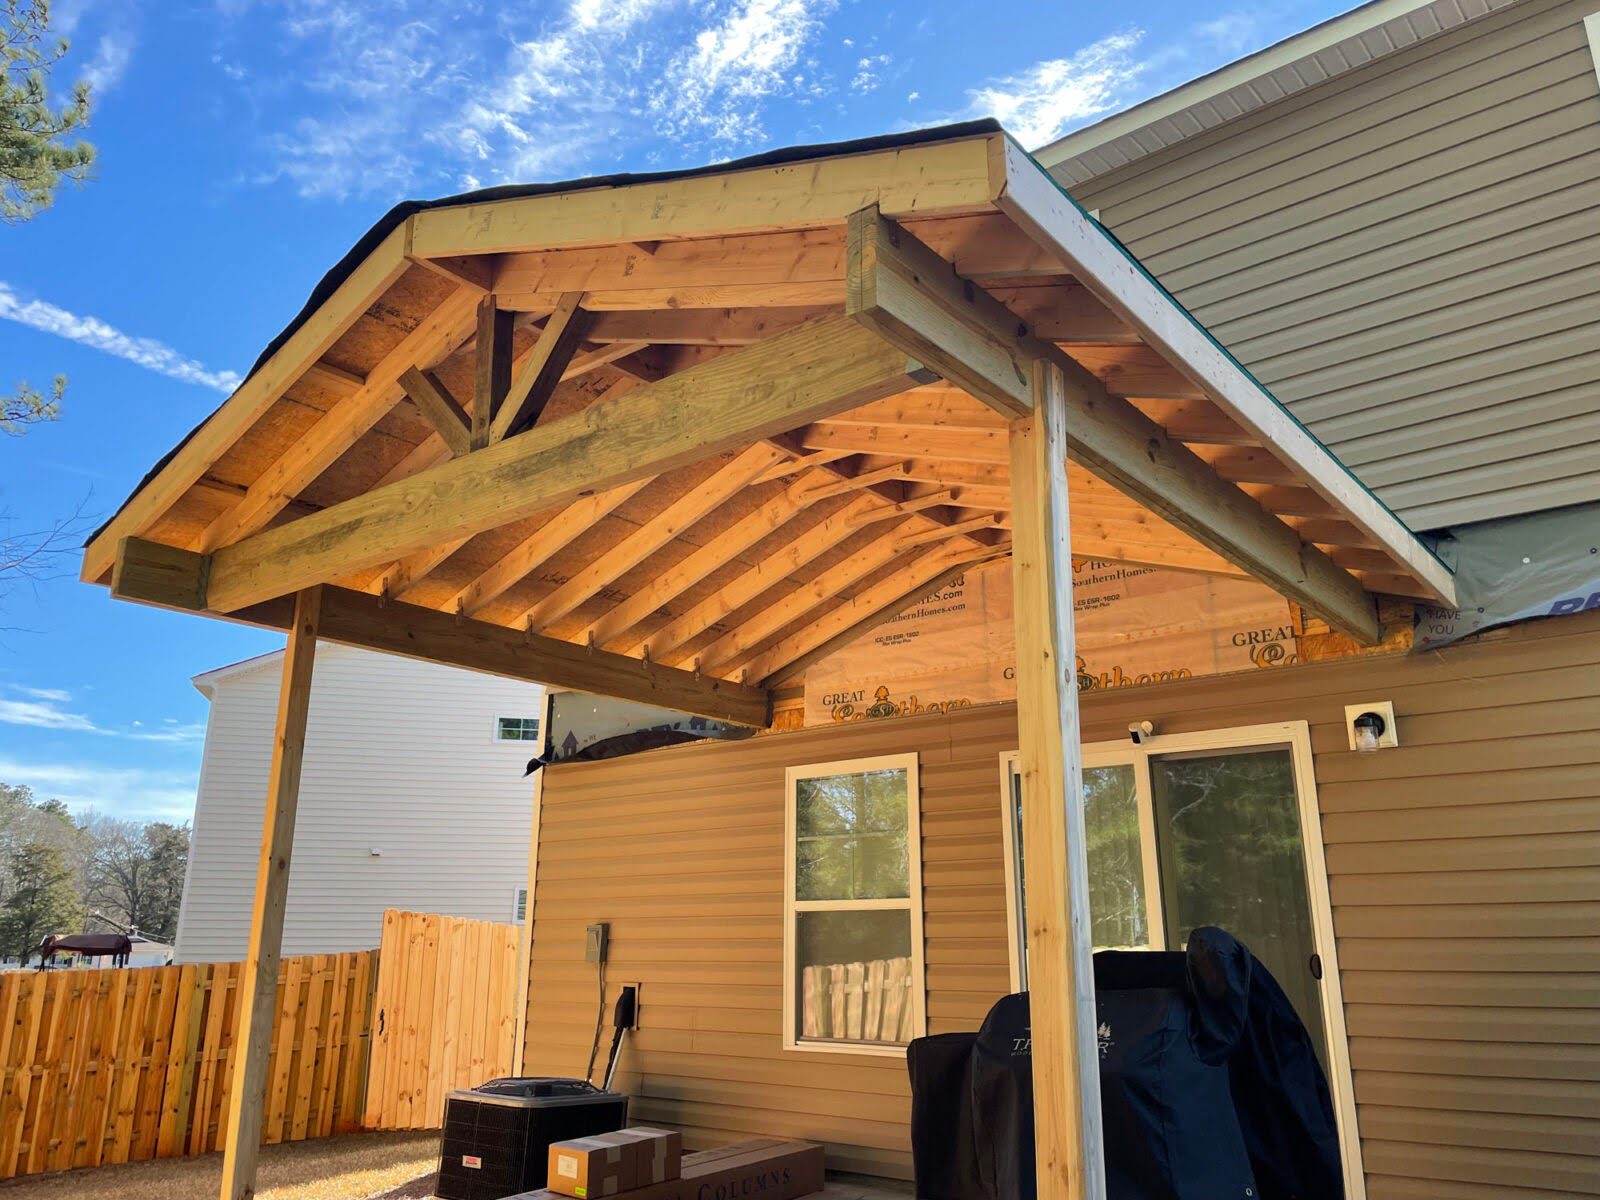
Inspect the condition of the existing support beams and consider adding additional support if necessary. This can help to raise and stabilize the sagging front porch roof.
Read more: How To Build A Front Porch Roof
Step 5: Install Roofing Felt and Flashing
With the roof structure reinforced, it’s time to move on to installing roofing felt and flashing. These components provide an extra layer of protection against moisture and help to keep the underlying structure of your porch roof dry.
Follow these steps to install the roofing felt and flashing:
- Prepare the surface: Ensure that the roof surface is clean and free of debris. Use a broom or a brush to remove any loose dirt or debris.
- Measure and cut the roofing felt: Measure the length and width of the roof and cut the roofing felt to size using a utility knife. Leave a slight overhang for proper coverage.
- Start at the bottom: Begin at the bottom edge of the roof and secure the roofing felt with roofing nails or staples. Apply the felt in overlapping layers, ensuring a water-tight seal.
- Install flashing: Position flashing around roof openings, such as chimneys or vents, to prevent water penetration. Secure the flashing in place using roofing nails or screws.
- Trim excess felt: Once the roofing felt and flashing are securely installed, use a utility knife to trim any excess material for a neat and clean appearance.
- Inspect for any gaps: Double-check that there are no gaps or areas where the roofing felt or flashing is not properly secured. These should be addressed immediately to prevent water leaks.
Installing roofing felt and flashing is an essential step to protect your porch roof from water damage and extend its lifespan. Properly installed roofing felt and flashing will help ensure that your repairs remain intact and your porch roof stays in good condition for years to come.
With roofing felt and flashing in place, you’re ready to move on to the next step of raising your sagging front porch roof.
Step 6: Replace the Shingles
With the roofing felt and flashing installed, it’s time to replace the shingles and restore the aesthetic appeal of your front porch roof. This step will not only enhance the visual appearance but also provide an added layer of protection to the underlying structure.
Here’s how to replace the shingles:
- Prepare the area: Ensure that the roof surface is clean and free of debris, and that the roofing felt and flashing are securely in place.
- Start at the bottom: Begin at the bottom edge of the roof and work your way up. This will ensure that the upper shingles overlap the lower ones, allowing water to flow off the roof properly.
- Place the shingles: Position each shingle on the roof, starting from the bottom row. Align them with the edge of the roof and each other, leaving a small gap between each shingle for expansion.
- Nail the shingles: Secure each shingle in place using roofing nails. Make sure to drive the nails through the designated area called the nailing strip, which is usually marked on the shingle.
- Continue to the next row: Repeat the process for each subsequent row, ensuring proper alignment and overlap between the shingles.
- Trim any excess: Once all the shingles are in place, use a utility knife to trim any excess shingle material along the edges of the roof.
- Inspect for secure installation: Double-check that all the shingles are securely fastened and that there are no loose or damaged shingles. Replace any shingles that are compromised.
When replacing the shingles, it’s important to follow the manufacturer’s instructions and guidelines. Proper installation will ensure that the shingles provide maximum protection and longevity to your front porch roof.
Once the shingles are in place, your sagging front porch roof will start to regain its visual appeal and structural integrity. However, there’s one more step to complete the transformation.
Step 7: Paint or Finish the Porch Roof
The final step in raising your sagging front porch roof is to paint or finish it. This step not only adds the finishing touch to your repair project but also helps to protect the roof from environmental factors such as sunlight, moisture, and temperature changes.
Here’s how to paint or finish your porch roof:
- Choose the right paint or finish: Select a paint or finish that is specifically formulated for outdoor use and suitable for the material of your porch roof. Consider factors such as durability, weather resistance, and color.
- Prepare the surface: Clean the roof surface thoroughly to remove any dirt, dust, or debris. Use a pressure washer or a scrub brush and mild detergent for stubborn stains.
- Repair any imperfections: Before painting or finishing, address any imperfections or damaged areas on the roof surface. Fill in cracks or holes with appropriate filler and smooth out the surface.
- Apply the paint or finish: Use a brush or roller to apply the paint or finish evenly, following the manufacturer’s instructions. Work in small sections and allow each coat to dry completely before applying the next.
- Consider multiple coats: Depending on the type of paint or finish you’re using, you may need to apply multiple coats to achieve the desired coverage and protection.
- Ensure proper ventilation: While painting or finishing, ensure proper ventilation to allow for drying and to prevent the accumulation of fumes in enclosed spaces.
- Clean up: Properly clean brushes, rollers, and other painting tools according to the instructions provided by the paint manufacturer.
By painting or finishing your porch roof, you not only improve its appearance but also provide a protective barrier against the elements. This step helps to extend the lifespan of your roof and maintain its overall integrity.
Once the paint or finish has dried, step back and admire your hard work. Your sagging front porch roof has now been successfully raised and restored, providing you with a safe, beautiful, and functional outdoor space.
Remember to regularly inspect and maintain your porch roof to ensure its longevity. By addressing any issues promptly and performing routine maintenance, you can continue to enjoy a sturdy and attractive porch for years to come.
Conclusion
Congratulations! You have successfully learned how to raise a sagging front porch roof. By following the step-by-step process outlined in this guide, you have transformed your sagging porch roof into a sturdy and visually appealing structure.
Throughout this journey, you learned the importance of assessing the damage, gathering the necessary materials, and removing the shingles and roofing materials. You also discovered how crucial it is to inspect and reinforce the roof structure, install roofing felt and flashing, replace the shingles, and finally, paint or finish the porch roof.
Remember, safety should always be a top priority during any repair project. It’s essential to use the appropriate safety gear, take caution while working at heights, and consult with professionals if needed.
With your newly raised sagging front porch roof, you can now enjoy a structurally sound and visually appealing outdoor space. Spend time relaxing on your porch, hosting gatherings with friends and family, or simply appreciating the improved aesthetics.
Proper maintenance is key to prolonging the lifespan of your porch roof. Regularly inspect it for any signs of damage, repair any issues promptly, and perform routine maintenance tasks to ensure it remains in optimal condition.
We hope this guide has empowered you with the knowledge and confidence to tackle the task of raising a sagging front porch roof. Enjoy your revitalized space and make lasting memories for years to come!
Frequently Asked Questions about How To Raise Sagging Front Porch Roof
Was this page helpful?
At Storables.com, we guarantee accurate and reliable information. Our content, validated by Expert Board Contributors, is crafted following stringent Editorial Policies. We're committed to providing you with well-researched, expert-backed insights for all your informational needs.


0 thoughts on “How To Raise Sagging Front Porch Roof”