Home>Ideas and Tips>DIY Guide To Installing Recessed Lighting
Ideas and Tips
DIY Guide To Installing Recessed Lighting
Modified: November 2, 2024
Learn how to install recessed lighting with our step-by-step DIY guide. Enhance your home's ambiance and functionality safely and efficiently.
(Many of the links in this article redirect to a specific reviewed product. Your purchase of these products through affiliate links helps to generate commission for Storables.com, at no extra cost. Learn more)
Introduction
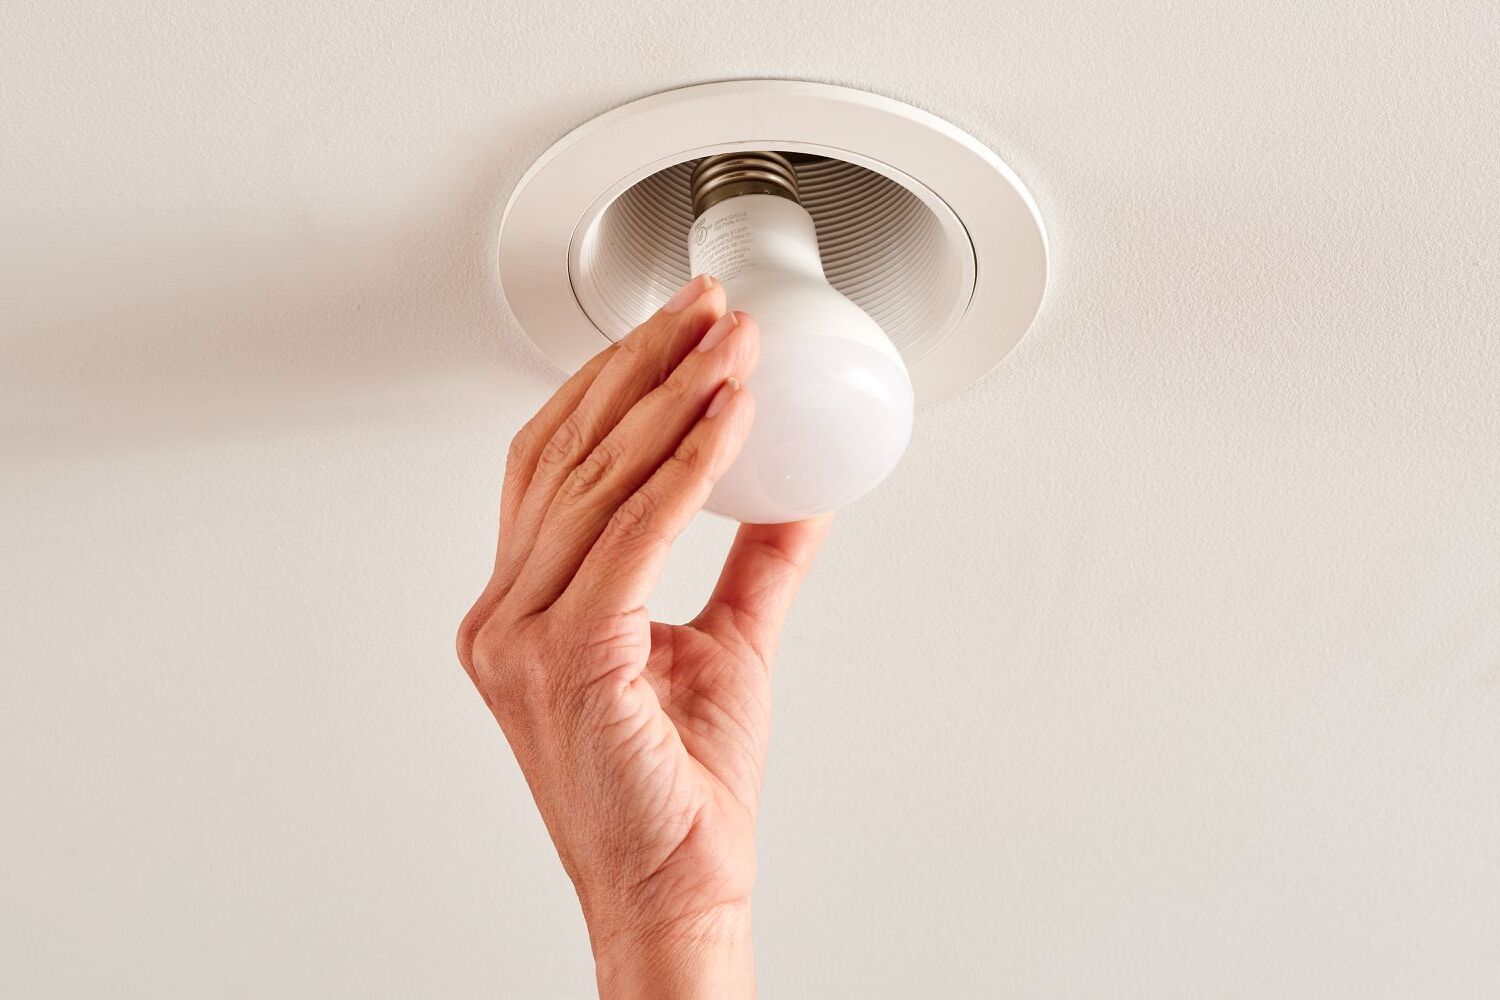
Recessed lighting offers a sleek and modern look that can transform any space. These lights are installed directly into the ceiling, providing a clean and unobtrusive lighting solution. Unlike traditional overhead lighting fixtures, recessed lights are designed to be flush with the ceiling, making them ideal for rooms where you want to maintain an open feel.
Before you begin, it's essential to understand the basics of recessed lighting installation. This includes planning your layout, choosing the right fixtures, and ensuring you have the necessary tools and materials. While this project can be done DIY, it's crucial to follow safety guidelines and local electrical codes to avoid any potential hazards.
Tools and Materials Needed
To start your project, you'll need a variety of tools and materials. Here’s a list of what you'll need:
- 4-in-1 Screwdriver: For various tasks such as drilling, driving screws, and prying open drywall.
- Drywall Saw: To cut holes in the ceiling for the recessed light housings.
- Electrical Tape: For securing wires.
- Fish Tape Reel: To fish wires through the ceiling joists.
- Hacksaw Blade: For cutting wire or other metal components.
- Hammer: For tapping screws into place or breaking up drywall.
- Needle-Nose Pliers: For gripping small objects like wire connectors.
- Non-Contact Voltage Tester: To ensure there is no power running to the area you're working on.
- Right Angle Drill/Driver: For drilling holes at an angle, which is often necessary when working with ceiling joists.
- Stepladder: For reaching high areas safely.
- Stud Finder: To locate ceiling joists without damaging the ceiling.
- Tape Measure: For measuring distances and ensuring accurate placement of lights.
- Utility Knife: For cutting drywall or other materials.
- Voltage Tester: To check for power in the circuit before starting work.
- Wire Stripper/Cutter: For stripping insulation from wires and cutting them to length.
Planning Your Layout
Before you start drilling holes in your ceiling, it's crucial to plan out your lighting layout. Here’s how you can do it:
-
Measure Your Room: Start by measuring the dimensions of your room. Use graph paper to create a scale drawing where 1/4 inch equals 1 foot. This will help you visualize the space and plan where each light will go.
-
Sketch Furniture Arrangement: Sketch in the furniture arrangement and any wall-mounted features you’d like to accent. This will help you determine which areas need more light.
-
Decide on Lighting Goals: Decide what you want to accomplish with the lights. For example, you may want to provide accent lighting for a favorite piece of art, add task lighting over your hobby area, or improve general room lighting.
-
Consult a Lighting Showroom: Take your drawing to a lighting showroom for help with the design. A knowledgeable lighting salesperson can help you choose the right combination of recessed light housings, trims, and lamps and determine the ideal locations on the ceiling.
-
Obtain Electrical Permit: Make sure to obtain an electrical permit from your local building department before starting the project. This is a legal requirement in many jurisdictions and ensures that your work meets safety standards.
Step-by-Step Installation Guide
Now that you have your plan in place, it's time to start installing your recessed lights.
Step 1: Locate Power Source
To begin installing recessed lighting, you need to find an existing power source that you can use as a starting point. This could be an existing light fixture or an outlet that you can repurpose for this purpose.
-
Identify Existing Box: Find an existing electrical box that you can use as a power source. This could be an old light fixture or an outlet that you're willing to remove and reuse.
-
Turn Off Power: Turn off the power to the outlet at the main electrical panel using a voltage tester to ensure there is no power running to the area.
-
Break Out Existing Box: Break out the existing electrical box and use it as your new power source for your recessed lights.
-
Fish Power Cable: Fish a power cable through the ceiling joists from the existing box to your new switch location.
Step 2: Locate New Switch Box
Once you have your power cable in place, it's time to locate your new switch box.
-
Cut In New Switch Box: Cut in a new switch box according to your plan (Figure A). Use a remodeling box that has built-in cable clamps.
-
Mount Switch Box: Don’t mount the box until you’ve pulled in cables from both the power source and lights.
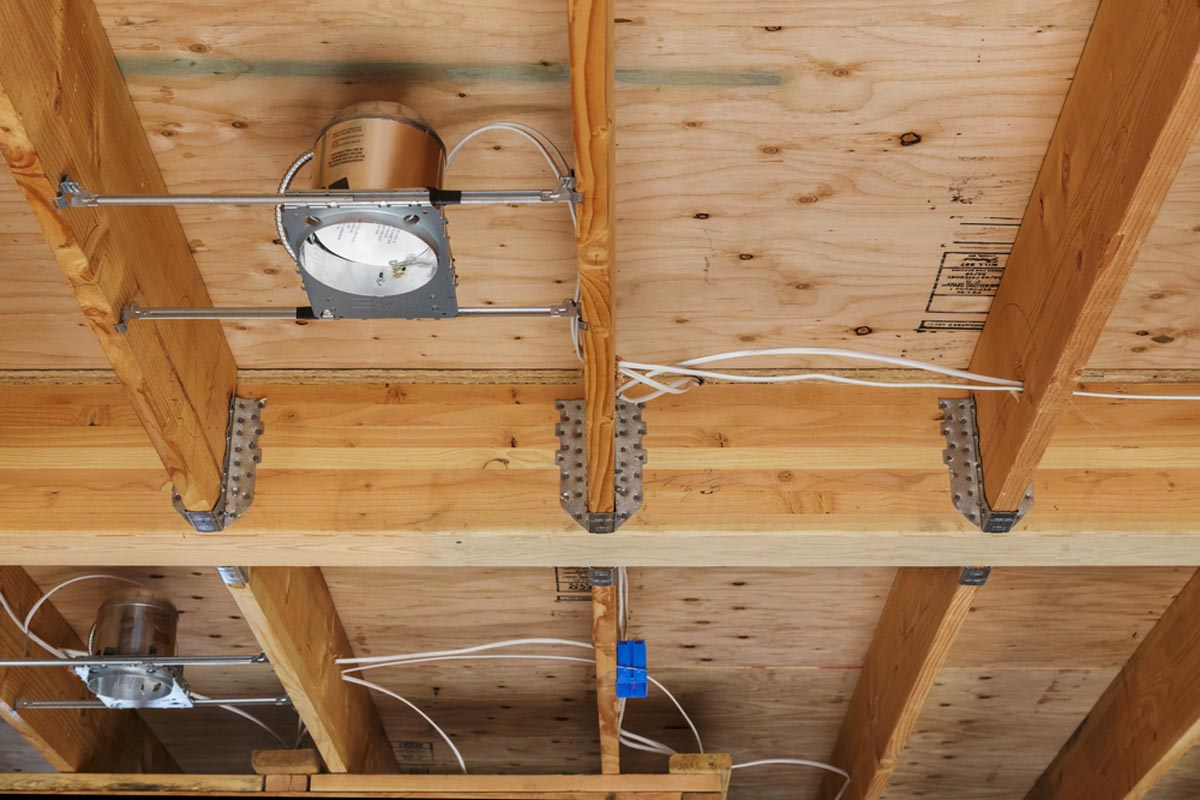
Step 3: Drill Hole in Top Plate
Next, you need to drill holes through the top plate and joists to create routes for cables.
-
Drill Through Top Plate: Drill through the top plate and joists using a right-angle drill/driver (see Figure A). Keep holes centered on plates at least 2 inches from top and bottom of joists.
-
Create Slots in Ceiling: Saw slots in ceiling for wiring and housings by cutting holes for recessed light housings.
Step 4: Run Wiring
Now it's time to run wiring from your new switch box to each recessed light fixture.
-
Map Out Fixture Locations: Map out where you want each fixture based on your initial drawing.
-
Use Fish Tape Reel: Use fish tape reel to fish wires through ceiling joists without damaging them.
-
Strip Wire Insulation: Strip insulation from wires using wire stripper/cutter before connecting them.
-
Daisy Chain Lights: Daisy chain lights by connecting each light in sequence using electrical tape or connectors provided with fixtures.
Step 5: Install Recessed Light Fixtures
With wiring complete, it's now time to install recessed light fixtures themselves.
-
Cut Drywall Holes: Cut holes in drywall using drywall saw according to manufacturer’s instructions for specific type of housing used.
-
Insert Fixtures: Insert fixtures into holes ensuring they are securely held by springs provided on sides of each unit.
-
Secure Transformers: Attach transformers provided with each unit securely onto joists using attachments included with fixtures ensuring they are air-tight if IC rated (Insulation Contact).
-
Terminate Connections: Terminate connections at each fixture ensuring no loose ends left exposed which could cause electrical hazards later down line.
-
Test Lights: Test lights before finishing up ensuring they turn on/off correctly without any issues related electrical connections made during installation process itself!
-
Final Touches: Finally take down any tape used during installation process ensuring smooth finish overall appearance wise too!
Safety Considerations
Safety should always be top priority when working with electricity Here are few key points keep mind while performing this task yourself:
-
Turn Off Power: Always turn off power supply before starting work ensuring no accidental shocks occur during process itself!
-
Use Protective Gear: Wear protective gear like gloves/eye protection when handling sharp objects/tools involved throughout project duration too!
-
Check Local Codes: Ensure compliance local building codes regulations governing electrical installations within jurisdiction area you reside currently too!
Read more: How To Install Outdoor Recessed Lighting
Common Challenges & Solutions
While installing recessed lighting relatively straightforward process itself there certain challenges might encounter along way here’s how overcome them effectively:
-
Ceiling Joists Obstacles: If ceiling joists obstructing path creating slots necessary run wiring simply use wire bent shape allowing slide through holes without hitting anything inside attic space itself!
-
Insulation Issues: If installing IC rated fixtures ensure proper insulation around them preventing heat transfer between attic space below causing inefficiencies overall system performance wise too!
-
Drywall Damage Prevention: Use manual drywall saw cutting holes minimizing damage surrounding areas ensuring smooth finish overall appearance wise too!
Conclusion
Installing recessed lighting not only enhances aesthetic appeal but also functional benefits too By following steps outlined above carefully ensuring compliance safety guidelines regulations governing electrical installations within jurisdiction area you reside currently too Remember always prioritize caution when working with electricity ensuring smooth completion project duration wise too Happy DIY-ing!
By following this comprehensive guide step-by-step manner carefully ensuring compliance safety guidelines regulations governing electrical installations within jurisdiction area you reside currently too You'll be able transform any room space desired effectively efficiently manner possible Happy DIY-ing
Was this page helpful?
At Storables.com, we guarantee accurate and reliable information. Our content, validated by Expert Board Contributors, is crafted following stringent Editorial Policies. We're committed to providing you with well-researched, expert-backed insights for all your informational needs.


0 thoughts on “DIY Guide To Installing Recessed Lighting”