Home>Furniture & Design>Outdoor Furniture>How To Install Outdoor Recessed Lighting

Outdoor Furniture
How To Install Outdoor Recessed Lighting
Modified: August 20, 2024
Learn how to install outdoor recessed lighting with our comprehensive guide. Enhance your outdoor space with stylish and functional lighting. Expert tips and advice for a successful installation.
(Many of the links in this article redirect to a specific reviewed product. Your purchase of these products through affiliate links helps to generate commission for Storables.com, at no extra cost. Learn more)
Introduction
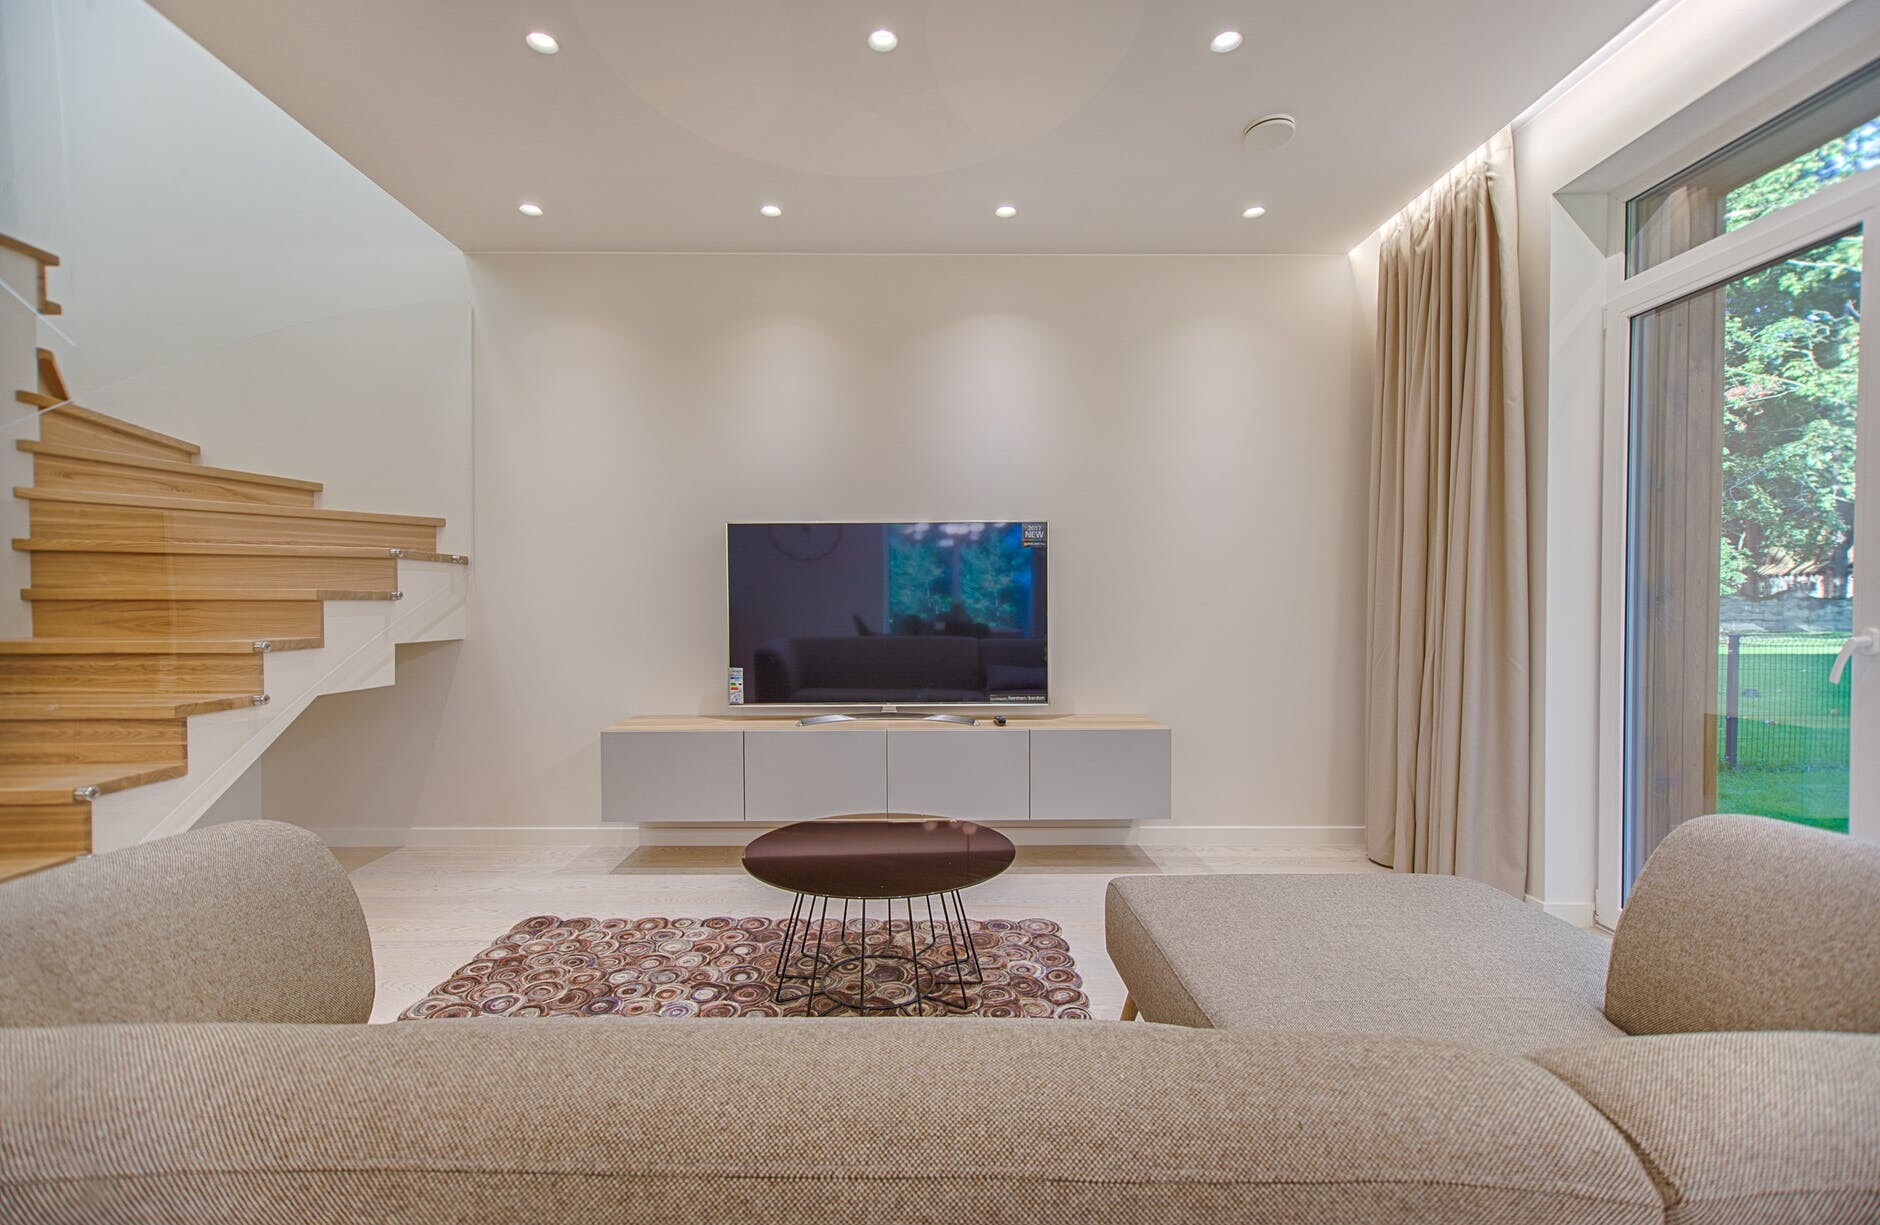
Welcome to the world of outdoor recessed lighting! Whether you're looking to illuminate your garden, patio, or outdoor living space, installing outdoor recessed lighting can enhance the ambiance and functionality of your outdoor area. From creating a warm and inviting atmosphere for entertaining guests to providing added security and safety, outdoor recessed lighting is a versatile and stylish addition to any outdoor setting.
In this comprehensive guide, we'll walk you through the process of installing outdoor recessed lighting, from planning and choosing the right fixtures to the final installation and testing. By the end of this journey, you'll have the knowledge and confidence to transform your outdoor space with beautiful and functional lighting.
So, let's dive in and shed some light on the exciting world of outdoor recessed lighting!
Key Takeaways:
- Elevate your outdoor space with stunning and functional recessed lighting, creating a welcoming environment for relaxation and entertainment while prioritizing safety and compliance with electrical codes.
- Through meticulous planning and precise installation, your outdoor recessed lighting system offers versatile lighting capabilities, enhancing the visual appeal and functionality of your outdoor space with a commitment to quality and safety.
Read more: DIY Guide To Installing Recessed Lighting
Planning Your Outdoor Recessed Lighting
Before diving into the installation process, it’s crucial to start with a well-thought-out plan for your outdoor recessed lighting. This initial phase sets the stage for a successful and visually appealing lighting design. Here are the key considerations to keep in mind:
- Define Your Lighting Goals: Begin by identifying the primary objectives of your outdoor lighting. Are you aiming to create a cozy ambiance for evening gatherings, illuminate pathways for safety, or highlight specific architectural or landscaping features? Understanding your lighting goals will guide the entire planning and installation process.
- Assess Your Outdoor Space: Take a comprehensive look at your outdoor area, considering the layout, landscaping, and architectural features. Identify focal points, such as trees, flower beds, or outdoor seating areas, that could benefit from targeted lighting.
- Consider Power Sources: Evaluate the availability of power sources in your outdoor space. Determine whether you’ll be connecting the lighting to existing electrical lines or opting for solar-powered or low-voltage options.
- Regulatory Compliance: Familiarize yourself with local building codes and regulations related to outdoor lighting installations. Compliance with these guidelines is essential for safety and legal reasons.
By carefully planning these crucial aspects, you’ll lay a solid foundation for a successful outdoor recessed lighting project that aligns with your aesthetic preferences and functional needs.
Choosing the Right Fixtures
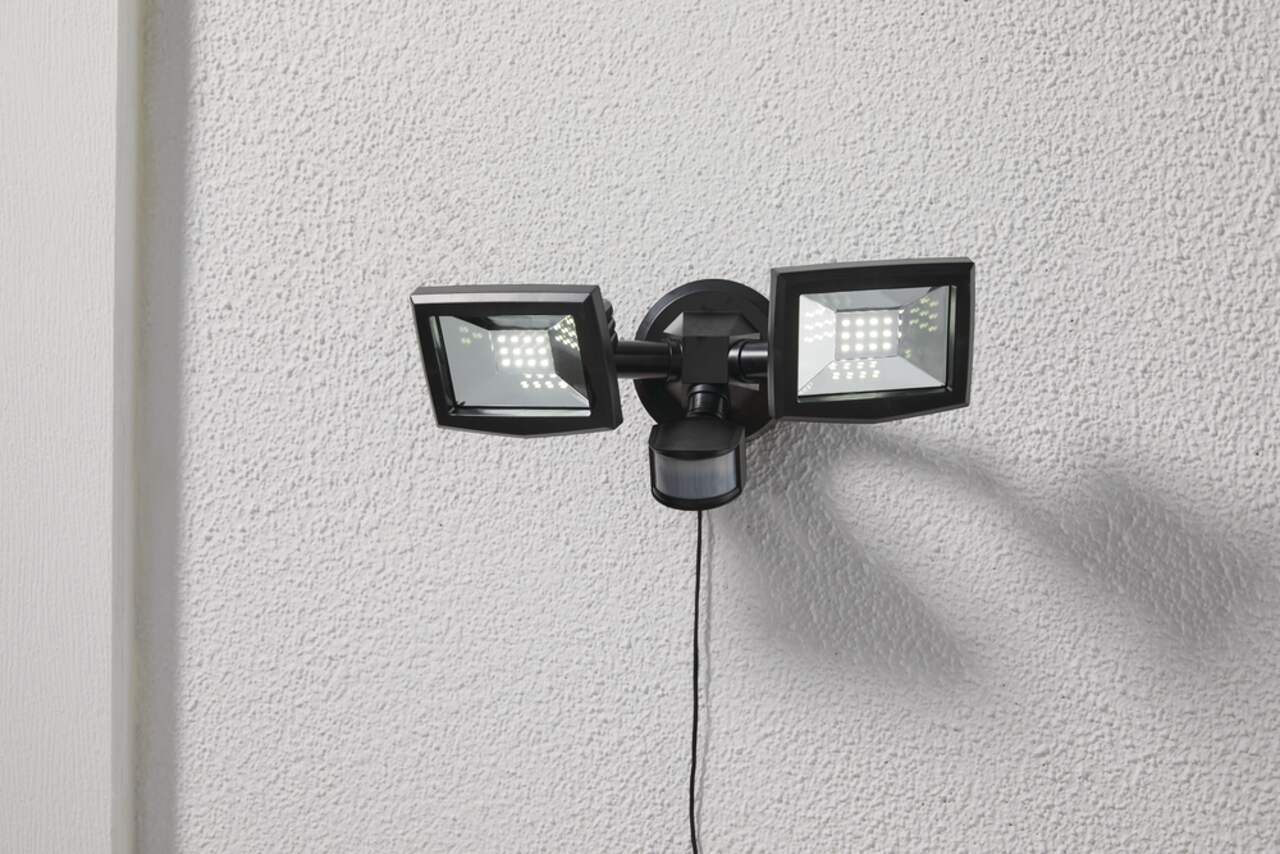
When it comes to outdoor recessed lighting, selecting the right fixtures is a pivotal step in achieving your desired lighting effects. The following factors will help you make informed decisions when choosing the perfect fixtures for your outdoor space:
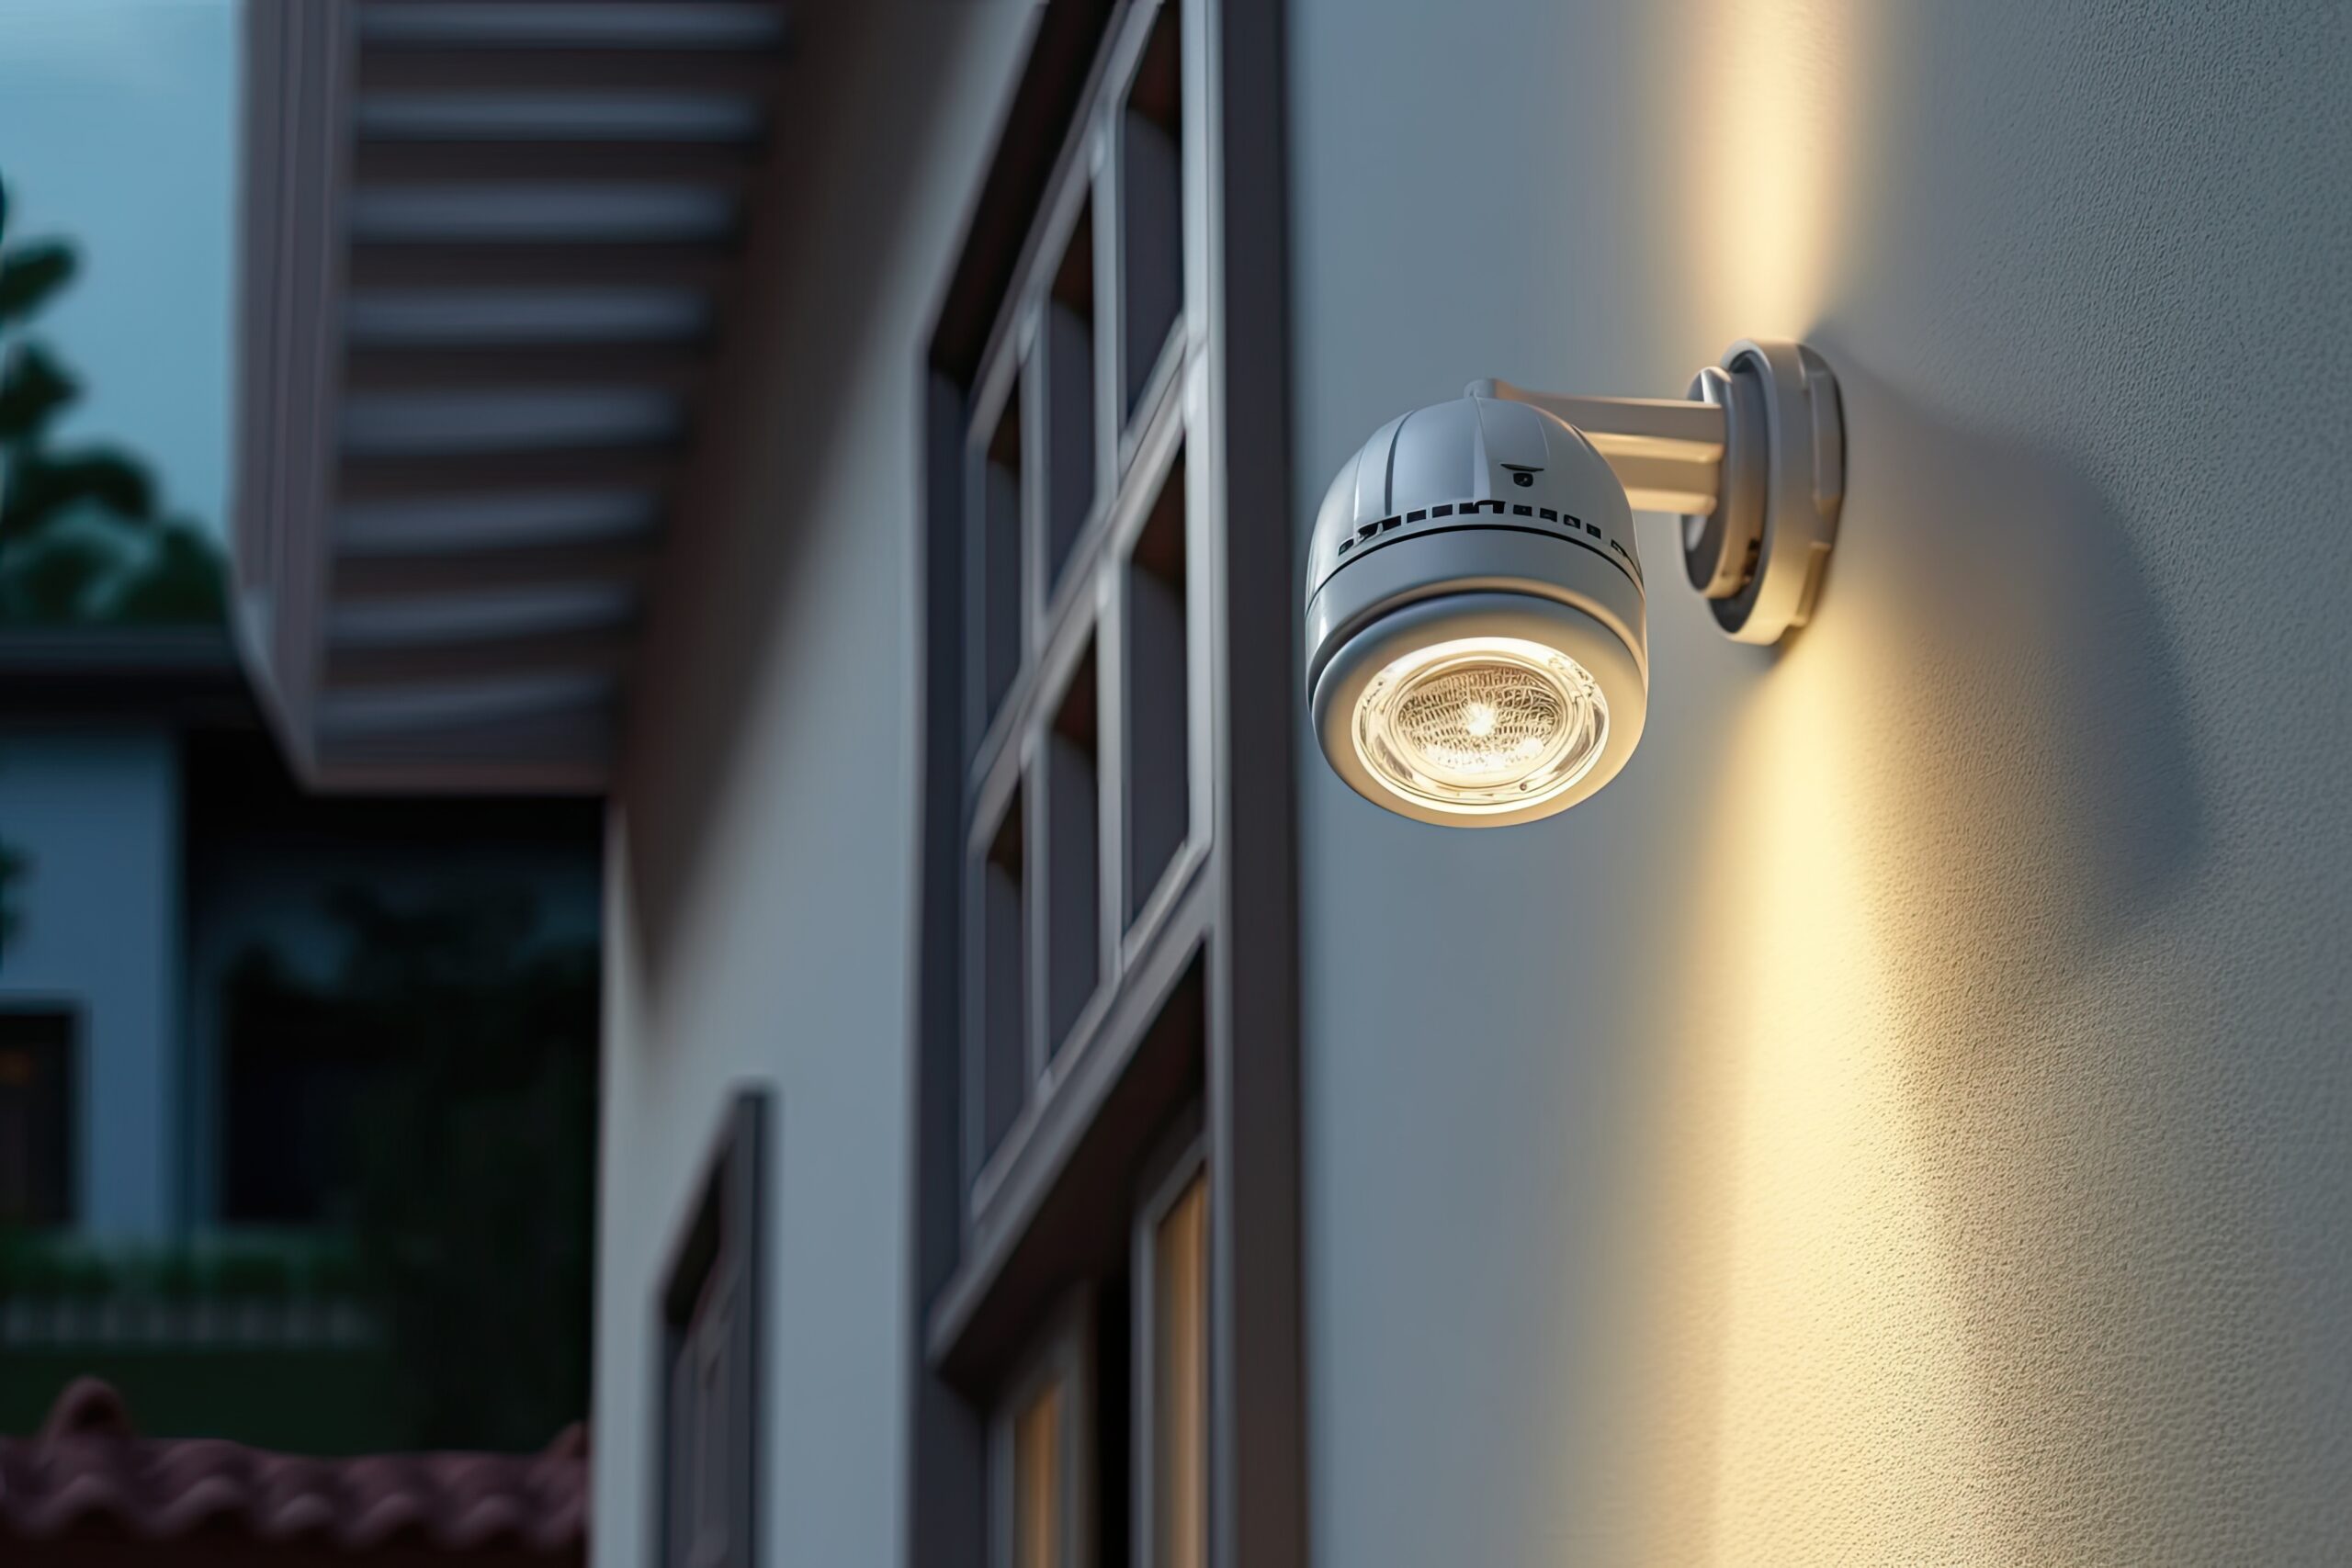
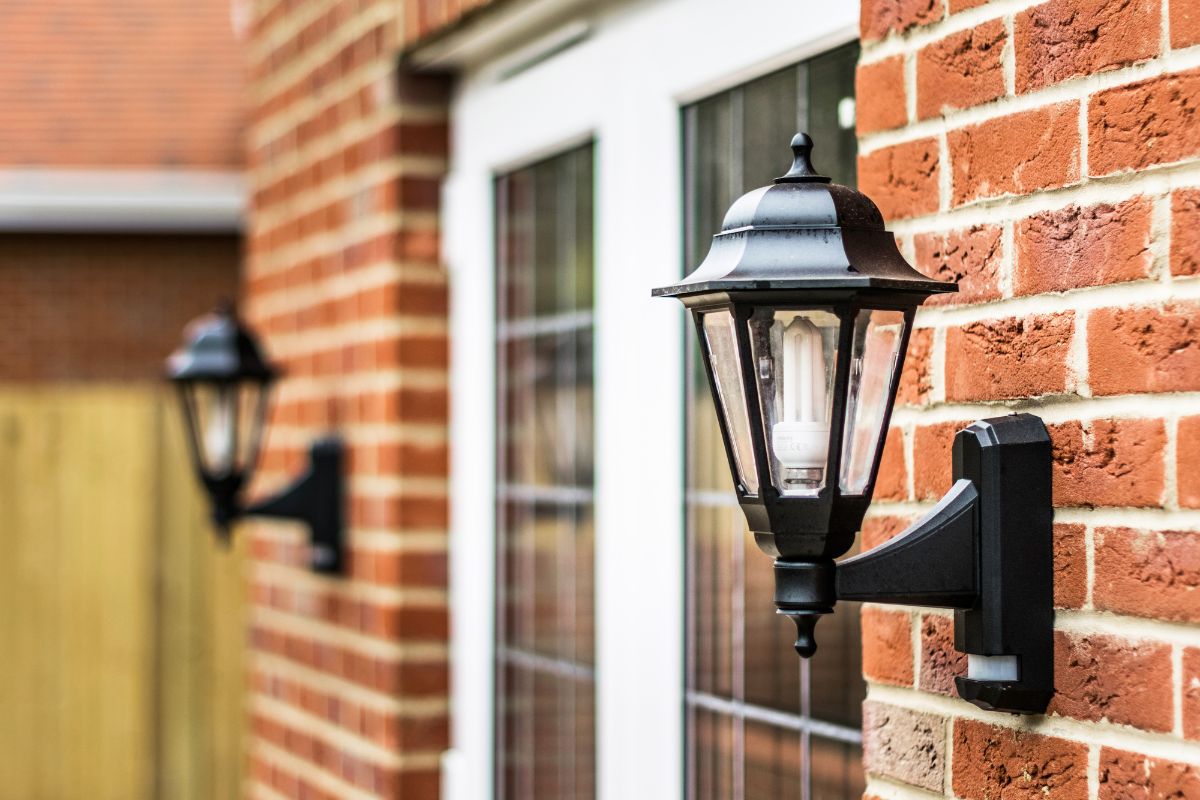
- Weather Resistance: Opt for fixtures specifically designed for outdoor use, ensuring they are resistant to elements such as rain, snow, and UV exposure. Look for fixtures with an IP (Ingress Protection) rating that indicates their level of protection against moisture and debris.
- Lighting Technology: Consider the type of lighting technology that best suits your needs. LED fixtures are energy-efficient, long-lasting, and offer a variety of color temperatures to create different moods. Halogen and incandescent options are also available, each with its own unique characteristics.
- Beam Angle and Spread: Evaluate the beam angle and spread of the fixtures to ensure they provide adequate coverage for your intended lighting applications. Narrow beams are ideal for spotlighting specific features, while wider beams are suitable for general area illumination.
- Trim Styles: Explore different trim styles to complement your outdoor aesthetics. Whether you prefer sleek and modern designs or traditional and rustic finishes, there are a myriad of trim options to seamlessly integrate with your outdoor décor.
- Dimming Capabilities: If you desire versatile lighting control, consider fixtures compatible with dimmer switches. This feature allows you to adjust the brightness levels to create the perfect ambiance for various occasions.
By carefully considering these factors, you can confidently choose fixtures that not only meet your functional requirements but also enhance the visual appeal of your outdoor space, creating a captivating and inviting atmosphere.
Selecting the Right Location
Strategic placement of outdoor recessed lighting is essential for achieving a balanced and visually appealing illumination of your outdoor space. Consider the following guidelines when selecting the locations for your lighting fixtures:
- Highlighting Features: Identify key architectural elements, landscaping focal points, and outdoor amenities that you wish to accentuate with lighting. This could include trees, sculptures, water features, or seating areas. Placing fixtures to illuminate these features will add depth and visual interest to your outdoor environment.
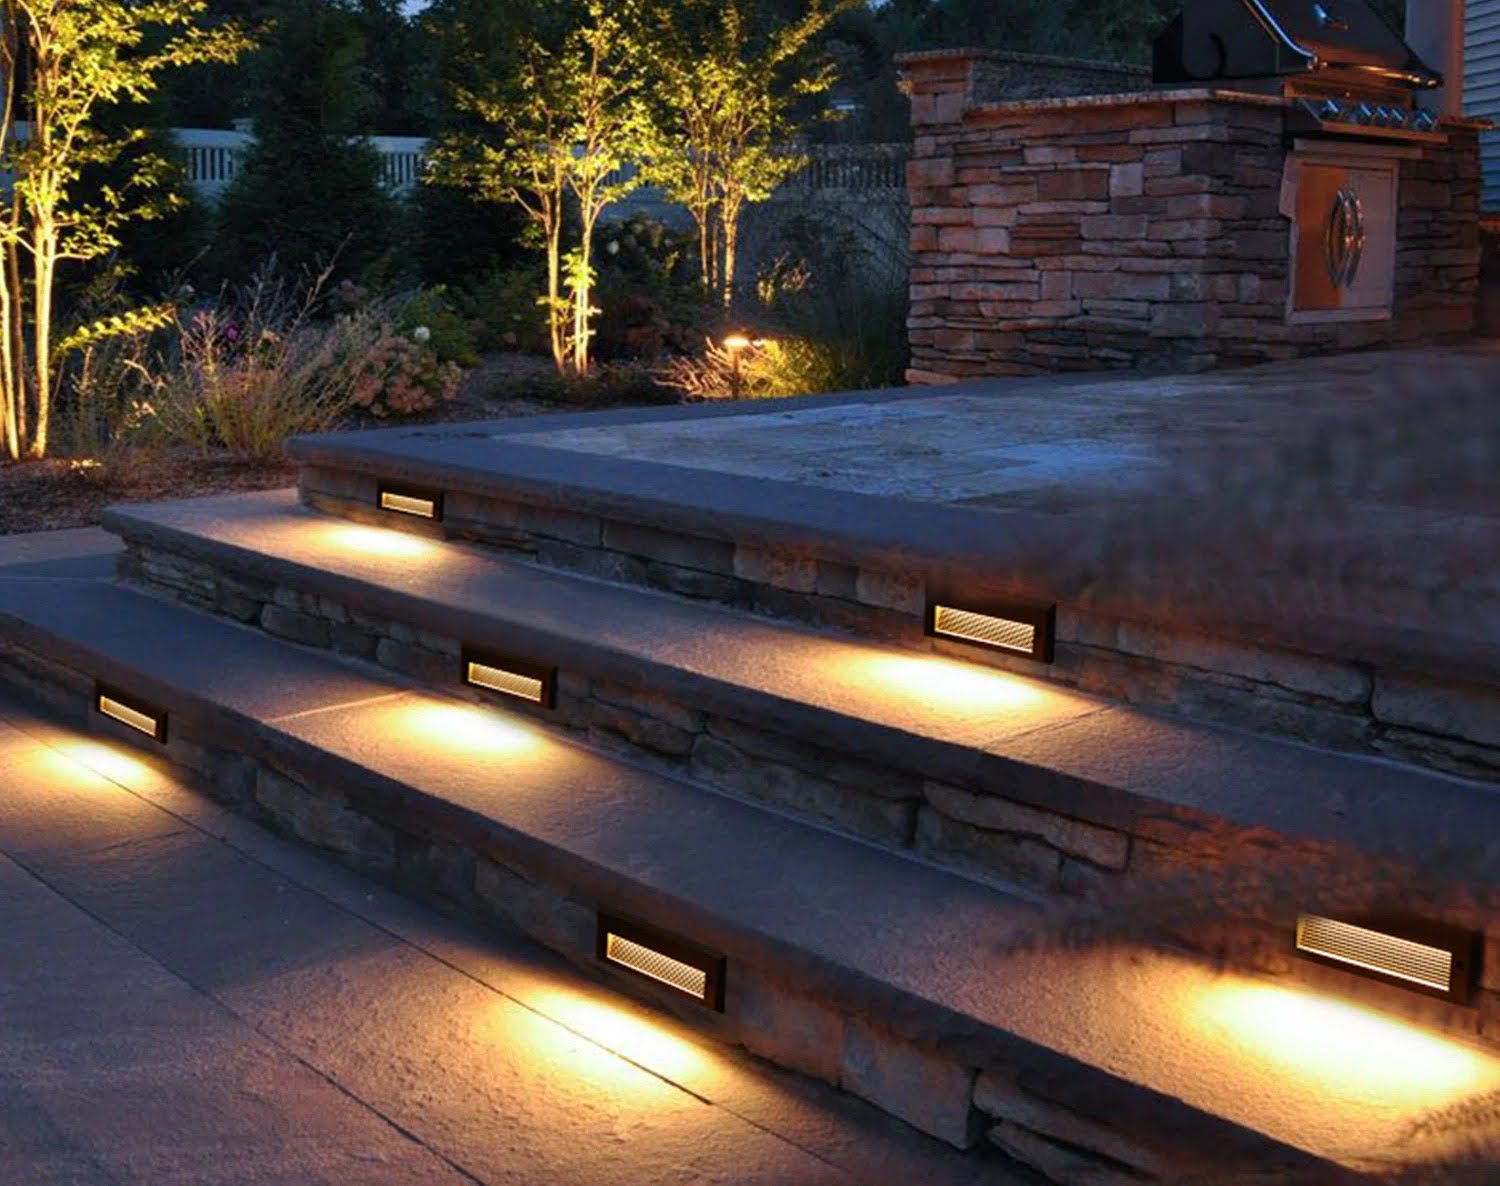
- Pathway Illumination: For safety and aesthetics, position recessed lights along pathways, walkways, and stairs to ensure safe navigation during nighttime hours. Properly lit pathways also contribute to the overall charm of your outdoor space.
- Ambient Lighting Zones: Create distinct ambient zones within your outdoor area by strategically locating lighting fixtures. For example, consider delineating a dining or lounge area with focused overhead lighting, while softer, diffused lighting may be more suitable for garden or patio spaces.
- Avoid Light Pollution: Be mindful of neighboring properties and the night sky when situating your fixtures. Aim to minimize light spillage beyond your property boundaries to be considerate of your surroundings and to comply with local lighting ordinances.
- Consider Maintenance Accessibility: Factor in the accessibility for future maintenance and bulb replacement when determining the placement of your fixtures. Opt for locations that are easily reachable to ensure hassle-free upkeep of your lighting system.
By thoughtfully selecting the locations for your outdoor recessed lighting fixtures, you can effectively enhance the visual appeal, functionality, and safety of your outdoor space while creating captivating and inviting atmospheres for relaxation and entertainment.
Preparing for Installation
Before embarking on the installation of outdoor recessed lighting, thorough preparation is essential to ensure a smooth and successful process. Here are the key steps to prepare for the installation:
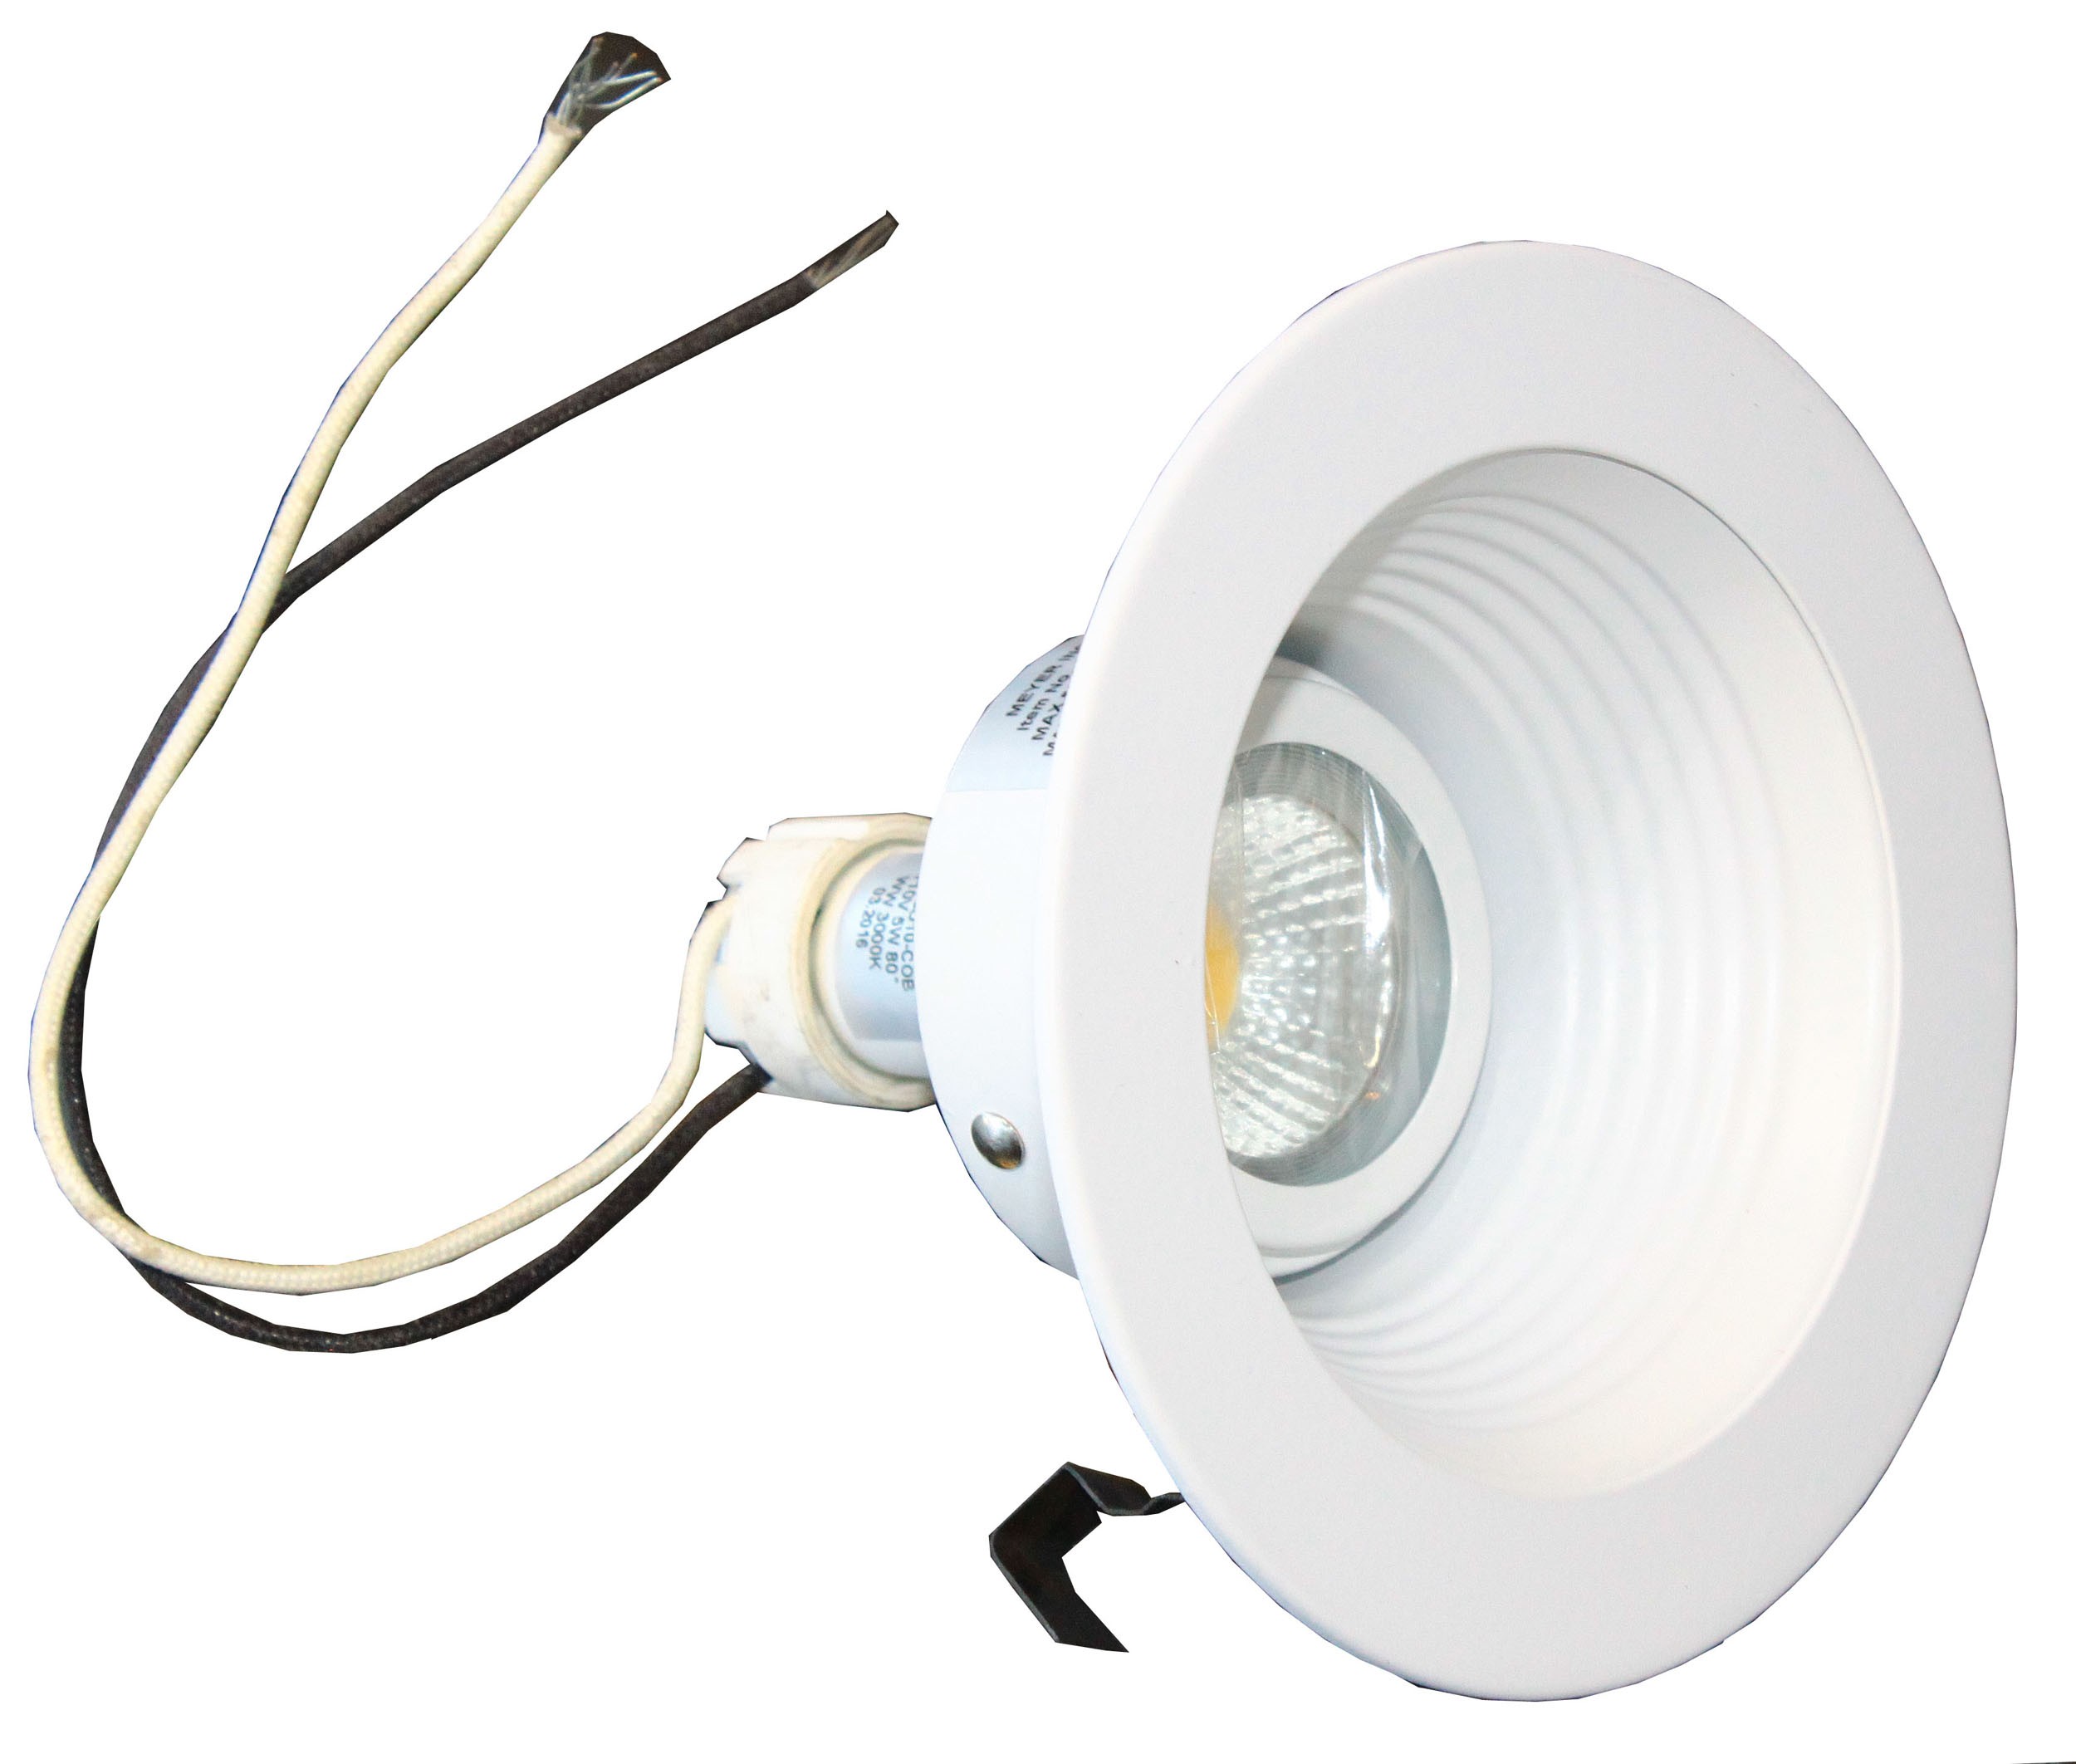
- Gather Necessary Tools and Materials: Compile all the tools and materials required for the installation, including lighting fixtures, wiring, junction boxes, a power source, wire connectors, a voltage tester, a drill, a hole saw, a screwdriver, and any additional hardware specified by the fixture manufacturer.
- Review Installation Guidelines: Familiarize yourself with the installation instructions provided by the fixture manufacturer. Understanding the specific requirements and recommendations for your chosen fixtures will help streamline the installation process and ensure compliance with safety and performance standards.
- Map Out Fixture Locations: Using a layout plan of your outdoor space, mark the intended locations for each lighting fixture. Take into account the recommended spacing and positioning guidelines provided by the manufacturer to achieve optimal lighting effects.
- Check Electrical Compatibility: If connecting to an existing electrical system, verify that the power source is compatible with the voltage and load requirements of the selected fixtures. If in doubt, consult a qualified electrician to assess and address any electrical considerations.
- Ensure Weatherproofing Measures: If your installation involves fixtures in areas exposed to the elements, such as rain or snow, ensure that all electrical connections and components are adequately weatherproofed and sealed to prevent moisture ingress and corrosion.
- Secure Necessary Permits: Depending on local regulations, acquiring permits for outdoor lighting installations may be necessary. Check with your local building department to determine the permitting requirements and ensure compliance with applicable codes.
By diligently preparing for the installation process, you can minimize potential challenges and setbacks, ensuring a safe, efficient, and professional installation of your outdoor recessed lighting system.
Before installing outdoor recessed lighting, make sure to choose fixtures that are specifically designed for outdoor use and are rated for wet or damp locations. This will ensure the safety and longevity of the lighting in outdoor conditions.
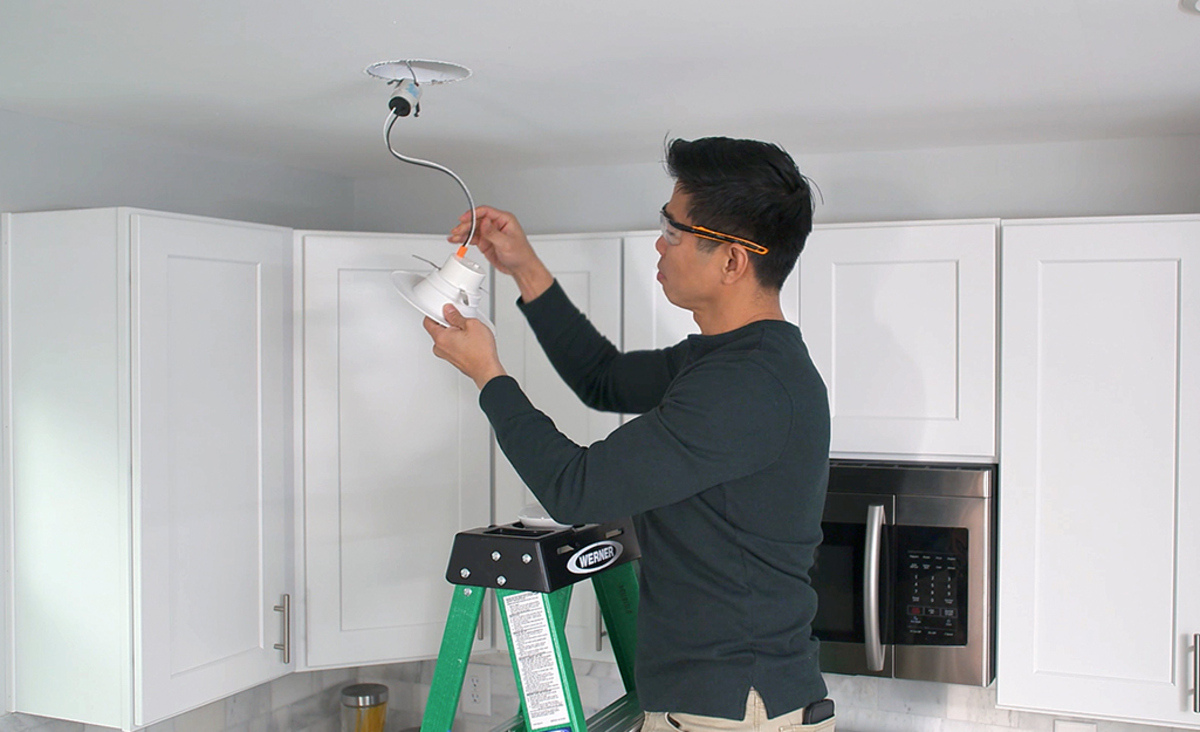
Installing the Lighting Fixtures
With careful planning and preparation complete, it’s time to embark on the exciting phase of installing your outdoor recessed lighting fixtures. Follow these step-by-step guidelines to ensure a seamless and professional installation:
- Mark Fixture Locations: Using the layout plan as a guide, mark the precise locations for each lighting fixture on the outdoor surface. Ensure accurate placement to achieve the intended lighting effects and maintain consistent spacing between fixtures.
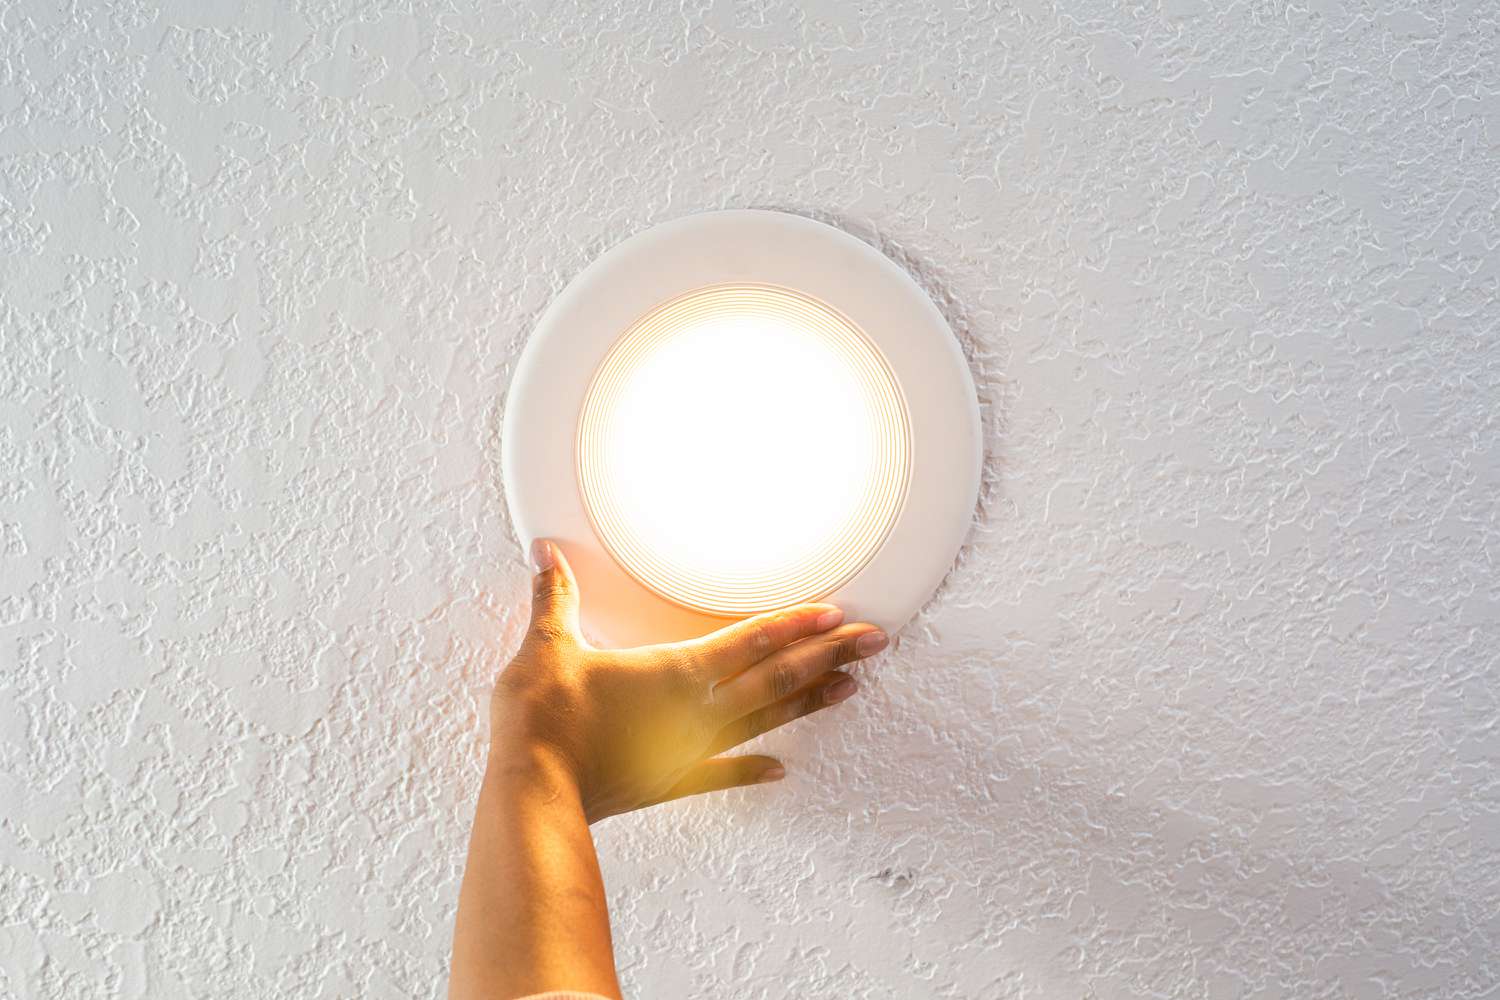
- Prepare Mounting Surfaces: If installing fixtures in a ceiling or soffit, use a hole saw to create the necessary openings for the fixtures. Ensure that the mounting surfaces are clean and free of debris to facilitate a secure and flush fit for the fixtures.
- Mount the Fixtures: Secure the fixtures into the designated locations using the provided mounting hardware and following the manufacturer’s installation instructions. Ensure that the fixtures are firmly anchored and aligned according to the planned layout.
- Connect Wiring: If the fixtures require wiring, carefully connect the wiring to the designated terminals on each fixture, following the wiring diagram provided by the manufacturer. Use wire connectors to ensure secure and reliable connections.
- Test Fixture Operation: Prior to finalizing the installation, test each fixture to verify proper functionality. Ensure that the bulbs illuminate as intended and that the fixtures emit the desired light output and beam spread.
- Adjust and Secure Trim: If the fixtures include adjustable trim components, make any necessary adjustments to control the direction and spread of the light. Once adjusted, secure the trim components in place to maintain the desired lighting orientation.
Throughout the installation process, prioritize safety by following recommended installation practices and, if necessary, seek assistance from a qualified electrician to ensure compliance with electrical codes and standards. With the fixtures securely installed and operational, you’re one step closer to transforming your outdoor space with stunning and functional lighting.
Wiring the Lighting
Proper wiring is crucial to the safe and efficient operation of your outdoor recessed lighting system. Whether connecting to an existing electrical supply or installing a new wiring network, the following steps will guide you through the process of wiring your lighting fixtures:
- Turn Off Power: Prior to any wiring work, ensure that the power supply to the installation area is switched off at the circuit breaker. Use a voltage tester to confirm that no electrical current is present at the installation site.
- Plan the Wiring Route: Determine the most practical and discreet route for running the wiring from the power source to each lighting fixture. Conceal the wiring within walls, ceilings, or conduits where possible to maintain a tidy and unobtrusive installation.
- Install Junction Boxes: Where wiring connections are made, install junction boxes to house the wire splices and ensure a secure and organized electrical setup. Junction boxes also provide protection for the wiring connections from environmental elements.
- Run Wiring to Fixtures: Carefully run the wiring from the power source to each lighting fixture location, following the designated wiring route. Use appropriate fasteners and supports to secure the wiring in place and prevent it from sagging or coming into contact with sharp edges or hot surfaces.
- Make Wiring Connections: At each fixture location, make the necessary wiring connections following the manufacturer’s specifications. Use wire connectors to join the corresponding wires from the fixtures to the main electrical supply, ensuring secure and insulated connections.
- Test Electrical Connections: Once all wiring connections are made, perform a thorough inspection of the electrical setup, checking for any loose connections, exposed wires, or potential hazards. Test each individual fixture to confirm proper electrical function.
- Secure and Protect Wiring: After confirming the functionality of the lighting system, secure and protect the wiring using cable staples, clamps, or conduit as applicable. Ensure that the wiring is adequately shielded from environmental elements and potential damage.
Throughout the wiring process, prioritize safety and compliance with electrical codes, and if in doubt, consult a licensed electrician for guidance and assistance. By following these steps, you can ensure a reliable and well-executed wiring setup for your outdoor recessed lighting, setting the stage for stunning and functional illumination.
Testing and Adjusting the Lighting
With the installation and wiring of your outdoor recessed lighting fixtures complete, the final phase involves testing the system and making any necessary adjustments to achieve the desired lighting effects. Follow these steps to ensure that your outdoor lighting system operates flawlessly:
- Power On the System: Restore power to the lighting system at the circuit breaker and switch on the fixtures. Verify that each fixture illuminates as intended and that there are no issues with flickering or inconsistent lighting output.
- Assess Lighting Effects: Evaluate the distribution and intensity of the light emitted by each fixture. Ensure that the lighting adequately covers the intended areas and accentuates the desired features without creating harsh glares or dark spots.
- Adjust Trim and Direction: If your fixtures feature adjustable trim or directional components, fine-tune the positioning and orientation of the lights to achieve optimal illumination. Experiment with different angles and configurations to find the most visually appealing and functional lighting arrangement.
- Test Dimming Functionality: If your fixtures are compatible with dimmer switches, test the dimming functionality to adjust the brightness levels according to different lighting needs and ambiance preferences. Confirm that the dimming operation is smooth and consistent across all fixtures.
- Verify Weatherproofing: Inspect the fixtures and wiring connections for any signs of moisture ingress or exposure to the elements. Ensure that all components are adequately weatherproofed and sealed to withstand outdoor conditions and prevent corrosion or damage.
- Address Any Issues: If you encounter any issues during the testing phase, such as uneven lighting, flickering, or operational inconsistencies, troubleshoot and address the root causes promptly. This may involve repositioning fixtures, checking wiring connections, or consulting with a professional if necessary.
By thoroughly testing and adjusting your outdoor recessed lighting system, you can fine-tune the illumination to suit your preferences and ensure that your outdoor space is beautifully and functionally lit. Enjoy the transformative effects of your carefully installed and meticulously adjusted outdoor lighting, creating captivating and inviting atmospheres for your outdoor living experiences.
Conclusion
Congratulations on completing the installation of your outdoor recessed lighting system! By following the comprehensive guide provided, you’ve gained the knowledge and skills to transform your outdoor space with stunning and functional lighting. As you bask in the captivating ambiance created by your outdoor lighting, it’s essential to reflect on the key takeaways from this enlightening journey:
- Enhanced Outdoor Experience: The installation of outdoor recessed lighting has not only elevated the visual appeal of your outdoor space but also enhanced its functionality and safety, providing an inviting environment for relaxation and entertainment.
- Attention to Detail: Through meticulous planning, thoughtful fixture selection, precise location placement, and diligent installation and wiring, you’ve demonstrated a commitment to detail that has resulted in a professional and visually stunning lighting setup.
- Versatile Lighting Capabilities: Your outdoor recessed lighting system offers versatile lighting capabilities, allowing you to create different moods and atmospheres, highlight specific features, and adapt to various outdoor activities and occasions.
- Commitment to Quality and Safety: By prioritizing compliance with electrical codes, weatherproofing measures, and thorough testing, you’ve exemplified a commitment to quality, safety, and longevity in your outdoor lighting installation.
As you revel in the enchanting glow of your outdoor recessed lighting, remember to regularly maintain and inspect your lighting system to ensure continued performance and durability. Additionally, consider expanding your outdoor lighting design with additional fixtures or incorporating smart lighting controls to further enhance the versatility and convenience of your outdoor illumination.
Embrace the transformative power of outdoor lighting as you create memorable experiences, foster a welcoming outdoor ambiance, and showcase the beauty of your outdoor living space. Your dedication to crafting a captivating and functional outdoor environment through the installation of recessed lighting is a testament to your commitment to creating a harmonious and inviting outdoor oasis.
May your outdoor space continue to shine brightly, providing endless enjoyment and creating lasting memories under the enchanting glow of your meticulously installed outdoor recessed lighting.
Frequently Asked Questions about How To Install Outdoor Recessed Lighting
Was this page helpful?
At Storables.com, we guarantee accurate and reliable information. Our content, validated by Expert Board Contributors, is crafted following stringent Editorial Policies. We're committed to providing you with well-researched, expert-backed insights for all your informational needs.


0 thoughts on “How To Install Outdoor Recessed Lighting”