
Articles
How To Daisy Chain An Extension Cord
Modified: August 27, 2024
Learn how to properly daisy chain an extension cord with our informative articles. Maximize safety and efficiency with expert tips and guidance.
(Many of the links in this article redirect to a specific reviewed product. Your purchase of these products through affiliate links helps to generate commission for Storables.com, at no extra cost. Learn more)
Introduction
In today’s modern world, electricity powers almost every aspect of our lives. Whether it’s lighting up our homes, operating our devices, or fueling our daily activities, a constant and reliable source of electricity is crucial. However, there are instances where the power outlets available to us fall short of our needs, requiring the use of extension cords.
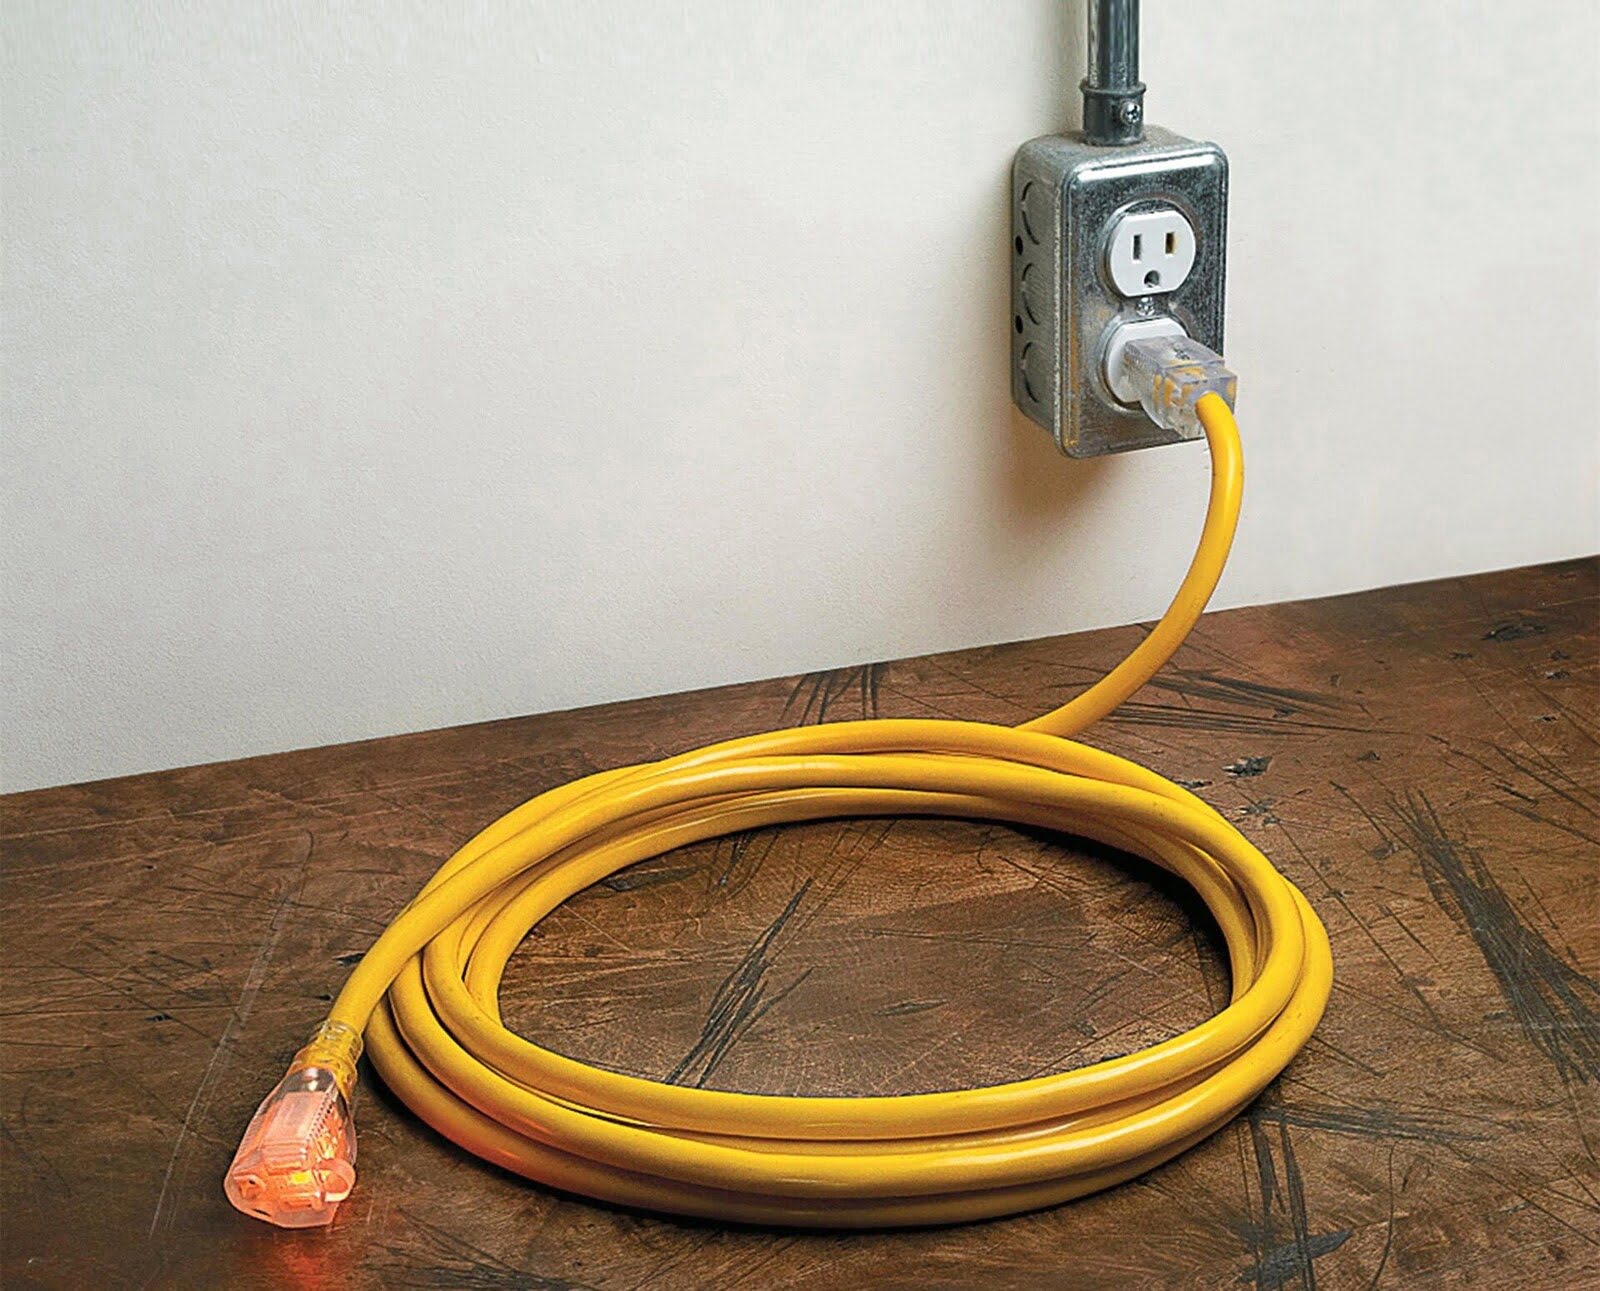
An extension cord is a useful tool that allows us to extend the reach of power from a socket to another location. It provides flexibility and convenience in situations where a fixed power source is not within close proximity. But what happens when a single extension cord just isn’t enough? This is where daisy chaining extension cords comes into play.
Daisy chaining, often referred to as “chain linking,” involves connecting multiple extension cords together in a series, enabling us to extend the power supply even further. It is a technique commonly used in various settings, such as construction sites, outdoor events, and workshops.
In this article, we will explore the concept of daisy chaining extension cords, highlighting its advantages and safety precautions. Additionally, we will provide a step-by-step guide on how to properly daisy chain extension cords to ensure a secure and efficient power supply.
Stay tuned to learn everything you need to know about daisy chaining extension cords and how to successfully implement it in your own setups!
Key Takeaways:
- Daisy chaining extension cords offers extended reach, convenience, and cost-effectiveness. Prioritize safety by using compatible cords, checking for damage, and securing connections for a reliable power supply.
- Ensure proper lengths, compatibility, and secure connections when daisy chaining extension cords. Test the setup for functionality and address any issues to enjoy the convenience of extended power.
What is a Daisy Chain Extension Cord?
A daisy chain extension cord is a method of connecting multiple extension cords in series, creating an extended power supply that reaches far beyond the reach of a single cord. This technique involves connecting the female end of one extension cord to the male end of another, allowing the power to flow through each cord in succession.
Imagine a scenario where you have a power source in one corner of a room, but you need to power multiple devices in different locations. Using a daisy chain extension cord, you can connect one cord to the power source, then another cord to the first cord, and continue this process until you reach the desired location. By doing so, you can effectively distribute power throughout the space without the need for multiple outlets or long, single cords.
It’s important to note that not all extension cords are designed for daisy chaining. Using cords that are not specifically made for daisy chaining can pose safety risks, such as overheating or electrical hazards. Therefore, it’s crucial to ensure that the extension cords you are using are suitable for daisy chaining and are compatible with one another.
Daisy chain extension cords are widely used in various settings, including construction sites, outdoor events, workshops, and even holiday light displays. They offer a practical solution for powering multiple devices or areas where the existing outlets may be limited or inconveniently located.
Now that we have a basic understanding of what a daisy chain extension cord is, let’s explore the advantages it offers and the precautions we need to take to ensure a safe and effective power supply.
Advantages of Daisy Chaining Extension Cords
Using a daisy chain extension cord setup offers several advantages that make it a practical choice in many situations. Here are some of the main benefits:
- Extended Reach: The primary advantage of daisy chaining extension cords is the ability to extend the reach of power beyond the length of a single cord. This flexibility allows you to power devices or equipment that are located far away from the original power source.
- Convenience: Daisy chaining eliminates the hassle of struggling with multiple separate power sources or long, unruly extension cords. By connecting the cords in series, you create a neat and organized setup, making it easier to manage and route the cords.
- Cost-effective: Instead of investing in expensive specialty extension cords or hiring an electrician to install additional outlets, daisy chaining offers a cost-effective solution. By utilizing multiple standard extension cords that you may already have, you can create an extended power supply without breaking the bank.
- Versatility: Daisy chaining extension cords provides versatility in terms of location and setup. You can power various devices in different areas, whether it’s setting up a workstation at a job site or illuminating different sections of a garden for an evening event.
- Flexibility: With a daisy chain setup, you have the freedom to customize the length of each cord according to your specific needs. This flexibility allows you to adapt to different setups and distances without the limitations of a fixed-length cord.
It’s important to remember that while daisy chaining extension cords offers advantages, there are also safety considerations that need to be taken into account. Let’s explore some of these safety precautions in the next section.
Safety Precautions
While daisy chaining extension cords can be a convenient and practical solution, it’s crucial to prioritize safety to prevent any electrical hazards or accidents. Here are some important safety precautions to keep in mind:
- Use Compatible Cords: Ensure that the extension cords you are using are compatible for daisy chaining. Some cords are designed specifically for this purpose and have features to handle the increased load and prevent overheating.
- Check Cord Ratings: Each extension cord has a maximum power rating, typically expressed in watts or amps. Make sure that the total power demand of the devices connected to the daisy chain doesn’t exceed the capacity of the cords. Overloading the cords can lead to overheating and pose a fire risk.
- Inspect Cords for Damage: Before connecting the extension cords, thoroughly inspect them for any signs of wear, fraying, or damage. Damaged cords can be hazardous and should be replaced or repaired before use.
- Avoid Overlapping Cords: When connecting the cords, avoid overlapping them or placing them under rugs or heavy furniture. This can cause overheating and potentially lead to a fire hazard. Keep the cords straight and free from any obstructions.
- Secure Connections: Ensure that the connections between the extension cords are securely fastened. Loose connections can cause power interruptions or create sparks, increasing the risk of electrical shocks or fires. Consider using cord connectors or tape to secure the connections properly.
- Avoid Moisture and Wet Conditions: Keep the daisy chain extension cords away from water and wet surfaces to prevent electrical shocks. If you need to use the extension cords outdoors, make sure they are rated for outdoor use and protected from moisture.
- Do Not Exceed Cord Length: It’s important to note that extending the reach of power through daisy chaining has limitations. Excessive cord lengths can result in voltage drop or reduced power supply to the devices. If you require a longer reach, consider using a higher-gauge extension cord or consult a professional electrician for advice.
- Never Modify Cords: Avoid modifying the extension cords or attempting to repair them yourself, especially if you are not experienced in electrical work. Any modifications should be carried out by a qualified professional.
By following these safety precautions, you can ensure a safe and reliable power supply when daisy chaining extension cords. Now let’s move on to the essentials you’ll need to daisy chain your extension cords effectively.
Things You’ll Need
Before you start daisy chaining your extension cords, make sure you have the following essentials:
- Extension Cords: Select extension cords that are compatible for daisy chaining. Look for cords specifically designed for this purpose, with features like multiple outlets and higher-rated capacity.
- Power Source: Identify the power source, such as an outlet or generator, from which you will be drawing power. Ensure that the power source has the appropriate voltage and capacity to handle the devices you plan to connect.
- Power Devices: Determine the devices you will be powering with the daisy chain setup. Make a list of the devices and their power requirements in terms of wattage or amps.
- Cord Connectors or Adapters: Depending on the type of extension cords you have, you may need cord connectors or adapters to securely connect the cords together. These connectors help to maintain a stable and safe connection between the cords.
- Tape (Optional): You can use electrical tape or cord organizers to secure the cord connections and prevent them from becoming loose or disconnected. This step can provide additional safety and prevent accidental disconnections.
- Surge Protector (Optional): If you are daisy chaining multiple power devices, it may be beneficial to use a surge protector at the beginning of the chain. A surge protector can protect your devices from power spikes, surges, or electrical interference.
- Tools (if needed): Depending on your specific setup, you may need tools such as wire cutters or strippers to adjust the length of the extension cords or make adjustments to connectors. Ensure you have the necessary tools on hand if required.
Having these essentials ready before you start daisy chaining your extension cords will make the process smoother and more efficient. Once you have gathered the necessary items, you can proceed to the step-by-step process of connecting the extension cords to create your daisy chain setup.
Read more: How To Splice Extension Cord
Step 1: Choosing the Right Extension Cords
The first step in daisy chaining extension cords is to ensure that you have the right cords for the job. Not all extension cords are suitable for daisy chaining, so it’s important to select cords that are specifically designed for this purpose. Here’s what you need to consider:
- Daisy Chain Compatible: Look for extension cords that are explicitly labeled as “daisy chain compatible” or “chain linkable.” These cords are designed to handle the increased load and maintain a secure connection when connected in series.
- Length: Consider the length of the extension cords you need based on the distance between the power source and the devices you plan to connect. Ensure that the combined length of the cords is sufficient to reach all the devices effectively without compromising the power supply.
- Gauge: Pay attention to the wire gauge of the extension cords. Lower gauge numbers indicate thicker wires and higher capacity to handle heavier loads. For longer daisy chain setups or devices with higher power demands, opt for cords with lower gauge numbers for better performance and safety.
- Power Rating: Each extension cord has a power rating, typically expressed in watts or amps. Ensure that the combined power demand of the devices you plan to connect does not exceed the capacity of the cords. Overloading extension cords can lead to overheating and pose a fire hazard.
- Quality and Durability: Choose extension cords that are of high quality and durability. Look for cords with durable insulation and a strong jacket to withstand frequent use and potential outdoor conditions if you intend to use them outside.
- Multiple Outlets: If you plan to power multiple devices simultaneously, consider extension cords with multiple outlets. This allows you to connect multiple devices without the need for additional power strips or adapters.
When selecting extension cords for daisy chaining, it’s important to prioritize safety and compatibility. Choosing the right cords will ensure a reliable power supply and prevent any potential hazards. Once you have the appropriate extension cords, you can move on to the next step: ensuring proper lengths for your setup.
When daisy chaining extension cords, make sure to use cords with the appropriate amperage rating for the devices you are powering. Avoid overloading the cords to prevent overheating and potential fire hazards.
Step 2: Ensuring Proper Lengths
Once you have selected the right extension cords for your daisy chain setup, the next step is to ensure that the cords are the proper lengths to reach your desired locations. Properly measuring and managing the lengths of the cords is essential for an efficient and safe power supply. Here’s how to ensure proper lengths:
- Plan Your Layout: Before connecting any extension cords, visualize and plan the layout of your setup. Determine the location of the power source, as well as the devices you need to power. This will help you identify the required lengths for each extension cord.
- Measure the Distance: Measure the distance between the power source and each device you plan to connect. Take into account any obstacles or obstructions that may affect the path of the cords, such as furniture, walls, or outdoor terrain.
- Add Extra Length: It’s always a good idea to add a little extra length to your measurements. This will allow for flexibility and ensure that the extension cords can reach without stretching or straining. A few extra feet of length should be sufficient for most setups.
- Trim Excess Length: If you find that you have excess length after connecting the cords, it’s important to trim the excess. Excessive lengths of extension cords can increase the risk of tangling, tripping, or creating a messy and hazardous workspace.
- Do Not Exceed Maximum Length: It’s crucial to avoid exceeding the maximum recommended length for your extension cords. Longer lengths can result in voltage drop and reduced power supply to the devices. If you require a longer reach, consider using a higher-gauge extension cord or consult a professional electrician for guidance.
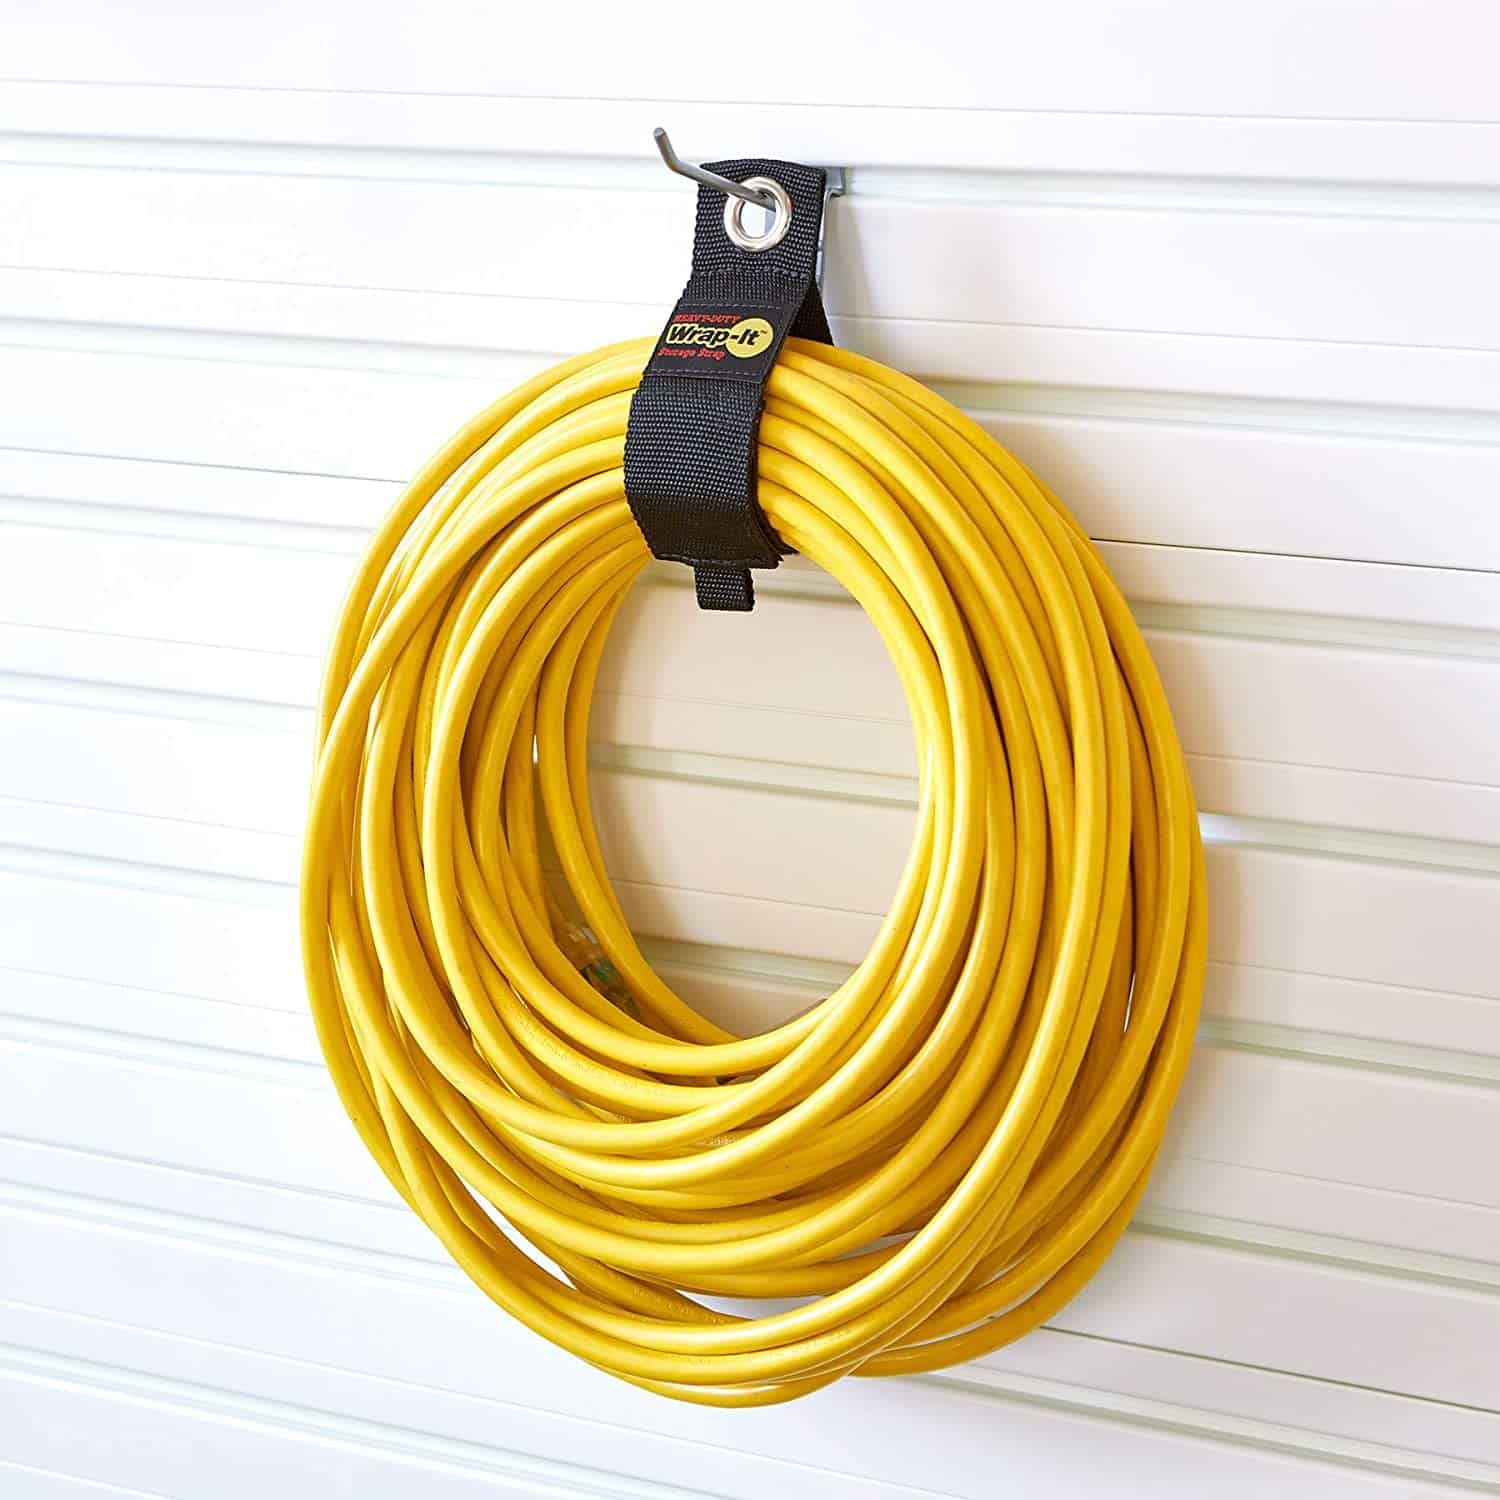
- Organize and Secure Cords: Once you have determined the proper lengths for each extension cord, organize and secure the cords to prevent tangling or tripping hazards. Use cord organizers, hooks, or tape to keep the cords neat and in place.
By ensuring proper lengths for your extension cords, you can minimize the risk of accidents, ensure efficient power supply, and maintain an organized and clutter-free workspace. With the cords properly measured and managed, you can now move on to the next step: checking for compatibility between the cords.
Step 3: Checking for Compatibility
Before connecting the extension cords in your daisy chain setup, it’s crucial to check for compatibility between the cords. Using cords that are not compatible with each other can lead to safety hazards and electrical issues. Follow these steps to ensure compatibility:
- Read the Labels: Carefully read the labels and documentation provided by the manufacturers of each extension cord. Look for any specific guidelines or instructions regarding compatibility and daisy chaining.
- Match Voltage Ratings: Ensure that all the extension cords in your setup have the same voltage rating. Mismatched voltage can cause electrical malfunctions and potential damage to the connected devices.
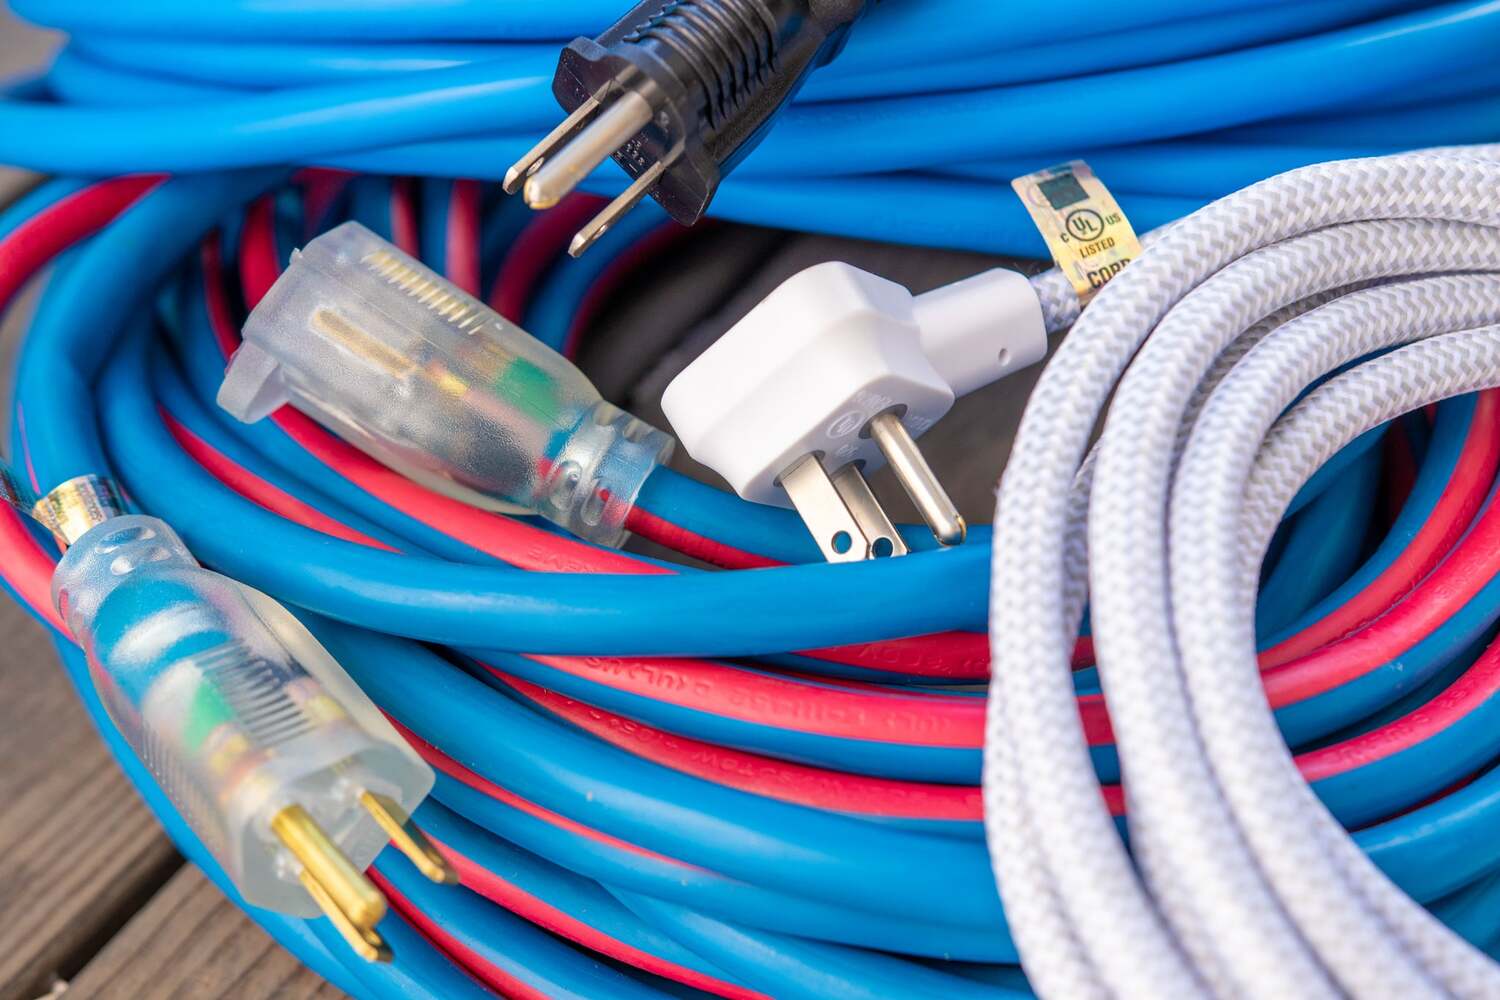
- Verify Plug Types: Check that the plugs of the extension cords are compatible with one another. They should fit securely into each other without any loose connections or exposed wires.
- Ampère Rating: Consider the ampère rating of the extension cords and make sure that it is sufficient to handle the combined load of the devices you plan to connect. Ampère ratings may vary, and using cords with insufficient capacity can lead to overheating and potential fire hazards.
- Tangle-Free Connection: It’s important to ensure that the connections between the extension cords are tangle-free and secure. Twisted or entangled cords can cause interruptions in the power supply or create hazardous conditions.
- Consider Cord Colors: Some manufacturers produce extension cords in different colors, allowing you to easily differentiate between cords in a daisy chain setup. This can help with organization and identifying which cord goes where.
- Professional Advice: If you are unsure about the compatibility of the extension cords or have concerns about the electrical setup, consult a professional electrician for expert guidance and assistance.
By checking for compatibility between the extension cords, you can ensure a safe and efficient daisy chain setup. It is important to take the time to verify the compatibility of the cords before proceeding to connect them together. Once you have confirmed compatibility, you can move on to the next step: connecting the extension cords in the daisy chain.
Step 4: Connecting the Extension Cords
Now that you have selected compatible extension cords and ensured proper lengths, it’s time to connect them in a daisy chain configuration. Follow these steps to connect the extension cords:
- Unplug all cords: Before connecting the cords, make sure that all extension cords are unplugged from the power source.
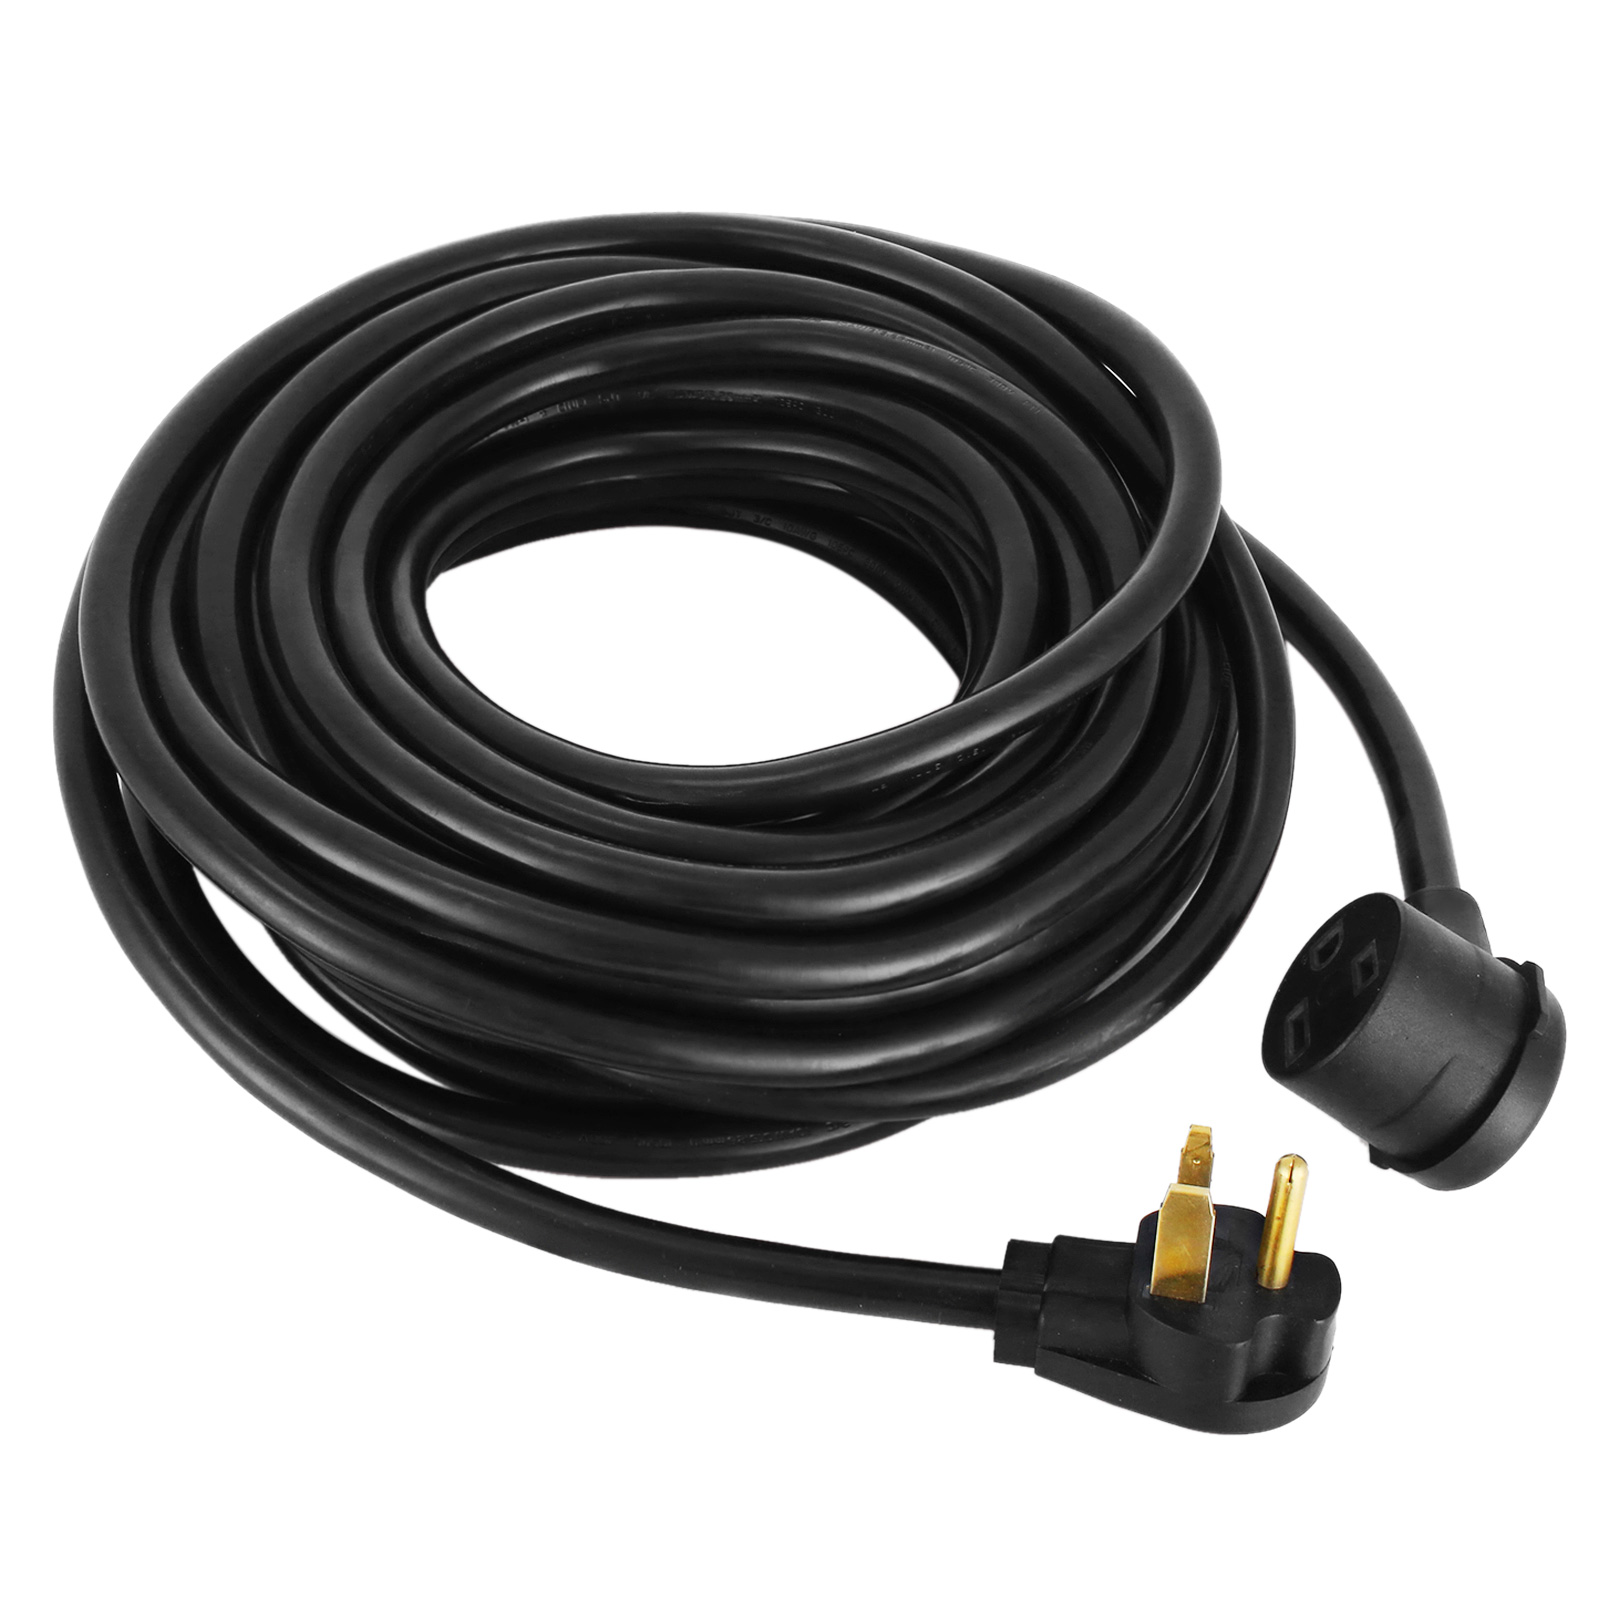
- Identify male and female ends: Extension cords have two ends – a male end with prongs, and a female end with receptacles. Identify which end of each extension cord is male and which is female.
- Connect the male end: Take the first extension cord and plug its male end into the power source or the previous extension cord if you’re connecting multiple cords.
- Connect the female end: Take the next extension cord and connect its female end to the male end of the first extension cord. Ensure a secure and tight connection to prevent any power loss or interruptions.
- Repeat the process: Continue connecting the remaining extension cords in the same manner, always connecting the female end of one cord to the male end of the previous cord until you reach the desired distance.
- Check for loose connections: After connecting each extension cord, double-check to ensure that all connections are secure and free from any loose connections or exposed wiring. Loose connections can lead to power interruptions or potential hazards.
- Organize the cords: As you connect the extension cords, keep them organized and free from tangles or potential tripping hazards. Use cable ties, cord organizers, or tape to group and secure the cords if necessary.
By following these steps, you can successfully connect the extension cords in a daisy chain configuration. Remember to prioritize safety and double-check all connections for a secure and reliable power supply. Once the extension cords are properly connected, move on to the next step: securing the connection for added stability.
Read more: How To Test Extension Cord With Multimeter
Step 5: Securing the Connection
After connecting the extension cords in a daisy chain configuration, it is important to take a few extra steps to secure the connection. This helps to maintain a stable and safe power supply. Follow these steps to secure the connection:
- Ensure a Tight Fit: Check each connection point to ensure a snug and secure fit. Make sure the plugs are fully inserted into the receptacles, and there are no loose or wobbly connections. A tight fit helps to maintain a consistent flow of electricity and reduces the risk of power loss or interruptions.
- Use Cord Connectors: Consider using cord connectors or couplers designed specifically for connecting extension cords. These connectors provide an extra layer of stability by securely attaching the cords together. They help to prevent accidental disconnections and reduce the stress placed on the connection points.
- Wrap with Electrical Tape: For added security and protection, wrap the connection points with electrical tape. This helps to hold the cords together, prevent accidental separation, and provides insulation against moisture or external factors.
- Use Cord Organizers: If you are dealing with multiple cords or a larger setup, it can be beneficial to use cord organizers or cable management solutions. These tools help to bundle and keep the cords organized, reducing the risk of entanglement and creating a tidier workspace.
- Secure Cords to Surfaces: To prevent trip hazards or accidental disconnections, secure the extension cords to surfaces or along walls using hooks, adhesive clips, or cable ties. This helps to keep the cords out of the way and maintain a clean and hazard-free environment.
- Regularly Inspect and Maintain: Periodically inspect the secured connections and the overall daisy chain setup for any signs of wear, damage, or loose connections. Perform regular maintenance to ensure the cords and connections remain secure and in optimal condition.
By following these steps to secure the connection, you can minimize the risk of accidents, maintain a stable power supply, and ensure the longevity of your daisy chain setup. With the connection secured, it’s time to move on to the final step: testing the daisy chain to ensure proper functionality.
Step 6: Testing the Daisy Chain
Once you have connected and secured the extension cords in your daisy chain setup, it is crucial to test the setup to ensure everything is working properly and the power is flowing as expected. Follow these steps to test the daisy chain:
- Plug in Devices: Connect the devices or appliances that you intend to power to the outlets at the end of the daisy chain setup. Make sure each device is properly plugged in and turned on.
- Check for Power: Verify that each device connected to the daisy chain is receiving the required power. Check for any signs of power loss or irregularities, such as flickering lights or devices not functioning effectively.
- Observe Cords and Connections: Monitor the extension cords and connection points for any signs of overheating, loose connections, or unusual behavior. If you notice any issues, immediately unplug the cords and address the problem before continuing to use the daisy chain setup.
- Perform Load Test: Stress-test the daisy chain by running all devices simultaneously, or by connecting a higher-demand device to ensure the setup can handle the load. Monitor the performance of the cords and devices to ensure proper functionality and avoid overloading the extension cords.
- Monitor Temperature: Touch each extension cord and connection point to check for any signs of excessive heat. Warm cords are normal, but if they are excessively hot to the touch, it may indicate a problem, and the cords should be unplugged and inspected further.
- Take Corrective Measures: If you encounter any issues during the testing phase, identify the cause and take corrective measures. This may involve checking for loose connections, replacing damaged cords, or addressing any power capacity issues.
- Ensure Proper Ventilation: If you are using the daisy chain setup in a confined space, make sure there is adequate ventilation to prevent overheating of the extension cords and connected devices.
Testing the daisy chain setup ensures that the connection is secure, the power supply is reliable, and the cords can handle the load of the connected devices. If you encounter any problems or safety concerns during the testing phase, it is important to address them before regularly using the daisy chain setup.
Congratulations! You have successfully completed all the necessary steps to daisy chain your extension cords. Now you can enjoy the convenience of an extended power supply and confidently power your devices in various locations.
Conclusion
Daisy chaining extension cords is a valuable technique that allows you to extend the reach of power in a convenient and efficient manner. By connecting multiple extension cords in series, you can power devices and appliances that are located far from the original power source. This technique offers flexibility, convenience, and cost-effectiveness in various settings, including construction sites, outdoor events, workshops, and more.
Throughout this article, we have explored the concept of daisy chaining extension cords, discussing its advantages, safety precautions, and the step-by-step process for implementing it effectively. We have emphasized the importance of using compatible cords, properly measuring lengths, and securing connections to ensure a safe and reliable power supply.
Remember to always prioritize safety when daisy chaining extension cords. Select cords specifically designed for daisy chaining, check for compatibility, inspect for damage, and secure the connections properly. It is important to follow safety guidelines and national electrical codes to prevent accidents, overheating, and electrical hazards.
By understanding the fundamentals of daisy chaining extension cords and following the outlined steps, you can confidently create a daisy chain setup that meets your power needs. Enjoy the convenience and versatility of extended power, and make sure to regularly inspect and maintain your cords for optimal performance and safety.
Now that you have the knowledge and skills to daisy chain extension cords, go ahead and power up your devices in any location, even when the power source seems out of reach.
Frequently Asked Questions about How To Daisy Chain An Extension Cord
Was this page helpful?
At Storables.com, we guarantee accurate and reliable information. Our content, validated by Expert Board Contributors, is crafted following stringent Editorial Policies. We're committed to providing you with well-researched, expert-backed insights for all your informational needs.


0 thoughts on “How To Daisy Chain An Extension Cord”