Home>Ideas and Tips>DIY Outdoor Furniture Projects Transform Your Patio On A Budget

Ideas and Tips
DIY Outdoor Furniture Projects Transform Your Patio On A Budget
Modified: August 28, 2024
Transform your patio on a budget with DIY outdoor furniture projects. Create stylish, functional pieces using affordable materials.
(Many of the links in this article redirect to a specific reviewed product. Your purchase of these products through affiliate links helps to generate commission for Storables.com, at no extra cost. Learn more)
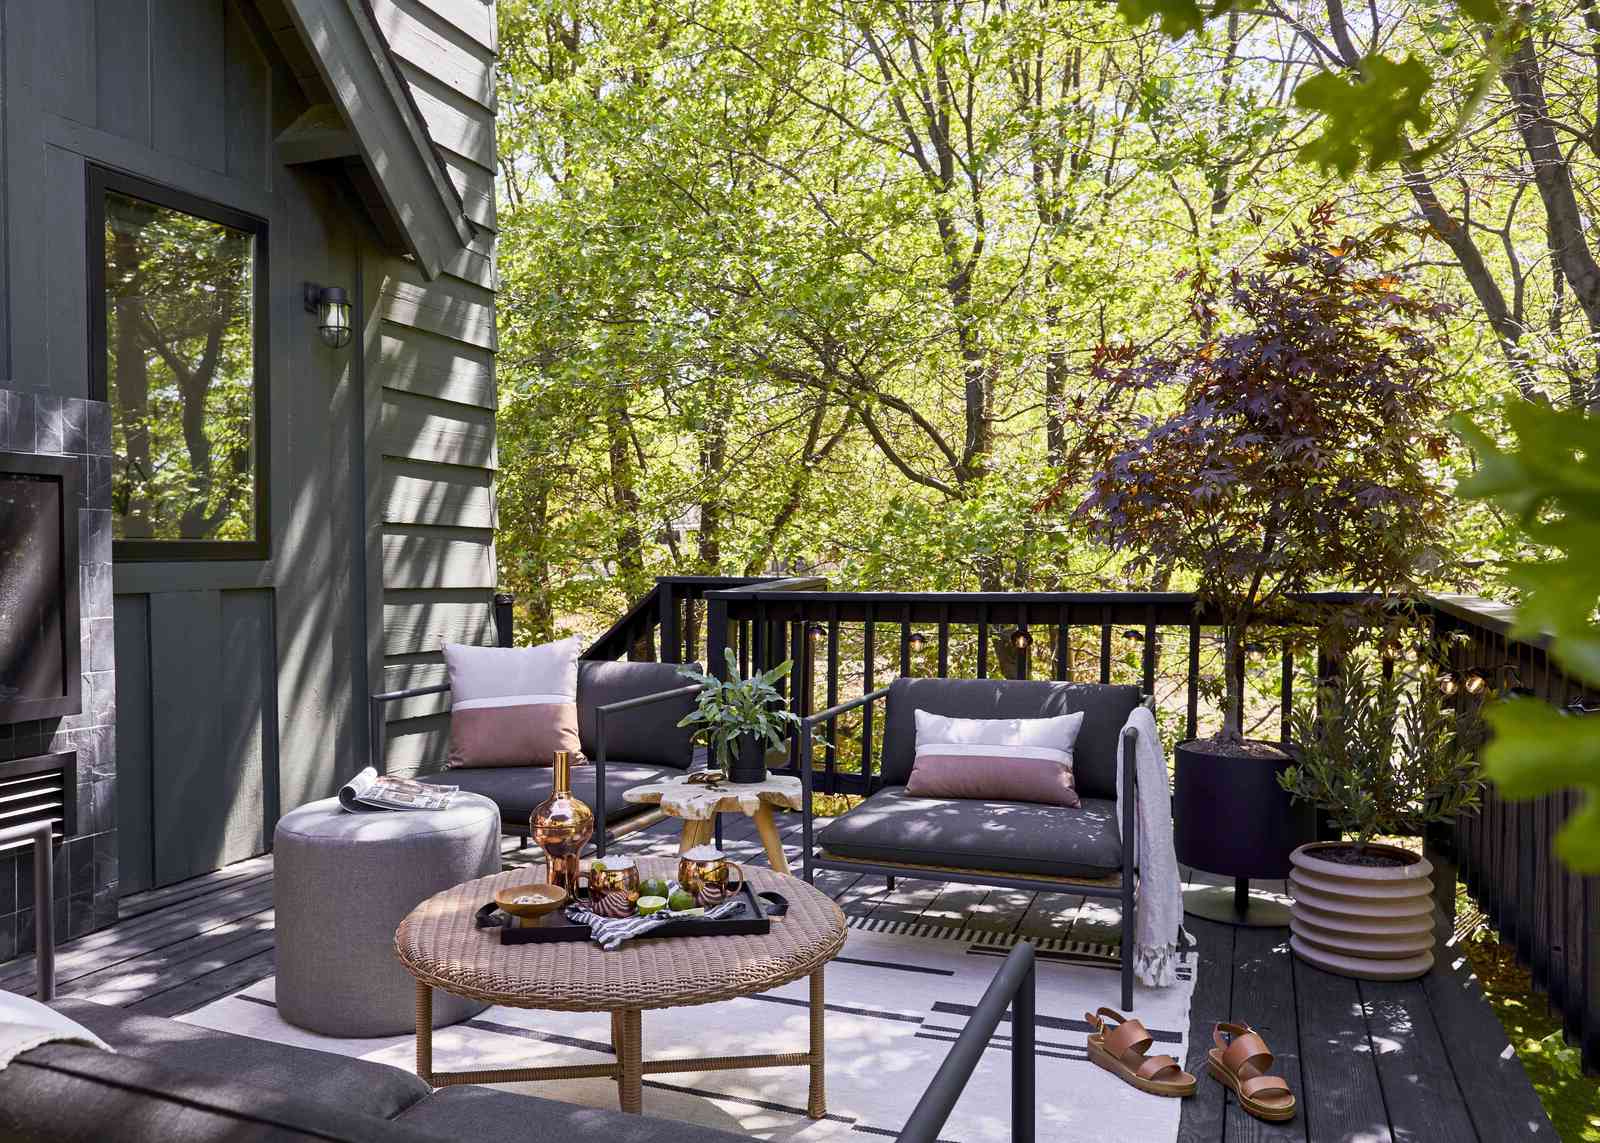
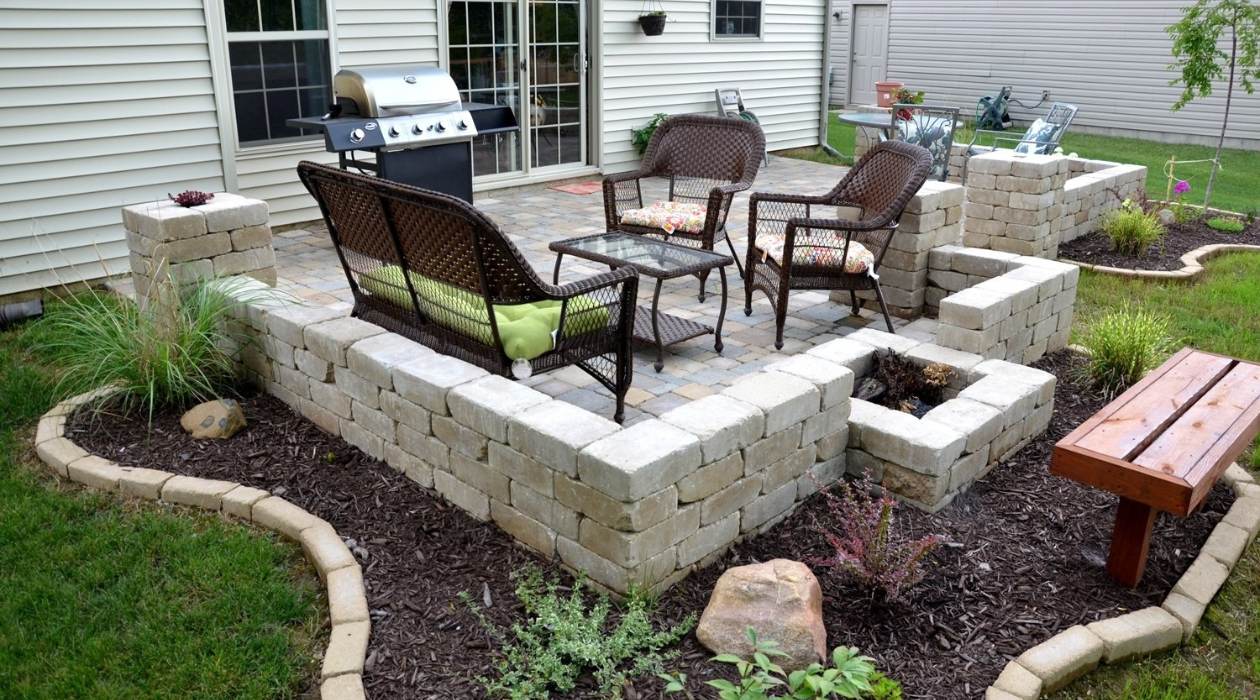
Creating a beautiful and functional outdoor space doesn't have to break the bank. With a little creativity and some basic DIY skills, you can transform your patio into a cozy and inviting area perfect for relaxation and entertainment. In this article, we'll explore various DIY outdoor furniture projects that can help you achieve this goal without overspending.
Introduction
Outdoor living spaces have become increasingly popular as people seek to extend their homes into the garden. However, the cost of high-quality patio furniture can often be prohibitive. Fortunately, there are many affordable and creative ways to create your own outdoor furniture using materials you might already have at home or find at a low cost.
Benefits of DIY Outdoor Furniture
-
Cost-Effective: One of the most significant advantages of DIY outdoor furniture is the cost savings. By using reclaimed or recycled materials, you can significantly reduce the expense associated with buying new furniture.
-
Customization: When you make your own furniture, you have complete control over the design and materials used. This allows you to create pieces that perfectly match your style and the aesthetic of your outdoor space.
-
Sustainability: Repurposing old materials helps reduce waste and supports sustainable living practices.
-
Personal Satisfaction: There's a sense of accomplishment and pride that comes from creating something with your own hands.
Project 1: DIY Patio Sofa and Coffee Table
Starting your patio makeover with a DIY sofa and coffee table is an excellent way to set the tone for your outdoor space. Here’s a step-by-step guide to making these essential pieces:
Materials Needed:
- Pressure-treated lumber
- Deck stain
- Sealer
- Cushions (optional)
Instructions:
-
Sofa:
- Measure out the dimensions of your sofa based on the space available in your patio. A modern design with clean lines works well for most patios.
- Use pressure-treated lumber for the frame, ensuring it can withstand various weather conditions.
- Apply deck stain and sealer to protect the wood from moisture and UV rays.
- If desired, add cushions for comfort.
-
Coffee Table:
- Design the coffee table to complement the sofa. A slim bench-style table is perfect for tight spaces.
- Follow similar steps as the sofa, using pressure-treated lumber, deck stain, and sealer.
Tips:
- Use reclaimed wood if possible to add character to your pieces.
- Consider adding storage compartments under the sofa or coffee table for extra functionality.
Project 2: Easy Pallet Sofa
If you're looking for a more casual and budget-friendly option, an easy pallet sofa is an excellent choice. Here’s how you can make one:
Materials Needed:
- Pallets
- Foam cushions
- Drop cloth or fabric
Instructions:
-
Disassemble Pallets:
- Break down the pallets into individual planks.
- Arrange these planks side by side to form the base of your sofa.
-
Add Cushions:
- Cut foam cushions to fit between the planks.
- Cover the foam with a drop cloth or fabric for a casual look.
-
Assemble:
- Place the cushions between the planks and secure them with nails or screws.
Tips:
- Use multiple pallets if you need a longer sofa.
- Add armrests made from pallet wood for extra comfort.
Project 3: Outdoor Side Table
A side table is essential for setting drinks and food on your patio. Here’s how you can make one:
Materials Needed:
- 2×4 lumber
- Screws
- Wood glue
- Sandpaper
- Paint or stain (optional)
Instructions:
-
Cut Lumber:
- Cut four pieces of 2×4 lumber to the desired height of your side table (typically around 2 feet).
-
Assemble Frame:
- Use screws to assemble the frame into a square shape.
-
Add Top:
- Cut another piece of lumber slightly larger than the frame to serve as the top surface.
- Attach this top using wood glue and screws.
-
Sand and Finish:
- Sand all surfaces to smooth them out.
- Apply paint or stain if desired for added protection and aesthetic appeal.
Tips:
- Use reclaimed wood for added character.
- Add storage compartments under the table for extra functionality.
Project 4: Reclaimed Wood Patio Farm Table
If you have a small patio but still want a dining table, consider making a reclaimed wood patio farm table:
Materials Needed:
- Reclaimed wood planks
- Screws
- Wood glue
- Sandpaper
- Paint or stain (optional)
Instructions:
-
Gather Planks:
- Collect reclaimed wood planks from pallets or old furniture.
-
Assemble Table:
- Arrange the planks side by side to form the base of your table.
- Use screws to secure them together.
-
Add Top Surface:
- Cut another plank slightly larger than the base to serve as the top surface.
- Attach this top using wood glue and screws.
-
Sand and Finish:
- Sand all surfaces to smooth them out.
- Apply paint or stain if desired for added protection and aesthetic appeal.
Tips:
- Use pallet wood for added character.
- Add legs made from reclaimed wood for stability.
Project 5: Modern Outdoor Chairs
Creating modern outdoor chairs is a great way to add style and comfort to your patio:
Materials Needed:
- Lumber (e.g., 2x4s)
- Screws
- Wood glue
- Sandpaper
- Paint or stain (optional)
- Cushions (optional)
Instructions:
-
Cut Lumber:
- Cut four pieces of lumber to form the legs and seat of your chair.
-
Assemble Frame:
- Use screws to assemble the frame into a chair shape.
-
Add Seat Surface:
- Cut another piece of lumber slightly larger than the seat area.
- Attach this surface using wood glue and screws.
-
Sand and Finish:
- Sand all surfaces to smooth them out.
- Apply paint or stain if desired for added protection and aesthetic appeal.
-
Add Cushions (Optional):
- Cut foam cushions to fit over the seat surface.
- Cover with fabric for added comfort.
Tips:
- Use reclaimed wood for added character.
- Add armrests made from lumber for extra comfort.
Project 6: Outdoor Side Table with Cooler
This piece of patio furniture pulls double duty by providing both a place to set drinks and a cooler to keep them cool:
Materials Needed:
- 2×4 lumber
- Screws
- Wood glue
- Sandpaper
- Paint or stain (optional)
- Cooler (optional)
Instructions:
-
Cut Lumber:
- Cut four pieces of lumber to form the base of your side table.
-
Assemble Frame:
- Use screws to assemble the frame into a square shape.
-
Add Top Surface:
- Cut another piece of lumber slightly larger than the frame to serve as the top surface.
- Attach this top using wood glue and screws.
-
Add Cooler Compartment (Optional):
- Cut out a section in the top surface large enough for a cooler.
- Attach this compartment using wood glue and screws.
-
Sand and Finish:
- Sand all surfaces to smooth them out.
- Apply paint or stain if desired for added protection and aesthetic appeal.
Tips:
- Use reclaimed wood for added character.
- Add storage compartments under the table for extra functionality.
Project 7: Farmhouse Style Wood Spool Table
If you can get your hands on a wooden spool, you can turn it into a farmhouse-style table that can be used on your patio or just about anywhere else:
Materials Needed:
- Wooden spool
- Paint or stain
- Sandpaper
Instructions:
-
Clean Spool:
- Clean the spool thoroughly to remove any dirt or debris.
-
Sand Surface:
- Sand the surface of the spool to smooth it out.
-
Paint or Stain:
- Apply paint or stain to give it a fresh new look.
-
Add Legs (Optional):
- If needed, attach legs made from lumber to elevate the table.
Tips:
- Use multiple spools if you need a larger table.
- Add decorative elements like metal bands for added charm.
Project 8: Upcycled Beverage Station
Here’s a unique idea that’s sure to add a ton of fun to your patio: upcycle an old door into a beverage station:
Materials Needed:
- Old door
- Paint or stain
- Sandpaper
- Decorative elements (optional)
Instructions:
-
Clean Door:
- Clean the door thoroughly to remove any dirt or debris.
-
Sand Surface:
- Sand the surface of the door to smooth it out.
-
Paint or Stain:
- Apply paint or stain to give it a fresh new look.
-
Add Decorative Elements (Optional):
- Add decorative elements like metal hooks or wooden signs for added charm.
-
Attach Shelves (Optional):
- If needed, attach shelves made from reclaimed wood for extra storage.
Tips:
- Use multiple doors if you need more space.
- Add a sign with your name or a fun message for added personality.
Conclusion
Transforming your patio into a cozy and inviting space doesn’t have to break the bank. With these DIY outdoor furniture projects, you can create functional and stylish pieces that perfectly match your outdoor aesthetic. Whether you’re looking for a modern sofa or a rustic farmhouse table, there’s something here for everyone. So why wait? Get creative and start building your dream patio today!
By following these projects and tips, you'll be well on your way to creating an outdoor space that's both beautiful and budget-friendly. Remember to always use protective gear when working with power tools and to follow safety guidelines when handling materials. Happy building
Was this page helpful?
At Storables.com, we guarantee accurate and reliable information. Our content, validated by Expert Board Contributors, is crafted following stringent Editorial Policies. We're committed to providing you with well-researched, expert-backed insights for all your informational needs.


0 thoughts on “DIY Outdoor Furniture Projects Transform Your Patio On A Budget”