Articles
How To Make A Stone Fence
Modified: February 23, 2024
Learn how to make a beautiful stone fence with our informative articles. Enhance your outdoor space with this stunning DIY project.
(Many of the links in this article redirect to a specific reviewed product. Your purchase of these products through affiliate links helps to generate commission for Storables.com, at no extra cost. Learn more)
Introduction
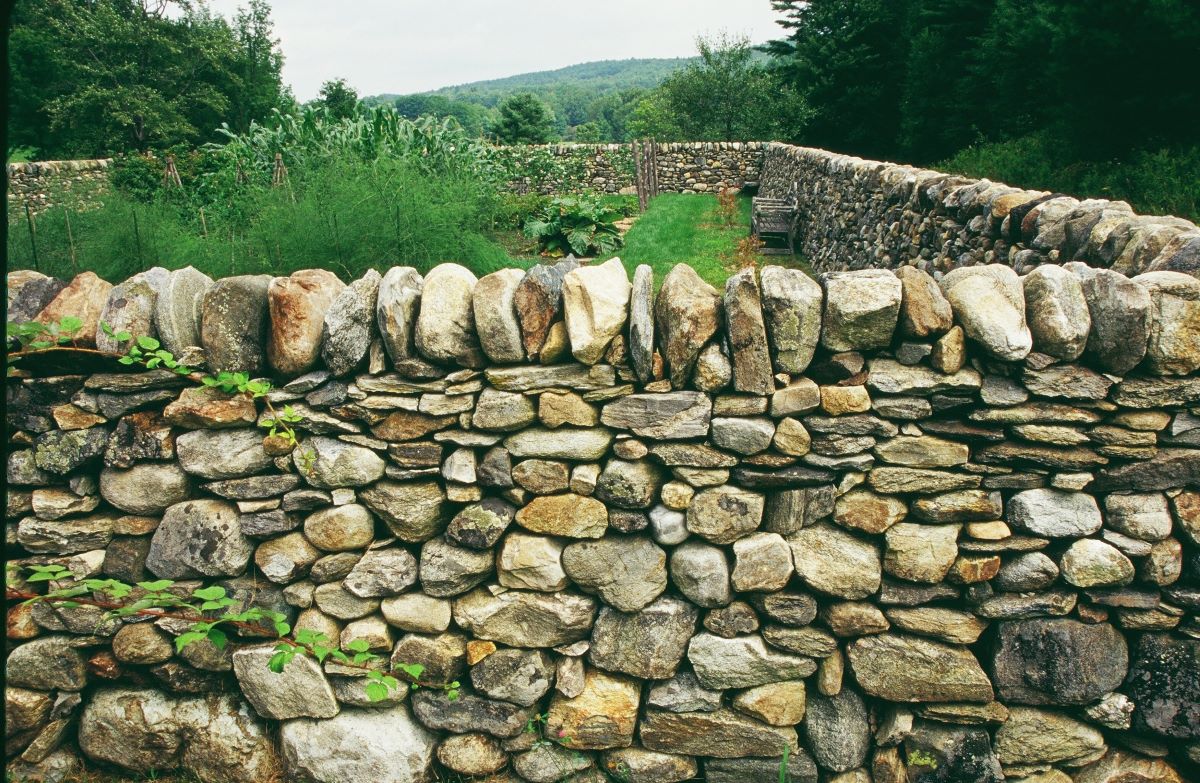
Welcome to the world of stone fences, a classic and timeless addition to any outdoor space. Stone fences not only serve as a boundary for your property, but they also add a touch of rustic charm and natural beauty to your landscape. Whether you’re looking to enhance the aesthetics of your garden or create a sturdy enclosure for livestock, building a stone fence can be a rewarding and fulfilling project.
In this comprehensive guide, we will walk you through the step-by-step process of building your own stone fence. From planning and design to the finishing touches, we’ll cover everything you need to know to create a durable and visually appealing stone fence that will stand the test of time.
Before we dive into the nitty-gritty details, it’s essential to have a clear understanding of the materials and tools you’ll need for the job. Let’s take a look at them.
Key Takeaways:
- Building a stone fence requires meticulous planning, proper material selection, and precise construction techniques. Balancing aesthetics and functionality is crucial for creating a durable and visually appealing structure that stands the test of time.
- Incorporating finishing touches such as cleaning, sealing, landscaping, and lighting can elevate a stone fence from a construction project to a stunning and functional addition to any outdoor space. Regular maintenance is essential for preserving its beauty and structural integrity.
Read more: How To Make A Stone Patio
Materials Needed
Building a stone fence requires a few essential materials to ensure a successful and sturdy outcome. Here’s a list of what you’ll need:
- Stone: Choose a type of stone that is suitable for your desired look and purpose. Popular options include fieldstone, limestone, and granite.
- Mortar: Use mortar to bind the stones together and provide structural stability.
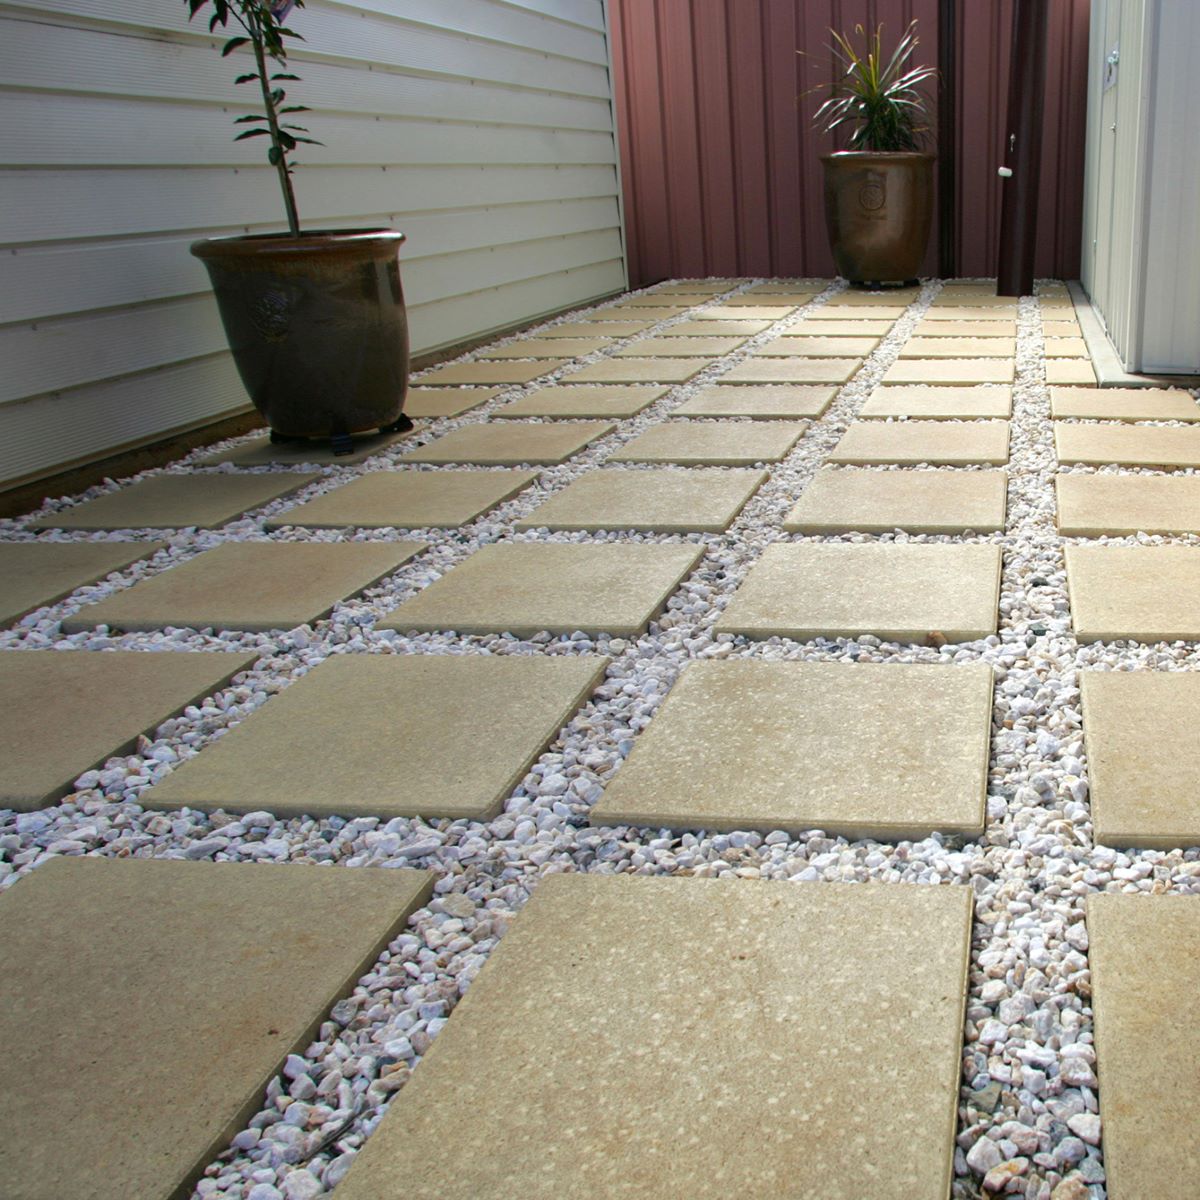
- Gravel: Gravel will serve as a base for your fence, providing drainage and stability.
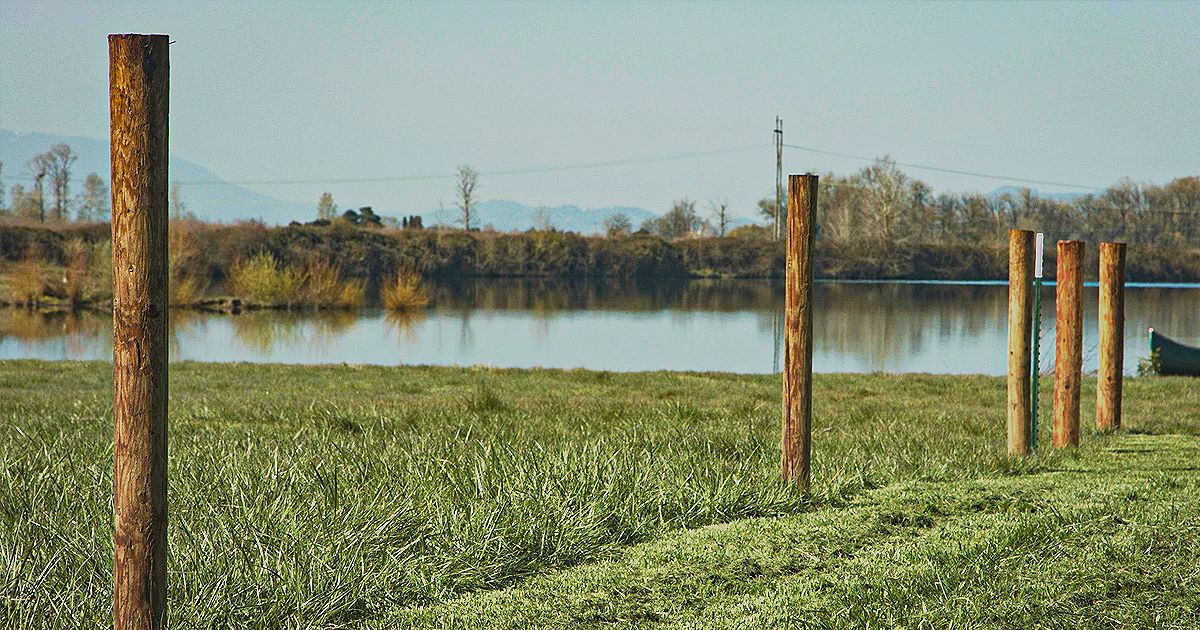
- Fence Posts: Select durable and sturdy fence posts to support the weight of the stone and provide additional strength to the fence.
- Concrete Mix: A strong concrete mix is necessary for setting the fence posts securely in the ground.
- Rebar: Reinforcing bars, or rebar, will add extra strength to the fence posts.
- Level and Measuring Tools: A level, measuring tape, and string will assist you in ensuring that your fence is level and aligned properly.
- Gloves and Safety Equipment: Protect your hands with gloves and wear appropriate safety equipment, such as safety glasses and a dust mask, when working with the stone and mortar.
- Shovel and Digging Tools: Digging holes for the fence posts requires the use of a shovel and other digging tools.
Make sure to gather all the necessary materials before starting the project to ensure a smooth and efficient building process. Once you have everything you need, it’s time to move on to the planning and design phase of building your stone fence.
Step 1: Planning and Design
Before you start building your stone fence, it’s crucial to spend some time on planning and designing the layout. This step will help you envision the final result and ensure that your fence meets your aesthetic and functional requirements. Here are some considerations for the planning and design phase:
- Property Boundaries: Determine the exact location of your property boundaries, as this will dictate where your fence will be placed.
- Fence Height: Decide on the desired height of your stone fence. Consider factors such as privacy needs, local regulations, and the overall aesthetics of your landscape.
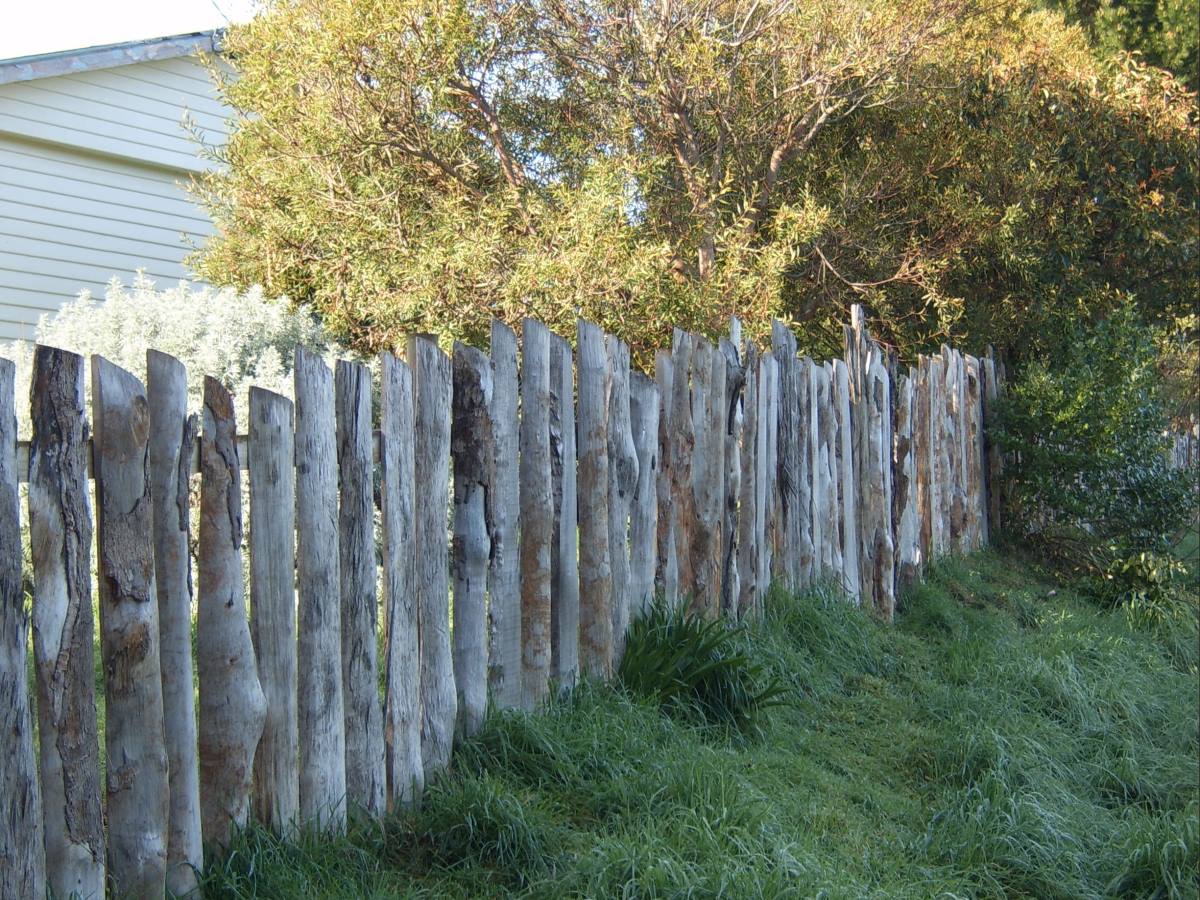
- Fence Style: Choose a style that complements your home and landscape. Stone fences can range from a natural and rustic look to a more refined and polished appearance.
- Marker Placement: Mark the placement of your fence posts. This will help ensure that the posts are evenly spaced and aligned properly.
- Gate Position: Determine the location of any gates or entrances in your stone fence. Consider accessibility and ease of use when deciding on their placement.
Once you have a clear plan in mind, you can proceed to marking the layout on the ground using stakes and string. This will give you a visual representation of the fence and help you make any necessary adjustments before you start building.
Remember to check with local authorities or homeowner associations for any specific regulations or permits required for constructing a stone fence. Once you’ve completed the planning and design phase, you’re ready to move on to the next step: preparing the ground.
Step 2: Preparing the Ground
Preparing the ground is a crucial step in building a stone fence. It ensures that the foundation of your fence is stable and provides proper drainage. Here’s how to prepare the ground:
- Clear the Area: Remove any vegetation or obstructions from the area where the fence will be constructed. This includes grass, rocks, and debris.
- Level the Ground: Use a shovel or a leveling tool to create a flat and even surface. This will help ensure that your fence will be straight and stable.
- Excavate Holes: Dig holes for the fence posts using a post hole digger or a shovel. Make sure the holes are deep enough to accommodate the height of your fence posts and allow for proper stability.
- Check for Utilities: Before digging, be sure to check for any underground utilities such as gas lines or electrical cables. Contact your local utility company to mark the locations.
- Add Gravel: Fill the bottom of each hole with gravel. This will provide drainage and prevent water from pooliling around the fence posts, which can cause damage over time.
Once the ground has been prepared, it’s time to gather the stones for your fence. This brings us to the next step: gathering stones.
Step 3: Gathering Stones
Gathering the right stones is an essential part of building a stone fence. The stones you choose will not only determine the overall look of your fence but also its strength and durability. Here’s how to gather the stones:
- Choose the Right Stones: Look for stones that are suitable for building a fence. They should be large enough to provide stability but not too heavy that they become difficult to handle.
- Locate Stones: Look for stones in your local area. Farms, construction sites, or even online marketplaces may have stones available for purchase or for free.
- Consider Stone Types: Determine which type of stone you want to use for your fence. Fieldstone, limestone, and granite are common choices. Each has its own unique characteristics and aesthetic appeal.
- Inspect Stones: Examine each stone for cracks, chips, or other imperfections. Choose stones that are sturdy and free from major defects.
- Sort Stones: Sort the stones based on their size and shape. This will make it easier to select the right stones as you build your fence.
When gathering the stones, it’s important to gather more than you initially estimate you’ll need. This will give you some flexibility in terms of selecting the perfect stones for different parts of the fence as you go along.
Once you have gathered the stones, it’s time to move on to the next step: digging holes for the fence posts.
When building a stone fence, be sure to use a sturdy foundation of concrete or gravel to support the weight of the stones. This will ensure the fence remains stable and secure for years to come.
Read more: How To Make A Round Stone Patio
Step 4: Digging Holes
Digging holes for the fence posts is a crucial step in building a stone fence. The holes provide the foundation for the posts and ensure the stability and longevity of your fence. Here’s how to properly dig the holes:
- Measure and Mark: Use stakes and string to mark the locations of the fence posts. This will guide you in digging the holes in the right spots.
- Use the Right Tools: Use a post hole digger or a shovel to dig the holes. The size of the holes should be deep enough to accommodate the length of the fence posts and provide proper stability.
- Check for Level: As you dig each hole, periodically check for levelness to ensure that the posts will be straight and aligned properly.
- Remove Debris: As you dig, remove any rocks, roots, or other debris from the holes. This will prevent any obstructions that could affect the stability of the fence posts.
- Verify Depth: Measure the depth of each hole to ensure consistency. The depth should be sufficient to provide stability and allow for proper placement of the fence posts.
It’s important to take your time and be meticulous when digging the holes. This will ensure that the fence posts will be securely anchored in the ground, providing a strong foundation for your stone fence.
With the holes dug, it’s time to move on to the next step: setting the foundation stones.
Step 5: Setting the Foundation Stones
Setting the foundation stones is a crucial step in building a stone fence. These stones serve as the base and support for the rest of the fence. Here’s how to properly set the foundation stones:
- Mix Mortar: Prepare the mortar according to the manufacturer’s instructions. The mortar will be used to bind the stones together and provide structural stability.
- Apply Mortar: Apply a layer of mortar to the bottom of each hole. This will create a solid base for the foundation stones and help them adhere to the posts.
- Place Stones: Carefully place the foundation stones on top of the mortar layer. Press them firmly into place, ensuring they are level and aligned properly.
- Check for Stability: As you place each stone, check for stability. Make adjustments as needed to ensure that the stones are securely in place.
- Mortar Joints: Fill the gaps between the foundation stones with mortar. Use a trowel to smooth out the mortar and create strong joints.
It’s important to work efficiently when setting the foundation stones, as the mortar will begin to set relatively quickly. Take care to ensure that the stones are level and aligned properly, as this will have a significant impact on the overall stability and appearance of your stone fence.
With the foundation stones set, it’s time to move on to the next step: building the fence.
Step 6: Building the Fence
Building the fence is where you’ll see your stone fence truly start to take shape. This step involves carefully placing and stacking the stones to create a sturdy and aesthetically pleasing fence. Here’s how to build the fence:
- Select Stones: Choose stones of various sizes and shapes to create visual interest and provide structural stability.
- Apply Mortar: Apply a layer of mortar to the top of the foundation stones. This will help bind the stones together and create a strong bond.
- Place Stones: Begin stacking the stones on top of the foundation, pressing them firmly into the mortar. Start from one end and work your way across, ensuring a tight fit and levelness.
- Interlock Stones: Interlock the stones by placing smaller stones in the gaps between larger stones. This adds stability and creates a visually appealing pattern.
- Check for Level: Check the levelness of the stones regularly as you build the fence. Make adjustments as needed to ensure the fence is straight and aligned properly.
- Mortar Joints: Fill the gaps between the stones with mortar using a trowel. Smooth out the mortar to create strong and visually pleasing joints.
- Continue Building: Repeat the process of applying mortar, placing stones, and filling gaps until you reach the desired height of your stone fence.
As you build the fence, keep in mind the overall design and style you envisioned during the planning phase. Take your time to carefully select and place each stone to create a fence that is not only functional but also visually appealing.
Once the fence is built and the stones are securely in place, it’s time to move on to the final step: adding finishing touches.
Step 7: Adding Finishing Touches
Adding finishing touches to your stone fence will enhance its overall appearance and functionality. These final details will elevate your fence from a construction project to a beautiful and polished addition to your property. Here’s what you can do to add those finishing touches:
- Clean and Seal: Once the mortar has dried, clean any excess mortar from the surface of the stones using a stiff brush. This will help reveal the natural beauty of the stones. Consider applying a sealant to protect the stones from weathering and staining.
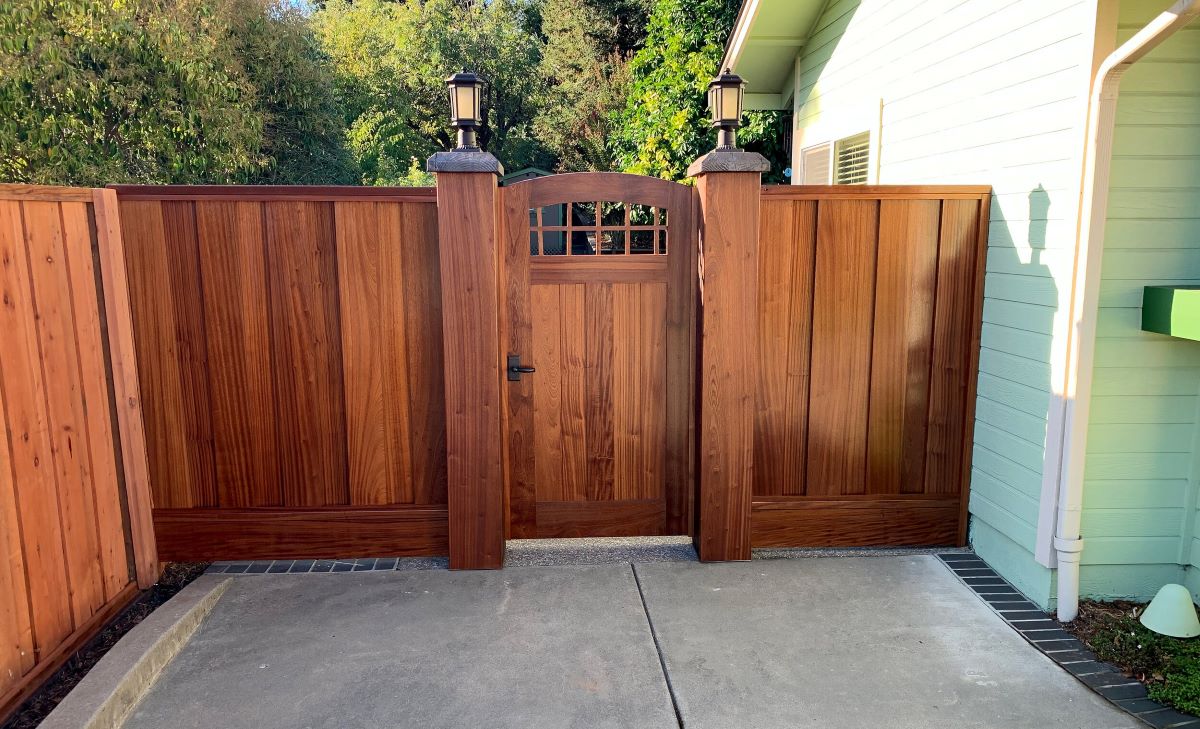
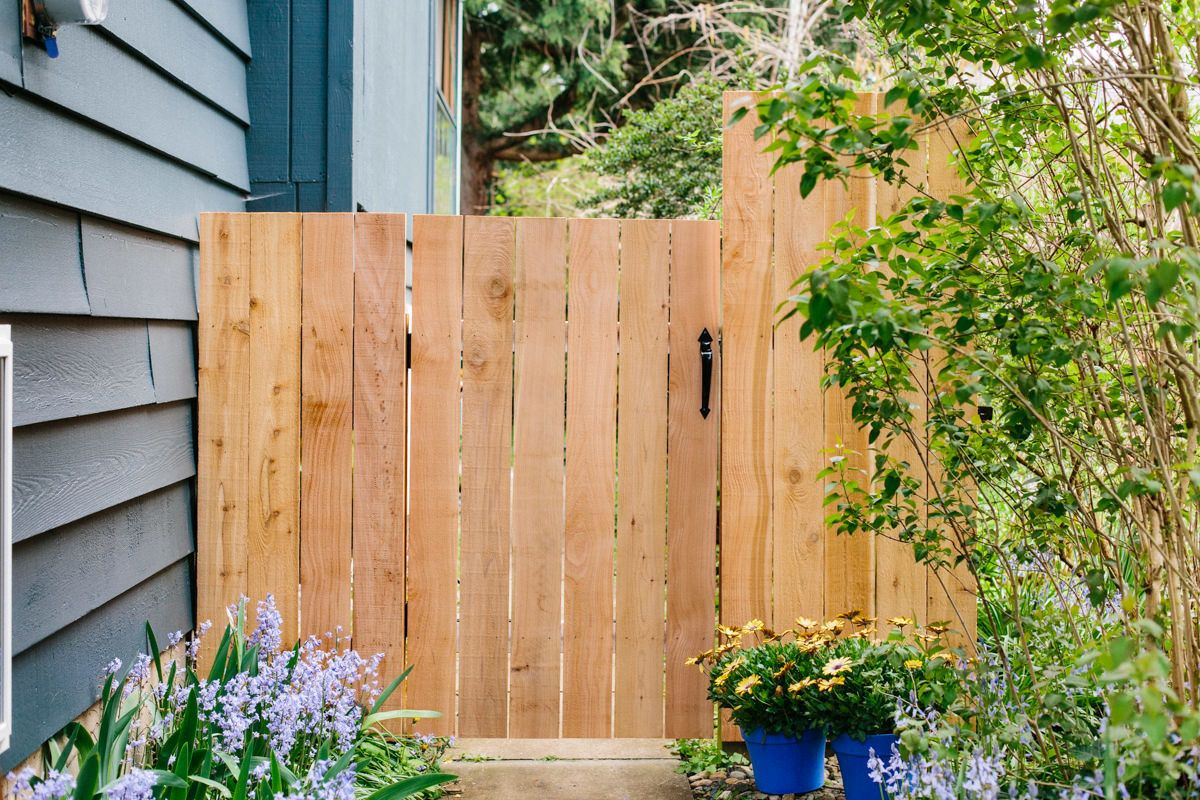
- Gate Installation: If your stone fence includes a gate, install it at the designated location. Make sure the gate is properly aligned and securely attached to the fence posts.
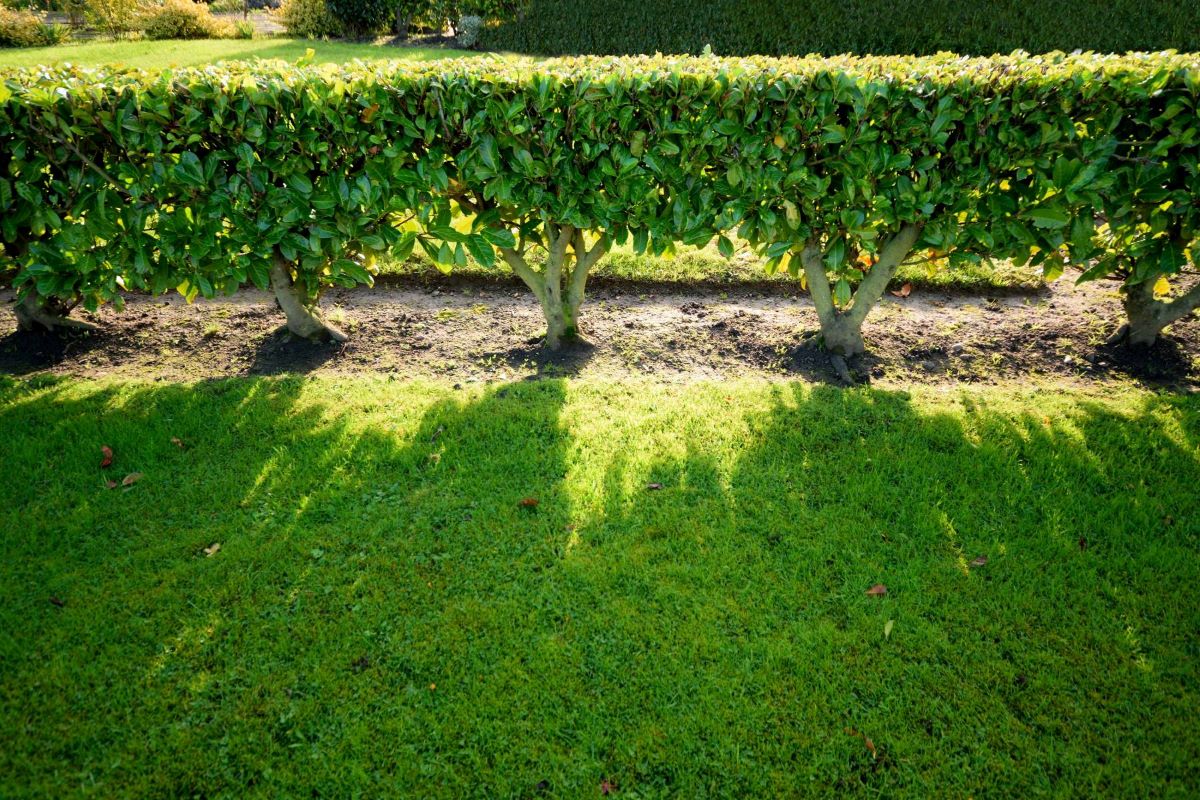
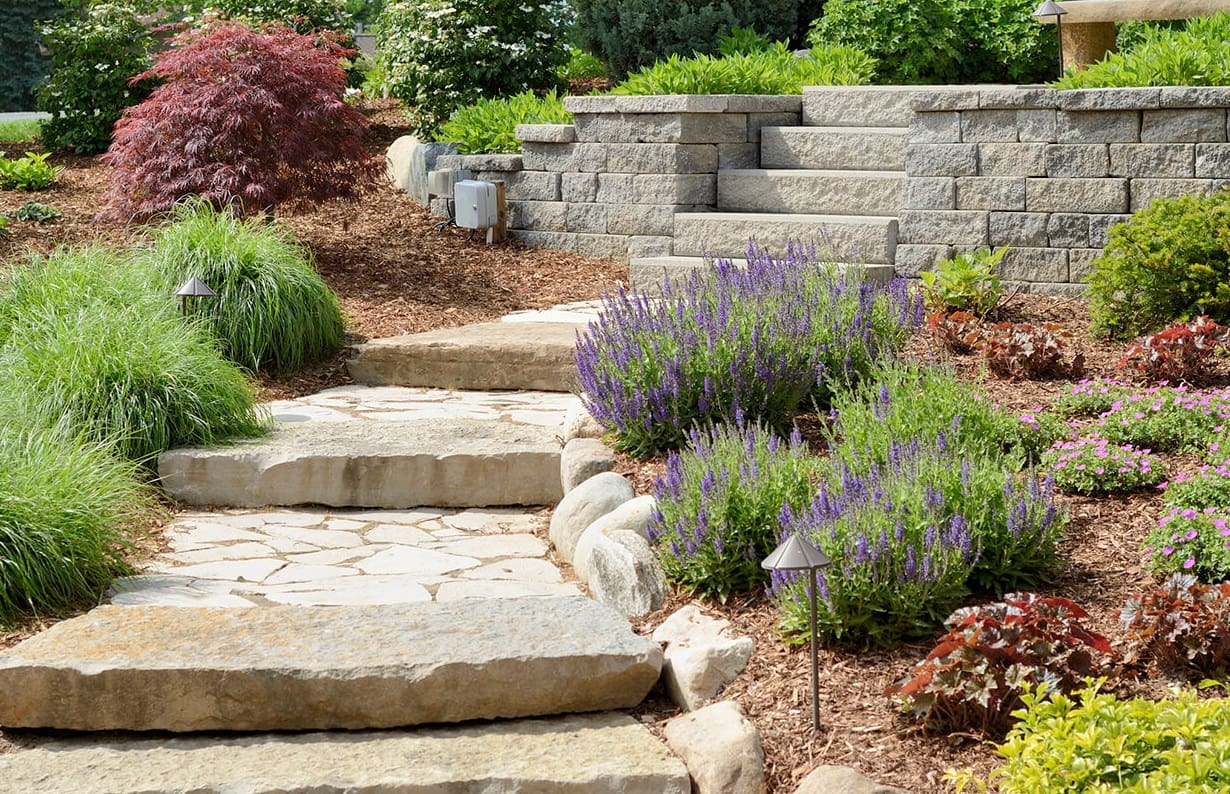
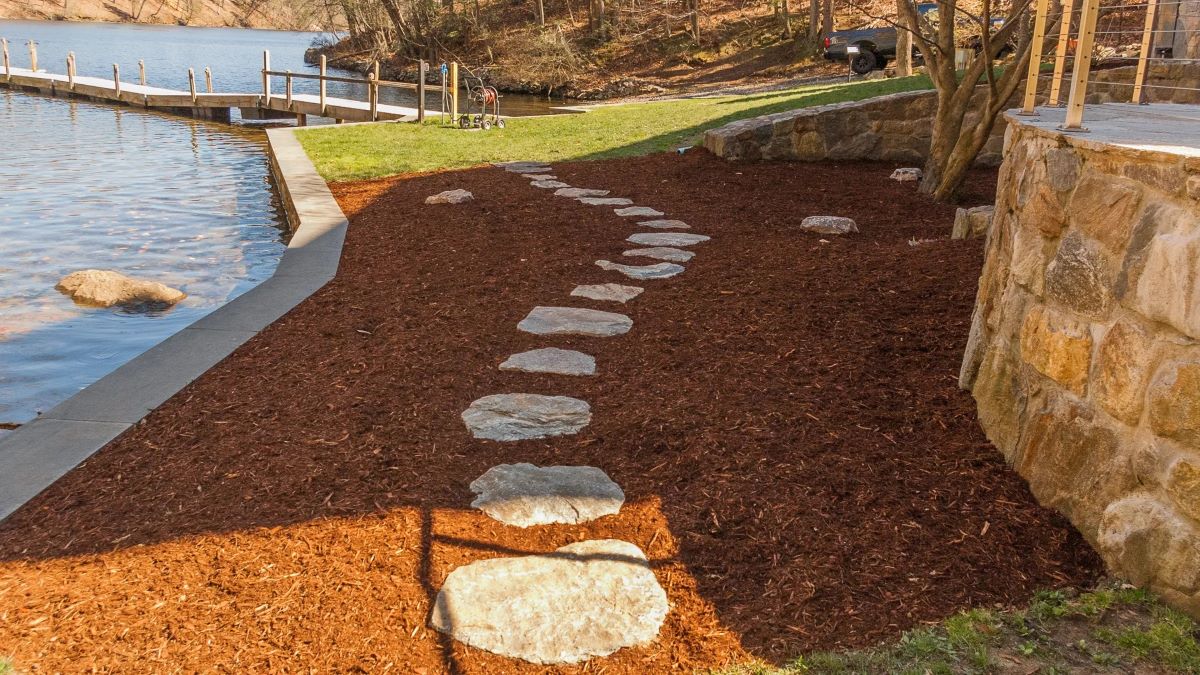
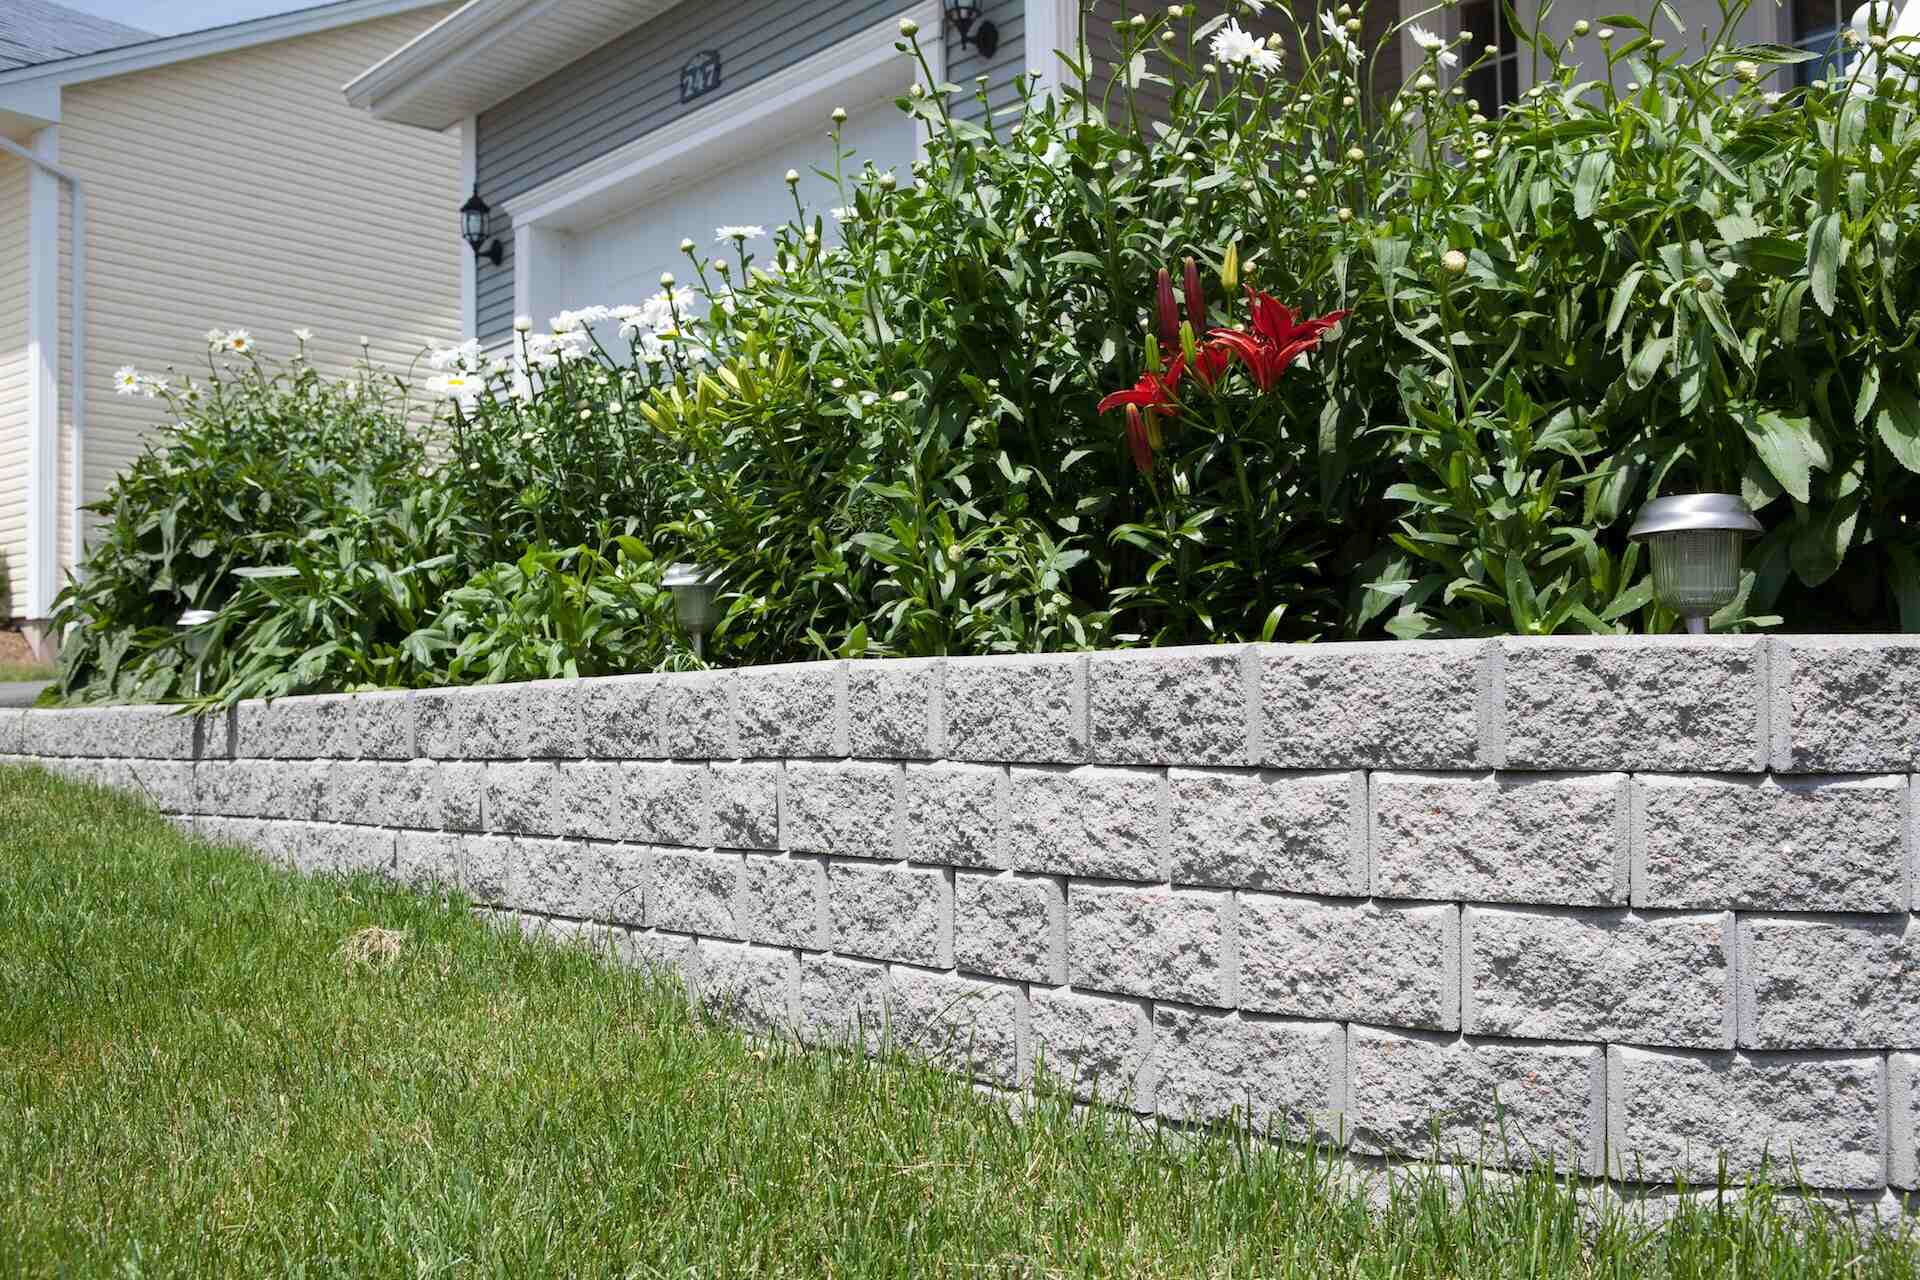
- Landscape Integration: Incorporate landscaping elements around your stone fence to enhance its visual appeal. You can plant flowers, shrubs, or vines to soften the look and create a beautiful backdrop.
- Lighting: Consider adding lighting fixtures along the fence to highlight its beauty during nighttime. This will not only enhance the aesthetics but also provide additional safety and security.
- Maintenance: Regularly inspect your stone fence for any signs of damage or deterioration. Repair any loose stones or mortar to maintain the fence’s stability and appearance.
By paying attention to these finishing touches, you can truly transform your stone fence into a stunning and functional feature of your property. Remember to regularly maintain and care for your fence to ensure its long-lasting beauty and structural integrity.
Congratulations! You have successfully completed the steps to build your own stone fence. Step back and admire your craftsmanship as you enjoy the timeless beauty and durability of your new stone fence.
Read more: How To Make A Stucco Fence
Conclusion
Building a stone fence is a rewarding and fulfilling project that can add timeless elegance and functionality to your outdoor space. By following the step-by-step guide outlined in this article, you have learned how to plan, gather materials, prepare the ground, dig holes, set foundation stones, build the fence, and add finishing touches to create a stunning and durable stone fence.
Throughout the process, it’s important to balance aesthetics and functionality, ensuring that your stone fence not only enhances the overall look of your property but also provides the necessary boundary and security. The selection of stones, precise placement, and proper use of mortar are all crucial factors in building a fence that will stand the test of time.
Remember to take your time and pay attention to detail as you construct your stone fence. This will ensure that each stone is securely placed, resulting in a sturdy and visually appealing structure. Regular maintenance and inspection will help preserve the integrity of your fence, keeping it beautiful and long-lasting for years to come.
Whether you’re creating a decorative garden enclosure, a livestock enclosure, or simply adding a touch of rustic charm to your property, a stone fence is a worthwhile investment. The natural beauty and durability of the stones will make your fence a standout feature in your landscape.
So, roll up your sleeves, gather your materials, and embark on the journey of building your very own stone fence. Enjoy the process and the satisfaction of seeing your vision come to life. The end result will not only enhance the visual appeal of your property but also provide a functional and enduring barrier for years to come.
Frequently Asked Questions about How To Make A Stone Fence
Was this page helpful?
At Storables.com, we guarantee accurate and reliable information. Our content, validated by Expert Board Contributors, is crafted following stringent Editorial Policies. We're committed to providing you with well-researched, expert-backed insights for all your informational needs.


0 thoughts on “How To Make A Stone Fence”