Home>Ideas and Tips>Home Office Floating Desk DIY Space-Saving Work Surface
Ideas and Tips
Home Office Floating Desk DIY Space-Saving Work Surface
Modified: October 27, 2024
Create a stylish, space-saving home office with a DIY floating desk. Maximize efficiency and aesthetics in small spaces with our step-by-step guide.
(Many of the links in this article redirect to a specific reviewed product. Your purchase of these products through affiliate links helps to generate commission for Storables.com, at no extra cost. Learn more)
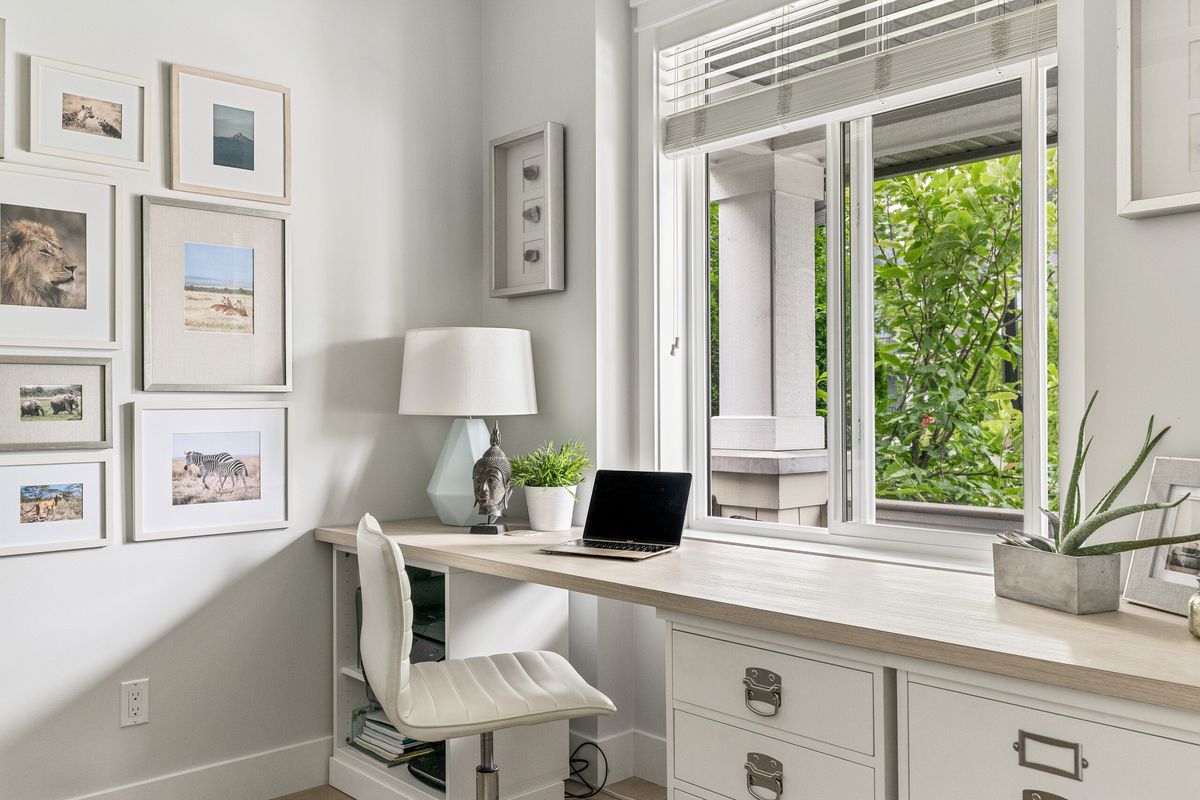
In today's world, where remote work and homeschooling are becoming increasingly common, having a dedicated and efficient workspace is crucial. However, many homes face the challenge of limited space, making it difficult to find room for a traditional desk. This is where a floating desk comes into play—a space-saving, versatile, and stylish solution that can transform any room into a productive home office or homeschooling space.
The Concept of Floating Desks
Floating desks have gained popularity in recent years due to their ability to create the illusion of more space. By mounting the desk directly to the wall, they free up floor space, making the room feel larger and more open. This design principle is not limited to home offices; it has been successfully applied in bathrooms with floating vanities and living rooms with floating shelves.
Benefits of Floating Desks
-
Space Efficiency: The most obvious benefit of a floating desk is its ability to save space. By mounting it to the wall, you can utilize corners, alcoves, or any narrow area that would otherwise be wasted.
-
Aesthetic Appeal: Floating desks can add a touch of modernity and elegance to any room. They come in various styles and materials, allowing you to choose one that fits your home's décor.
-
Customization: Unlike traditional desks, floating desks can be customized to fit your specific needs. You can choose the size, material, and design to match your workspace requirements.
-
Cable Management: Many floating desk designs incorporate cable management systems, keeping your workspace organized and clutter-free.
Materials Needed for DIY Floating Desk
Before diving into the DIY project, it's essential to gather all the necessary materials. Here’s a comprehensive list:
- MDF (Medium Density Fiberboard): This is a cost-effective and versatile material ideal for creating the desk top.
- Hinges: For attaching the desk top to the wall brackets.
- Paint: To give your floating desk a personalized look.
- Stud Finder: To locate the wall studs for secure mounting.
- Nail Gun and Nails: For attaching the brackets to the wall.
- Screw Gun and Wood Screws: For assembling the frame.
- Drywall Anchors (75 lb capacity): To ensure the desk is securely fastened to the wall.
- Drywall Screws: For anchoring the brackets.
- Clean Rag or Sponge: For cleaning up any spills or dust.
- Small Dust Brush: To remove dust from the work area.
- Jigsaw: For cutting curves or irregular shapes in the MDF.
- 2-inch Paddle Bit: For drilling holes for cable management.
- Drop Cloth: To protect your floor from paint spills.
Step-by-Step Guide to Building a Floating Desk
Step 1: Sketch Design
The first step in creating your floating desk is to sketch out the design on a notepad using a pencil or black marker. This will help you visualize the shape, scale, and style of your intended workstation. Consider how much material you'll need and make any necessary adjustments before proceeding.
Step 2: Find Wall Studs
Once you've determined the placement of your floating desk, use a stud finder to locate the wall studs behind the wall's surface. This is crucial for securing the desk properly to avoid any instability or damage.
Step 3: Mark Wall Studs
Mark the wall stud areas with a pencil or marker. This will serve as a guide for attaching the brackets later on.
Step 4: Mock Up Shape and Scale
To ensure that your floating desk fits perfectly in its intended space, create a mockup using blue painter's tape. Mark the exact shape and size of the desk on the wall. Place a chair to check if there's enough clearance between the desk bottom and the chair height. Adjust the tape accordingly until you achieve the proper balance.
Step 5: Cut MDF
Using a table saw, cut the MDF into the required dimensions for your desk top. If you need curved edges or irregular shapes, use a jigsaw for precision cutting.
Step 6: Assemble Frame
Cut two-by-fours (2x4s) into the necessary lengths for building the frame. Use a screw gun and wood screws to assemble these pieces into a sturdy base that will support your desk top.
Step 7: Attach Brackets
Measure out where you want to place your wall brackets and mark these areas with a pencil. Use drywall anchors (75 lb capacity) and drywall screws to secure these brackets firmly into place.
Step 8: Attach Desk Top
Place your MDF desk top onto the assembled frame and attach it using hinges. Make sure these hinges are securely fastened so that they can support the weight of your desk without any issues.
Step 9: Add Cable Management
Drill holes for cable management using a 2-inch paddle bit. This will help keep your workspace organized by hiding cables and wires behind the desk.
Step 10: Paint Interior and Exterior
Once everything is securely fastened, place a drop cloth around your work area to protect it from paint spills. Use semi-gloss or lacquer paint to give your floating desk a personalized look. Apply paint roller and roller sleeve for an even coat, then use a paintbrush for any intricate details or edges.
Additional Tips for Customization
-
Material Selection: Choose materials that complement your home's décor. For example, oak, walnut, maple, or cherry wood can add a touch of elegance to any room.
-
Custom Patterns: Create custom patterns on your desk top by gluing together different types of wood in a unique design.
-
Storage Integration: Incorporate storage solutions like shelves or drawers into your floating desk design to maximize space efficiency.
-
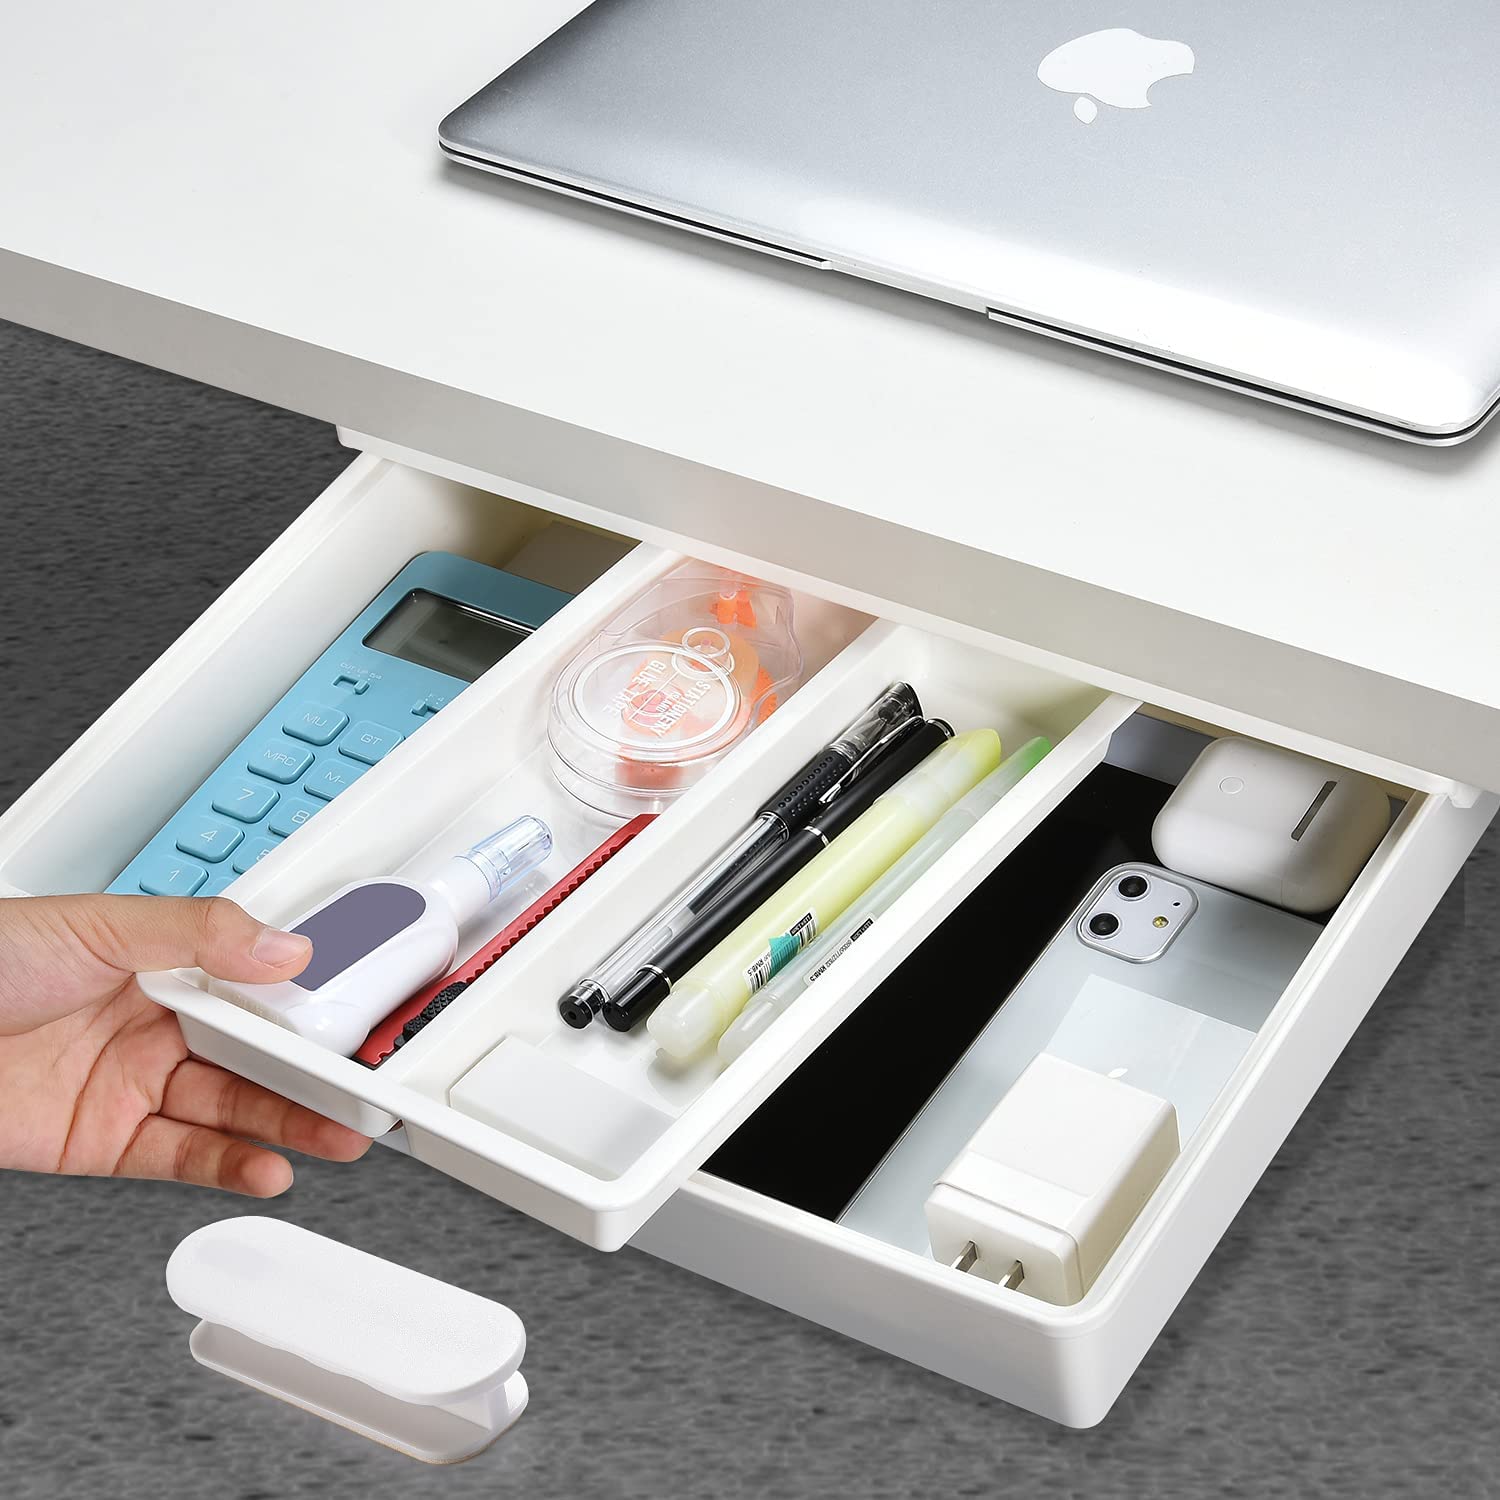
Cable Management Systems: Use cable ties or cable organizers to keep your workspace clutter-free and organized.
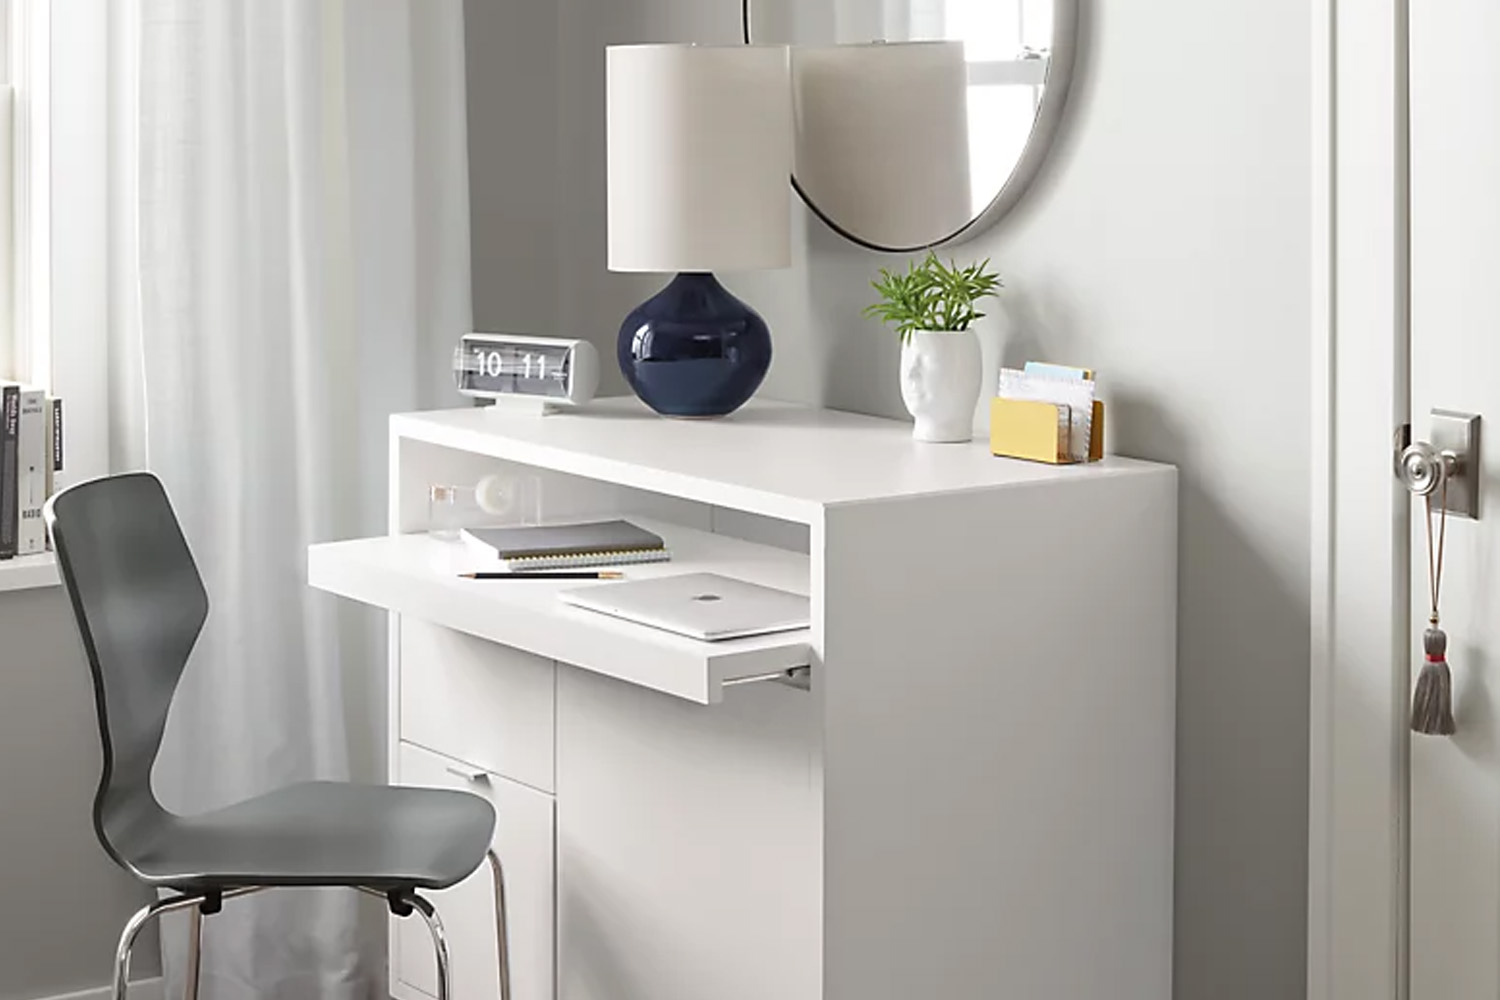
Real-Life Examples of DIY Floating Desks
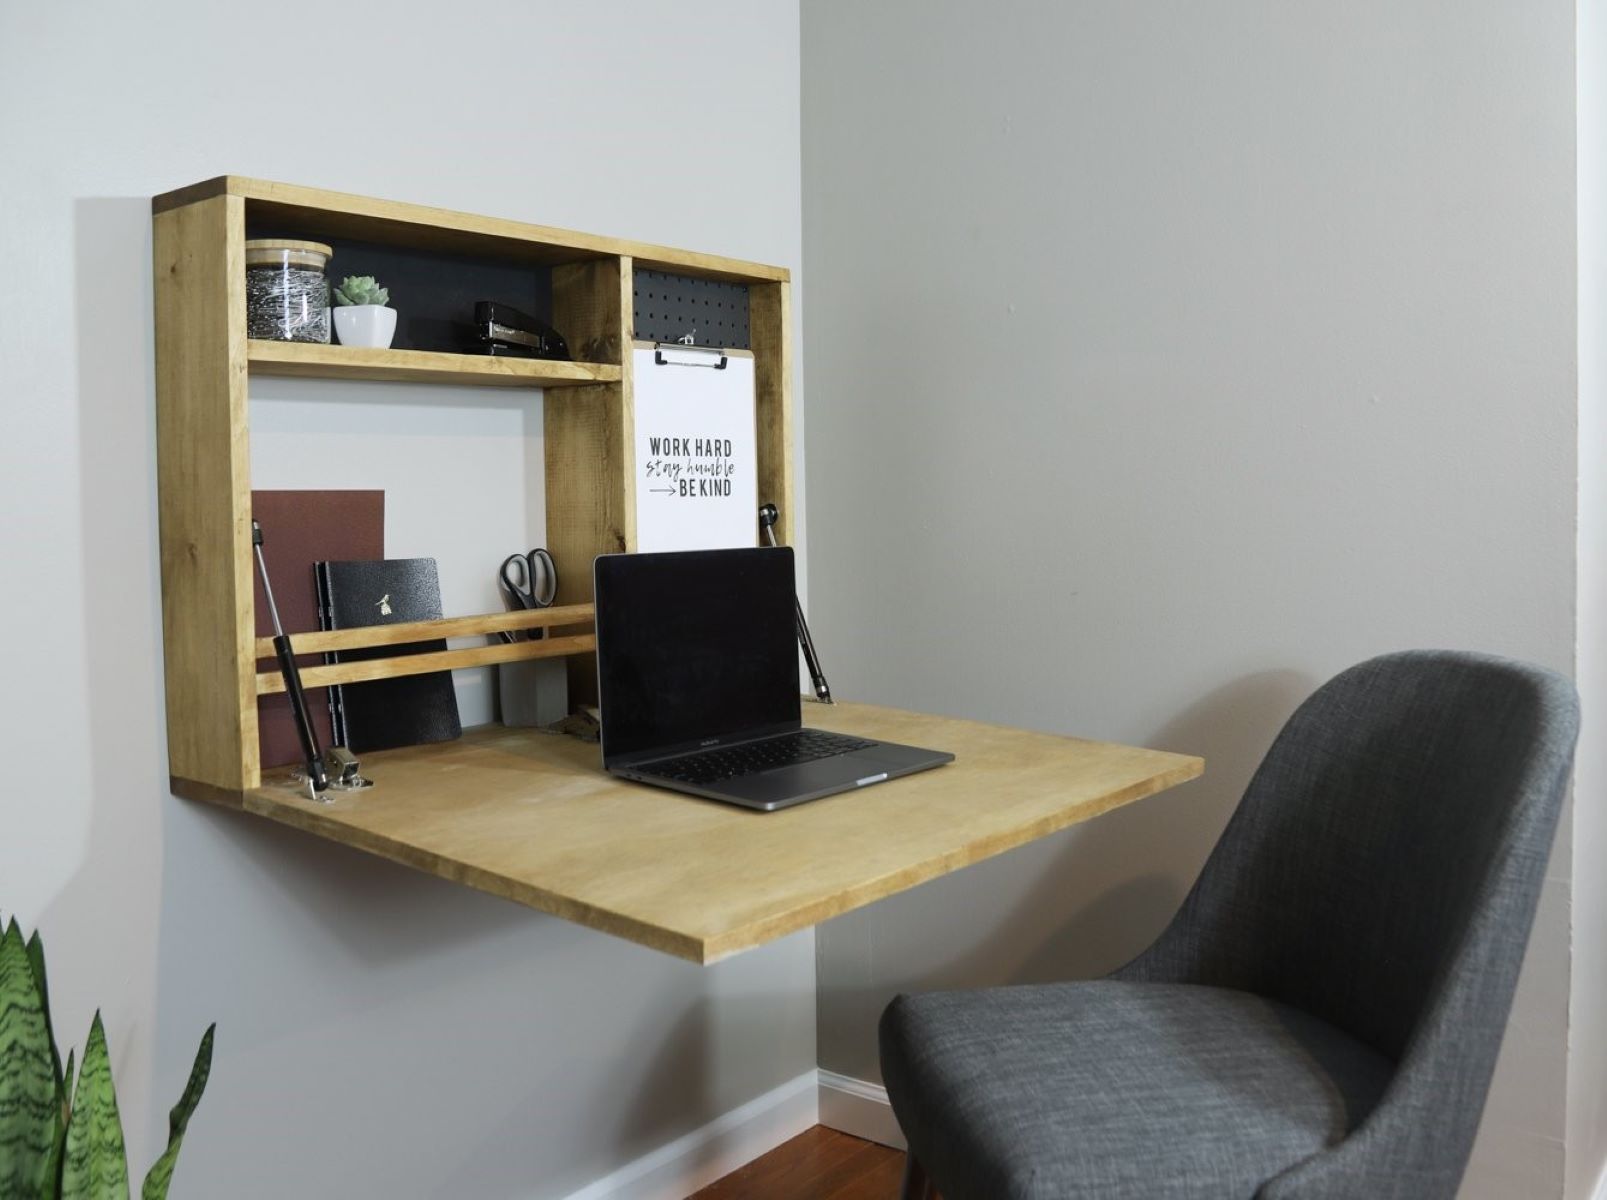
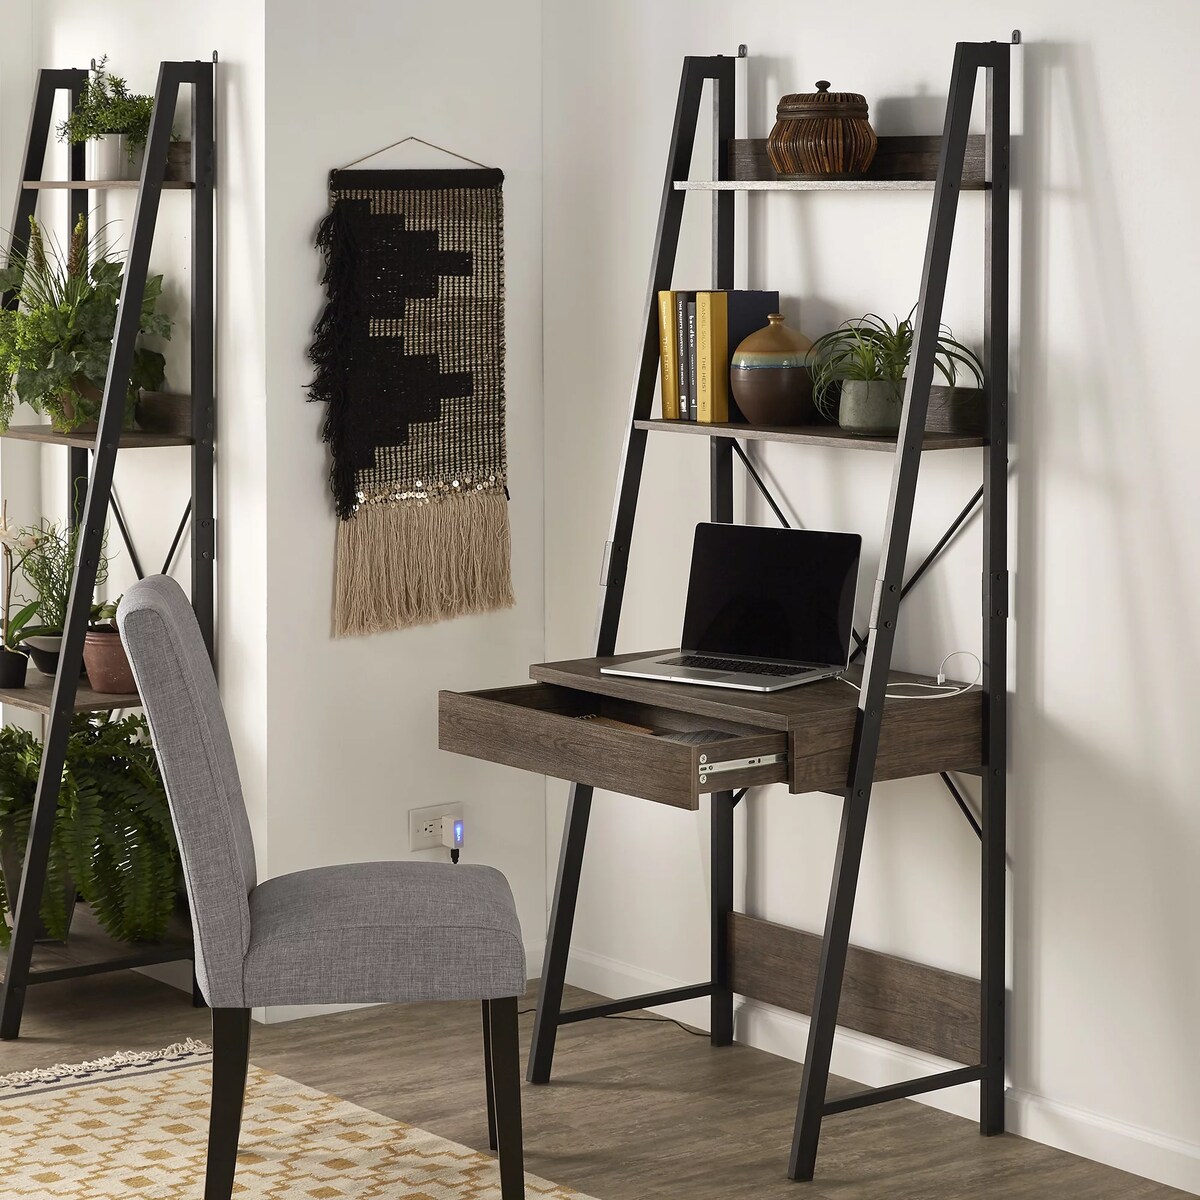
Example 1: HGTV's Floating Shelf Workstation
HGTV provides an excellent guide on creating a floating shelf workstation that doubles as a regular shelf when not in use as a workspace. This design is perfect for professionals working from home who need a designated workspace without sacrificing floor space.
Read more: DIY Guide To Installing Floating Shelves
Example 2: DIY Floating Desk with AWESOME Computer Cable Management
Ryan from "imthattechteacher" shares his experience building a custom floating desk in his home office makeover. His desk features a 2×4 frame for added strength and excellent cable management capabilities. This video is an excellent resource for those looking to build their own floating desk with advanced features.
Example 3: Simple DIY Floating Desk Tutorial
Jenna Kate at Home offers a simple and modern DIY floating desk tutorial suitable for beginners. Her design focuses on creating ample space for working, homeschooling, and even accommodating younger children with coloring books or art projects. This tutorial is perfect for those who want to create a functional floating desk without extensive DIY experience.
Conclusion
Creating a floating desk is an excellent way to transform any room into an efficient home office or homeschooling space. With the right materials and a step-by-step guide, you can build your own custom floating desk that not only saves space but also adds aesthetic appeal to your home. Whether you're looking to integrate cable management systems or create custom patterns on your desk top, there are endless possibilities when it comes to DIY floating desks. So why wait? Start your home office makeover today with this space-saving solution!
References:
- HGTV: How to Make a Space-Saving Floating Desk
- YouTube: DIY Floating Desk with AWESOME Computer Cable Management!
- Jenna Kate at Home: DIY Floating Desk Tutorial
By following these steps and tips, you'll be well on your way to creating a functional and stylish floating desk that enhances both functionality and aesthetics in your home office or homeschooling space.
Was this page helpful?
At Storables.com, we guarantee accurate and reliable information. Our content, validated by Expert Board Contributors, is crafted following stringent Editorial Policies. We're committed to providing you with well-researched, expert-backed insights for all your informational needs.


0 thoughts on “Home Office Floating Desk DIY Space-Saving Work Surface”