Home>Ideas and Tips>How To Design A Stylish And Practical Home Bar Cart

Ideas and Tips
How To Design A Stylish And Practical Home Bar Cart
Published: August 31, 2024
Learn how to design a stylish and practical home bar cart with our step-by-step guide. Perfect for entertaining and enhancing your home's aesthetic.
(Many of the links in this article redirect to a specific reviewed product. Your purchase of these products through affiliate links helps to generate commission for Storables.com, at no extra cost. Learn more)
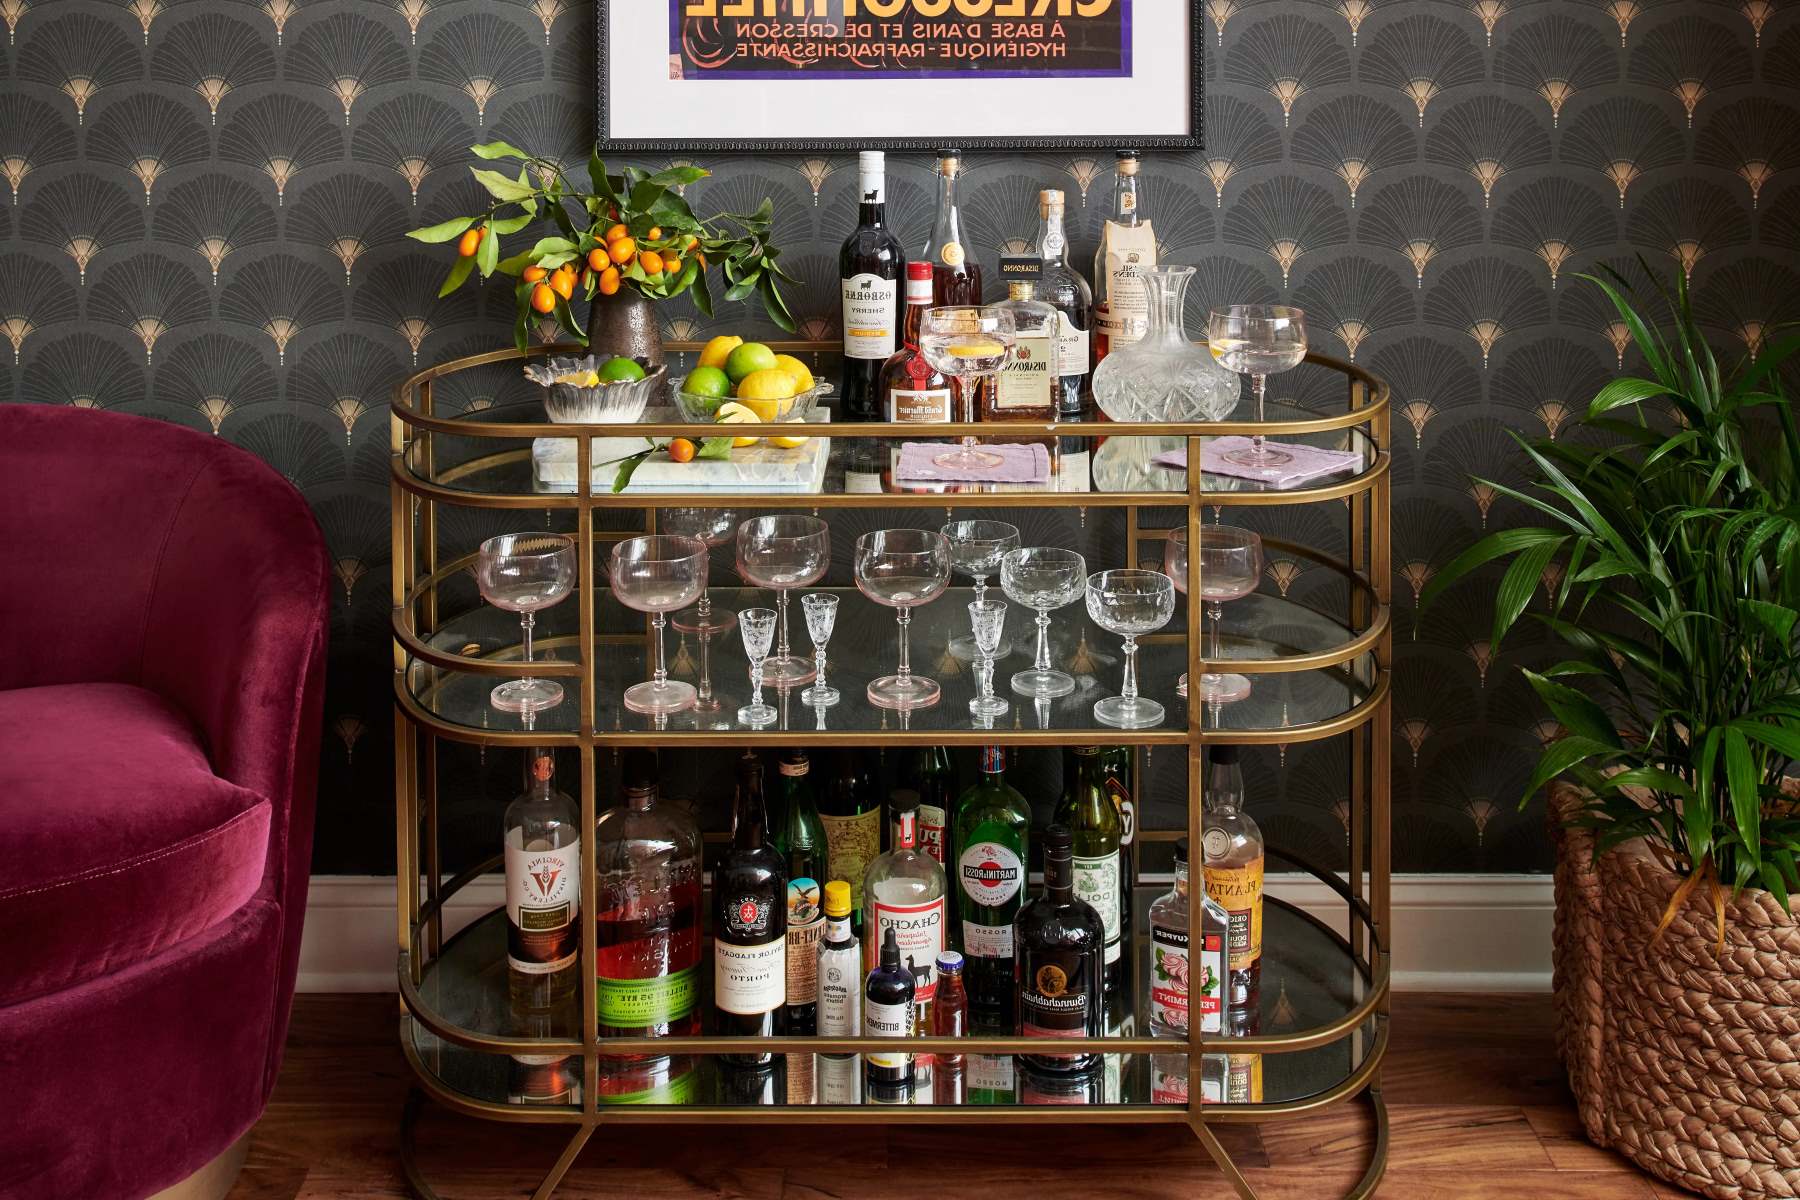
Creating a home bar cart is more than just a decorative piece; it's an essential element for any homeowner who enjoys entertaining or simply appreciates the art of mixing a perfect cocktail. A stylish and practical bar cart can elevate your home's aesthetic while providing a convenient space for storing your favorite spirits, mixers, and garnishes. In this article, we'll guide you through the process of designing a bar cart that combines both style and functionality.
Step 1: Define Your Needs and Budget
Before you start designing your bar cart, it's crucial to define your needs and budget. Consider the following factors:
- Space: Determine where you plan to place your bar cart. If it's in a small kitchen or living room, you'll want something compact and space-efficient.
- Usage: Think about how often you'll use your bar cart. If it's for occasional entertaining, a smaller cart might suffice. For frequent use, consider a larger one.
- Budget: Set a budget for your project. This will help you decide on materials and features.
Step 2: Choose the Right Materials
The materials you choose will significantly impact both the style and durability of your bar cart. Here are some popular options:
-
Wood:
- Oak: A classic choice that adds warmth and sophistication to any room.
- Maple: Sleek and modern, maple wood is perfect for those who prefer a minimalist look.
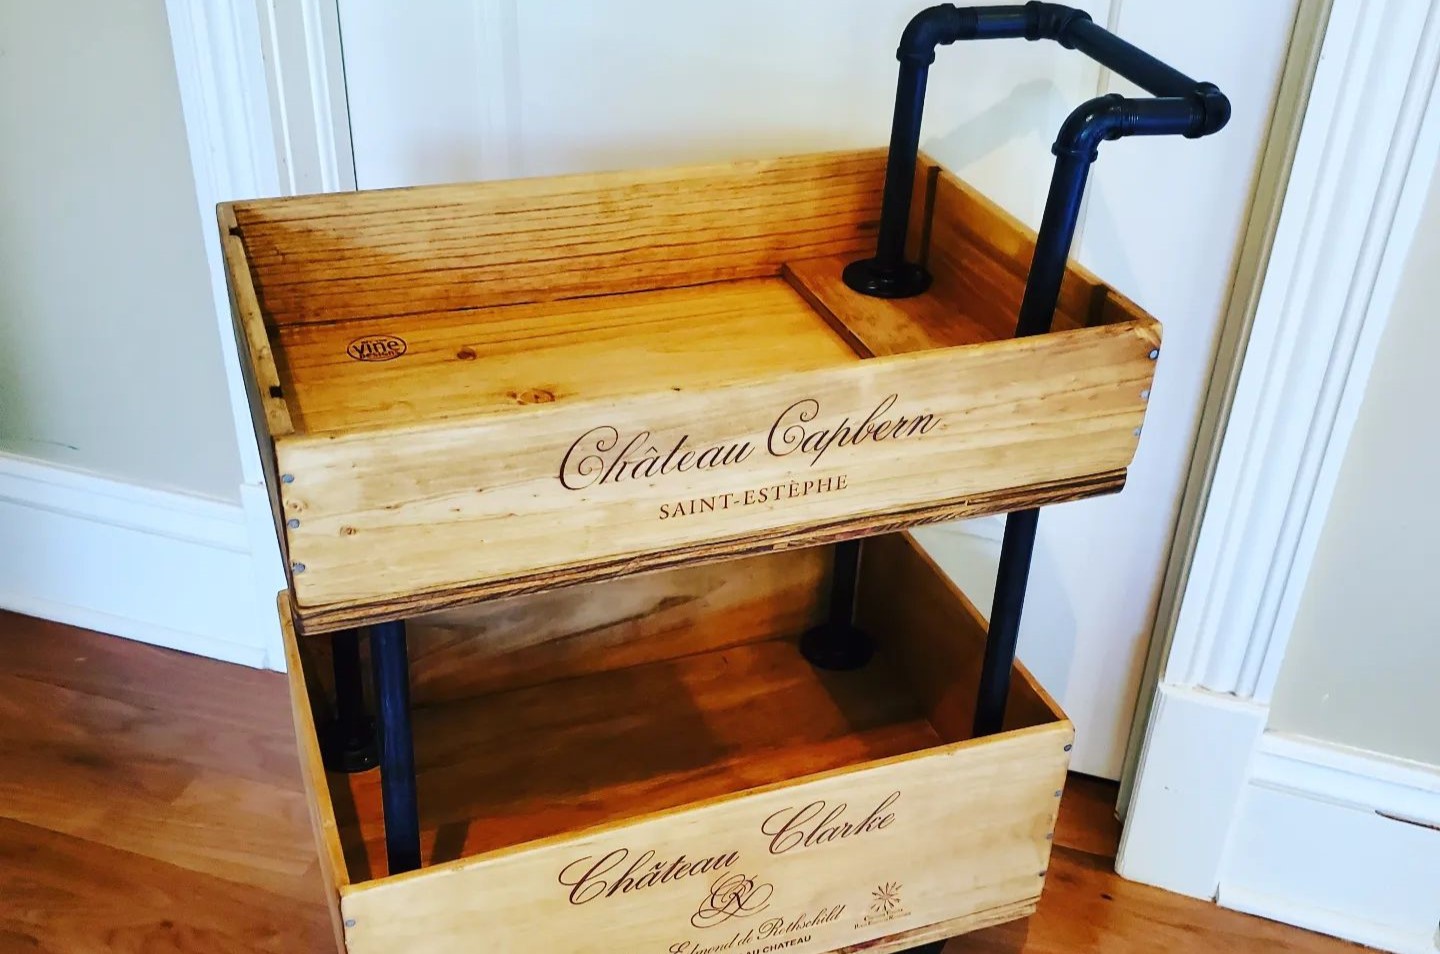
- Reclaimed Wood: Adds a unique touch with its distressed finish.
-
Metal:
- Stainless Steel: Sleek, durable, and easy to clean.
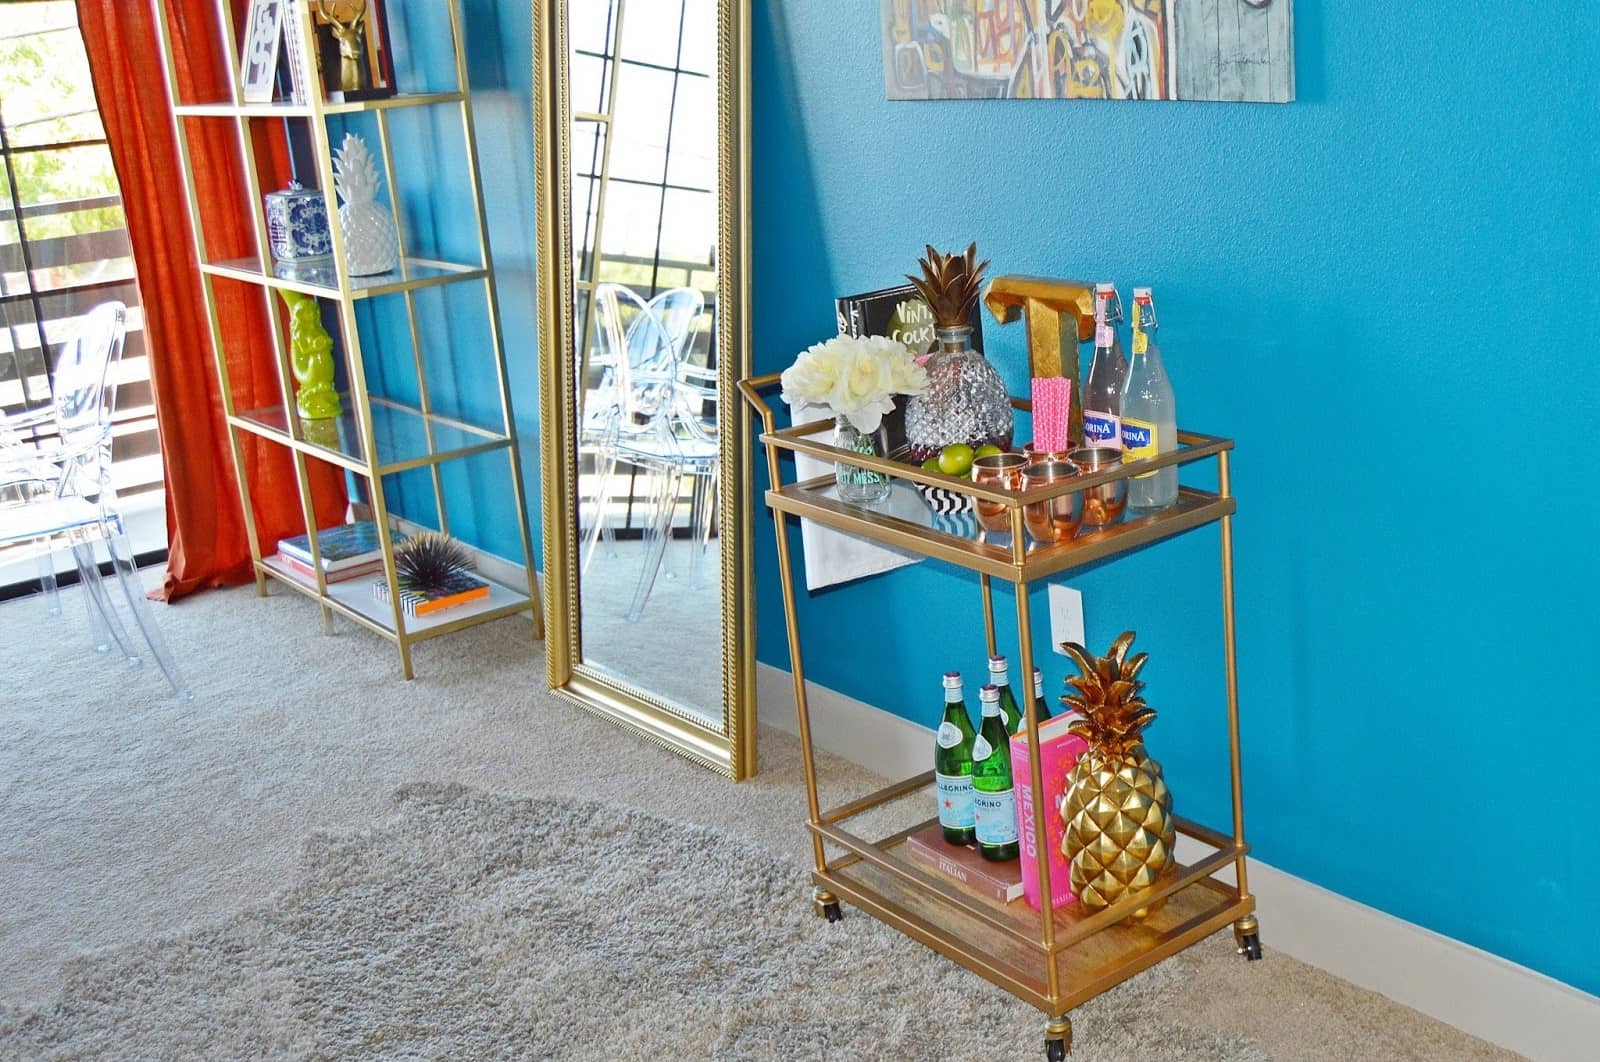
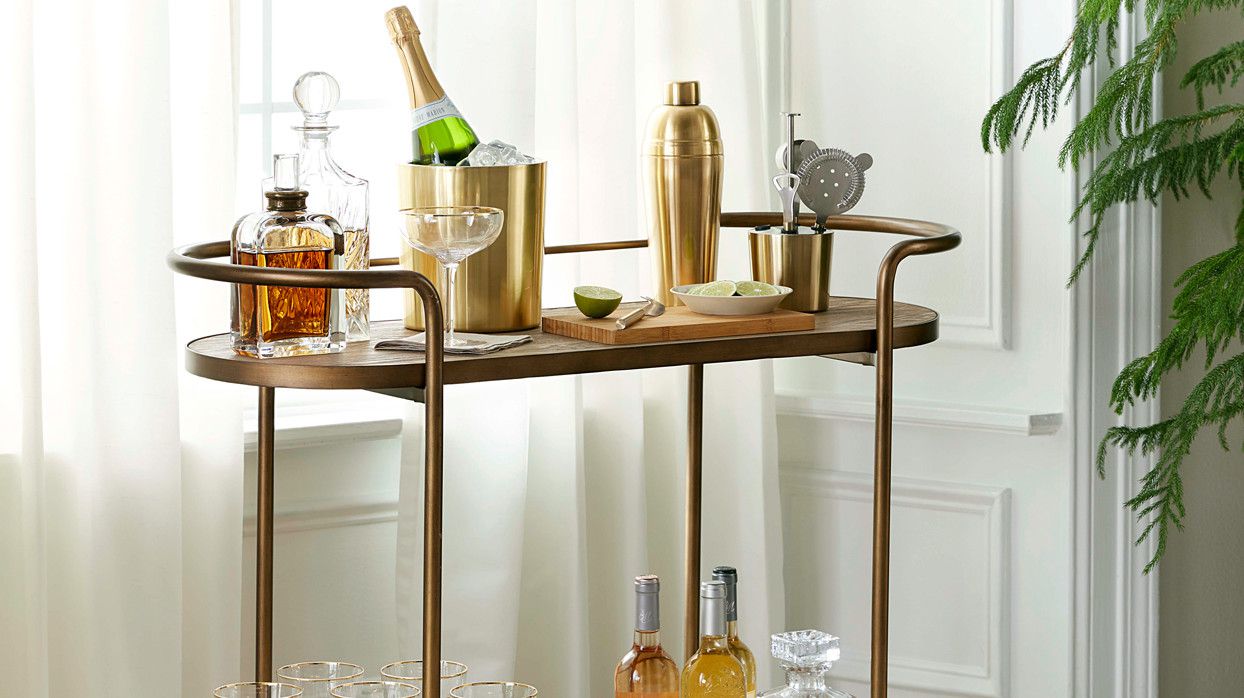
- Brass: Adds a touch of luxury with its elegant finish.
- Copper: Unique and stylish, copper can add a vintage charm to your space.
-
Glass:
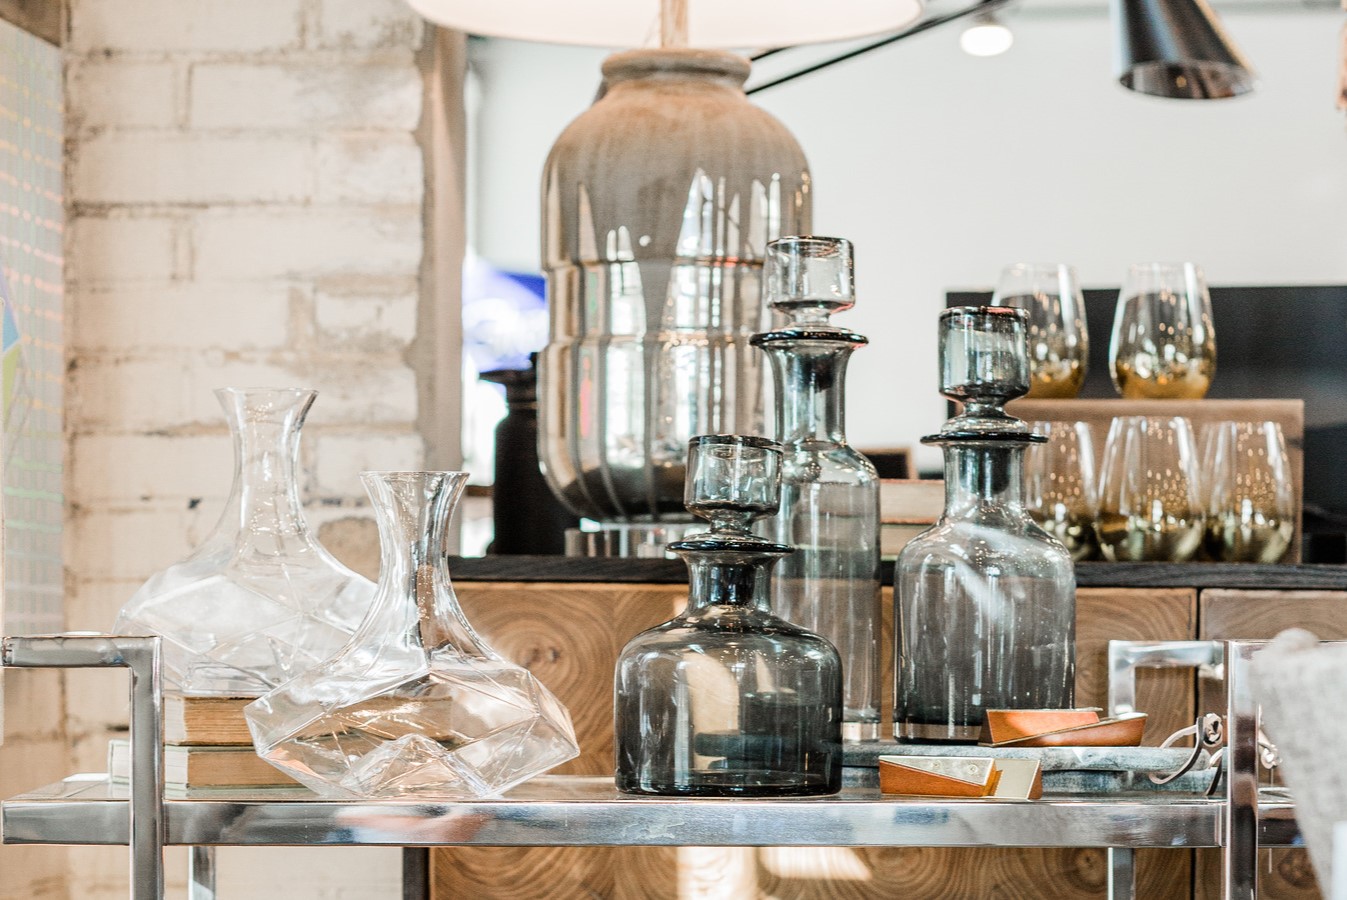
- Clear Glass: Perfect for showcasing your bottles and adds a touch of elegance.
- Tinted Glass: Provides privacy while still allowing light to pass through.
-
Composite Materials:
- PVC: Durable and easy to clean, PVC is a great option for those who want low maintenance.
- MDF: A cost-effective choice that can be finished to mimic other materials.
Step 3: Plan the Layout
Once you've chosen your materials, it's time to plan the layout of your bar cart. Here are some essential elements to include:
-
Shelves:
- Adjustable Shelves: Allow you to customize the height of each shelf according to your needs.
- Fixed Shelves: Provide stability and can be useful for displaying decorative items.
-
Drawers:
- Small Drawers: Perfect for storing small items like cocktail picks or jiggers.
- Large Drawers: Ideal for storing bottles or mixers.
-
Storage Compartments:
- Hidden Compartments: Add an element of surprise with hidden compartments that can store valuable items like cash or credit cards.
-
Countertop Space:
- Flat Surface: Essential for mixing cocktails or serving drinks.
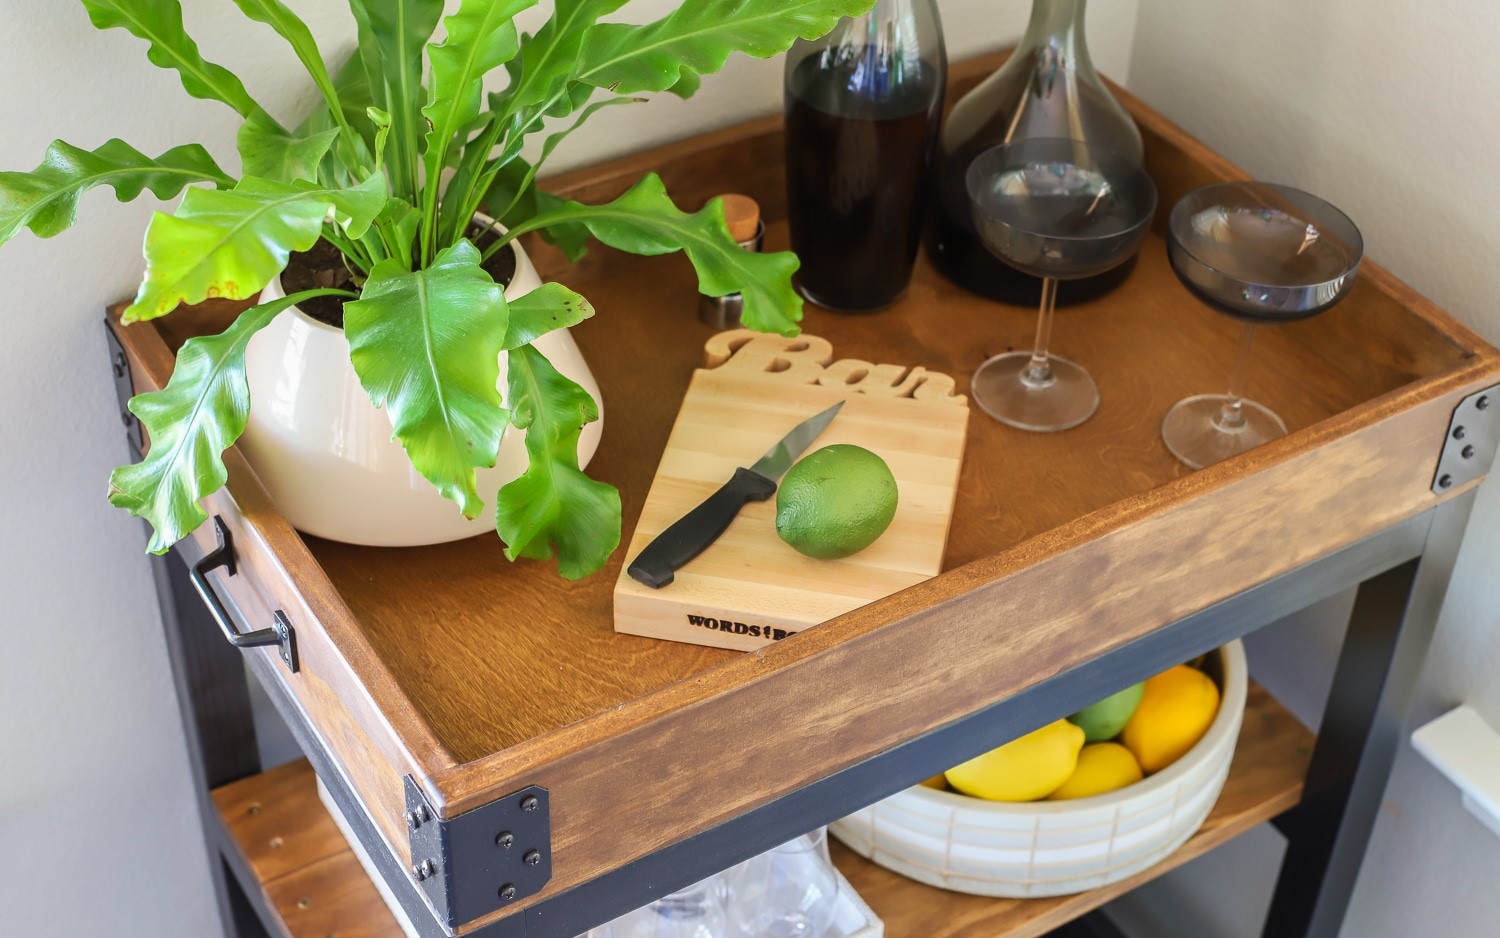
- Cutting Board: A built-in cutting board can be very useful when preparing garnishes.
-
Lighting:
- Under-Cabinet Lighting: Provides ambient lighting that highlights the contents of your cart.
- LED Strips: Add a modern touch with LED strips that can be placed under shelves or along the edges of the cart.
-
Decorative Elements:
- Handles: Choose handles that match your style, whether it's ornate knobs or sleek pulls.
- Trimming: Add decorative trimming around the edges of shelves or drawers to give it a polished look.
Step 4: Design Your Bar Cart
With your materials and layout planned, it's time to start designing your bar cart. Here are some tips to keep in mind:
-
Measure Twice, Cut Once:
- Measure your space carefully before cutting any materials to avoid mistakes.
-
Use Templates:
- Use templates or blueprints to ensure that all parts fit together perfectly.
-
Add Personal Touches:
- Incorporate personal touches like family photos, artwork, or sentimental objects to make it truly unique.
-
Consider Ergonomics:
- Ensure that the height of your bar cart is comfortable for standing and mixing cocktails.
-
Incorporate Technology:
- Add smart features like built-in ice buckets or wine chillers for added convenience.
Step 5: Assemble Your Bar Cart
Assembling your bar cart can be a fun and rewarding process if you follow these steps:
-
Prepare Your Workspace:
- Clear a large workspace where you can lay out all the components of your bar cart.
-
Follow Instructions:
- Read through instructions carefully before starting assembly to avoid confusion.
-
Use Proper Tools:
- Use appropriate tools like drills, saws, and hammers to ensure that all parts are securely attached.
-
Test It Out:
- Once assembled, test out each component to ensure that everything works smoothly.
Read more: How To Stock A Bar Cart
Step 6: Add Finishing Touches
After assembling your bar cart, it's time to add those finishing touches that make it truly special:
-
Stain or Paint:
- Apply stain or paint according to your chosen material's requirements to enhance its appearance.
-
Add Hardware:
- Install handles and other hardware according to your design plan.
-
Decorate with Accessories:
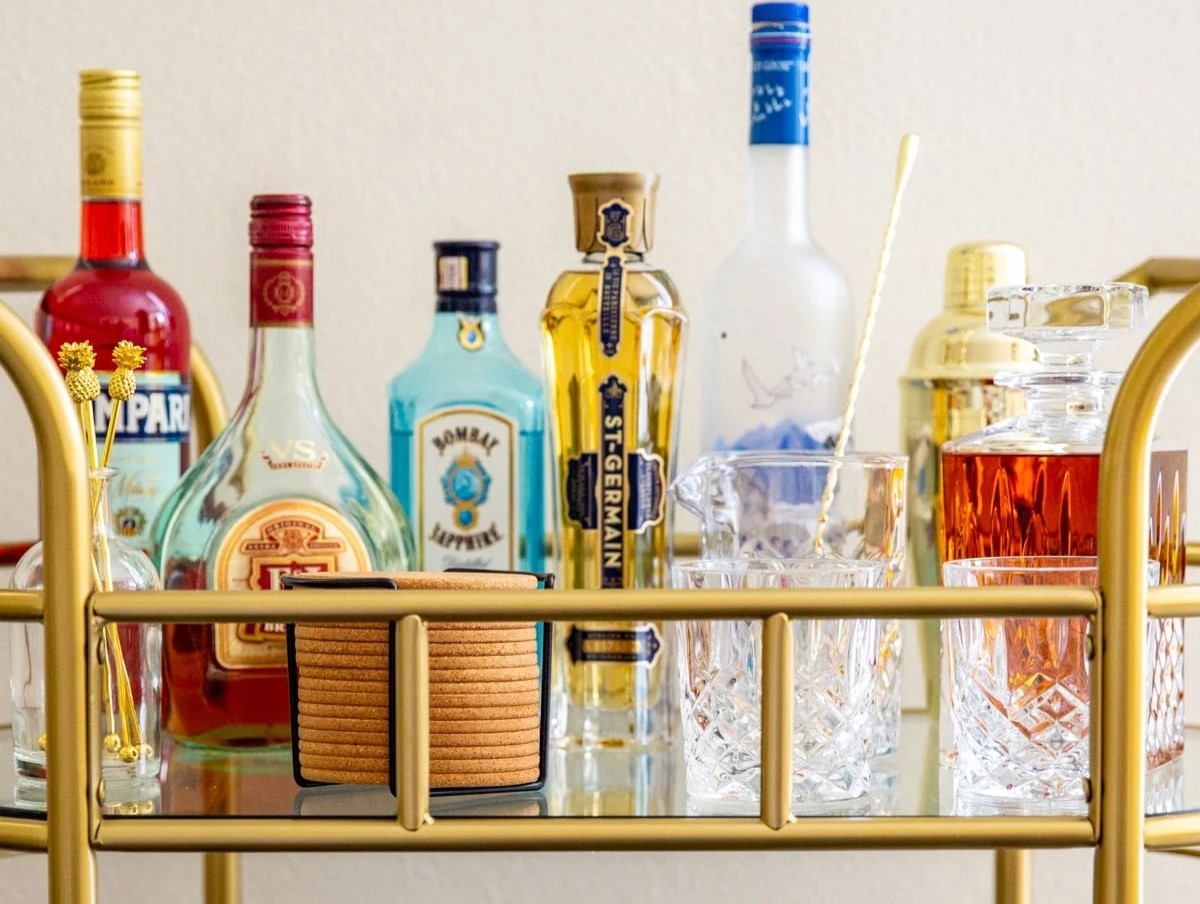
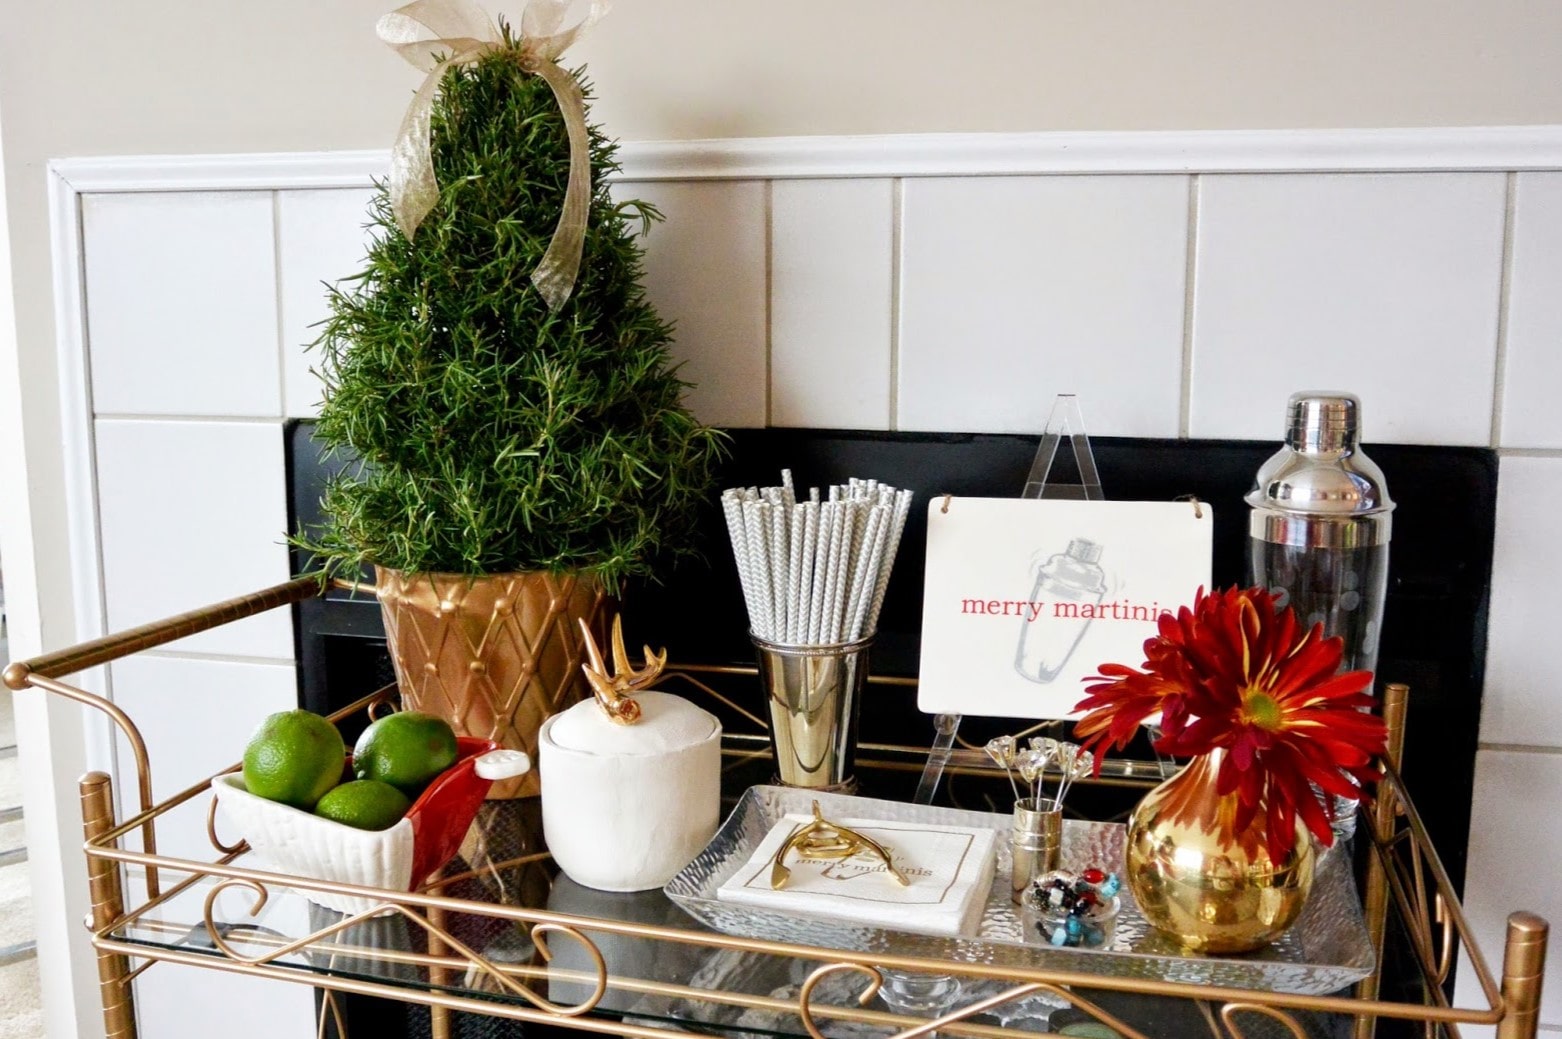
- Add decorative accessories like coasters, barware sets, or personalized glasses to complete the look.
-
Lighting Installation:
- Install lighting fixtures like under-cabinet lights or LED strips as planned in your design.
-
Final Inspection:
- Conduct a final inspection to ensure that everything is in place and functioning correctly.
Step 7: Maintain Your Bar Cart
Once you've completed designing and assembling your bar cart, it's essential to maintain it properly:
-
Clean Regularly:
- Clean your bar cart regularly using mild soap and water to prevent dust buildup.
-
Store Properly:
- Store your bar cart in a dry place when not in use to prevent damage from moisture.
-
Check for Wear & Tear:
- Regularly check for wear & tear on handles, shelves, and other components and replace them if necessary.
-
Update Decorations:
- Update decorations periodically to keep it looking fresh and stylish.
Conclusion
Designing a stylish and practical home bar cart requires careful planning and execution but can be incredibly rewarding when done correctly. By considering your needs, choosing the right materials, planning an efficient layout, designing with personal touches in mind, assembling carefully, adding finishing touches thoughtfully, and maintaining regularly; you'll have created not just an essential piece of furniture but also an integral part of your home's aesthetic appeal.
Whether you're an avid mixologist or simply enjoy hosting gatherings at home; having a well-designed bar cart will elevate both your entertaining experience as well as enhance overall ambiance within any room where it resides—making it truly worth every effort put into its creation
Was this page helpful?
At Storables.com, we guarantee accurate and reliable information. Our content, validated by Expert Board Contributors, is crafted following stringent Editorial Policies. We're committed to providing you with well-researched, expert-backed insights for all your informational needs.


0 thoughts on “How To Design A Stylish And Practical Home Bar Cart”