Home>Kitchen & Cooking>Kitchen Furniture & Decor>How To Build A Gold Bar Cart

Kitchen Furniture & Decor
How To Build A Gold Bar Cart
Modified: February 18, 2024
Discover how to create a stylish and functional gold bar cart for your kitchen with our expert tips and ideas. Elevate your kitchen decor with our top-quality furniture and decor pieces. Explore now!
(Many of the links in this article redirect to a specific reviewed product. Your purchase of these products through affiliate links helps to generate commission for Storables.com, at no extra cost. Learn more)
Introduction
Are you ready to add a touch of glamour and sophistication to your home? Building a gold bar cart is a fantastic way to elevate your space and create a stylish focal point for entertaining. Whether you're a seasoned host or just love the idea of having a designated area for your favorite beverages and glassware, a gold bar cart can be a stunning addition to any room.
In this comprehensive guide, we will walk you through the step-by-step process of creating your very own gold bar cart. From selecting the perfect cart to adding luxurious gold accents and stocking it with your favorite libations, we've got you covered. By the end of this journey, you'll have a beautifully curated bar cart that reflects your personal style and adds a touch of opulence to your home.
So, roll up your sleeves and get ready to embark on a creative and rewarding DIY project. Whether you're aiming for a vintage-inspired look, a modern and sleek design, or a bohemian chic vibe, building a gold bar cart allows you to unleash your creativity and infuse your space with a touch of luxury.
Let's dive into the exciting world of home decor and design as we guide you through the process of building your very own gold bar cart. Get ready to impress your guests and indulge in the satisfaction of creating a stunning piece that will be the envy of all who behold it.
Key Takeaways:
- Transform a simple bar cart into a glamorous centerpiece by adding luxurious gold accents and carefully curated spirits and glassware. Elevate your space with style and sophistication, creating a stunning focal point for entertaining.
- Infuse your gold bar cart with personal touches and artistic flair to create a captivating showcase that reflects your unique style. Curate a visually stunning and functional centerpiece, setting the stage for memorable gatherings and delightful indulgence.
Read more: How To Build A Bar Cart With Crates
Step 1: Gather Your Materials
Before diving into the construction of your gold bar cart, it's essential to gather all the necessary materials and tools. This step sets the foundation for a smooth and enjoyable DIY experience. Here's a comprehensive list of items you'll need to bring your vision to life:
Materials:
-
Bar Cart Frame: Select a sturdy and stylish bar cart frame that will serve as the base for your project. Look for a design that complements your existing decor and provides ample space for bottles, glassware, and decorative accents.
-
Gold Spray Paint: Opt for a high-quality gold spray paint to achieve a luxurious and durable finish. Consider the type of surface you'll be painting and choose a paint specifically formulated for metal or wood, depending on your cart's material.
-
Sandpaper or Sanding Block: Prepare the cart's surface for painting by using fine-grit sandpaper or a sanding block to smooth out any imperfections and create a clean, even base for the paint.
-
Protective Gear: Ensure your safety by wearing protective gear such as gloves, a mask, and safety goggles while sanding and painting to prevent skin irritation and inhalation of paint particles.
-
Drop Cloth or Newspaper: Lay down a drop cloth or spread out old newspapers in a well-ventilated area to protect the surrounding space from paint overspray and drips.
-
Cleaning Supplies: Gather cleaning supplies such as mild soap, water, and a clean cloth to thoroughly clean the cart's surface before painting, ensuring that it's free from dust, dirt, and grease.
-
Painter's Tape: Use painter's tape to mask off any areas of the cart that you don't want to be painted, such as wheels, handles, or decorative details.
-
Decorative Accents: Consider adding decorative elements such as faux marble contact paper, mirrored trays, or elegant handles to personalize and elevate the overall look of your gold bar cart.
Tools:
-
Screwdriver or Allen Wrench: Depending on the cart's assembly, have the necessary tools on hand to disassemble any removable parts for easier painting and reassembly.
-
Painting Supplies: Gather essential painting supplies including a paint respirator, paintbrushes, or foam brushes for touch-ups, and a well-ventilated area for spraying the cart.
-
Measuring Tape: A measuring tape will come in handy when planning the placement of decorative accents and ensuring a balanced and visually appealing final result.
By assembling these materials and tools, you'll be well-prepared to embark on the exciting journey of transforming a standard bar cart into a stunning gold-accented centerpiece for your home. With everything in place, you're ready to move on to the next step and bring your vision to life.
Step 2: Choose Your Cart
Selecting the right cart is a pivotal decision in the creation of your gold bar cart. The cart serves as the foundation for your project, dictating the overall style, functionality, and visual impact of the finished piece. When choosing your cart, consider the following factors to ensure that it aligns with your design vision and practical needs.
Read more: How To Build A Bar Cart From Scratch
Style and Aesthetic
The style of the cart sets the tone for your entire project. Whether you prefer a vintage-inspired look, a sleek and modern design, or a bohemian chic vibe, the cart should harmonize with your existing decor and personal aesthetic. Look for distinctive features such as elegant curves, clean lines, or intricate details that resonate with your preferred style.
Size and Proportions
Consider the dimensions of the cart in relation to the space where it will be placed. Ensure that the size and proportions are suitable for the intended area, allowing for easy maneuverability and a visually balanced presence. Take measurements to determine the ideal cart size that complements the surrounding furniture and decor.
Material and Durability
Evaluate the material of the cart to ensure durability and longevity. Whether it's metal, wood, or a combination of materials, prioritize quality and sturdiness. The material should be conducive to painting and capable of withstanding the weight of glassware, bottles, and decorative accents without compromising its structural integrity.
Functionality and Features
Assess the cart's functionality and features to accommodate your specific needs. Look for practical elements such as ample shelving, built-in wine racks, or additional storage options to organize and display your bar essentials. Consider features like wheels for mobility, handles for easy maneuvering, and any other details that enhance usability.
Read more: How To Store Gold Bars
Budget and Customization Potential
Determine your budget for the cart and factor in any potential customization costs. Assess whether the cart provides a suitable canvas for personalization, such as adding decorative accents, changing hardware, or incorporating unique elements to elevate its visual appeal. Consider the potential for customization to align with your creative vision.
By carefully considering these aspects, you can confidently select a cart that not only complements your style and space but also serves as a versatile and visually captivating foundation for your gold bar cart project. With the perfect cart chosen, you're one step closer to bringing your vision to life and creating a stunning centerpiece that reflects your unique taste and personality.
Step 3: Prepare the Surface
Preparing the surface of your chosen bar cart is a crucial step that sets the stage for achieving a flawless and long-lasting gold finish. By meticulously attending to the cart's surface, you ensure that the paint adheres smoothly and evenly, resulting in a professional-looking transformation. Here's a detailed guide on how to prepare the surface for painting:
Clean the Cart Thoroughly
Begin by thoroughly cleaning the cart's surface to remove any dust, dirt, grease, or residue that may hinder the adhesion of the paint. Use a mild soap and water solution along with a clean cloth to wipe down the entire cart, paying special attention to intricate details and hard-to-reach areas. Ensure that the cart is completely dry before proceeding to the next step.
Sanding for Smoothness
Using fine-grit sandpaper or a sanding block, gently sand the entire surface of the cart to create a smooth and uniform base for the paint. This step helps to remove any existing finish, imperfections, or rough spots, allowing the paint to adhere more effectively. Pay attention to corners, edges, and any intricate designs to ensure that the entire surface is properly prepped for painting.
Protect Surrounding Areas
Before applying the paint, it's essential to protect the surrounding areas from overspray and potential drips. Lay down a drop cloth or spread out old newspapers in a well-ventilated space to safeguard the floor and nearby objects. This precaution ensures that the painting process remains contained and minimizes the risk of accidental damage to your surroundings.
Mask Off Unwanted Areas
Use painter's tape to carefully mask off any areas of the cart that you do not want to be painted. This may include wheels, handles, decorative details, or any specific sections that you intend to keep in their original state. Precision in masking off these areas ensures that the final result is clean and polished, with no unintended paint application.
By meticulously following these steps to prepare the surface of your bar cart, you set the stage for a successful and visually stunning transformation. With the surface properly prepped, you're ready to move on to the next exciting phase of adding luxurious gold accents to your cart, bringing your vision of a sophisticated and personalized bar cart to life.
Step 4: Add Gold Accents
With the surface of your bar cart meticulously prepped, it's time to infuse it with opulent gold accents that will elevate its visual appeal and exude a sense of luxury. Adding gold accents is a transformative step that will imbue your cart with a touch of glamour, creating a stunning centerpiece for your home. Here's a detailed guide on how to seamlessly incorporate gold accents into your bar cart:
High-Quality Gold Spray Paint
Select a high-quality gold spray paint specifically formulated for the material of your bar cart. Opt for a lustrous gold hue that resonates with your design vision, whether it's a radiant metallic gold, a warm antique gold, or a chic rose gold. Ensure that the paint provides durable coverage and a smooth, even finish, enhancing the overall aesthetic of your cart.
Read more: How To Stock A Bar Cart
Even Application
In a well-ventilated area, apply the gold spray paint to the prepared surface of the cart using smooth and even strokes. Maintain a consistent distance between the can and the cart to achieve uniform coverage, avoiding drips or pooling of the paint. Multiple thin coats are preferable to a single heavy application, allowing the gold accents to develop a rich and flawless sheen.
Attention to Detail
Pay meticulous attention to detail as you apply the gold paint, ensuring that all surfaces, edges, and intricate features receive thorough coverage. Take your time to achieve a seamless transition between areas, creating a cohesive and polished look. Precision in painting ensures that the gold accents enhance the cart's design, elevating its visual impact and creating a captivating focal point.
Optional Decorative Touches
Consider incorporating additional decorative touches to complement the gold accents and further personalize your bar cart. Faux marble contact paper, mirrored trays, or ornate handles can enhance the opulence of the cart, adding depth and character to the overall design. These elements contribute to a cohesive and sophisticated aesthetic, elevating the allure of your gold-accented creation.
By meticulously adding gold accents to your bar cart, you infuse it with an air of elegance and refinement, creating a captivating centerpiece that reflects your unique style. The transformative power of gold accents elevates the cart from a functional piece to a visually stunning and luxurious addition to your home. With the gold accents in place, your bar cart is poised to become a captivating focal point that exudes sophistication and charm.
Step 5: Stock Your Cart
Now that your gold bar cart has been transformed into a stunning centerpiece, it's time to bring it to life by stocking it with an array of carefully curated libations, glassware, and decorative accents. This step is where functionality meets style, allowing you to showcase your favorite beverages and create an inviting and visually appealing display. Here's a detailed guide on how to stock your cart and elevate its allure:
Read more: How To Stage An Outdoor Bar Cart
Selecting Your Spirits
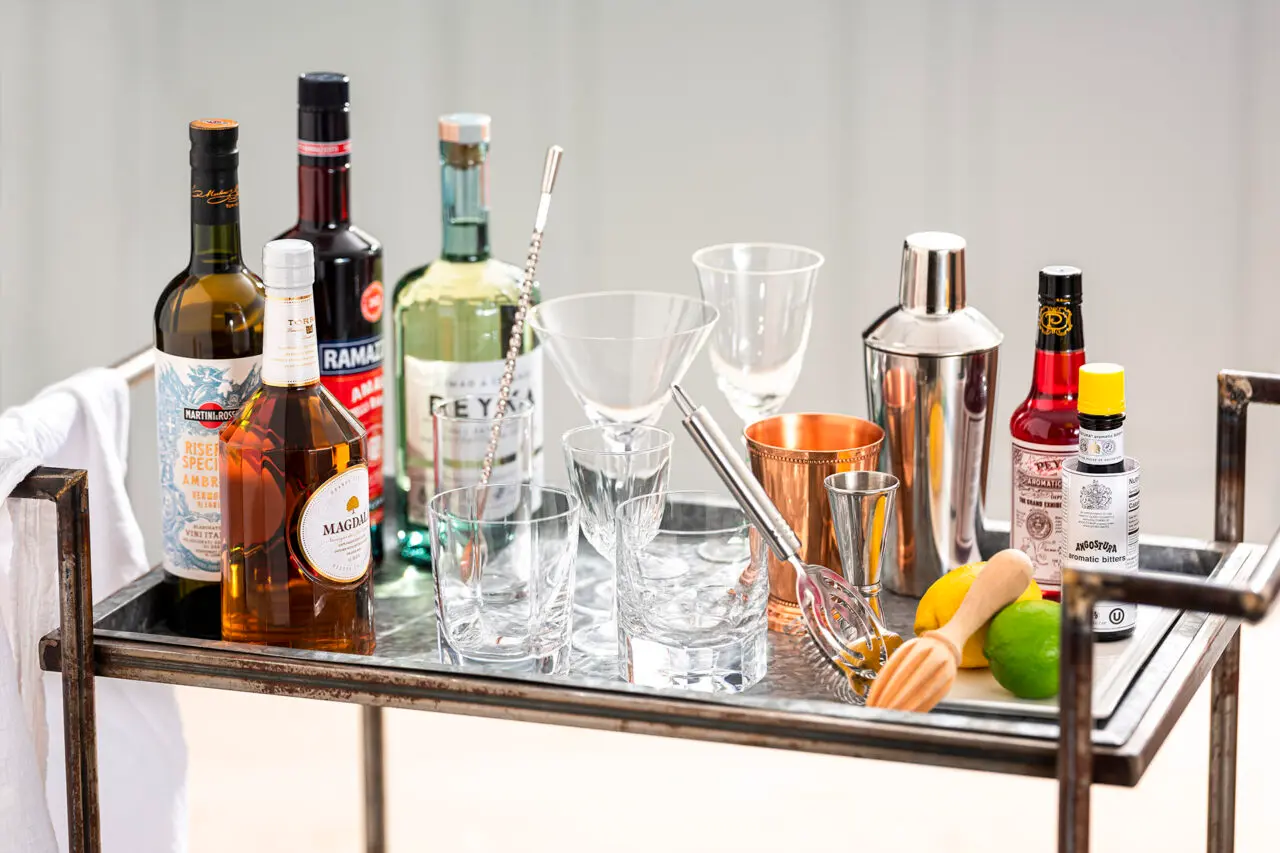
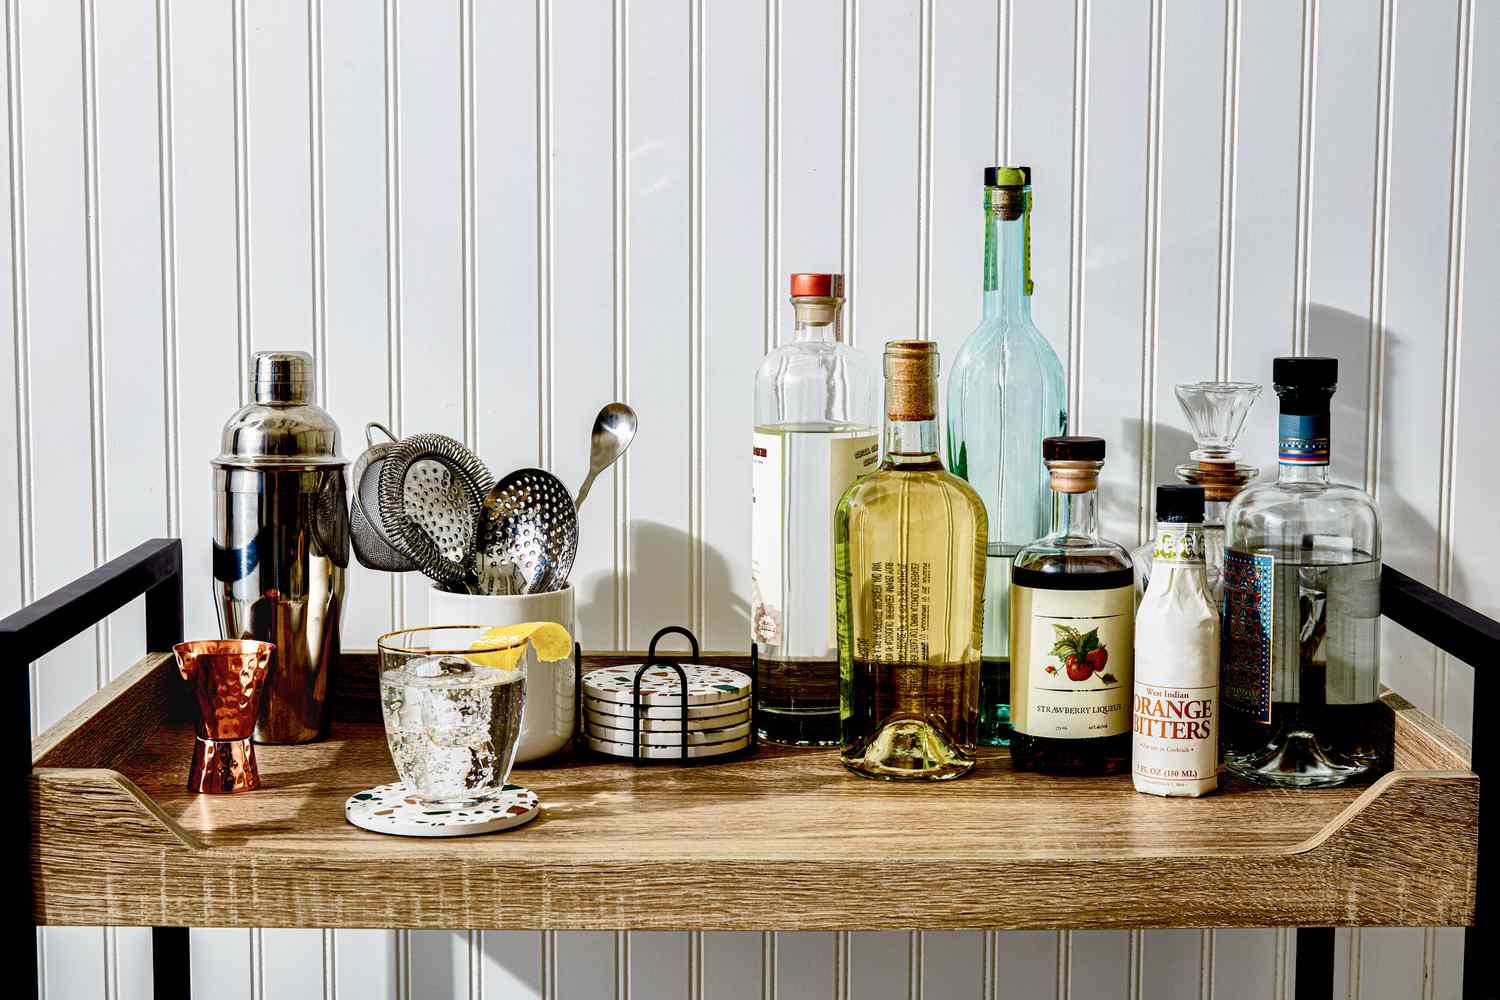
Begin by selecting a diverse range of spirits and liquors to cater to various preferences. Consider including a selection of premium spirits such as whiskey, vodka, gin, and tequila, along with liqueurs and mixers to accommodate a variety of cocktail options. Opt for high-quality brands and unique offerings to add a touch of sophistication to your cart.
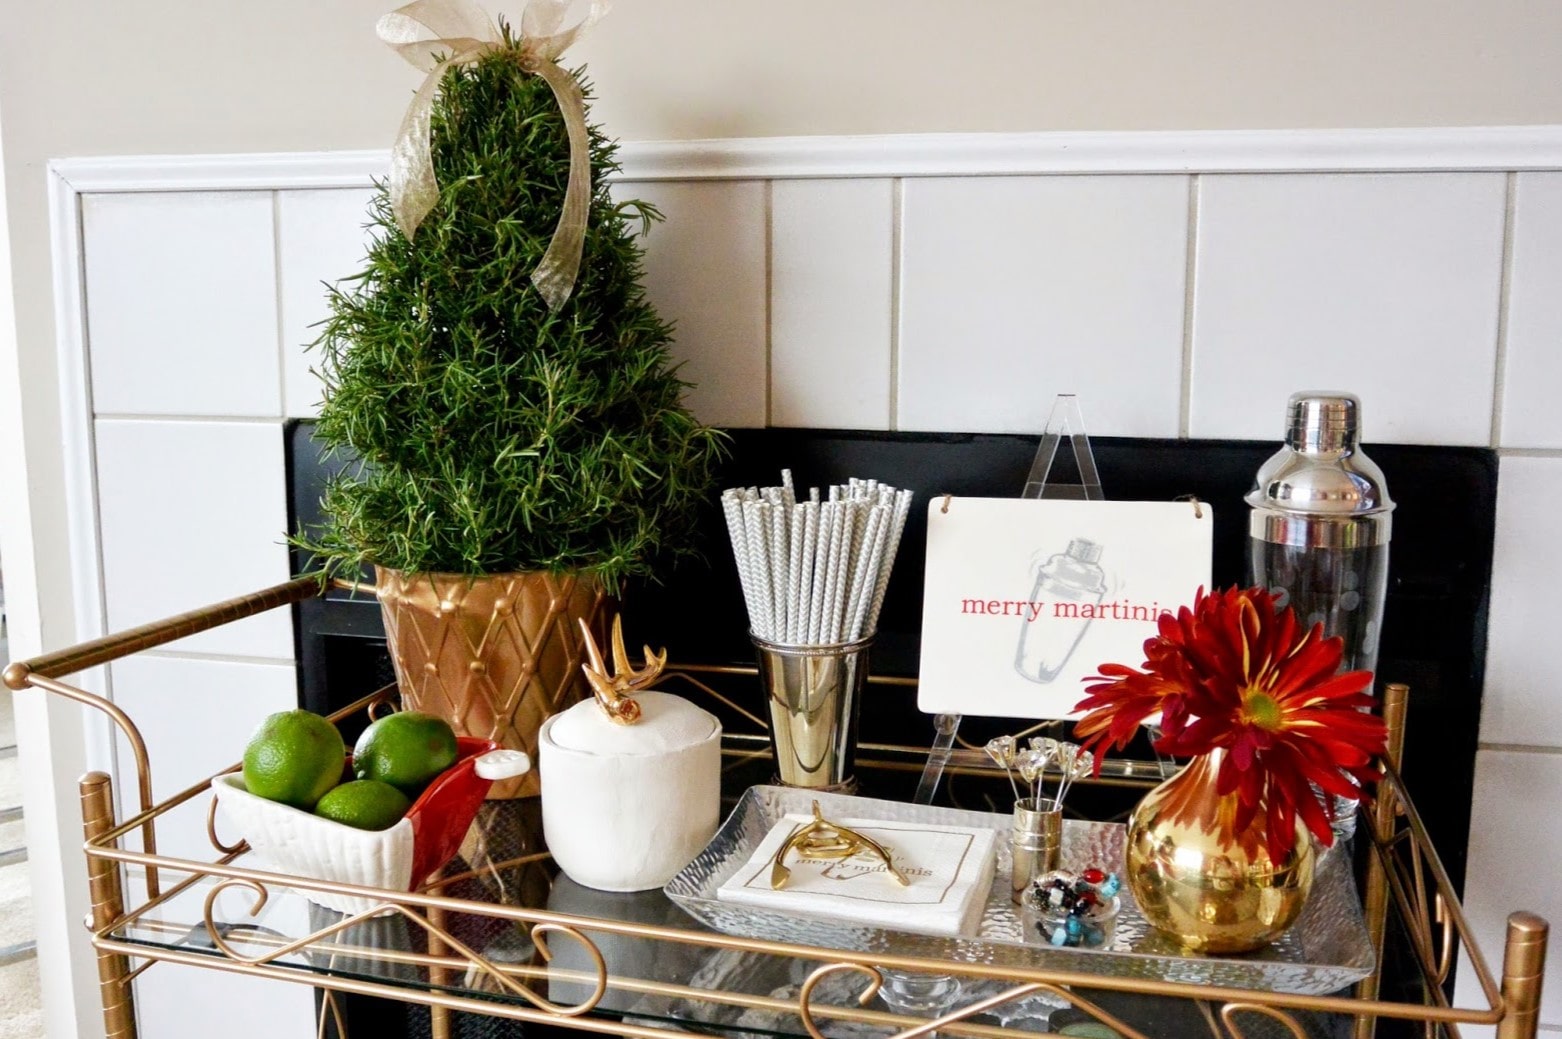
Glassware and Accessories
Choose an assortment of glassware that complements your chosen spirits, including cocktail glasses, highball glasses, and elegant stemware for wine and champagne. Incorporate accessories such as a cocktail shaker, mixing spoon, jigger, and strainer to facilitate the preparation of exquisite drinks. Display these items strategically on your cart to create an inviting and functional setup.
Artful Arrangement
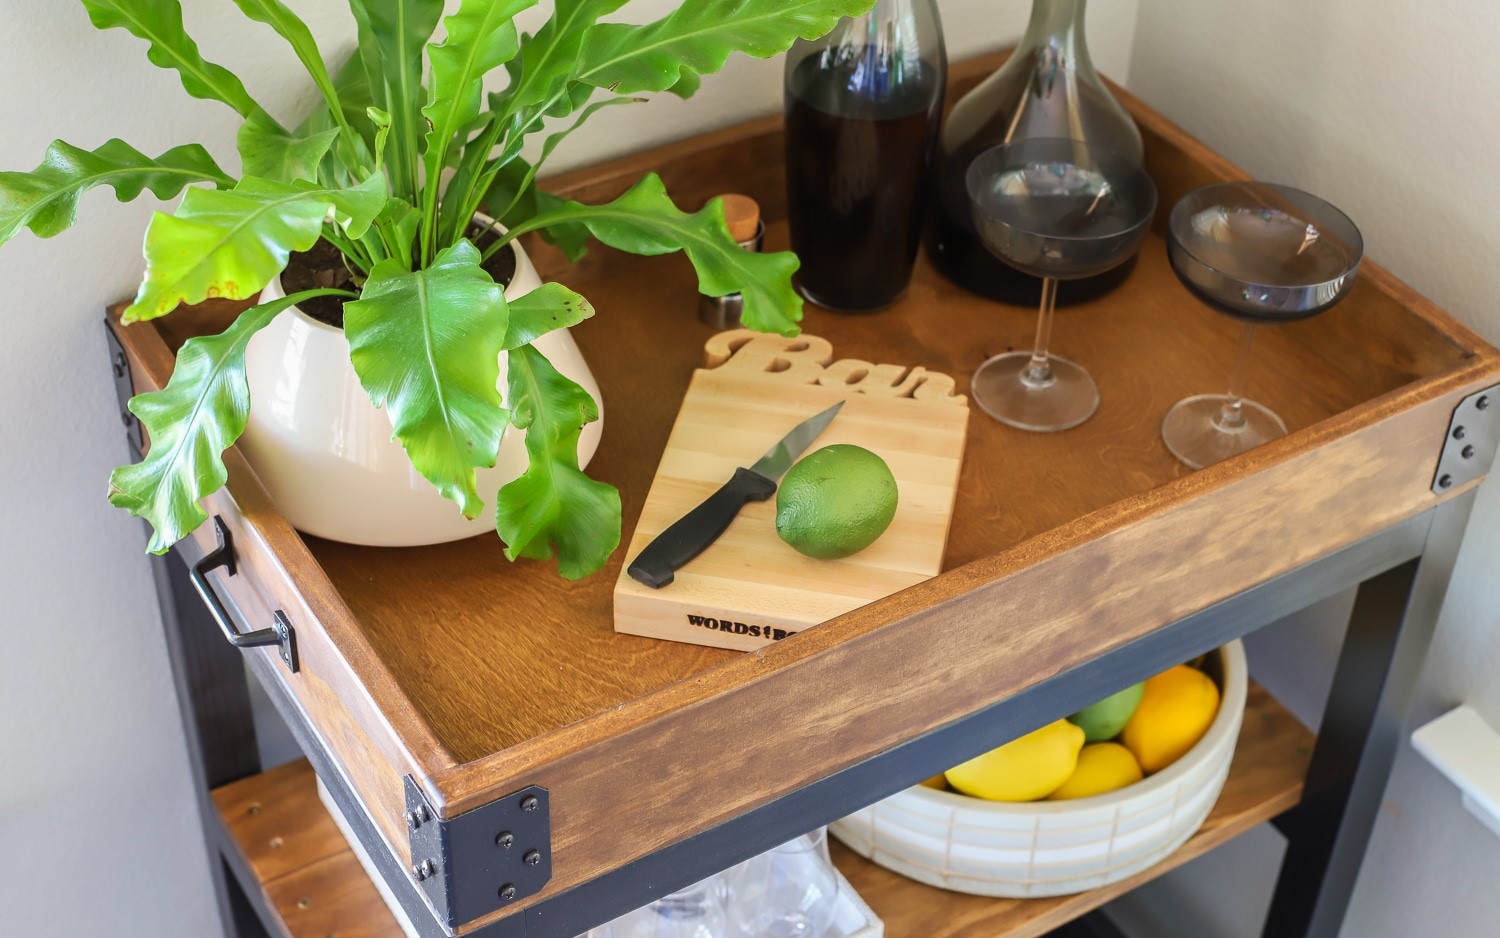
Arrange your spirits and glassware in a visually appealing manner, considering factors such as height variation, color coordination, and symmetry. Utilize the shelving and surfaces of the cart to create an artful display, ensuring that each bottle and glassware piece contributes to the overall aesthetic. Incorporate decorative elements such as fresh citrus fruits, aromatic herbs, or ornate coasters to add a touch of vibrancy and elegance.
Personal Touches
Infuse your bar cart with personal touches that reflect your individual style and preferences. Consider incorporating unique and meaningful items such as vintage cocktail napkins, custom drink stirrers, or a cherished family recipe book. These personal touches add character to your cart and create a warm and inviting atmosphere for entertaining guests.
Read more: How Tall Should A Bar Cart Be
Refreshing Garnishes
Include an assortment of fresh garnishes such as citrus wedges, berries, and herbs to enhance the visual appeal of your cart and provide essential ingredients for crafting delightful cocktails. Incorporating vibrant and aromatic garnishes not only adds a pop of color but also underscores your attention to detail and dedication to creating memorable drinks.
By thoughtfully stocking your gold bar cart with a well-curated selection of spirits, glassware, and decorative accents, you transform it into a captivating focal point that embodies both style and functionality. The artful arrangement of libations and accessories, coupled with personal touches and refreshing garnishes, ensures that your bar cart becomes a sophisticated and inviting space for indulging in delightful beverages and creating unforgettable moments with friends and loved ones.
Step 6: Styling Tips
Styling your gold bar cart is the final touch that brings all the elements together, elevating its visual appeal and creating a captivating ambiance. This step allows you to infuse your personal flair and creativity, transforming the cart into a stunning focal point that reflects your unique style. Here are some expert styling tips to guide you in curating a visually captivating and functional display:
Theme and Cohesiveness
Consider a cohesive theme or aesthetic for your bar cart to guide your styling choices. Whether it's a vintage-inspired speakeasy vibe, a modern and sleek look, or a bohemian chic atmosphere, a defined theme provides a framework for selecting decorative elements and accessories that harmonize with the overall design.
Balance and Symmetry
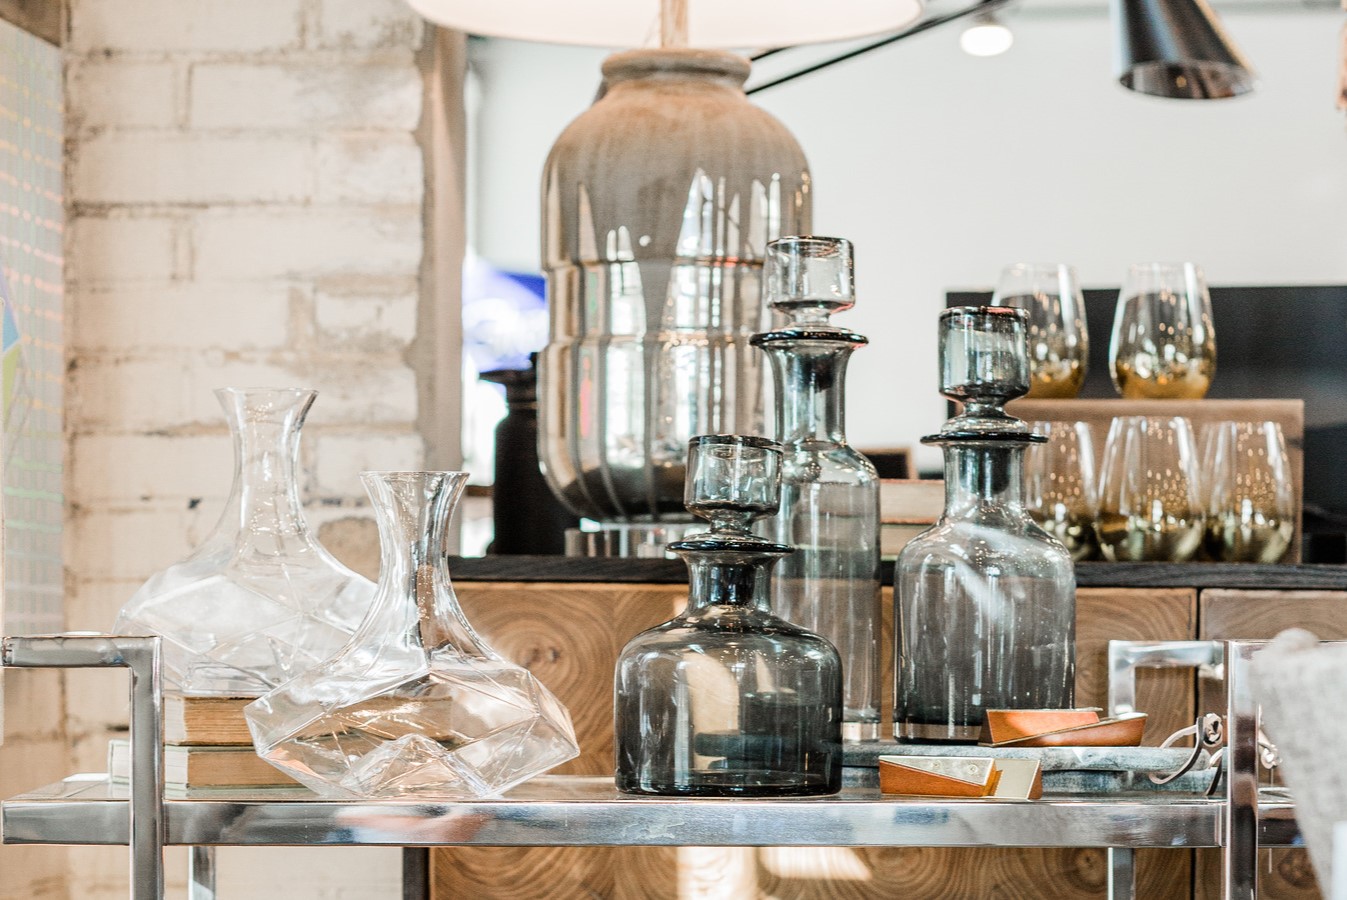
Achieve visual balance by arranging items symmetrically on the cart. Place taller bottles or decanters at the back, with medium-sized items in the middle, and smaller accessories at the front. This creates a sense of equilibrium and ensures that each element contributes to a harmonious and polished display.
Read more: How To Change Wheels On A Bar Cart
Layering and Texture
Incorporate layers and textures to add depth and visual interest to your bar cart. Utilize a mix of materials such as glass, metal, and wood to create a dynamic composition. Consider incorporating textured elements like a faux fur throw, a woven tray, or a metallic vase to introduce tactile appeal and dimension.
Greenery and Florals
Introduce a touch of nature by incorporating greenery and florals into your styling. A small potted plant, a vase of fresh flowers, or a succulent arrangement adds a refreshing and organic element to the cart, infusing it with life and vibrancy.
Artful Display
Treat styling your bar cart as an opportunity for artistic expression. Curate a visually captivating display by arranging items thoughtfully and incorporating decorative accents such as art prints, candles, or sculptural pieces. This transforms your cart into a captivating visual composition that sparks intrigue and admiration.
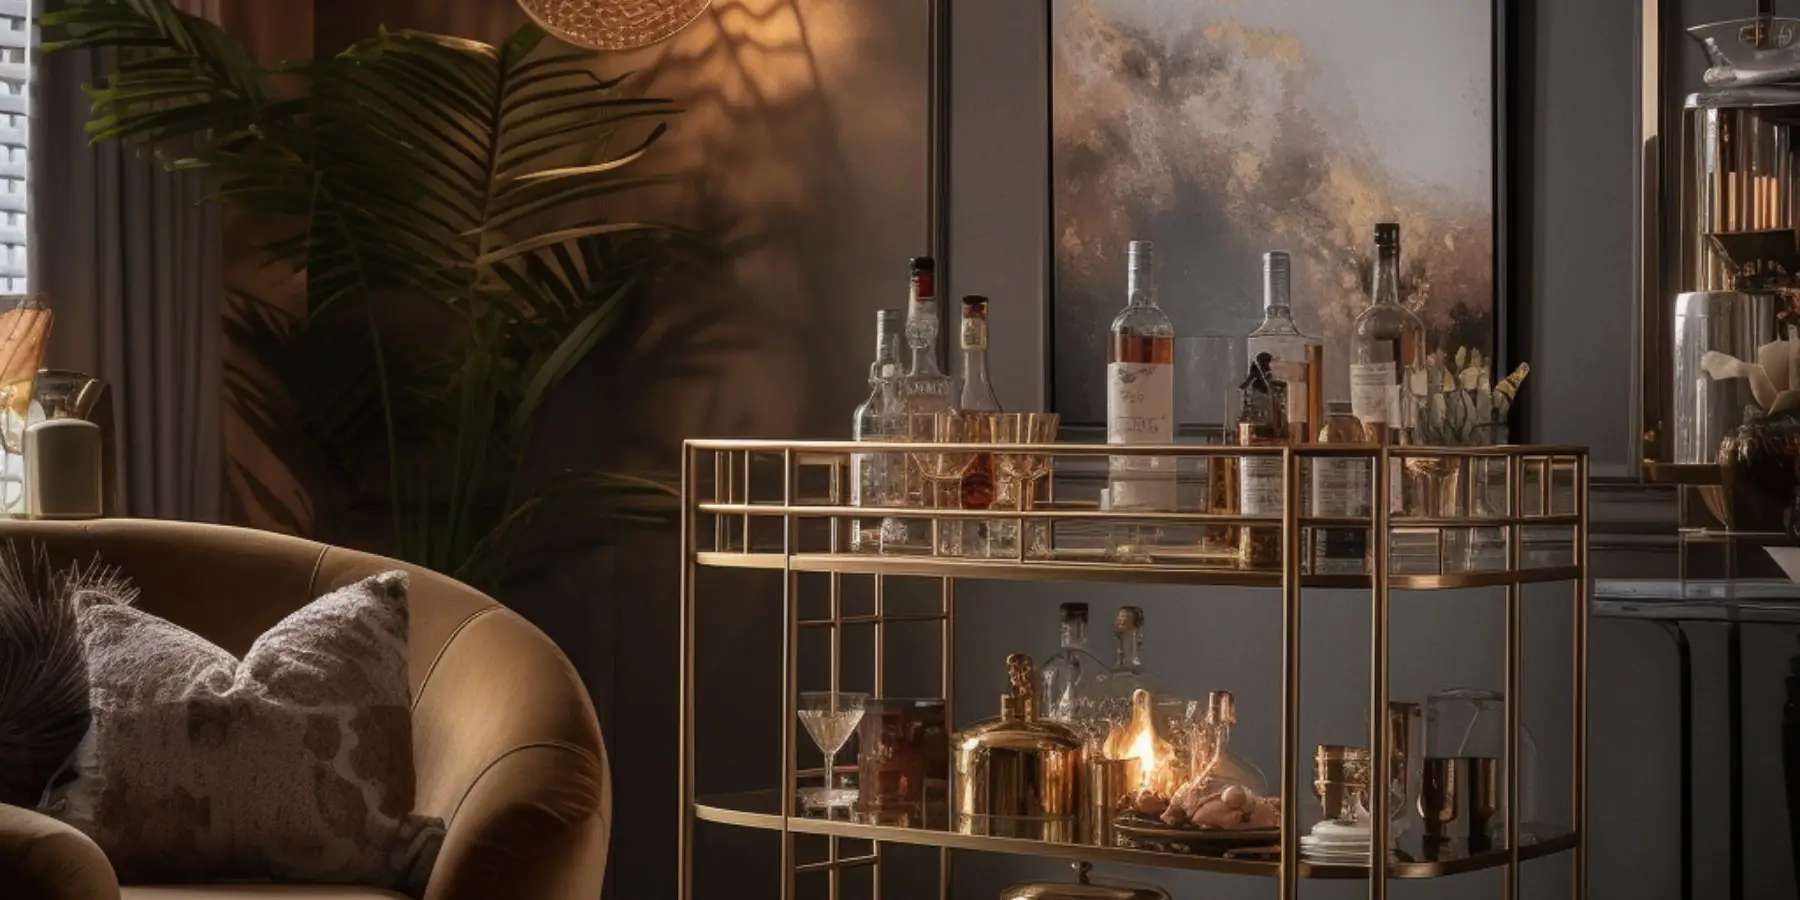
Lighting and Ambiance
Consider the lighting in the area where your bar cart is placed. Enhance the ambiance by incorporating soft lighting such as a decorative table lamp, string lights, or LED candles. Lighting not only illuminates the display but also sets a mood of warmth and intimacy, creating an inviting space for entertaining.
By implementing these styling tips, you can transform your gold bar cart into a captivating and personalized showcase that exudes sophistication and charm. The artful arrangement of elements, attention to detail, and cohesive theme culminate in a visually stunning and functional centerpiece that reflects your individual style and sets the stage for memorable gatherings and delightful indulgence.
Read more: How To Decorate My Bar Cart
Conclusion
In conclusion, the journey of building a gold bar cart is a delightful exploration of creativity, style, and functionality. From the initial selection of the perfect cart to the meticulous application of luxurious gold accents and the artful curation of libations and decorative elements, every step contributes to the transformation of a simple piece of furniture into a captivating centerpiece for your home.
As you stand back and admire your completed gold bar cart, you'll revel in the satisfaction of bringing your vision to life. The shimmering gold accents, carefully arranged spirits and glassware, and thoughtfully curated decorative touches culminate in a stunning display that reflects your unique style and personality. The bar cart becomes more than just a functional piece; it becomes a statement of sophistication and a focal point that draws admiration and sparks conversations.
Beyond its visual allure, the gold bar cart embodies the spirit of hospitality and conviviality. It stands ready to facilitate memorable gatherings, intimate conversations, and the crafting of exquisite cocktails. Its presence elevates the ambiance of your home, creating a space where indulgence and elegance converge.
Moreover, the process of building a gold bar cart is a testament to your ingenuity and resourcefulness. It's a celebration of DIY craftsmanship and the joy of transforming everyday objects into extraordinary works of art. Each decision, from selecting the cart to styling its contents, reflects your discerning taste and attention to detail.
As you embark on this journey, remember that the beauty of a gold bar cart lies not only in its opulent appearance but also in the experiences it fosters. It becomes a stage for creating cherished memories, sharing laughter, and savoring the finer things in life. Whether it's a quiet evening of relaxation or a lively gathering with friends, your gold bar cart stands as a symbol of refined indulgence and warm hospitality.
In the end, the completion of your gold bar cart marks the beginning of a new chapter in your home decor and entertaining endeavors. It's a testament to your ability to infuse everyday objects with elegance and charm, transforming your living space into a haven of sophistication and allure. So, raise a glass to your beautifully crafted gold bar cart, and let it serve as a beacon of style, hospitality, and the art of living well.
Frequently Asked Questions about How To Build A Gold Bar Cart
Was this page helpful?
At Storables.com, we guarantee accurate and reliable information. Our content, validated by Expert Board Contributors, is crafted following stringent Editorial Policies. We're committed to providing you with well-researched, expert-backed insights for all your informational needs.
0 thoughts on “How To Build A Gold Bar Cart”