Home>Kitchen & Cooking>Kitchen Furniture & Decor>How To Change Wheels On A Bar Cart

Kitchen Furniture & Decor
How To Change Wheels On A Bar Cart
Published: February 13, 2024
Learn how to easily change the wheels on your bar cart with our step-by-step guide. Elevate your kitchen furniture and decor effortlessly.
(Many of the links in this article redirect to a specific reviewed product. Your purchase of these products through affiliate links helps to generate commission for Storables.com, at no extra cost. Learn more)
Introduction
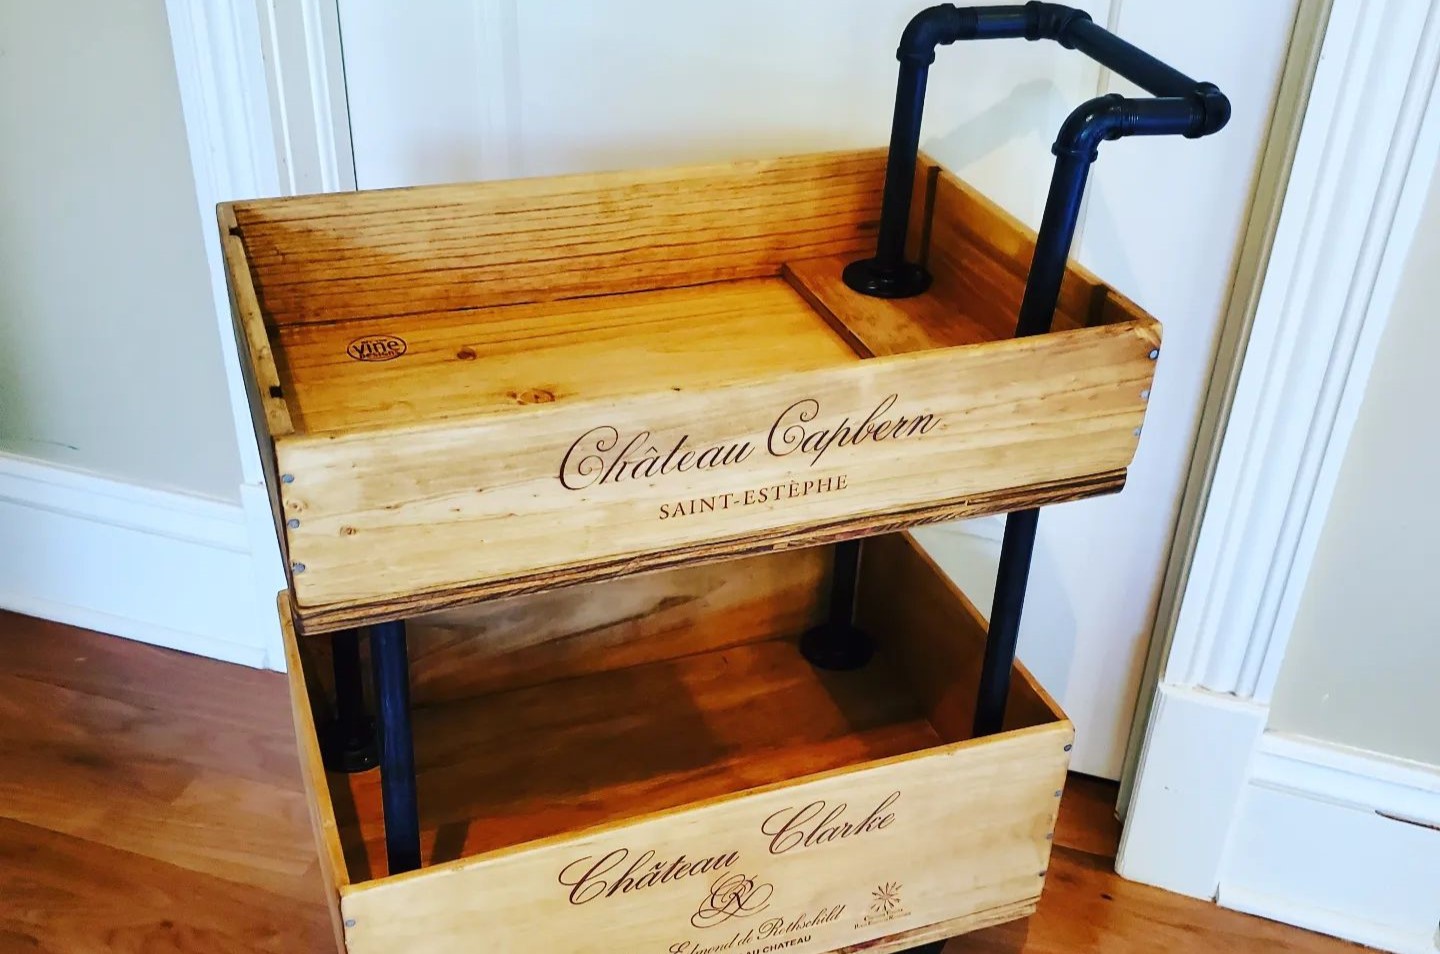
Changing the wheels on a bar cart can be a simple yet impactful way to enhance both the functionality and aesthetics of this versatile piece of furniture. Whether you're looking to replace worn-out wheels or upgrade to a different style, this DIY project allows you to personalize your bar cart to better suit your needs and preferences.
By following a few straightforward steps, you can transform the mobility and overall look of your bar cart, breathing new life into this essential piece of kitchen furniture. With the right tools and a bit of guidance, you can easily tackle this project, giving your bar cart a fresh and stylish update that will elevate your home decor.
In the following sections, we will walk through the process of changing the wheels on a bar cart, providing clear instructions and helpful tips to ensure a successful outcome. From gathering the necessary tools and materials to testing the cart's mobility after the wheel replacement, this guide will equip you with the knowledge and confidence to undertake this DIY endeavor with ease. So, let's roll up our sleeves and get ready to give your bar cart a well-deserved makeover!
Key Takeaways:
- Revitalize your bar cart by changing its wheels, enhancing both functionality and style. Gather tools, remove old wheels, attach new ones, and test for smooth mobility.
- Upgrading your bar cart’s wheels is a DIY project that adds personal flair and improved mobility. Follow steps to gather tools, remove old wheels, attach new ones, and test for stability.
Step 1: Gather Necessary Tools and Materials
Before embarking on the process of changing the wheels on your bar cart, it's essential to gather all the required tools and materials. Having everything at hand will streamline the project and ensure a smooth transition from old to new wheels. Here's a comprehensive list of what you'll need:
Tools:
- Screwdriver Set: A versatile set of screwdrivers, including both flathead and Phillips head varieties, will be indispensable for removing the old wheels and attaching the new ones.
- Adjustable Wrench: This tool will come in handy for loosening and tightening nuts and bolts, providing the necessary leverage to secure the new wheels in place.
- Pliers: Having a pair of pliers available can assist in gripping and manipulating small components, facilitating the wheel replacement process.
- Rubber Mallet: In case the old wheels are stubbornly attached, a rubber mallet can be used to gently tap and coax them off without damaging the bar cart.
Materials:
- Replacement Wheels: Depending on your preference and the specific requirements of your bar cart, select a set of wheels that align with the desired mobility and style. Whether you opt for swivel casters for enhanced maneuverability or sleek, industrial-inspired wheels for a modern touch, ensure that they are compatible with your bar cart's design and weight capacity.
- Replacement Hardware: In some cases, the new wheels may require specific hardware such as screws, nuts, or washers for installation. It's advisable to check the manufacturer's instructions or consult with a hardware store to obtain any additional components needed for the wheel replacement.
- Protective Gloves: To safeguard your hands during the wheel replacement process, consider wearing protective gloves, especially when handling tools and potentially sharp or dirty components.
By gathering these essential tools and materials, you'll be well-prepared to proceed with confidence to the next steps of removing the old wheels and attaching the new ones. With everything in place, you're one step closer to revitalizing your bar cart and infusing it with renewed functionality and style.
Step 2: Remove the Old Wheels
Removing the old wheels from your bar cart is a crucial step in the process of upgrading its mobility and appearance. Before starting, ensure that the bar cart is placed on a stable surface, and the contents, if any, are removed to prevent any interference during the wheel removal. Here's a detailed guide to help you navigate through this essential phase of the wheel replacement process:
-
Inspect the Existing Wheels: Begin by closely examining the current wheels to understand how they are attached to the bar cart. Depending on the design, the wheels may be secured with screws, bolts, or a locking mechanism. Understanding the attachment method will guide you in the removal process.
-
Use the Appropriate Tools: Based on the type of attachment, select the suitable tools from your gathered set. If the wheels are fastened with screws, a screwdriver will be necessary, while bolts may require an adjustable wrench. Ensure that the tools are compatible with the fasteners to avoid damaging them during removal.
-
Loosen and Remove Fasteners: Carefully loosen and remove the fasteners securing the old wheels to the bar cart. It's important to maintain a firm grip on the tools to prevent slippage and potential damage to the surrounding surfaces. If the fasteners are tightly secured, applying gentle pressure and using the appropriate tool for leverage will aid in their removal.
-
Gently Detach the Wheels: Once the fasteners are removed, gently detach the old wheels from the bar cart. Depending on the condition and attachment method, the wheels may come off easily or require a bit of maneuvering. If the wheels are stubbornly attached, a rubber mallet can be used to tap them from the underside, gradually loosening their grip without causing damage.
-
Inspect and Clean the Attachment Area: With the old wheels removed, take a moment to inspect the attachment area for any debris, rust, or wear. Cleaning the attachment points will ensure a smooth and secure fit for the new wheels, promoting optimal functionality and stability.
By following these steps, you can effectively remove the old wheels from your bar cart, setting the stage for the next phase of attaching the new wheels. With the old wheels out of the way, you're ready to embark on the exciting transformation of your bar cart, infusing it with fresh style and enhanced mobility.
Read more: How To Stock A Bar Cart
Step 3: Attach the New Wheels
With the old wheels successfully removed, it's time to usher in the new wheels and elevate the functionality and style of your bar cart. Attaching the new wheels is a pivotal step in this DIY project, and attention to detail is key to ensuring a secure and seamless installation. Here's a comprehensive guide to help you navigate through the process of attaching the new wheels to your bar cart:
-
Select the Right Hardware: Before proceeding, ensure that you have the appropriate hardware for attaching the new wheels. Depending on the design of the wheels and the bar cart, this may include screws, bolts, washers, or any specialized components provided with the replacement wheels. It's essential to match the hardware to the specifications of the new wheels to guarantee a secure attachment.
-
Align the New Wheels: Position the new wheels at the designated attachment points on the bar cart. Ensure that the wheels are aligned correctly and that any pre-drilled holes or mounting brackets on the wheels align with the corresponding points on the bar cart. This alignment is crucial for stability and smooth mobility once the wheels are secured in place.
-
Secure the Wheels: Using the appropriate hardware and tools, begin securing the new wheels to the bar cart. If the wheels feature pre-drilled holes, align them with the attachment points and insert the screws or bolts. Ensure that the fasteners are tightened securely, providing a stable connection between the wheels and the bar cart. A firm attachment is essential for the safe and reliable movement of the cart.
-
Check for Stability: Once the new wheels are attached, perform a brief stability check by gently rocking the bar cart from side to side. This test will help you assess the security of the wheel attachment and identify any potential issues with stability. If there is any wobbling or instability, recheck the fasteners and make any necessary adjustments to ensure a solid and balanced connection.
-
Test the Mobility: With the new wheels securely attached, test the mobility of the bar cart by rolling it across different surfaces. Verify that the wheels move smoothly and that the cart maintains stability during movement. This test will confirm that the new wheels are functioning as intended and that the bar cart is ready to resume its role as a versatile and mobile furniture piece in your home.
By following these steps, you can effectively attach the new wheels to your bar cart, completing the transformation process and infusing it with renewed functionality and style. With the new wheels in place, your bar cart is poised to serve as a practical and visually appealing addition to your kitchen or entertaining space, ready to roll with ease and grace.
When changing wheels on a bar cart, make sure to use the appropriate tools such as a wrench or screwdriver to remove the old wheels. Then, simply attach the new wheels by securing them with the same tools.
Step 4: Test the Cart
After successfully attaching the new wheels to your bar cart, it's essential to conduct a thorough evaluation of its mobility and stability. Testing the cart will not only validate the effectiveness of the wheel replacement but also ensure that the cart is ready to fulfill its functional role in your living space. Here's a detailed guide to help you navigate through the crucial phase of testing the cart:
-
Surface Compatibility: Roll the bar cart across various surfaces within your home, including hardwood floors, tiles, and carpets. By testing the cart on different surfaces, you can assess its adaptability and ensure that the wheels provide smooth and consistent mobility regardless of the flooring type. Pay attention to any resistance or uneven movement, as this may indicate a need for further adjustments.
-
Maneuverability: Test the cart's maneuverability by navigating it through tight spaces and around furniture. The new wheels should facilitate effortless movement, allowing you to navigate the cart with ease, even in confined areas. Assess the cart's ability to make turns and change direction smoothly, ensuring that the new wheels enhance its overall maneuverability.
-
Stability and Balance: Place items of varying weights on the bar cart to evaluate its stability and balance. Assess how the cart handles the additional weight and whether the new wheels maintain stability without wobbling or tilting. This test will validate the reliability of the wheel attachment and ensure that the cart can accommodate items securely while in motion.
-
Braking Mechanism (If Applicable): If the new wheels feature a braking mechanism, engage the brakes to test their effectiveness. Verify that the brakes hold the cart in place when engaged and release smoothly when disengaged. This step is crucial for ensuring that the braking system functions as intended, providing control over the cart's movement when necessary.
-
Overall Performance: Evaluate the overall performance of the bar cart with the new wheels, taking note of any improvements in its mobility and functionality. Consider how the updated wheels enhance the cart's usability and visual appeal, contributing to a seamless and enjoyable experience when using the cart for serving, storage, or display purposes.
By conducting a comprehensive test of the cart, you can confidently affirm the success of the wheel replacement and the enhanced functionality of your bar cart. With the new wheels proving their reliability and adaptability, your bar cart is now poised to seamlessly integrate into your daily routines, offering both practical utility and aesthetic charm to your living space.
Conclusion
In conclusion, the process of changing the wheels on a bar cart presents a rewarding opportunity to revitalize this essential piece of kitchen furniture. By following the outlined steps and leveraging the right tools and materials, you can seamlessly transition from old, worn-out wheels to new, stylish ones, enhancing both the functionality and visual appeal of your bar cart.
The journey begins with gathering the necessary tools and materials, ensuring that you have everything at hand to facilitate a smooth and efficient wheel replacement. From screwdrivers and adjustable wrenches to replacement wheels and protective gloves, the preparation phase sets the stage for a successful transformation.
Removing the old wheels marks a pivotal step in the process, requiring careful inspection, the use of appropriate tools, and gentle detachment to prepare the bar cart for its updated mobility. This phase sets the foundation for attaching the new wheels, allowing for a seamless transition that aligns with the cart's design and weight capacity.
Attaching the new wheels demands precision and attention to detail, ensuring that the wheels are aligned correctly and securely fastened to the bar cart. The stability and mobility of the cart are put to the test, validating the effectiveness of the wheel replacement and affirming the enhanced functionality of the updated bar cart.
Finally, the comprehensive evaluation of the cart's mobility, stability, and overall performance confirms the success of the wheel replacement, culminating in a bar cart that is ready to seamlessly integrate into your living space, offering both practical utility and aesthetic charm.
With the new wheels in place, your bar cart is poised to serve as a versatile and stylish addition to your kitchen or entertaining area, ready to roll with ease and grace. Embracing this DIY project not only elevates the functionality of your bar cart but also allows you to infuse your personal style into this essential piece of kitchen furniture, creating a customized and visually appealing asset for your home.
Frequently Asked Questions about How To Change Wheels On A Bar Cart
Was this page helpful?
At Storables.com, we guarantee accurate and reliable information. Our content, validated by Expert Board Contributors, is crafted following stringent Editorial Policies. We're committed to providing you with well-researched, expert-backed insights for all your informational needs.


0 thoughts on “How To Change Wheels On A Bar Cart”