Home>Kitchen & Cooking>Kitchen Furniture & Decor>How To Build A Bar Cart With Crates
Kitchen Furniture & Decor
How To Build A Bar Cart With Crates
Modified: August 27, 2024
Learn how to create a stylish and functional bar cart using crates for your kitchen furniture and decor. Discover step-by-step instructions and design tips. Elevate your home bar setup today!
(Many of the links in this article redirect to a specific reviewed product. Your purchase of these products through affiliate links helps to generate commission for Storables.com, at no extra cost. Learn more)
Introduction
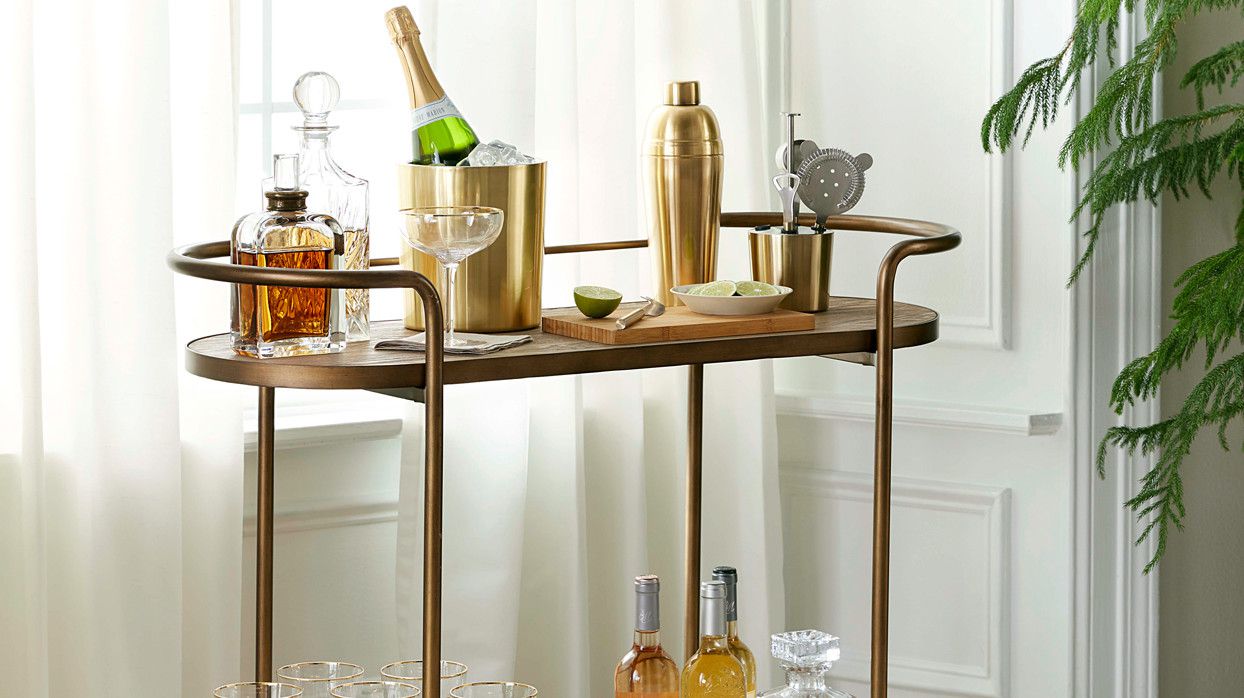
Building a bar cart with crates is a fantastic way to add a touch of rustic charm and functionality to your kitchen or living space. Whether you're a seasoned DIY enthusiast or just starting to explore the world of crafting, this project offers a perfect blend of creativity and practicality. By repurposing wooden crates, you can create a unique and versatile piece of furniture that not only serves as a stylish storage solution but also adds a delightful vintage flair to your home decor.
Crafting your own bar cart using crates allows you to customize the design to suit your personal style and space requirements. Whether you prefer a minimalist, industrial look or a cozy, farmhouse vibe, the possibilities are endless. Additionally, this project provides an opportunity to unleash your creativity by incorporating decorative elements and organizing your favorite bar essentials in a visually appealing manner.
As you embark on this DIY journey, you'll discover the joy of transforming simple materials into a functional and eye-catching furniture piece. The process of assembling the crates, attaching the wheels, and arranging the shelves offers a hands-on experience that can be both rewarding and enjoyable. Furthermore, the end result will not only showcase your craftsmanship but also serve as a conversation starter when entertaining guests.
In the following sections, we will delve into the step-by-step process of creating your own bar cart using crates. From gathering the necessary materials to adding the finishing touches, each stage of the project will be outlined in detail, providing you with the guidance and inspiration needed to bring your vision to life. So, roll up your sleeves, gather your supplies, and let's embark on this exciting DIY adventure to build a one-of-a-kind bar cart that reflects your unique style and enhances the functionality of your living space.
Key Takeaways:
- Transform simple wooden crates into a stylish and functional bar cart, adding rustic charm and personalized flair to your living space through DIY creativity.
- Elevate your bar cart with sturdy caster wheels, organized shelves, and personalized decorations, creating a unique and versatile centerpiece that reflects your individual style and enhances your hosting experiences.
Read more: How To Build A Gold Bar Cart
Materials Needed
To embark on the journey of creating your own bar cart with crates, you'll need a selection of materials to bring your vision to life. Gathering the following items will set the stage for a successful and enjoyable DIY project:
-
Wooden Crates: The foundation of your bar cart will be the wooden crates. Opt for sturdy, well-constructed crates that will provide the structural integrity needed for the cart. You can choose to use new crates for a pristine look or repurpose old, weathered crates for a charming vintage appeal.
-
Caster Wheels: Selecting the right caster wheels is crucial for ensuring the mobility and functionality of your bar cart. Look for wheels that are durable, smooth-rolling, and capable of supporting the weight of the fully loaded cart. Swivel wheels with locks are recommended for easy maneuverability and stability.
-
Screws and Bolts: Assembling the crates and attaching the wheels will require a variety of screws and bolts. Ensure that you have an assortment of sizes to accommodate different thicknesses of wood and to securely fasten the wheels to the base of the cart.
-
Power Drill: A power drill will be essential for drilling pilot holes and attaching the screws and bolts. Make sure to have a suitable drill bit for the screws and bolts you'll be using to ensure a precise and secure fit.
-
Screwdriver: While a power drill will handle the heavy lifting, a screwdriver will come in handy for any manual adjustments and fine-tuning during the assembly process.
-
Sandpaper: Depending on the condition of the crates, you may need to sand down any rough edges or surfaces to achieve a smooth and polished look. Sandpaper with varying grits will allow you to achieve the desired level of smoothness and finish.
-
Paint or Stain (Optional): If you wish to customize the appearance of your bar cart, consider using paint or wood stain to add a pop of color or enhance the natural beauty of the wood. This step is entirely optional and can be tailored to match your personal style and existing decor.
-
Decorative Elements: To infuse your bar cart with personality and charm, gather decorative elements such as knobs, handles, or other embellishments that resonate with your aesthetic preferences. These details will add a unique touch to the finished cart and elevate its visual appeal.
By ensuring that you have these materials on hand, you'll be well-prepared to embark on the exciting process of building a bar cart with crates. With these foundational elements in place, you can look forward to a rewarding and creative DIY experience that culminates in a stylish and functional addition to your living space.
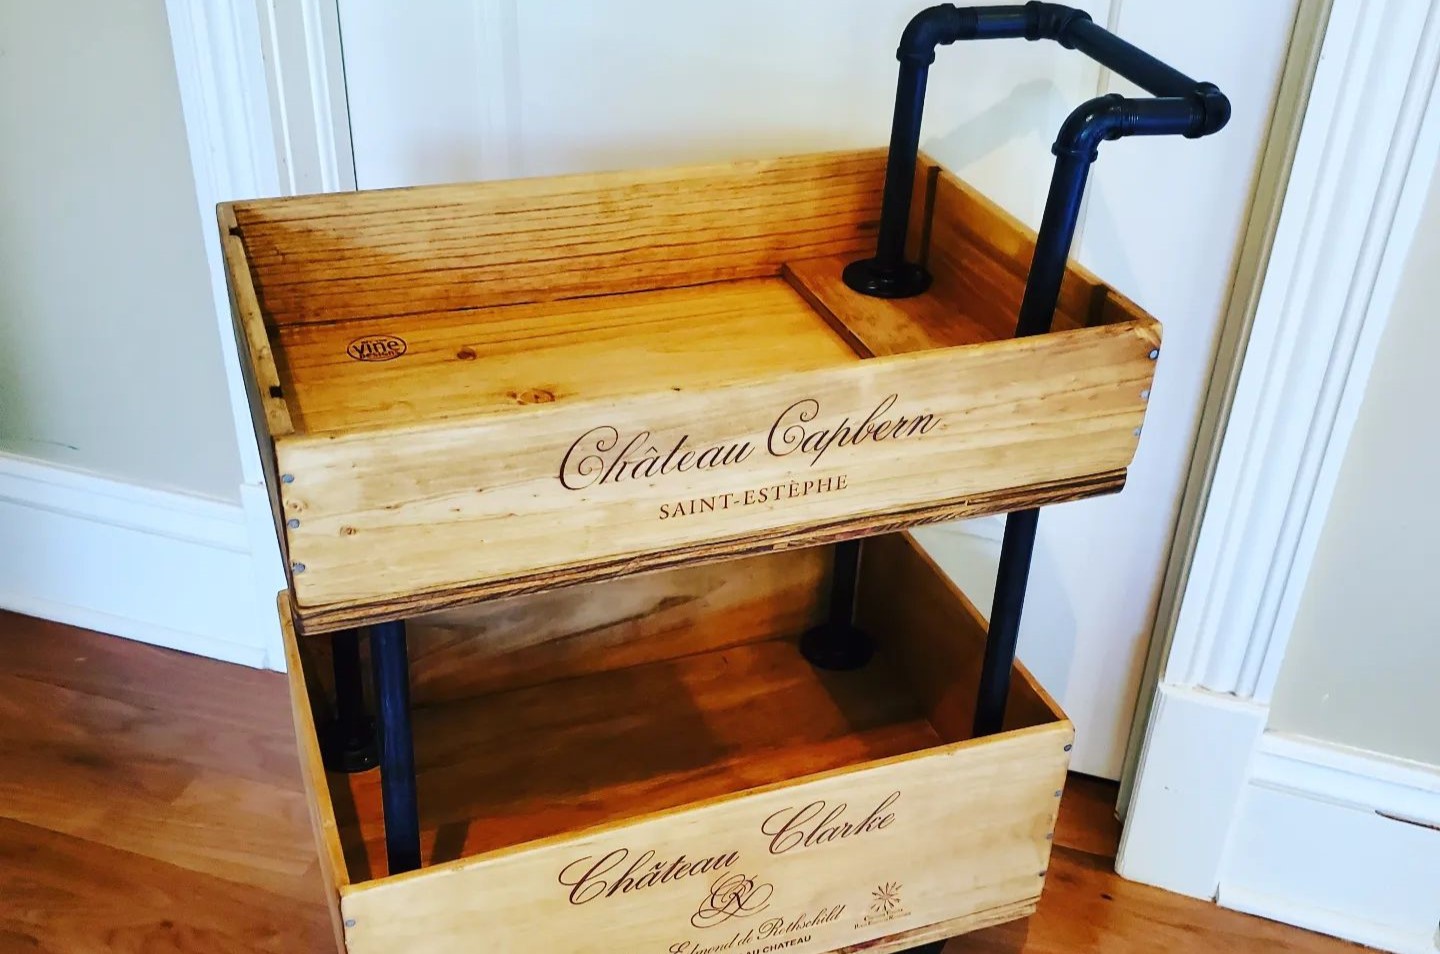
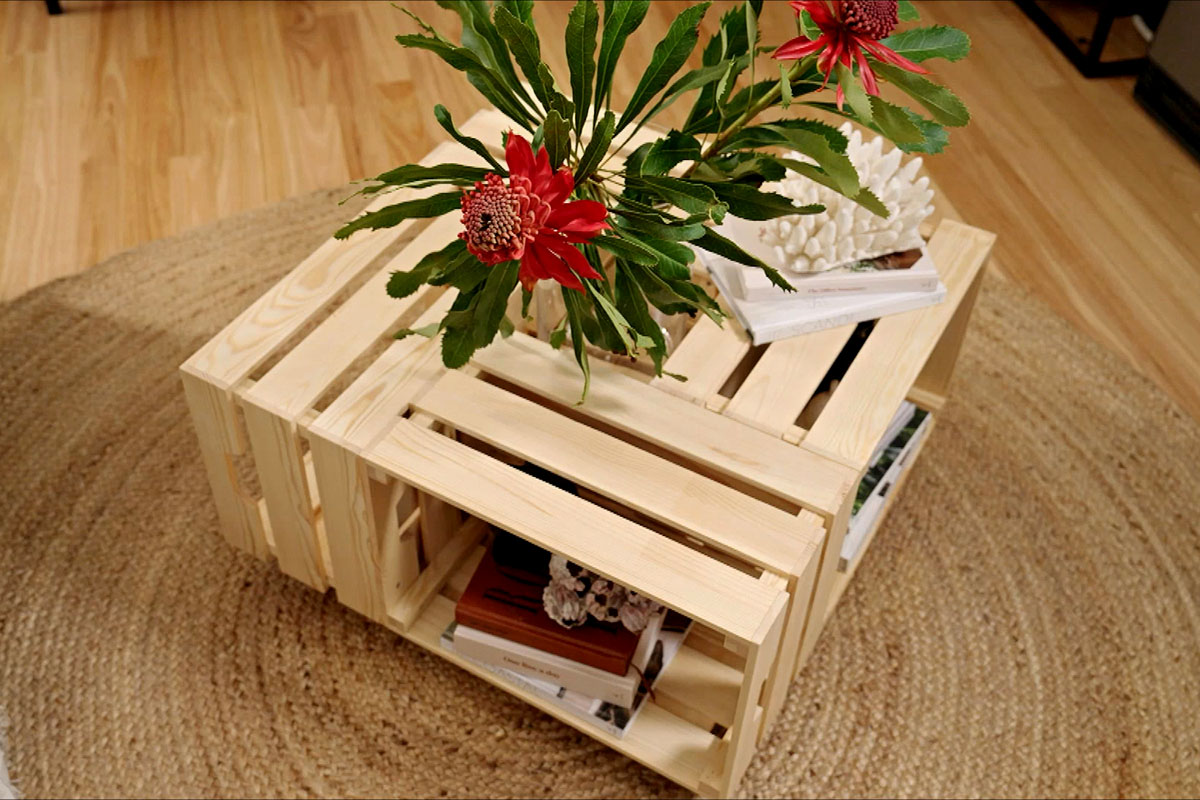
Step 1: Assemble the Crates
Assembling the crates forms the fundamental stage of creating a unique and functional bar cart. Begin by arranging the wooden crates in the desired configuration, considering both the aesthetic appeal and practicality of the layout. Whether you opt for a traditional rectangular shape or a more unconventional arrangement, ensure that the crates are aligned securely to form the base of the cart.
Once you have determined the layout, use screws and a power drill to fasten the crates together. Position the crates in the chosen arrangement and drill pilot holes through the sides where they meet. This step is crucial for ensuring a secure and stable connection between the crates. Subsequently, insert screws into the pilot holes and tighten them to firmly join the crates, creating a solid foundation for the bar cart.
As you progress with the assembly, pay attention to the alignment and stability of the crates to guarantee a level and balanced structure. This meticulous approach will contribute to the overall durability and functionality of the bar cart, ensuring that it can safely accommodate the weight of beverages, glassware, and other bar essentials.
Additionally, consider the spacing between the crates to allow for easy access to the contents of the cart. Depending on your preferences, you may choose to leave open compartments for larger items or incorporate additional shelves within the crates to create designated storage areas for smaller items.
Throughout the assembly process, take the time to assess the structural integrity of the interconnected crates, making any necessary adjustments to reinforce their stability. Once the crates are securely assembled, you will have laid the groundwork for the next stages of the project, bringing you one step closer to completing your personalized bar cart with crates.
By meticulously assembling the crates, you are setting the stage for a visually captivating and functional bar cart that reflects your unique style and craftsmanship. This initial step forms the backbone of the project, providing a solid framework upon which the subsequent stages will build, ultimately culminating in the realization of your DIY bar cart vision.
Step 2: Attach the Wheels
With the crates assembled to form the base of the bar cart, the next crucial step is to attach the wheels, which will not only enhance the mobility of the cart but also contribute to its overall aesthetic appeal. The addition of sturdy and smooth-rolling caster wheels will transform the static crates into a versatile and functional piece of furniture that can be effortlessly maneuvered to accommodate various hosting needs.
Begin by selecting the appropriate caster wheels for the bar cart. Opt for wheels that are designed to support the anticipated weight of the cart, ensuring durability and stability. Swivel wheels with locks are recommended to facilitate easy navigation and secure positioning once the cart is in place. The size of the wheels should also be considered, taking into account the desired height and proportion of the finished bar cart.
Position the crates in a stable and accessible location, allowing ample space to maneuver around them during the wheel attachment process. Carefully mark the locations where the wheels will be attached to the base of the cart, ensuring equal spacing and alignment for a balanced and uniform appearance.
Using a power drill and suitable screws or bolts, secure the caster wheels to the underside of the crates. It is essential to drill pilot holes to prevent the wood from splitting and to facilitate the smooth insertion of the screws or bolts. Once the wheels are in place, tighten the fasteners to ensure a secure and stable attachment, verifying that each wheel rotates freely and uniformly supports the weight of the cart.
After attaching the wheels, test the mobility and maneuverability of the bar cart to ensure that the wheels function smoothly and that the cart moves with ease. If necessary, make any adjustments to the wheel alignment or tightness of the fasteners to optimize the performance of the wheels.
The addition of caster wheels not only enhances the practicality of the bar cart but also introduces a touch of industrial charm, complementing the rustic aesthetic of the wooden crates. With the wheels securely attached, the bar cart is one step closer to becoming a versatile and eye-catching furniture piece that seamlessly integrates functionality and style.
By meticulously attaching the wheels, you are elevating the bar cart to a new level of functionality and visual appeal, setting the stage for the final stages of the project, where the cart will be personalized and adorned with decorative elements to reflect your unique style and enhance its overall charm.
Step 3: Add the Shelves
Adding shelves to your DIY bar cart with crates is a pivotal stage that elevates its functionality and organization. By incorporating shelves within the crates, you can create designated storage areas for various bar essentials, such as bottles, glassware, and cocktail accessories. This step not only enhances the practicality of the bar cart but also allows you to customize the layout to suit your specific storage needs and aesthetic preferences.
Begin by assessing the internal dimensions of the assembled crates to determine the most suitable placement for the shelves. Consider the height and spacing between the shelves to accommodate items of varying sizes while ensuring efficient utilization of the available space. Depending on the design of the crates and your personal preferences, you may opt for fixed shelves or adjustable ones to provide flexibility in organizing the contents of the cart.
Once you have established the shelf placement, proceed to create the shelves using sturdy wooden boards or repurposed materials that align with the rustic charm of the crates. Measure and cut the boards to fit snugly within the crates, ensuring a precise and secure fit. Sand the edges and surfaces of the shelves to achieve a smooth finish, enhancing both the visual appeal and functionality of the storage compartments.
Using screws and a power drill, attach the shelves to the interior of the crates, securing them in place to withstand the weight of the items they will hold. It is essential to drill pilot holes to prevent the wood from splitting and to facilitate the seamless insertion of the screws. Verify the stability and levelness of the shelves, making any necessary adjustments to ensure a uniform and secure installation.
As the shelves are integrated into the bar cart, envision the arrangement of bar essentials within the designated storage areas, optimizing the layout to enhance accessibility and visual appeal. Consider organizing bottles, glassware, and decorative accents in a manner that reflects your personal style and facilitates effortless retrieval when preparing and serving beverages.
By adding shelves to the bar cart, you are transforming it into a well-organized and visually captivating furniture piece that harmoniously combines form and function. This stage marks a significant stride toward completing your personalized bar cart with crates, bringing you closer to the final embellishments and the fulfillment of your DIY project vision.
Read more: How To Build A Bar Cart From Scratch
Step 4: Decorate and Organize
With the foundational elements of the bar cart in place, it's time to infuse it with personality and charm through thoughtful decoration and strategic organization. This stage allows you to unleash your creativity and transform the functional cart into a visually captivating and personalized centerpiece for your living space.
Personalized Touches
Consider adding decorative elements that resonate with your aesthetic preferences, such as ornate knobs, sleek handles, or vintage drawer pulls. These details can serve as eye-catching accents that reflect your unique style and contribute to the overall allure of the bar cart. By incorporating these personalized touches, you can elevate the cart from a practical storage solution to a statement piece that exudes character and individuality.
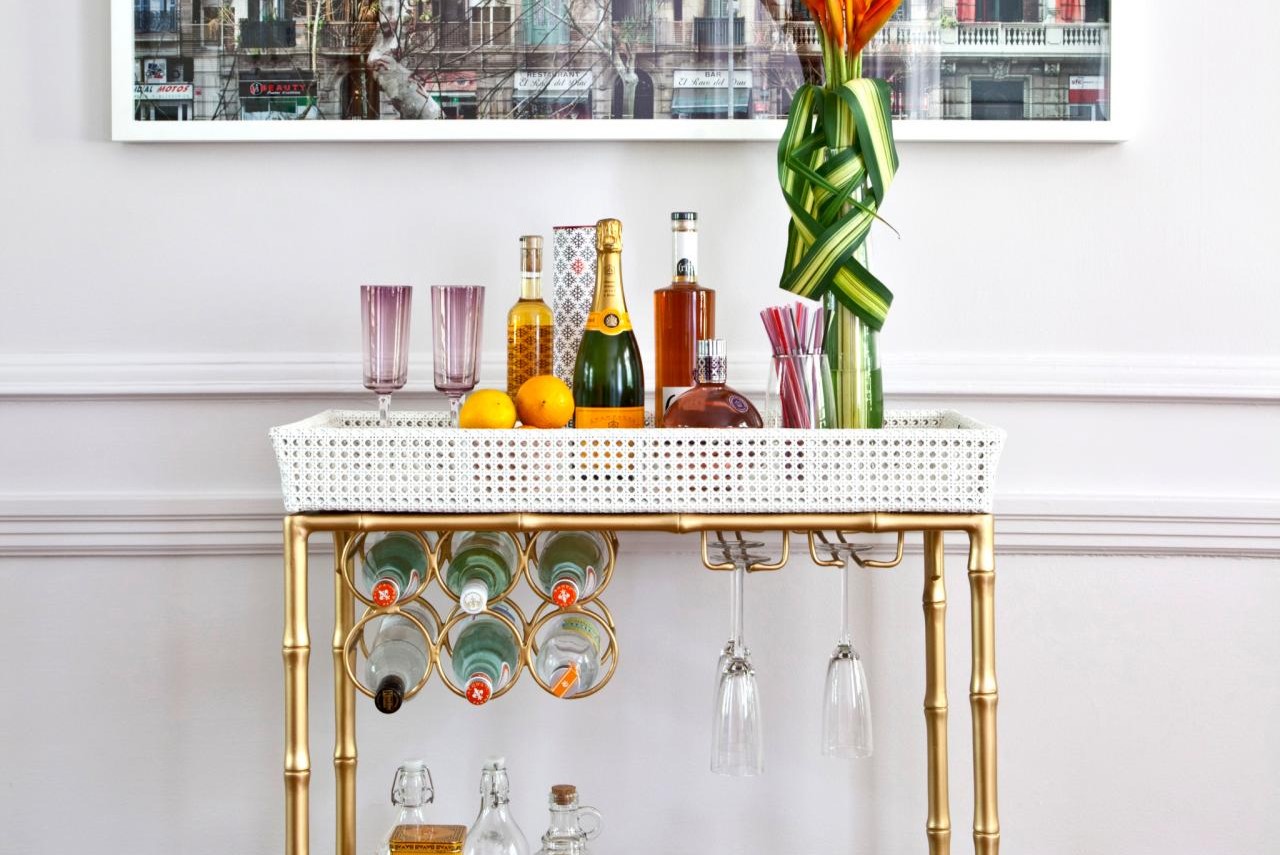
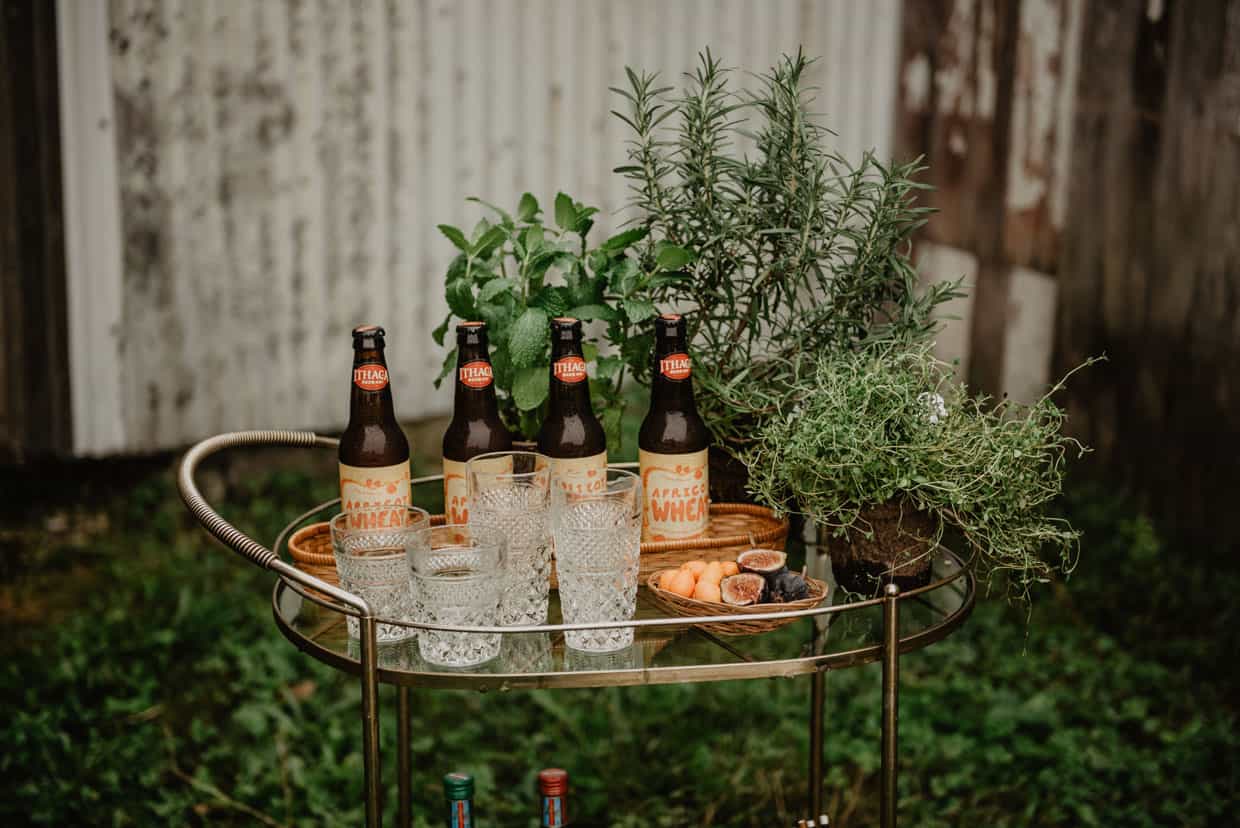
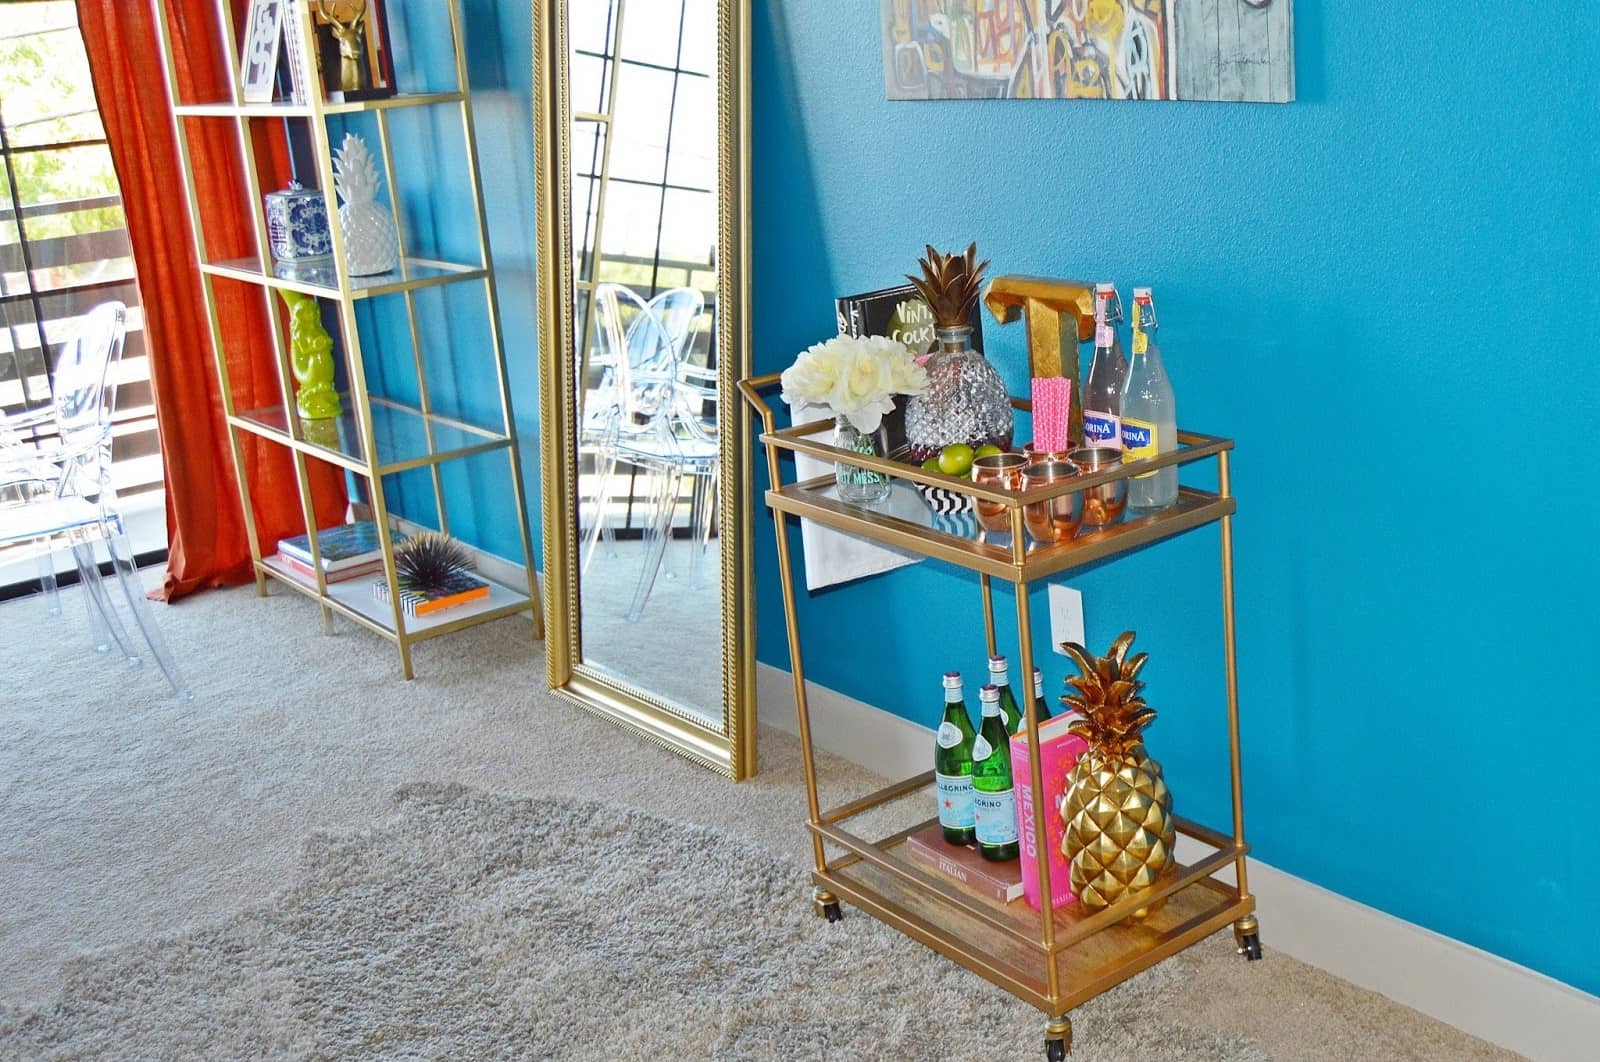
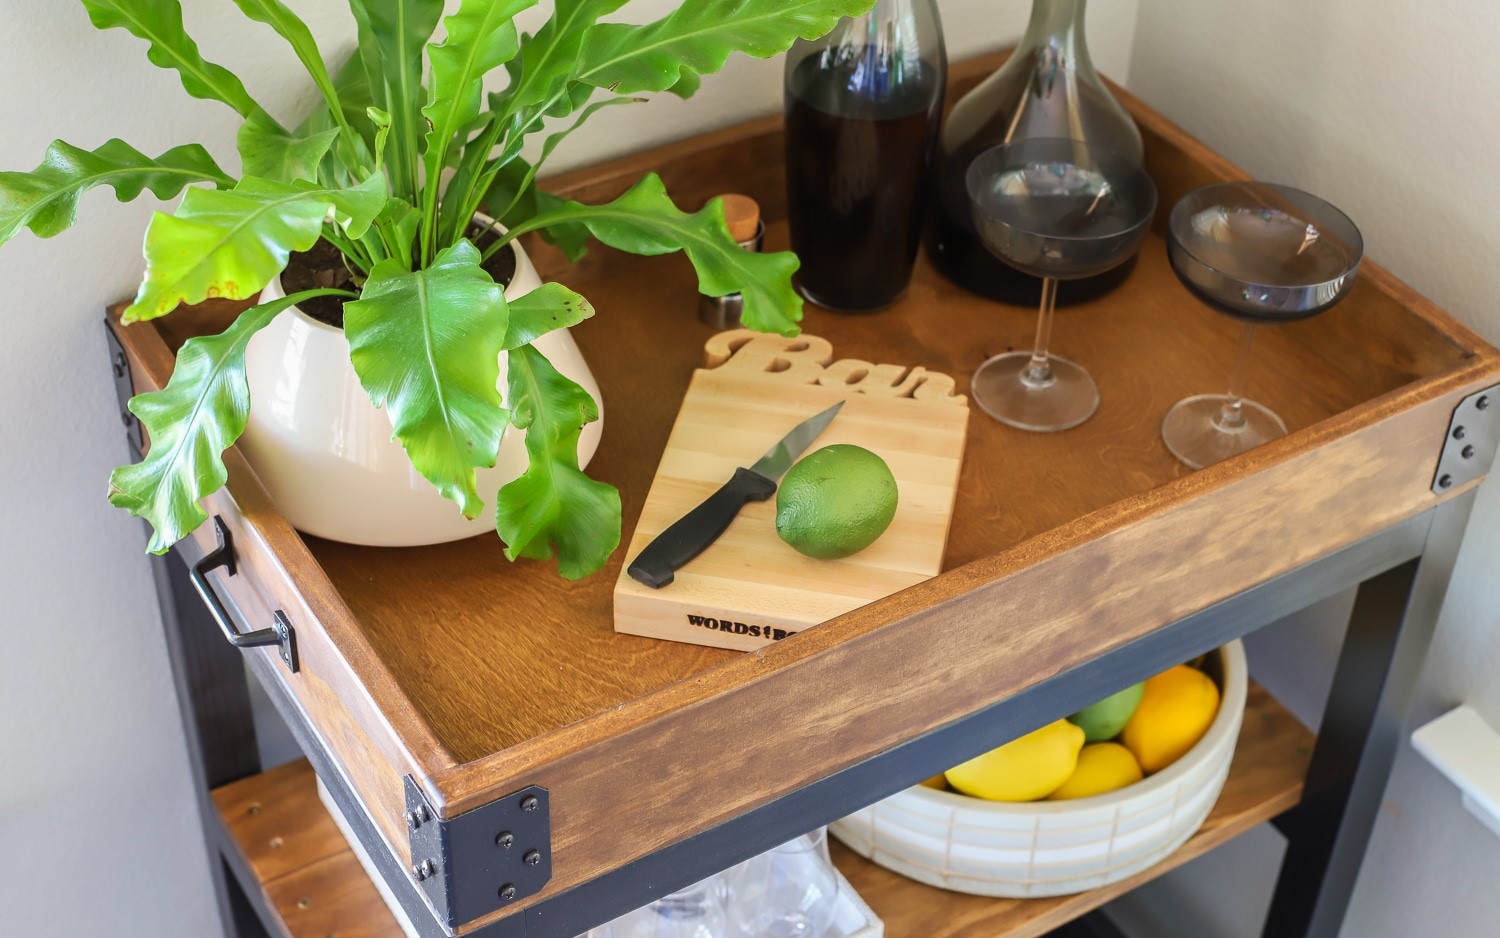
Stylish Display
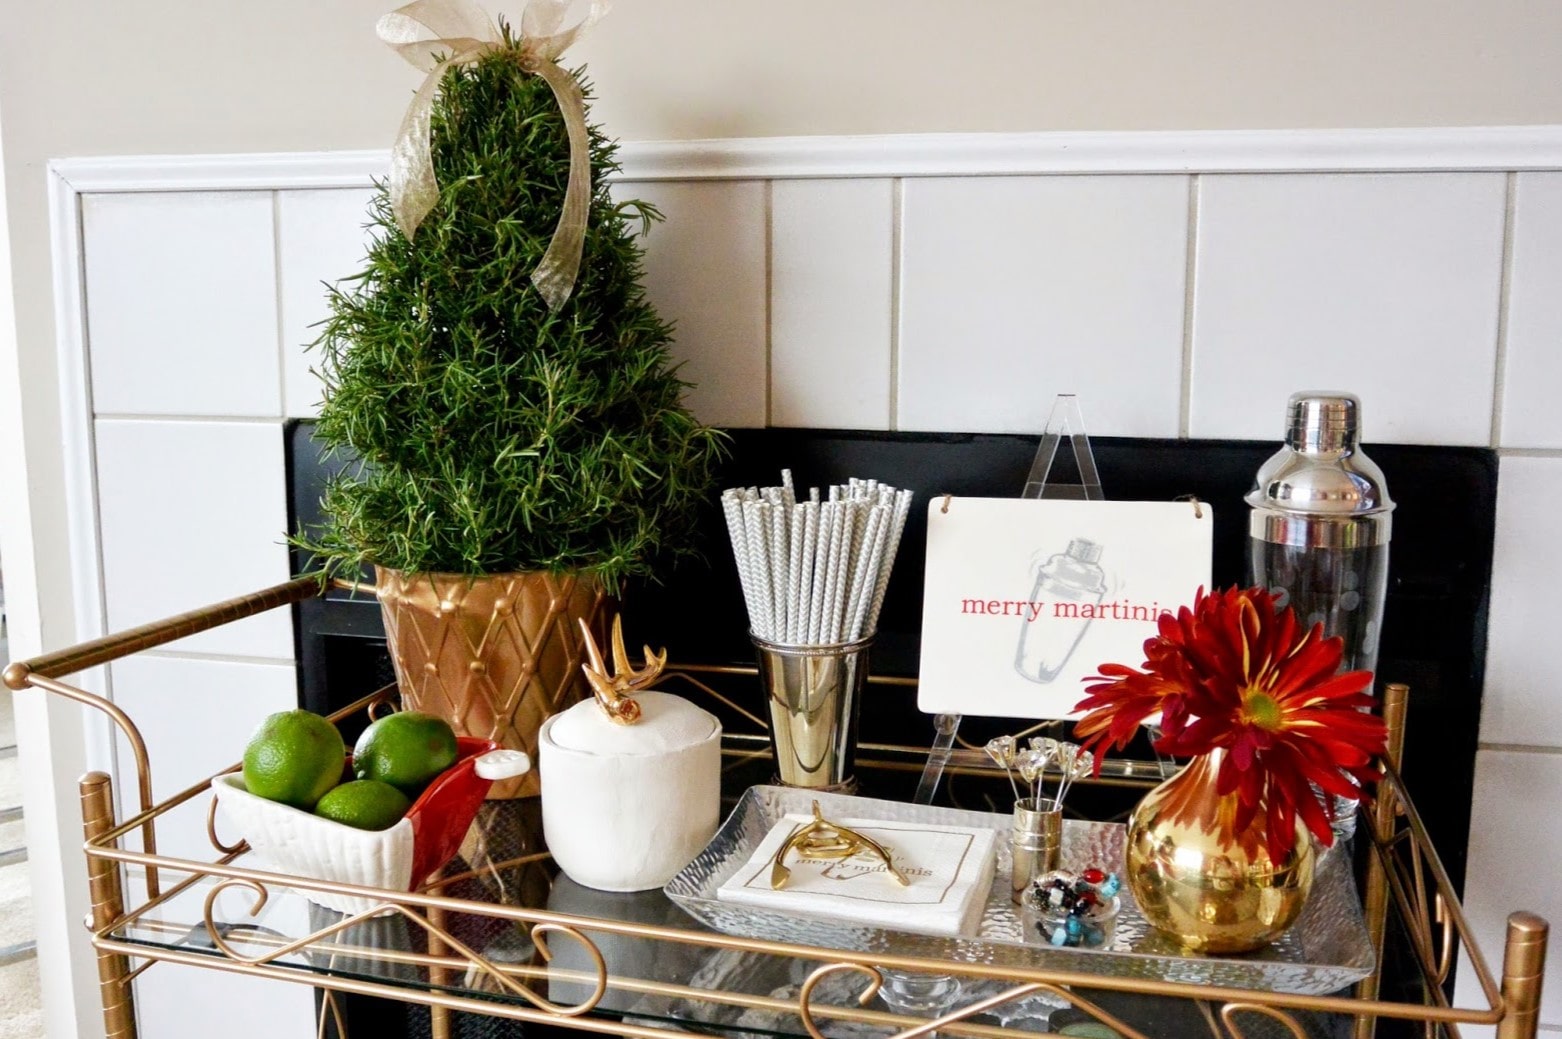
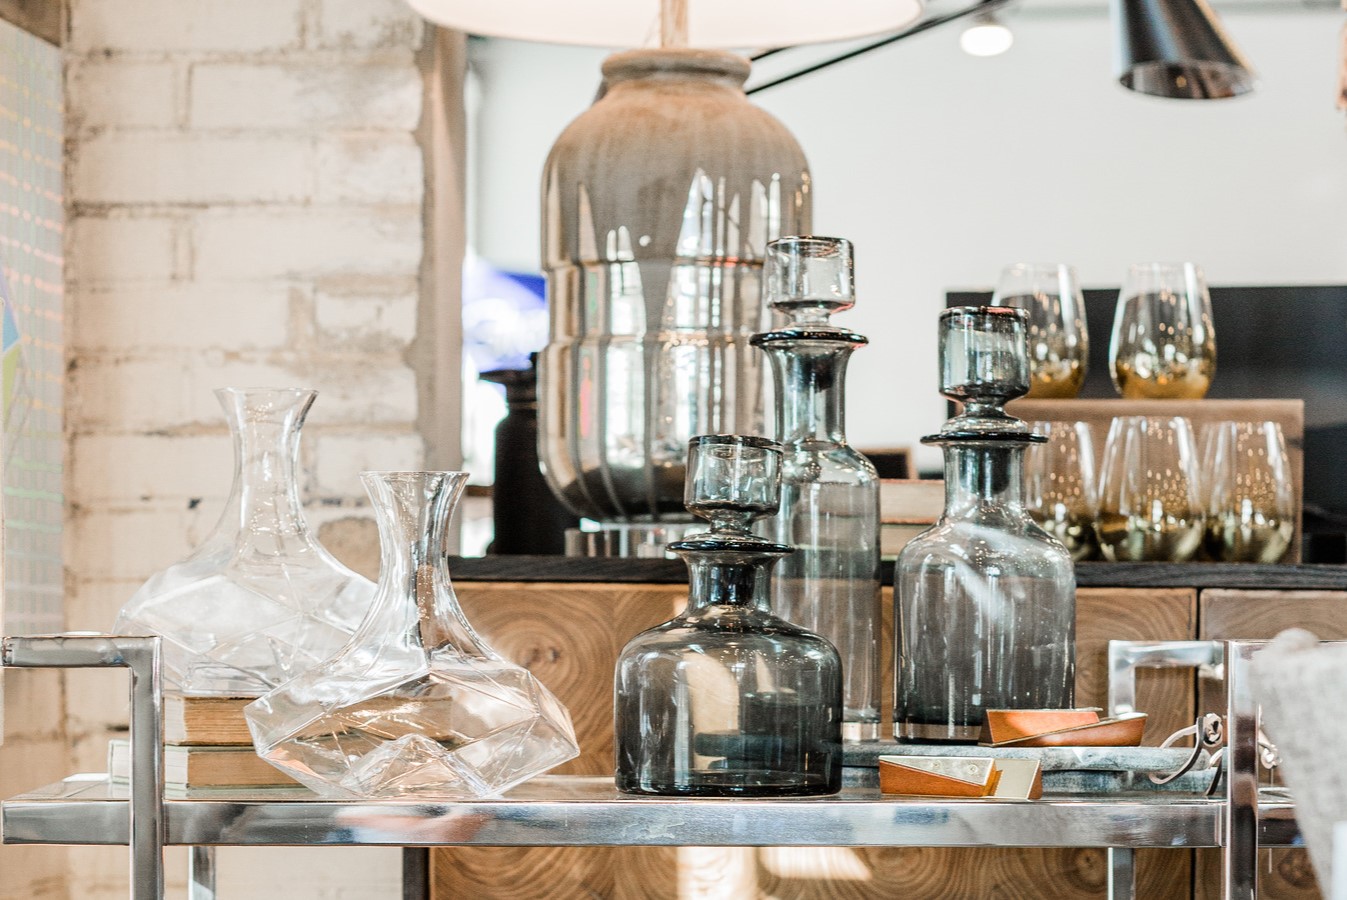
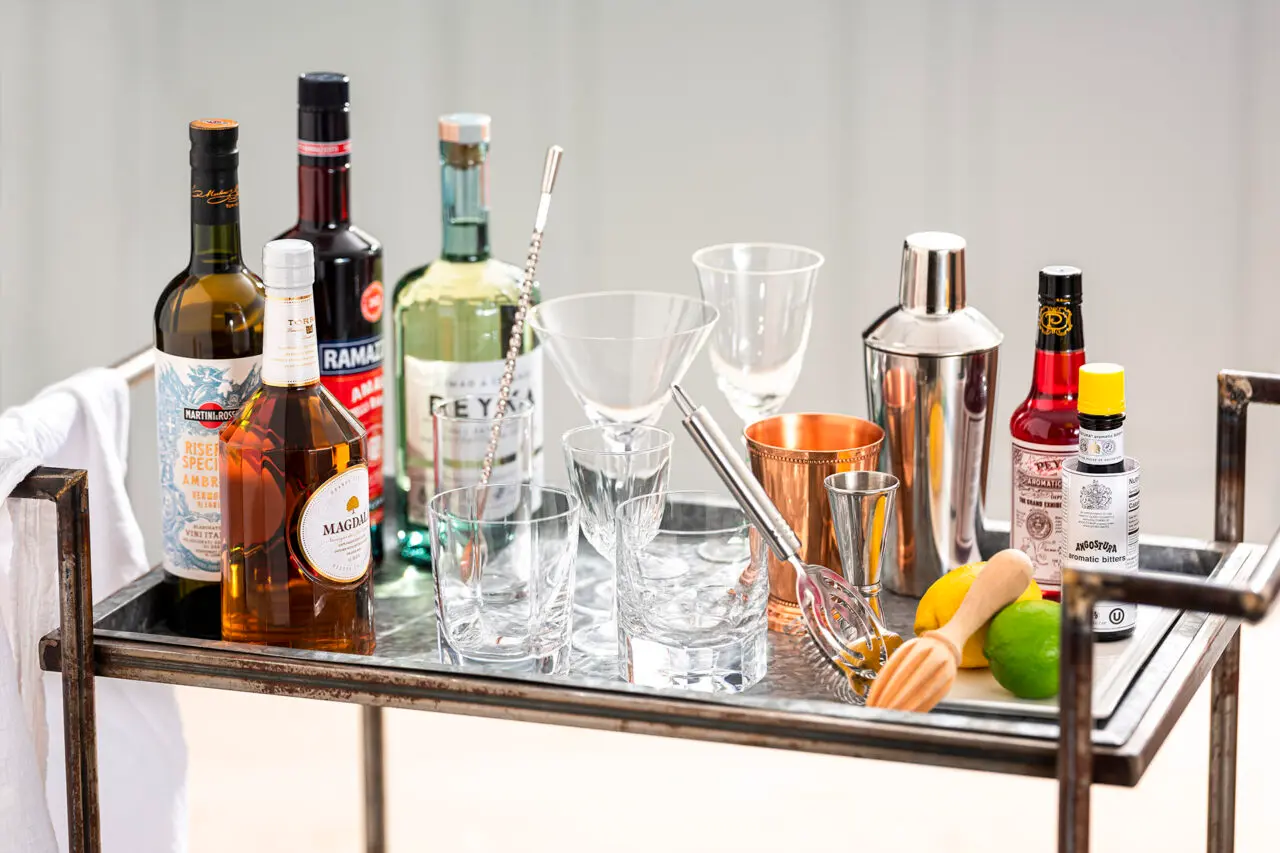
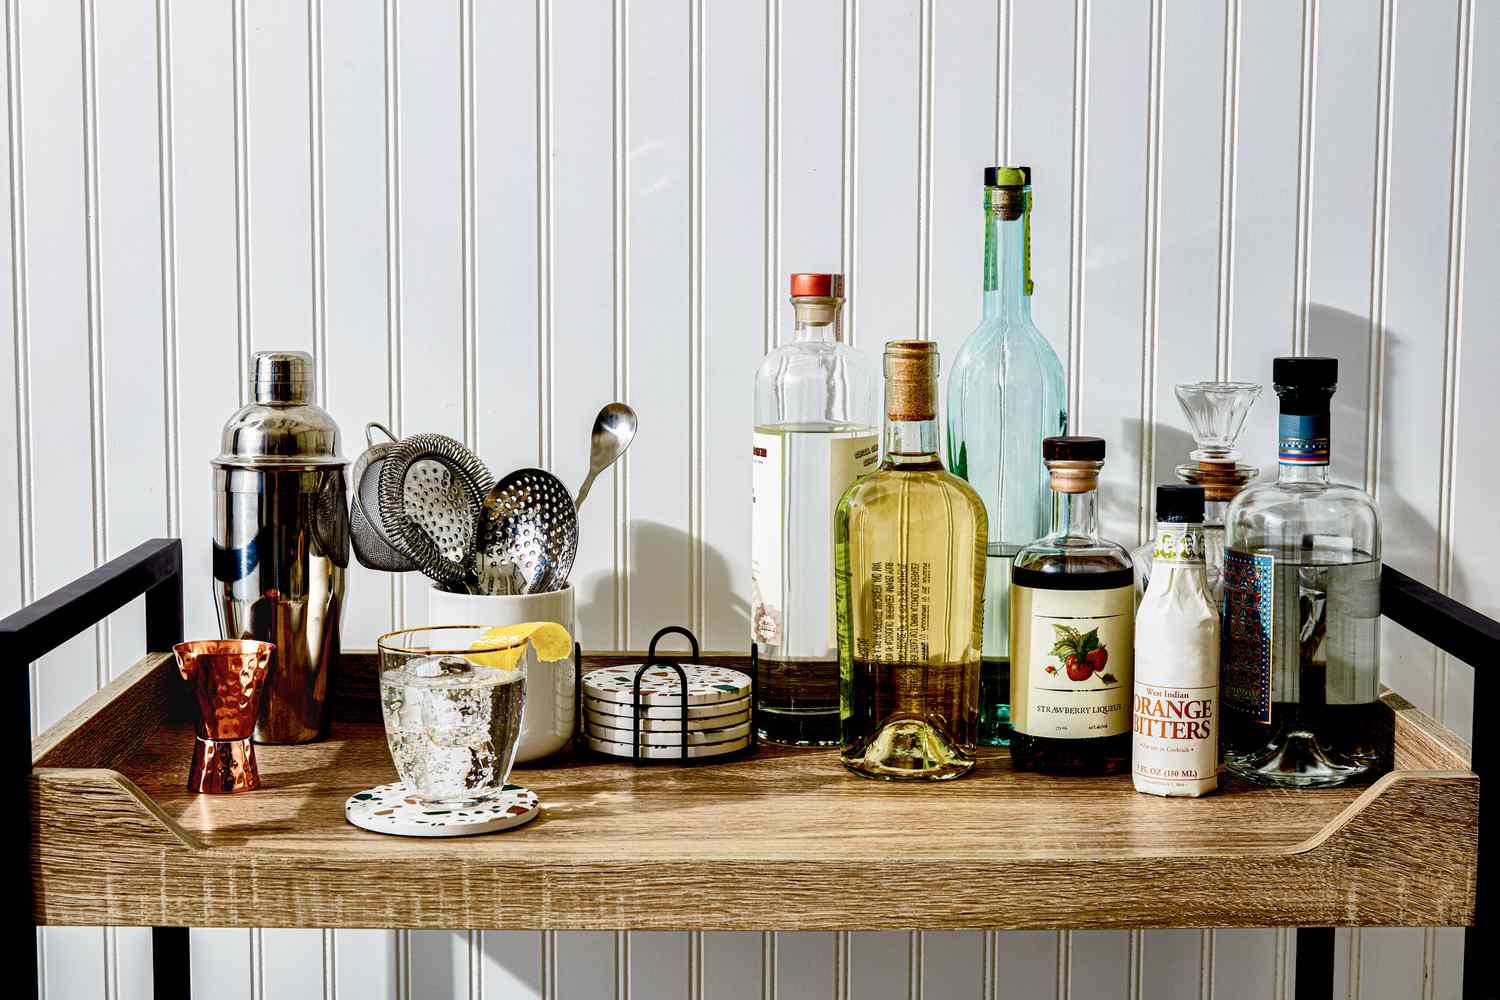
Organize your favorite bar essentials in a visually appealing manner, creating an inviting display that showcases your collection of spirits, glassware, and cocktail accessories. Arrange bottles on the shelves, place elegant glassware within easy reach, and adorn the cart with decorative accents such as fresh flowers, vibrant cocktail napkins, or artistic coasters. This curated presentation not only enhances the visual appeal of the cart but also facilitates effortless access to your preferred beverages and tools when entertaining guests.
Customization Options
Explore customization options such as painting or staining the wooden crates to add a pop of color or enhance the natural beauty of the wood. Whether you opt for a bold, contemporary hue or a rich, classic stain, this step allows you to tailor the appearance of the bar cart to complement your existing decor and reflect your personal style. Additionally, consider incorporating decorative stenciling, hand-painted designs, or decoupage elements to infuse the cart with a touch of artistic flair.
Functional Organization
Focus on organizing the contents of the bar cart in a manner that optimizes functionality and convenience. Designate specific areas for different types of beverages, cocktail tools, and serving accessories, ensuring that everything has its place within the cart. By implementing a well-organized layout, you can streamline the preparation and serving of beverages while maintaining a visually pleasing and uncluttered presentation.
Final Flourishes
Add final flourishes such as ambient lighting, small potted plants, or thematic decor accents to further enhance the ambiance and appeal of the bar cart. These subtle touches can contribute to a welcoming and inviting atmosphere, making the cart a focal point of your living space and a conversation starter during gatherings.
By decorating and organizing the bar cart with meticulous attention to detail, you are transforming it into a captivating and functional furniture piece that reflects your individual style and enhances the ambiance of your home. This final stage marks the culmination of your DIY journey, resulting in a personalized bar cart with crates that embodies both practicality and aesthetic allure.
When building a bar cart with crates, make sure to measure the crates and the space where the cart will be placed to ensure a proper fit. This will help you avoid any issues with stability or functionality.
Conclusion
In conclusion, the journey of building a bar cart with crates has been a fulfilling and creative endeavor, culminating in the transformation of simple materials into a functional and visually captivating furniture piece. Throughout the step-by-step process, from assembling the crates to adding the finishing touches, the DIY project has provided an opportunity to infuse personal style, craftsmanship, and practicality into a single cohesive creation.
By repurposing wooden crates and incorporating them into the design of the bar cart, a sense of rustic charm and vintage allure has been seamlessly integrated into the living space. The utilization of sturdy crates as the foundational elements of the cart not only ensures durability and stability but also adds a distinctive character that sets it apart from conventional bar carts.
The addition of caster wheels has elevated the mobility and versatility of the cart, allowing it to adapt to various hosting needs and spatial configurations. The wheels not only enhance the functionality of the cart but also contribute to its industrial aesthetic, creating a harmonious blend of form and utility.
The integration of shelves within the crates has expanded the organizational capacity of the bar cart, providing designated storage areas for a curated display of bar essentials. This strategic addition not only optimizes the accessibility and arrangement of items but also enhances the visual appeal of the cart, transforming it into a stylish and efficient storage solution.
The final stage of decorating and organizing the bar cart has allowed for the infusion of personalized touches, stylish displays, and functional organization. By incorporating decorative elements, customizing the appearance, and arranging bar essentials with care, the cart has evolved into a personalized centerpiece that reflects individual style and facilitates seamless hosting experiences.
In essence, the DIY journey of building a bar cart with crates has transcended the mere act of crafting furniture; it has been a celebration of creativity, craftsmanship, and the art of transforming everyday materials into a meaningful and functional creation. The resulting bar cart stands as a testament to the fusion of practicality and aesthetic allure, serving as a versatile and eye-catching addition to the living space.
As the project concludes, the personalized bar cart with crates stands ready to enhance the ambiance of gatherings, spark conversations, and serve as a tangible expression of creativity and individuality. This DIY adventure has not only yielded a unique and functional furniture piece but has also fostered a sense of accomplishment and pride in the creation of a one-of-a-kind bar cart that embodies both style and substance.
Frequently Asked Questions about How To Build A Bar Cart With Crates
Was this page helpful?
At Storables.com, we guarantee accurate and reliable information. Our content, validated by Expert Board Contributors, is crafted following stringent Editorial Policies. We're committed to providing you with well-researched, expert-backed insights for all your informational needs.


0 thoughts on “How To Build A Bar Cart With Crates”