Home>Ideas and Tips>How To Design A Vertical Succulent Garden Wall

Ideas and Tips
How To Design A Vertical Succulent Garden Wall
Modified: October 20, 2024
Learn how to design a stunning vertical succulent garden wall with our step-by-step guide. Perfect for small spaces and low-maintenance gardening.
(Many of the links in this article redirect to a specific reviewed product. Your purchase of these products through affiliate links helps to generate commission for Storables.com, at no extra cost. Learn more)
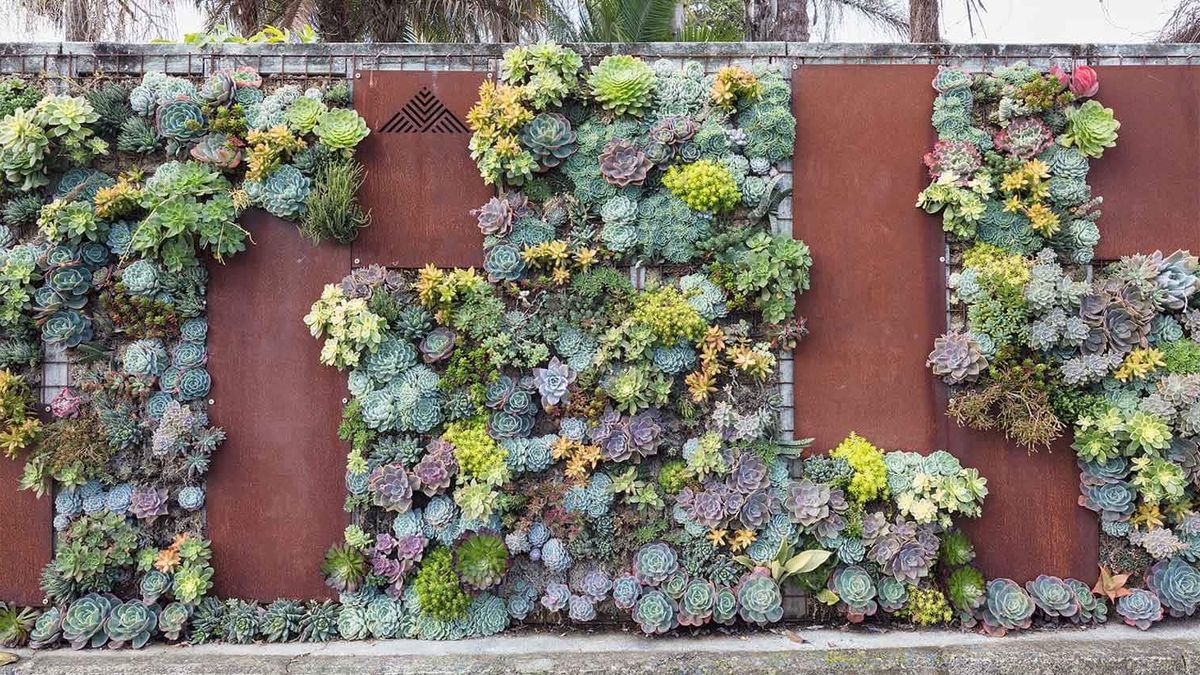
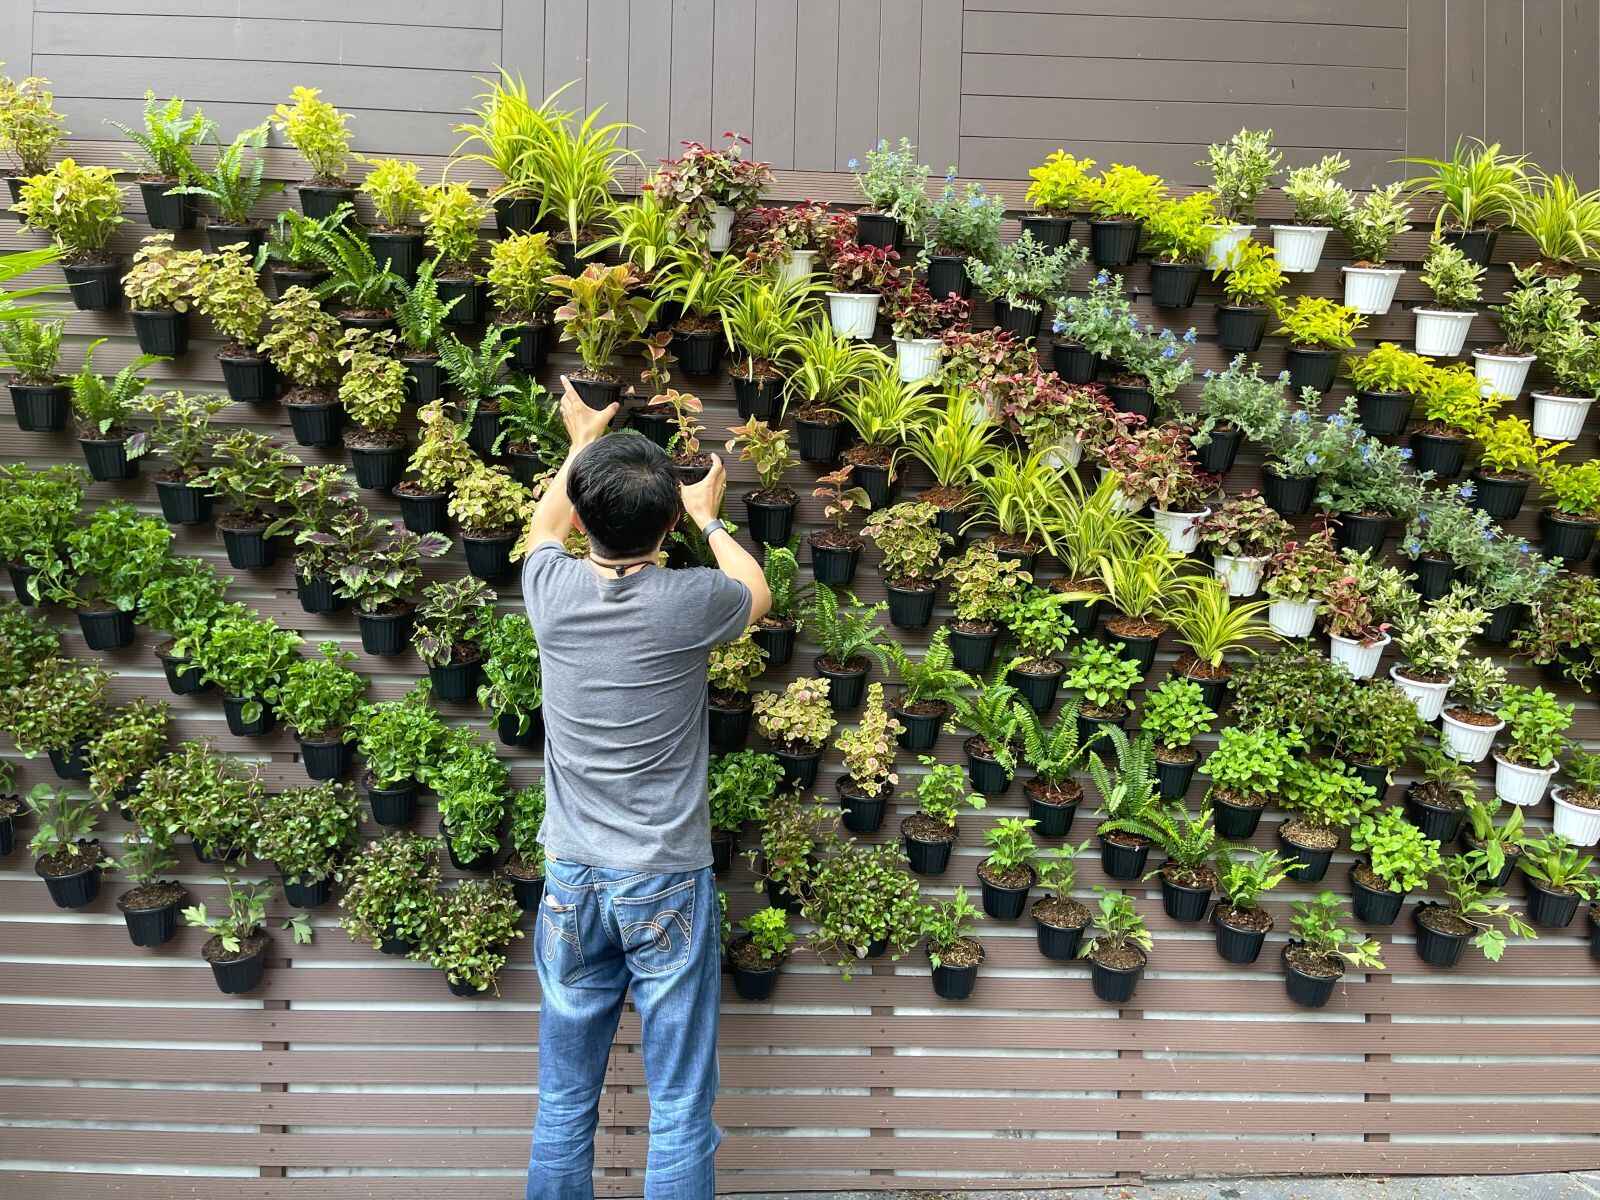
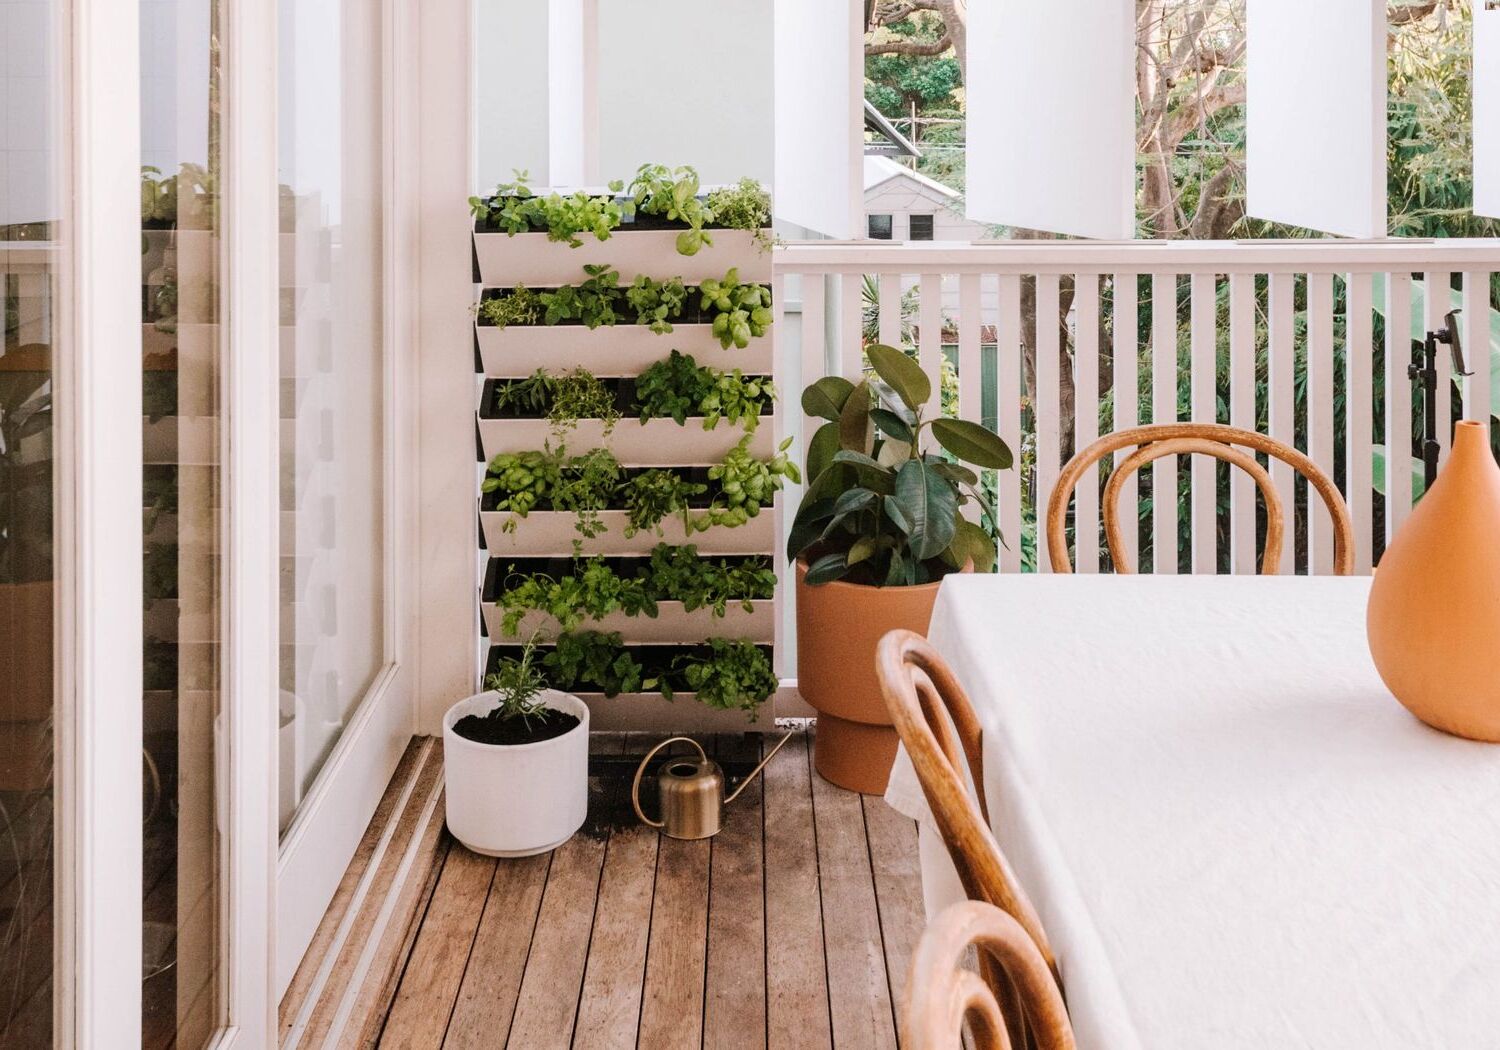
Creating a vertical succulent garden wall is an excellent way to add a touch of greenery to any space, whether it's an indoor room or an outdoor patio. These gardens are not only visually appealing but also relatively easy to build and maintain. In this article, we will guide you through the process of designing and building your own vertical succulent garden wall.
Why Choose a Vertical Succulent Garden?
Before we dive into the steps, let's explore why a vertical succulent garden is such a great idea. Here are some compelling reasons:
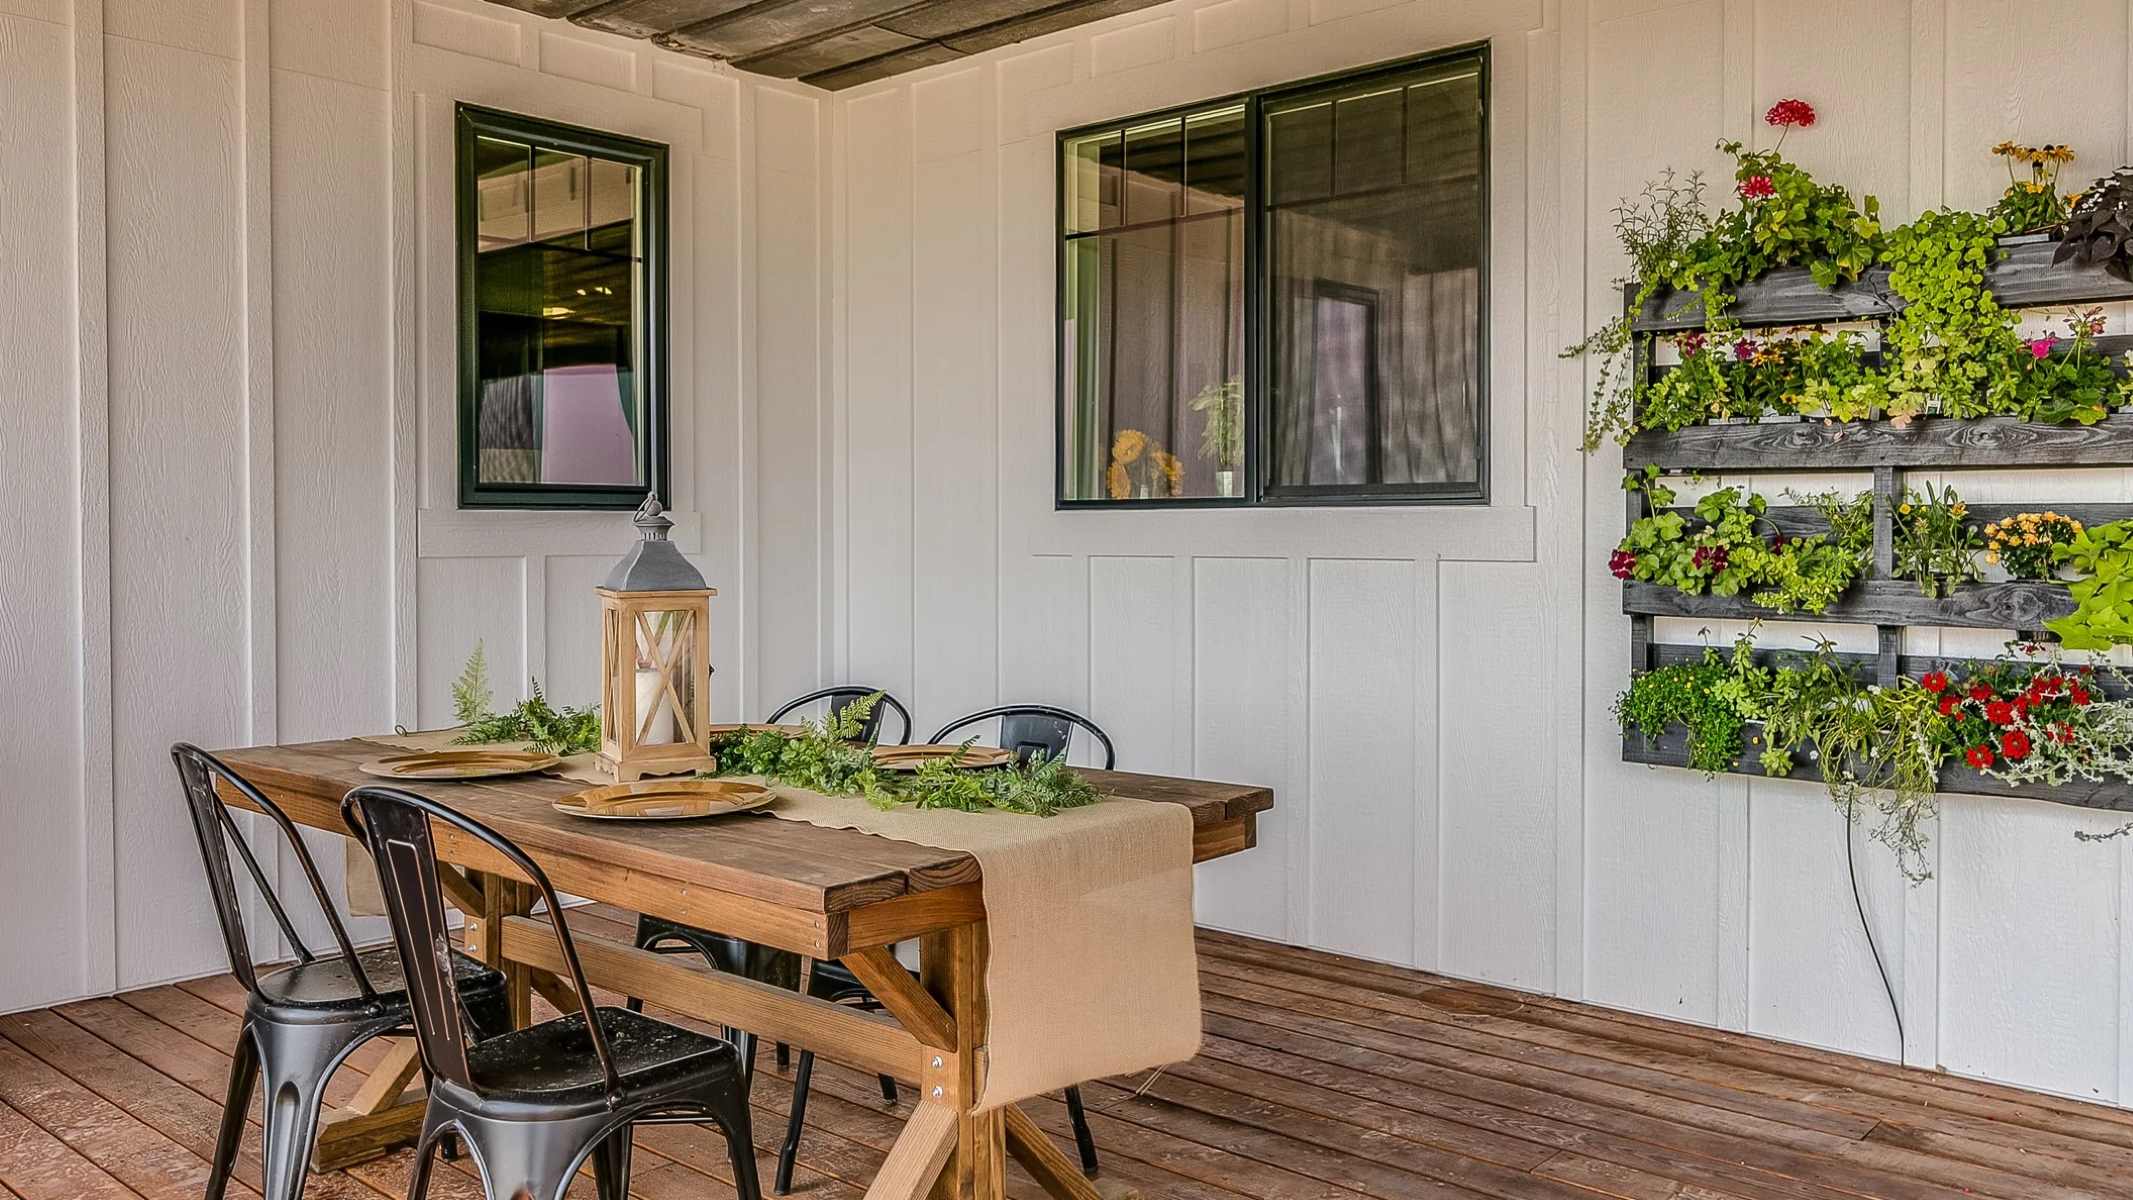
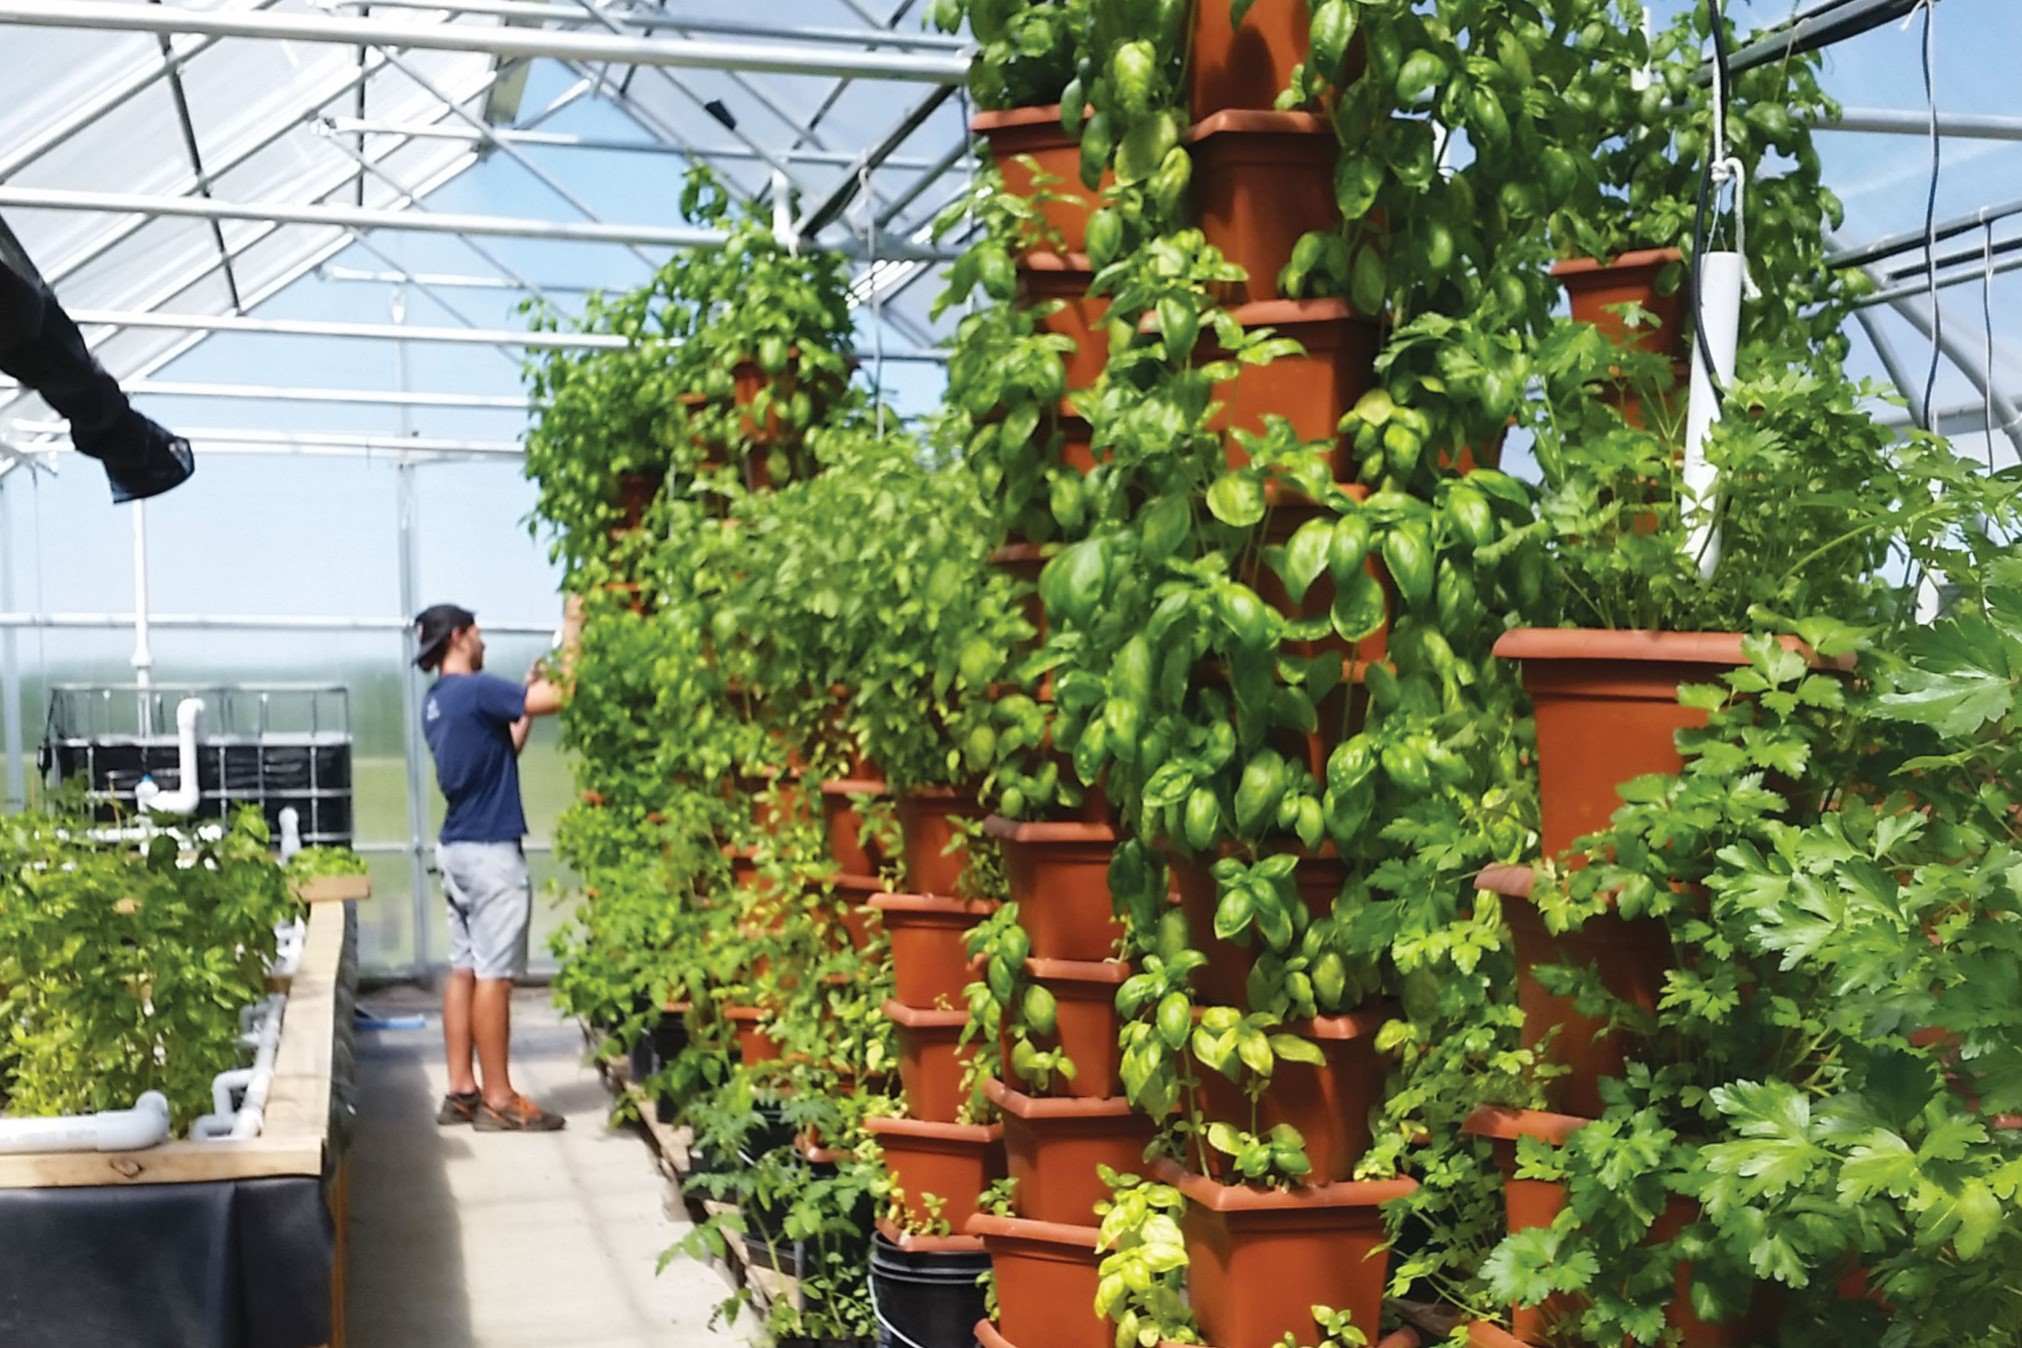
- Space Efficiency: Vertical gardens are perfect for small spaces. They allow you to grow multiple plants in a compact area, making them ideal for balconies, patios, or even indoor rooms.
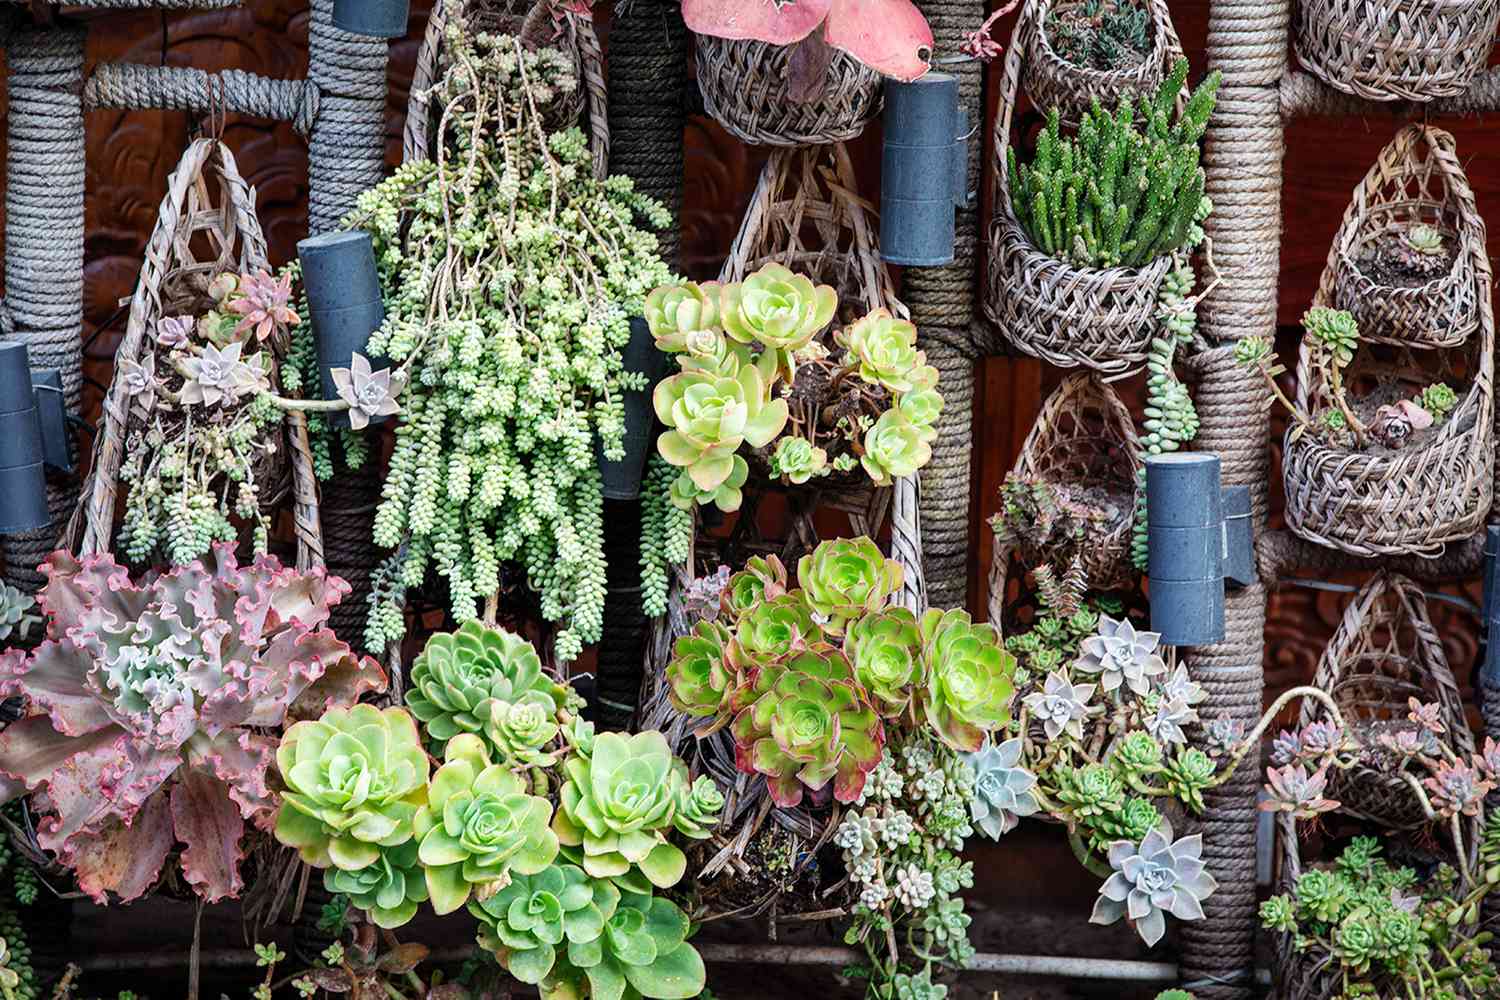
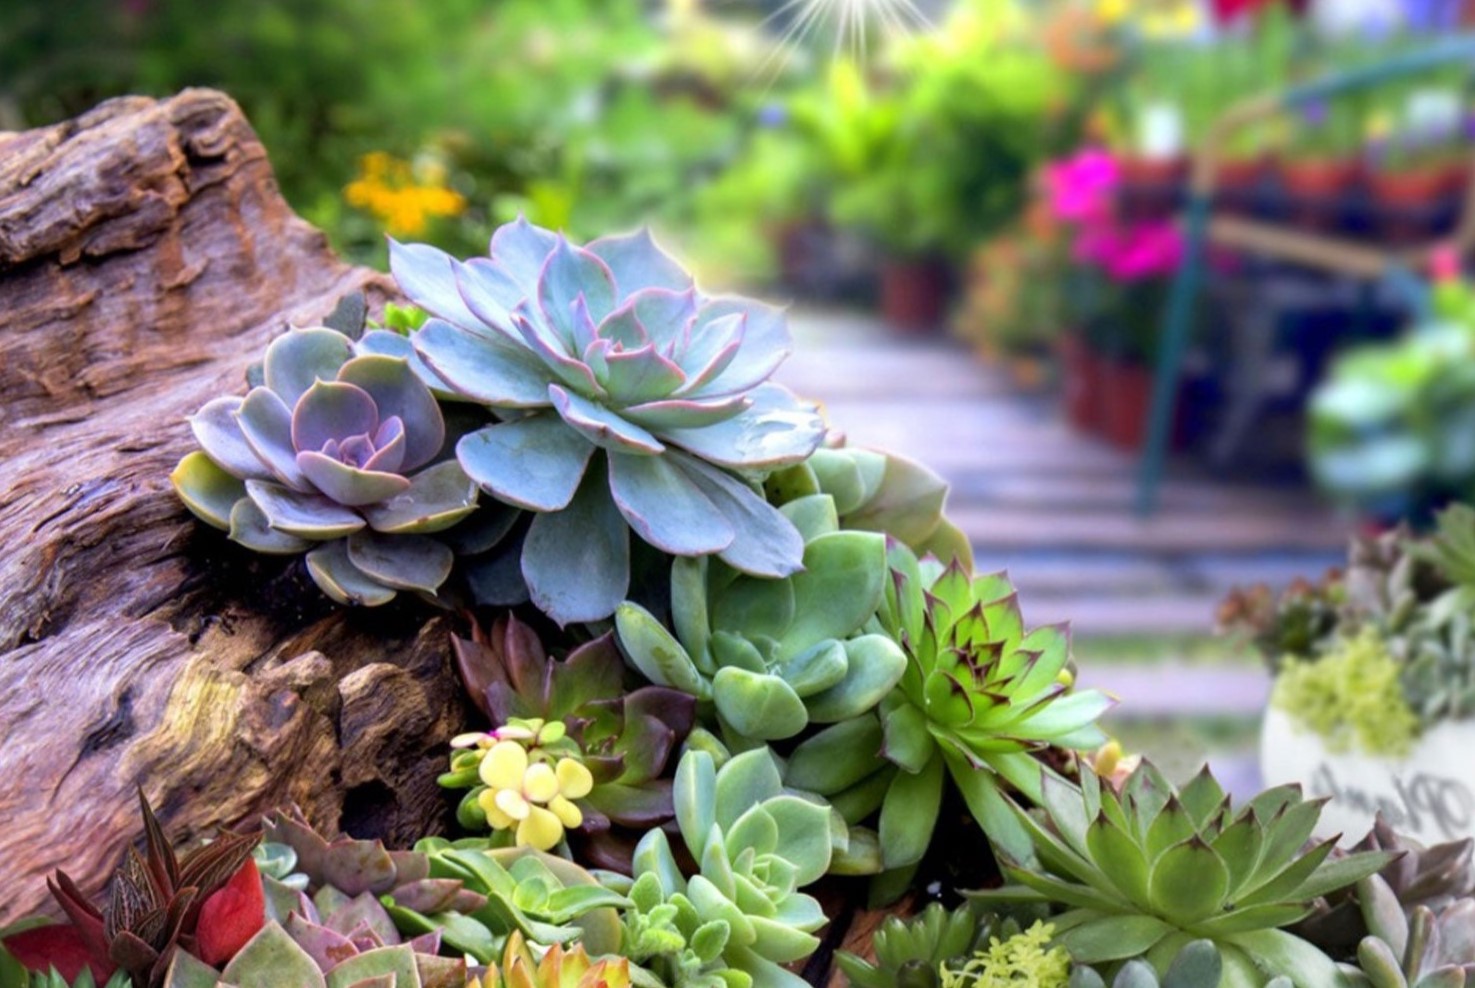
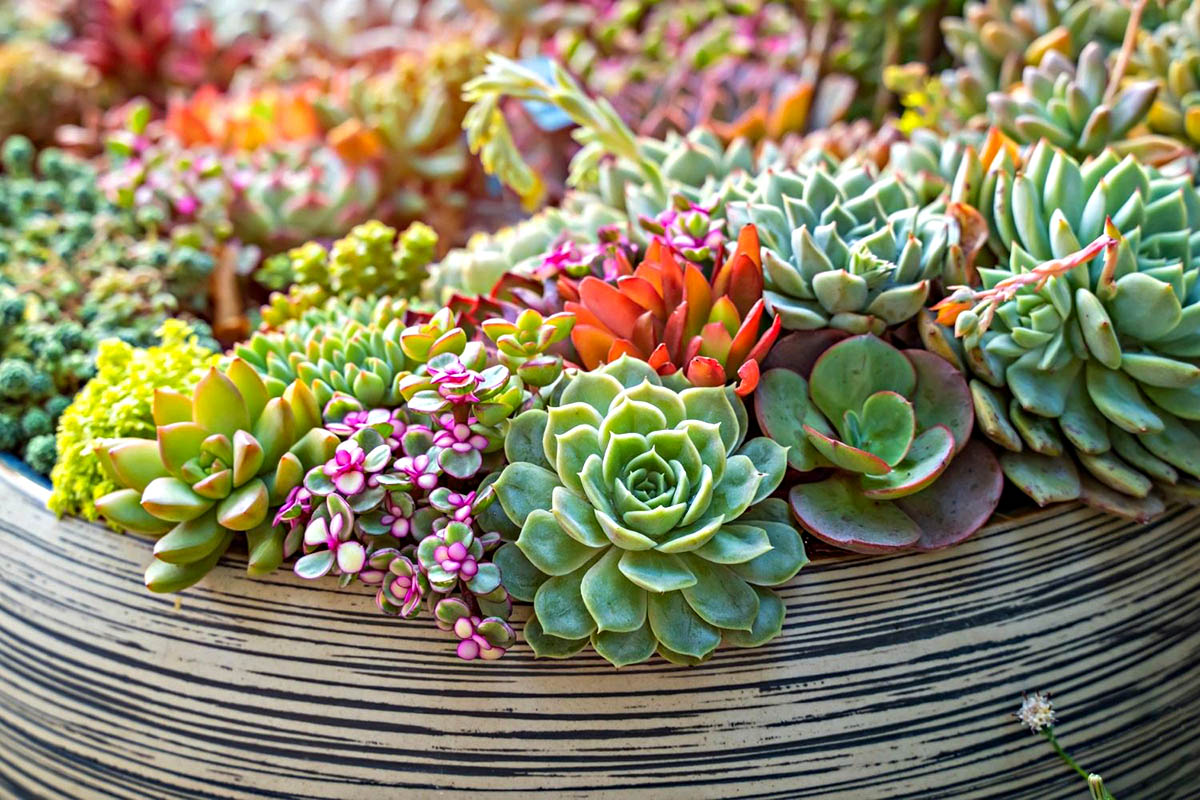
- Aesthetic Appeal: Succulents come in a variety of shapes, sizes, and colors, which can create a stunning visual display. The layered effect of a vertical garden adds depth and beauty to any space.
- Low Maintenance: Succulents are known for their low-maintenance requirements. They need infrequent watering and can thrive in a variety of lighting conditions, making them perfect for busy people or those new to gardening.
- Air Purification: Like all plants, succulents help purify the air by removing toxins and releasing oxygen.
Read more: How To Make Succulent Vertical Garden
Materials Needed
To build your vertical succulent garden wall, you'll need the following materials:
- Succulents: Choose a variety of succulents that fit your desired color scheme and texture. You can buy them from local nurseries or online retailers like Amazon.
- Sedum Flat: A preplanted flat of sedum is a great starting point for your vertical garden. It comes with a thick soil mix and netting, making it easy to place and maintain.
- Scrap Wood: You'll need some scrap wood for the frame of your garden. The dimensions can vary depending on the size you want your garden to be, but 2.5 inches by 1/2 inch is a good starting point.
- Plywood: A scrap piece of plywood will serve as the back of your frame. This will provide stability and help keep everything in place.
- Drill and Small Screws: These are necessary for assembling the frame.
- Wire: Wire will be used to attach the sedum flat to the plywood backing.
- Stapler: A stapler is needed to secure the wire to the plywood.
- Minwax Stain (Optional): If you want to add a decorative touch, you can stain your frame using Minwax stain in Provencial.
Step-by-Step Guide
Step 1: Prepare Your Materials
Before you start building, make sure all your materials are ready:
- Cut your scrap wood into the required dimensions for the frame pieces.
- Measure and cut your plywood to match the size of your sedum flat plus the width of the frame pieces.
- If using stain, apply it according to the manufacturer's instructions.
Step 2: Assemble the Frame
Assemble your frame using small screws:
- Attach Frame Pieces: Screw the stained frame pieces to the plywood backing. Make sure they are evenly spaced and securely attached.
- Mitered Corners: If desired, miter the corners of your frame for a more polished look. However, this step is optional as it can add complexity without significantly improving aesthetics.
Step 3: Attach Wire Hanger
Attach wire across the back of the plywood for a hanger:
- Staple Wire: Use a stapler to staple wire across the back of the plywood, ensuring it's centered and evenly spaced.
- Avoid Quibbling: Remember not to forget this step like we did in our initial project It's crucial for hanging your garden without any hassle.
Step 4: Attach Sedum Flat
Attach the sedum flat to the wire hanger:
- Remove Plastic Tub: Remove any plastic tub from around your sedum flat.
- Run Wire Through: Run wire back and forth across the entire sedum flat while stapling it to the plywood backing.
- Mindful Wiring: Be mindful of wiring around succulents to avoid damaging them during attachment.
Step 5: Add Succulents
Add your chosen succulents:
- Create Space: Use your finger or a small tool to scootch some sedum over and create space for larger succulents.
- Place Succulents: Gently place your larger succulents into these empty spots.
Step 6: Final Touches
Finalize your vertical succulent garden wall:
- Check Frame: Ensure that all parts of your frame are securely attached and there are no gaps where water might seep through.
- Inspect Plants: Double-check that all plants are securely attached and there’s enough space for proper growth.
Read more: How To Design A Water-Wise Succulent Garden
Tips and Variations
Here are some additional tips and variations to consider:
Watering Tips
- Misting: Watering is easy with this design—just mist the plants with a hose. This method helps prevent overwatering, which can be detrimental to succulents.
- Drainage: Make sure there’s good drainage in your planter to prevent waterlogged soil. You can use sphagnum moss instead of potting soil for better drainage and lighter weight.
Plant Selection
- Succulent Types: Choose succulents based on their location (indoor or outdoor) and lighting conditions (direct or indirect light). Succulents with shallow root systems work best for vertical gardens.
- Focal Points: Add focal points like larger succulents to create visual interest among the smaller sedum plants.
Additional Design Elements
- Decorative Frame: Use a decorative frame around your vertical garden for added aesthetic appeal.
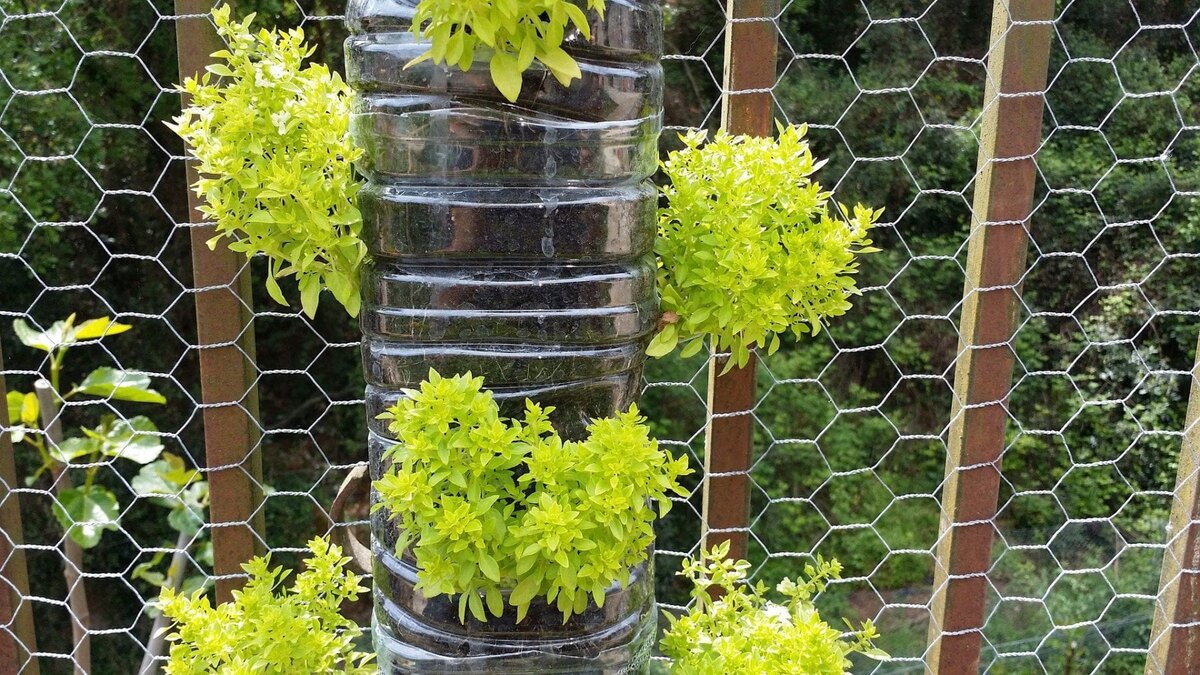
- Chicken Wire: Incorporate chicken wire into your design to help contain moss and plants while allowing for good air circulation.
Maintenance Tips
Maintaining your vertical succulent garden wall is relatively easy:
- Watering Schedule: Water sparingly but regularly. Overwatering can lead to root rot, so it's crucial to check the soil moisture before watering.
- Pruning: Prune your succulents occasionally to maintain their shape and encourage new growth.
- Pest Control: Keep an eye out for pests like mealybugs or spider mites, which can infest succulents.
Creating a vertical succulent garden wall is an enjoyable DIY project that adds beauty and functionality to any space. With these steps and tips, you'll be able to design and build your own stunning vertical succulent garden wall that requires minimal maintenance while providing endless visual appeal.
Whether you're looking to enhance your indoor decor or create a lush outdoor feature, this project offers endless possibilities for customization and creativity. So go ahead, get creative with your materials, choose your favorite succulents, and enjoy the process of bringing life into your space!
References
- Sand Dollar Lane – "How to Build a Vertical Succulent Garden" (2018)
- Sunset Magazine – "Make This: Easy DIY Succulent Wall Planters" (2010)
- IkornCrafts – "How to Make a Vibrant Vertical Succulent Planter (Easy)" (2021)
- Refresh Restyle – "Vertical Succulent Garden" (No specific date mentioned)
- Jen Woodhouse – "How To Make A Vertical Succulent Garden" (2017)
By following these steps and tips, you'll be well on your way to creating a beautiful and thriving vertical succulent garden wall that will bring joy and serenity to any space
Was this page helpful?
At Storables.com, we guarantee accurate and reliable information. Our content, validated by Expert Board Contributors, is crafted following stringent Editorial Policies. We're committed to providing you with well-researched, expert-backed insights for all your informational needs.




0 thoughts on “How To Design A Vertical Succulent Garden Wall”