Home>Garden Essentials>How To Make Vertical Garden With Plastic Bottles
Garden Essentials
How To Make Vertical Garden With Plastic Bottles
Modified: August 25, 2024
Learn how to create a stunning vertical garden using plastic bottles and transform your outdoor space into a lush garden. Discover the best tips and tricks for a thriving garden.
(Many of the links in this article redirect to a specific reviewed product. Your purchase of these products through affiliate links helps to generate commission for Storables.com, at no extra cost. Learn more)
Introduction
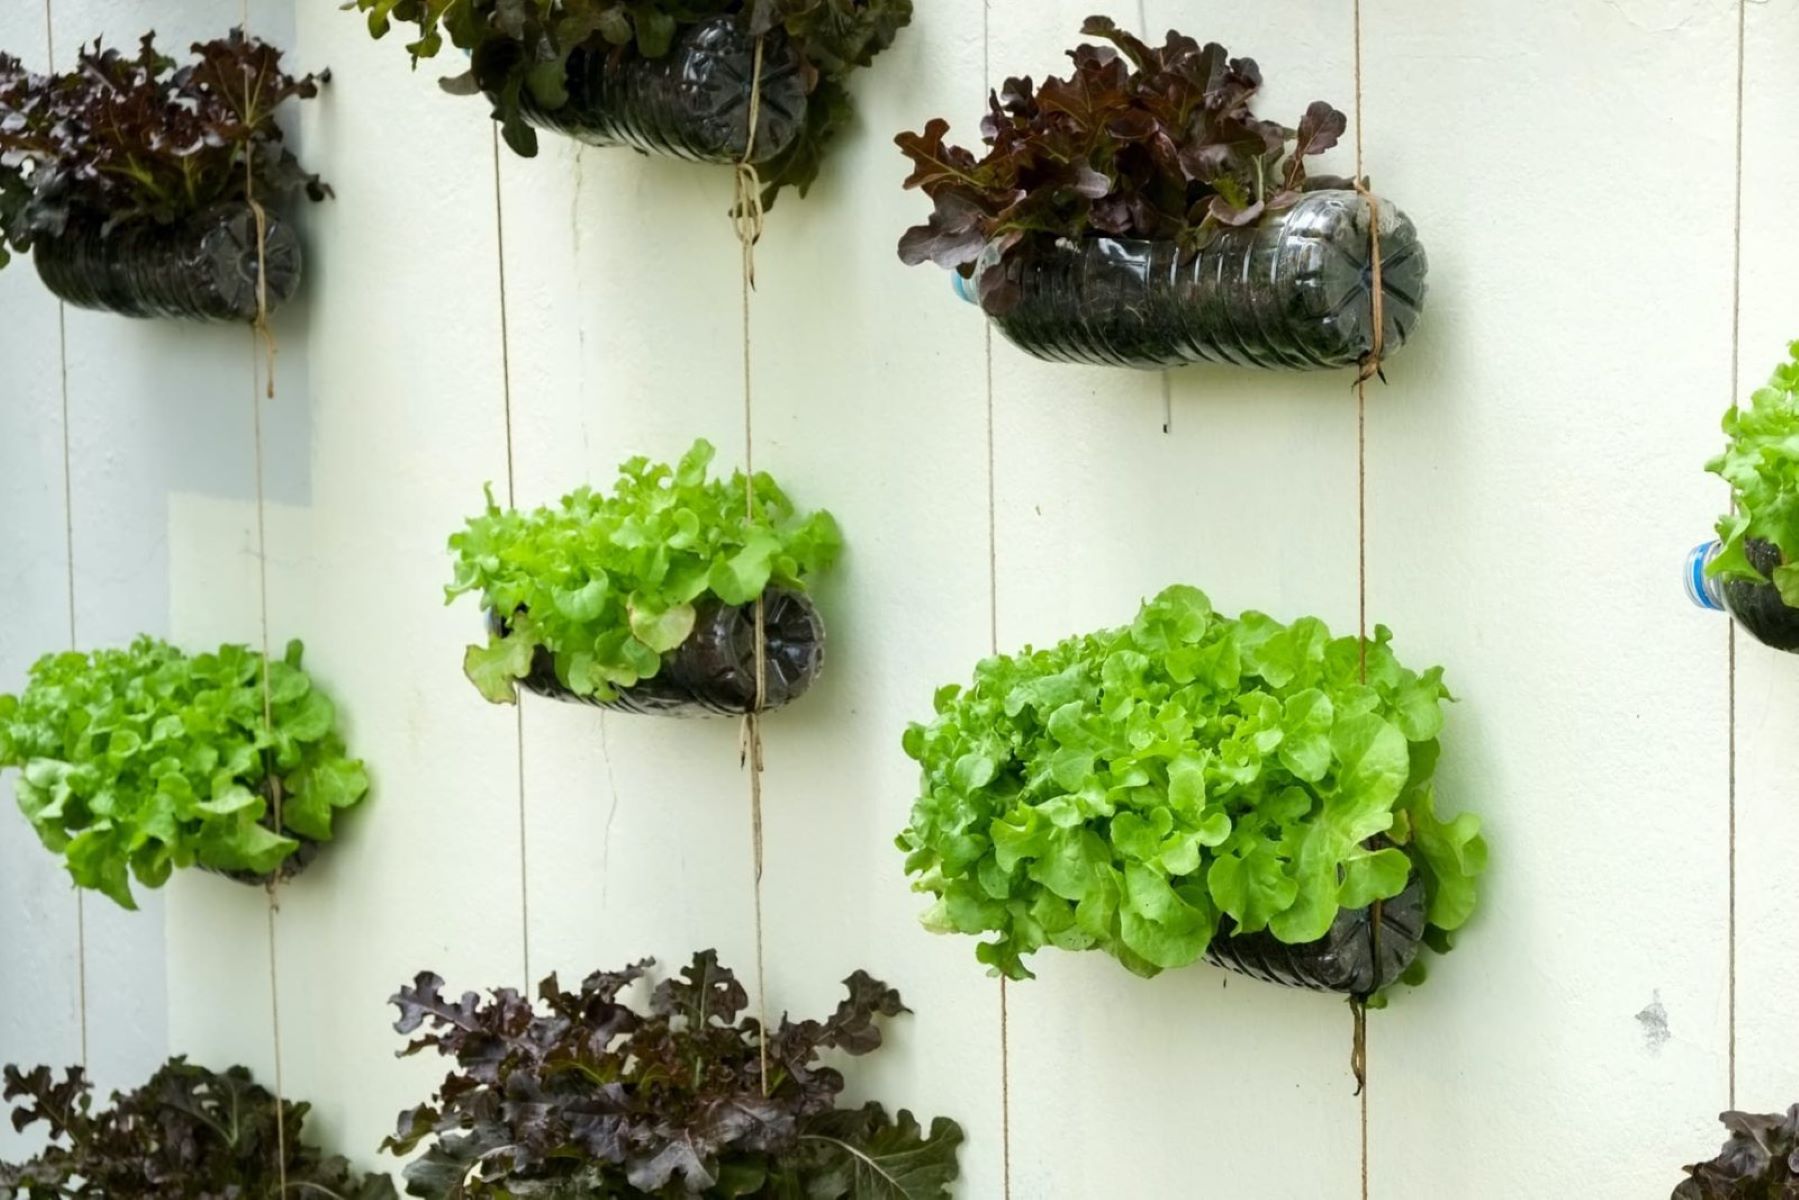
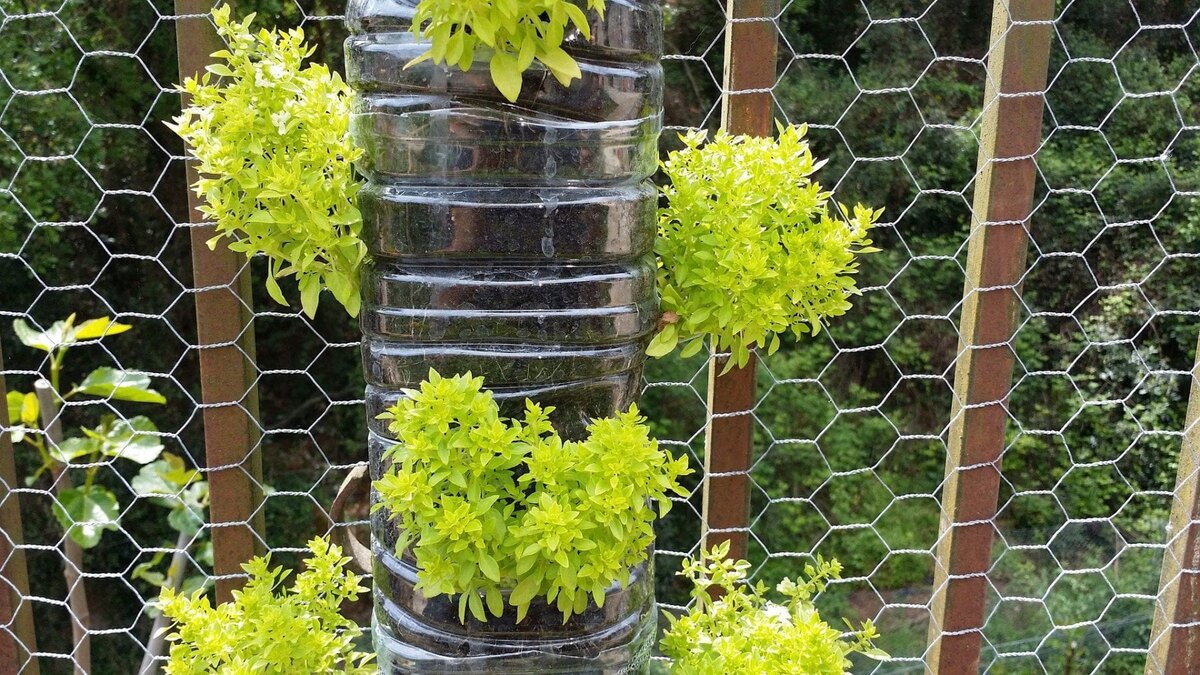
Welcome to the world of vertical gardening! If you have limited space or want to add a touch of greenery to your walls, creating a vertical garden with plastic bottles is a fantastic option. Not only does it provide a visually stunning display, but it also offers numerous benefits, both for the environment and your well-being.
A vertical garden is an innovative way to utilize vertical space by growing plants vertically instead of horizontally. By using recycled plastic bottles, you can contribute to reducing waste and make a positive impact on the environment. Plus, it’s a fun and creative project that can be done with minimal investment.
In this article, we will guide you through the process of making a vertical garden using plastic bottles. From preparing the bottles to attaching them to the wall and adding your favorite plants, we will cover every step to ensure your vertical garden thrives.
So, let’s dive in and discover the benefits of vertical gardens and the materials you will need for this exciting DIY project!
Key Takeaways:
- Transform plastic bottles into a vibrant vertical garden to maximize space, purify air, and grow fresh produce. Enjoy the benefits of gardening in limited spaces while reducing waste and promoting sustainability.
- Create a visually stunning and eco-friendly vertical garden with plastic bottles. Enjoy the beauty of nature, improve air quality, and grow your own herbs and vegetables in a space-saving, creative way.
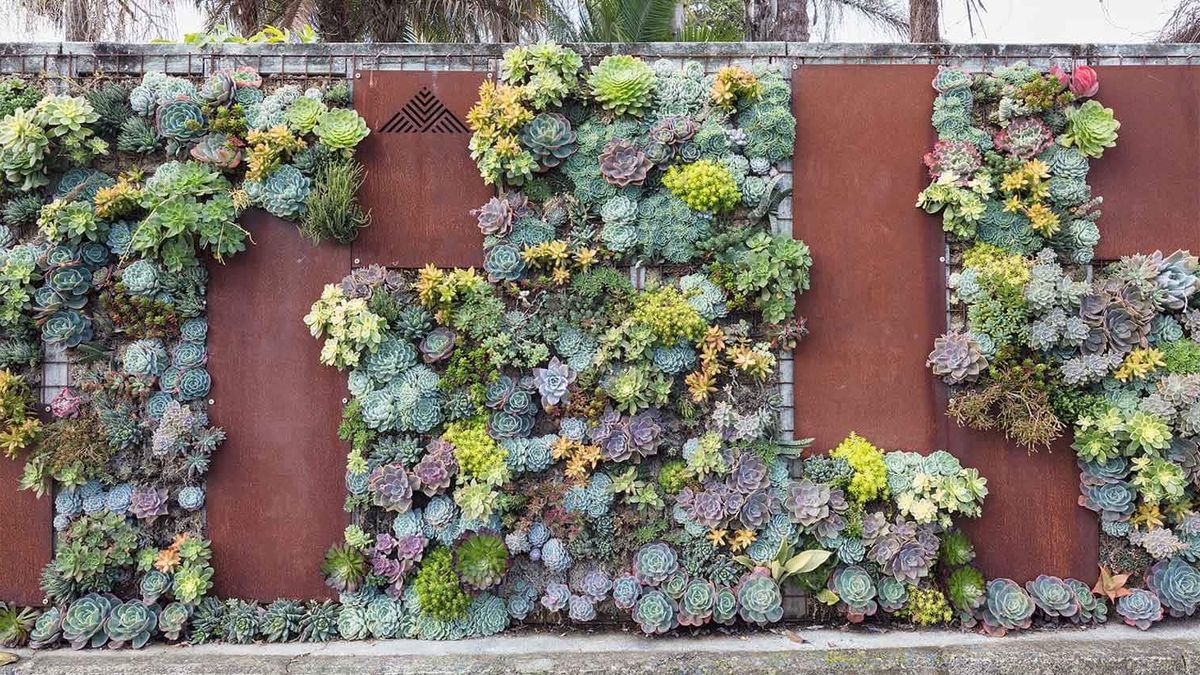
Read more: How To Make Succulent Vertical Garden
Benefits of Vertical Gardens
Vertical gardens offer a multitude of benefits, making them a popular choice for urban dwellers, small-space gardeners, and anyone looking to bring nature indoors. Let’s explore some of the key advantages of vertical gardens:
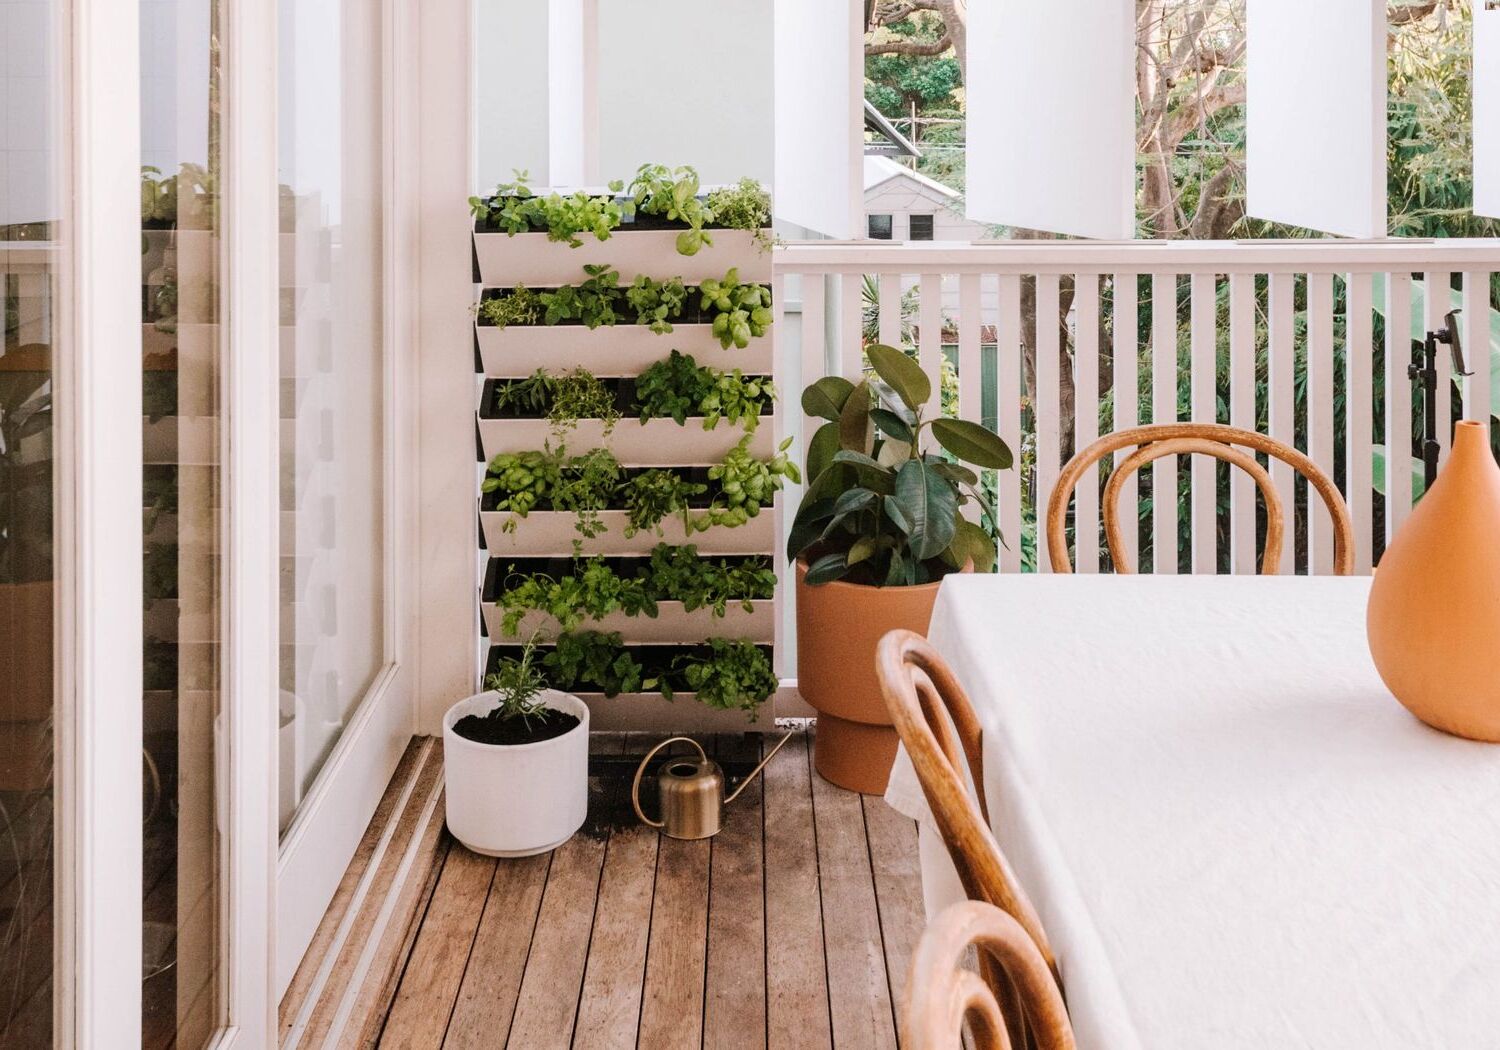
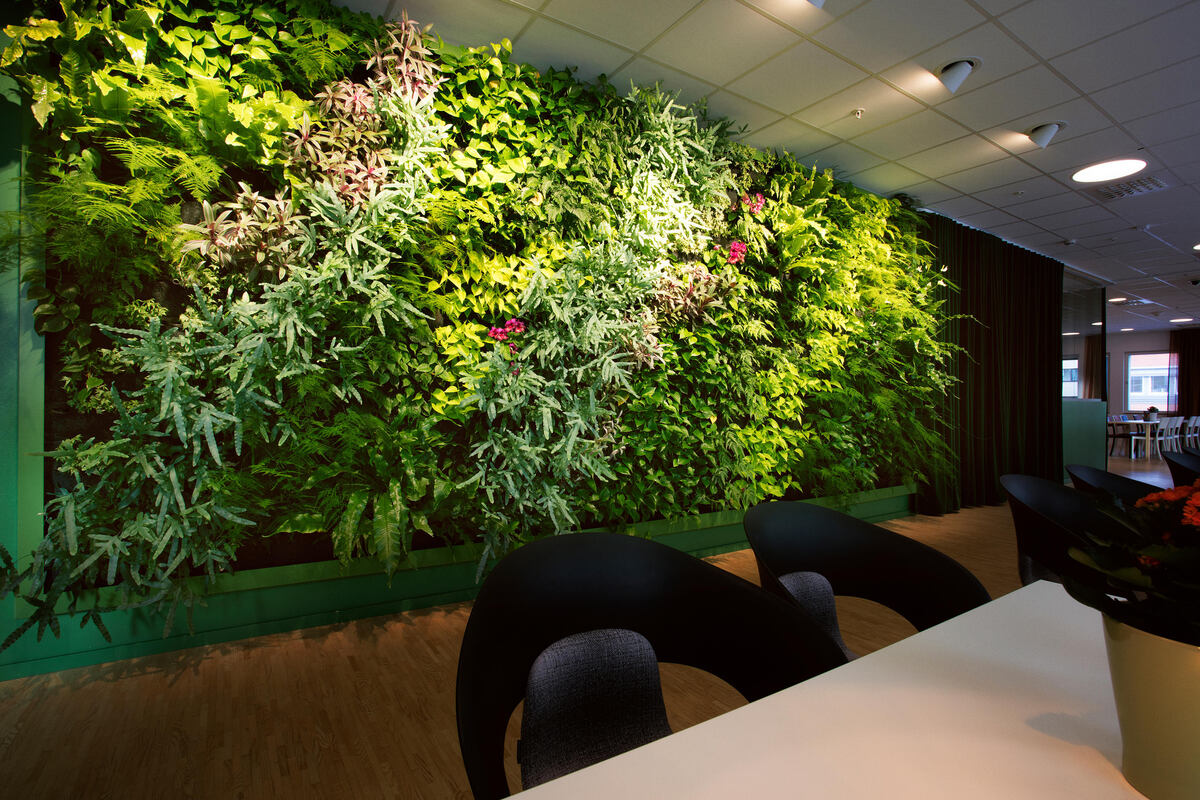
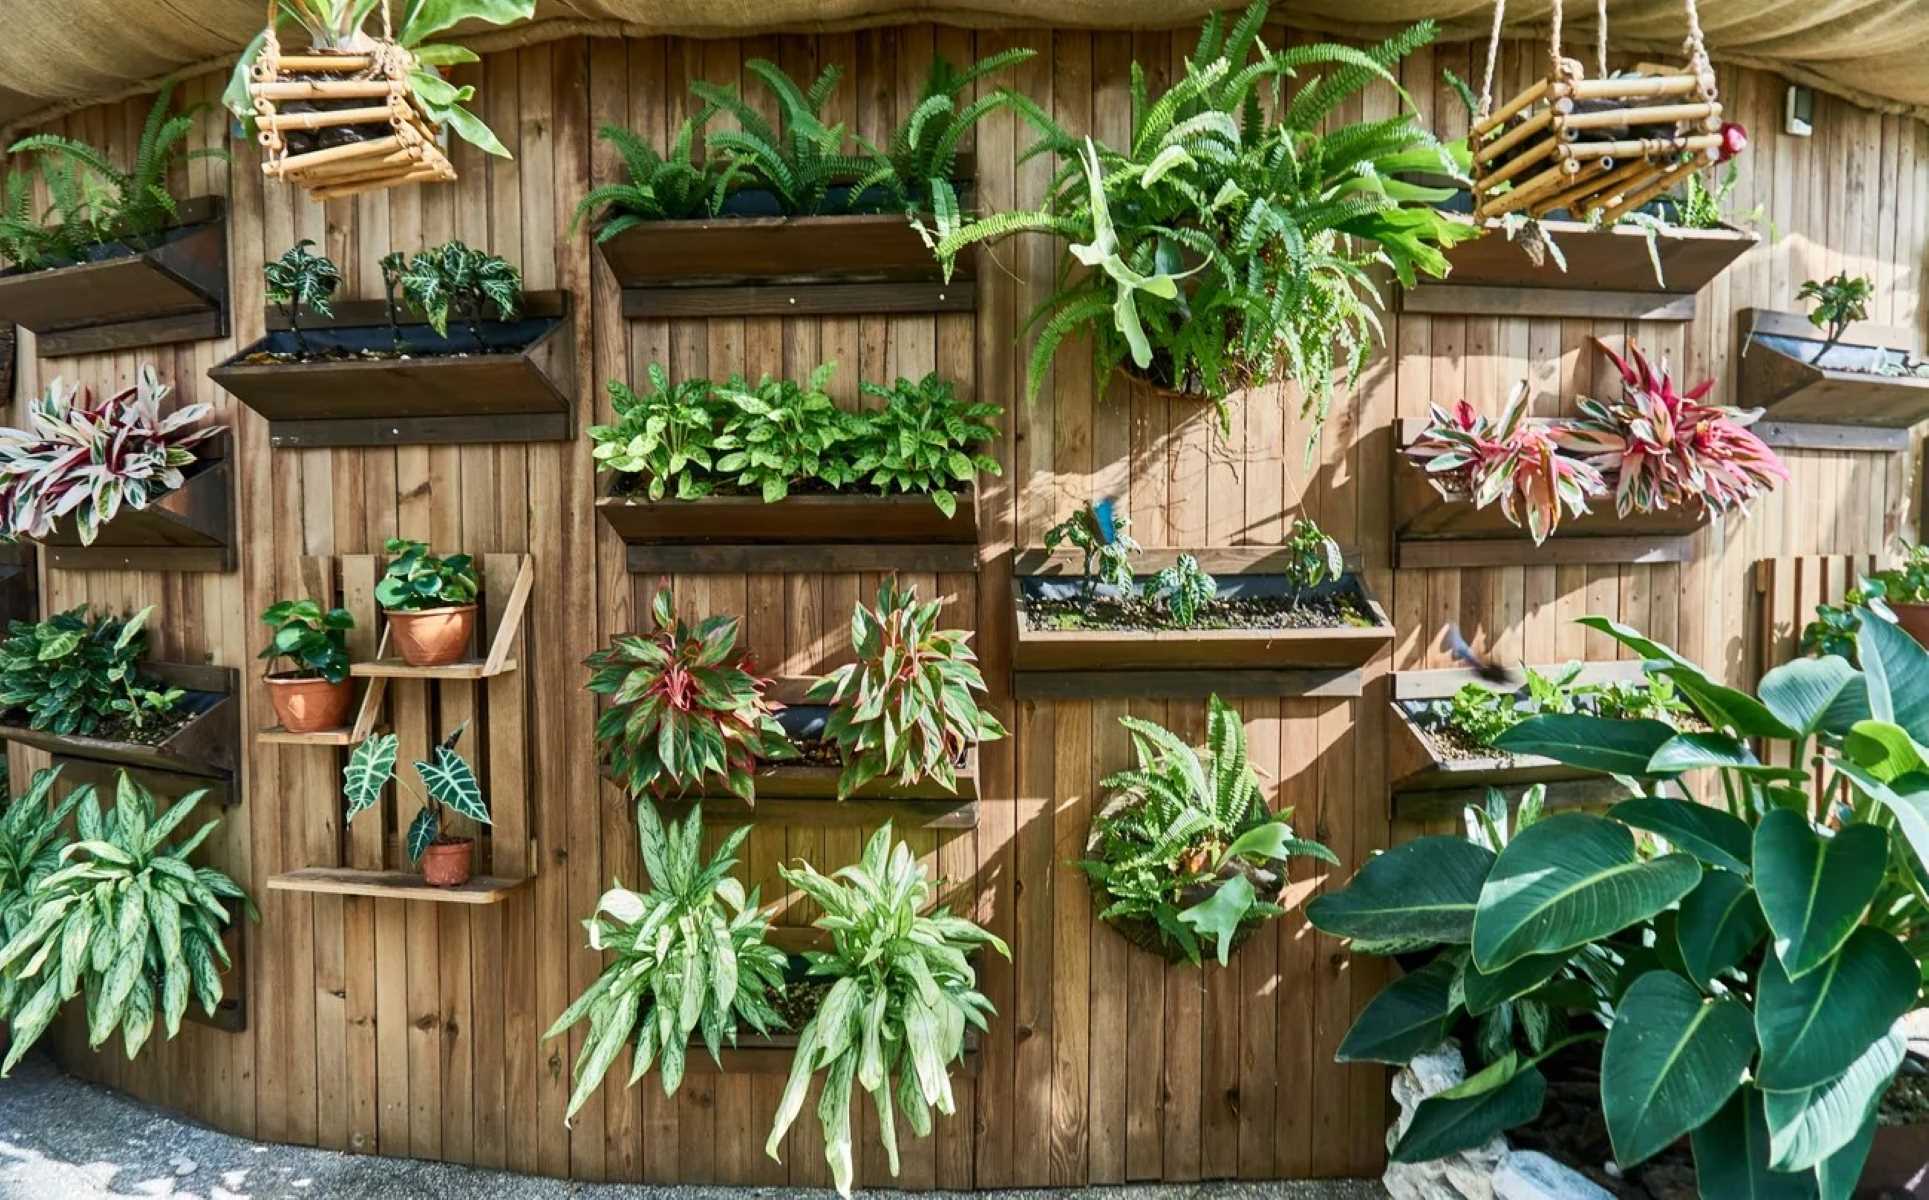
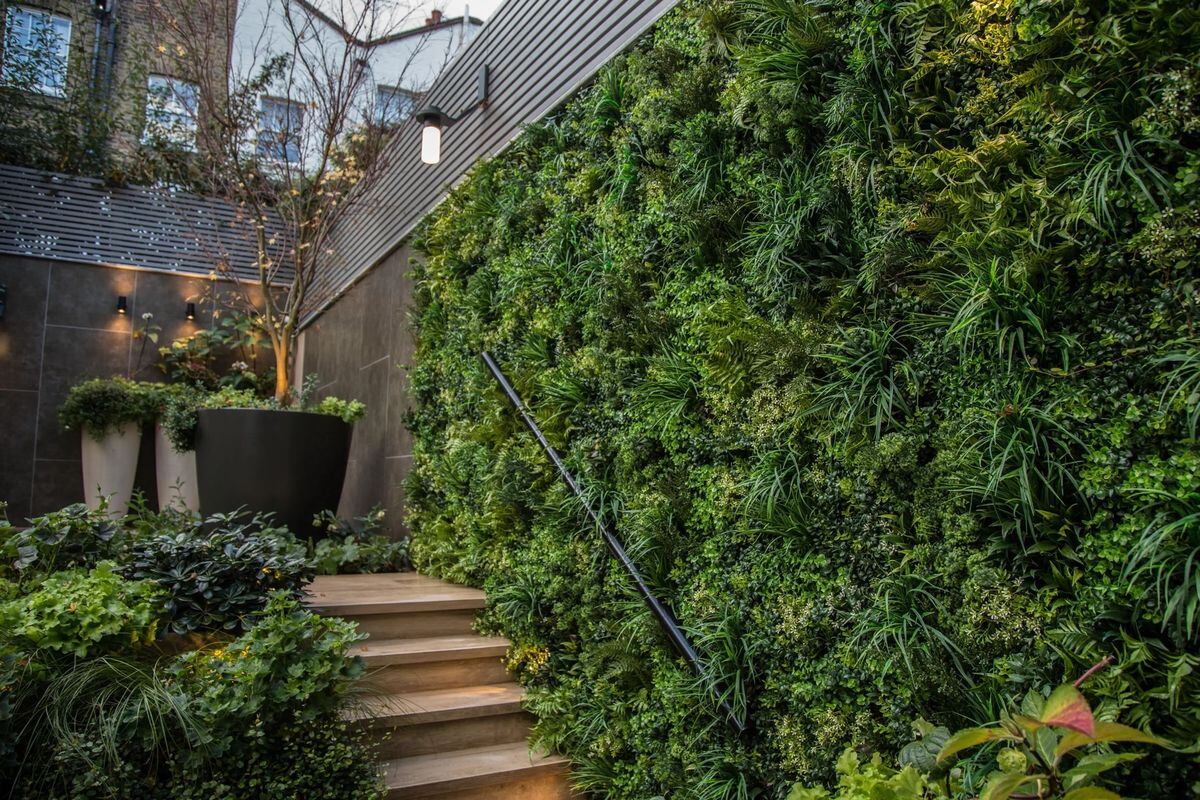
- Space Optimization: Vertical gardens are perfect for maximizing limited space. Whether you live in an apartment or have a small backyard, vertical gardens allow you to utilize vertical wall space effectively. You can transform bare walls into vibrant green spaces, adding beauty and life to otherwise unused areas.
- Aesthetic Appeal: Vertical gardens create a stunning visual impact. They add a pop of color and texture to any space, turning a dull wall into a vibrant masterpiece. The cascading foliage and flowers create a lush and inviting atmosphere that can uplift your mood and create a sense of tranquility.
- Air Purification: One of the most significant advantages of vertical gardens is their ability to improve air quality. Plants naturally absorb carbon dioxide and release oxygen, helping to create a healthier environment. Vertical gardens act as natural air filters, removing toxins and pollutants from the air, making your living space fresher and cleaner.
- No Soil Limitations: Vertical gardens offer flexibility in terms of soil choice. Since the plants are grown in individual containers or pockets, you can select the ideal soil mix for each plant type. This allows you to create a customized growing environment, ensuring that your plants receive the proper nutrients and drainage.
- No Weeding or Pests: Unlike traditional gardens, vertical gardens require less maintenance. The elevated positioning of the plants makes it more difficult for weeds to grow, reducing the need for frequent weeding. Additionally, the height can help deter pests from reaching your precious plants, resulting in fewer issues with insects and diseases.
- No Back Pain: Vertical gardens eliminate the need for bending and kneeling, making gardening more accessible for those with physical limitations. Since the plants are at eye level or above, you can comfortably tend to your garden without putting strain on your back or knees.
- Year-round Gardening: With vertical gardens, you can enjoy gardening all year long. Indoor vertical gardens allow you to grow plants even in colder climates or areas with limited sunlight. By choosing a variety of plants with different blooming seasons, you can create a dynamic and ever-changing display that brings joy and greenery throughout the year.
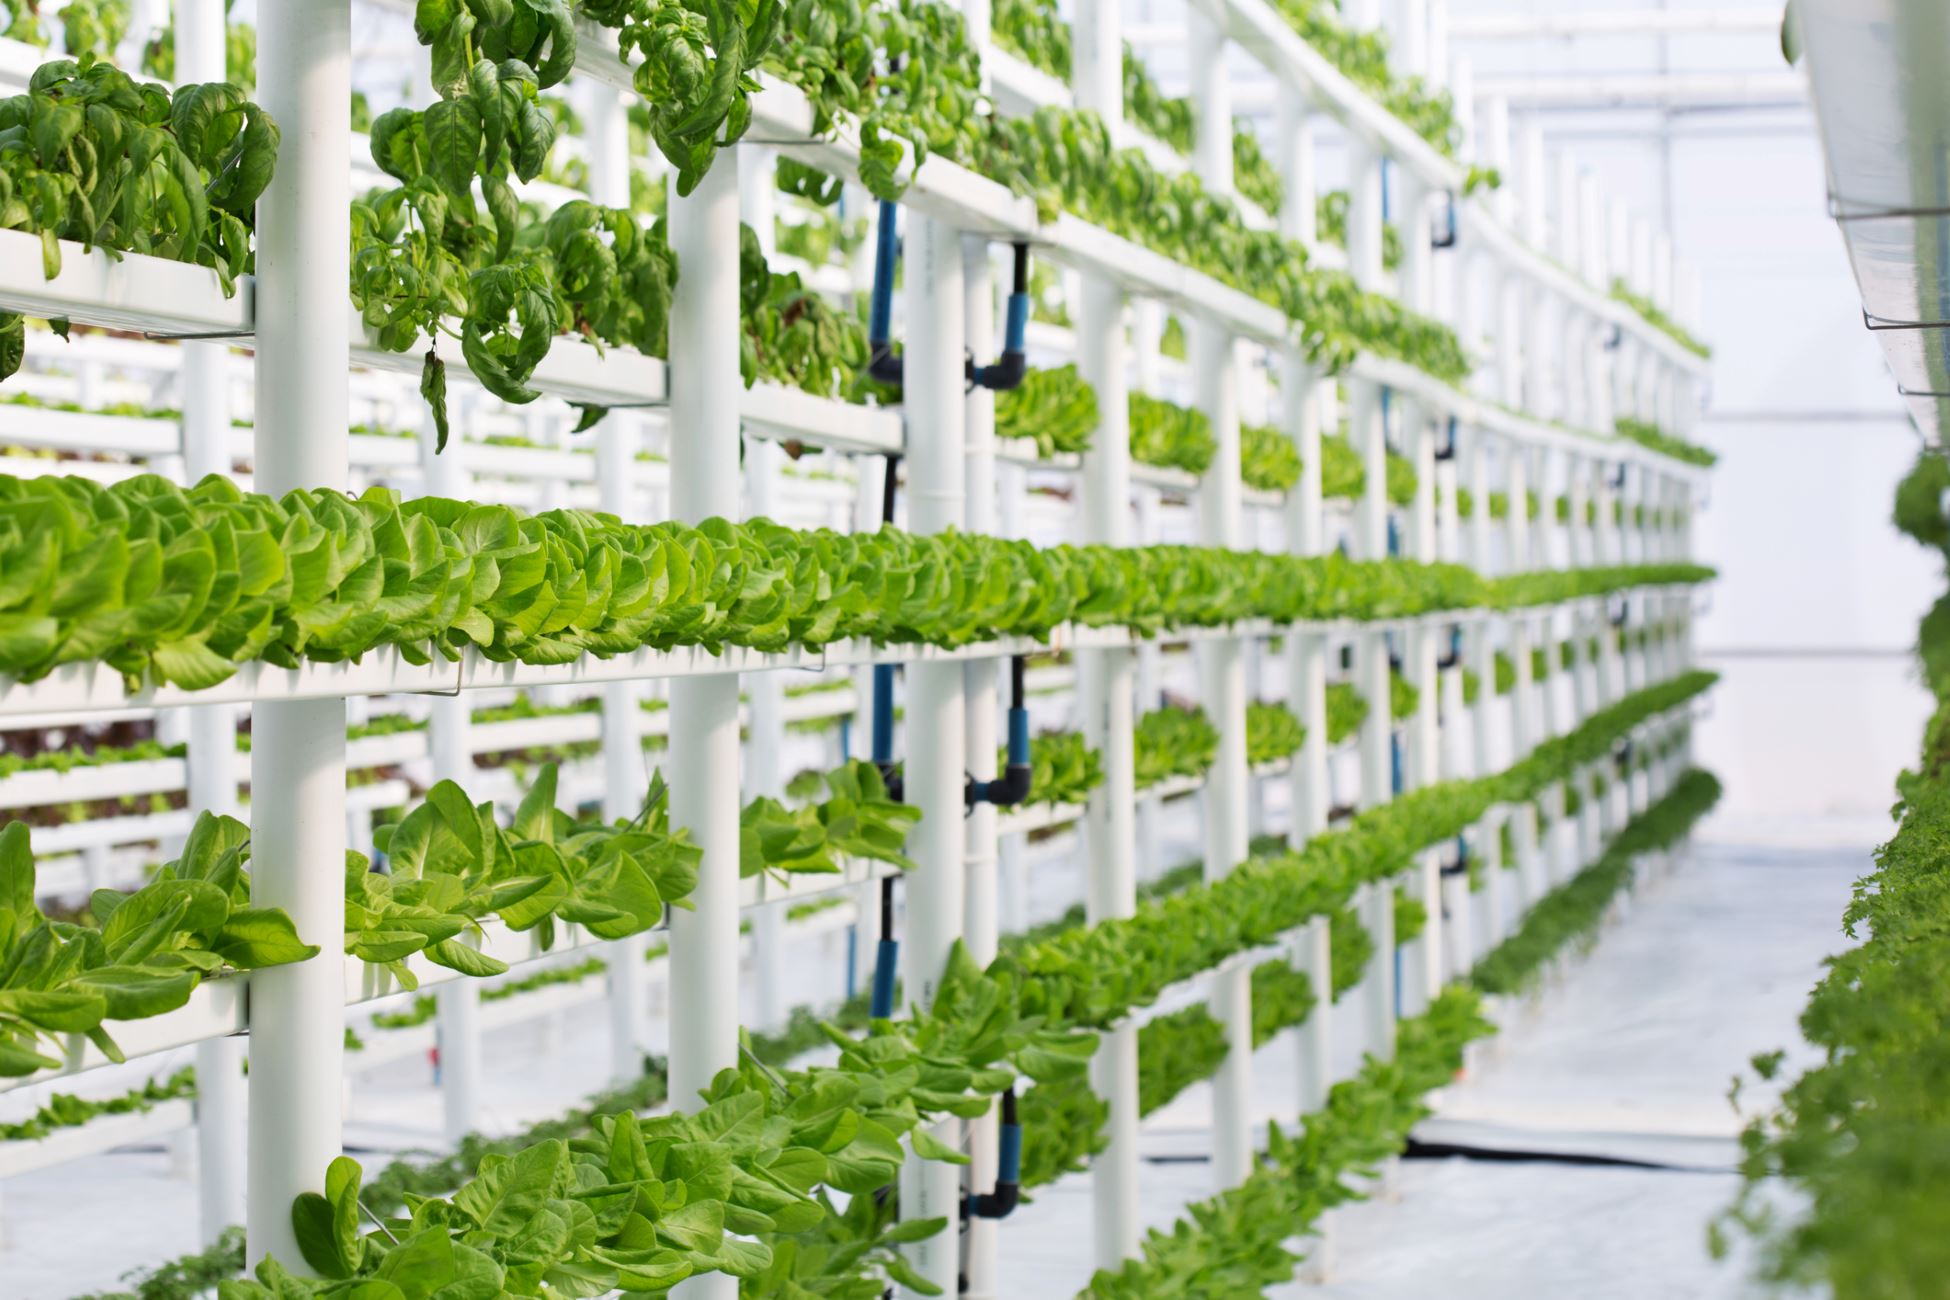
- Food Production: Vertical gardens can also be utilized for growing herbs, vegetables, and fruits. Imagine plucking fresh basil leaves or cherry tomatoes from your own vertical garden to use in your favorite recipes. Not only does it provide you with fresh, organic produce, but it also promotes sustainable and eco-friendly food production.
These are just a few of the many benefits of vertical gardens. Now that you understand the advantages, let’s move on to the materials needed to create your own charming vertical garden with plastic bottles!
Materials Needed
Before you begin creating your vertical garden with plastic bottles, gather the following materials:
- Plastic Bottles: Collect empty plastic bottles of various sizes, such as soda bottles, water bottles, or milk jugs. Ensure they are clean and free of any residue. The number of bottles you need will depend on the size and scale of your vertical garden.
- Scissors or Utility Knife: You will need a sharp pair of scissors or a utility knife to cut the plastic bottles. Make sure they are suitable for cutting through plastic materials.
- Drill or Hot Nail: To create holes in the plastic bottles for drainage and planting, you can use a drill with a small drill bit or a hot nail to puncture the bottles. Ensure you have the appropriate safety equipment and take caution when using a hot nail.
- Zip Ties or Wire: You will need a method to attach the plastic bottles to a wall or structure. Zip ties or wire work well for securing the bottles in place and providing stability.
- Wall Hooks or Brackets: Depending on the type of wall you are working with, you may need wall hooks or brackets to hang the vertical garden securely. Choose hooks or brackets that are suitable for the weight of your vertical garden and the type of wall surface.
- Potting Soil: Use a good quality potting soil that provides drainage and nutrient retention for your plants. Avoid using garden soil, as it may not provide the necessary aeration and drainage requirements for container gardening.
- Plants: Select plants suitable for vertical gardening. Consider the amount of sunlight and environmental conditions of your desired location for the vertical garden. Choose a variety of plants with different growth habits and textures to create an eye-catching display.
- Watering Can or Hose: You will need a watering can or hose to water your vertical garden regularly. Consider the proximity of your water source to the vertical garden and choose an appropriate watering method.
Once you have gathered all the necessary materials, you are ready to embark on your vertical gardening adventure. In the next steps, we will guide you through the process of preparing the plastic bottles, cutting holes, attaching them to the wall, and planting your favorite plants. Let’s get started!
Step 1: Preparing the Plastic Bottles
The first step in creating your vertical garden with plastic bottles is to prepare the bottles for planting. Follow these simple instructions:
- Clean the Bottles: Ensure that the bottles are clean and free from any residue. Rinse them thoroughly to remove any leftover liquids or labels. Cleaning the bottles will help maintain a healthy environment for your plants.
- Remove Caps or Lids: Take off the caps or lids of the bottles. You want the neck of the bottle to be open for watering and planting purposes. Set aside the caps or use them for another purpose.
- Remove Labels (Optional): If your bottles have labels that are difficult to remove, you can opt to peel them off or soak the bottles in warm, soapy water to loosen the adhesive. Removing the labels will enhance the aesthetic appeal of your vertical garden.
- Clear or Colored Bottles: Decide whether you want to use clear or colored bottles for your vertical garden. Clear bottles allow more light to penetrate the roots, promoting healthier plant growth. On the other hand, colored bottles can add a unique touch of color and create an artistic display.
- Ensure Uniformity: If you are using bottles of different sizes, trim them so that all the bottles have a uniform height. This will make it easier to arrange and attach them to the wall.
Once you have prepared the plastic bottles, you are ready to move on to the next step: cutting holes in the bottles to accommodate plants and drainage. Stay tuned for step 2, where we will guide you through the process!
Step 2: Cutting Holes in the Bottles
Now that you have prepared the plastic bottles, it’s time to cut holes in them to allow for planting and proper drainage. Follow these steps to cut holes in the bottles:
- Select the Location: Decide where you want the holes to be on the bottles. It’s best to cut the holes towards the bottom of the bottles, as this will allow excess water to drain out and prevent waterlogged soil.
- Drill Method: If you have a drill, use a small drill bit to create holes in the plastic bottles. Start by making a pilot hole, then increase the diameter of the hole based on the size of the plant you intend to grow. Ensure the holes are large enough to accommodate the plant’s root ball.
- Hot Nail Method: If you don’t have a drill, you can use a hot nail to puncture holes in the bottles. Heat the tip of a nail until it becomes hot, then carefully press it against the plastic to create holes. Take caution when using this method and ensure that you are working in a well-ventilated area.
- Number of Holes: The number of holes you create in each bottle will depend on the size of the bottle and the plants you plan to grow. Generally, one or two holes per bottle should suffice, allowing ample space for the roots to grow and ensuring proper drainage.
- Positioning the Holes: Space the holes evenly around the lower portion of the bottle. Avoid placing the holes too close together, as this can weaken the structural integrity of the bottles.
- Smooth the Edges: After cutting the holes, use sandpaper or a file to smooth any rough edges or sharp edges on the plastic bottles. This will help prevent any accidental cuts or injuries when handling the bottles.
Once you have cut the holes in the plastic bottles, you are ready to move on to the next step: attaching the bottles to the wall. In step 3, we will guide you through the process of securely mounting the bottles to create your vertical garden. Stay tuned!
When making a vertical garden with plastic bottles, make sure to clean the bottles thoroughly before using them to plant your flowers or herbs. This will help prevent any contamination and ensure the health of your plants.
Read more: How To Make A Vertical Garden With PVC Pipe
Step 3: Attaching the Bottles to the Wall
With the plastic bottles prepared and the holes cut, it’s time to attach them to the wall to create your vertical garden. Follow these steps to securely mount the bottles:
- Determine the Wall Location: Select a suitable wall for your vertical garden. Consider factors such as sunlight exposure, accessibility, and the weight-bearing capacity of the wall. Ideally, choose a wall that receives adequate sunlight and can support the weight of the bottles with plants and soil.
- Mark the Position: Using a pencil or marker, mark the desired placement of the bottles on the wall. You can create a uniform grid pattern or arrange the bottles in a more artistic manner, depending on your preferences.
- Install Hooks or Brackets: Depending on the type of wall and the weight of your vertical garden, install wall hooks or brackets at the marked positions. Ensure that the hooks or brackets are securely fastened, as they will support the weight of the bottles.
- Attach the Bottles: With the hooks or brackets in place, use zip ties or wire to secure the bottles to the wall. Position each bottle over its respective hook or bracket, and fasten it tightly to provide stability. Make sure the bottles are aligned and leveled, creating a visually pleasing display.
- Arrange the Placement: As you attach the bottles, play with the arrangement to create an appealing pattern or a mix of different bottle sizes. This will add depth and dimension to your vertical garden.
- Stagger the Rows: For a more visually interesting display, stagger the rows of bottles. This will prevent the plants from overlapping and provide each bottle with ample sunlight and space for growth.
Once you have securely attached the bottles to the wall, you are one step closer to having your own flourishing vertical garden. In the next step, we will guide you through the process of adding soil and plants to the bottles. Get ready to bring your vertical garden to life. On to step 4!
Step 4: Adding Soil and Plants
Now that the bottles are securely attached to the wall, it’s time to fill them with soil and plant your desired plants. Follow these steps to add soil and plants to your vertical garden:
- Prepare the Potting Soil: Fill a bucket or container with potting soil. Ensure that the soil is loose and well-draining to provide optimal conditions for your plants’ roots to grow.
- Fill the Bottles: Carefully pour the potting soil into each of the bottles, using a small scoop or trowel. Fill the bottles almost to the brim, leaving a small space at the top for watering.
- Moisten the Soil: Before planting, lightly moisten the soil in the bottles. This will help the plants settle in and establish their roots more easily in their new environment.
- Choose Your Plants: Select the plants that you want to grow in your vertical garden. Consider the size, growth habit, and light requirements of each plant to ensure optimal growth. Varieties such as trailing vines, herbs, and succulents are well-suited for vertical gardens.
- Plant Your Chosen Plants: Gently loosen the root ball of each plant and insert it through the holes in the bottles. Be careful not to damage or break the roots. Hold the plant in place as you backfill the bottle with additional potting soil, ensuring that the plant is secure and upright.
- Space the Plants: Leave sufficient space between plants to allow for their growth and prevent overcrowding. Each plant should have enough room to spread its leaves and grow without obstructing neighboring plants.
- Water the Plants: After planting, give your newly potted plants a thorough watering. Be sure to water until you see excess water draining out of the bottles, indicating that the soil is adequately moist.
With the soil in place and your chosen plants snugly nestled in the bottles, your vertical garden is ready to flourish. In the final step, we will explore watering and maintenance tips to help you keep your vertical garden healthy and vibrant. Let’s move on to step 5!
Step 5: Watering and Maintenance
Now that your vertical garden is complete, it’s important to establish a watering and maintenance routine to keep your plants healthy and thriving. Follow these steps for proper watering and maintenance:
- Watering: Regular watering is essential for the health of your vertical garden. Check the moisture level of the soil regularly by inserting your finger into the soil, about an inch deep. Water the plants when the soil feels dry. Avoid overwatering, as it can lead to root rot. Ensure that water reaches all levels of the vertical garden by watering from the top and allowing it to trickle down to the lower bottles.
- Fertilizing: To provide your plants with essential nutrients, fertilize them regularly. Use a balanced fertilizer specifically formulated for container plants. Follow the instructions on the fertilizer packaging for the appropriate dosage and frequency of application. Be mindful not to over-fertilize, as it can lead to nutrient burn and damage to the plants.
- Pruning: Keep your vertical garden neat and tidy by periodically pruning the plants. Trim any dead or yellowing leaves to promote healthy growth. Pruning also helps maintain the shape and size of the plants and prevents them from overcrowding each other.
- Pest and Disease Control: Monitor your vertical garden for pests and common plant diseases. Inspect the leaves regularly for signs of insect infestation, such as webs or tiny holes. Treat any pest problems immediately using organic pest control methods or appropriate insecticides. If you notice any signs of disease, such as leaf spots or wilting, take appropriate action to prevent further spread.
- Rotate the Plants: To ensure even sunlight exposure and prevent one side of the vertical garden from overshadowing the other, periodically rotate the bottles. This will allow all plants to receive equal amounts of sunlight and promote balanced growth.
- Maintenance: Regularly check the hooks, brackets, and zip ties that secure the bottles to the wall. Ensure that they are still tight and secure. Additionally, remove any debris or dead leaves that may accumulate in the bottles or on the wall to maintain a clean and visually appealing vertical garden.
- Enjoy Your Vertical Garden: Sit back, relax, and enjoy the beauty and tranquility of your vertical garden. Take time to appreciate your hard work and the lush greenery that now adorns your wall. With proper care and maintenance, your vertical garden will be a source of joy and a stunning addition to your space.
By following these watering and maintenance tips, you will help your vertical garden thrive and flourish for years to come. Now that you have completed all the steps, take pride in your creation and enjoy the benefits it brings to your living environment.
Remember, gardening is a continuous learning experience, so don’t be afraid to experiment and adapt your care routine as needed. Happy vertical gardening!
Conclusion
Congratulations on creating your very own vertical garden with plastic bottles! By repurposing these everyday items, you have not only added a touch of greenery to your space but also contributed to reducing waste and promoting sustainability. As the plants grow and flourish, your vertical garden will become a vibrant and visually striking focal point in your home or outdoor area.
Vertical gardens offer numerous benefits beyond their aesthetic appeal. They optimize space, improve air quality, provide a solution for gardening in small or urban areas, and even allow for food production. The versatility and creativity of vertical gardening make it an exciting and rewarding experience for gardeners of all levels.
Remember to provide the necessary care and maintenance for your vertical garden. Regular watering, pruning, fertilizing, and monitoring for pests and diseases will help your plants thrive. Don’t be afraid to experiment with different plant varieties and arrangements to create an ever-evolving display.
As you watch your plants grow and flourish in their vertical habitat, take a moment to appreciate the beauty and tranquility they bring to your surroundings. Your vertical garden serves as a reminder of the resilience and adaptability of nature and the positive impact we can make by nurturing it.
So, whether you have transformed a bare wall or created a stunning living partition, your vertical garden is sure to bring joy, beauty, and a connection to nature into your life. Embrace the wonder of gardening in limited spaces and continue to explore the creative possibilities that vertical gardens offer.
Remember to share your experiences and inspire others to embark on their own vertical gardening journeys. Together, we can transform our spaces and make a positive impact on the environment, one plastic bottle at a time.
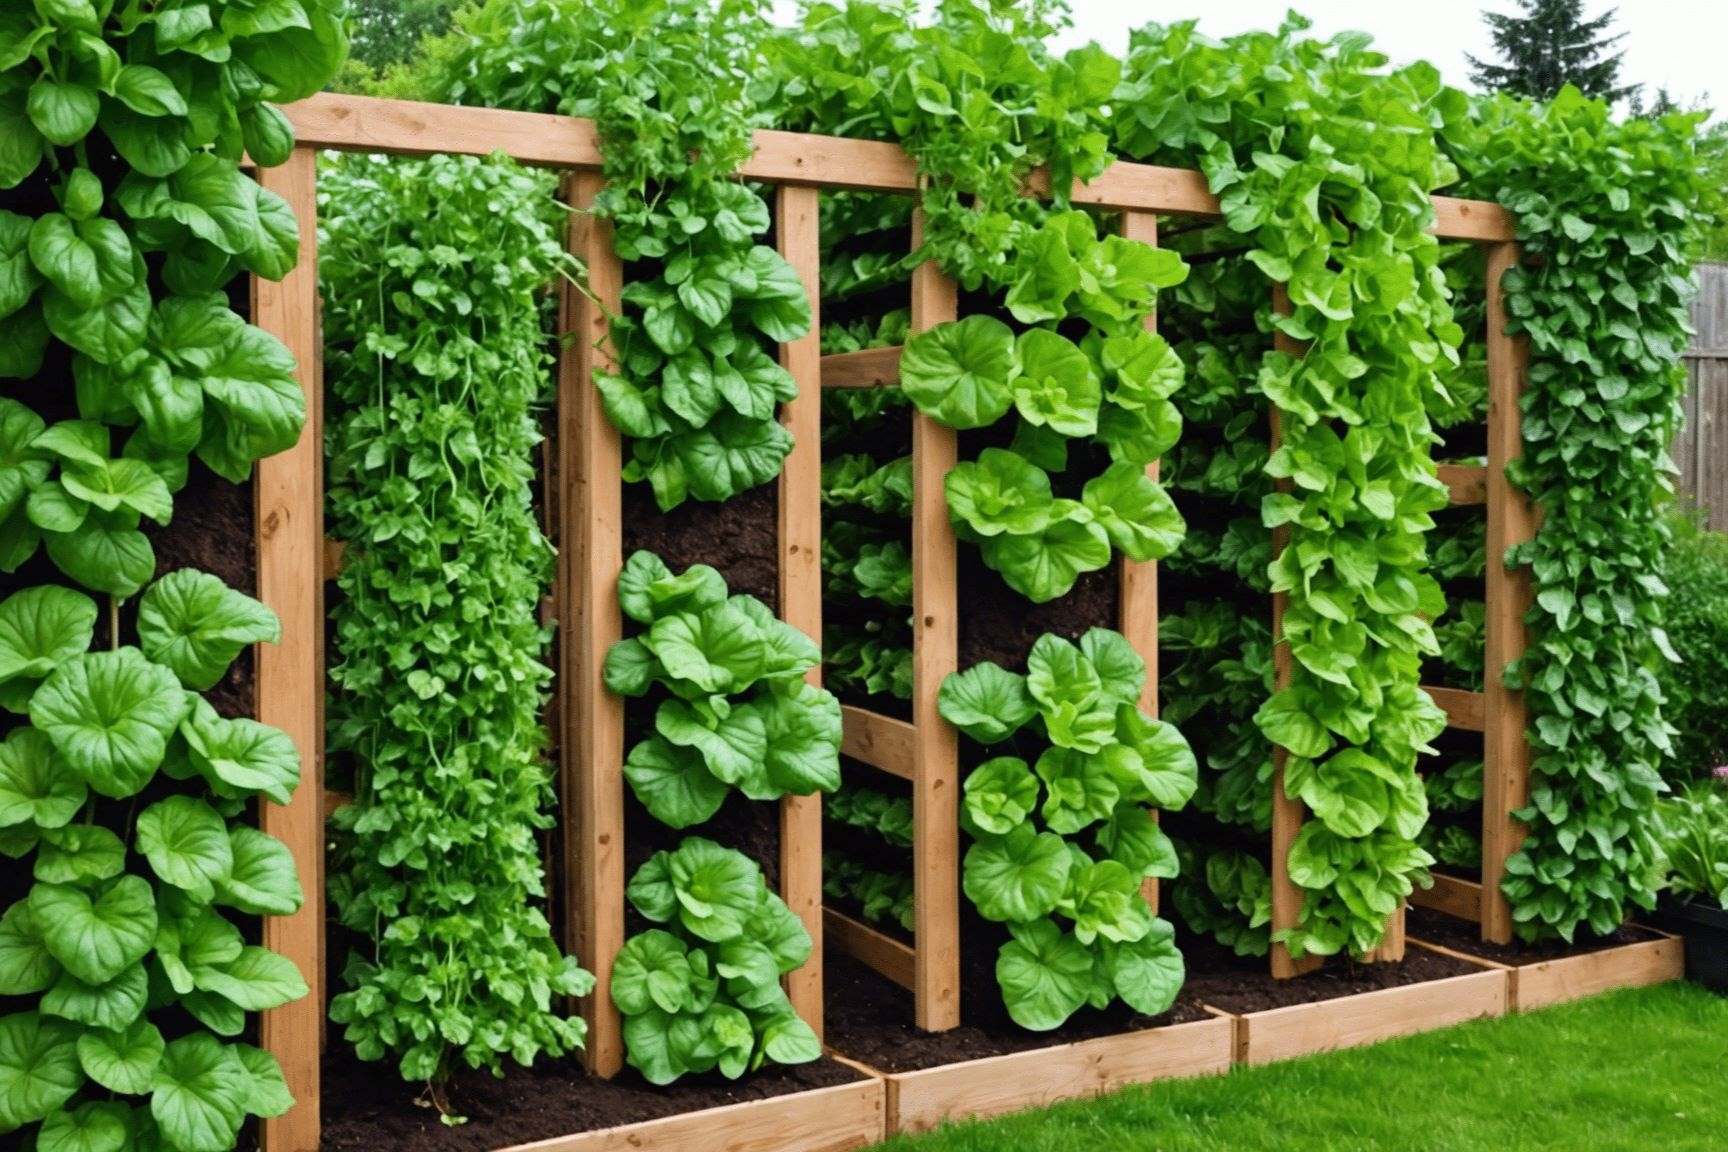
Excited about crafting your own lush corner with minimal space? Check out our guide on creating a DIY vertical garden. This next piece walks you through unique, creative setups beyond just using plastic bottles, focusing on various structures that can be adapted to any outdoor or indoor area. Whether you're looking to spruce up your balcony or add a green touch to your living room, these tips are perfect for green thumbs and novices alike. Don't miss out; give your green space a personal twist!
Frequently Asked Questions about How To Make Vertical Garden With Plastic Bottles
Was this page helpful?
At Storables.com, we guarantee accurate and reliable information. Our content, validated by Expert Board Contributors, is crafted following stringent Editorial Policies. We're committed to providing you with well-researched, expert-backed insights for all your informational needs.


0 thoughts on “How To Make Vertical Garden With Plastic Bottles”