Articles
How To Build A Brick Garden Wall
Modified: October 19, 2024
Learn how to build a stunning brick garden wall with our comprehensive gardening guide. Enhance your outdoor space and create a beautiful, durable structure.
(Many of the links in this article redirect to a specific reviewed product. Your purchase of these products through affiliate links helps to generate commission for Storables.com, at no extra cost. Learn more)
Introduction
Welcome to the world of gardening! If you’re looking to enhance your outdoor space and create a beautiful and functional boundary, building a brick garden wall is the perfect project for you. Not only will it add charm and character to your garden, but it will also provide privacy and protection for your plants and flowers. Whether you’re a seasoned DIY enthusiast or a beginner, this comprehensive guide will walk you through the step-by-step process of building a brick garden wall.
In this article, we will cover all the essential aspects, from planning and preparation to the finishing touches. By following these instructions, you’ll be able to create a sturdy and visually appealing brick wall that will stand the test of time.
Before you embark on this exciting project, it’s important to gather the necessary tools and materials. You will need the following:
- Bricks: Choose bricks that are suitable for outdoor use, such as clay or concrete bricks.
- Mortar: Select a high-quality mortar that is specifically designed for bricklaying.
- Trowel: A trowel is essential for applying the mortar to the bricks.
- Level: Use a level to ensure that your wall is straight and level.
- Measuring tape: Accurate measurements are crucial for planning and building the wall.
- Hammer and chisel: You may need these tools for cutting bricks to fit into tight spaces.
- Rubber mallet: A rubber mallet helps to gently tap the bricks into place.
- Protective gear: Gloves and safety goggles will protect you while working with mortar and bricks.
Once you have all the necessary tools and materials, you’re ready to get started on this fulfilling project. Let’s dive into the first step: planning and preparation.
Key Takeaways:
- Building a brick garden wall requires meticulous planning, proper foundation excavation, and precise brick laying. The finishing touches, such as applying a weatherproof sealant and adding decorative elements, ensure a visually appealing and long-lasting structure.
- By following the step-by-step process outlined in this guide, you can create a sturdy, visually appealing, and functional brick garden wall that enhances your outdoor space. Proper care and maintenance will ensure its longevity as a focal point of beauty and functionality in your garden.
Read more: How To Build A Brick Retaining Wall
Step 1: Planning and Preparation
Before you start building your brick garden wall, it’s crucial to take the time for proper planning and preparation. This will ensure that your wall is not only structurally sound but also suits your garden’s aesthetic. Let’s explore the key aspects of this initial step.
Choosing the location for your brick garden wall: Take a stroll around your garden and carefully assess which area would benefit most from a brick wall. Consider factors such as privacy, wind direction, and visual impact. A wall can serve as a backdrop for plants or create separate sections within your garden.
Determining the height and length of the wall: Measure the desired height and length of your wall. Keep in mind that the height will depend on the purpose of the wall. For privacy purposes, a higher wall might be suitable, while a lower wall can serve as a decorative element. Make sure to measure accurately, considering any curves or angles in your garden.
Checking local building codes and permit requirements: Before you start any construction work, it’s crucial to familiarize yourself with the local building codes and permit requirements. Some areas have specific regulations regarding the height and location of garden walls. Ensure that your proposed wall adheres to these regulations to avoid any future issues.
Gathering the necessary tools and materials: As mentioned earlier, gather all the tools and materials required for the construction of your brick garden wall. Make sure you have enough bricks, mortar, a trowel, a level, a measuring tape, a hammer and chisel, a rubber mallet, and the appropriate safety gear.
By thoroughly planning your brick garden wall project, you’ll have a clear vision of what you want to achieve and avoid any potential setbacks. Let’s move on to the next step, which involves excavating the foundation.
Step 2: Excavating the Foundation
Now that you have completed the planning and preparation phase, it’s time to start the actual construction process for your brick garden wall. The first step in this phase is to excavate the foundation. Let’s break down the steps involved in excavating the foundation properly.
Marking the area for excavation: Use stakes and string to mark the exact location of the wall on the ground. This will serve as a guide during the excavation process and ensure that the wall is straight and properly aligned.
Digging the trench for the foundation: Use a shovel to dig a trench along the marked line. The trench should be wide enough to accommodate the foundation and deep enough to provide stability for the wall. Typically, a depth of around 1 foot is sufficient, but it may vary depending on the height of your wall and local building codes.
Ensuring proper depth and width for stability: It’s crucial to ensure that the trench has the correct depth and width for stability. A deeper and wider trench will provide better support for your wall. Use a measuring tape to double-check the dimensions and make any necessary adjustments during the excavation process.
Removing any rocks or debris from the trench: As you excavate the trench, be on the lookout for rocks, roots, or any other debris that may hinder the stability of your wall. Remove these obstructions from the trench and create a clean and smooth surface.
By meticulously excavating the foundation, you’re setting the stage for a strong and robust brick garden wall. The foundation is vital for the overall stability and longevity of the structure. Once the foundation is properly prepared, you can move on to the next step of the construction process—installing the footing and drainage.
Step 3: Installing the Footing and Drainage
Now that you have excavated the foundation, it’s time to focus on installing the footing and drainage system for your brick garden wall. This step is crucial for providing stability and preventing water damage. Let’s delve into the process of installing the footing and drainage.
Adding a layer of crushed stone for drainage: Before constructing the footing, lay a layer of crushed stone at the bottom of the trench. This will allow for proper drainage and prevent water from collecting around the base of the wall. Make sure the layer of crushed stone is evenly spread and compacted.
Compact the stone layer using a hand tamper: Use a hand tamper to compact the layer of crushed stone. This will ensure that it is firmly in place and provides a solid base for the footing. Compact the stone layer thoroughly, paying extra attention to the corners and edges of the trench.
Building a concrete footing for stability: Once the stone layer is compacted, it’s time to build the concrete footing. Mix the concrete as per the manufacturer’s instructions and pour it into the trench, covering the layer of crushed stone completely. Use a trowel to level the surface of the concrete and ensure it is smooth.
Ensuring the footing is level and in the correct position: While the concrete is wet, use a level to ensure that the footing is level and in the correct position. This will provide a solid and stable foundation for your brick garden wall. Make any necessary adjustments to the footing before the concrete starts to set.
By installing the footing and drainage system, you are taking important steps to protect your brick garden wall from water damage and ensure its long-term stability. With these foundational elements in place, it’s time to move on to the next step—laying the first course of bricks.
Step 4: Laying the First Course of Bricks
With the foundation and footing set, it’s time to start laying the bricks for your garden wall. The first course of bricks is crucial as it sets the tone for the rest of the construction. Let’s dive into the steps involved in laying the first course of bricks.
Applying mortar to the foundation: Start by applying a layer of mortar to the top of the footing. The mortar acts as a bonding agent for the bricks, ensuring a strong and secure structure. Use a trowel to spread the mortar evenly across the surface.
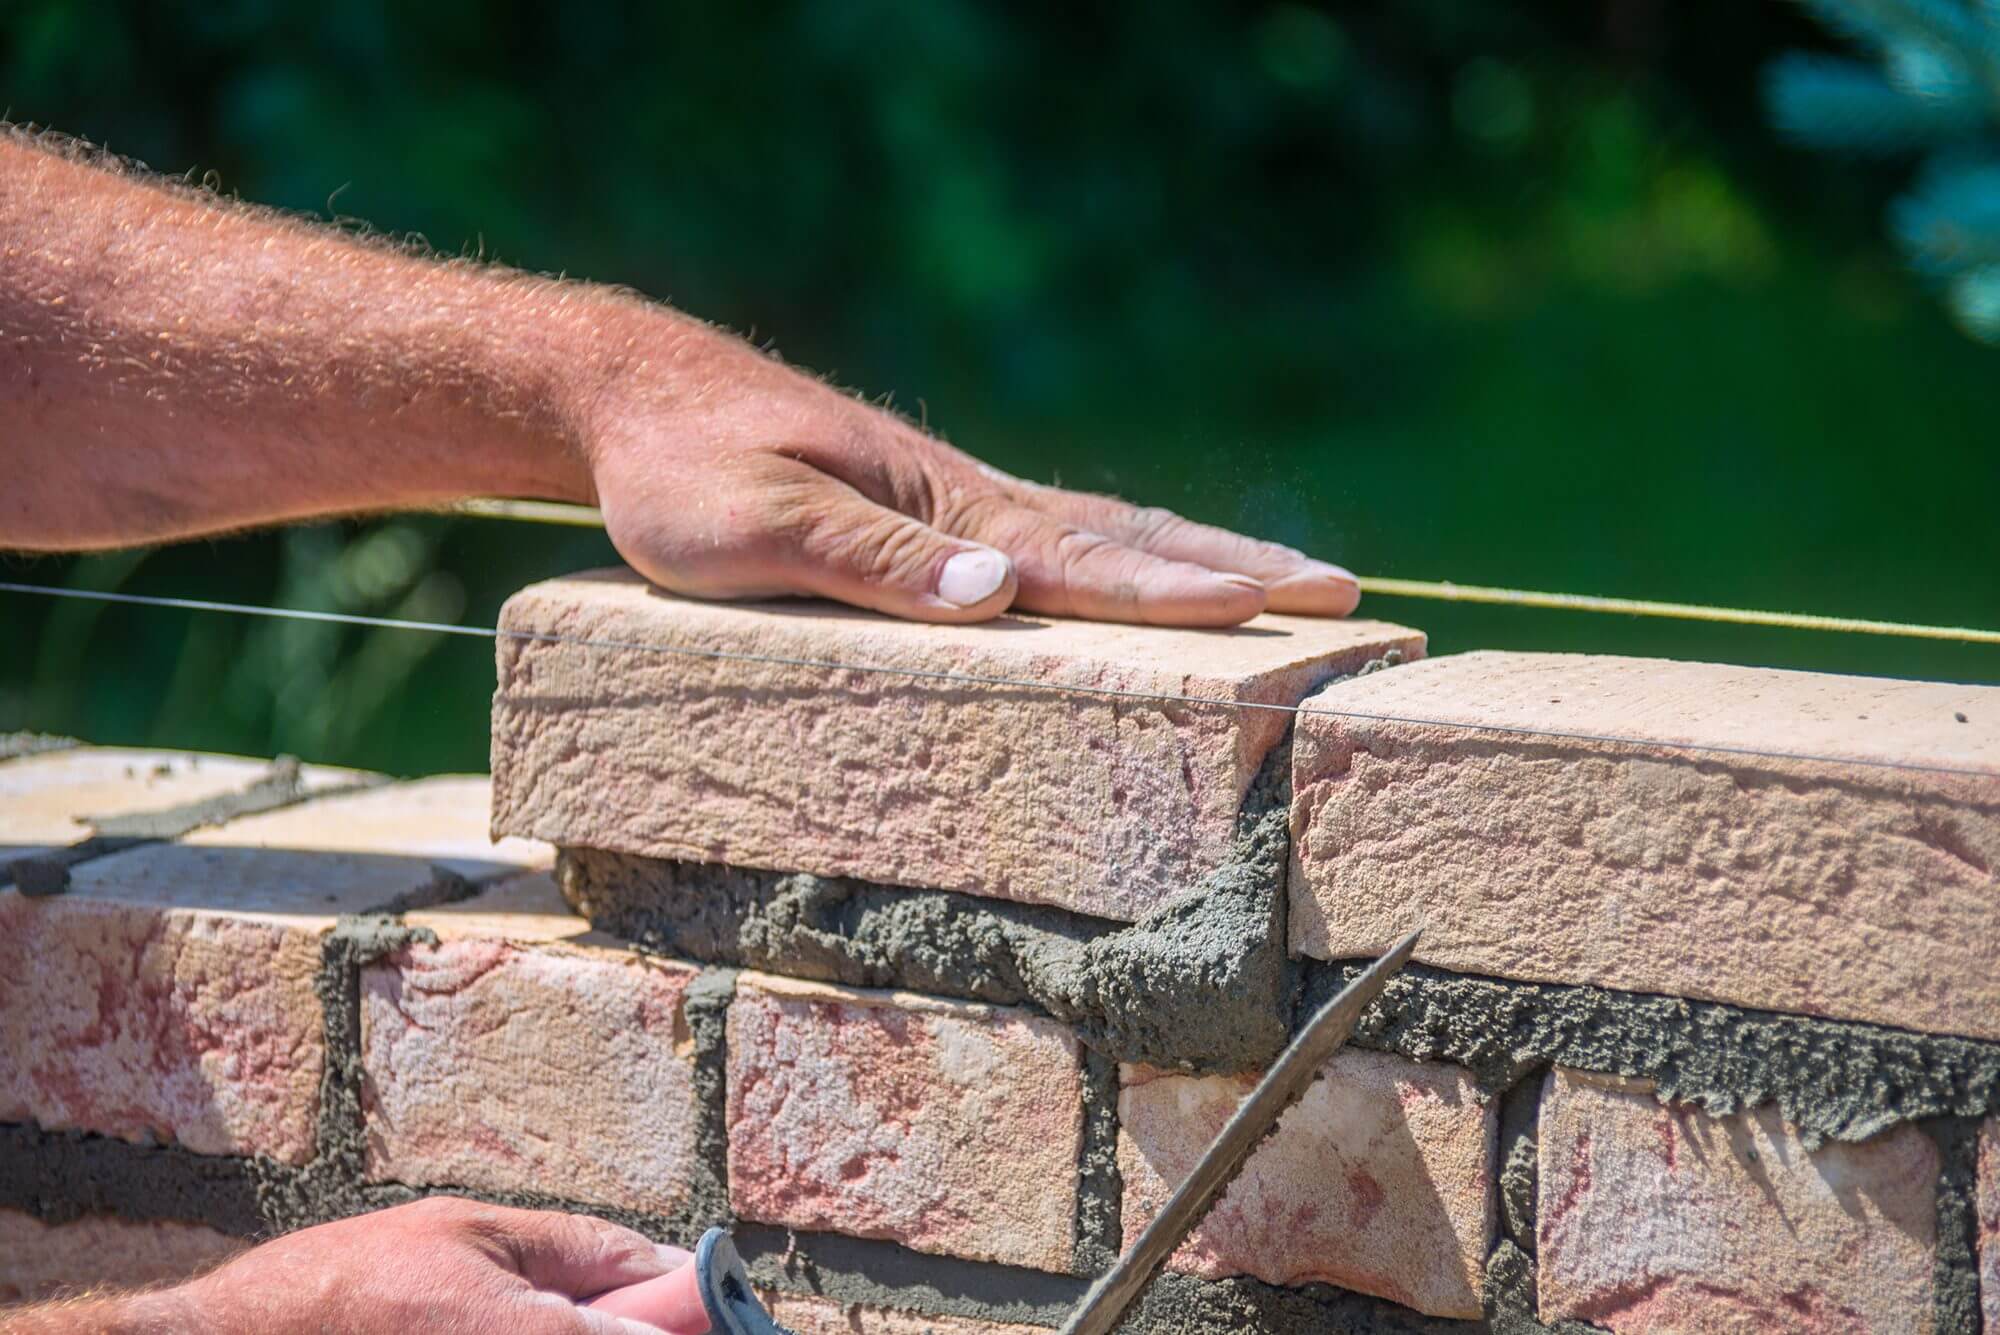
Placing the first row of bricks in a straight line: Carefully place the first row of bricks on top of the mortar, ensuring that they are placed in a straight line. Use a level to verify the levelness of the bricks. Adjust the position of the bricks as needed to ensure a straight and aligned first course.
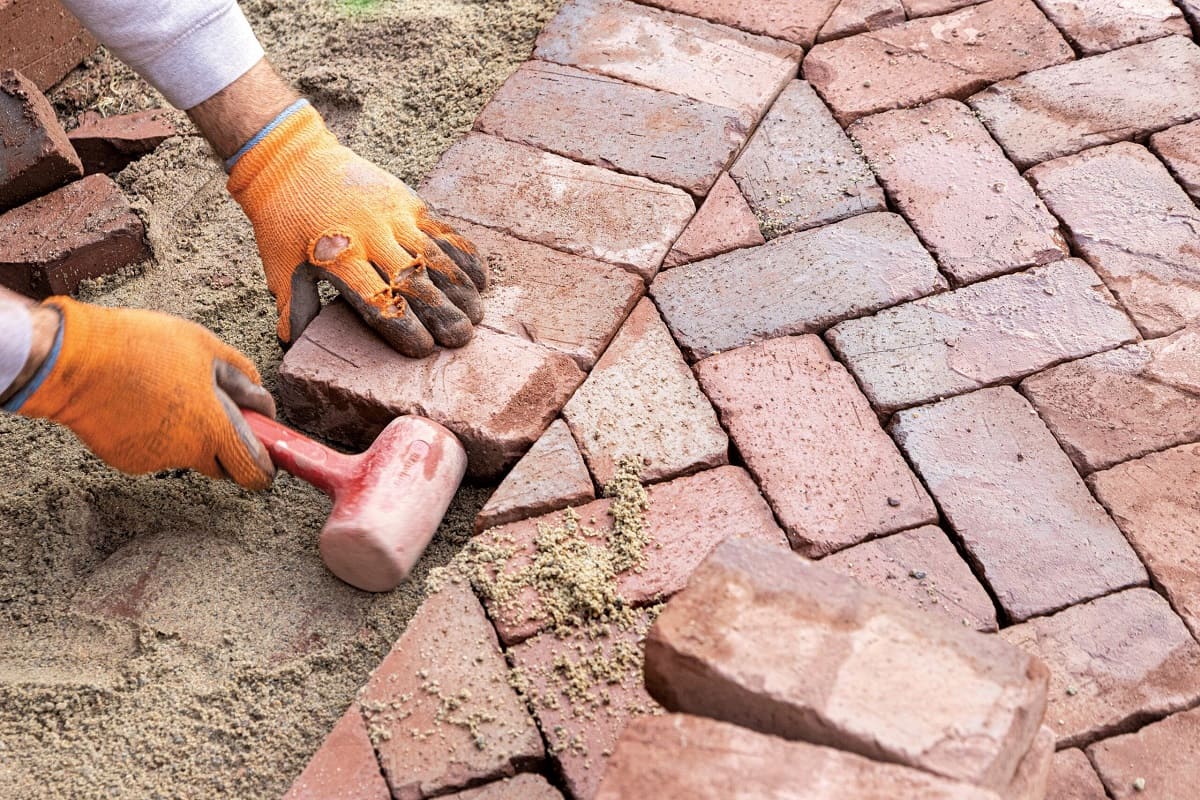
Checking for levelness and alignment: As you lay each brick, use a level to ensure that it is level both horizontally and vertically. This step is crucial for maintaining the structural integrity of the wall. Make any necessary adjustments by tapping the bricks gently with a rubber mallet.
Tapping bricks gently with a rubber mallet for proper adhesion: To ensure proper adhesion between the bricks and the mortar, gently tap each brick with a rubber mallet. This will help the brick adhere to the mortar and create a strong bond. Be careful not to apply excessive force, as it can damage the bricks.
By meticulously laying the first course of bricks, you are setting the foundation for a sturdy and visually appealing garden wall. Take your time during this step and ensure that the bricks are properly aligned and level. Once the first course is complete, you can move on to the next step—building subsequent courses.
When building a brick garden wall, make sure to use a level and string line to ensure the bricks are laid straight and evenly. This will result in a professional-looking and sturdy wall.
Read more: How To Build A Brick Wall For A House
Step 5: Building Subsequent Courses
With the first course of bricks in place, it’s time to start building the subsequent courses of your garden wall. This step involves continuing to lay bricks on top of each other to create a sturdy and visually appealing structure. Let’s explore the key steps in building subsequent courses.
Applying mortar between each brick layer: Once you have placed the first row of bricks, apply a layer of mortar on top of the bricks. This will act as a bonding agent between the courses and ensure a solid and stable wall. Use a trowel to spread the mortar evenly between each brick layer.
Staggering the joints for strength and stability: To increase the strength and stability of the wall, it’s important to stagger the joints. This means that the vertical joints of one course should not align with the vertical joints of the course above or below it. Staggering the joints helps distribute the weight evenly and adds strength to the structure.
Using a level to maintain straightness: As you continue building the subsequent courses, regularly use a level to ensure that the wall remains straight and level. This is essential for maintaining the structural integrity of the wall. Make any necessary adjustments by tapping the bricks with a rubber mallet.
Cutting bricks if needed for a proper fit: During the construction process, you may come across areas where full-sized bricks don’t fit properly. In such cases, you will need to cut the bricks to the appropriate size using a hammer and chisel or a power saw. Measure carefully and make precise cuts to ensure a proper fit.
By applying mortar between each brick layer, staggering the joints, maintaining straightness with a level, and cutting bricks if needed, you are ensuring a strong and visually appealing garden wall. Take your time and pay attention to detail during this step. Once the subsequent courses are complete, you can move on to adding reinforcement and grout.
Step 6: Adding Reinforcement and Grout
As you continue building your garden wall, it’s essential to reinforce the structure for added strength and durability. Additionally, filling the gaps between the bricks with mortar or grout not only enhances the stability of the wall but also provides a finished and cohesive appearance. Let’s explore the steps involved in adding reinforcement and grout.
Installing a reinforcement grid or rebar for added strength: To reinforce your garden wall, consider installing a reinforcement grid or inserting rebar between the brick courses. This additional support enhances the structural integrity and ensures that your wall can withstand various forces, such as wind or soil pressure.
Filling the gaps between bricks with mortar or grout: Once the wall is reinforced, it’s time to fill the gaps between the bricks with either mortar or grout. Using a trowel, carefully apply the mortar or grout, making sure to completely fill the spaces. This step not only strengthens the wall further but also creates a cohesive appearance.
Smoothing the mortar joints for a neat finish: After filling the gaps, use a pointing trowel or a jointing tool to smooth the mortar joints. This process helps create a clean and visually appealing finish. Be sure to remove any excess mortar from the surface of the bricks as you go along.
Allowing time for the mortar to dry and set: Once the grout or mortar is applied and smoothed, allow it sufficient time to dry and set. This drying time may vary depending on the type of mortar or grout used, as well as environmental conditions. Follow the manufacturer’s instructions to ensure proper drying and setting of the mortar.
By adding reinforcement and grout, you are reinforcing the structural integrity and appearance of your garden wall. Take care to follow the proper techniques when applying the grout or mortar, and allow sufficient time for it to dry and set. With the reinforcement and grout in place, your garden wall is reaching its final stages.
Step 7: Finishing Touches
As you near the completion of your brick garden wall, it’s time to focus on the finishing touches. These final steps will not only enhance the overall appearance of your wall but also ensure its long-lasting protection. Let’s explore the key aspects of these finishing touches.
Cleaning off excess mortar from bricks: After the mortar has dried and set, remove any excess mortar that may have spilled onto the surface of the bricks. Use a stiff brush or a scraper to scrape off the dried mortar gently. This step will give your garden wall a clean and polished look.
Applying a weatherproof sealant for protection: To protect your brick garden wall from the elements, apply a weatherproof sealant. This sealant will help prevent water damage and make it more resistant to weather-related wear and tear. Follow the manufacturer’s instructions for the proper application technique and drying time.
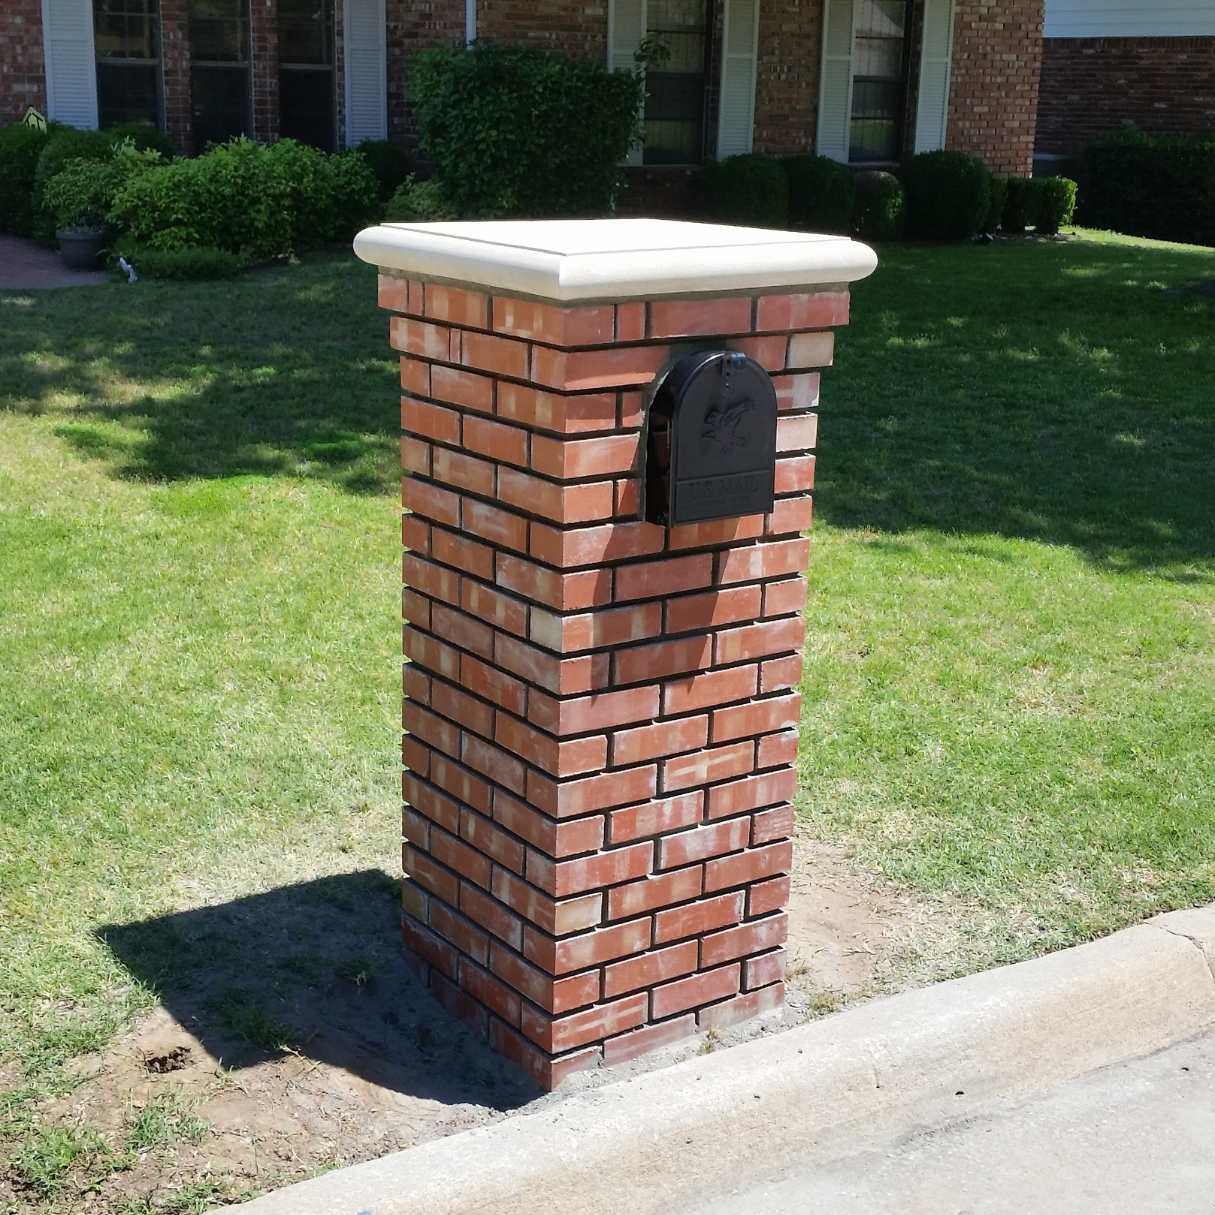
Adding decorative elements, such as cap stones or plants: To add a touch of personality and uniqueness to your garden wall, consider incorporating decorative elements. Cap stones can be placed on the top of the wall to give it a finished look, while adding plants around the base can soften the overall appearance and integrate it into your garden design.
Performing any necessary touch-ups or repairs: Finally, step back and assess your garden wall. Look for any areas that may require touch-ups or repairs. This can include filling in small gaps in the mortar, replacing damaged bricks, or fixing any loose sections. Attend to these issues promptly to maintain the integrity and aesthetics of your wall.
By attending to these finishing touches, you’ll ensure that your brick garden wall not only looks visually appealing but also stands the test of time. Take pride in your completed project and enjoy the beauty and functionality that your garden wall brings to your outdoor space.
Conclusion
Congratulations on completing your brick garden wall! By following the step-by-step process outlined in this guide, you have created a sturdy, visually appealing, and functional structure that enhances your outdoor space.
Throughout this journey, you have learned the importance of proper planning and preparation, from choosing the location to determining the height and length of the wall. You have excavated the foundation, installed the footing and drainage, and meticulously laid each brick, ensuring levelness and alignment. Additionally, you have added reinforcement and grout for added strength and durability.
With the finishing touches in place, including cleaning off excess mortar, applying a weatherproof sealant, and adding decorative elements, your garden wall is now a centerpiece of your outdoor oasis. The cap stones and plants provide a personalized touch, making the wall uniquely yours.
Remember to routinely inspect and perform any necessary touch-ups or repairs to maintain the integrity of your wall as the years go by. With proper care and maintenance, your brick garden wall will continue to be a focal point of beauty and functionality for many seasons to come.
Now, take a moment to step back and admire your hard work. Bask in the satisfaction that comes with creating a structure that not only serves its purpose but also adds aesthetic value to your garden.
Thank you for joining us on this journey of building a brick garden wall. We hope that this guide has provided you with the knowledge and inspiration needed to embark on future landscaping projects. Happy gardening!
Now that you've mastered building a brick garden wall, why not tackle more outdoor projects? Our guide offers creative ideas that transform any backyard into a personal retreat. Seeking inspiration for more functional yet stylish additions? Check out unique garden fence ideas that blend security with aesthetic appeal, perfect for any landscaping project. Both guides provide practical tips ensuring your outdoor spaces not only look great but are truly your own.
Frequently Asked Questions about How To Build A Brick Garden Wall
Was this page helpful?
At Storables.com, we guarantee accurate and reliable information. Our content, validated by Expert Board Contributors, is crafted following stringent Editorial Policies. We're committed to providing you with well-researched, expert-backed insights for all your informational needs.


0 thoughts on “How To Build A Brick Garden Wall”