Home>Garden Essentials>How To Make Living Wall Vertical Garden
Garden Essentials
How To Make Living Wall Vertical Garden
Modified: August 25, 2024
Learn how to create a stunning vertical garden with our step-by-step guide. Transform your space with a beautiful garden design.
(Many of the links in this article redirect to a specific reviewed product. Your purchase of these products through affiliate links helps to generate commission for Storables.com, at no extra cost. Learn more)
Introduction
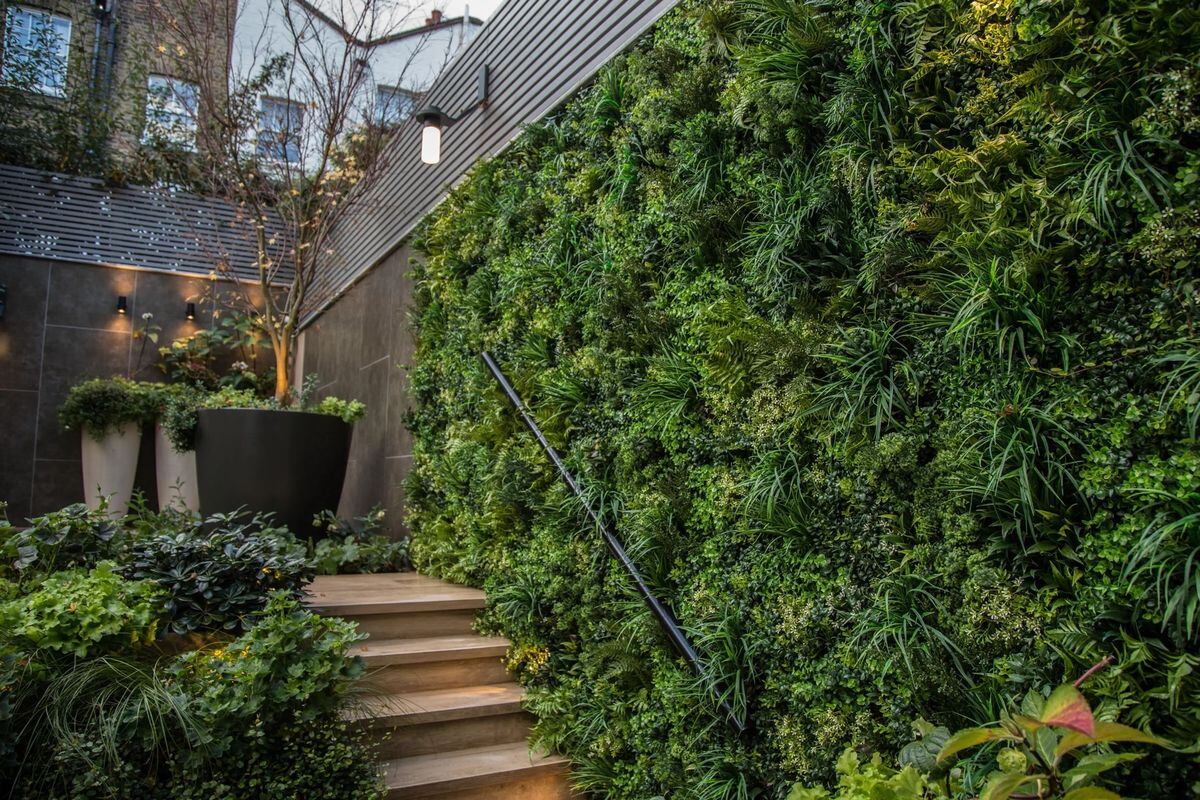
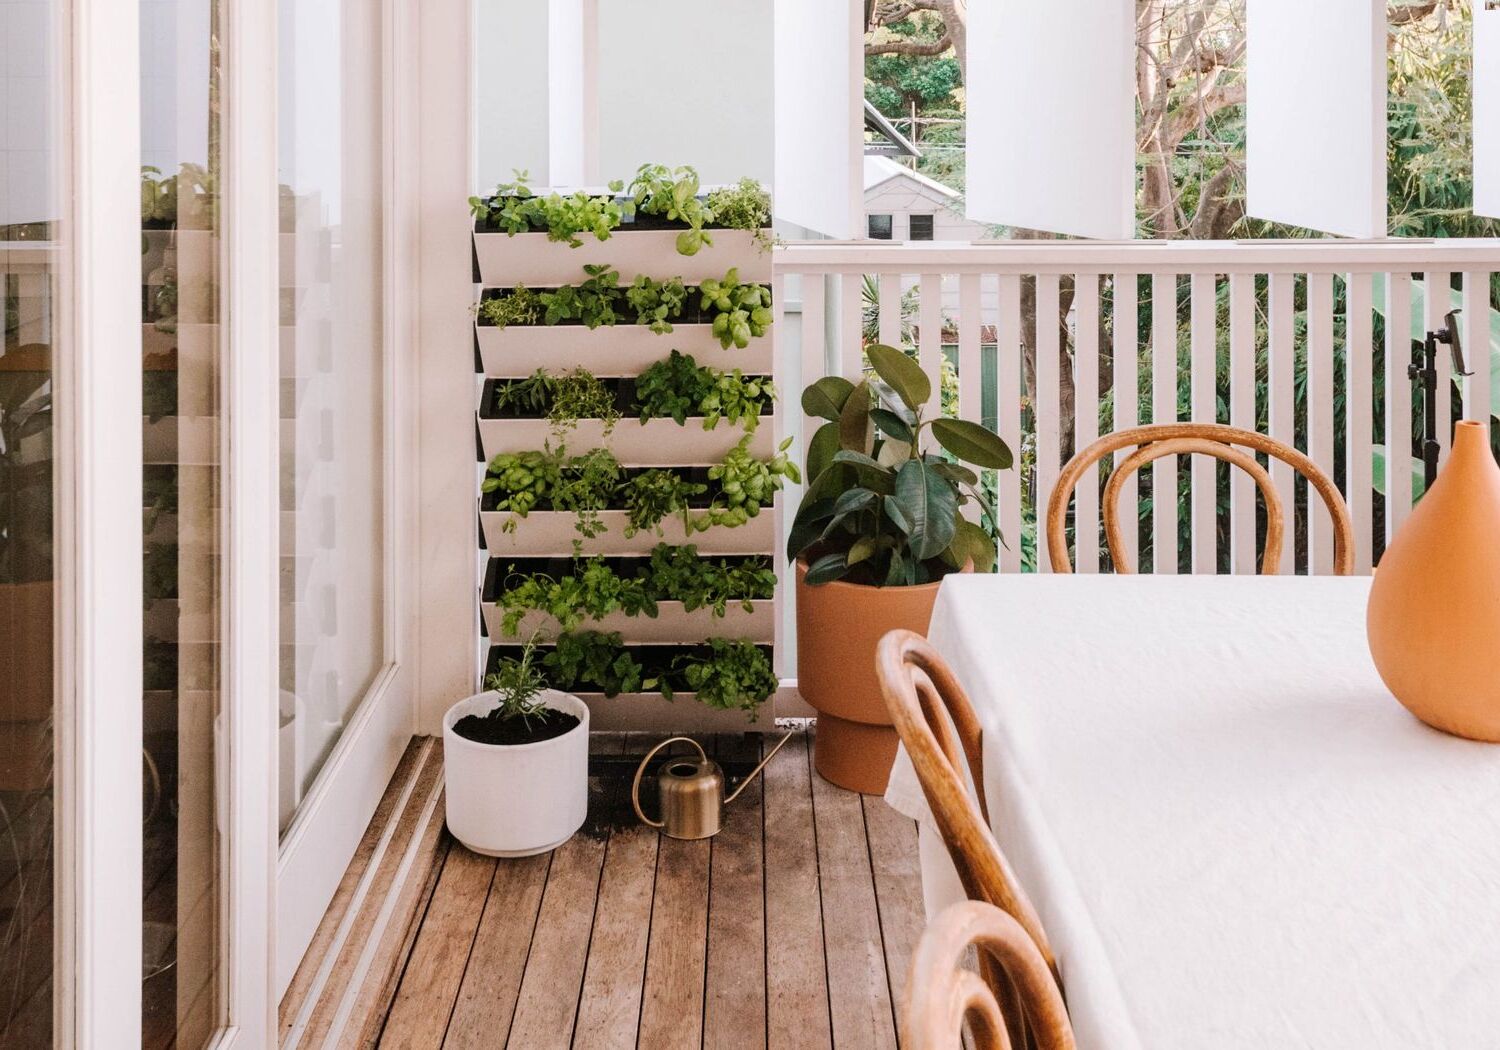
A living wall, also known as a vertical garden, is a creative and innovative way to bring nature into urban spaces or even enhance the beauty of your home. It is a vertical arrangement of plants that not only adds aesthetic appeal but also offers numerous environmental benefits. Whether you have a small balcony, a large garden, or even an office space, a living wall can transform any area into a lush and vibrant oasis.
In this article, we will guide you on how to create your own living wall, step by step. We will cover everything you need to know, from choosing the location to maintaining the wall once it’s installed. So, grab your gardening tools and let’s get started!
Key Takeaways:
- Create a lush living wall by choosing the right location, preparing the wall, and selecting diverse plants. Regular maintenance ensures a vibrant and visually stunning vertical garden.
- Building a living wall is a rewarding way to bring nature into any space. Follow the step-by-step guide to create a beautiful and sustainable vertical garden, and enjoy the environmental benefits it brings.
Read more: How To Make Succulent Vertical Garden
Materials Needed
To create a living wall, you will need the following materials:
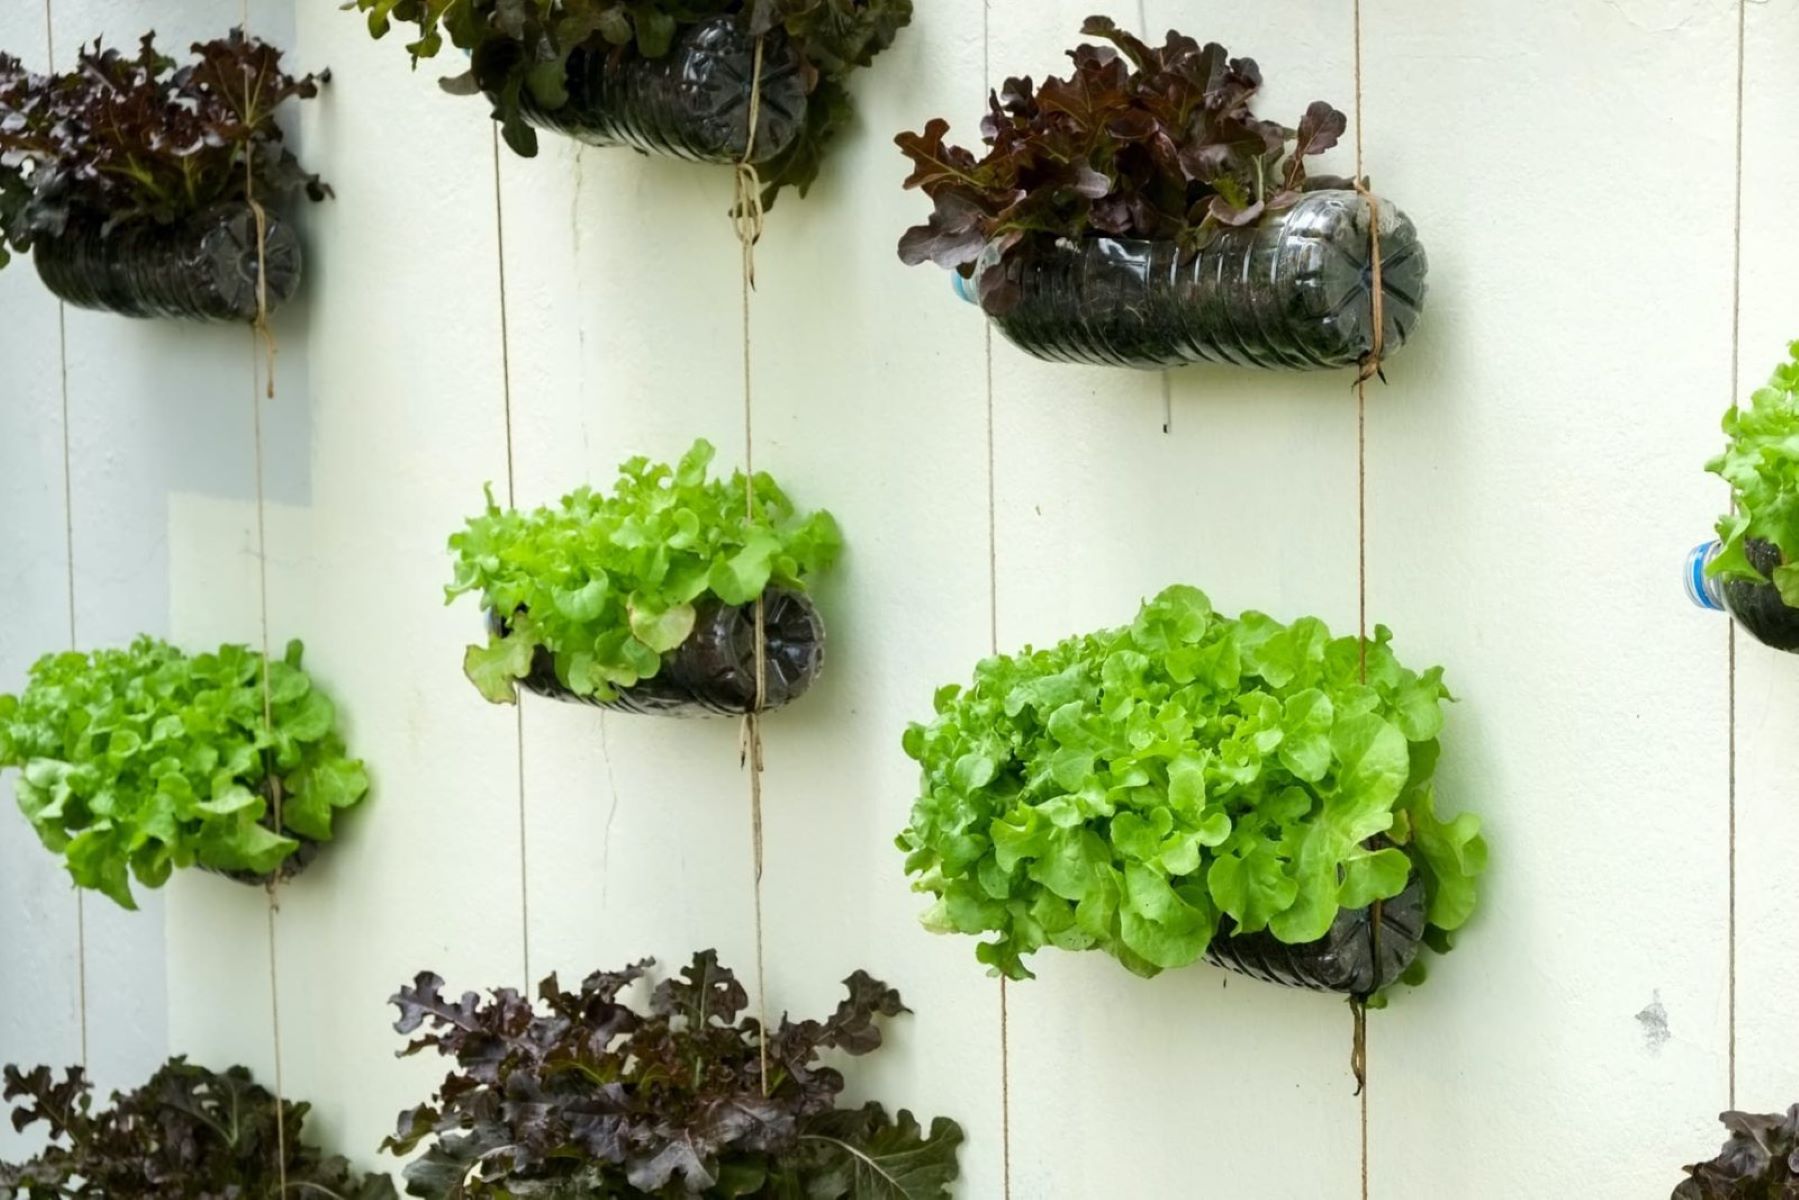
- Wall-mounted planter trays or containers
- Heavy-duty hooks or brackets
- Waterproof membrane or plastic sheeting
- Drainage mat
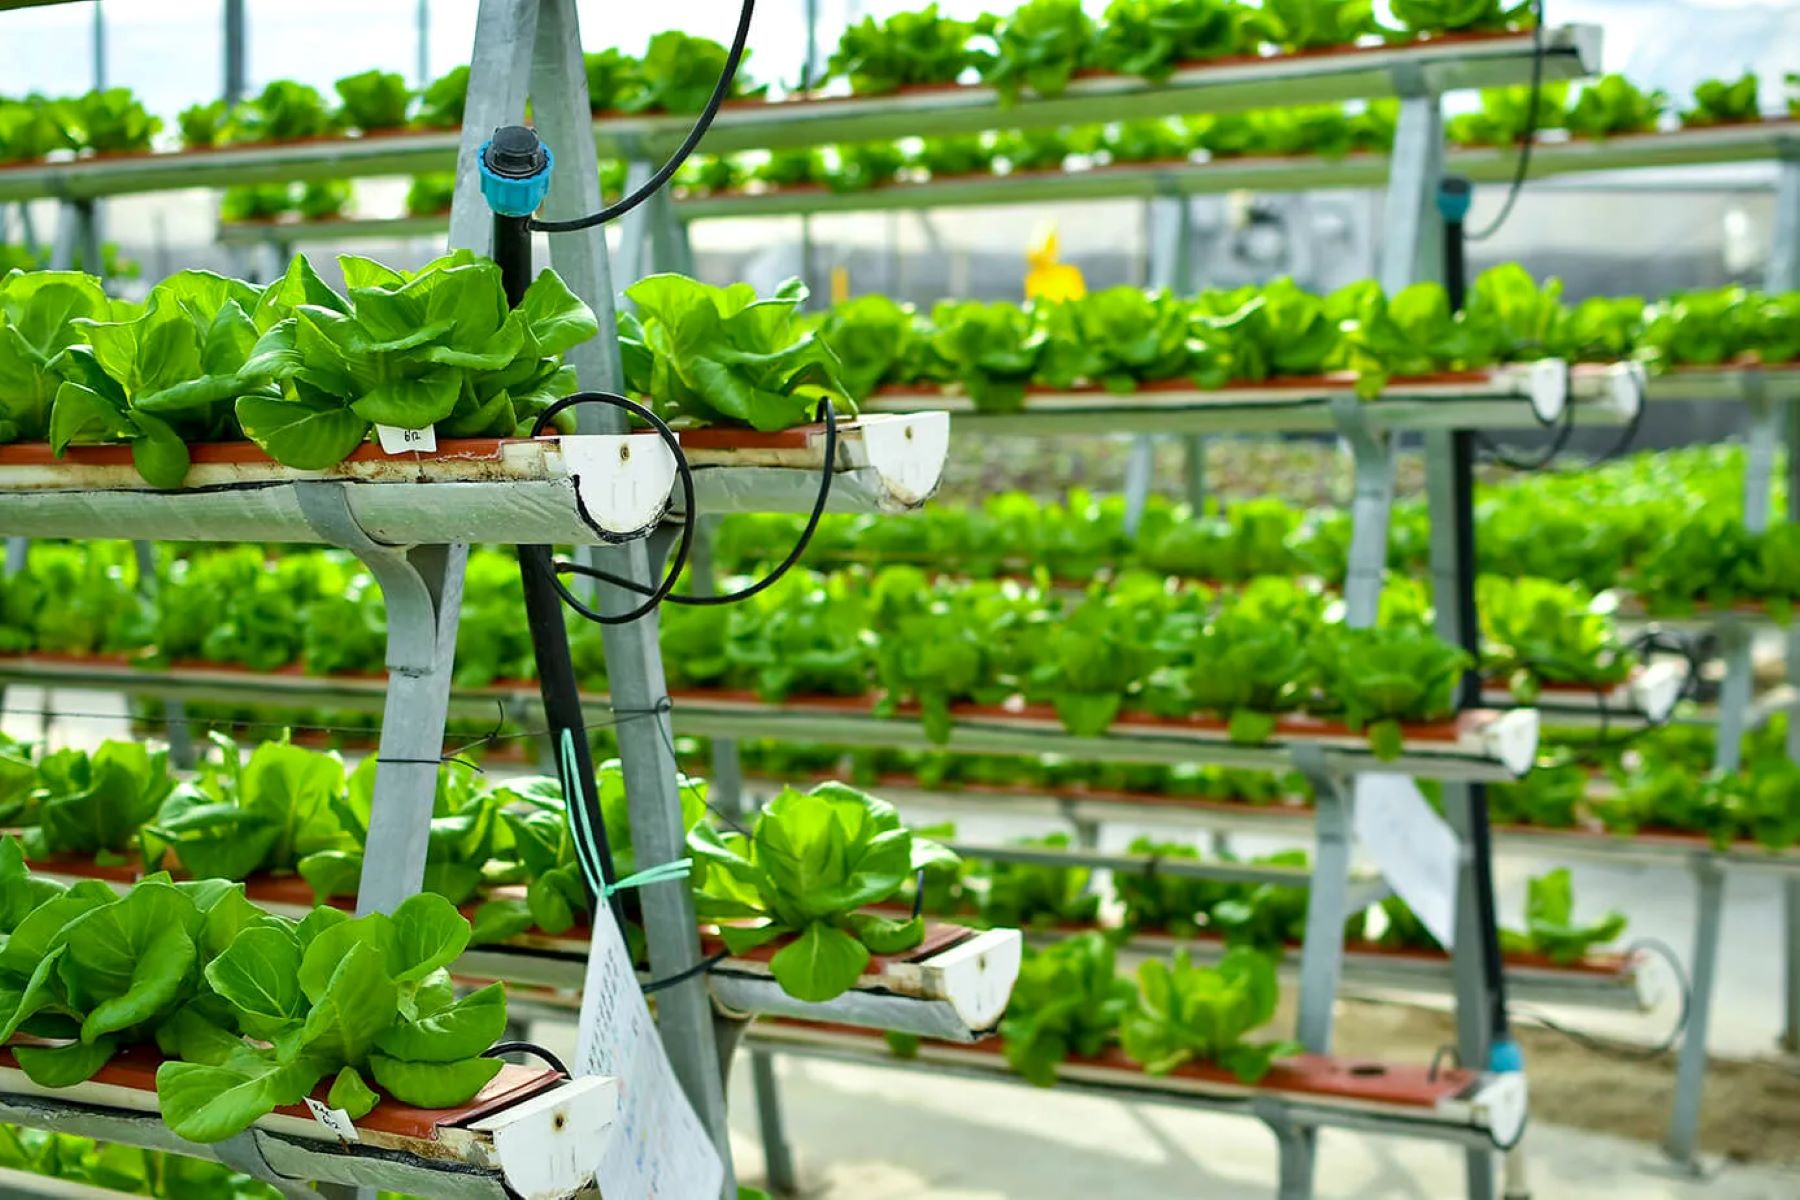
- Irrigation system (drip irrigation or vertical watering system)
- Potting soil or a soilless growing medium
- Plants suitable for vertical gardening
- Optional: Fertilizer and plant nutrients
- Tools: Drill, screws, measuring tape, level, and a utility knife
Now that you have gathered all the necessary materials, it’s time to start creating your living wall.
Step 1: Choosing the Location
The first step in creating a living wall is to choose the right location for your vertical garden. Consider the following factors when selecting a spot:
- Lighting: Most plants require a certain amount of sunlight to thrive. Assess the amount of sunlight the area receives throughout the day. If the location is mostly shaded, choose plants that can tolerate low light conditions.
- Accessibility: Choose a location that is easily accessible so you can water, prune, and care for the plants without any difficulty. Consider factors such as water source proximity and the ease of reaching the wall-mounted planters.
- Structural Support: Ensure that the chosen wall can support the weight of the living wall and the plants. If necessary, consult with a professional to assess the wall’s structural integrity.
- Aesthetic Appeal: Think about how the living wall will complement the existing surroundings. Consider the colors, textures, and heights of the plants to create a visually appealing arrangement.
Once you have considered these factors and identified a suitable location, you can proceed to the next step of preparing the wall for your living creation.
Step 2: Preparing the Wall
Before installing your living wall, it is important to properly prepare the wall surface. Follow these steps to ensure a solid foundation for your vertical garden:
- Clean the Wall: Remove any dirt, dust, or debris from the wall surface using a brush or sponge. This will help create a clean and stable base for the living wall installation.
- Repair any Damages: Inspect the wall for any cracks, holes, or uneven surfaces. Use a patching compound or filler to repair any damages in the wall. Smooth out any rough areas to ensure the planters can be securely attached.
- Apply a Waterproof Membrane: To protect the wall and prevent water damage, apply a waterproof membrane or plastic sheeting. This will create a barrier between the wall and the planters. Secure the membrane tightly to the wall using adhesive or staples.
- Add a Drainage Mat: A drainage mat is important to prevent water from pooling at the bottom of the planters. Place a drainage mat at the bottom of each planter tray or container to ensure proper water drainage.
By taking the time to properly prepare the wall, you will create a stable and long-lasting foundation for your living wall. Now, it’s time to move on to building the frame.
Step 3: Building the Frame
The frame is an essential component of the living wall, as it provides support for the planters and helps maintain the structure of the vertical garden. Follow these steps to build the frame:
- Measure and Mark: Use a measuring tape and a level to mark the desired height and width of your living wall on the wall surface. Ensure that the markings are straight and level.
- Attach Hooks or Brackets: Depending on the design and weight of your planters, attach heavy-duty hooks or brackets to the wall. Make sure they are properly secured and can bear the weight of the planters and moisture.
- Hang the Planters: Install the wall-mounted planters or containers onto the hooks or brackets. Ensure that they are evenly spaced and securely attached to the wall.
Once the frame is built and the planters are hung, you are ready to move on to the next step of installing the irrigation system to ensure proper watering of your living wall.
When creating a living wall vertical garden, make sure to choose plants that have similar light and water requirements to ensure they thrive together. This will make maintenance much easier and keep your garden looking its best.
Step 4: Installing the Irrigation System
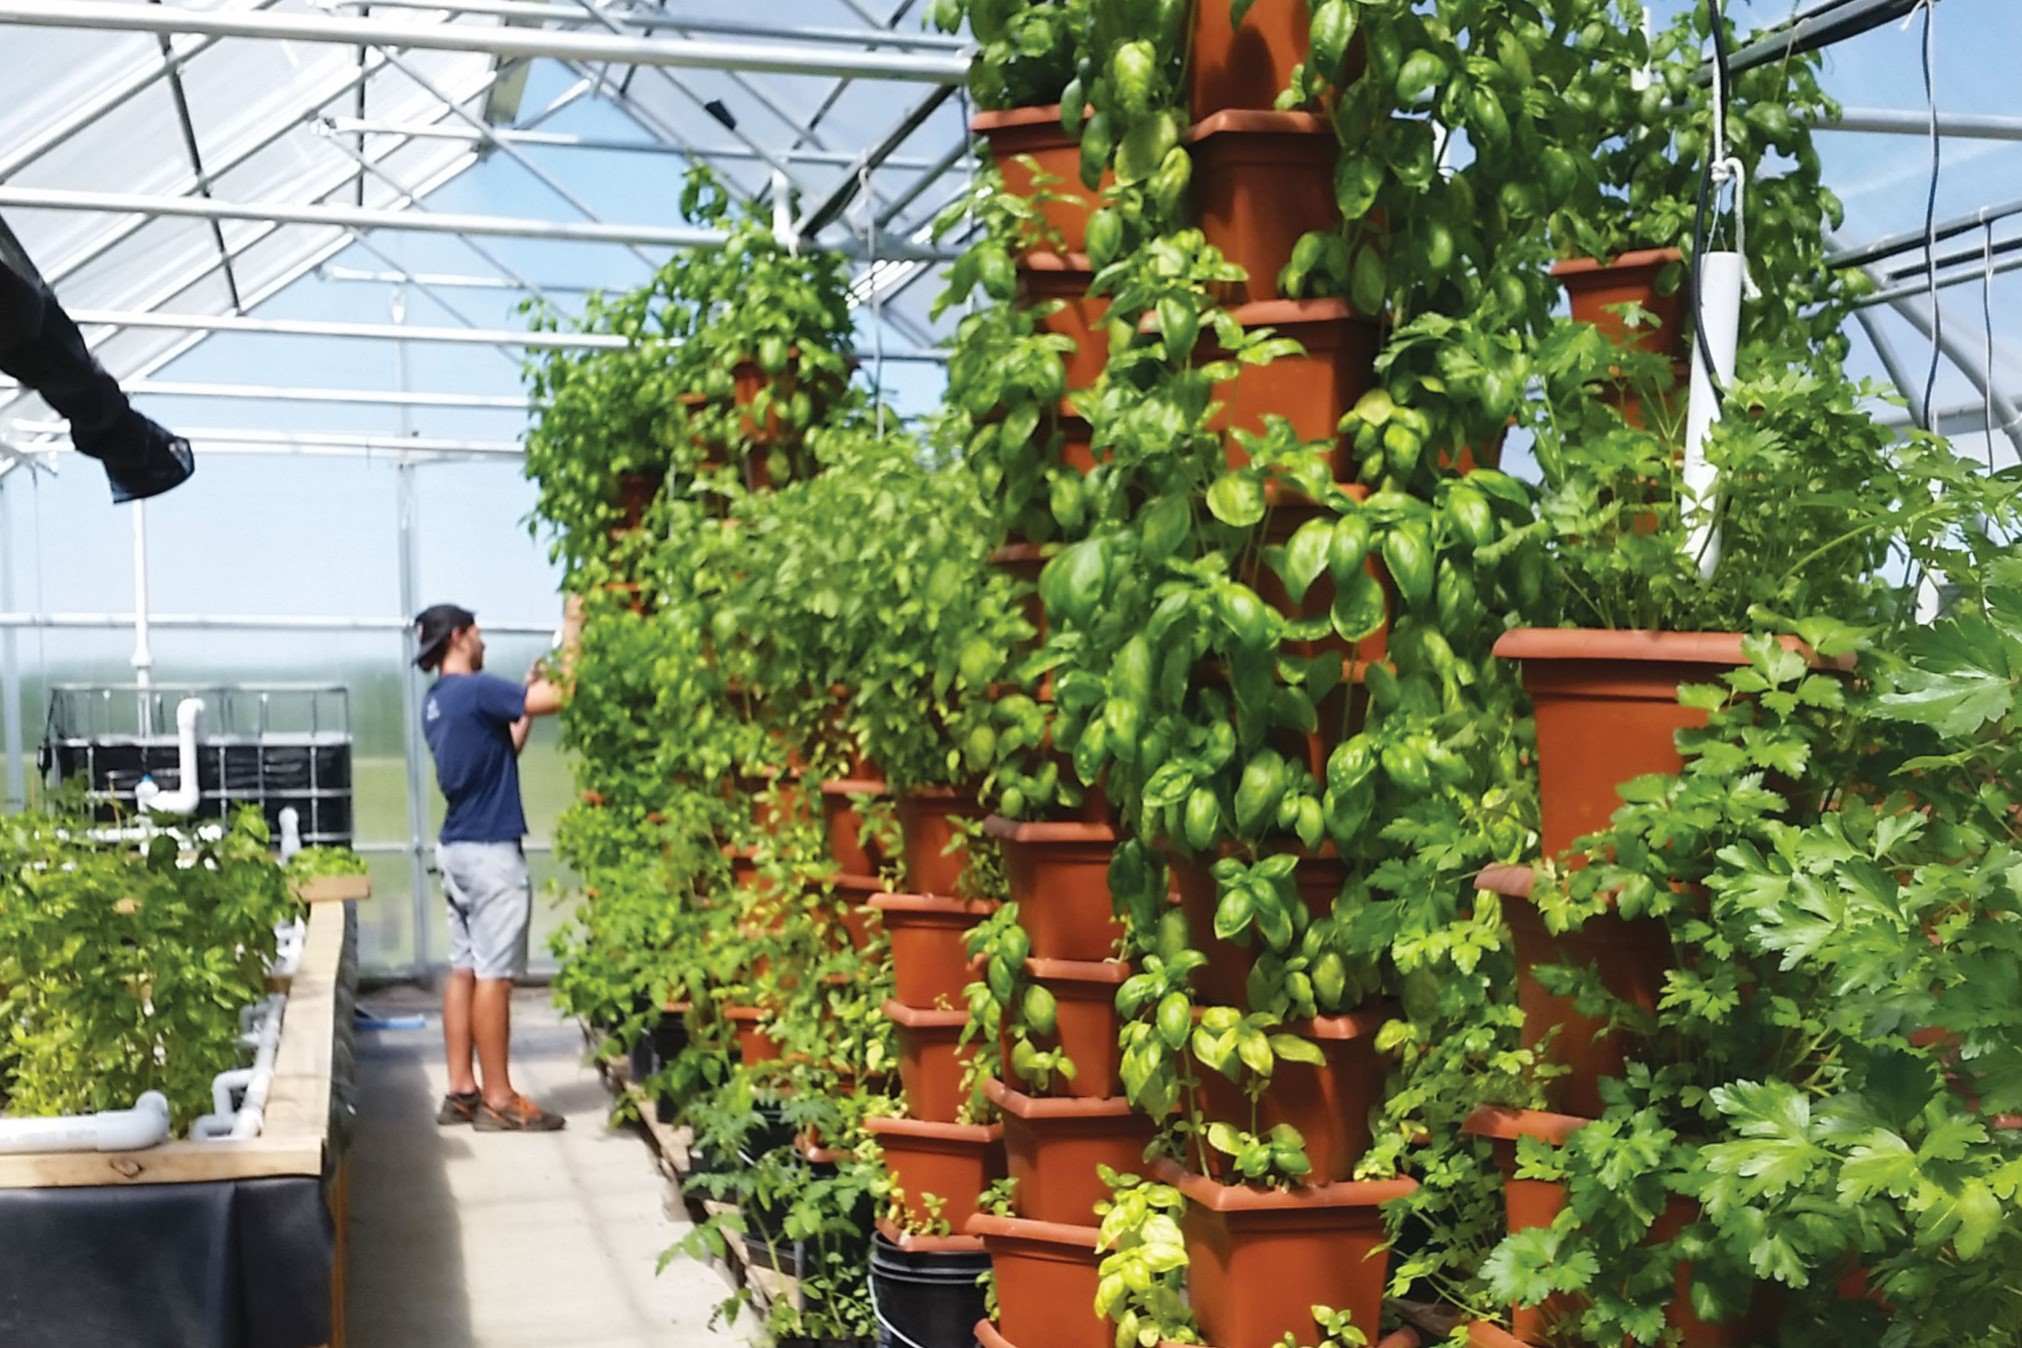
An irrigation system is crucial for the health and maintenance of your living wall, as it will ensure that the plants receive the proper amount of water. Follow these steps to install the irrigation system:
- Choose the Right System: Select the type of irrigation system that best suits your needs. Two common options for living walls are drip irrigation and vertical watering systems.
- Lay Out the Water Supply: Determine the water source for your irrigation system. It can be a garden hose, a drip irrigation kit with a timer, or a specialized vertical gardening watering system.
- Connect the System: Follow the manufacturer’s instructions to connect the irrigation components. This may involve attaching hoses, connectors, drip emitters, or mister nozzles to deliver water directly to the planters. If using a vertical watering system, ensure that the system is securely attached to the planters.
- Test the System: Before planting the wall, test the irrigation system to ensure all components are functioning properly. Check for any leaks and adjust the water flow to ensure the plants receive an adequate amount of water.
Installing an irrigation system will provide a consistent and efficient way to water your plants, reducing the risk of over or under-watering. This step is essential for the long-term success of your living wall. Now, let’s move on to choosing and arranging the plants.
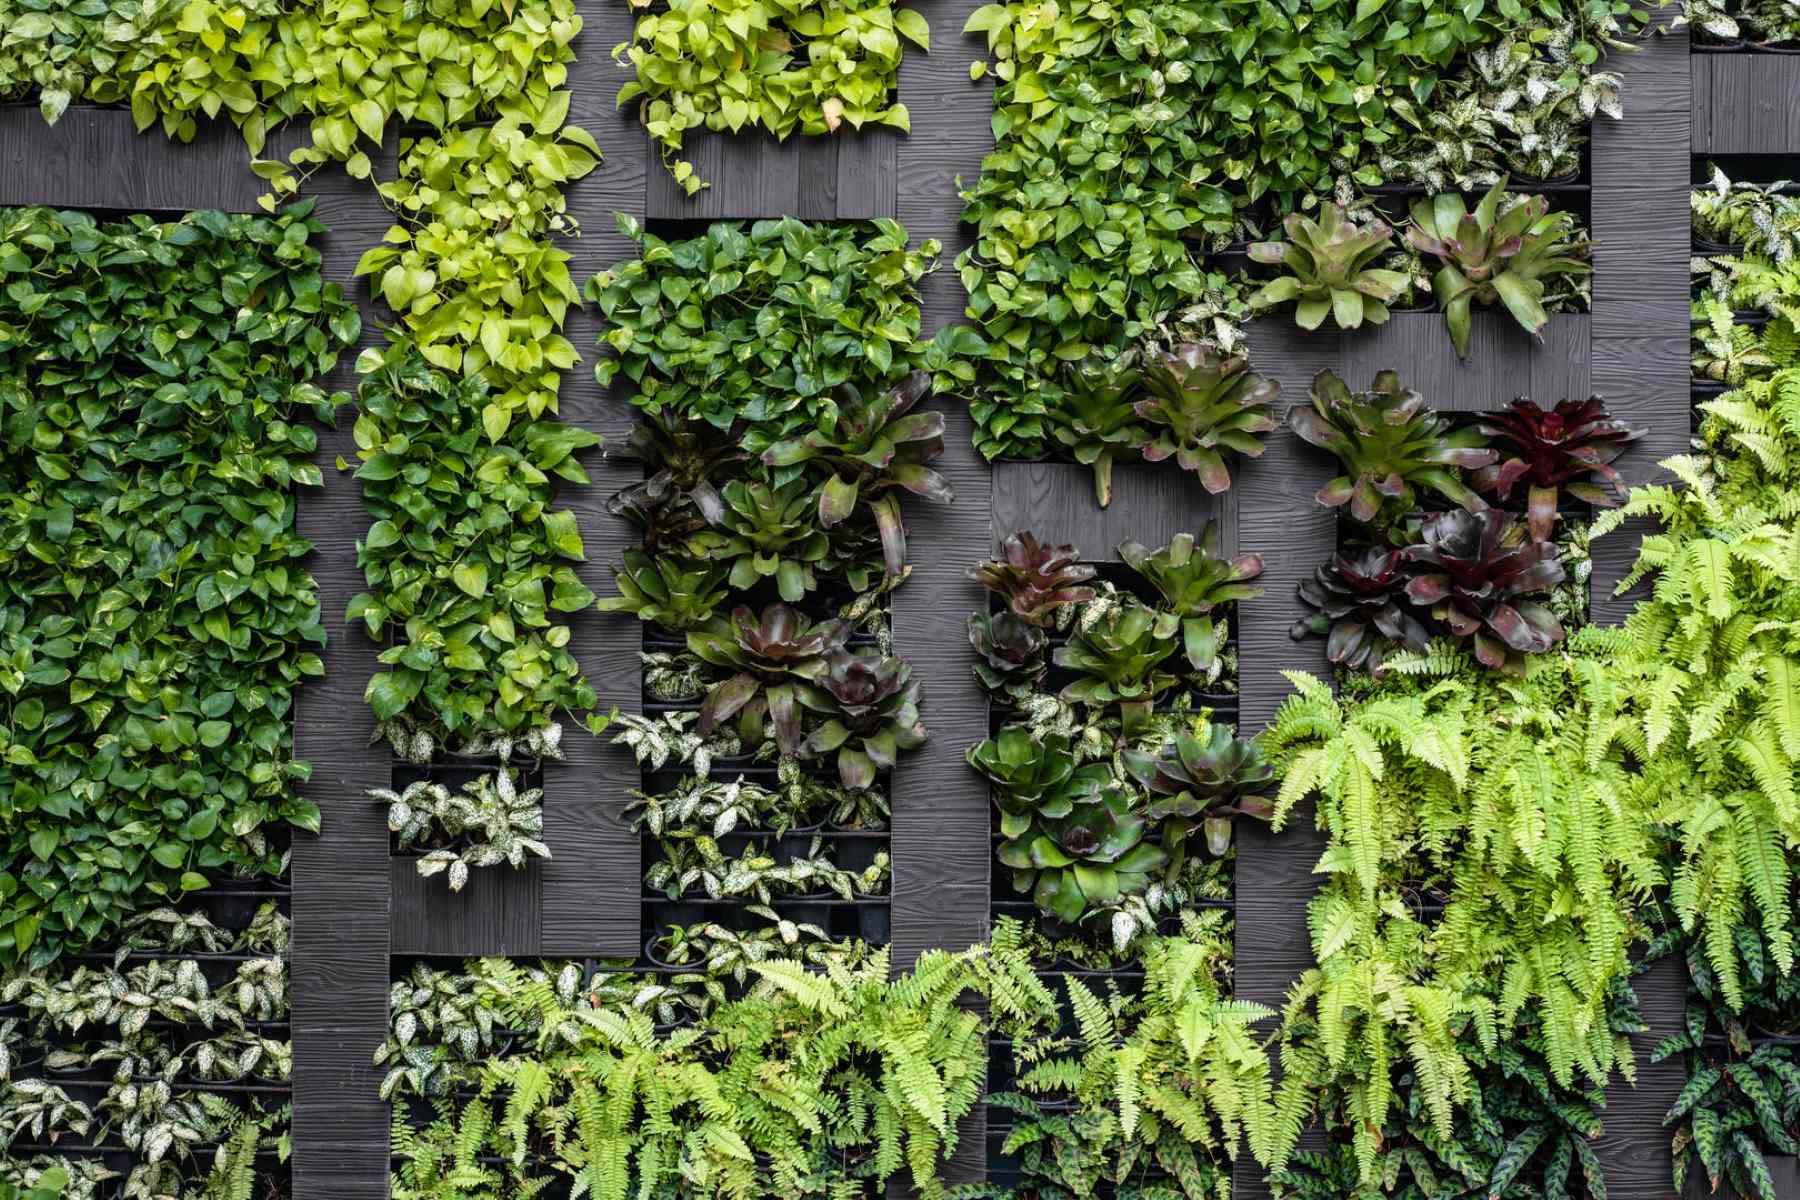
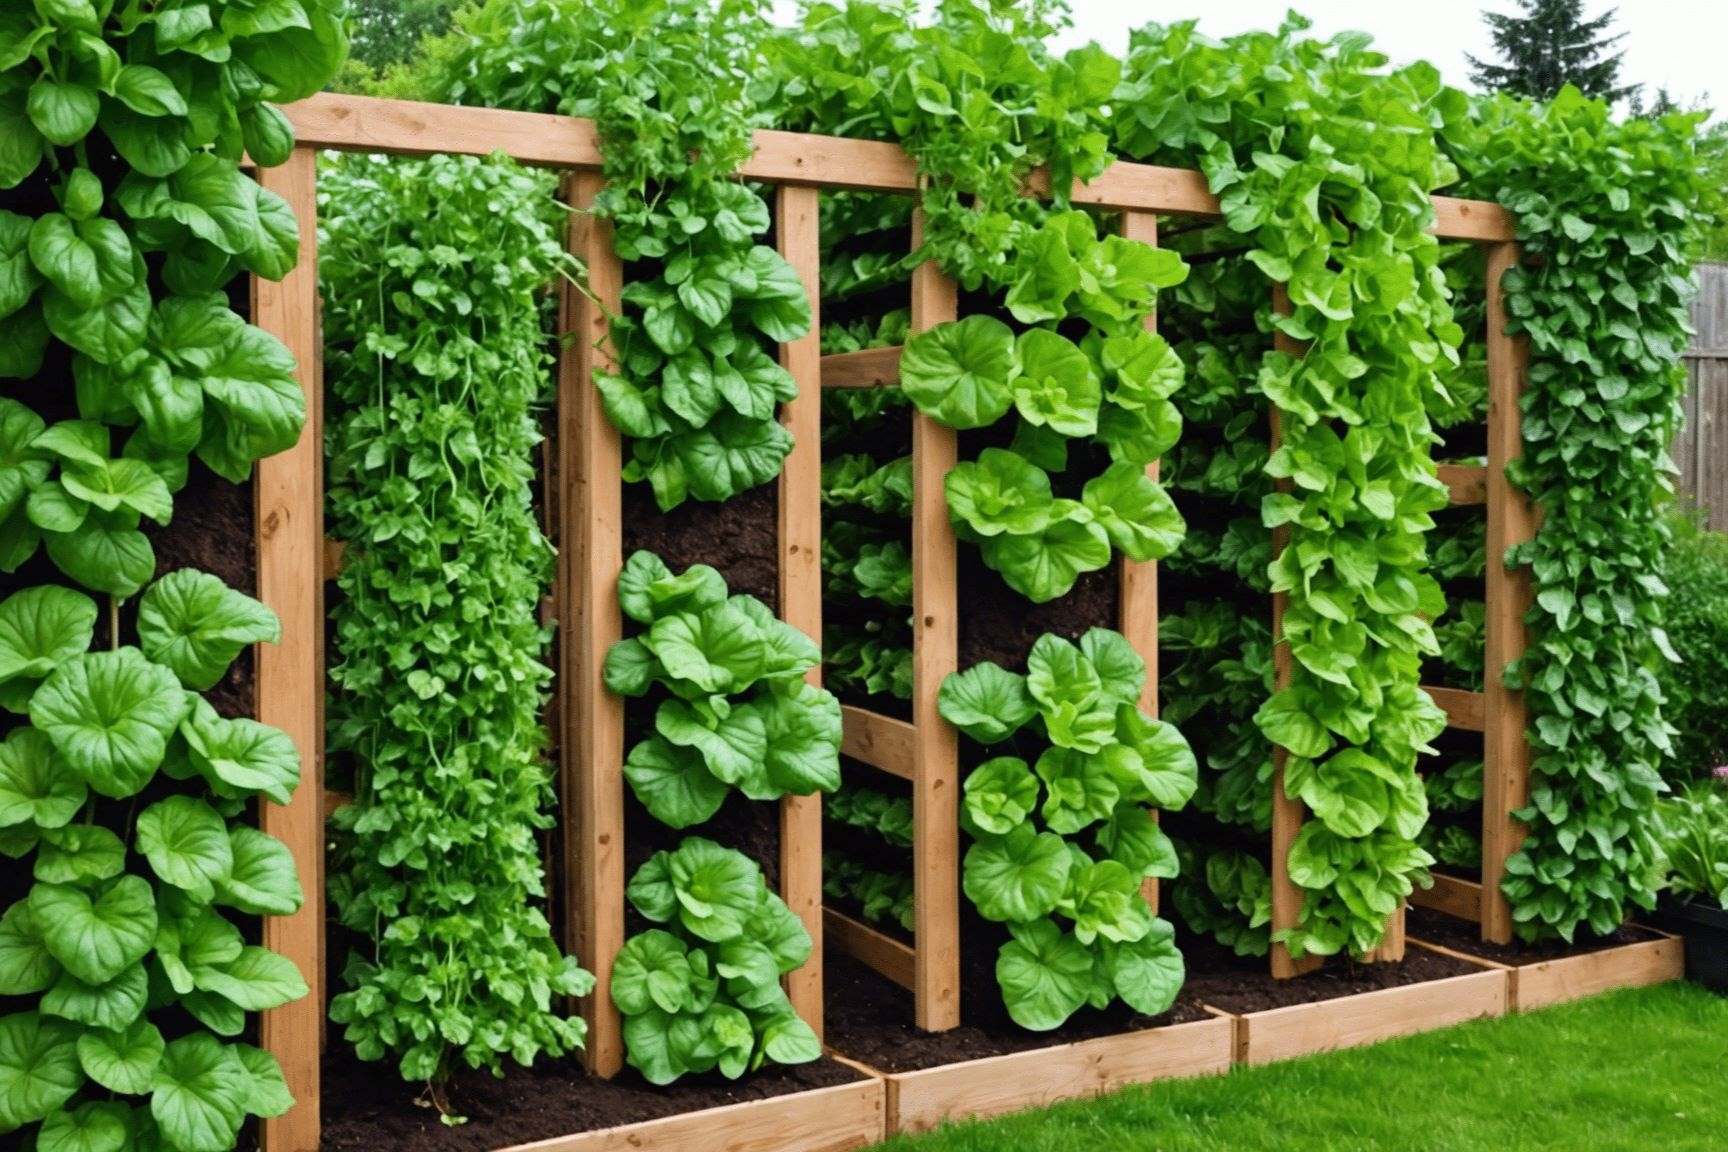
Step 5: Choosing and Arranging Plants
Choosing the right plants for your living wall is crucial for its success and longevity. Here’s how you can select and arrange the plants:
- Consider Light Requirements: Evaluate the amount of sunlight your living wall receives. Choose plants that are suitable for the lighting conditions. Some plants thrive in full sun, while others prefer shade or indirect light.
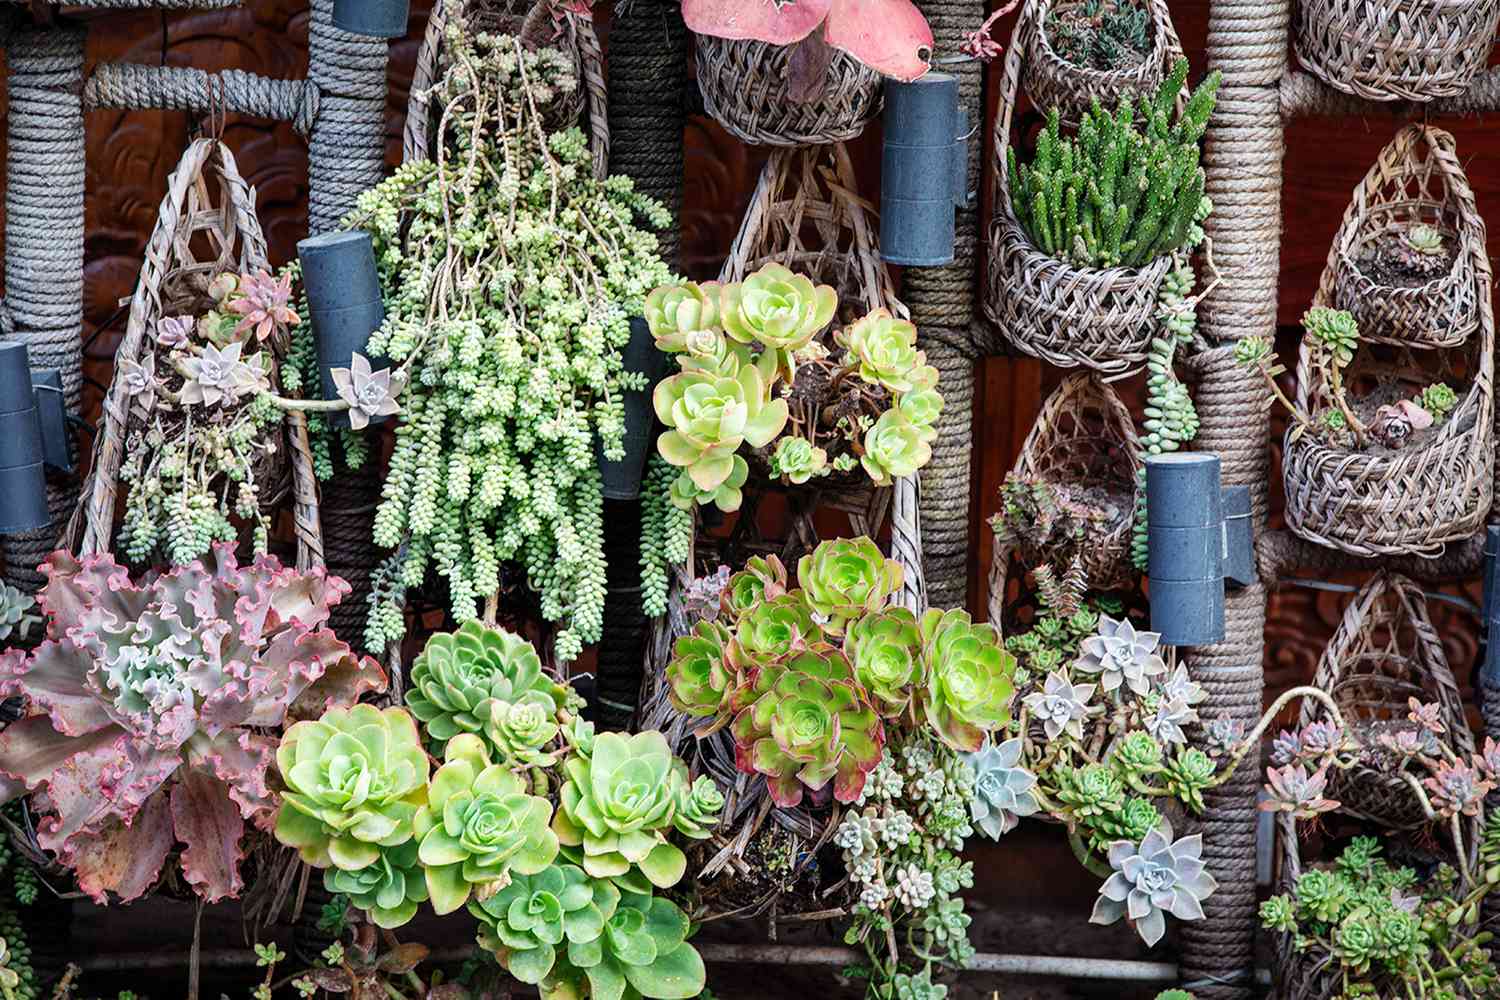
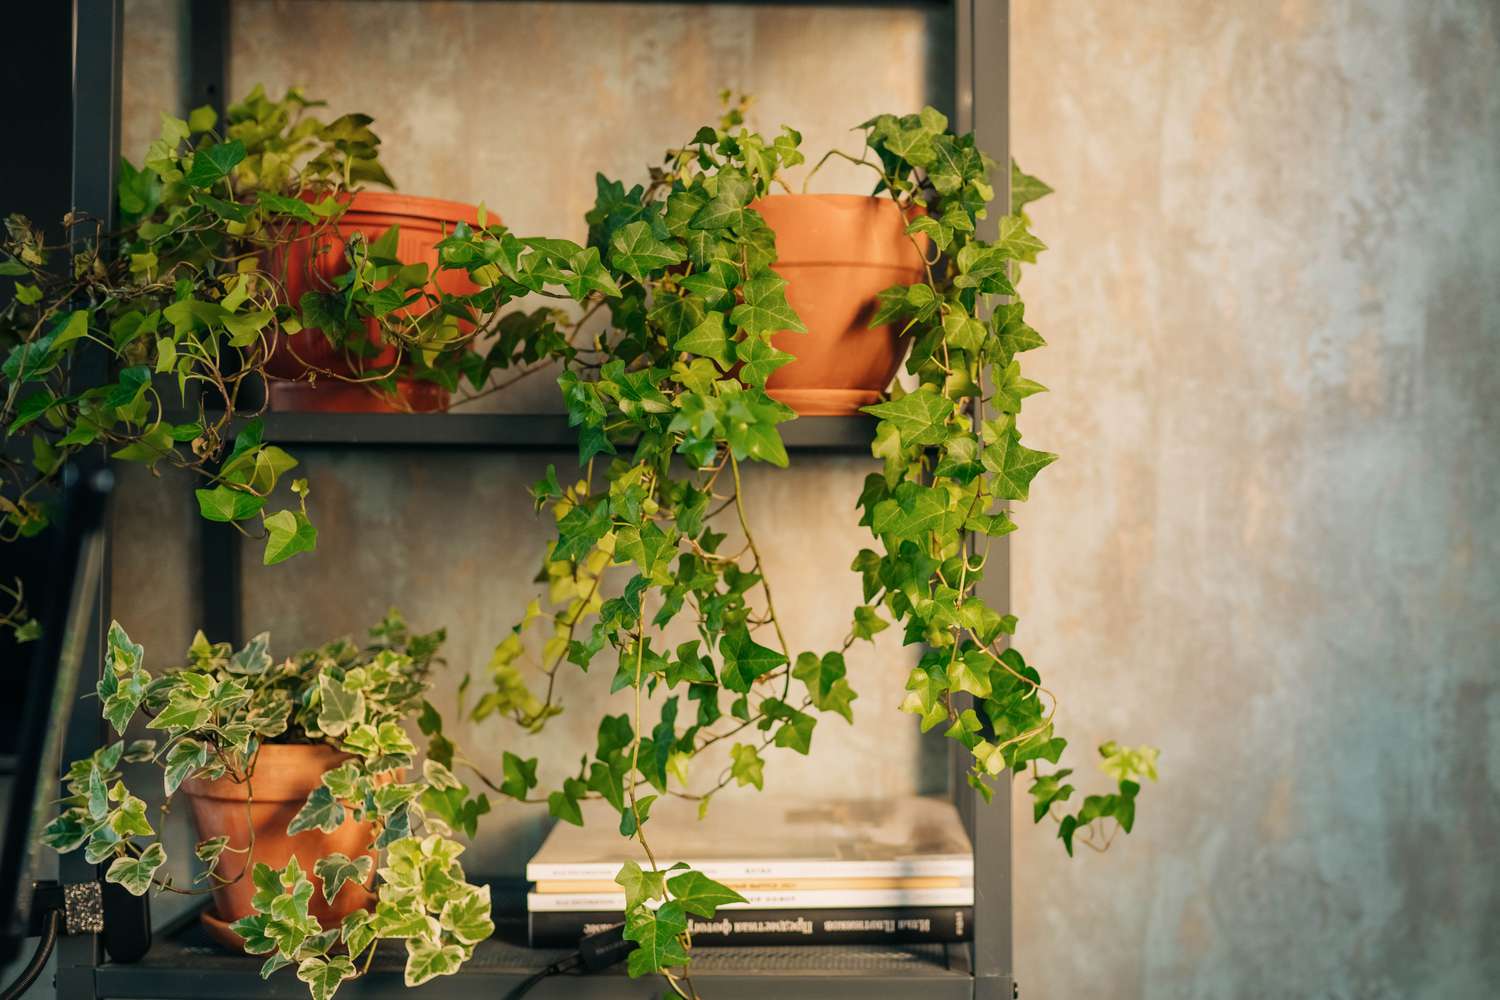
- Choose a Variety of Plants: Aim for diversity in your plant selection to create visual interest. Select a mix of foliage plants, flowering plants, and trailing plants. Consider different colors, textures, and sizes to create a vibrant and balanced composition.
- Check Plant Compatibility: Make sure the chosen plants have similar water, light, and temperature requirements. It’s important to select plants that will thrive in the same environment to ensure their long-term health.
- Arrange Plants Creatively: Before planting, experiment with different arrangements by placing the potted plants on the floor to get a sense of how they will look on the wall. Consider vertical and horizontal spacing, as well as alternating colors and shapes.
Remember that the plant selection and arrangement will greatly contribute to the overall aesthetics of your living wall. Take your time with this step to create a beautiful and harmonious display of plants. Now, let’s move on to planting the wall.
Step 6: Planting the Wall
Now that you have selected and arranged your plants, it’s time to bring your living wall to life by planting them. Follow these steps to ensure a successful planting process:
- Prepare the Soil: If using a potting soil or soilless growing medium, moisten it before planting. This will make it easier to work with and ensure the plants receive enough moisture from the start.
- Remove Plants from Pots: Carefully remove each plant from its pot, being cautious not to damage the roots. Gently loosen any compacted soil to encourage healthy root growth.
- Planting Technique: Insert the plants into the prepared soil and gently firm the soil around the roots. Ensure that the plants are securely positioned in the planters and not overcrowded. Leave enough space for growth and expansion.
- Watering: After planting, thoroughly water the living wall. This will help settle the soil and ensure the plants have enough moisture to establish themselves.
During the planting process, be mindful of the individual plant’s needs and adjust their placement accordingly. Remember to water the living wall regularly, especially during dry periods or hot weather, to keep the plants healthy and vibrant. Now let’s move on to the final step—maintaining the living wall.
Step 7: Maintaining the Living Wall
Maintaining your living wall is necessary to ensure its long-term health and beauty. Follow these essential maintenance steps:
- Watering: Regularly water your living wall to keep the plants hydrated. Monitor the moisture levels and adjust the watering frequency depending on the weather conditions and the needs of your plants. Be careful not to overwater, as this can lead to root rot and other issues.
- Fertilizing: Provide nutrients to your plants by fertilizing them regularly. Choose a fertilizer specifically formulated for the plants in your living wall. Follow the instructions on the packaging to apply the fertilizer in the correct amounts and at the right intervals.
- Pruning: As the plants grow, you may need to trim and prune them to maintain their shape and prevent overcrowding. Remove any dead or yellowing leaves and trim back any overly long or unruly stems. This will promote healthy growth and maintain the overall appearance of your living wall.
- Pest and Disease Control: Keep an eye out for any pests or signs of disease on your plants. Take prompt action to address any issues to prevent them from spreading. Use organic pest control methods whenever possible to minimize the impact on the environment.
- Regular Inspections: Regularly inspect your living wall for any issues or maintenance needs. Check the irrigation system for clogs or leaks, monitor the overall health of the plants, and address any concerns promptly to prevent further damage.
By following these maintenance steps, you can ensure that your living wall remains healthy, vibrant, and visually appealing for years to come. Regular care and attention will help your vertical garden flourish. Now, step back and admire your beautiful creation!
Conclusion
Creating a living wall or vertical garden is a rewarding and creative way to bring nature into any space, whether it’s a small balcony, a large garden, or an office. By following the step-by-step guide provided in this article, you can successfully create and maintain your own living wall.
From choosing the right location and preparing the wall, to building the frame and installing the irrigation system, each step is crucial for the success of your living wall. By selecting a diverse range of plants and arranging them creatively, you can create a visually stunning and harmonious living display.
It’s important to dedicate time to properly maintain your living wall. Regular watering, fertilizing, pruning, and pest control will help ensure the health and longevity of the plants. By regularly inspecting and addressing any issues, you can prevent any potential problems from escalating.
As you watch your living wall flourish and thrive, you will not only enjoy the beauty of nature but also reap the environmental benefits it brings. Living walls can help improve air quality, reduce noise pollution, and provide habitat for beneficial insects.
So, whether you’re a seasoned gardener or a beginner, don’t hesitate to create your own living wall. It’s a fulfilling and sustainable way to enhance your surroundings, improve your well-being, and contribute to a greener world.
Now, armed with knowledge and enthusiasm, go ahead and bring your living wall dreams to life!
Frequently Asked Questions about How To Make Living Wall Vertical Garden
Was this page helpful?
At Storables.com, we guarantee accurate and reliable information. Our content, validated by Expert Board Contributors, is crafted following stringent Editorial Policies. We're committed to providing you with well-researched, expert-backed insights for all your informational needs.

0 thoughts on “How To Make Living Wall Vertical Garden”