Articles
How To Make A Kitchen Cabinet
Modified: October 20, 2024
Learn how to create efficient kitchen storage with our step-by-step guide on making your own kitchen cabinet. Maximize space and organization for a clutter-free kitchen.
(Many of the links in this article redirect to a specific reviewed product. Your purchase of these products through affiliate links helps to generate commission for Storables.com, at no extra cost. Learn more)
Introduction
A well-designed and functional kitchen starts with good-quality cabinets. Kitchen cabinets not only provide essential storage space for your cookware, utensils, and pantry items, but they also play a crucial role in creating an organized and aesthetically pleasing kitchen. In this article, we will guide you through the process of making your own kitchen cabinets, step by step.
Whether you’re a DIY enthusiast looking to showcase your woodworking skills or someone who wants to save money by building their own cabinets, this article will provide you with the necessary instructions and tips to get the job done right. By following our guide, you’ll not only have the satisfaction of creating custom cabinets tailored to your specific needs but also enjoy the added benefit of knowing that you built them yourself.
Before we delve into the details of cabinet construction, it’s important to emphasize the importance of careful planning and precise measurements. Taking the time to plan your project thoroughly will ensure that your cabinets fit perfectly into your kitchen space and meet your storage requirements.
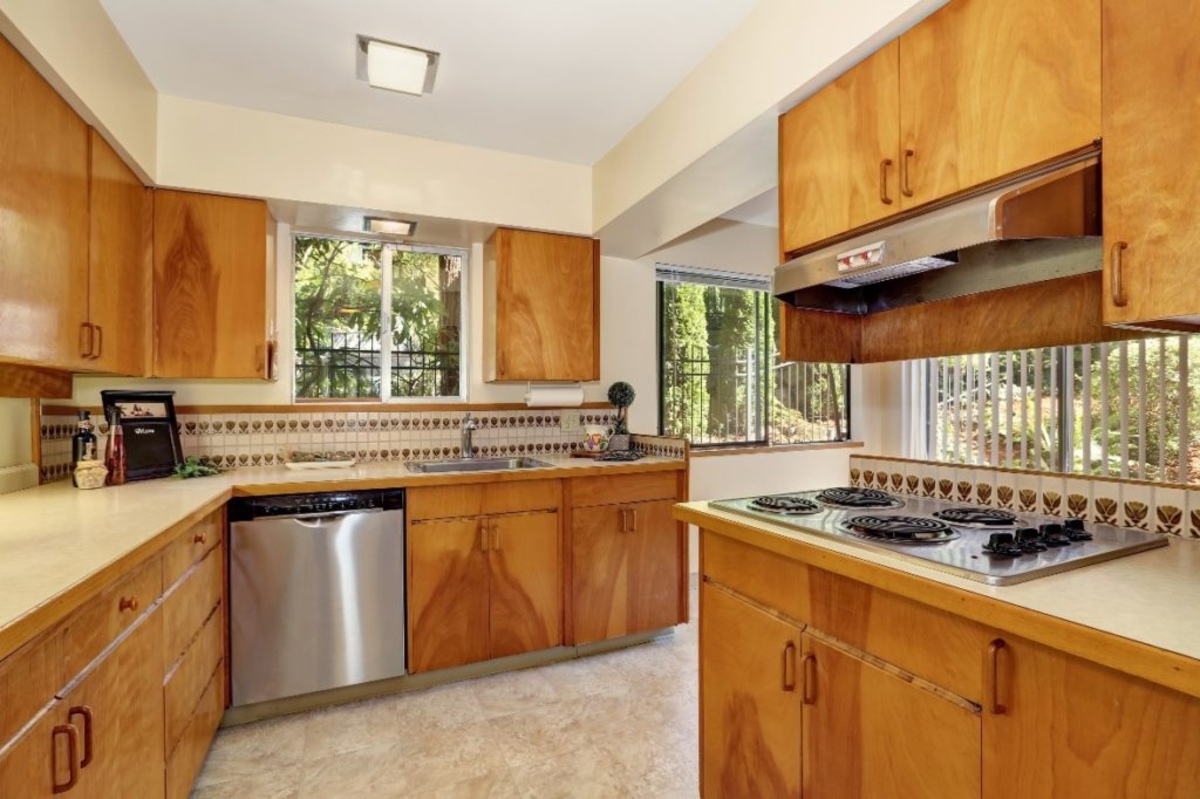
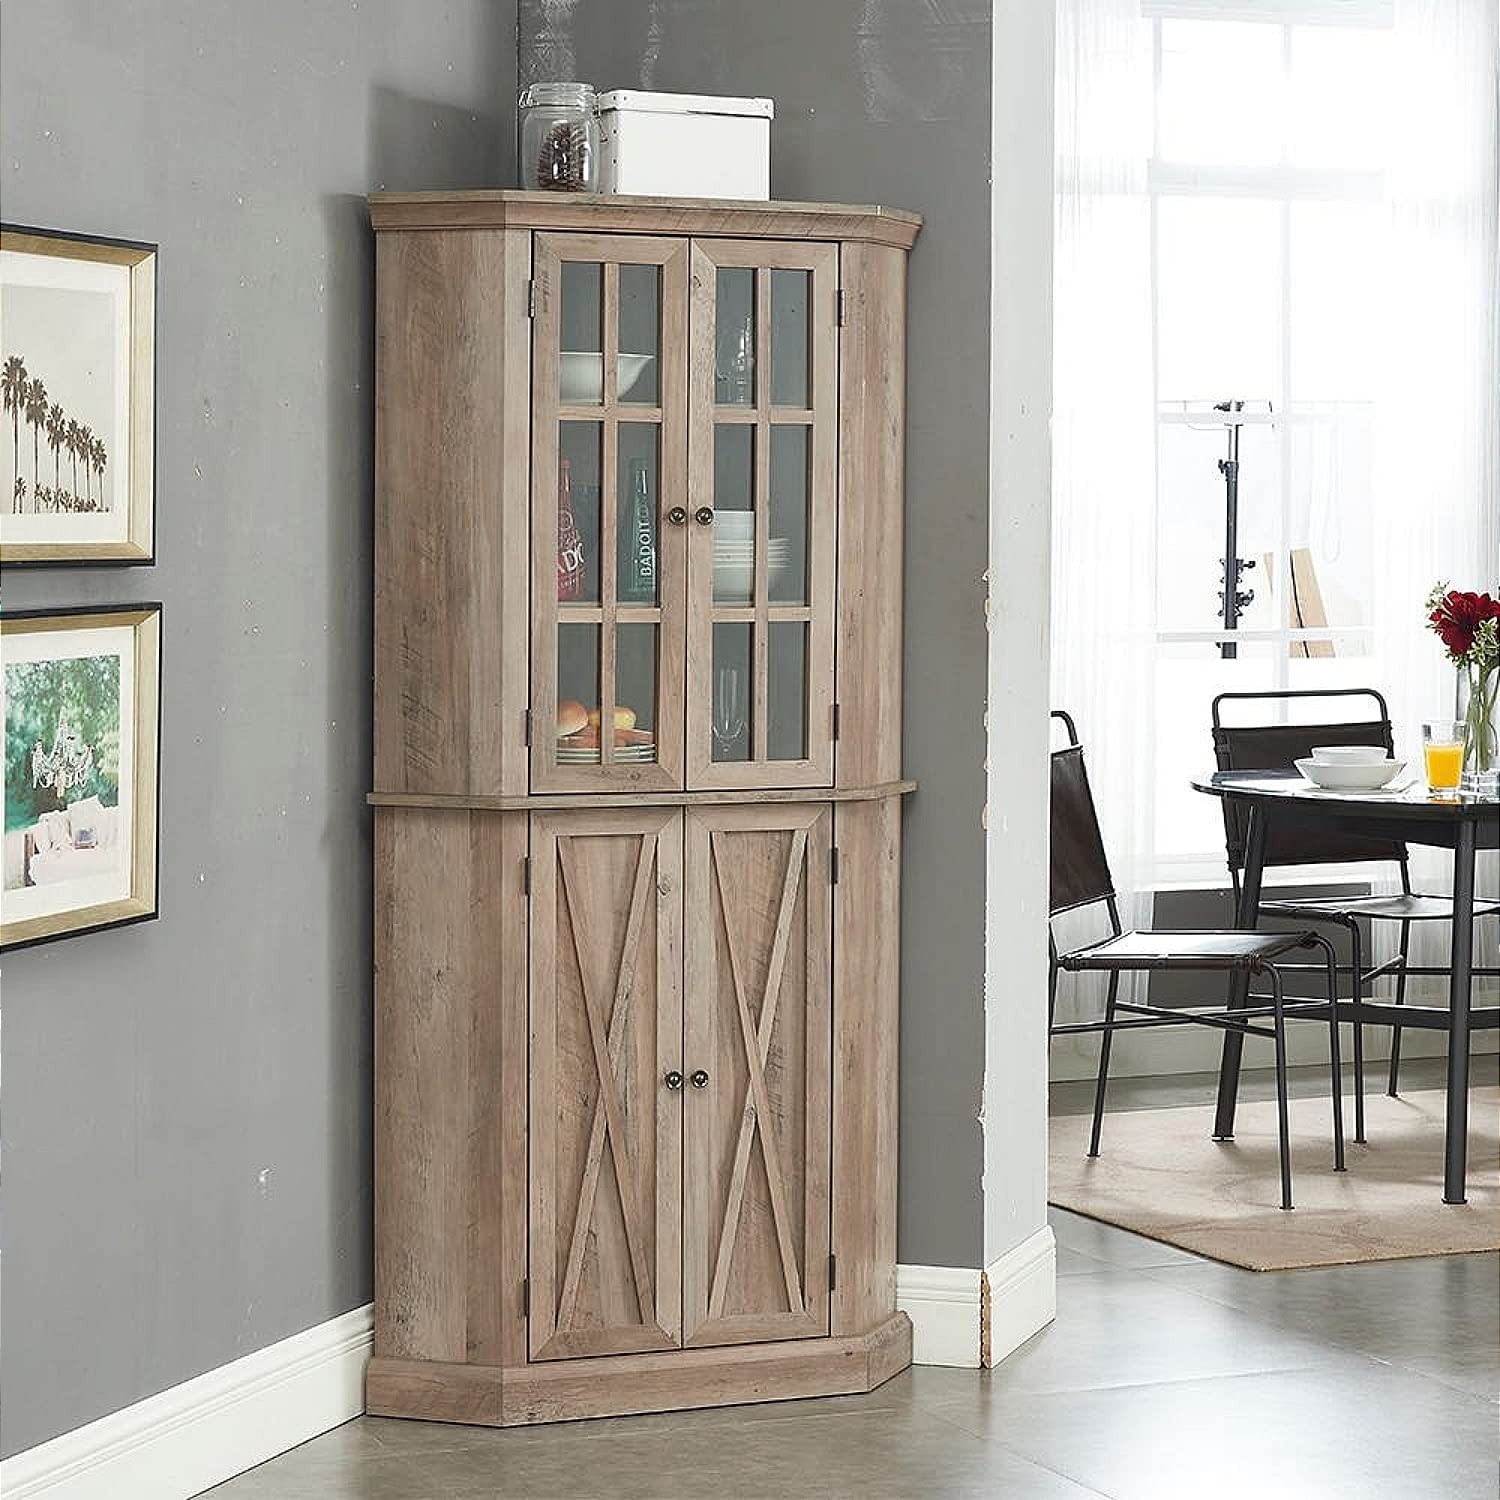
Additionally, choosing the right cabinet design is crucial in achieving the desired aesthetics and functionality. With a wide range of designs to choose from, including traditional, modern, and transitional styles, you can customize your cabinets to complement the overall theme of your kitchen.
In the following sections, we will provide you with detailed instructions on building the cabinet boxes, installing doors and drawers, adding finishing touches, and finally, installing the cabinets in your kitchen. So, let’s roll up our sleeves and get started on this exciting DIY project!
Key Takeaways:
- Plan and measure your kitchen space meticulously, choose a cabinet design that suits your style, and follow precise instructions to build, install, and finish your custom kitchen cabinets for a rewarding and fulfilling DIY project.
- Embrace the challenges and opportunities for growth in creating your own kitchen cabinets. Enjoy the satisfaction of adding value and personal touch to your kitchen space while inspiring others to embark on their own DIY projects.
Read more: How To Make Built In Cabinet
Tools and Materials Needed
Before you begin constructing your own kitchen cabinets, make sure you have all the necessary tools and materials. Having the right equipment and supplies at hand will ensure a smooth and efficient construction process. Here’s a comprehensive list of what you’ll need:
1. Measuring tape: An essential tool for accurate measurements of the kitchen space and cabinet components.
2. Circular saw: Used for cutting the plywood or lumber for the cabinet frames and shelves.
3. Table saw: Ideal for making precise cuts and creating clean edges.
4. Miter saw: Necessary for cutting angled and beveled edges, especially for cabinet trims.
5. Drill: Equipped with drill bits for making holes, attaching hardware, and assembling the cabinets.
6. Screwdriver: Both standard and Phillips-head screwdrivers for attaching screws and fasteners.
7. Clamps: Used to secure materials together during assembly, ensuring a tight and sturdy fit.
8. Chisel: Handy for precise trimming and creating clean joints between cabinet components.
9. Router: Enables you to add decorative details and profiles to the cabinet doors and panels.
10. Sandpaper: Various grits for smoothing the surfaces of the cabinets and preparing them for finishing.
11. Paintbrushes or paint sprayer: Depending on your preferred finishing method, choose suitable brushes or a sprayer for applying paint or stain.
12. Safety equipment: Protective goggles, gloves, and a dust mask to ensure your safety during cutting and sanding.
In addition to tools, gather the following materials for constructing your kitchen cabinets:
1. Cabinet-grade plywood or solid wood: Choose high-quality plywood or solid wood material for the cabinet frames, shelves, and doors.
2. Cabinet hardware: Purchase hinges, drawer slides, knobs, and pulls that suit your preferred design and functionality.
3. Wood glue: Essential for reinforcing joints and ensuring a secure bond between cabinet components.
4. Screws and fasteners: Select screws and fasteners suitable for the thickness of the cabinet materials.
5. Sandpaper: Various grits for smoothing the surfaces and edges of the cabinets.
6. Primer and paint or stain: Depending on your desired finish, choose a suitable primer, paint, or stain to enhance the appearance and durability of your cabinets.
Make sure to gather all the necessary tools and materials before you begin your cabinet-making project. Having everything ready will save you time and ensure a seamless construction process. So, let’s start building your dream kitchen cabinets!
Planning and Measurements
Before you dive into constructing your own kitchen cabinets, it’s crucial to spend time on proper planning and precise measurements. Adequate planning will help you avoid costly mistakes and ensure that your cabinets fit seamlessly into your kitchen space. Here’s a guide on the essential steps to take during the planning and measurement phase:
1. Assess your kitchen space: Start by examining your kitchen layout and identifying the available space for the cabinets. Take note of any obstacles such as pipes, electrical outlets, or windows that could affect the placement and dimensions of the cabinets.
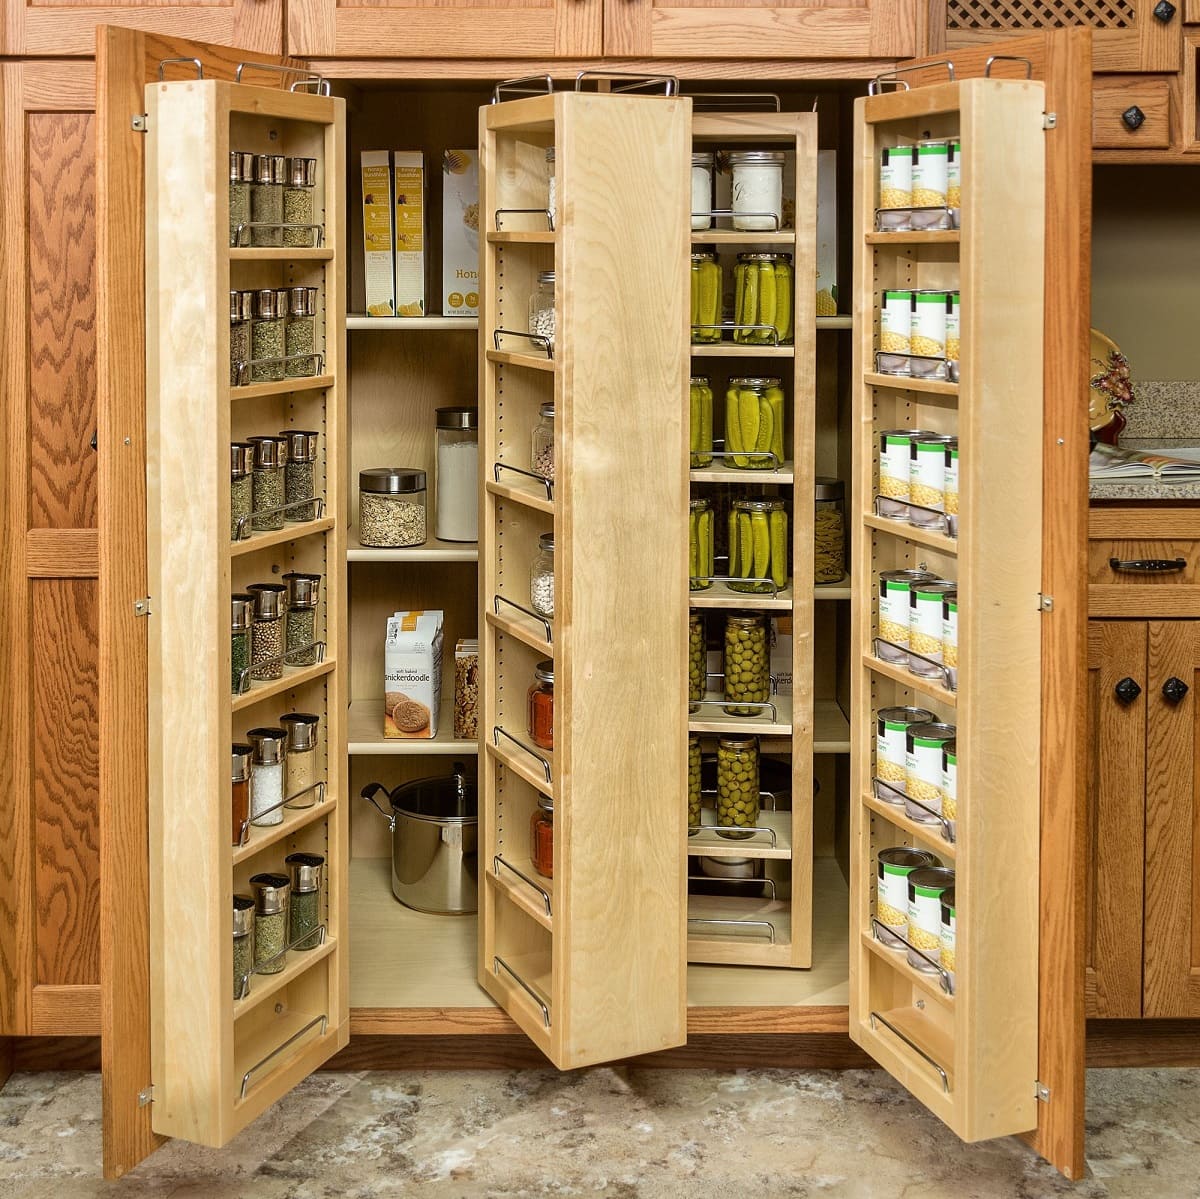
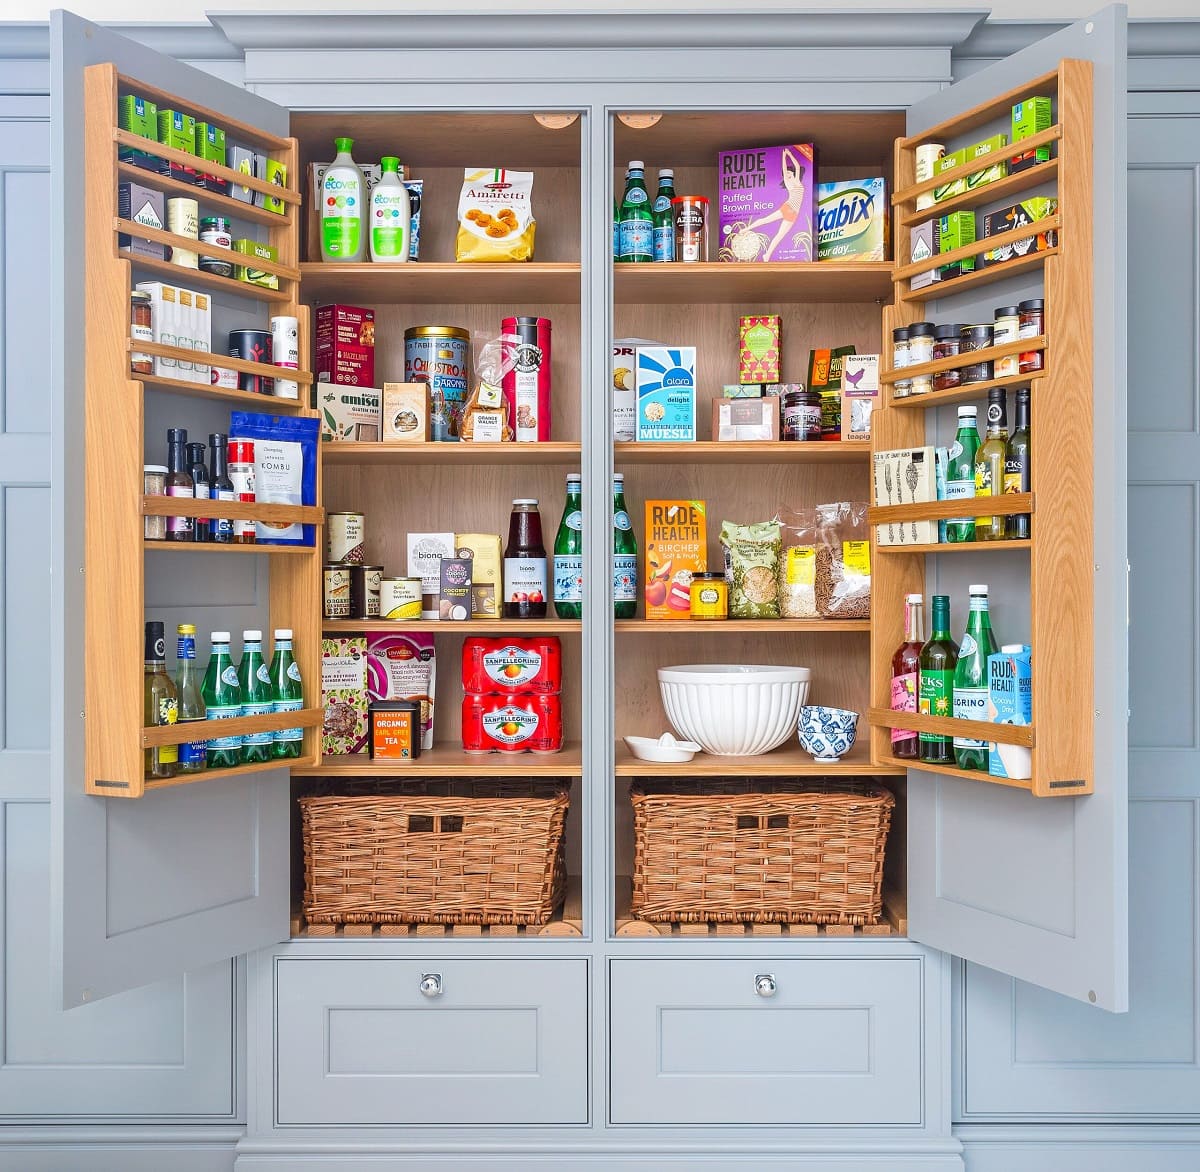
2. Determine your storage needs: Consider the items you’ll be storing in your cabinets and estimate the amount of space required. This will help you decide on the number of cabinets, shelves, and drawers needed to accommodate your belongings.
3. Create a detailed sketch: Using graph paper or a computer design software, create a detailed sketch of your envisioned cabinet layout. Include accurate measurements for the overall dimensions of the cabinets, as well as the height, width, and depth of each cabinet component.
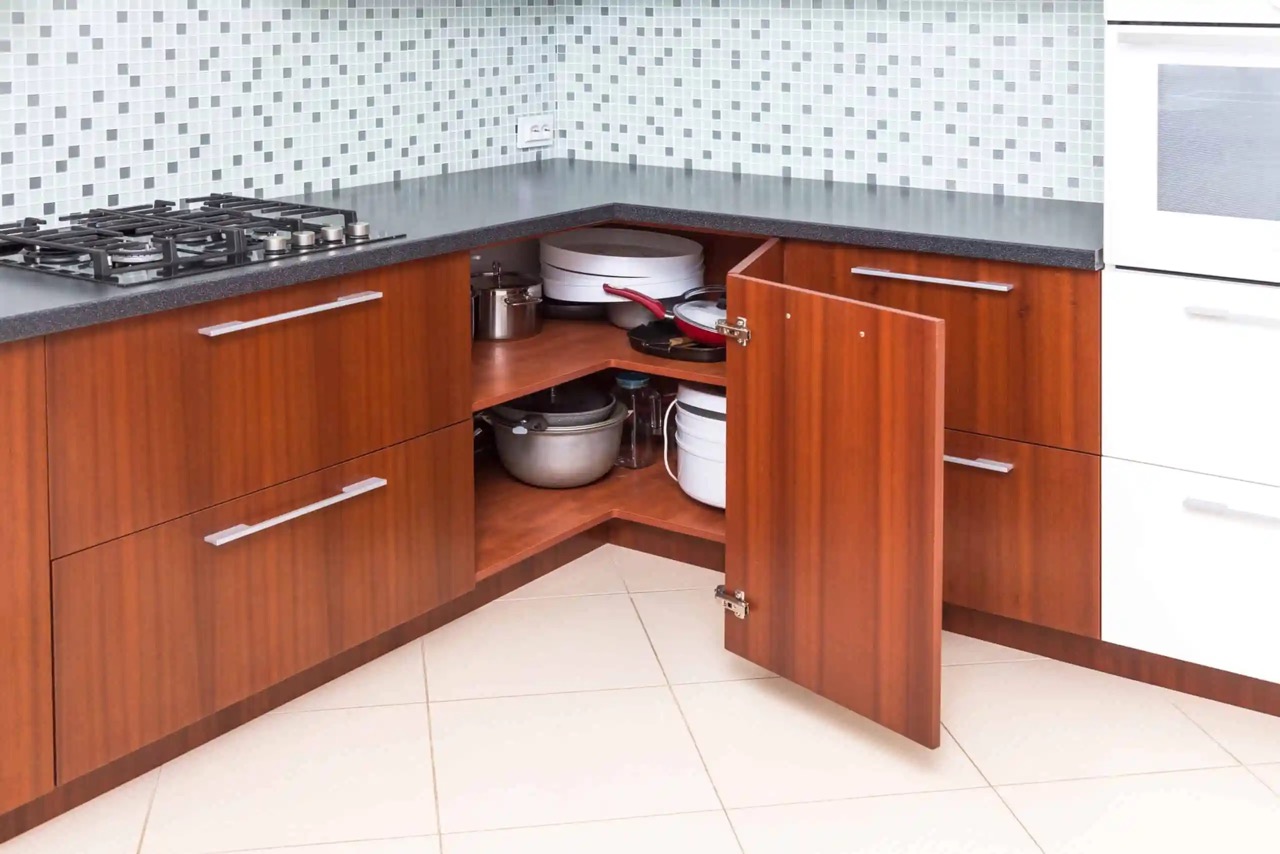
4. Consider functionality and ergonomics: Think about how you use your kitchen and ensure that the cabinets are designed for convenient access. Place frequently used items at eye level or within easy reach, and consider features like pull-out shelves or lazy susans for maximizing storage space.
5. Take precise measurements: Measure the dimensions of your kitchen walls, including height, width, and depth. Pay attention to ceiling height and flooring irregularities that could impact the installation process.
6. Account for appliances: If you’re incorporating built-in appliances like a refrigerator or dishwasher into your cabinet design, measure their dimensions and leave adequate clearance space for proper installation and ventilation.
7. Double-check your measurements: Before finalizing your plans, double-check all your measurements to ensure accuracy. Mistakes at this stage can lead to ill-fitting cabinets and unnecessary rework.
Accurate measurements are crucial for a successful cabinet construction project. They will determine the overall fit, functionality, and aesthetic appeal of your cabinets. Taking the time to plan and measure accurately will save you from costly errors and ensure a smoother construction process.
Once you have your plans and measurements in place, you’ll be ready to move on to the exciting phase of building your own kitchen cabinets. Let’s turn those ideas into reality!
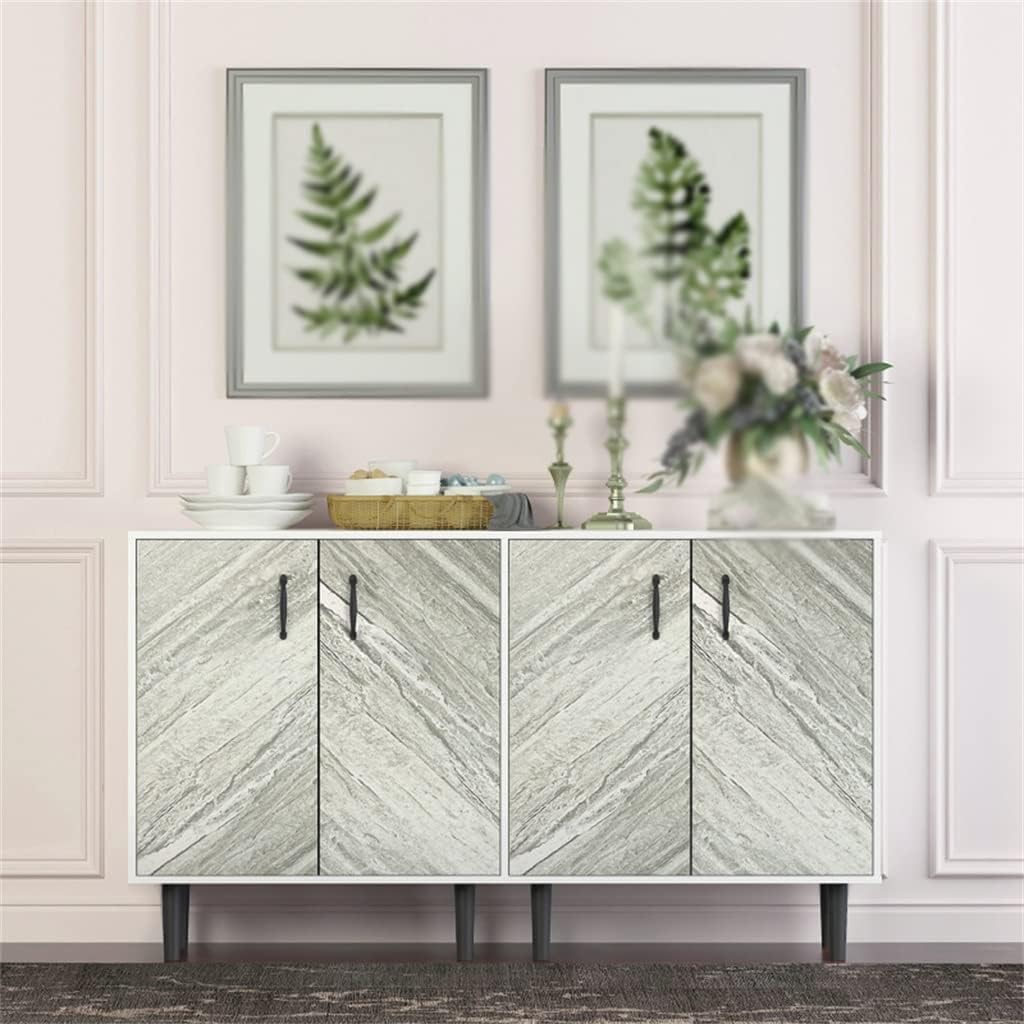
Choosing the Cabinet Design
When it comes to building your own kitchen cabinets, one of the most exciting aspects is choosing the design that suits your needs and style. The design you select will not only impact the visual appeal of your kitchen but also determine the functionality and storage capacity of your cabinets. Here, we’ll explore different cabinet design options and discuss the factors to consider when making your selection.
1. Traditional Style: If you prefer a timeless and classic look, traditional-style cabinets might be the perfect choice. They often feature raised panel doors, ornate moldings, and decorative accents. Traditional cabinets work well in various kitchen aesthetics, from vintage to formal.
2. Modern Style: For a sleek and contemporary look, modern-style cabinets offer clean lines, minimalist hardware, and a focus on simplicity. They are often characterized by flat-panel or slab doors, creating a streamlined and uncluttered appearance. Modern cabinets work best in minimalist and modern kitchen designs.
3. Transitional Style: The transitional style combines elements of both traditional and modern designs, offering a balance between the two. With clean lines and minimal adornments, transitional-style cabinets bring a sense of modernity while still maintaining the warmth and charm of traditional cabinetry. This design works well in kitchens that seek a versatile and timeless aesthetic.
When selecting the design for your kitchen cabinets, consider the following factors:
1. Kitchen style and theme: Your cabinet design should align with the overall style and theme of your kitchen. Consider the architectural style of your home and choose cabinetry that complements the existing decor.
2. Storage needs: Evaluate your storage requirements and select a design that offers the right balance of shelving, drawers, and compartments to accommodate your cookware, utensils, and pantry items effectively.
3. Personal preferences: Consider your personal style and preferences. Do you prefer a more ornate and decorative look, or do you lean towards a minimalist and streamlined aesthetic? Choose a design that resonates with your individual taste.
4. Budget: Keep your budget in mind when exploring different cabinet designs. Intricate details and high-end materials may come at a higher cost, so ensure that your desired design aligns with your budgetary constraints.
By carefully considering these factors, you can choose a cabinet design that not only enhances the visual appeal of your kitchen but also meets your functional needs. Remember, the design you select will set the foundation for your cabinet construction project, so take the time to explore various options and find the perfect fit.
Building the Cabinet Boxes
Constructing the cabinet boxes is a crucial step in building your own kitchen cabinets. The cabinet boxes serve as the foundation and structure for your cabinets. Here, we will provide you with step-by-step instructions for building the cabinet boxes, as well as details on cutting and assembling the necessary parts.
Step 1: Gather Materials and Tools
Before you begin, ensure that you have all the necessary materials and tools ready. You’ll need cabinet-grade plywood or solid wood, a measuring tape, circular saw, table saw, drill, screws, wood glue, and clamps.
Step 2: Measure and Cut the Panels
Measure and mark the dimensions for the sides, top, bottom, and back panels of the cabinet boxes on the plywood or solid wood. Use a circular saw or table saw to make the cuts, ensuring they are precise and accurate. Double-check your measurements before cutting.
Step 3: Assemble the Panels
Begin assembling the cabinet box by attaching the bottom panel to the side panels. Apply a small amount of wood glue along the edges of the side panels and secure them to the bottom panel using screws. Use clamps to hold the pieces together tightly while the glue dries. Repeat the process for the top panel.
Step 4: Attach the Back Panel
Measure and cut the back panel to the appropriate dimensions. Apply wood glue along the edges of the side, top, and bottom panels, and then align the back panel with the edges. Secure it in place using screws or nails, ensuring a secure and stable connection.
Step 5: Reinforce the Joints
Apply a thin bead of wood glue along the joints of the cabinet box where the panels meet. This will reinforce the joints and provide additional stability. Wipe away any excess glue using a damp cloth before it dries.
Step 6: Install Shelves and Dividers
If your cabinet design includes shelves or dividers, measure and cut them to fit the cabinet box. Attach them inside the cabinet box using screws or pocket-hole joinery. Ensure they are level and secure.
By following these step-by-step instructions, you can construct sturdy and well-built cabinet boxes for your kitchen cabinets. Remember to take accurate measurements, use quality materials, and secure the joints properly to ensure the longevity of your cabinets. With the cabinet boxes complete, you’re ready to move on to the next step of installing doors and drawers.
When making a kitchen cabinet, ensure that all measurements are accurate and precise to ensure a proper fit. Use high-quality materials and tools for a sturdy and long-lasting cabinet.
Installing Cabinet Doors and Drawers
After building the cabinet boxes, the next step in constructing your own kitchen cabinets is installing the doors and drawers. This crucial step adds both functionality and visual appeal to your cabinets. Here, we will provide you with a guide on installing cabinet doors and drawers, along with instructions on aligning and attaching the hinges and slides.
Step 1: Gather Materials and Tools
You’ll need cabinet doors, drawer fronts, hinges, drawer slides, a drill, screwdriver, and screws for this step. Ensure that you have all the necessary materials and tools at hand before you begin.
Step 2: Install Hinges for Cabinet Doors
Measure and mark the placement of the hinges on the inside of the cabinet box and on the back of the cabinet doors. Use a drill to create pilot holes for the screws. Attach the hinges to the cabinet box and door using screws, ensuring they are aligned properly. Test the movement of the door to ensure it opens and closes smoothly.
Step 3: Align and Attach Drawer Slides
Measure and mark the placement of the drawer slides on the inside of the cabinet box and on the sides of the drawer openings. Use a drill to attach the slides to the cabinet box and drawer openings using screws. Make sure the slides are level, aligned, and have a smooth movement when sliding the drawers in and out.
Step 4: Attach Cabinet Doors
Align the pre-installed hinges on the cabinet doors with the corresponding hinges on the cabinet box. With the help of a partner or by using temporary support, attach the cabinet doors to the cabinet box by securing the hinges with screws. Make any necessary adjustments to ensure the doors are level, aligned, and open and close smoothly.
Step 5: Install Drawer Fronts
Attach the drawer fronts to the drawer boxes, ensuring they are aligned and level. Use screws to secure the drawer fronts from the inside of the drawers. Adjust as needed to ensure a consistent and professional-looking alignment among the drawer fronts.
Step 6: Test and Adjust
After installing the cabinet doors and drawer fronts, test their functionality. Open and close the doors and drawers multiple times to ensure they operate smoothly and without obstructions. Make any necessary adjustments to hinges and slides if needed.
By following these instructions, you will successfully install cabinet doors and drawers in your kitchen cabinets. Remember to take precise measurements, align the hinges and slides accurately, and test the functionality before considering this step complete. With doors and drawers in place, your cabinets are one step closer to completion, bringing you closer to your dream kitchen!
Adding Finishing Touches
Once you have constructed and installed the cabinet boxes, it’s time to add the finishing touches to your kitchen cabinets. This step involves sanding and finishing the cabinets to achieve a professional-looking appearance. Here, we will provide you with instructions on sanding and finishing, along with some helpful tips to ensure a high-quality finish.
Step 1: Sanding
Begin by sanding the surfaces of the cabinets using sandpaper. Start with a coarser grit (such as 120) to remove any rough areas or imperfections on the wood. Gradually move to finer grits (such as 220) for a smoother finish. Pay extra attention to edges and corners to ensure they are smooth and free from splinters.
Step 2: Cleaning
After sanding, use a damp cloth or tack cloth to remove any sanding dust. Ensure that all surfaces are clean and free from debris before moving on to the finishing process.
Step 3: Finishing Options
There are several options for finishing your cabinets, including painting, staining, or applying a clear finish. Choose a finish that complements your kitchen style and personal preference.
Step 4: Priming and Painting
If you decide to paint your cabinets, start by applying a coat of primer. This will help the paint adhere better and provide a smooth, even finish. Once the primer is dry, apply multiple coats of paint, allowing adequate drying time in between each coat. Use a brush or paint sprayer for an even application.
Step 5: Staining
If you prefer a natural wood finish, staining is a great option. Apply wood stain evenly using a brush or cloth, following the manufacturer’s instructions. Wipe away any excess stain with a clean cloth. Allow the stain to dry, and then seal the cabinets with a clear protective finish for durability.
Tips for Achieving a Professional-Looking Finish:
- Always follow the manufacturer’s instructions for the particular finishing products you are using.
- Sand in the direction of the wood grain to avoid scratches and achieve a smoother finish.
- Apply multiple thin coats of paint or stain rather than one thick coat to prevent drips and achieve a more even finish.
- Allow sufficient drying time between coats to ensure a proper bond and avoid smudging or marring the finish.
- Consider using a polyurethane topcoat for added durability and protection.
- Use quality brushes or paint sprayers for smoother application and better results.
- Take your time and work in a well-ventilated area to ensure a professional-quality finish.
By following these instructions and tips, you will be able to sand and finish your kitchen cabinets to achieve a professional-looking result. The finishing touches will enhance the overall appearance of your cabinets and complete the transformation of your kitchen. Take pride in your craftsmanship as you admire the stunning finished product!
Installing the Cabinets in the Kitchen
Once you have completed the construction, finishing, and final touches on your kitchen cabinets, the next step is to install them in your kitchen. Proper installation is crucial to ensure stability, functionality, and a polished look. In this section, we will provide you with a guide on how to properly install your newly-built cabinets, including instructions on leveling and securing them to the wall.
Step 1: Gather Materials and Tools
Before you begin, gather all the necessary materials and tools. You will need screws, a drill, a level, shims, a stud finder, a measuring tape, a pencil, and a helper to assist you with lifting and positioning the cabinets.
Step 2: Find and Mark Studs
Use a stud finder to locate and mark the wall studs where you will be installing the cabinets. This will ensure a secure attachment to the wall.
Step 3: Measure and Mark Cabinet Placement
Measure and mark the placement of your cabinets on the walls, taking into account any appliances and existing features in the kitchen. Use a level to ensure accurate and level markings for both the top and bottom of the cabinets.
Step 4: Install Upper Cabinets First
Start the installation with the upper cabinets. With the help of a helper, carefully lift the upper cabinet and position it against the wall, aligning it with the marked measurements. Use shims as needed to ensure a level and plumb alignment. Once in place, drill pilot holes into the wall studs through the back of the cabinet. Insert screws to secure the cabinet to the wall, ensuring a tight and secure fit. Repeat this process for each upper cabinet.
Step 5: Install Base Cabinets
Proceed to install the base cabinets. Just like with the upper cabinets, use shims to level and align the cabinets correctly. Drill pilot holes into the wall studs through the back of the cabinet and secure them to the wall with screws. Pay attention to aligning the cabinets properly with neighboring cabinets and maintaining levelness.
Step 6: Level and Adjust
It’s crucial to ensure that all the cabinets are level and properly aligned. Use a level to check the horizontal and vertical alignment of the cabinets. Make any necessary adjustments using shims to achieve a level and seamless look.
Step 7: Secure Cabinets Together
Once all the cabinets are securely attached to the wall, use screws to secure adjacent cabinets together. Drill pilot holes through the cabinet frames and insert screws to join them, ensuring a solid and stable connection.
Step 8: Install Doors, Drawers, and Hardware
Finish the installation process by attaching the cabinet doors, drawers, and hardware. Adjust the doors and drawers as needed to ensure smooth opening and closing.
Proper installation is crucial for the functionality and longevity of your kitchen cabinets. By following these instructions and taking the time to level and secure the cabinets properly, you will achieve a professional and seamless installation. With the cabinets securely in place, you can now enjoy your beautifully crafted kitchen cabinets and fully transform your kitchen space!
Conclusion
Congratulations on completing the construction and installation of your own kitchen cabinets! Throughout this article, we have provided you with a step-by-step guide on making kitchen cabinets, from planning and measurements to finishing touches and installation. Let’s recap the key steps involved in this rewarding project:
- Plan and measure your kitchen space, considering your storage needs and personal preferences.
- Choose a cabinet design that complements your kitchen style and aligns with your desired aesthetics.
- Build the cabinet boxes, ensuring precise measurements and secure assembly.
- Install cabinet doors and drawers, aligning hinges and slides for smooth functionality.
- Add finishing touches by sanding and applying paint, stain, or clear finish.
- Properly install the cabinets in your kitchen, ensuring levelness and secure attachment to the wall.
By following these steps diligently and paying attention to detail, you have created custom kitchen cabinets that not only meet your storage needs but also reflect your unique style.
Undertaking the project of making kitchen cabinets yourself is not only a cost-effective solution but also an incredibly fulfilling and rewarding experience. It allows you to exercise your creativity, showcase your woodworking skills, and create a unique focal point in your kitchen.
As a DIY enthusiast, you have successfully mastered the art of cabinet construction, and this newfound knowledge and accomplishment can serve as a stepping stone for future home improvement projects. So, don’t hesitate to take on new challenges and continue exploring the world of DIY.
Remember, mistakes and challenges might arise along the way, but that’s all part of the learning process. Embrace them as opportunities to grow your skills and knowledge. With patience, perseverance, and a passion for craftsmanship, you can continue to create beautiful and functional pieces in your home.
Now, step back and admire your handiwork. Your newly-built kitchen cabinets are a testament to your hard work and dedication. Enjoy the satisfaction of knowing that you have added value and personal touch to your kitchen space.
So, go ahead, show off your custom kitchen cabinets, and inspire others to embark on their own DIY projects. Happy woodworking!
Frequently Asked Questions about How To Make A Kitchen Cabinet
Was this page helpful?
At Storables.com, we guarantee accurate and reliable information. Our content, validated by Expert Board Contributors, is crafted following stringent Editorial Policies. We're committed to providing you with well-researched, expert-backed insights for all your informational needs.


0 thoughts on “How To Make A Kitchen Cabinet”