Home>Garden Essentials>How To Build A Self-Watering Vertical Garden
Garden Essentials
How To Build A Self-Watering Vertical Garden
Modified: March 16, 2024
Learn how to create a self-watering vertical garden and transform your outdoor space. Discover expert tips and tricks for gardening success.
(Many of the links in this article redirect to a specific reviewed product. Your purchase of these products through affiliate links helps to generate commission for Storables.com, at no extra cost. Learn more)
Introduction
Welcome to the world of self-watering vertical gardens! If you’re a gardening enthusiast or someone looking to add a touch of greenery to your living space, a self-watering vertical garden is a fantastic option. Not only does it allow you to maximize your garden space, but it also provides a simple and convenient way to keep your plants hydrated without the need for constant watering.
In this article, we will guide you through the process of building your own self-watering vertical garden. We’ll explore the benefits of this gardening method, the supplies you’ll need, the steps to construct your garden frame, and how to install an efficient watering system. We’ll also cover adding soil and plants, maintenance tips, and troubleshooting techniques.
By the end of this guide, you’ll have all the knowledge and inspiration you need to create a thriving self-watering vertical garden that will bring beauty and fresh produce into your life.
Key Takeaways:
- Self-watering vertical gardens maximize space, simplify maintenance, and enhance plant health. They bring beauty and fresh produce into any living space, making gardening convenient for all.
- To create a thriving self-watering vertical garden, choose the right location, build a sturdy frame, install an efficient watering system, and maintain the garden regularly. Troubleshoot common challenges to ensure success.
Read more: How To Water Vertical Garden
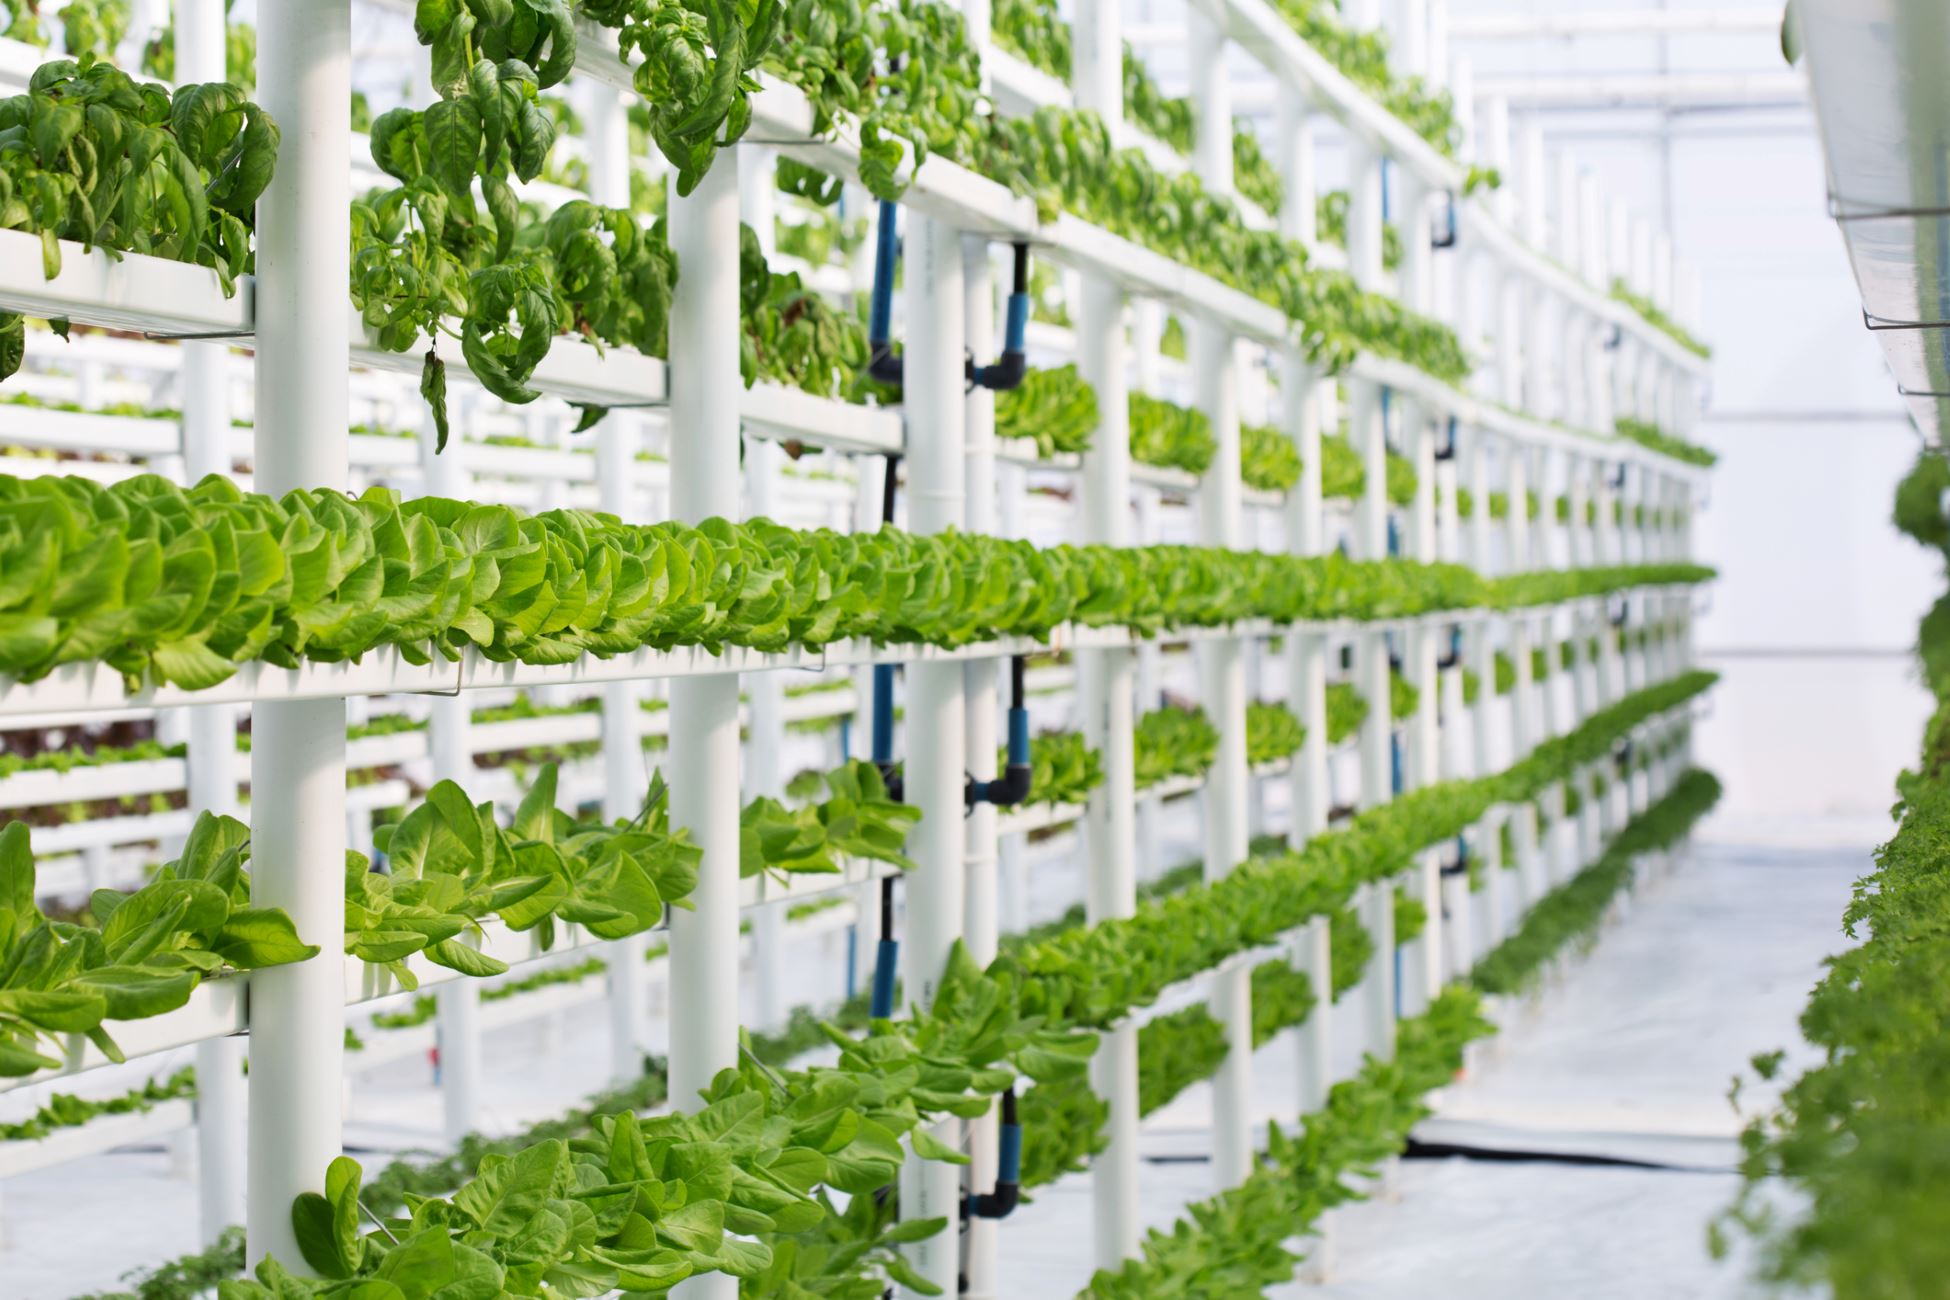
Benefits of a Self-Watering Vertical Garden
Investing in a self-watering vertical garden comes with a multitude of benefits that make it an appealing choice for gardeners of all skill levels. Here are some of the key advantages:
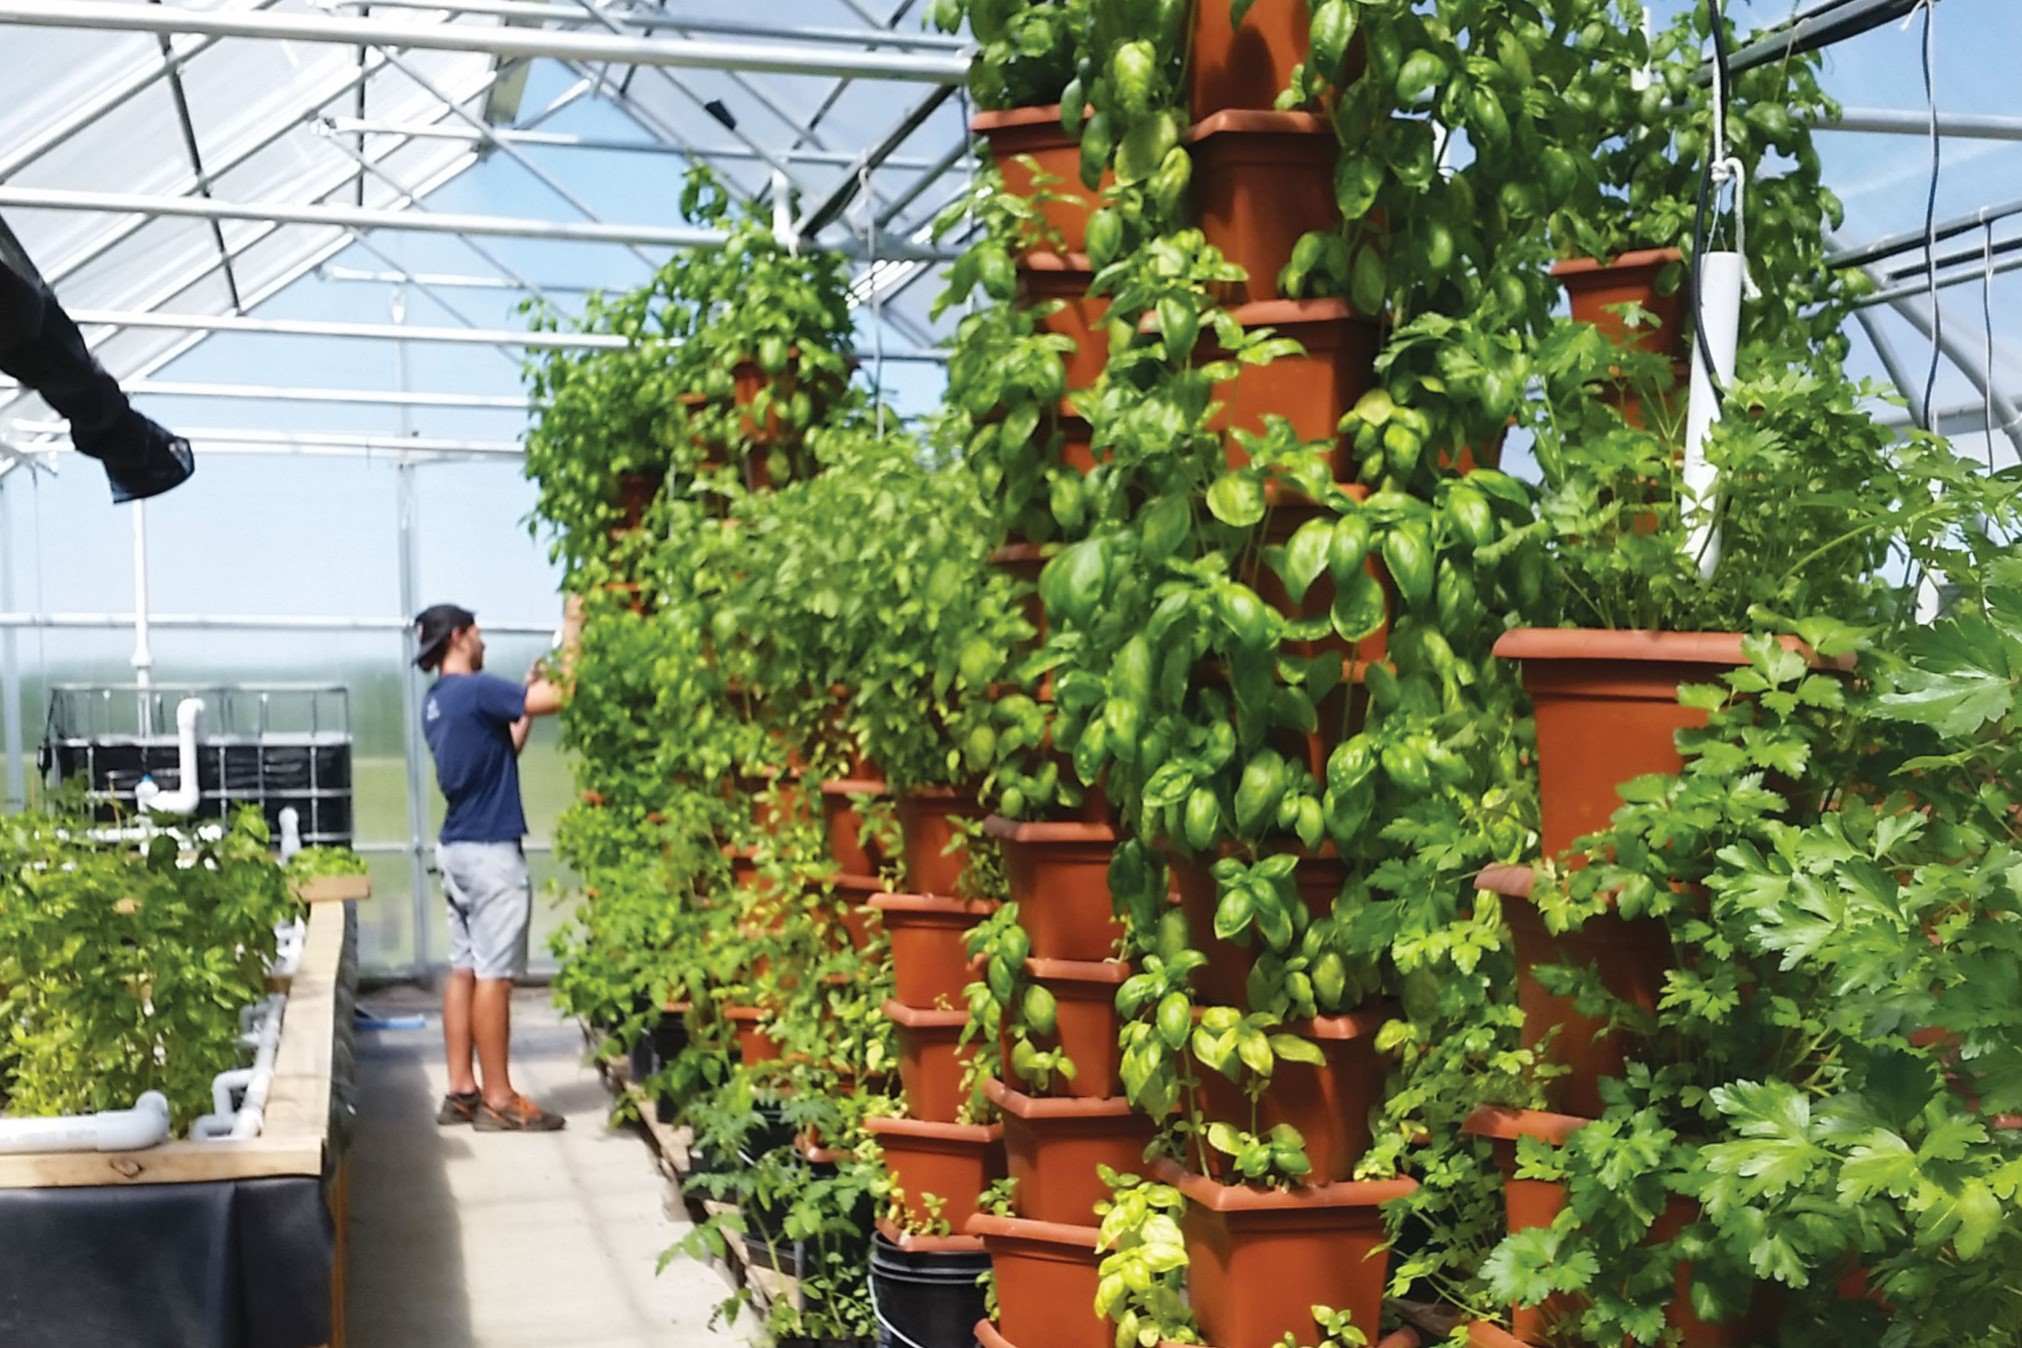
- Maximized Space: One of the most significant advantages of a vertical garden is its ability to maximize limited space. Whether you have a small balcony, a tiny backyard, or even just a wall in your home, a vertical garden allows you to make the most of every inch of available area.
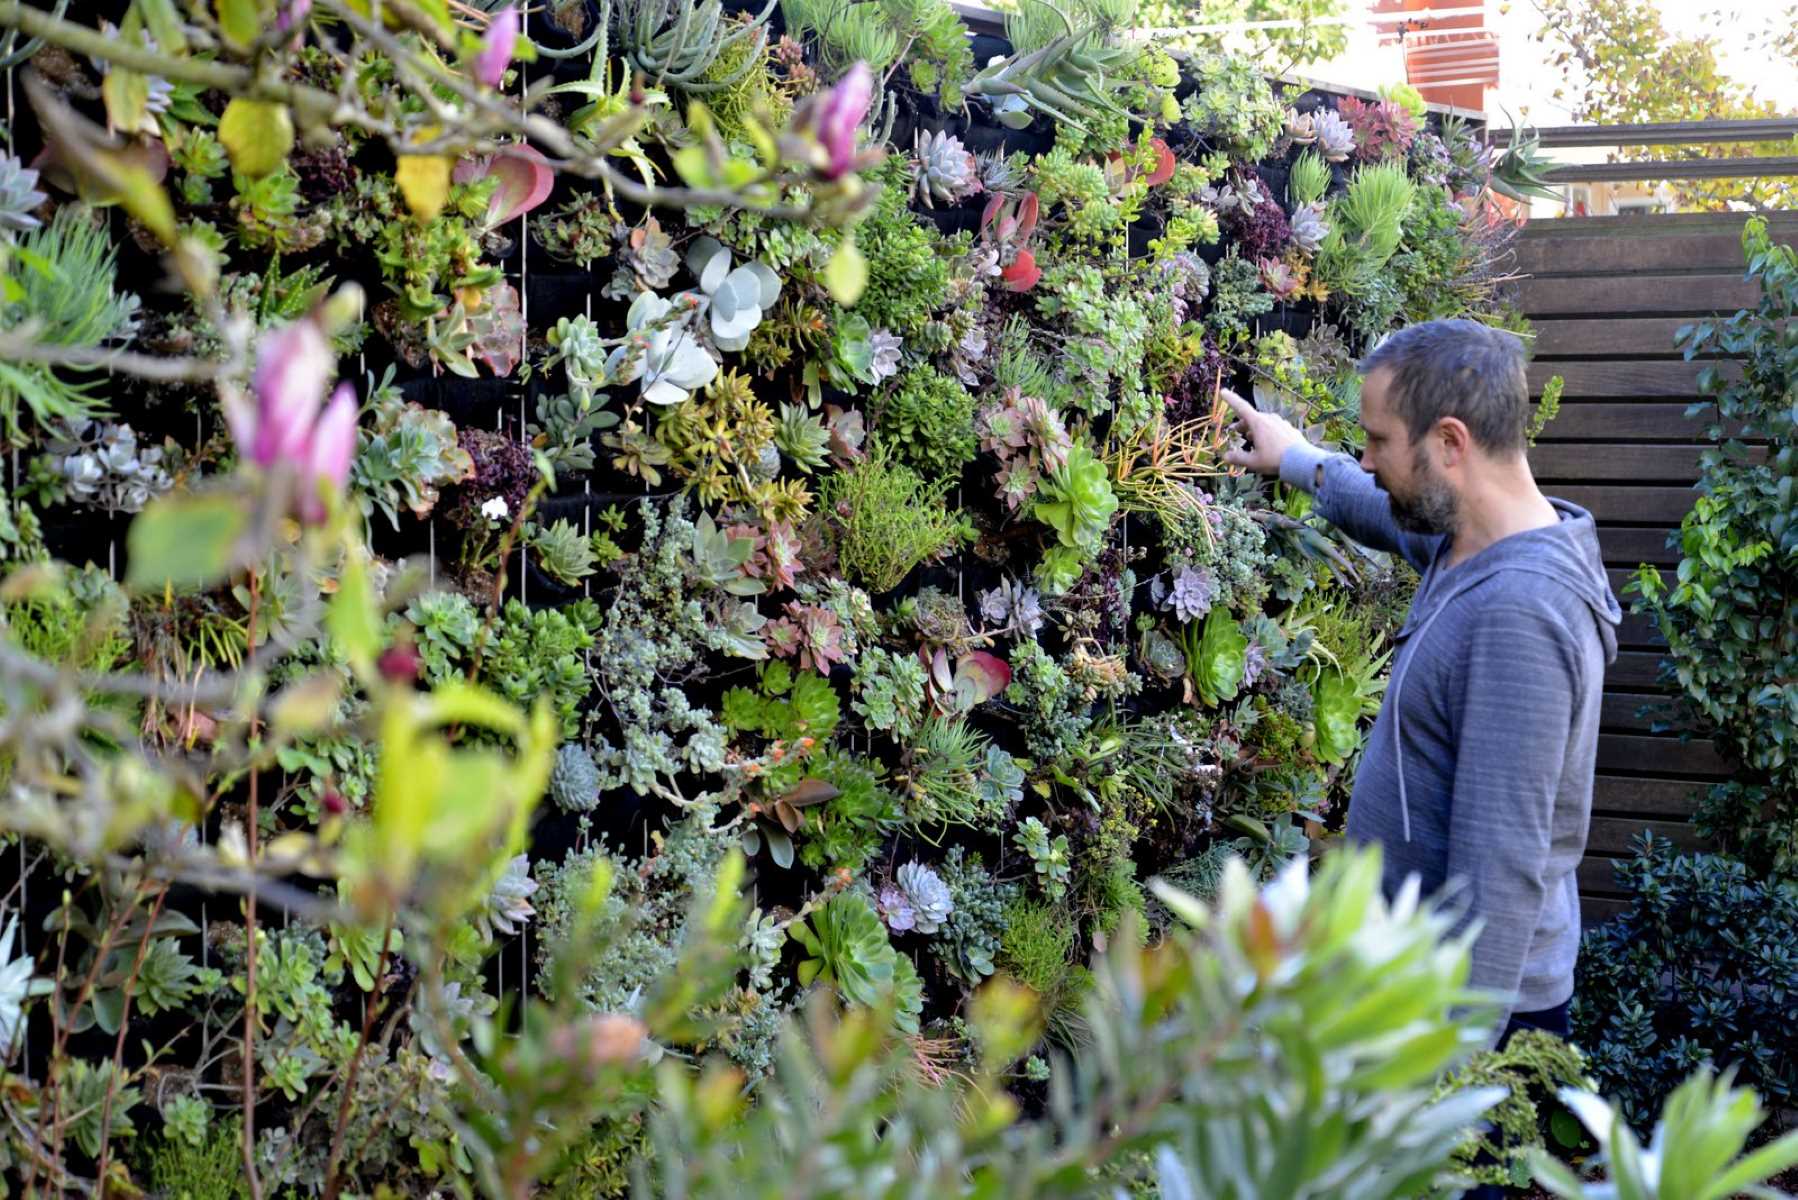
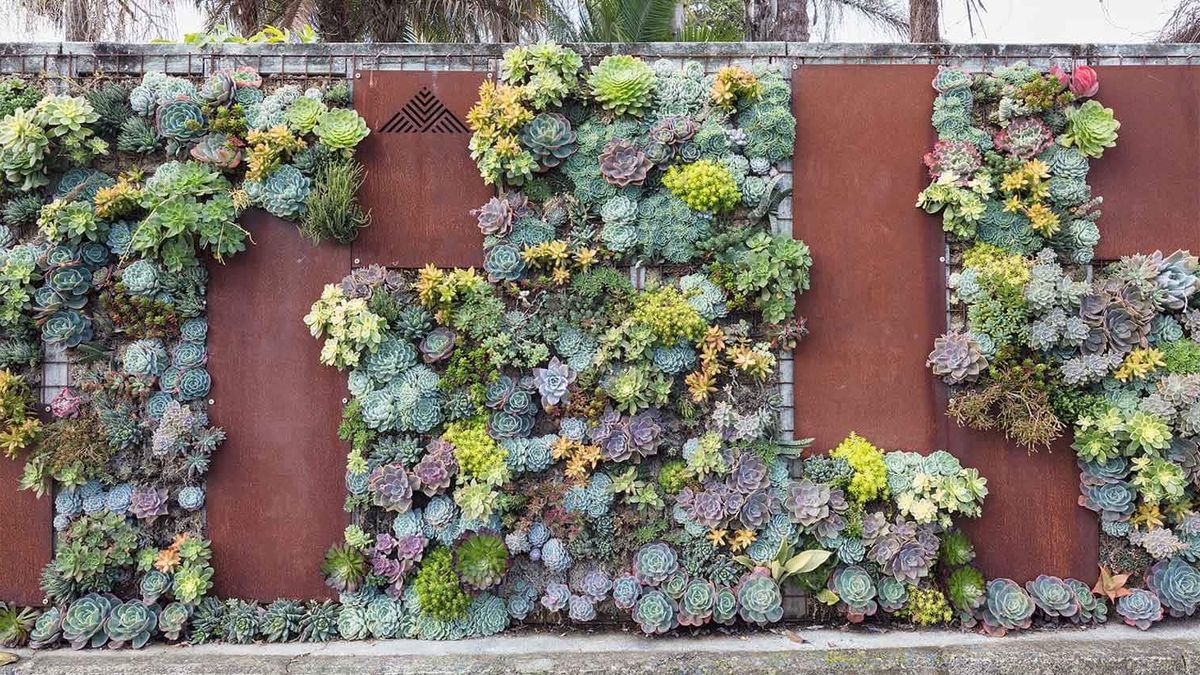
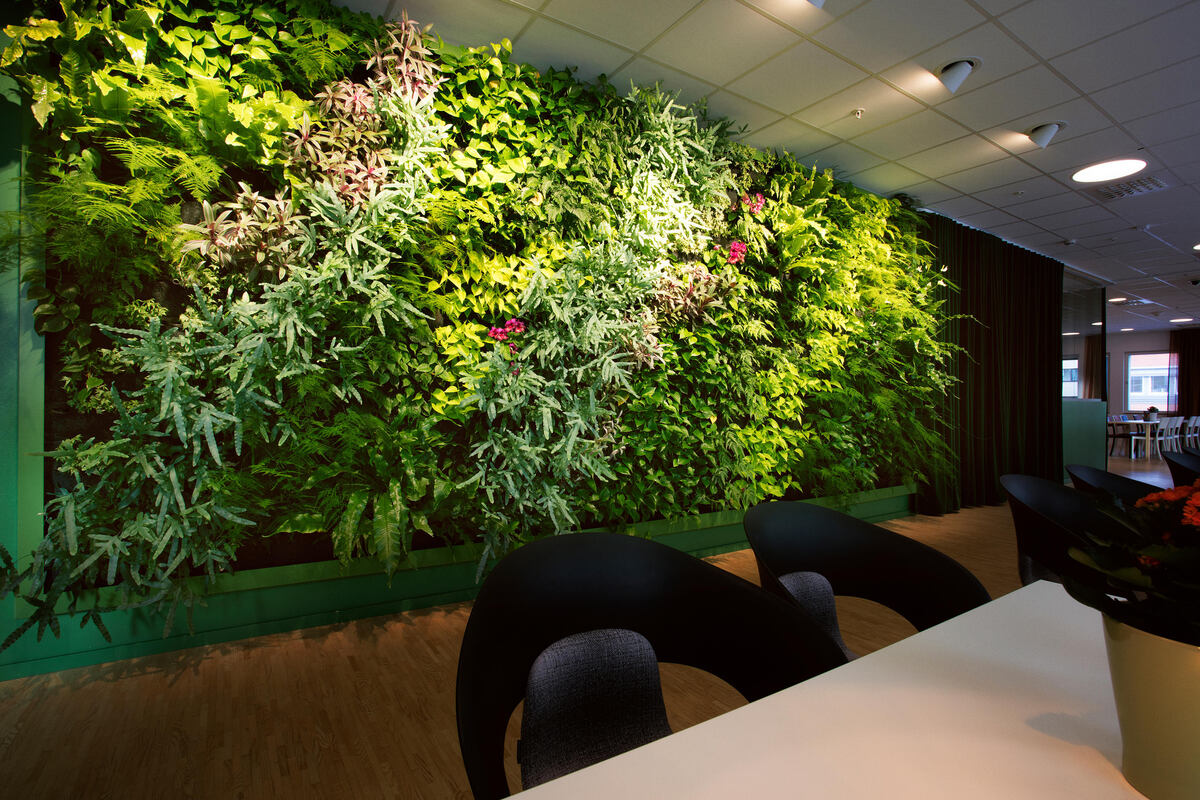
- Improved Aesthetics: Vertical gardens bring a unique and captivating visual appeal to any space. They act as living pieces of art, adding a touch of vibrant colors and lush greenery to otherwise plain walls or empty corners. With carefully selected plants and a well-designed layout, your vertical garden can become a stunning focal point.
- Easy Maintenance: Unlike traditional gardens, self-watering vertical gardens require less frequent watering. The built-in watering system ensures that your plants receive a consistent supply of water, even if you forget to water them for a day or two. This makes vertical gardens an excellent option for busy individuals or those with limited time for gardening maintenance.
- Enhanced Plant Health: The self-watering feature of vertical gardens ensures that your plants receive the right amount of water at the right intervals, preventing overwatering and underwatering. This promotes healthier root growth and minimizes the risk of plant diseases caused by excessive moisture or dryness.
- Greater Accessibility: Vertical gardens can be designed to accommodate different accessibility needs. By positioning the plants at various heights, individuals with physical limitations can still enjoy gardening by easily reaching their plants without needing to bend or kneel.
- Improved Air Quality: Plants play a crucial role in purifying the air by releasing oxygen and absorbing pollutants. With a vertical garden, you can create a micro-environment that boosts the air quality in your home or office, leading to a healthier and more refreshing living or working space.
As you can see, a self-watering vertical garden offers a multitude of benefits that go beyond just growing plants. It provides a practical, space-saving solution for gardening enthusiasts and adds a touch of natural beauty to any environment. So, let’s dive into the supplies you’ll need to get started on creating your own vertical garden masterpiece!
Supplies Needed
Before you embark on building your self-watering vertical garden, it’s essential to gather all the necessary supplies. Here’s a list of items you’ll need to ensure a successful project:
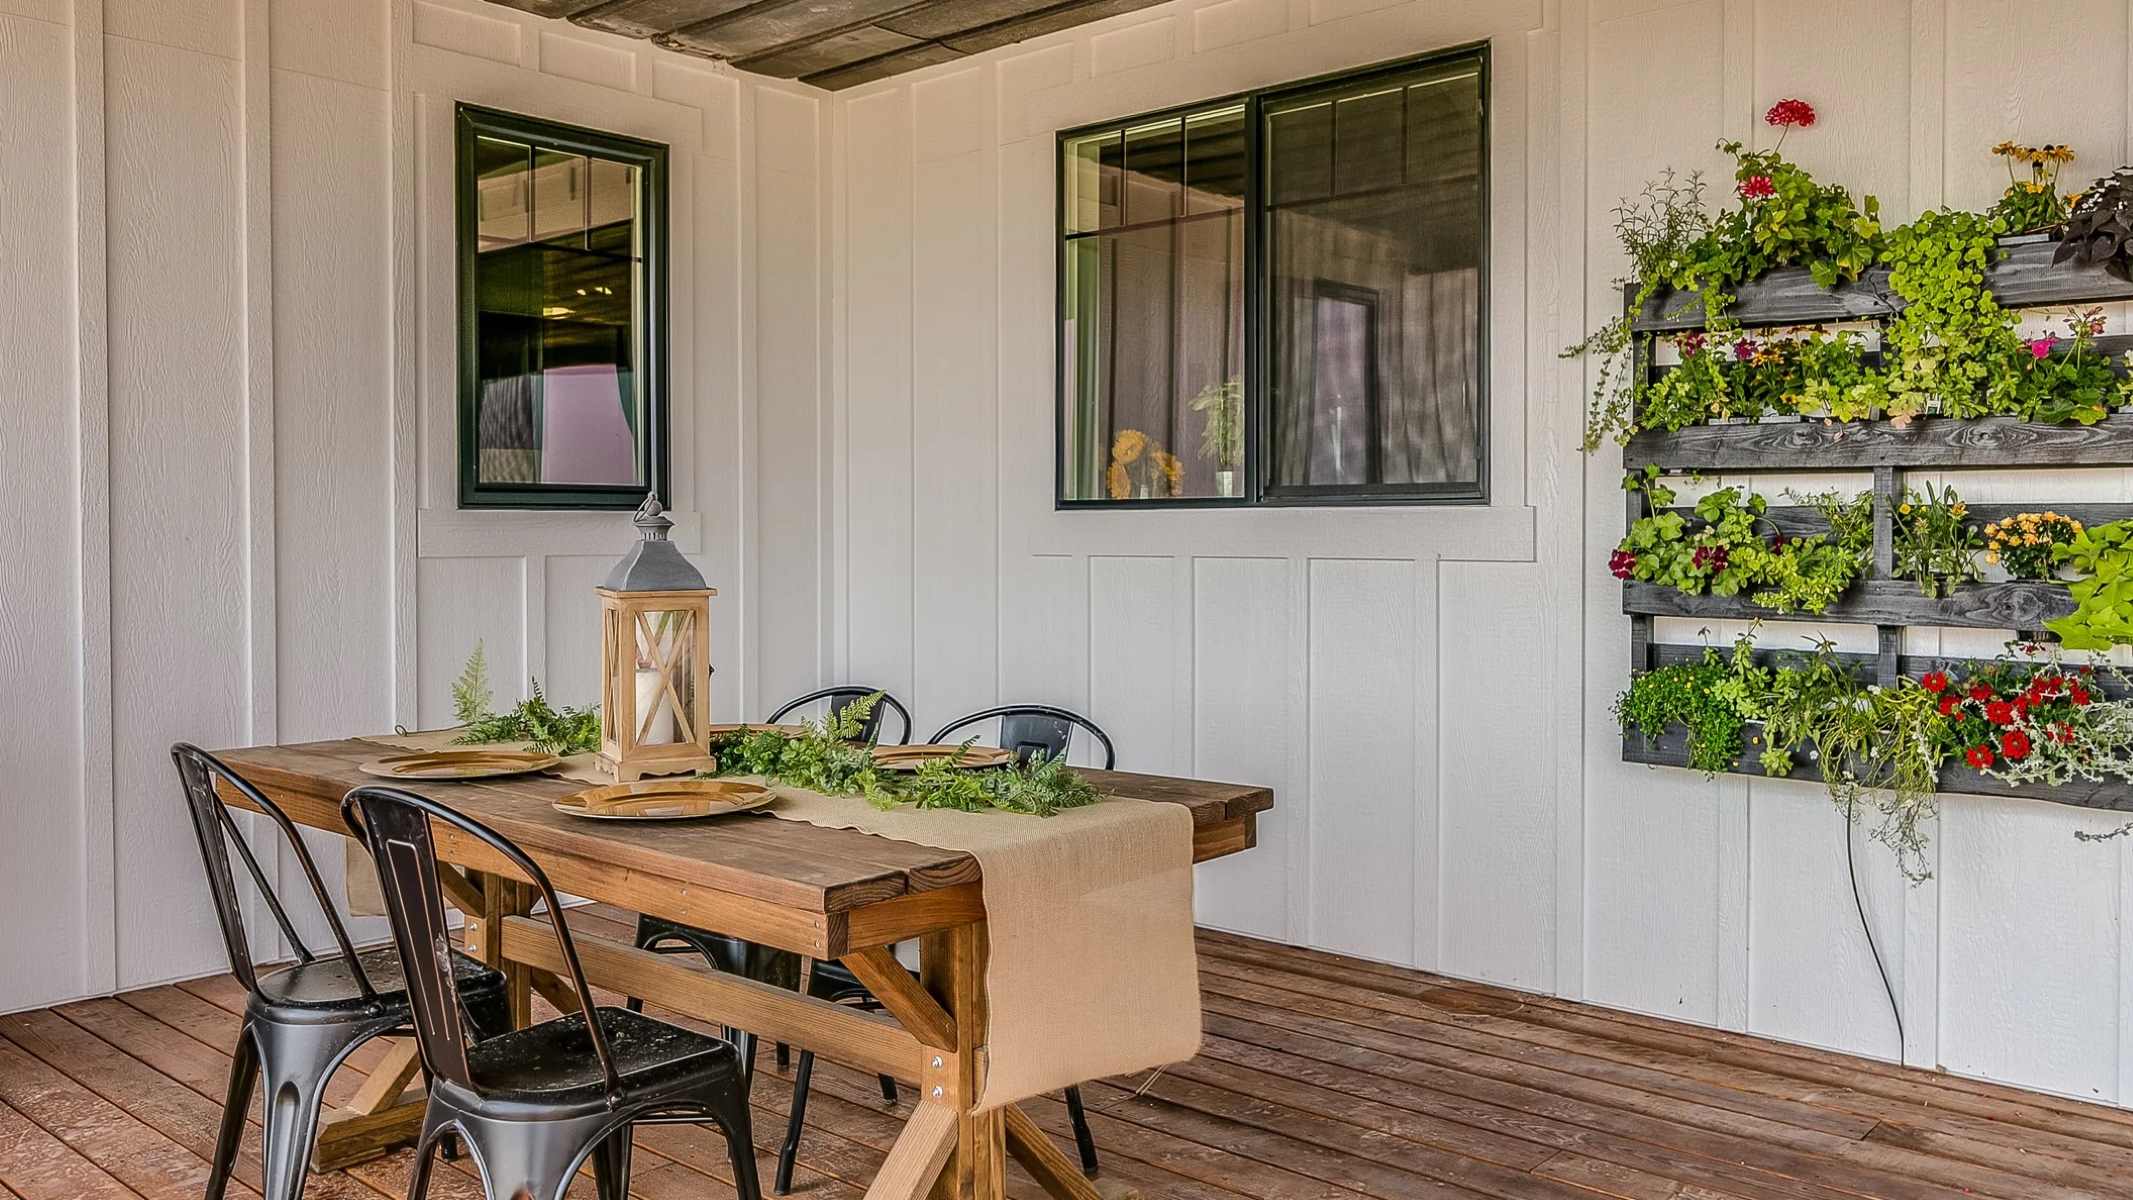
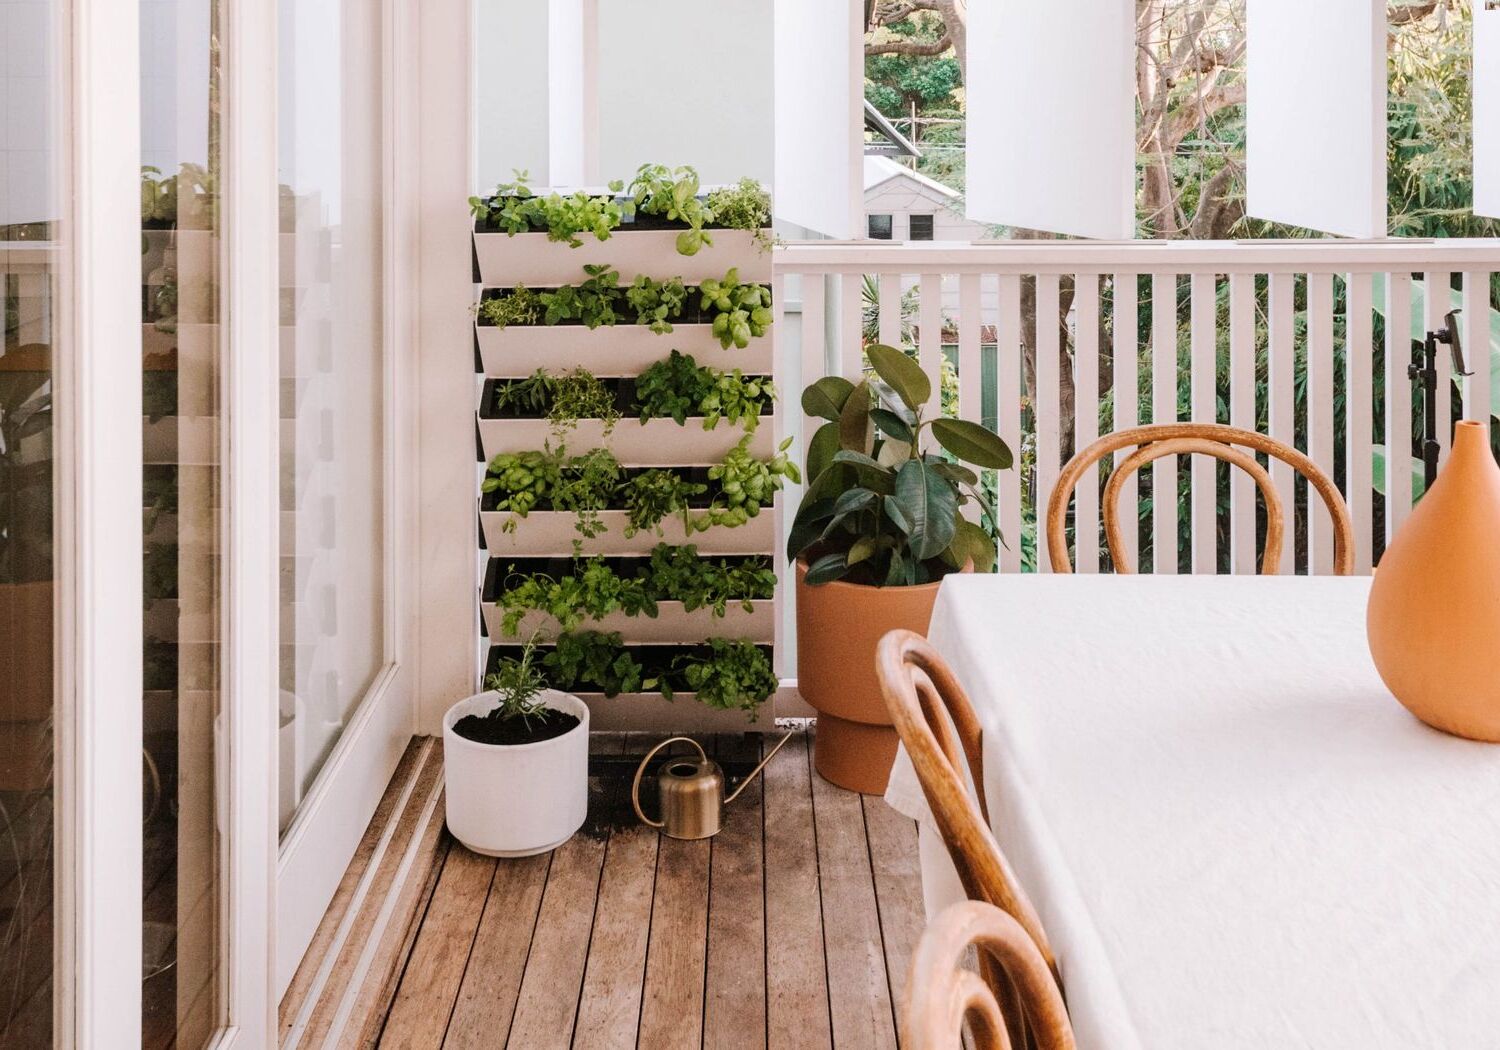
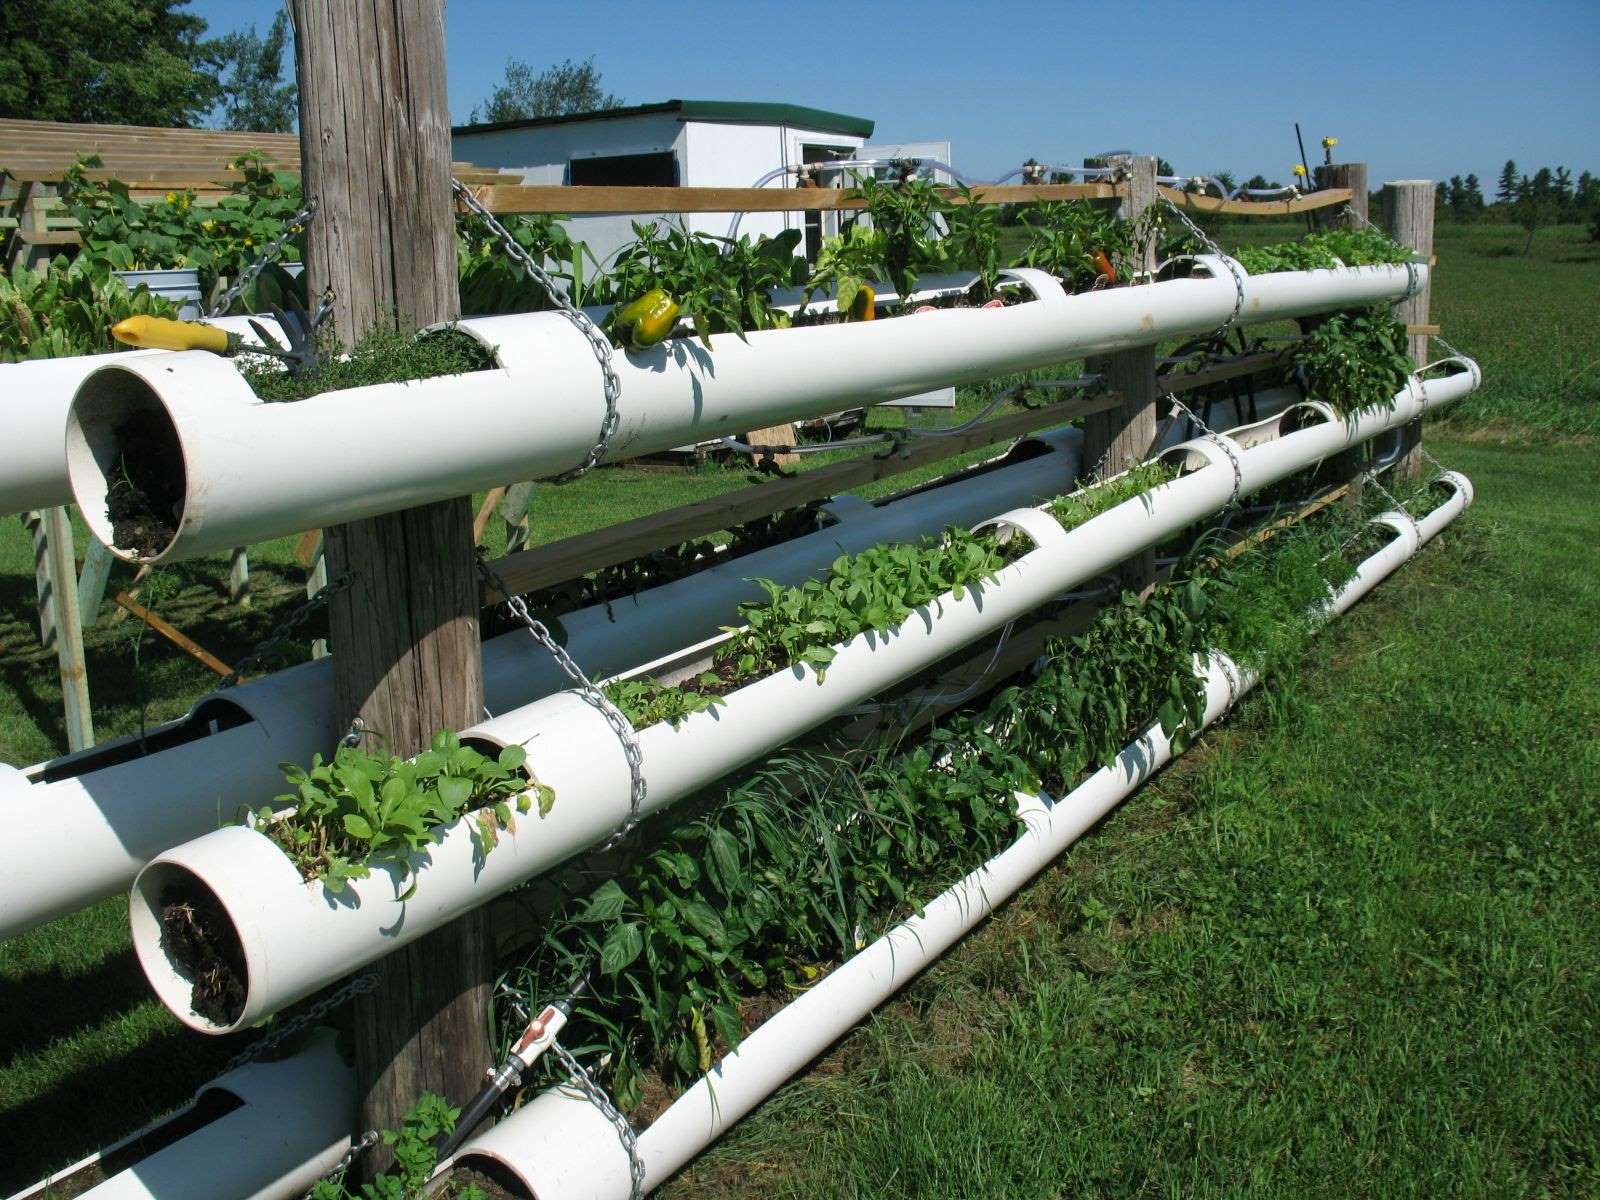
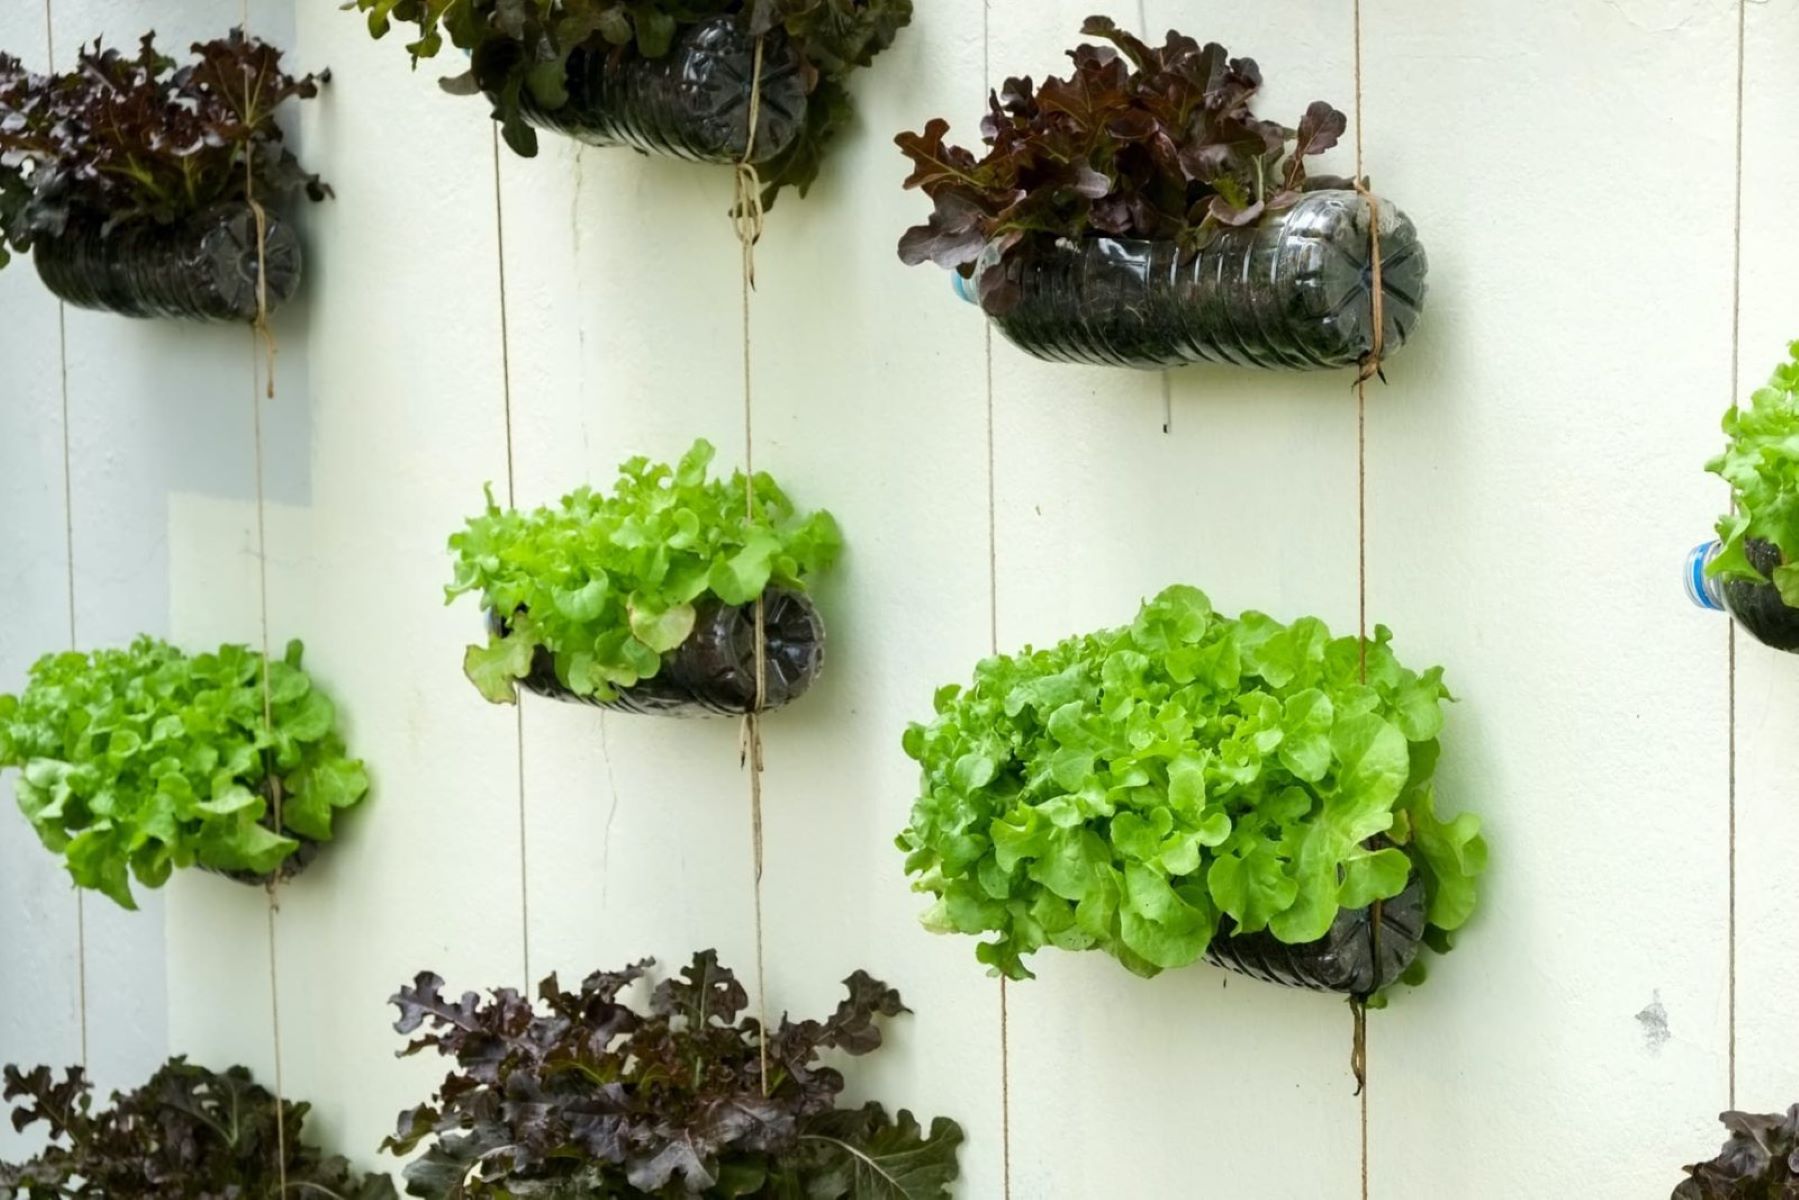
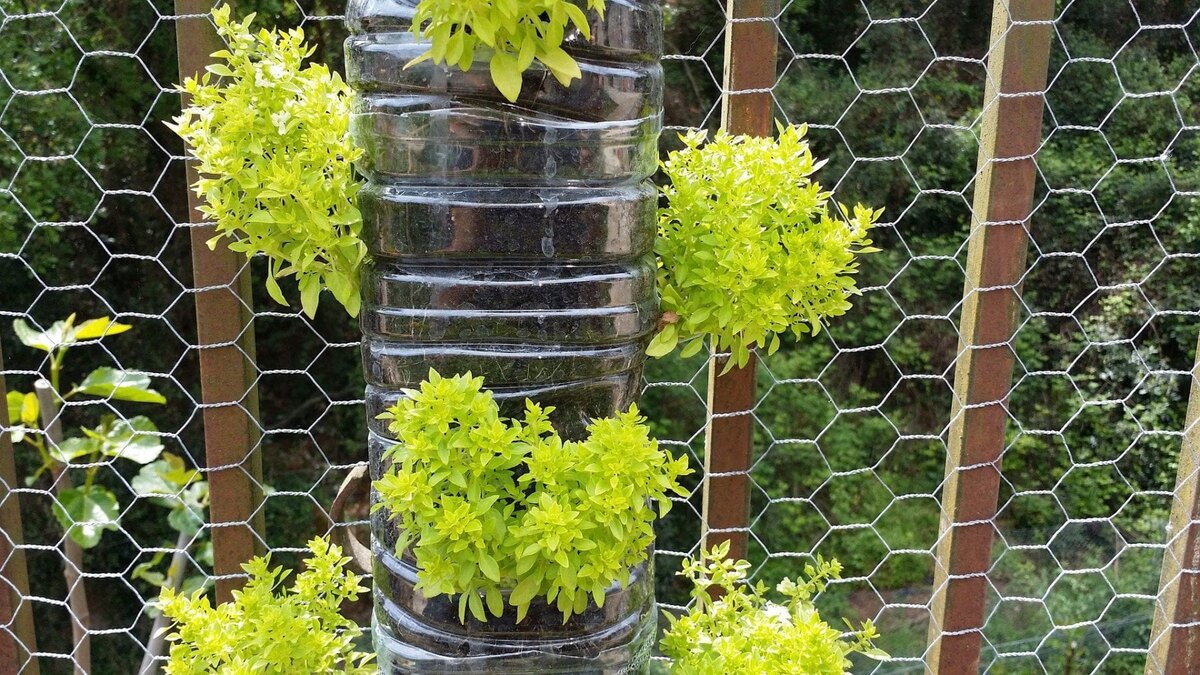
- Garden Frame: Choose a sturdy frame that can be secured to a wall or freestanding structure. This can be made from materials like wood, metal, or PVC pipes. Ensure that the frame is strong enough to hold the weight of the plants and has sufficient space for the water reservoir.
- Geotextile Fabric: This fabric is used to line the frame and create individual pockets or sections for each plant. It allows for proper drainage while preventing the soil from spilling out.
- Water Reservoir: The heart of a self-watering vertical garden is the water reservoir. This can be a container or tank that holds an adequate amount of water to supply the plants. Look for a reservoir with a built-in watering system or a way to connect irrigation tubing for automatic watering.
- Irrigation System: Depending on the type of water reservoir you choose, you may need an irrigation system to deliver water to the plants. This can include drip irrigation tubing, micro-sprinklers, or a simple gravity-fed system.
- Potting Mix: Use a high-quality potting mix that is well-draining and nutrient-rich. Avoid using heavy garden soil, as it can hinder proper drainage in the vertical garden.
- Plants: Select a variety of plants that are suitable for vertical gardening. Consider factors such as sunlight requirements, water needs, and aesthetics. Herbs, leafy greens, and compact flowering plants are excellent choices.
- Tools: You will need basic tools such as a drill, screws, hammer, measuring tape, and a utility knife for constructing the frame and securing it in place. Additionally, have pruning shears and gardening gloves on hand for planting and maintenance.
Once you have gathered these supplies, you’ll be well-prepared to start building your self-watering vertical garden. In the next section, we’ll discuss how to choose the right location to ensure optimal growth and success for your plants.
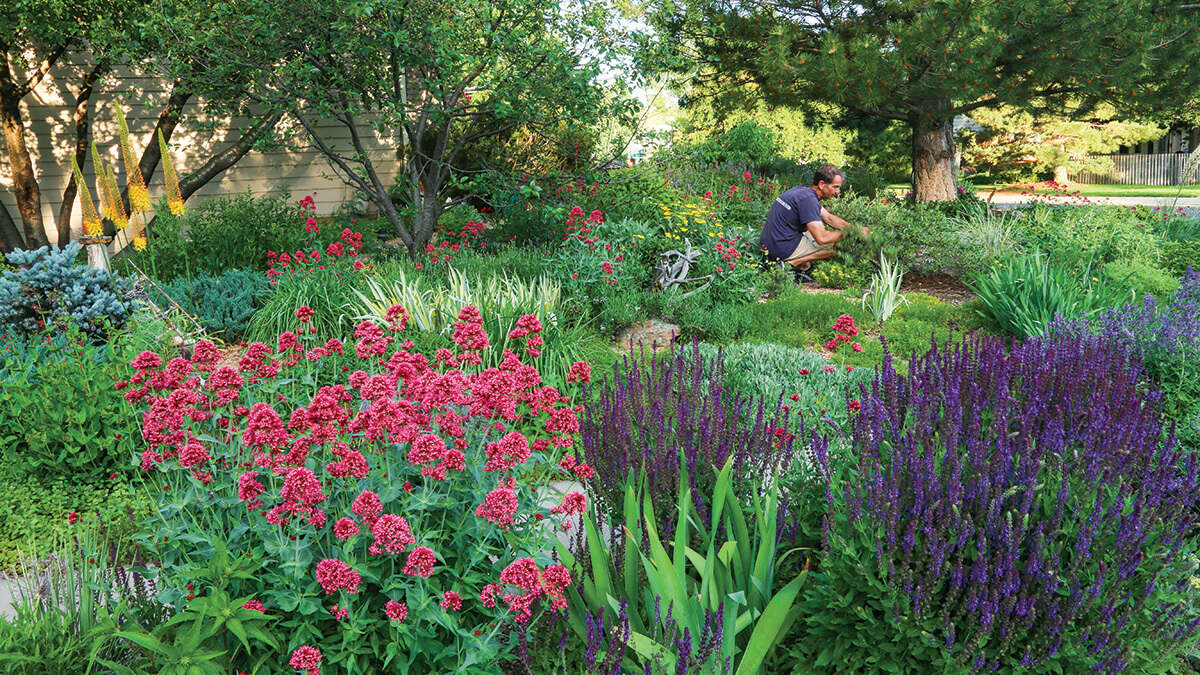
Choosing the Right Location
When it comes to setting up your self-watering vertical garden, selecting the right location is crucial for the health and growth of your plants. Consider the following factors to ensure the success of your vertical garden:
- Sunlight: Most plants require a certain amount of sunlight to thrive. Observe the area where you plan to install your vertical garden and check the amount of sunlight it receives throughout the day. Ideally, choose a location that gets at least 6-8 hours of direct sunlight. If your space is shaded, select plants that are suitable for low-light conditions.
- Space Availability: Assess the available space and determine the size and dimensions of the vertical garden you can accommodate. Consider the height, width, and depth of the frame, ensuring that it fits comfortably in the chosen location without obstructing walkways or other important areas.
- Access to Water: As a self-watering vertical garden relies on a water reservoir, it’s essential to have easy access to a water source. Consider the proximity to a hose or faucet for refilling the reservoir or the convenience of using a watering can if necessary.
- Structural Support: If you’re planning to attach the garden frame to a wall or structure, ensure that it has the necessary structural support to hold the weight. Consult a professional if you’re unsure about the stability or integrity of the chosen location.
- Indoor or Outdoor: Decide whether you want your vertical garden to be installed indoors or outdoors. Indoor gardens offer advantages such as controlled temperature and protection from outdoor pests, while outdoor gardens benefit from natural sunlight and improved ventilation.
Once you have considered these factors, choose a location that best meets the requirements of your plants and suits your lifestyle. Keep in mind that different plants have different needs, so it’s essential to select varieties that are appropriate for the chosen location.
Now that you have chosen the ideal location for your vertical garden, it’s time to move on to the fun part – building the frame! In the next section, we will guide you through the process of constructing a sturdy and functional frame for your self-watering vertical garden. Get ready to unleash your inner DIY enthusiast!
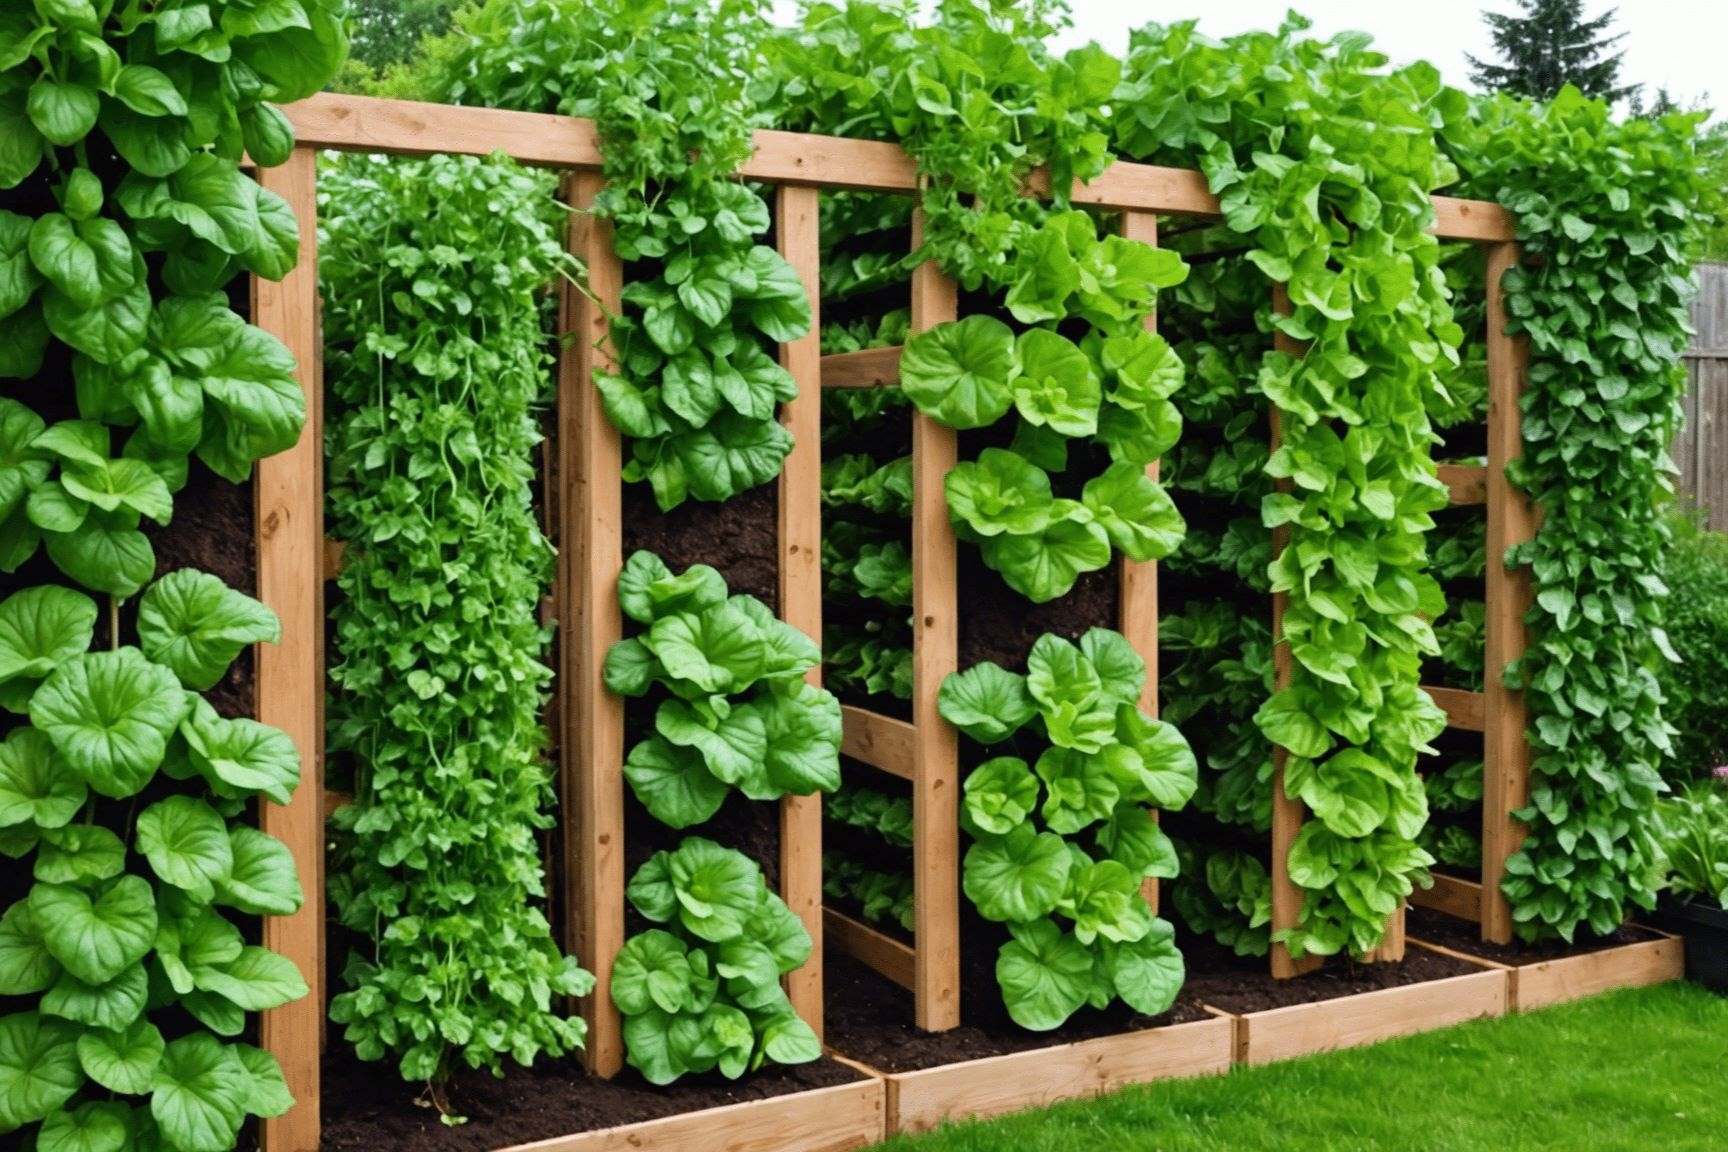
Building the Frame
Building a solid and well-structured frame is the foundation of your self-watering vertical garden. Follow these steps to construct a sturdy and functional frame:
- Choose the Material: Select a material that suits your aesthetic preferences and the available space. Common materials for vertical garden frames include wood, metal, or PVC pipes. Each material has its advantages, so choose one that is durable and can withstand outdoor elements if you’re planning an outdoor garden.
- Measure and Cut: Measure the desired dimensions for your frame, considering the available space and the number of plants you plan to grow. Use a measuring tape to mark the lengths for the vertical and horizontal components of the frame. Use a saw or appropriate cutting tool to cut the pieces to size.
- Pre-Drill and Assemble: To ensure structural integrity, pre-drill screw holes in the vertical and horizontal pieces. This will prevent the wood from splitting when you attach the pieces together. Assemble the frame by screwing the horizontal pieces into the vertical ones, creating a sturdy grid-like structure.
- Secure the Frame: If you plan to attach the frame to a wall or structure, use appropriate fasteners or brackets to secure it in place. Ensure that the frame is level and securely anchored to prevent it from sagging or falling.
-
Add Crossbars:
Depending on the size of your frame, you may need to add crossbars for additional support and stability. Measure the appropriate lengths for the crossbars and attach them to the vertical and horizontal pieces using screws or brackets. - Attach Geotextile Fabric: Cut pieces of geotextile fabric to fit the dimensions of your frame. Place the fabric inside the frame, securing it to the edges with staples or heavy-duty adhesive. The fabric will create pockets or sections for each plant, keeping the soil in place while allowing for proper drainage and aeration.
Once the frame is constructed and the geotextile fabric is securely attached, your vertical garden is ready to be set up. In the next section, we will guide you through the process of installing an efficient self-watering system to keep your plants hydrated and thriving without the hassle of constant watering.
When building a self-watering vertical garden, make sure to use a good quality soil mix that retains moisture well. This will help to ensure that your plants have a steady supply of water, even in a vertical setup.
Installing the Watering System
Having a reliable and efficient watering system is essential for the success of your self-watering vertical garden. Follow these steps to install a watering system that will keep your plants hydrated and healthy:
- Choose the Type of System: There are several options for watering systems, including drip irrigation, micro-sprinklers, or a gravity-fed system. Consider factors such as the number of plants, water requirements, and the complexity you’re comfortable with.
- Connect the Water Reservoir: If your water reservoir has a built-in watering system, follow the manufacturer’s instructions to connect it. If not, you can create your own system by using drip irrigation tubing or small sprinkler heads connected to a water source. Ensure that the reservoir is securely placed and positioned to allow easy access for refilling.
- Position the Irrigation Tubing: Lay the irrigation tubing along the top of the frame, ensuring that it reaches each section or pocket where the plants will be placed. Use clips or wire to secure the tubing in place and prevent it from sagging or moving.
- Attach the Emitters: Depending on the type of system you chose, attach the appropriate emitters to the irrigation tubing. For drip irrigation, place emitters near the base of each plant. If using micro-sprinklers, position them strategically to ensure even coverage and avoid overspray.
- Test the Watering System: Before planting your garden, test the watering system to ensure that water is flowing correctly to each plant. Adjust the flow rate or positioning of emitters if needed to ensure proper water distribution.
- Fill the Water Reservoir: Fill the water reservoir with an adequate amount of water, following the instructions provided with your system. Be mindful of the water requirements of your plants and adjust the refill frequency accordingly.
Once you have installed and tested your watering system, you are ready to move on to the next step – adding the soil and plants. In the following section, we will guide you through the process of preparing your vertical garden for planting, creating a thriving environment for your plants.
Adding the Soil and Plants
Now that your self-watering vertical garden frame and watering system are in place, it’s time to add the soil and plants. Follow these steps to ensure the proper setup of your vertical garden:
- Prepare the Soil: Before adding the soil, ensure that the geotextile fabric is securely attached to the frame. This fabric will prevent the soil from falling out while allowing for proper drainage. Fill each pocket or section with a high-quality potting mix, leaving a small space at the top to accommodate the plant’s roots.
- Select the Plants: Choose a variety of plants that are suitable for vertical gardening. Consider factors such as sunlight requirements, water needs, and growth habits. Opt for compact and trailing plants, herbs, leafy greens, or flowering plants that thrive in your climate.
- Plant the Greenery: Gently remove the plants from their nursery containers, being careful not to damage the roots. Dig a small hole in the soil of each pocket or section and place the plant inside, ensuring that the top of the root ball is level with the surface of the soil. Firmly press the soil around the plant to secure it in place.
- Arrange the Plants: As you plant, consider the growth habits and spacing requirements of each plant. Place taller or climbing plants towards the back or center of the frame, and trailing plants near the edges. Arrange the plants in a visually pleasing and balanced way, envisioning how they will grow and intertwine in the vertical garden.
- Water and Settle the Plants: After planting, thoroughly water the soil to help settle it around the roots and remove any air pockets. Be mindful not to overwater, as the self-watering system will handle the regular watering needs. Monitor the moisture levels in the soil and adjust the watering frequency if necessary.
With the soil and plants in place, your vertical garden is starting to take shape. In the next section, we will explore essential maintenance tasks to keep your self-watering vertical garden thriving and looking its best.
Maintaining Your Vertical Garden
Proper maintenance is crucial for the long-term health and beauty of your self-watering vertical garden. Here are some essential tasks to keep your garden flourishing:
- Regular Watering: While the self-watering system takes care of the majority of watering, it’s important to monitor the moisture levels in the soil. Check the water reservoir regularly and refill as needed to ensure that the plants have an adequate water supply.
- Fertilizing: To promote healthy growth, periodically fertilize your vertical garden with a balanced fertilizer suitable for your plants. Follow the recommended application rates and frequency specified on the fertilizer packaging.
- Pruning and Trimming: Maintain the shape and appearance of your plants by regularly pruning and trimming them. Remove any dead or damaged leaves, flowers, or stems to encourage new growth and prevent disease or infestation.
- Weeding: Keep an eye out for any weeds that may sprout in your vertical garden. Regularly remove them to prevent competition for nutrients and space. Be gentle when weeding to avoid disturbing the plants’ roots.
- Pest Control: Monitor your vertical garden for any signs of pests, such as aphids or spider mites. If you notice any infestations, take appropriate measures to control them, such as using organic pest control methods or introducing beneficial insects.
- Inspecting the Structure: Periodically check the frame of your vertical garden for any signs of damage or instability. Repair or reinforce any loose connections or weak points to ensure the safety and longevity of your garden.
- Seasonal Adjustments: As the seasons change, consider the specific needs of your plants. Adjust the watering frequency, sun exposure, and protection from extreme heat or cold, depending on the climate and the plants you’ve chosen.
Regular maintenance and care will ensure that your self-watering vertical garden remains healthy and vibrant year-round. By dedicating some time to these tasks, you’ll be rewarded with a flourishing garden that brings beauty and fresh produce to your living space.
In the next section, we will provide some troubleshooting tips to help you address common challenges that may arise in your vertical garden.
Troubleshooting Tips
Even with proper care and maintenance, your self-watering vertical garden may encounter some challenges along the way. Here are some common issues that may arise and troubleshooting tips to help you address them:
- Plant Wilting: If you notice your plants wilting, it could be a sign of underwatering or overwatering. Check the moisture level in the soil and adjust the watering frequency accordingly. Ensure that the water reservoir is functioning properly and providing enough water to the plants.
- Poor Drainage: If you notice excessive moisture or water pooling in the pockets of your vertical garden, it could indicate poor drainage. Check the geotextile fabric and ensure that it is securely attached to the frame, allowing water to drain freely. Adjust the positioning of the irrigation emitters to distribute water evenly.
- Pest Infestation: If you observe signs of pests, such as chewed leaves or visible insects, take immediate action to control the infestation. Use organic pest control methods or introduce beneficial insects, such as ladybugs or predatory mites, to help eliminate the pests.
- Yellowing Leaves: Yellowing leaves can be a sign of nutrient deficiencies or overwatering. Check the pH levels of the soil and adjust them if necessary. Ensure that the plants are not sitting in waterlogged soil, as this can lead to root rot and yellowing leaves.
- Plant Crowding: Over time, your plants may grow and start to compete for space in the vertical garden. If you notice overcrowding, consider pruning or thinning out some plants to allow for better airflow and adequate access to light and nutrients.
- Structural Instability: If the frame of your vertical garden becomes unstable or starts to lean, reinforce it by tightening screws or adding additional support. Consider using brackets or stakes to secure the frame to a wall or structure for added stability.
Remember, every garden is unique, and these troubleshooting tips provide general guidance. Assess the specific needs of your plants and make adjustments accordingly. Regular observation and proactive problem-solving will ensure that your self-watering vertical garden thrives in any situation.
Now that you’re equipped with troubleshooting strategies, you’re ready to tackle any challenges that may arise in your vertical garden. In the final section, we’ll wrap up our guide and summarize the key points we’ve covered.
Read more: How To Build Vertical Garden
Conclusion
Congratulations on completing our comprehensive guide to building and maintaining a self-watering vertical garden! By now, you should have a solid understanding of the benefits of vertical gardening and the steps involved in creating your own beautiful and functional garden.
A self-watering vertical garden allows you to maximize your available space, improve aesthetics, and simplify plant care. With the right supplies, a well-chosen location, a sturdy frame, and an efficient watering system, you can create a thriving vertical garden that brings beauty and fresh produce into your life.
Remember to regularly maintain your vertical garden by monitoring water levels, fertilizing, pruning, and keeping an eye out for pests. Adjust your care routine as the seasons change and be proactive in troubleshooting any issues that may arise.
Whether you’re a seasoned gardening enthusiast or a beginner with a green thumb, a self-watering vertical garden is a fantastic choice. It not only adds a touch of natural beauty to your living space but also provides a convenient and rewarding gardening experience.
So, what are you waiting for? Get started on your self-watering vertical garden project and watch as it transforms into a thriving oasis of greenery and life. Enjoy the benefits of gardening in a space-saving and low-maintenance way, while enjoying the beauty and freshness of your own homegrown produce.
Happy gardening!
Frequently Asked Questions about How To Build A Self-Watering Vertical Garden
Was this page helpful?
At Storables.com, we guarantee accurate and reliable information. Our content, validated by Expert Board Contributors, is crafted following stringent Editorial Policies. We're committed to providing you with well-researched, expert-backed insights for all your informational needs.


0 thoughts on “How To Build A Self-Watering Vertical Garden”