Home>Garden Essentials>How To Germinate A Succulent
Garden Essentials
How To Germinate A Succulent
Modified: March 15, 2024
Learn how to successfully germinate a succulent in your garden and enjoy the beauty of these low-maintenance plants.
(Many of the links in this article redirect to a specific reviewed product. Your purchase of these products through affiliate links helps to generate commission for Storables.com, at no extra cost. Learn more)
Introduction
Welcome to the fascinating world of succulent germination! If you’re a gardening enthusiast looking to add a touch of charm to your indoor or outdoor spaces, growing succulents from seeds can be a gratifying and rewarding experience. Whether you’re new to gardening or have a green thumb, germinating succulent seeds allows you to witness the magical transformation from a tiny seed to a beautiful plant.
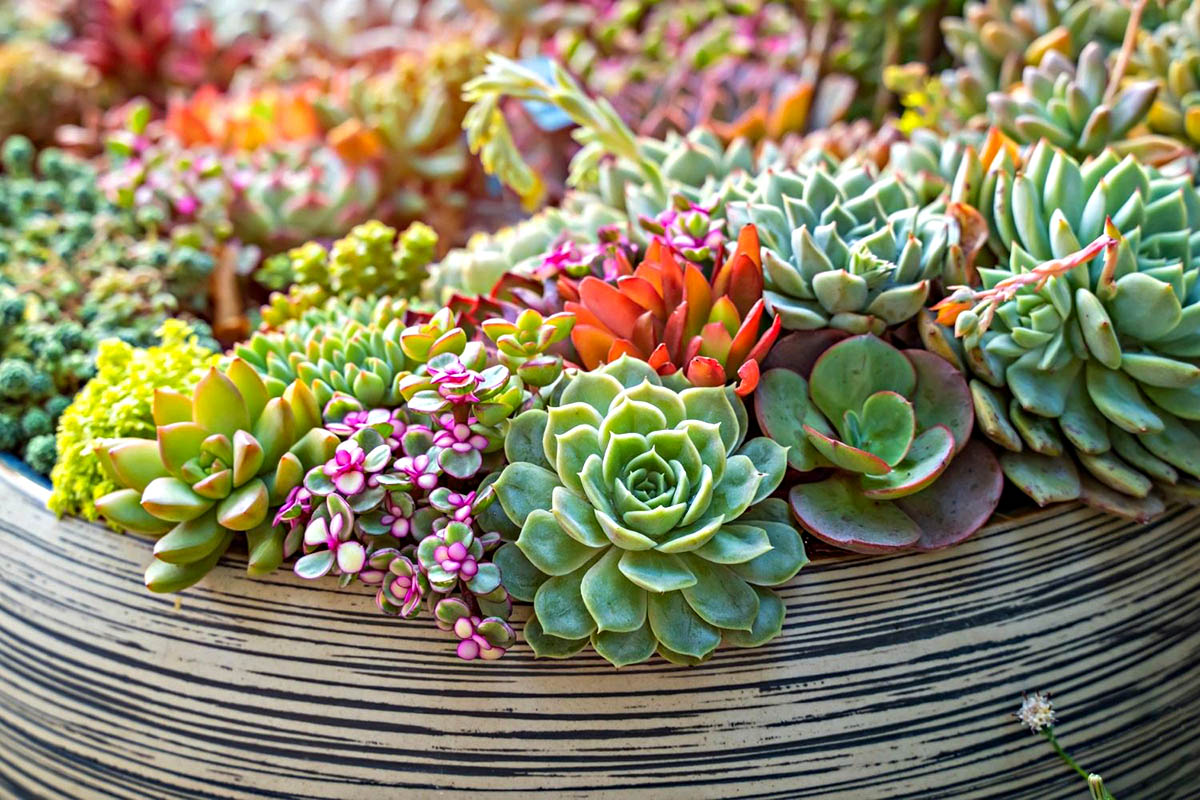
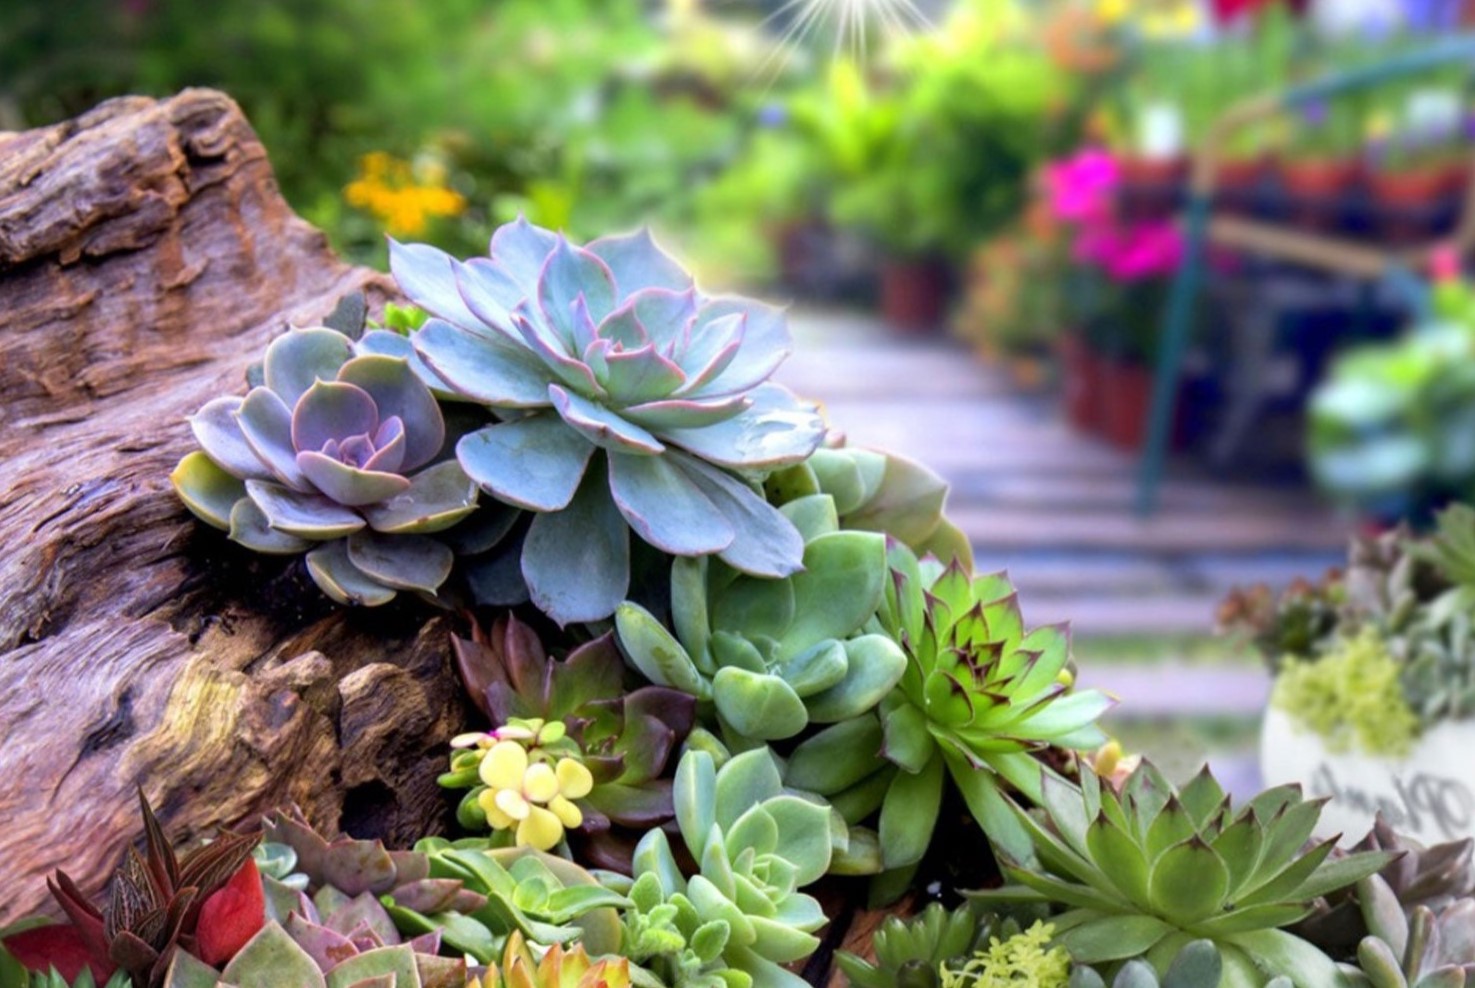
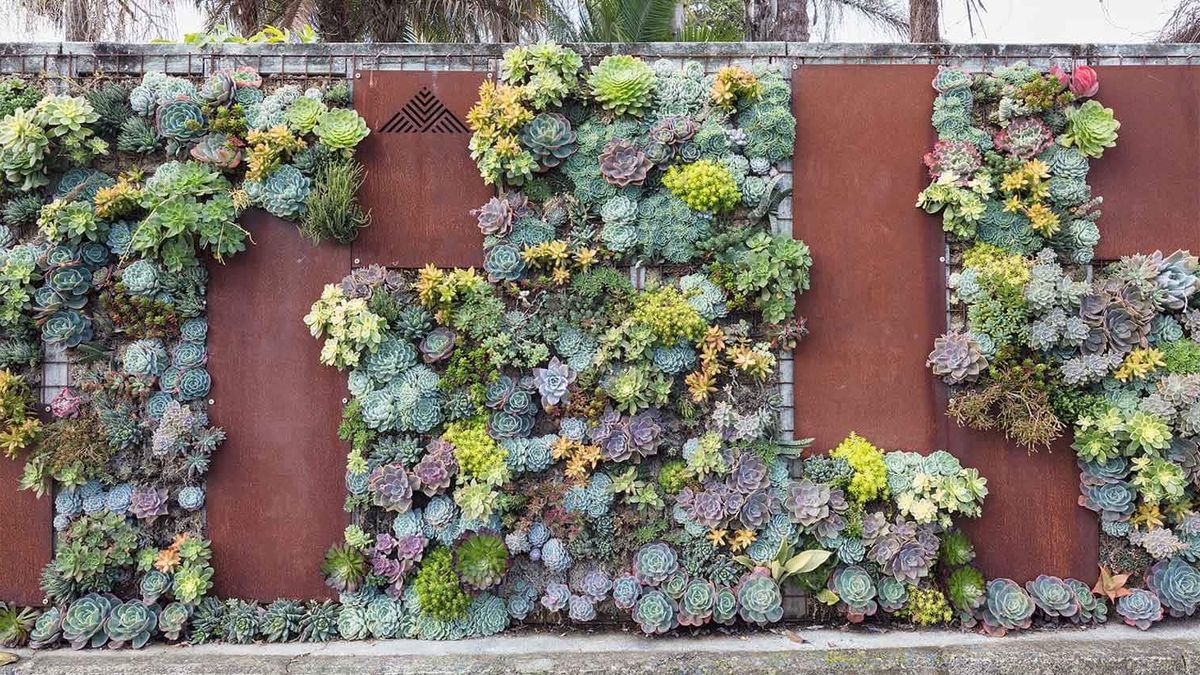
Succulents are known for their unique and captivating qualities. With their thick, fleshy leaves and ability to store water, these plants have adapted to survive in arid environments. From the charming rosettes of Echeveria to the spiky elegance of Haworthia, succulents come in a wide range of shapes, sizes, and colors, making them a popular choice for plant lovers.
While succulents are often propagated through cuttings or divisions, growing them from seeds can be a thrilling adventure. By following a few simple steps, you can successfully germinate succulent seeds and enjoy the satisfaction of nurturing them from the very beginning.
In this article, we will guide you through the process of how to germinate succulents, from selecting the right materials to caring for the seedlings. So, roll up your sleeves and let’s get started on this exciting journey of succulent propagation!
Key Takeaways:
- Growing succulents from seeds is a fun and rewarding adventure. Just follow the steps, provide the right conditions, and watch your tiny seeds transform into beautiful plants!
- Patience and care are key to successfully germinating succulent seeds. With the right materials and attention, you can grow a stunning garden of unique succulents.
Read more: How To Care For Outdoor Succulents
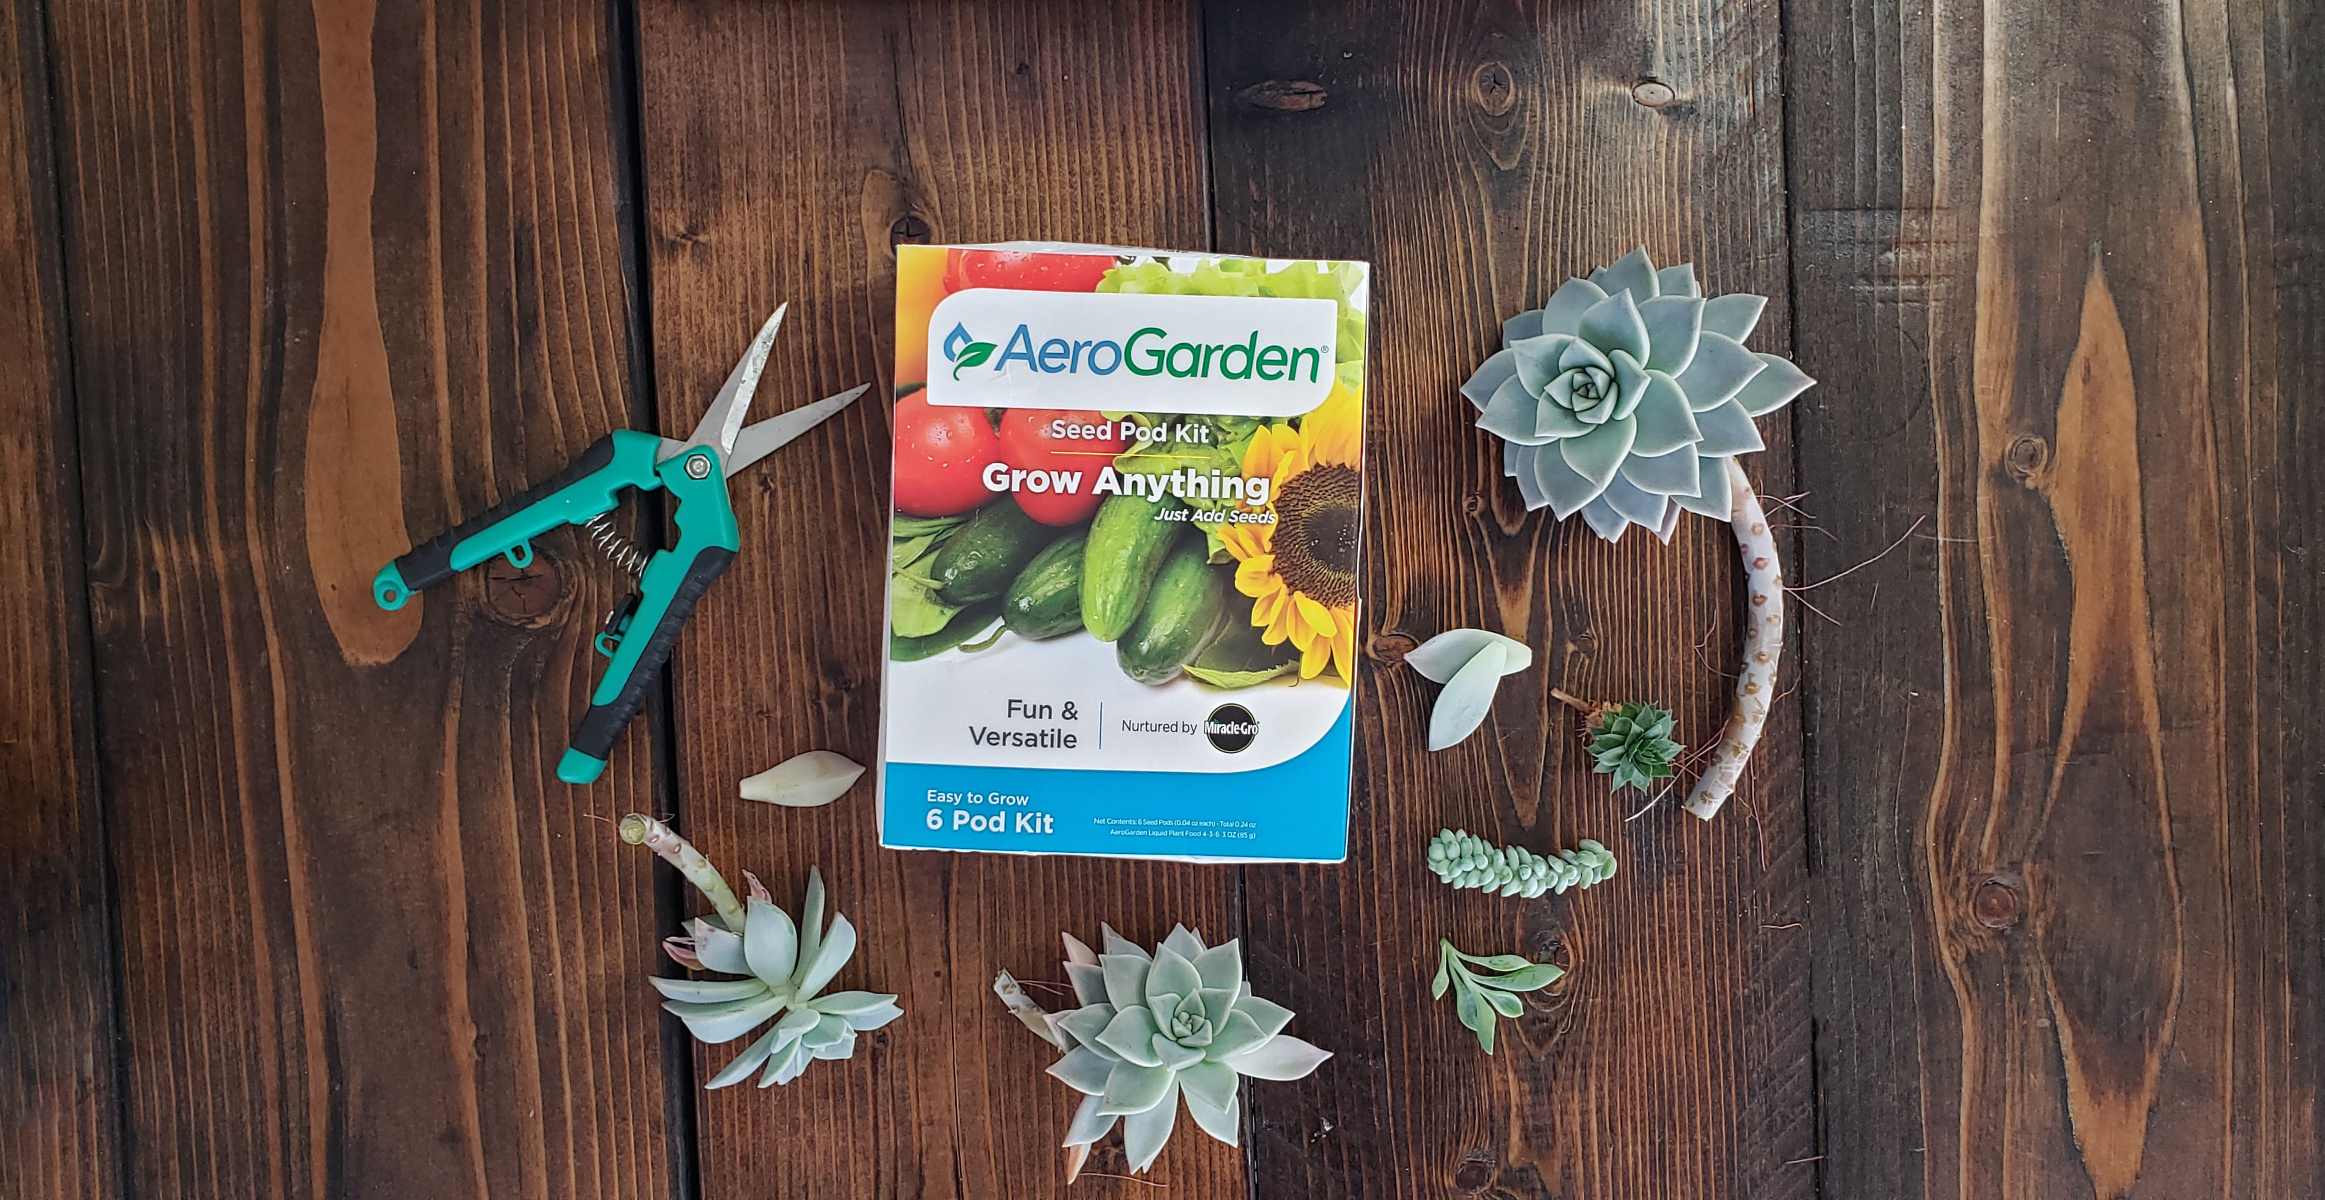
Step 1: Selecting the right materials
The first step in the succulent germination process is selecting the right materials. Here’s what you’ll need:
- Succulent seeds: Choose high-quality seeds from reputable suppliers or collect seeds from mature succulent plants in your own garden. Keep in mind that different succulent species have different germination requirements, so make sure to select seeds that suit your desired plant species.
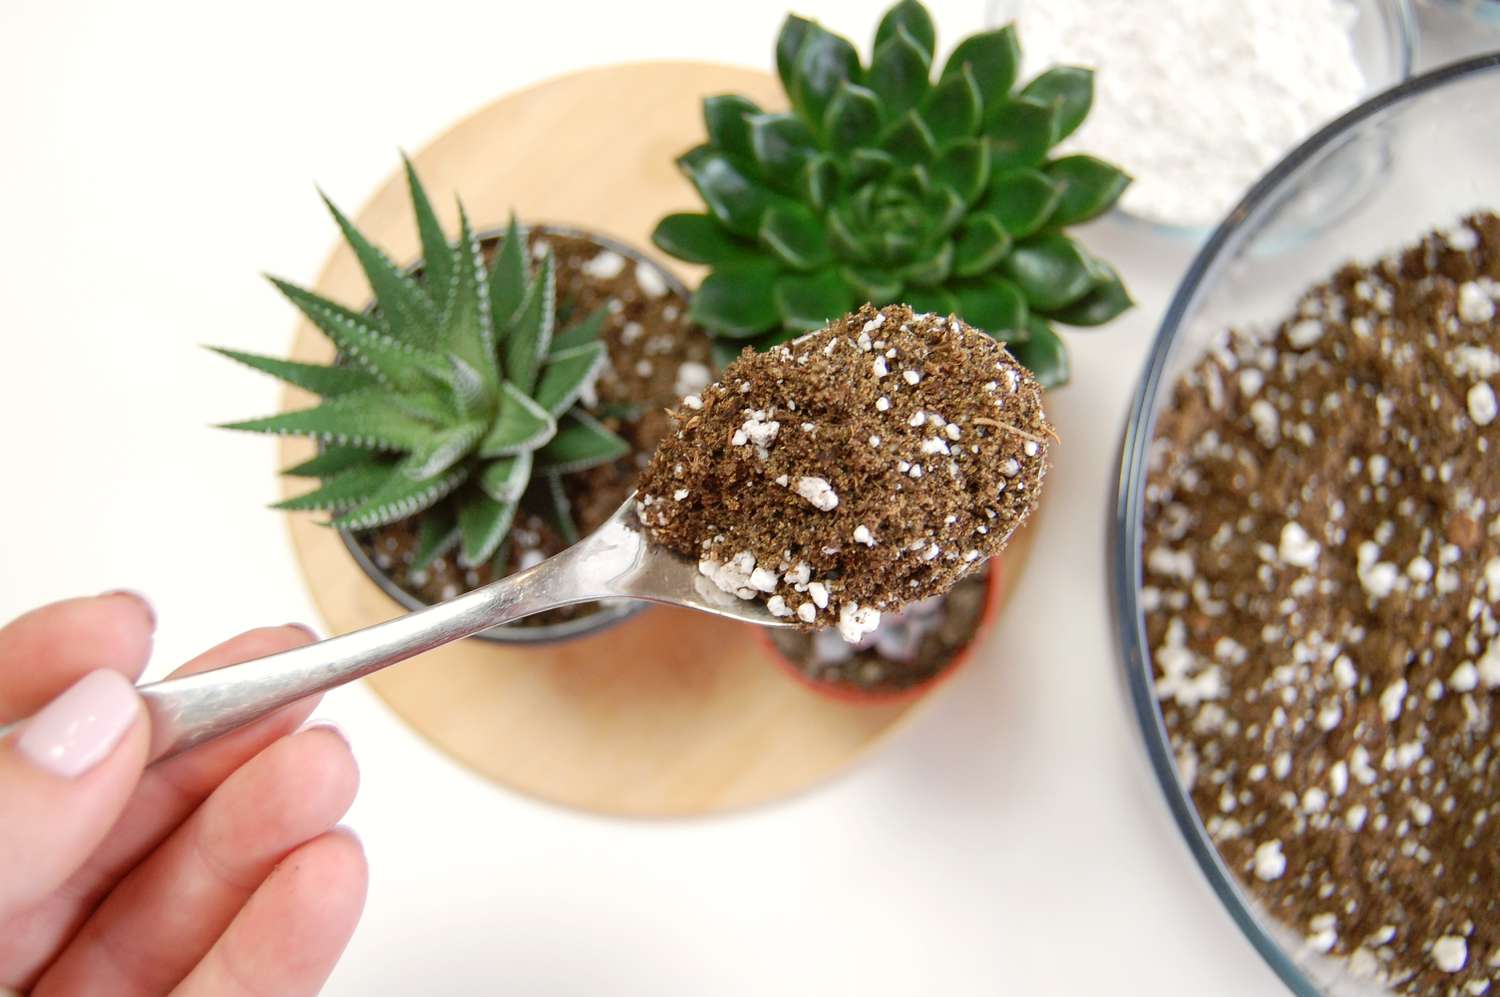
- Potting mix: Use a well-draining potting mix specifically formulated for succulents. Avoid heavy soil mixes or those that retain too much moisture, as succulents prefer dry environments.
- Containers: Opt for small containers or seed trays with drainage holes to prevent waterlogging. You can also repurpose plastic containers or egg cartons as long as you create drainage holes at the bottom.
- Spray bottle: A spray bottle filled with water will come in handy for misting the soil and keeping it moist without oversaturating it.
- Plastic wrap or propagation dome: Covering the containers with plastic wrap or using a propagation dome helps create a greenhouse effect, retaining moisture and warmth for optimal germination.
- Grow lights or a sunny location: Succulent seeds require adequate light to germinate. If you don’t have access to a sunny spot, you can use grow lights to provide the necessary light spectrum for seed germination.
By gathering these materials before you begin the germination process, you’ll ensure that you have everything you need to set the stage for successful succulent seed germination.
Step 2: Preparing the soil
The next crucial step in germinating succulent seeds is preparing the soil. Succulents thrive in well-draining soil that mimics their natural habitat. Follow these steps to prepare the ideal soil mix:
- Choose a well-draining potting mix: Select a potting mix specifically formulated for succulents, or create your own mix by combining equal parts of coarse sand, perlite, and regular potting soil. This mix ensures good drainage and prevents the risk of root rot.
- Sterilize the soil: To minimize the chances of diseases or pests affecting your succulent seeds, sterilize the soil before use. You can do this by baking the potting mix in the oven at 180°F (82°C) for about 30 minutes. Allow the soil to cool before using it.
- Add organic matter (optional): Although succulents don’t require a lot of organic matter, you may choose to add a small amount of well-rotted compost or coconut coir to improve moisture retention and provide some nutrients for the young seedlings.
- Thoroughly mix the ingredients: Once you have gathered the potting mix and any desired additions, combine them thoroughly until they are evenly mixed. Avoid compacting the soil, as this can hinder drainage.
Ensuring that your soil is well-draining and free from pathogens will create an optimal environment for succulent seed germination. Remember, succulents are adapted to arid conditions and do not thrive in overly moist or waterlogged soil.
Step 3: Choosing the right succulent seeds
Choosing the right succulent seeds is a crucial step in the germination process. It’s important to select seeds that are of good quality and suit your desired succulent species. Here are some factors to consider when choosing succulent seeds:
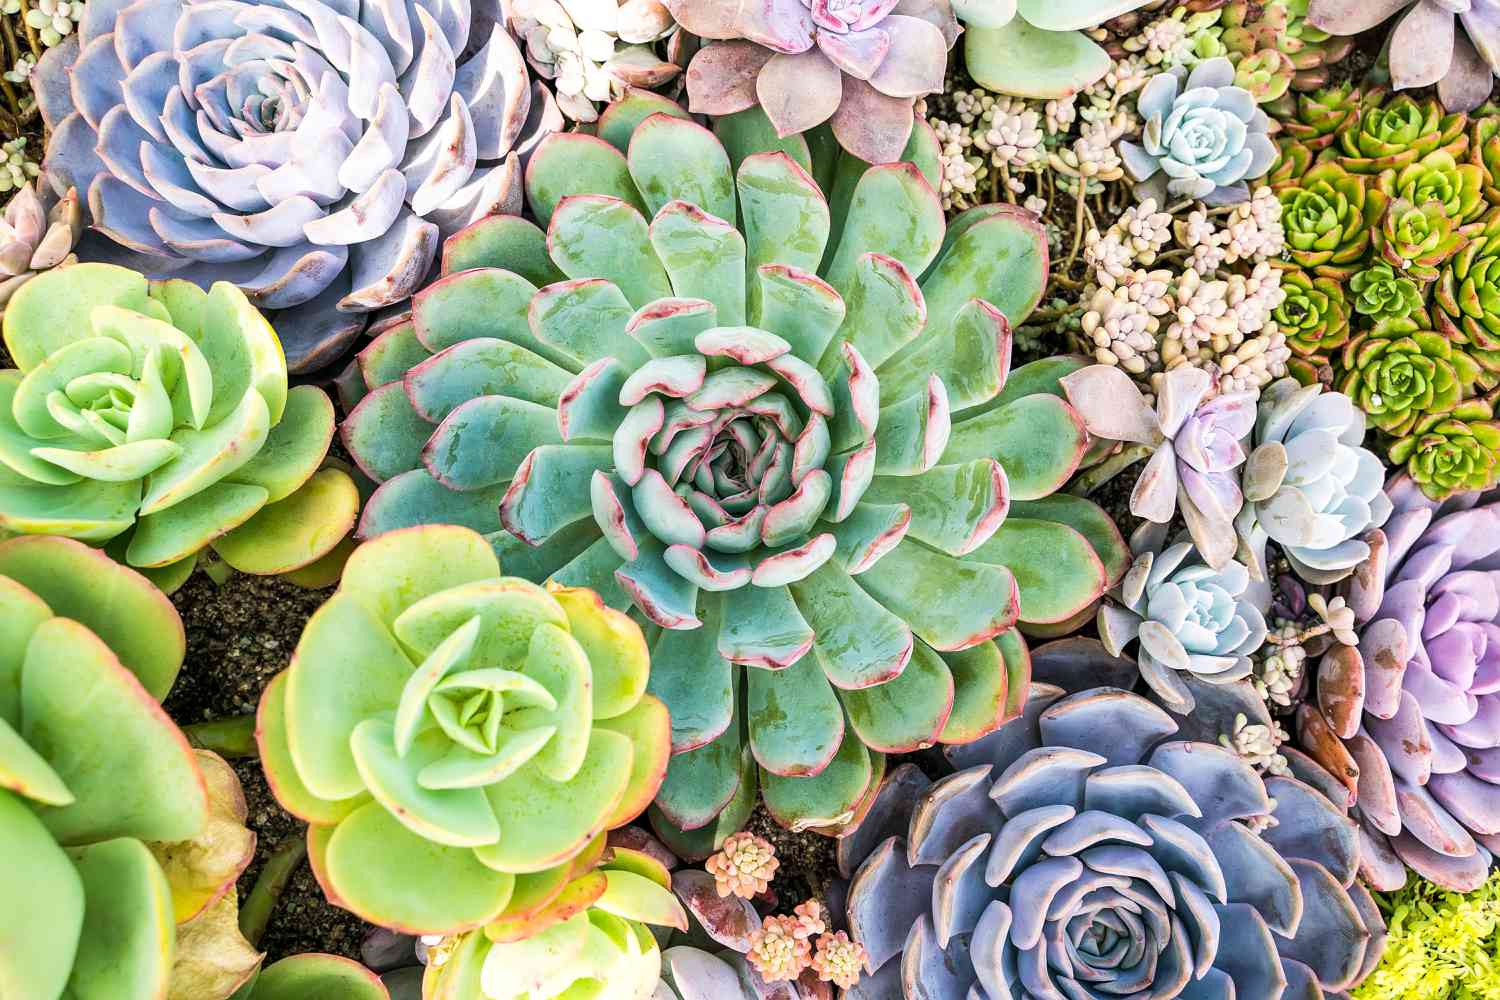
- Species and variety: Succulents come in a wide array of species and varieties, each with its own unique growth habits, colors, and shapes. Determine the specific succulent species you want to grow and find seeds that correspond to that species. Consider factors such as the size, shape, and color of the mature plant.
- Freshness and viability: Ensure that the seeds you choose are fresh and have a high viability rate. Check the packaging or consult the seed supplier for information on the seed’s viability. Fresh seeds have a better chance of germinating successfully.
- Growing requirements: Different succulent species have varying growing requirements, including temperature, light, and water needs. Make sure to choose seeds that align with your ability to provide the necessary growing conditions.
- Seed packaging: When purchasing succulent seeds, check the packaging for details on the number of seeds, germination instructions, and any additional information about the specific variety. This can help you determine if the seeds are suitable for your skills and preferences.
Additionally, you may consider collecting succulent seeds from mature plants in your own garden or from fellow succulent enthusiasts. This can be a cost-effective and rewarding way to expand your succulent collection while preserving unique and rare varieties.
Remember, researching and selecting the right succulent seeds is crucial for a successful germination process. By considering the above factors, you’ll be well on your way to cultivating healthy and vibrant succulent seedlings.
Step 4: Sowing the seeds
Now that you have selected the perfect succulent seeds, it’s time to sow them and kickstart the germination process. Follow these steps to ensure successful sowing:
- Prepare the containers: Fill the containers with the prepared well-draining potting mix, leaving about half an inch of space at the top. Gently tap the containers to settle the soil.
- Sow the seeds: Carefully scatter the succulent seeds over the surface of the soil. Depending on the size of the seeds, you may need to space them apart to avoid overcrowding. As a general rule of thumb, sprinkle the seeds evenly, leaving a 1-inch gap between them.
- Lightly cover the seeds: Succulent seeds are tiny and require light to germinate. To ensure they receive the required light exposure, lightly cover them with a thin layer of soil mix. Press the soil gently to ensure good seed-to-soil contact.
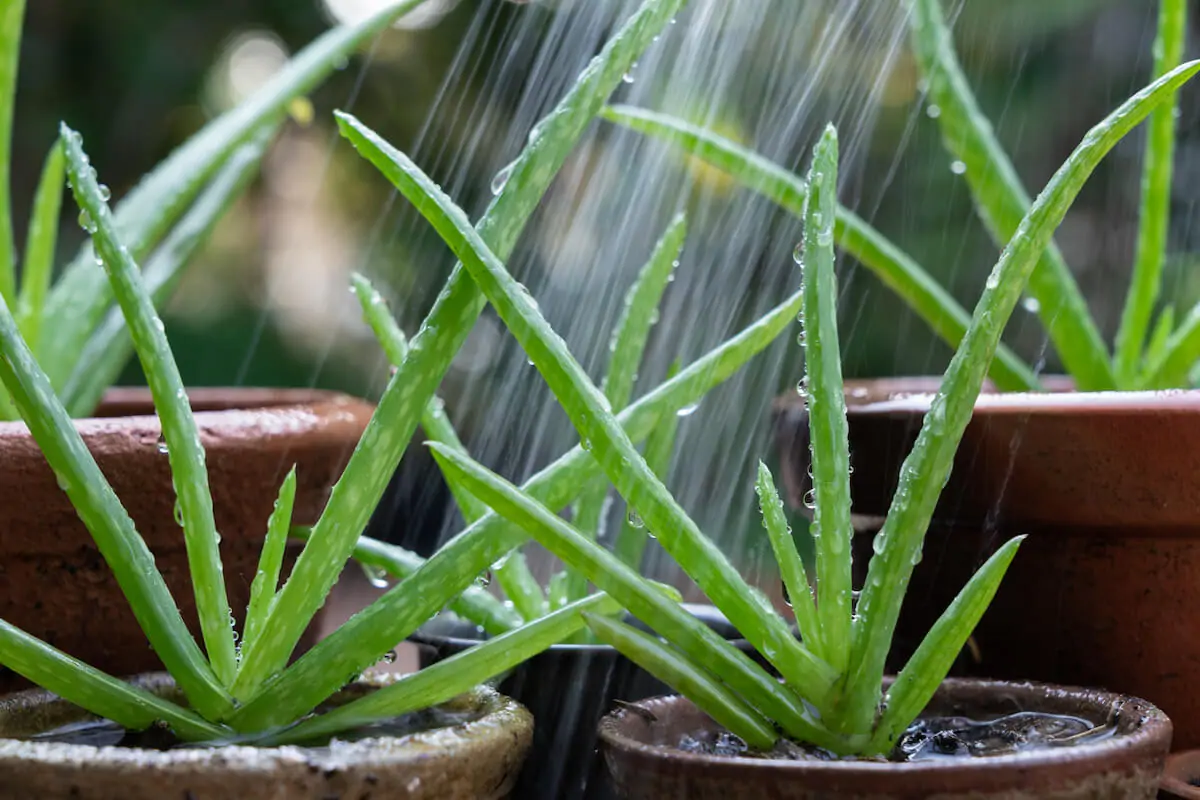
- Mist the soil: Use a spray bottle filled with water to mist the soil surface. Avoid drenching the soil, as excess moisture can lead to fungal issues. Keep the soil lightly moist throughout the germination process by misting it regularly.
- Cover the containers: Place a clear plastic wrap or a propagation dome over the containers to create a greenhouse-like environment. This helps retain moisture and warmth, promoting seed germination. Alternatively, you can use a clear glass lid or plastic lid with ventilation holes.
Remember to label each container with the succulent species and date of sowing. This will help you keep track of the germination progress and identify each seedling as it grows.
Now that the seeds are sown, it’s time to provide the ideal conditions for germination. In the next step, we’ll explore the essential factors for successful succulent seed germination.
When germinating succulents, it’s important to use well-draining soil and water sparingly to avoid rot. Place the seeds on top of the soil and keep them warm and in indirect sunlight. Be patient, as succulent seeds can take a few weeks to germinate.
Read more: How To Start Succulent Seeds
Step 5: Providing the ideal conditions for germination
Providing the ideal conditions for germination is crucial to ensure the successful growth of your succulent seeds. Here are some key factors to consider:
- Temperature: Most succulent seeds germinate best in warm temperatures. Aim for a consistent temperature range of 70°F to 75°F (21°C to 24°C). Consider using a heating mat or placing the containers in a warm area to maintain optimal temperature levels.
- Light: Succulent seeds require adequate light to germinate. Place the containers in a sunny location where they can receive indirect or filtered sunlight. If natural light is limited, you can supplement it with grow lights set to provide the optimal light spectrum for seed germination.
- Air circulation: Good air circulation helps prevent fungal diseases and encourages healthy seedling growth. Avoid placing the containers in areas with stagnant air. If necessary, use a small fan set on low to gently circulate the air around the seedlings.
- Moisture: Succulent seeds need consistent moisture to germinate, but it’s important to avoid overwatering and keeping the soil excessively wet. Mist the soil regularly to keep it lightly moist, being careful not to drench it. Monitor the moisture level by gently touching the soil surface before misting.
- Patience: Germination times can vary depending on the succulent species and environmental conditions. Some seeds may sprout within a few days, while others may take several weeks or even months. Exercise patience and refrain from disturbing the containers during this period.
Remember to monitor the moisture levels and provide the necessary conditions for your succulent seeds to germinate. Be mindful not to overwater or expose the seedlings to extreme temperatures, as this can hinder their growth and survival.
Stay tuned for the next step, where we’ll discuss caring for the seedlings and ensuring their healthy growth.
Step 6: Caring for seedlings
As your succulent seedlings sprout and begin to grow, it’s important to provide them with proper care to ensure their healthy development. Follow these steps to care for your succulent seedlings:
- Light: Place your seedlings in a location where they can receive bright, indirect sunlight for at least six hours a day. If natural light is limited, continue using grow lights to provide adequate light intensity and duration.
- Watering: Succulent seedlings have small root systems and are susceptible to overwatering. Water the seedlings sparingly, allowing the soil to dry out slightly between waterings. Use a spray bottle or a fine-mist watering can to avoid saturating the soil and to prevent damage to the delicate seedlings.
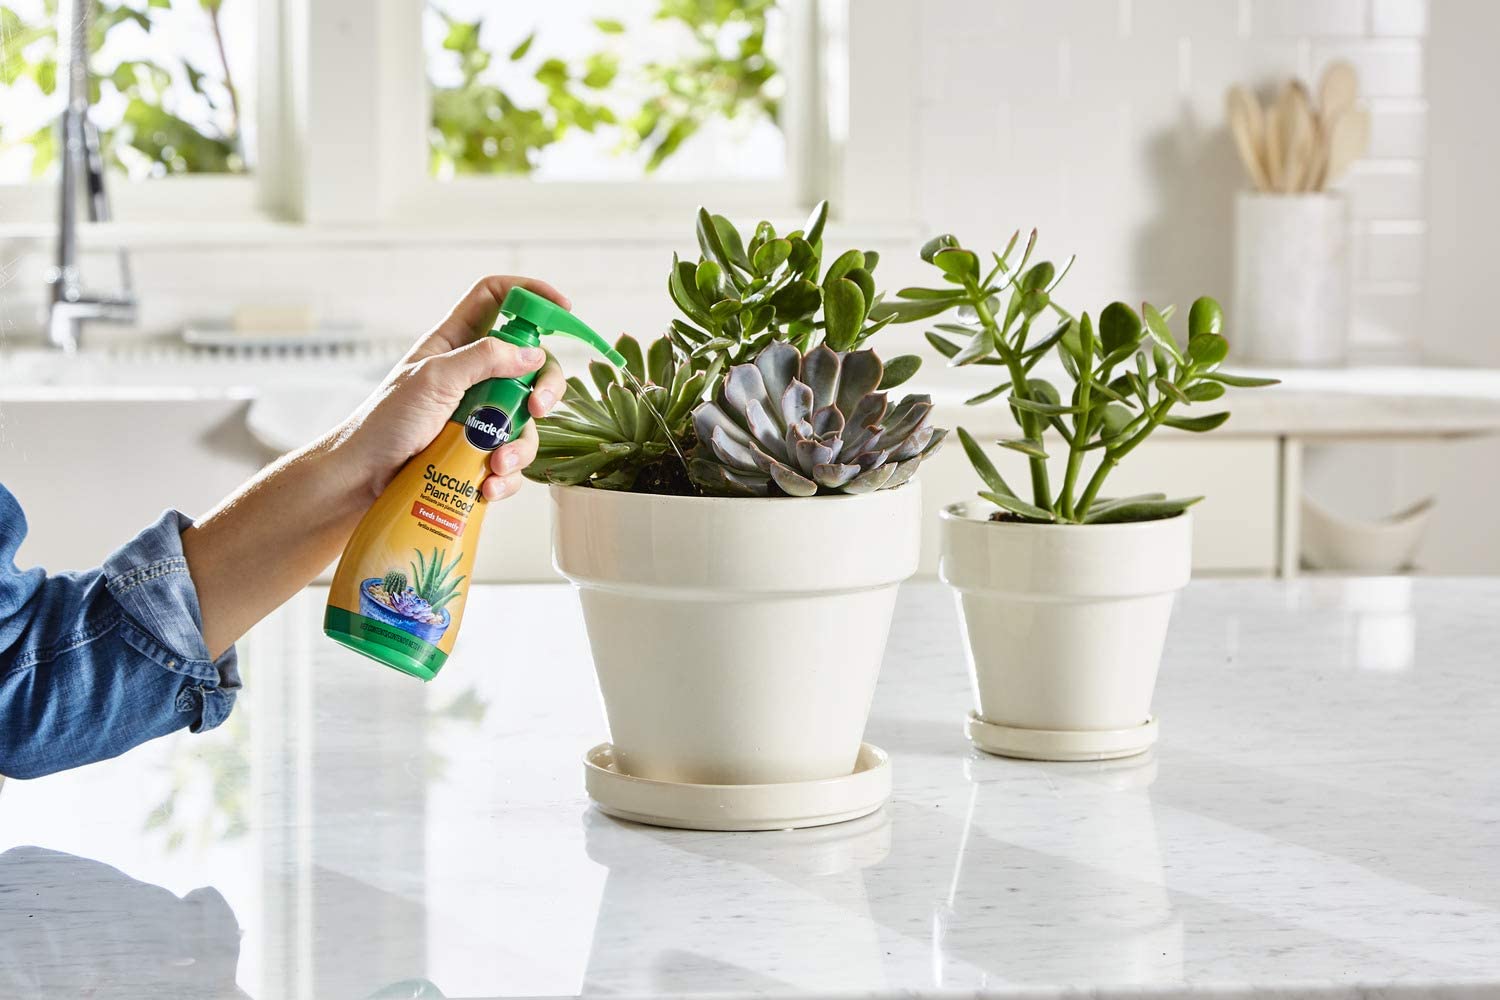
- Fertilization: Once your succulent seedlings have established their first set of true leaves, you can start fertilizing them. Use a diluted, balanced liquid fertilizer specially formulated for succulents. Apply the fertilizer sparingly, following the manufacturer’s instructions.
- Transplanting: As your succulent seedlings grow and develop, they will eventually outgrow their small containers. When the seedlings have a few sets of true leaves and are sturdy enough, you can transplant them into larger pots or containers with well-draining soil.
- Transitional period: When transplanting, it’s important to gradually acclimate the seedlings to their new environment. Start by placing them in the shade for a few days, gradually increasing their exposure to sunlight. This transitional period helps prevent sunburn and allows the seedlings to adjust to different light conditions.
- Protection from pests: Keep an eye out for pests such as aphids and mealybugs, which can damage succulent seedlings. Inspect the leaves and stems regularly and take immediate action if you notice any signs of infestation. Use organic pest control methods or seek advice from your local nursery.
By providing the right amount of light, water, and nutrients, and ensuring protection from pests, you’ll nurture strong and healthy succulent seedlings. Remember to be patient as your seedlings grow and continue to care for them using these guidelines.
Now that your seedlings are thriving, it’s time to prepare them for their new home. In the next step, we’ll discuss how to transplant your succulent seedlings into their permanent containers.
Step 7: Transplanting the seedlings
As your succulent seedlings continue to grow and mature, you’ll eventually need to transplant them into their permanent containers. Transplanting is a critical step in the journey of your succulent plants, ensuring they have enough space to thrive. Follow these steps to transplant your seedlings:
- Select the right container: Choose a container that is slightly larger than the current one, allowing room for the succulent’s root system to spread. Ensure the container has drainage holes to prevent waterlogging and promote healthy root growth.
- Prepare the new container: Fill the new container with well-draining soil, such as a succulent-specific potting mix. Create a hole in the center of the soil, large enough to accommodate the root ball of the seedling.
- Remove the seedling from its current container: Gently loosen the soil around the seedling with your fingers or a small tool. Carefully lift the seedling, supporting its base, and gently separate it from the old container. Be careful not to damage the delicate roots in the process.
- Place the seedling in the new container: Position the seedling in the prepared hole in the new container. Ensure that the top of the root ball is level with the soil surface or slightly below it, avoiding burying the stem too deeply. Hold the seedling upright as you backfill the hole with soil, gently pressing the soil around the roots to secure the plant.
- Water the transplant: Give the newly transplanted seedling a thorough watering to help settle the soil and hydrate the roots. Allow any excess water to drain away, ensuring the soil is not left soggy.
- Adjust the growing conditions: Place the freshly transplanted seedling in a location that provides the right amount of light, following the care requirements for the particular succulent species. Gradually increase the exposure to sunlight to prevent sunburn.
- Maintain regular care: Continue watering your transplanted seedlings sparingly, allowing the soil to dry out slightly between waterings. Monitor their growth and adapt the care routine as needed based on their specific needs.
Transplanting your succulent seedlings ensures they have the space and resources to grow into beautiful, mature plants. Take your time during the transplanting process and handle the delicate seedlings with care to prevent any damage to their roots or stems.
With proper care and a suitable growing environment, your succulent seedlings will continue to thrive and flourish. Enjoy watching them mature and add a touch of beauty to your indoor or outdoor space.
Congratulations on successfully germinating and transplanting your succulent seedlings!
If you continue to provide them with the care they need, they will reward you with their unique charm for years to come.
Conclusion
Growing succulents from seeds is a fulfilling and rewarding process. From selecting the right materials to caring for the seedlings, each step plays a vital role in ensuring successful succulent germination and growth. By following the steps outlined in this guide, you’ll be well-equipped to embark on your own succulent germination journey.
Remember that patience and consistency are key when it comes to germinating succulents. Each succulent species has its own unique requirements, so be sure to research and understand the specific needs of the seeds you are germinating. Providing the ideal conditions such as proper lighting, well-draining soil, and careful watering will greatly contribute to the success of your succulent germination process.
As your succulent seedlings grow and mature, be prepared to transplant them into larger containers to accommodate their increasing size and root development. This will ensure they have the space they need to thrive and flourish.
Throughout the germination journey, continue to monitor the health of your seedlings. Keep an eye out for signs of pests or diseases, and take appropriate measures to address any issues that may arise. With proper care and attention, your succulent seedlings will develop into beautiful, vibrant plants that bring joy and elegance to your indoor or outdoor spaces.
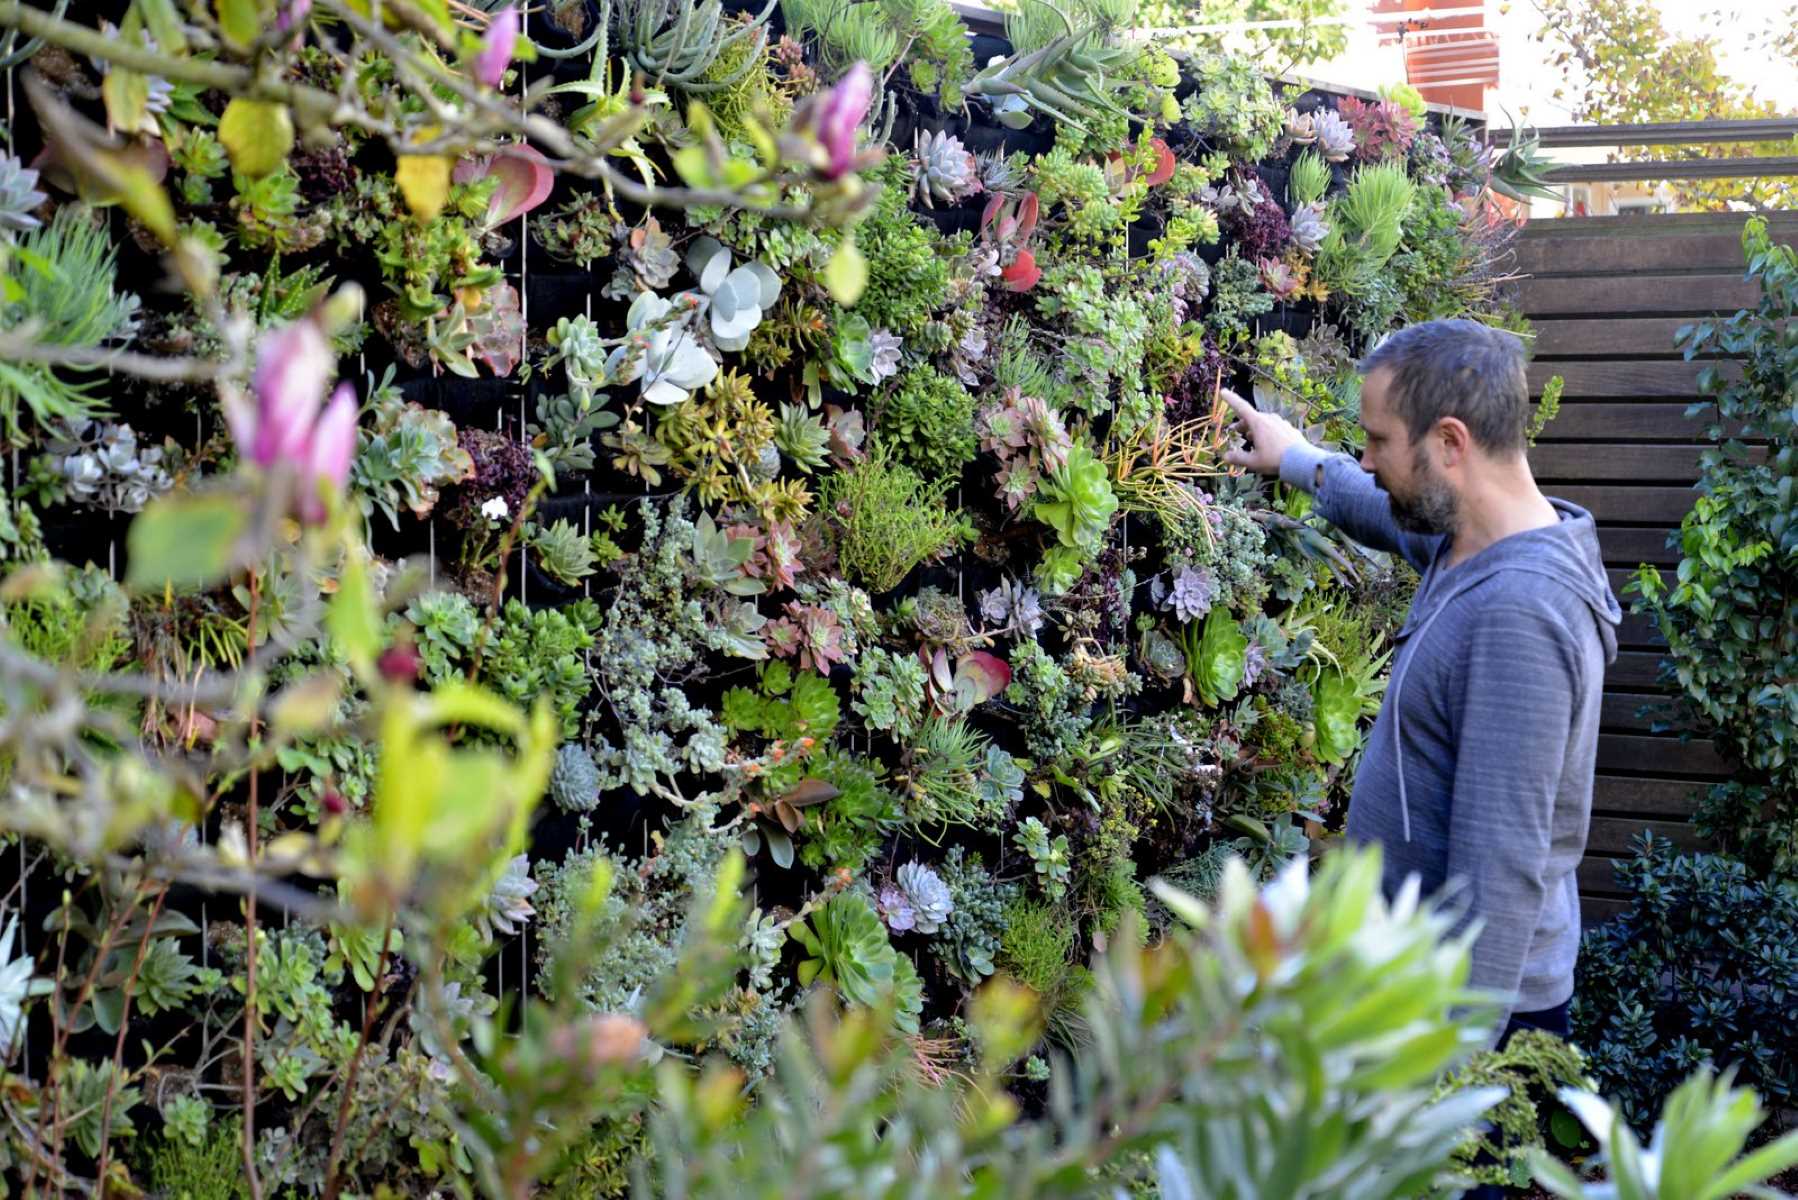
Remember to enjoy the process and embrace the wonder of watching tiny seeds transform into stunning succulent plants. With a little effort, patience, and a touch of green thumb, you can successfully germinate and grow a wide variety of succulent species, creating a captivating and unique garden of your own.
So, unleash your creativity, gather your supplies, and get ready to embark on this exciting journey of succulent germination. Happy gardening!
Frequently Asked Questions about How To Germinate A Succulent
Was this page helpful?
At Storables.com, we guarantee accurate and reliable information. Our content, validated by Expert Board Contributors, is crafted following stringent Editorial Policies. We're committed to providing you with well-researched, expert-backed insights for all your informational needs.


0 thoughts on “How To Germinate A Succulent”