Home>Ideas and Tips>Smart Thermostat C-Wire Installation to Power Your Smart Home

Ideas and Tips
Smart Thermostat C-Wire Installation to Power Your Smart Home
Modified: October 23, 2024
Learn how to install a C-wire for your smart thermostat to enhance home efficiency and comfort. Step-by-step guide for DIY enthusiasts and pros.
(Many of the links in this article redirect to a specific reviewed product. Your purchase of these products through affiliate links helps to generate commission for Storables.com, at no extra cost. Learn more)
Introduction
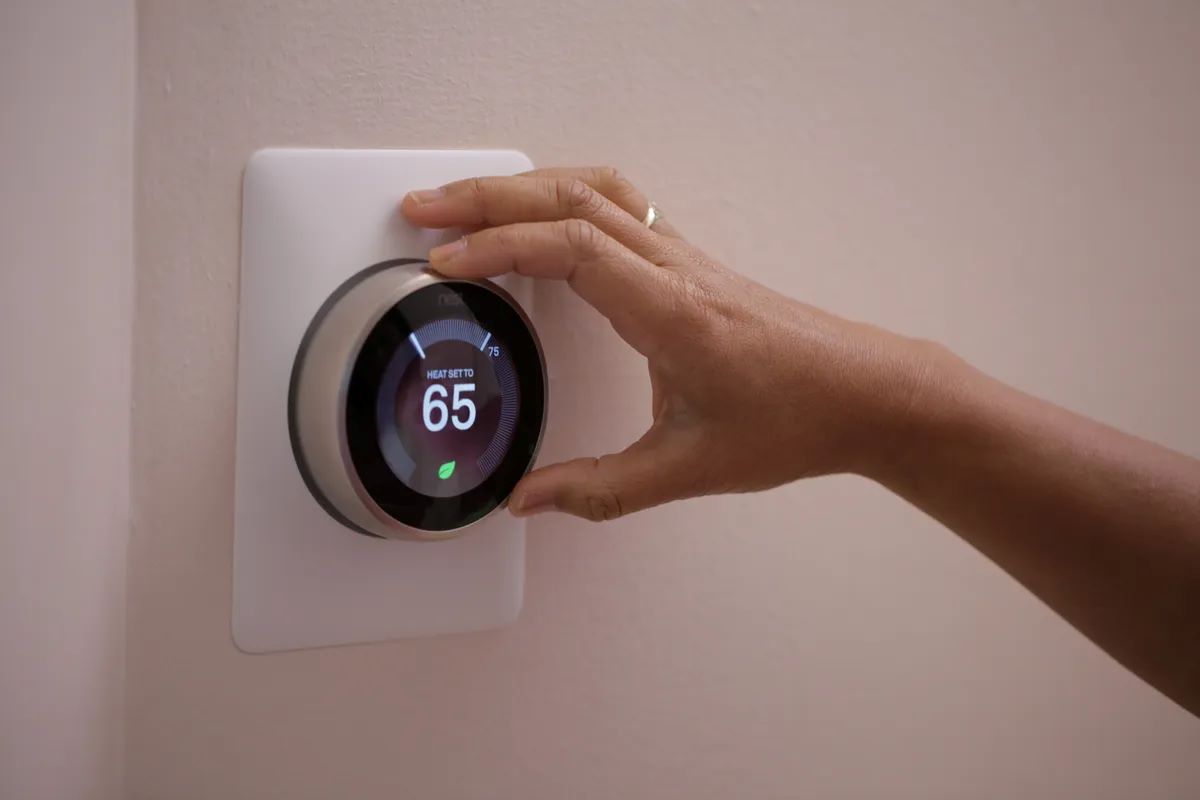
In the era of smart home technology, upgrading to a smart thermostat is one of the most significant steps you can take to enhance your home's comfort and efficiency. However, many homeowners encounter a common hurdle: the lack of a C-wire, which is essential for powering these advanced thermostats. In this article, we will delve into the world of C-wire installation, explaining what a C-wire is, why it's necessary, and how to install it. Whether you're a DIY enthusiast or prefer hiring a professional, this guide will walk you through the process step-by-step.
Read more: How To Install A Smart Thermostat
What is a C-Wire?
A C-wire, or common wire, is a power wire that delivers electricity to your thermostat and connects directly to the HVAC system. This wire is crucial for smart thermostats because it provides constant 24V power, which is necessary for maintaining Wi-Fi connections and powering the thermostat's circuit board.
Why Do Smart Thermostats Need a C-Wire?
Smart thermostats operate differently than their older counterparts. Unlike traditional thermostats that rely on mechanical switches and don't require continuous power, smart thermostats use complex circuit boards and need constant voltage to function properly. This means they need a reliable source of power to maintain their connectivity and operate their various features such as touchscreens and Wi-Fi connectivity.
Types of HVAC Systems and C-Wire Requirements
Different HVAC systems have varying requirements for C-wire installation:
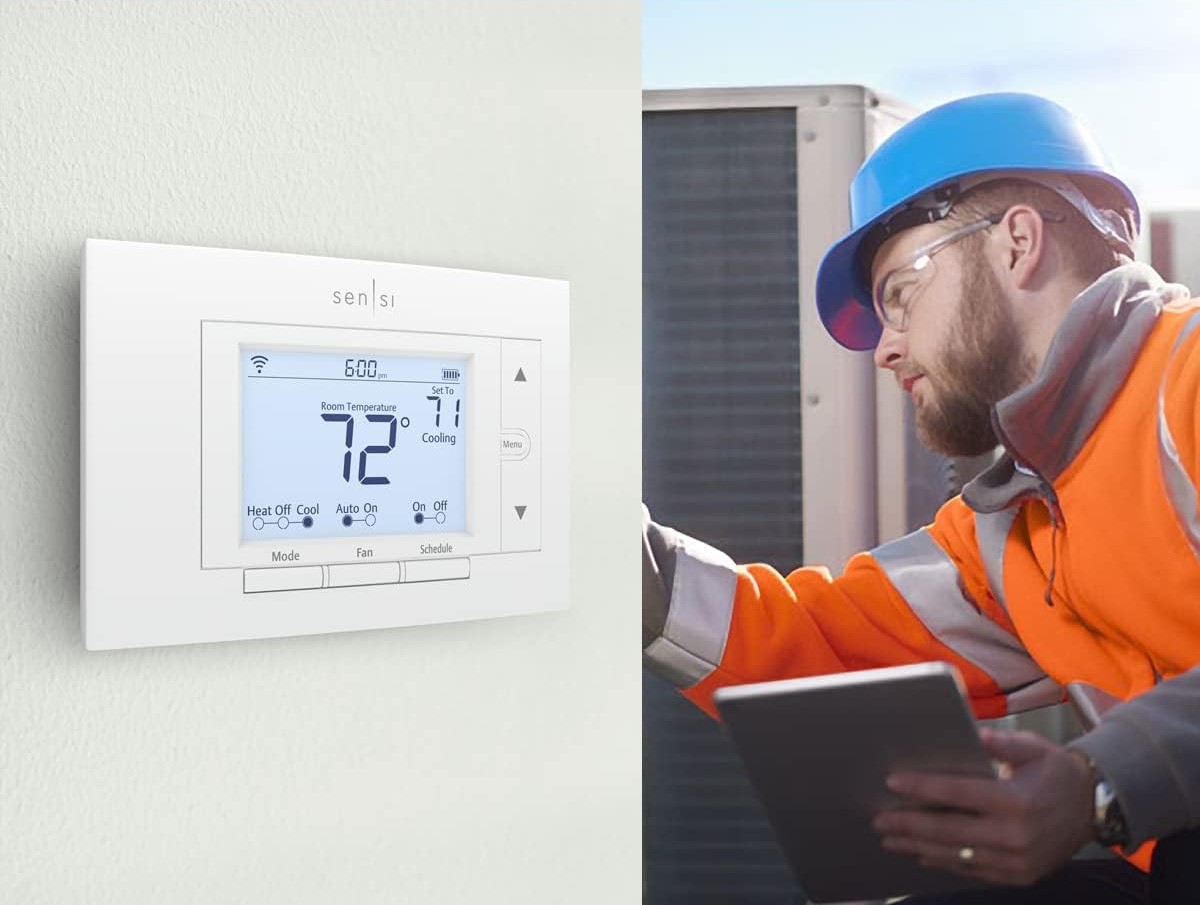
- Heat Only Systems: For heat-only systems, a C-wire is required for smart thermostats like Sensi's smart thermostat or Sensi Lite smart thermostat.
- Cool Only Systems: Similarly, cool-only systems also require a C-wire for smart thermostats.
- Heat Pump Systems: Heat pump systems necessitate a C-wire as well.
- All System Types for Sensi Touch: The Sensi Touch smart thermostat and Sensi Touch 2 thermostat require a C-wire regardless of the system type.
Preparing for C-Wire Installation
Before starting your C-wire installation project, it's essential to prepare yourself with the right tools and knowledge:
Read more: What Color Is The C-Wire On A Thermostat
Checking for Existing C-Wires
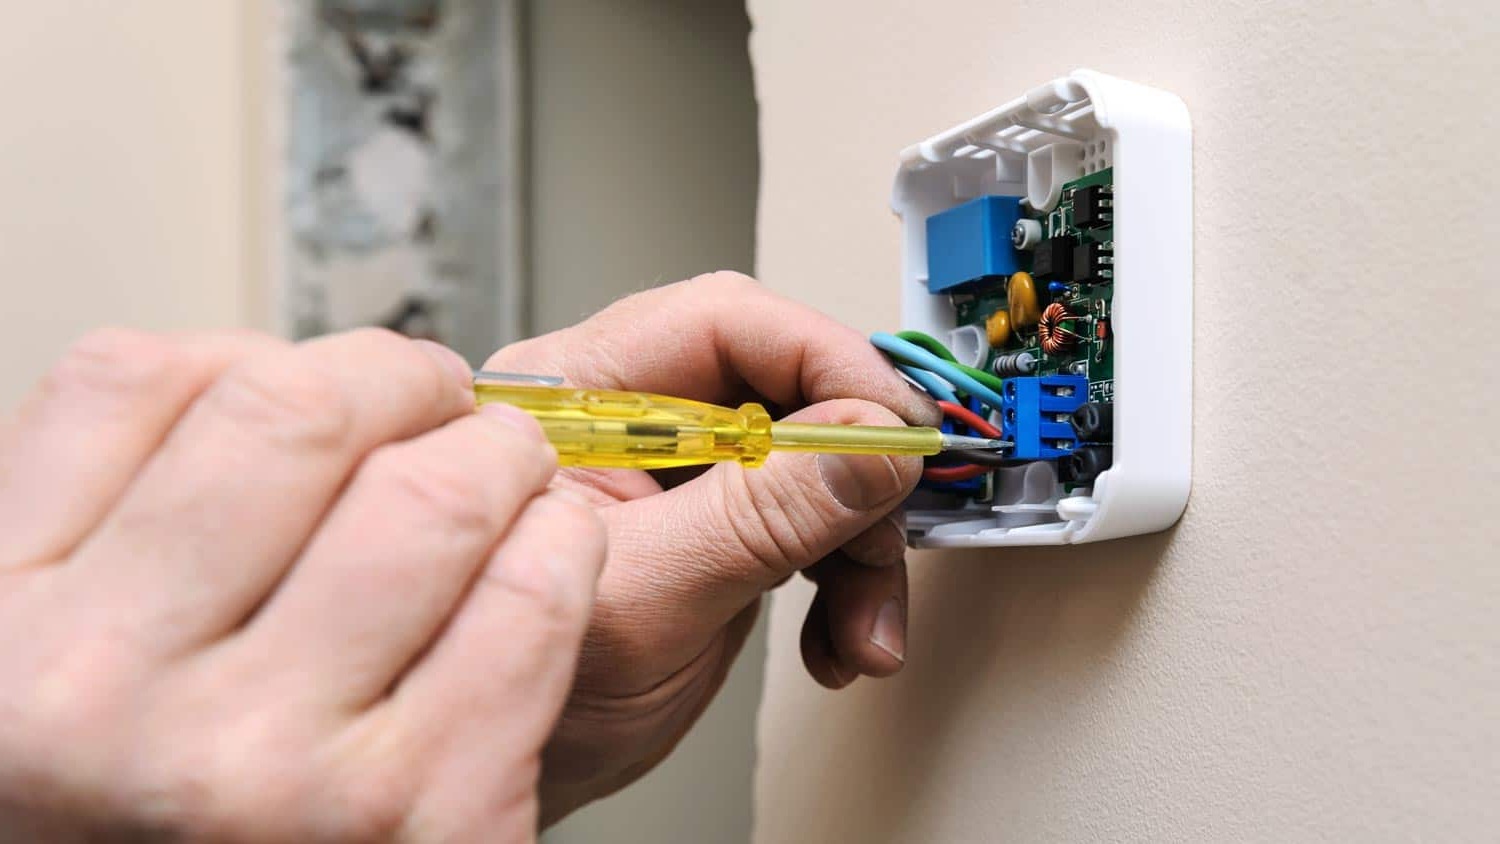
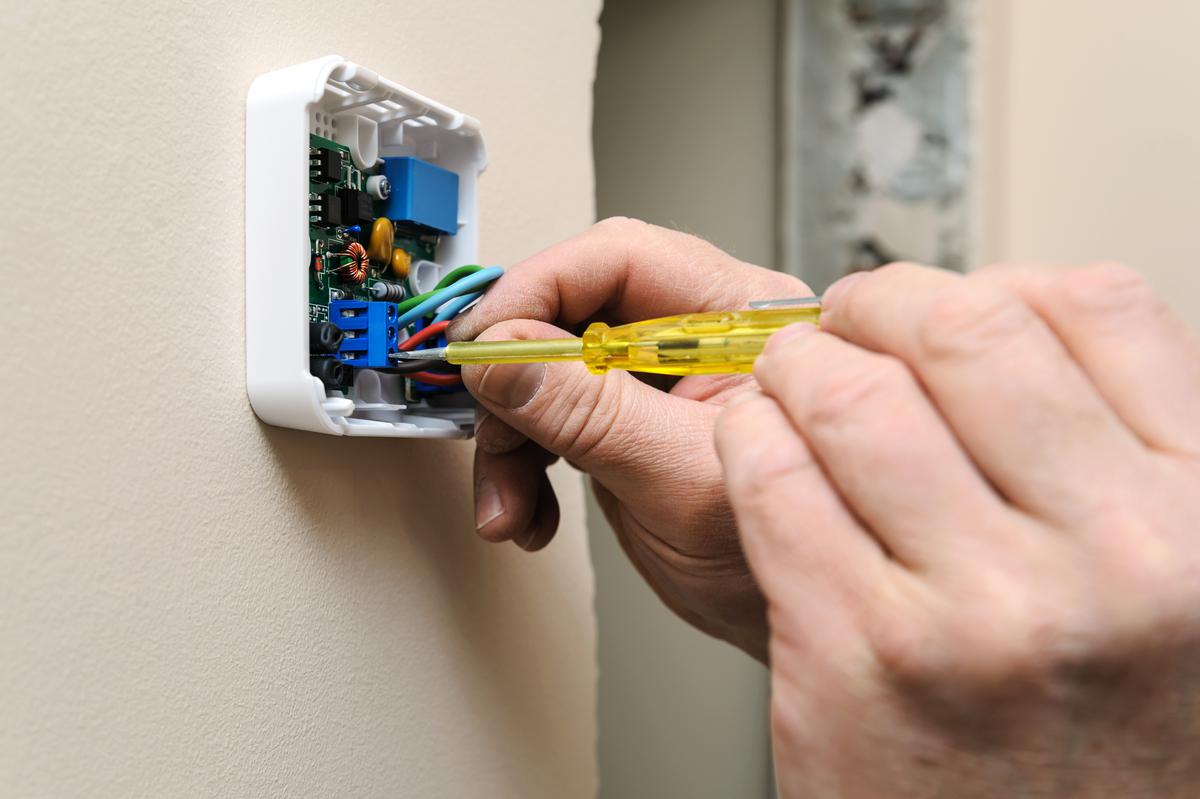
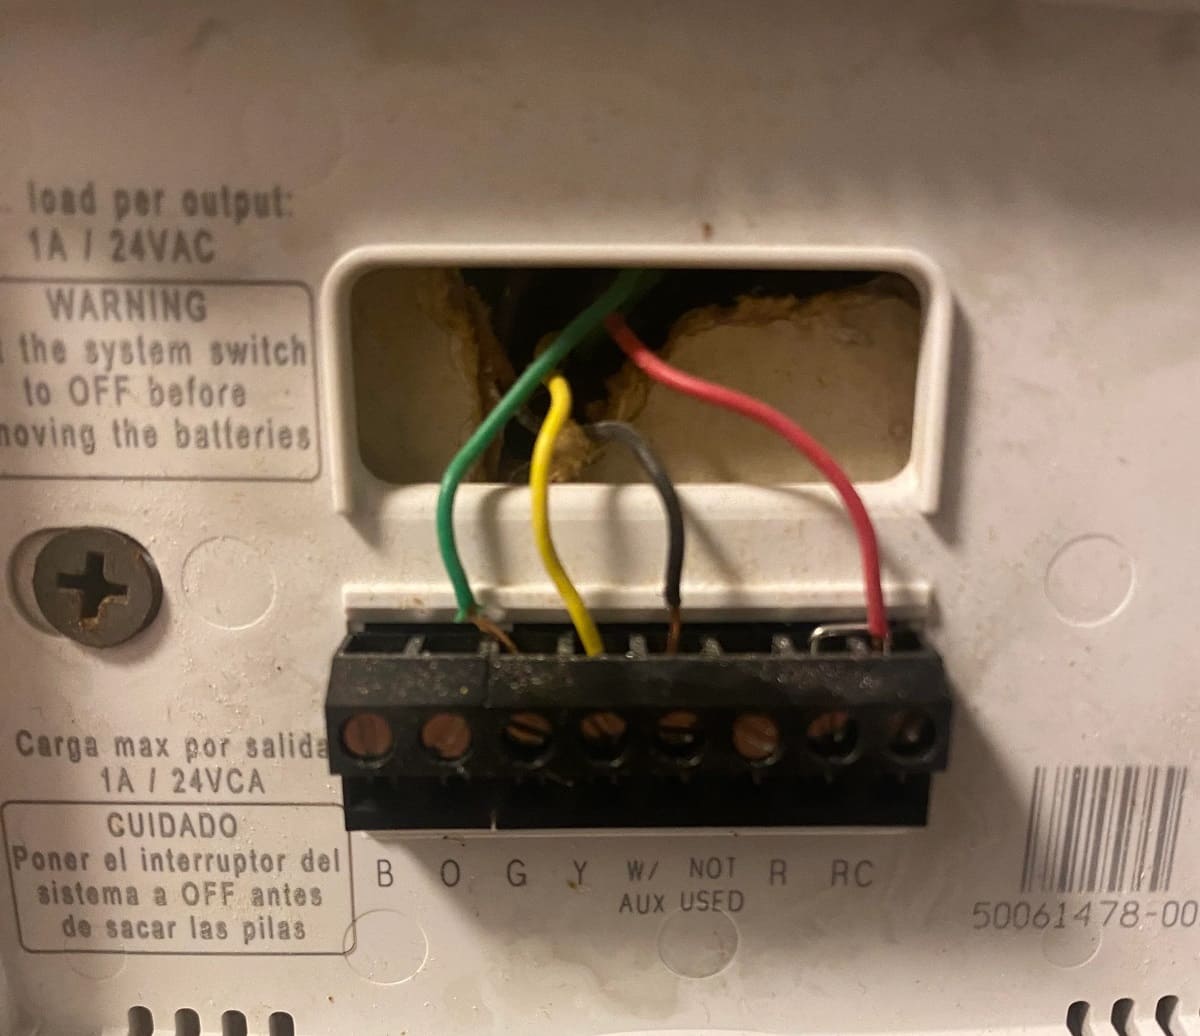
- Remove Your Thermostat: Take out your thermostat from the wall to inspect the wiring behind it.
- Identify Unused Wires: Look for any unused wires that might be connected to the C terminal on your furnace control board or your thermostat. If you find one, you can use it as your C-wire.
- Check Furnace Electrical Connection Panel: Inspect your furnace's electrical connection panel for any wires labeled as C or G terminals. This will help you determine if there's an existing wire that can be used as a C-wire.
Understanding Thermostat Wiring
Thermostat wiring does not follow standard house wiring color codes. Each terminal letter represents its function within the HVAC system:
- C – Common or C-wire
- G – Fan On
- R – 24VAC
- Rh – 24VAC for heat
- Rc – 24VAC for central air conditioning
- W – Heat call
- Y – Cooling call
Installing a C-Wire
If you don't have an unused wire available, you'll need to run a new wire between your furnace and thermostat:
Running a New Wire
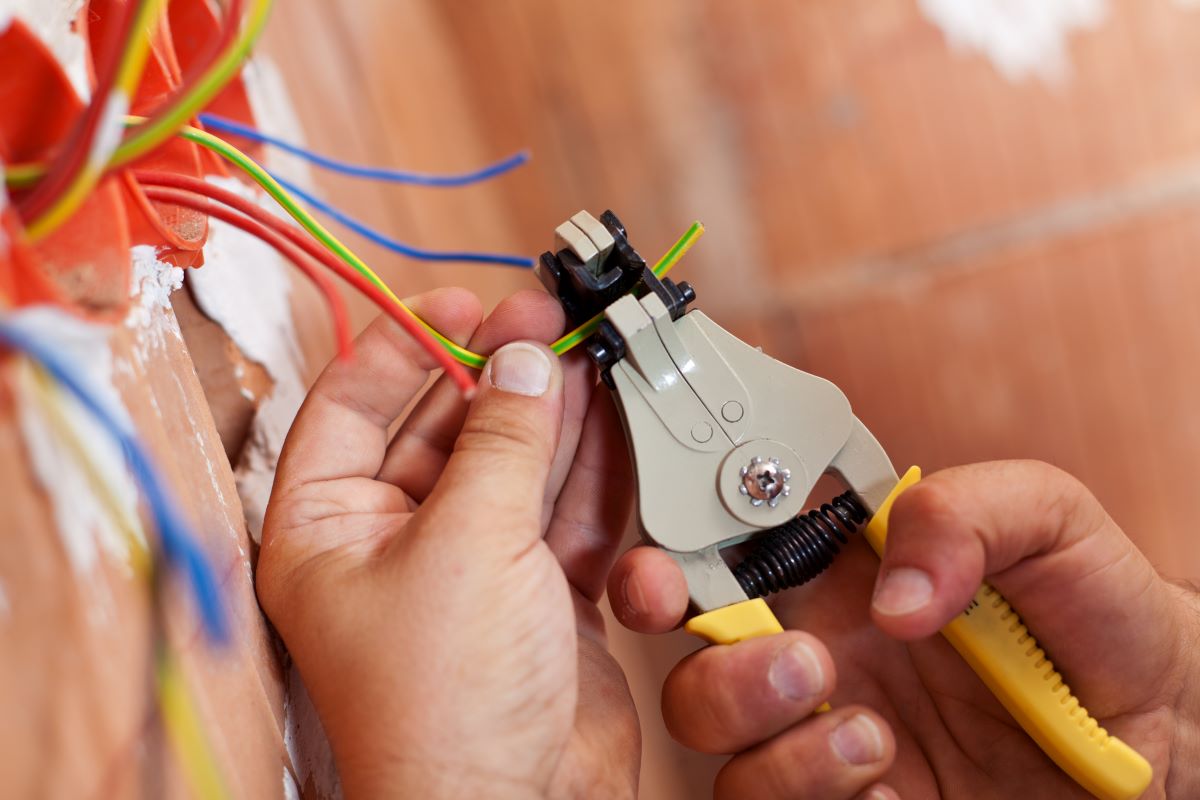
- Use Fish Tape: Use fish tape to pull the new wire through the wall from the furnace to the thermostat. This method is relatively easy if you're comfortable with DIY projects.
- Hire an Electrician: If you're not comfortable with running wires yourself, hiring an electrician is always an option. They can ensure that everything is done correctly and safely.
Read more: What Is A C Wire Adapter For A Thermostat
Using a C-Wire Adapter
If running a new wire isn't feasible or appealing, consider using a C-wire adapter:
- Purchase an Adapter: Buy a C-wire adapter specifically designed for this purpose. These adapters can convert existing four-wire setups into five-wire configurations by creating a virtual C-wire using some clever electronics.
- Install the Adapter: Follow the manufacturer's instructions for installing the adapter. Typically, this involves connecting the existing wires in specific configurations that mimic the presence of a C-wire.
Step-by-Step Guide to Installing a C-Wire Adapter
Here’s how you can install a C-wire adapter step-by-step:
- Identify Existing Wires: Determine which wires are currently connected at both your furnace and thermostat.
- Connect Existing Wires: Connect your existing wires according to the adapter's instructions. For example, if using an adapter like the one described in, you would connect:
- White wire to W spot
- Green wire to C spot
- Yellow wire to K spot
- Red wire to R spot
- Hook Up New Wires: Connect new wires from the adapter following color-to-color matching:
- Blue wire as C wire at thermostat
- White wire to White spot
- Red wire to Red spot
- Green wire to C spot
- Yellow wire (or blue if specified) to K spot.
- Turn Breaker Back On: Once all connections are secure, turn your breaker back on and test your setup.
DIY vs. Hiring a Pro
While many homeowners are capable of installing a C-wire themselves with patience and careful attention to detail, there are several reasons why hiring a professional might be the better option:
Avoiding Confusion
Incorrect wiring can harm your thermostat or HVAC system. A professional electrician will ensure that everything is done correctly and safely.
Ensuring Warranties Remain Intact
Hiring an electrician can also help maintain warranties on your thermostat and HVAC system by ensuring proper installation.
Cost Considerations
The typical cost for installing a C-wire ranges from $120 to $200. While this might seem like an additional expense, it's often worth it for peace of mind and avoiding potential future issues.
Frequently Asked Questions
What Happens Without a C-Wire?
Without a C-wire, your smart thermostat may not function properly. It might only charge during heating or cooling cycles, which can lead to frequent battery replacements and reduced functionality.
Can I Use the G-Wire Instead?
In some cases, you might be able to use the G-wire as a substitute for the C-wire. However, this is not always recommended and should only be done if there's no other option available.
How Do I Know If My Home Already Has a C-Wire?
Check your thermostat's wiring by removing it from the wall and inspecting the wires behind it. Look for any wires labeled as C or G terminals on both your furnace control board and thermostat.
Conclusion
Installing a C-wire is a crucial step in upgrading to a smart thermostat. By understanding what a C-wire is, why it's necessary, and how to install it, you can ensure that your smart home technology works seamlessly. Whether you choose to DIY or hire a professional, following these steps will help you power your smart home effectively. Remember that incorrect wiring can lead to serious issues with both your thermostat and HVAC system. Always prioritize safety and proper installation to enjoy the full benefits of your smart home upgrades.
Was this page helpful?
At Storables.com, we guarantee accurate and reliable information. Our content, validated by Expert Board Contributors, is crafted following stringent Editorial Policies. We're committed to providing you with well-researched, expert-backed insights for all your informational needs.


0 thoughts on “Smart Thermostat C-Wire Installation to Power Your Smart Home”