Home>Home Security and Surveillance>How To Install CCTV Wiring In Older Home
Home Security and Surveillance
How To Install CCTV Wiring In Older Home
Modified: October 19, 2024
Looking to improve your home security and surveillance? Learn how to install CCTV wiring in older homes with our step-by-step guide. Enhance your peace of mind today!
(Many of the links in this article redirect to a specific reviewed product. Your purchase of these products through affiliate links helps to generate commission for Storables.com, at no extra cost. Learn more)
Introduction
Welcome to our comprehensive guide on how to install CCTV wiring in older homes. As technology continues to advance, it’s become increasingly important to prioritize home security and surveillance. CCTV (Closed Circuit Television) systems offer an effective way to monitor your property and deter potential intruders.
If you have an older home, you may face unique challenges when it comes to installing CCTV wiring. Older homes often have different electrical systems and layouts compared to newer constructions, which can make the installation process more complex. However, with the right tools, materials, and a step-by-step approach, you can successfully install CCTV wiring in your older home.
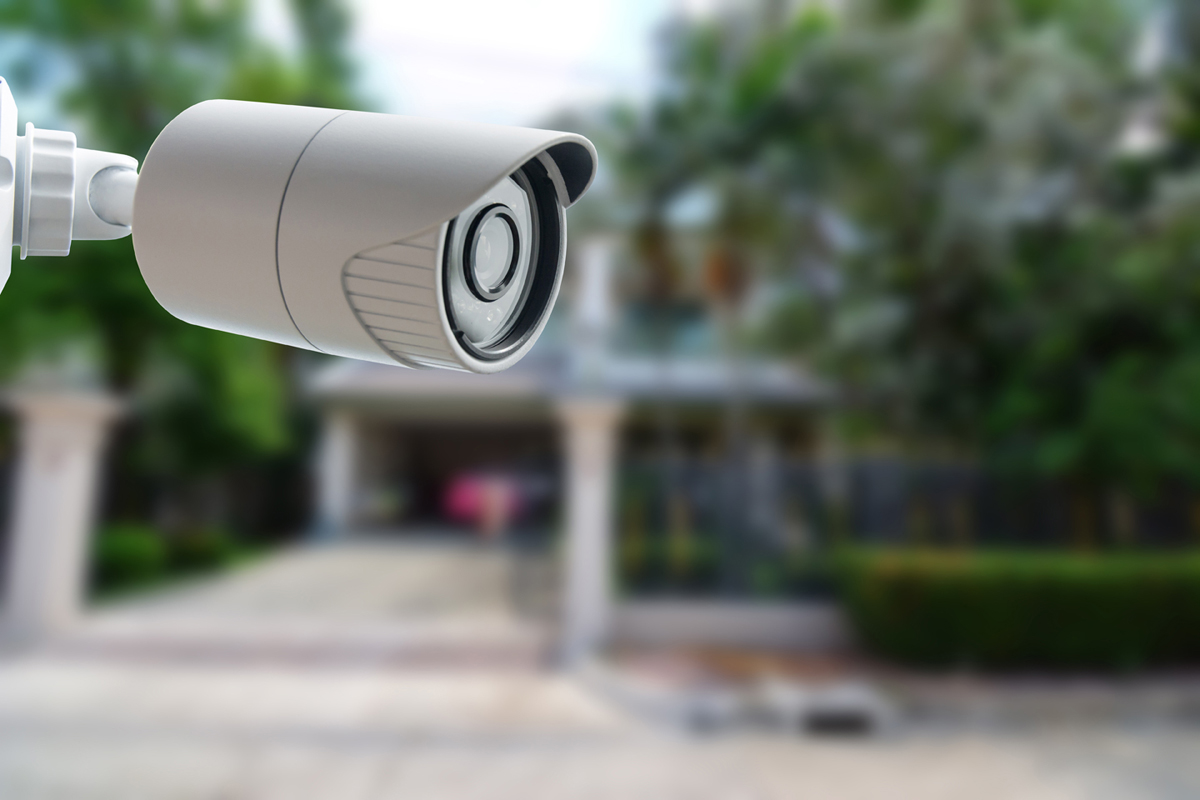
Before starting the installation process, it’s essential to plan out the camera placement. Consider the vulnerable areas of your property, such as entrances, backyards, or blind spots. By strategically placing cameras, you can maximize the coverage and effectiveness of your CCTV system.
Once you’ve determined the camera placement, gather the necessary tools and materials. This will ensure that you have everything you need to complete the installation without unnecessary delays. We’ll provide a detailed list of required tools and materials in the next section.
Running the CCTV wiring from the cameras to the DVR is a critical step in the installation process. In older homes, this can be more challenging due to limited access points and potentially outdated wiring systems. However, with careful planning and necessary precautions, you can successfully route the CCTV wiring from the cameras to the DVR location.
Depending on the layout of your home, you may need to install the CCTV wiring in the attic or basement. These areas provide a convenient route for wiring runs and help conceal the cables for a more aesthetically pleasing installation. We’ll guide you through the process of installing the CCTV wiring in the attic or basement later in this guide.
Once the CCTV wiring is in place, it’s time to connect it to the DVR. This step involves properly terminating the wiring and making the necessary connections to ensure a reliable and functional CCTV system. We’ll provide step-by-step instructions on how to connect the CCTV wiring to the DVR in a later section.
After completing the installation, it’s crucial to test your CCTV system to ensure everything is working correctly. This involves checking the camera feeds, reviewing the DVR settings, and testing the remote access functionality if available. We’ll discuss the testing process and provide troubleshooting tips to help you address any potential issues.
By following this comprehensive guide on installing CCTV wiring in older homes, you’ll be well-equipped to enhance the security of your property. Let’s get started with step one: determining the camera placement.
Key Takeaways:
- Planning and careful camera placement are crucial for effective CCTV installation in older homes. Consider vulnerable areas, camera type, and height for optimal coverage and security.
- Gathering the right tools and materials, running wiring with caution, and testing the system are essential steps for successfully installing and maintaining a reliable CCTV system in older homes.
Step 1: Determine the Camera Placement
One of the most crucial aspects of installing a CCTV system is determining the ideal camera placement. This step sets the foundation for effective surveillance and can significantly influence the security coverage of your property.
Start by assessing the vulnerable areas of your home that require monitoring. These areas typically include entrances, windows, driveways, backyard, and any blind spots where intruders can potentially enter undetected. Thoroughly evaluate your property and make a list of the locations that require surveillance.
Consider the field of view of each camera and ensure that the chosen location provides adequate coverage. The field of view determines the angle and range that the camera can capture. It’s essential to position the cameras in a way that minimizes blind spots and maximizes their coverage.
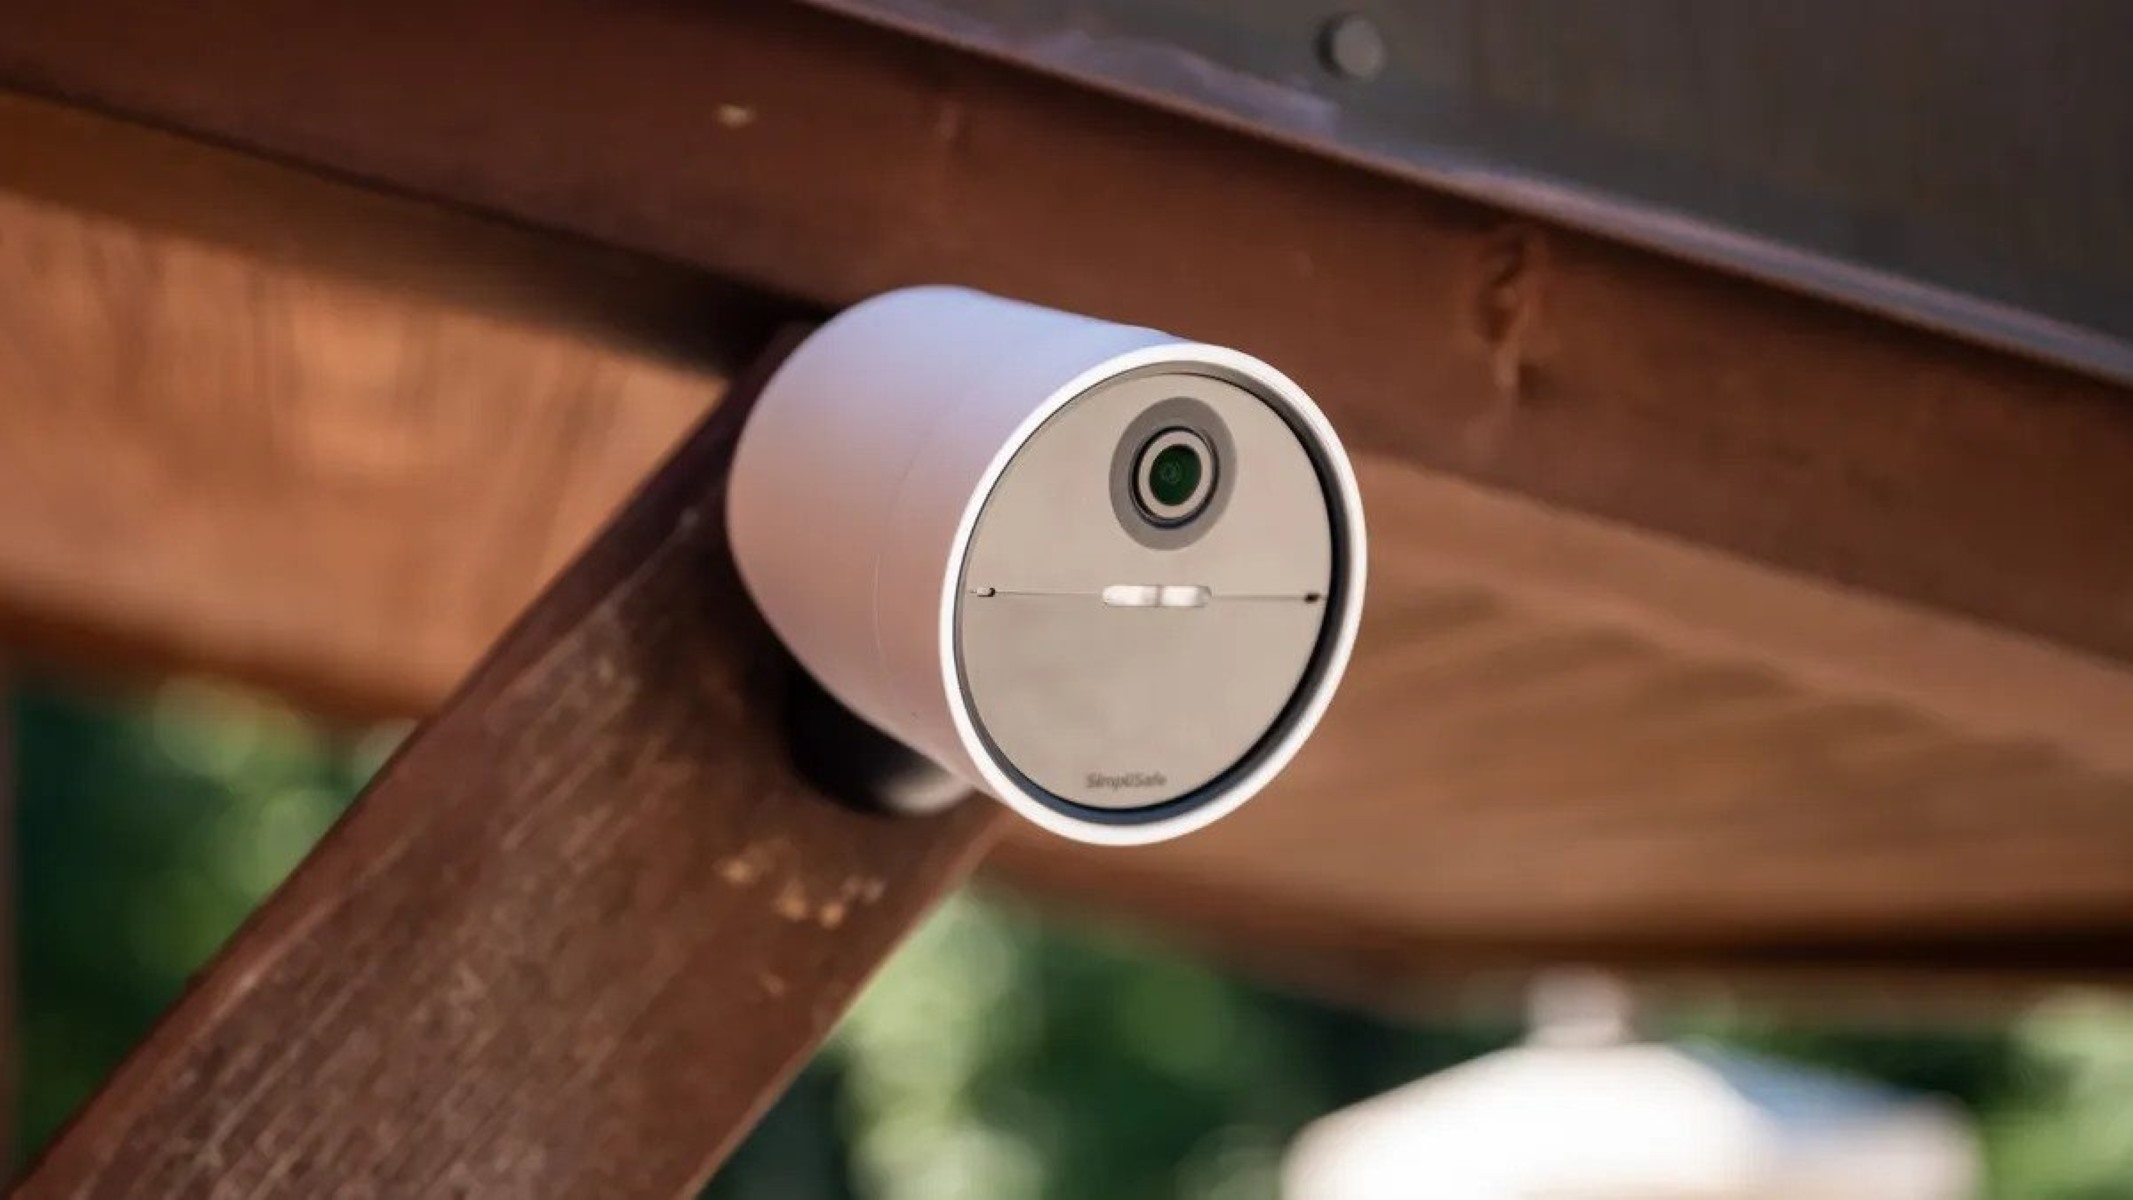
Additionally, think about the type of camera you’ll be using for each specific location. Some cameras are better suited for indoor use, while others are designed for outdoor environments. Outdoor cameras need to be weatherproof and able to withstand extreme temperatures, rain, and dust. On the other hand, indoor cameras may prioritize features like low-light vision or audio capabilities.
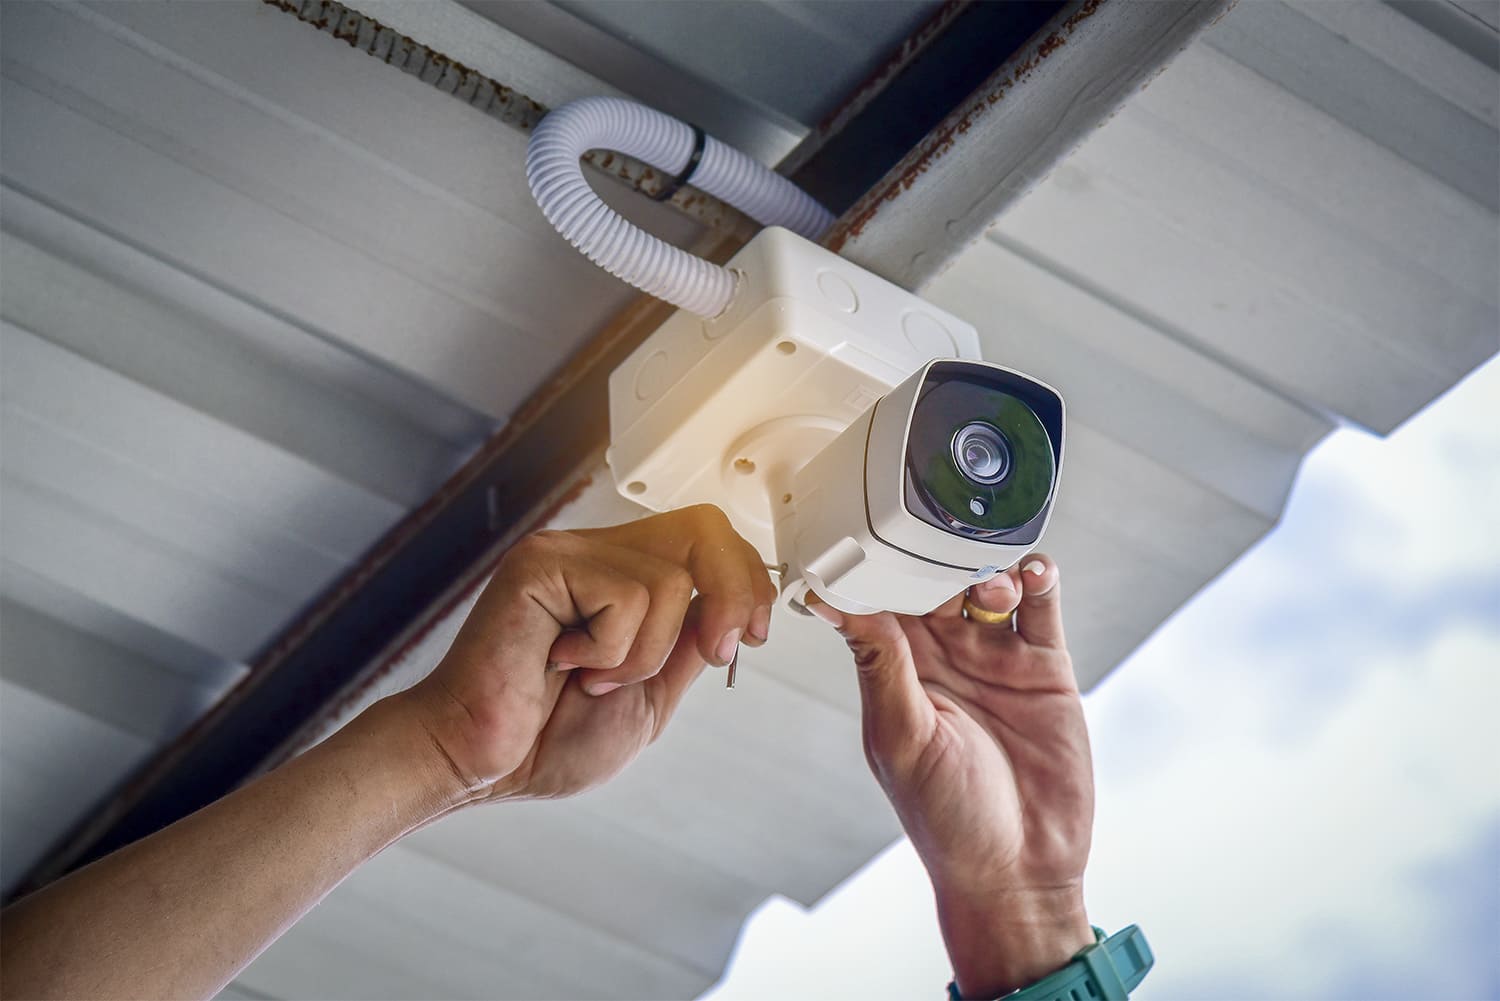
Consider the height at which the cameras should be installed. Mounting the cameras too high may result in a wide-angle shot that lacks detail, while mounting them too low could make them more susceptible to tampering. Finding the right balance ensures optimal coverage while minimizing risks.
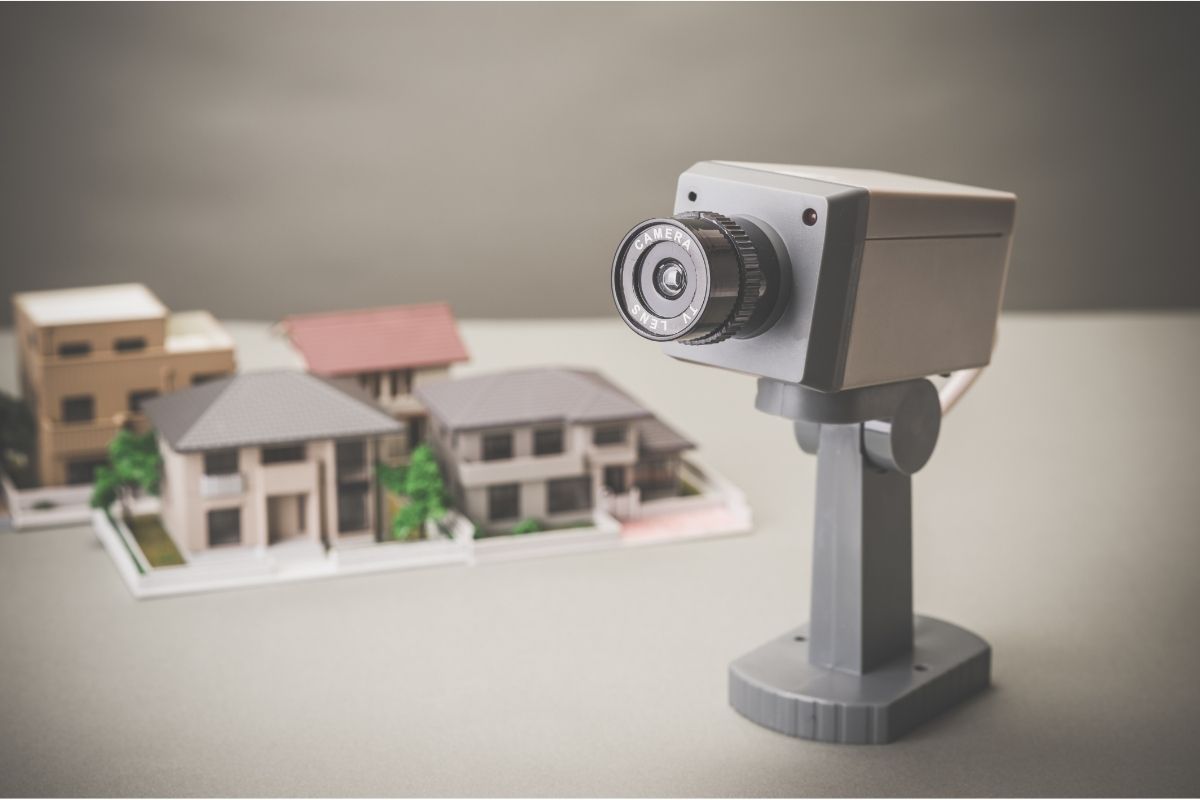
Once you have determined the camera placement, it’s a good idea to create a visual diagram or map of your property indicating the locations of each camera. This will help you visualize the coverage and make any necessary adjustments before proceeding with the installation.
If you’re unsure about the best camera placement or would like professional advice, consider consulting with a home security expert or an experienced CCTV installer. They can provide valuable insights and ensure that your chosen camera placements align with best practices for optimal surveillance.
Remember, the goal of determining the camera placement is to achieve comprehensive coverage of your property and prioritize areas that require monitoring. By carefully evaluating your property and planning the camera placement, you can ensure that your CCTV system provides the necessary security and peace of mind.
Step 2: Gather the Required Tools and Materials
Prior to starting the installation process, it’s crucial to gather all the necessary tools and materials. Having everything on hand will save you time and ensure a smooth installation of the CCTV wiring in your older home. Here’s a list of the essential tools and materials you’ll need:
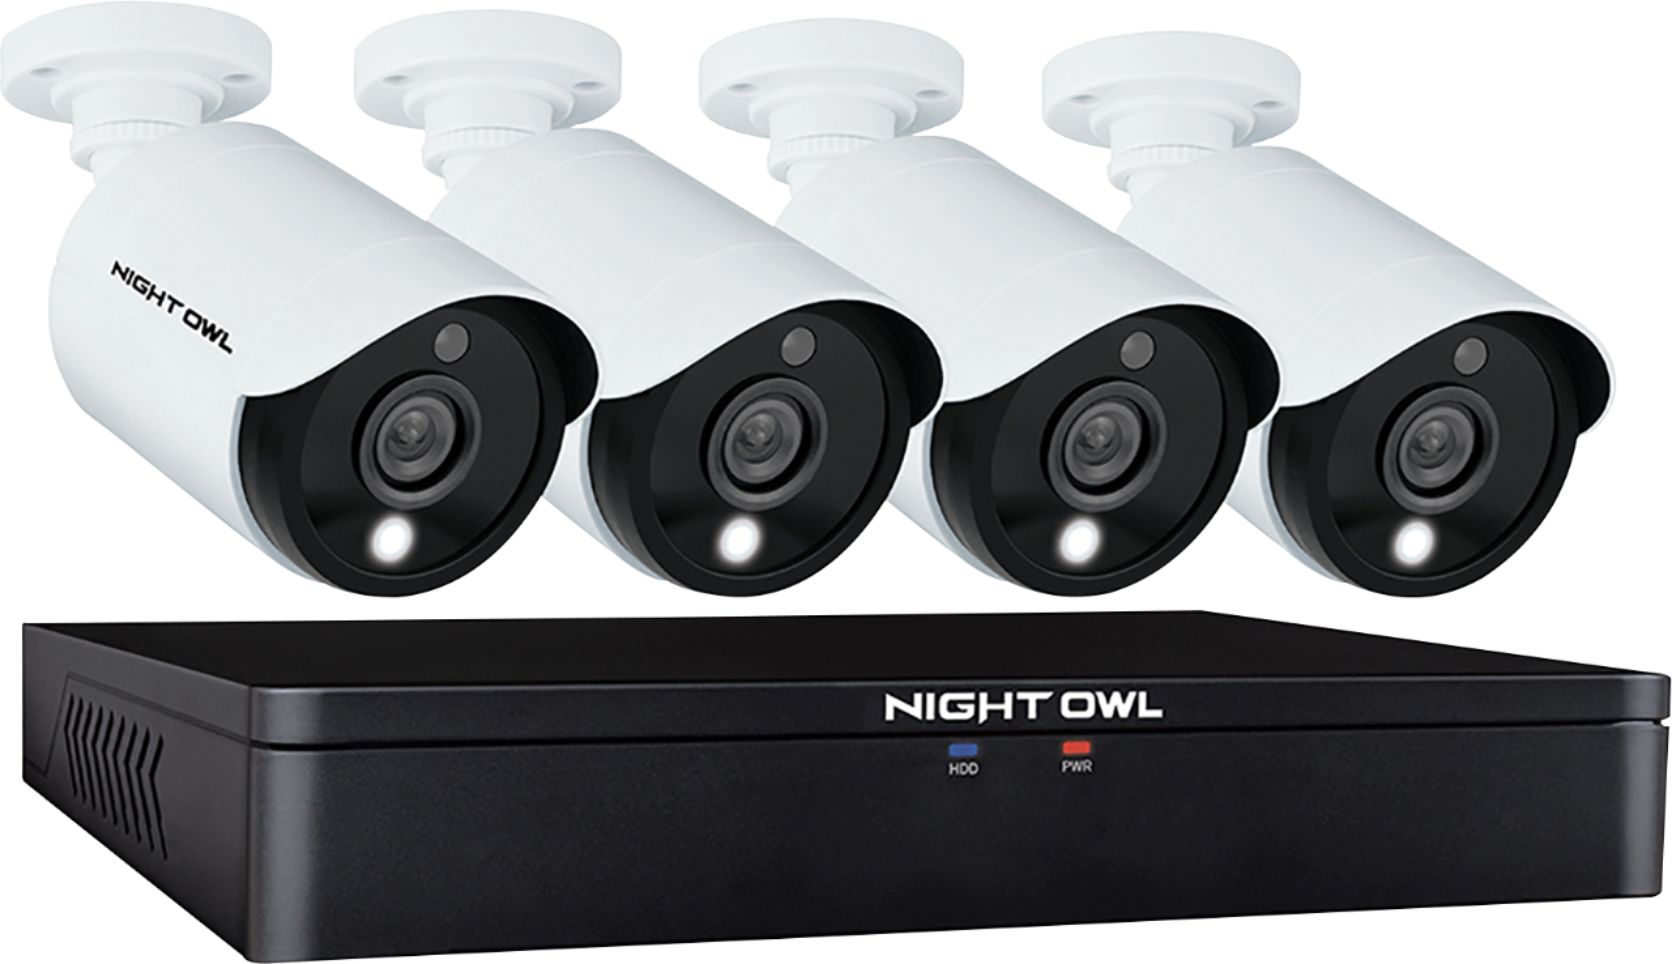
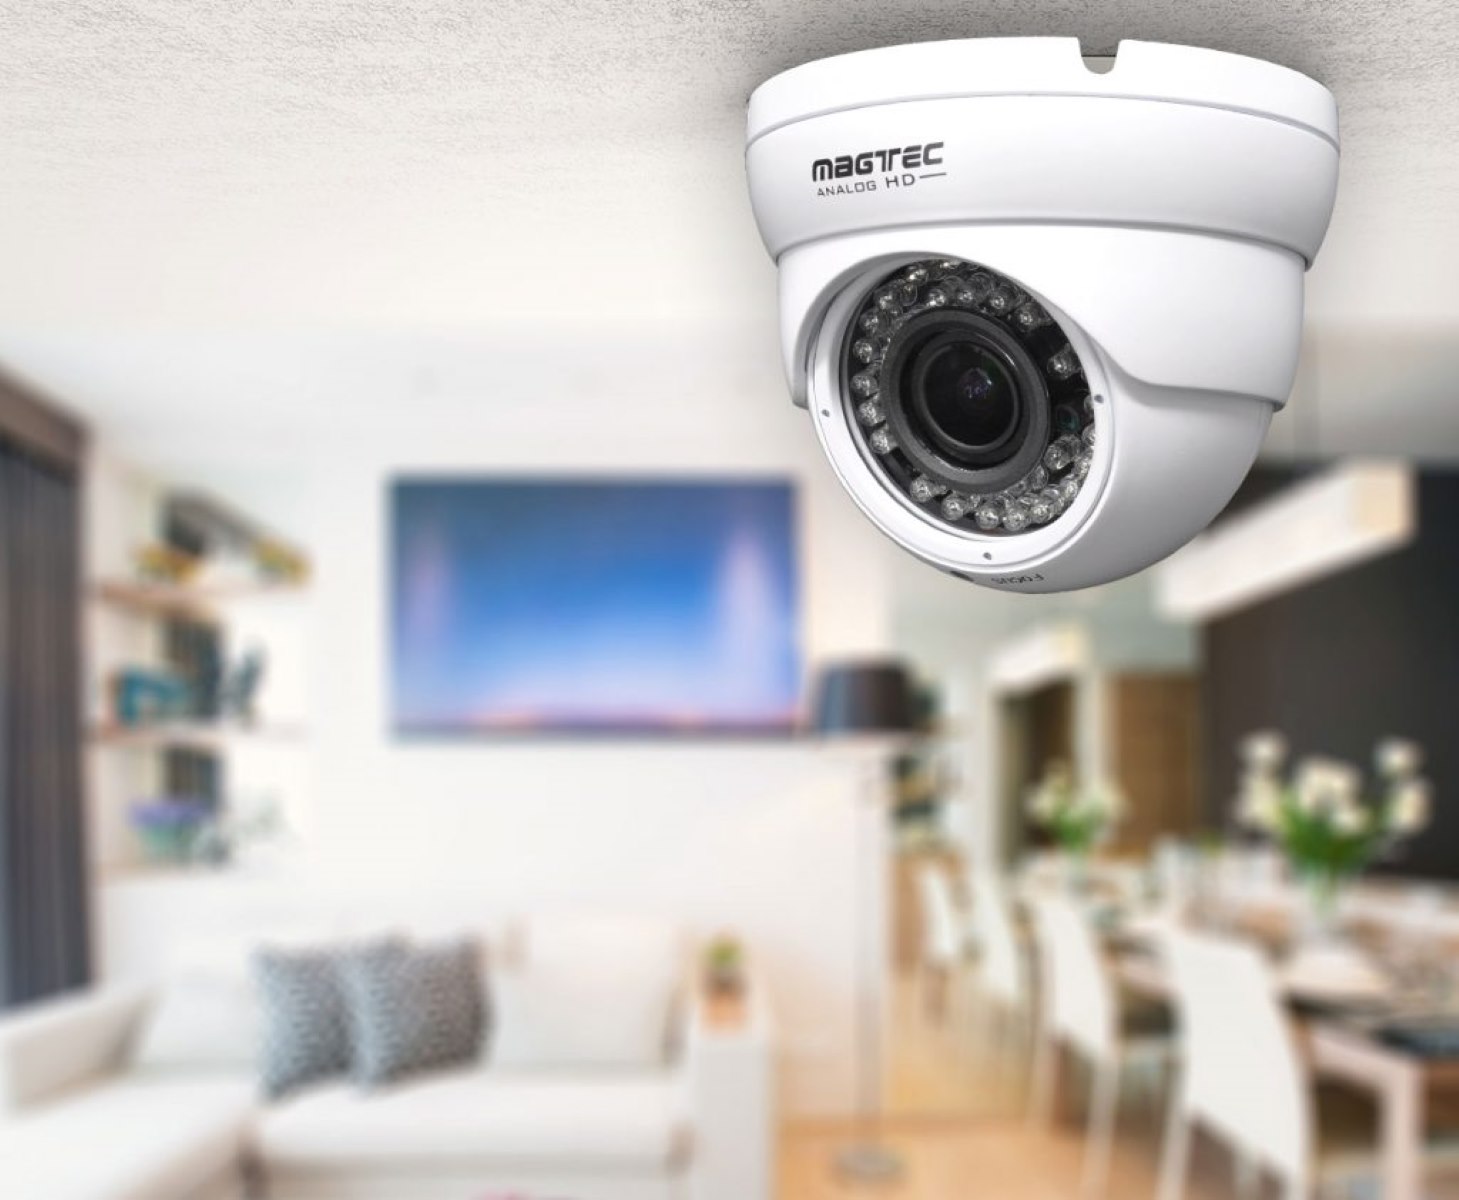
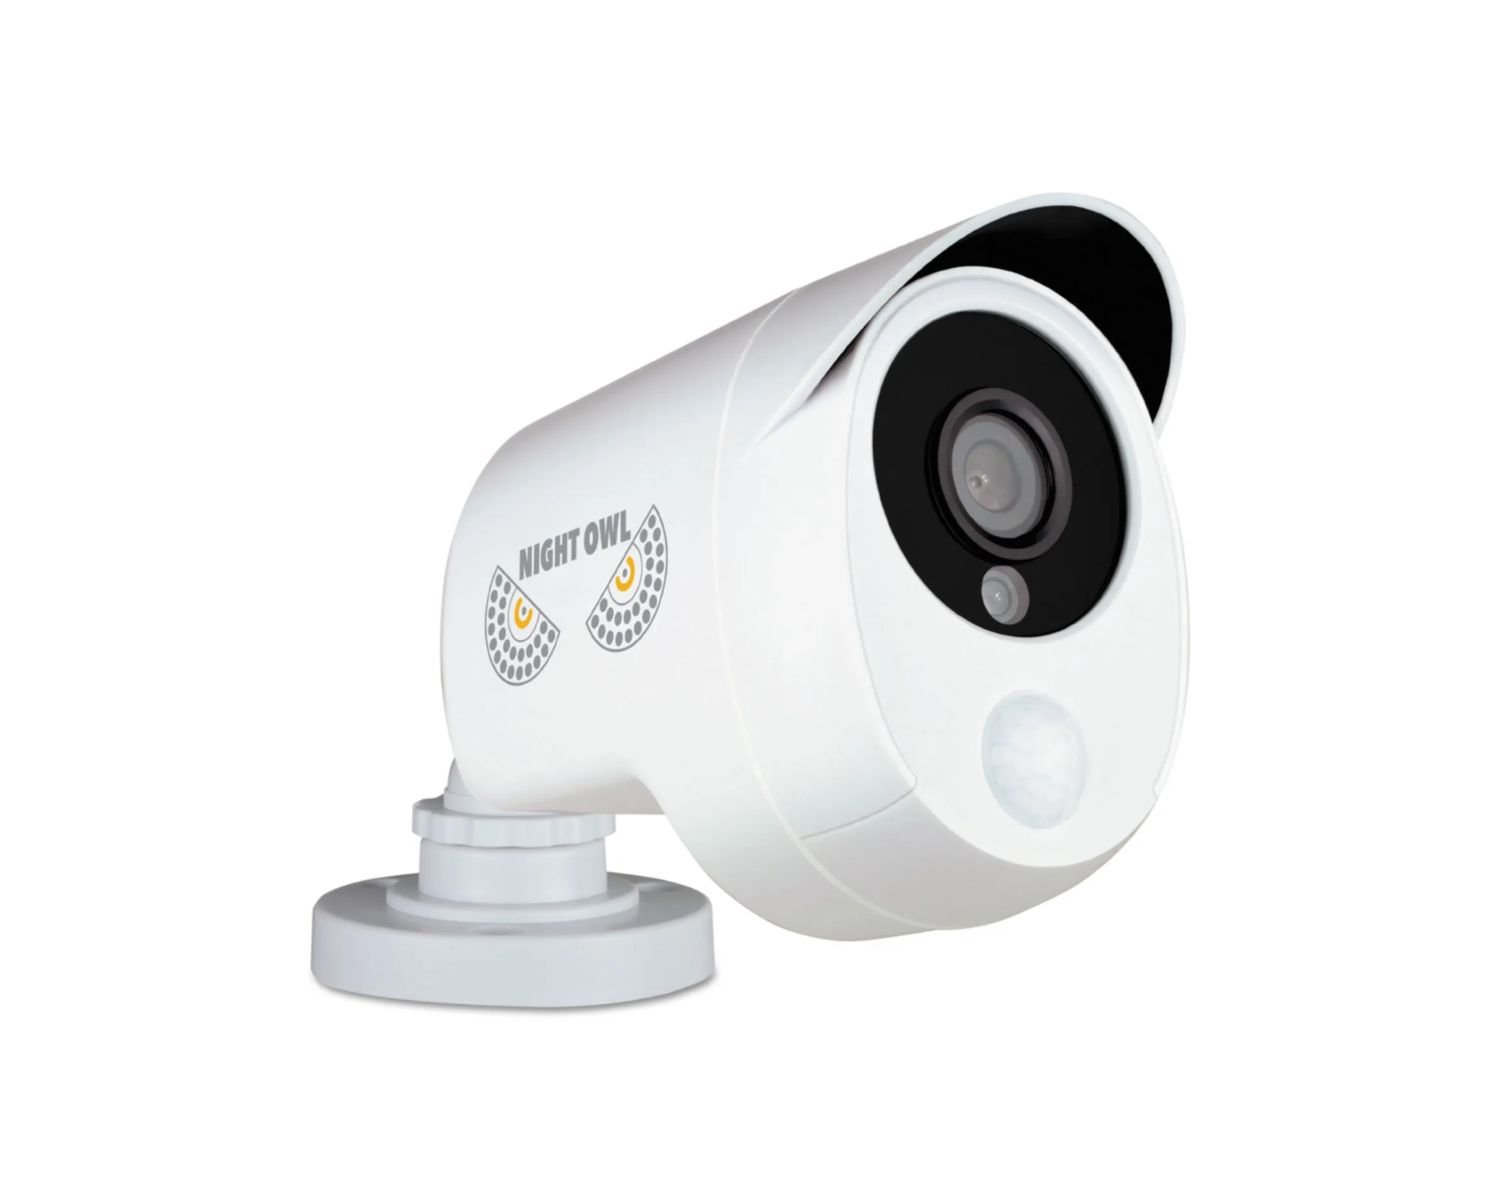
- CCTV Cameras: Choose cameras that suit your specific surveillance needs, such as dome cameras, bullet cameras, or PTZ cameras. Ensure that they are suitable for both indoor and outdoor use if necessary.
- DVR (Digital Video Recorder): The DVR is the central hub that records and stores the camera footage. Consider the number of camera inputs required and the storage capacity needed when choosing a DVR.
- Power Supply: Depending on the camera and DVR type, you may need a separate power supply unit or a distributed power supply box to ensure a stable power source for your CCTV system.
- Coaxial Cables: Coaxial cables are commonly used to transmit the video signal from the cameras to the DVR. Make sure you have enough coaxial cables of the appropriate length for your installation.
- BNC Connectors: BNC connectors are used to connect the coaxial cables to the cameras and DVR. Purchase high-quality BNC connectors to ensure a secure and reliable connection.
- Power Cables: Depending on the camera model and power requirements, you may need power cables with connectors that are compatible with your cameras and power supply.
- Cable Clips and Cable Ties: These are essential for securing and organizing the CCTV wiring, minimizing loose or hanging cables that can cause accidents or damage.
- Drill and Drill Bits: A drill is necessary for creating holes to route the CCTV wiring and mount the cameras. Use the appropriate drill bits for your home’s construction materials.
- Screwdriver: A screwdriver is needed for fastening the camera mounts, brackets, and other hardware during the installation process.
- Ladder: Depending on the camera placement and the height of your home, a ladder may be necessary to access higher areas where cameras will be installed.
- Measuring Tape: Use a measuring tape to accurately determine the length of the CCTV wiring runs and ensure proper positioning of the cameras.
- Wire Strippers and Crimping Tool: These tools are required for stripping the coaxial cables and attaching the BNC connectors securely.
- Labeling Materials: Consider using labeling materials such as tape or tags to mark the CCTV wiring for easy identification and troubleshooting.
It’s important to note that this list may vary depending on your specific installation requirements and the CCTV system you have chosen. Make sure to double-check the manufacturer’s instructions and recommendations for any additional tools or materials that may be necessary.
By gathering all the required tools and materials before you begin the installation, you’ll streamline the process and minimize any potential delays or interruptions. With everything at your fingertips, you’ll be well-prepared to move forward with running the CCTV wiring from the cameras to the DVR.
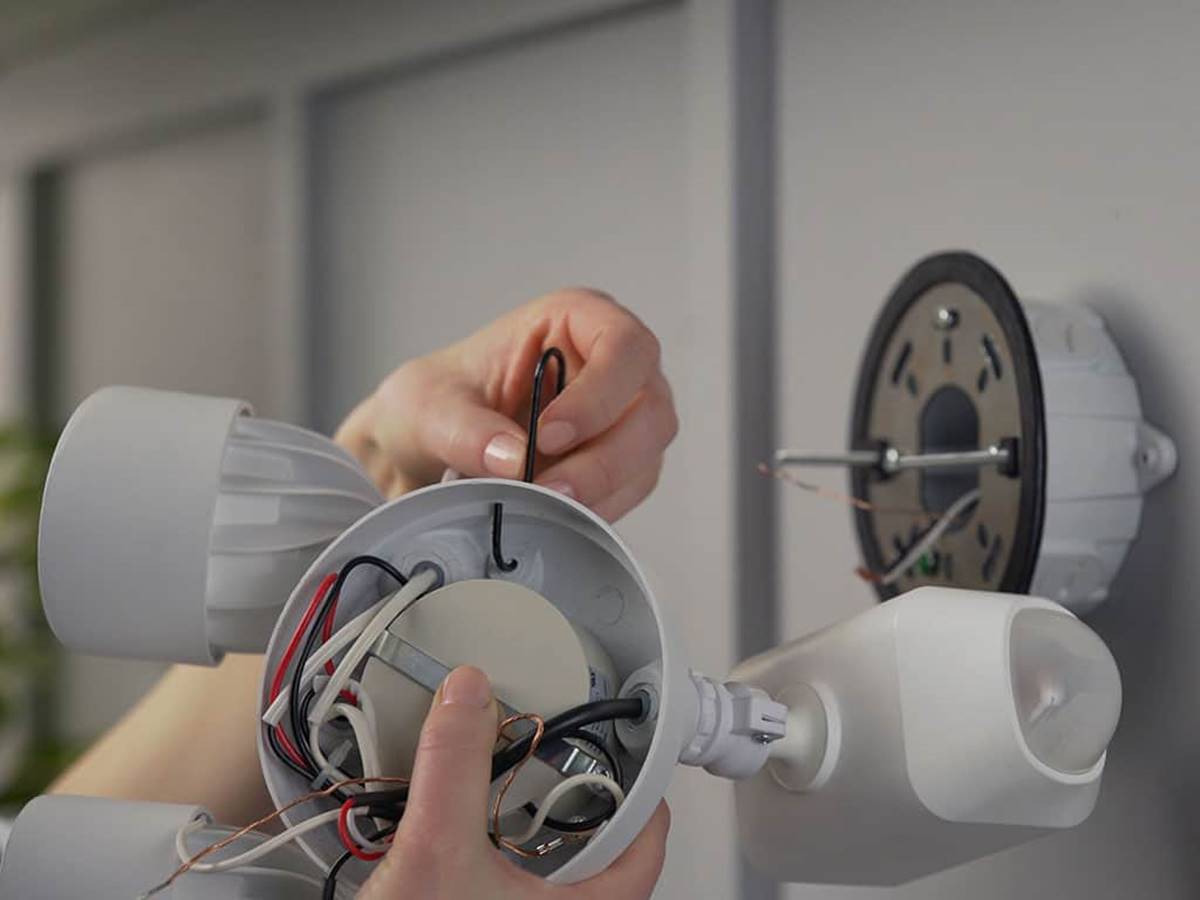
Step 3: Run the CCTV Wiring from Camera to DVR
Now that you have determined the camera placement and gathered all the necessary tools and materials, it’s time to run the CCTV wiring from the cameras to the DVR. This step is crucial for ensuring the proper transmission of the video signal and power supply to each camera.
Here’s a step-by-step guide on how to run the CCTV wiring in your older home:
- Plan the Wiring Path: Start by planning the path the CCTV wiring will take from each camera to the DVR location. Consider the most direct route that minimizes cable length and avoids potential obstacles.
- Prepare the Wiring: Measure and cut the coaxial cables and power cables to the appropriate lengths, leaving some extra length for flexibility. Use wire strippers to remove the outer insulation from the cables and expose the inner conductors.
- Route the CCTV Wiring: Carefully run the coaxial cables and power cables along the previously planned path. Use cable clips or ties to secure the wiring along walls, ceilings, or any other suitable surfaces. Ensure that the cables are not exposed to potential hazards and are hidden as much as possible.
- Create Access Points: If necessary, create access points in walls or ceilings to pass the CCTV wiring through. Use a drill with an appropriate drill bit size to create clean and precise holes.
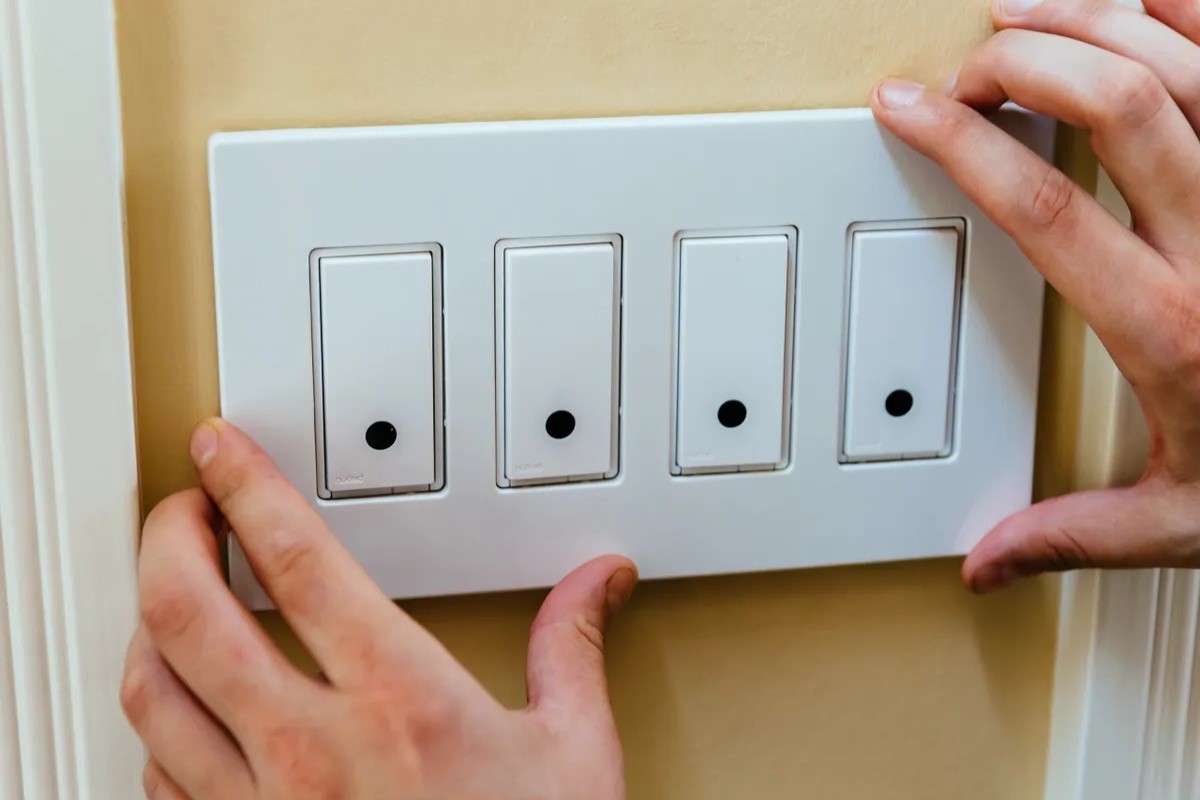
- Keep Wiring Away from Electrical Sources: While running the CCTV wiring, be mindful to keep it away from electrical sources, such as power lines or electrical panels. This helps to prevent interference and potential safety issues.
- Label and Organize the Wiring: As you run the CCTV wiring, label each cable to indicate its source and destination. This will make it easier for future maintenance or troubleshooting. Additionally, organize the wiring neatly to avoid tangling or confusion during the installation process.
- Test Continuity: After running each cable, test for continuity using a multimeter to ensure that there are no breaks or short circuits in the wiring.
During the process of running the CCTV wiring, it’s important to exercise caution and follow all safety guidelines. Avoid using excessive force when pulling the cables, as this can damage them or the existing infrastructure of your home.
Keep in mind that each home is unique, and the specific challenges you encounter may vary based on the layout and construction of your older home. Be patient and adapt as needed to ensure a successful installation.
Once you have run the CCTV wiring throughout your home, you can proceed to the next step of installing the CCTV wiring in the attic or basement.
When installing CCTV wiring in an older home, make sure to use a fish tape or wire snake to navigate through walls and ceilings. This will help you avoid damaging the existing structure and make the installation process much easier.
Step 4: Install CCTV Wiring in Attic or Basement
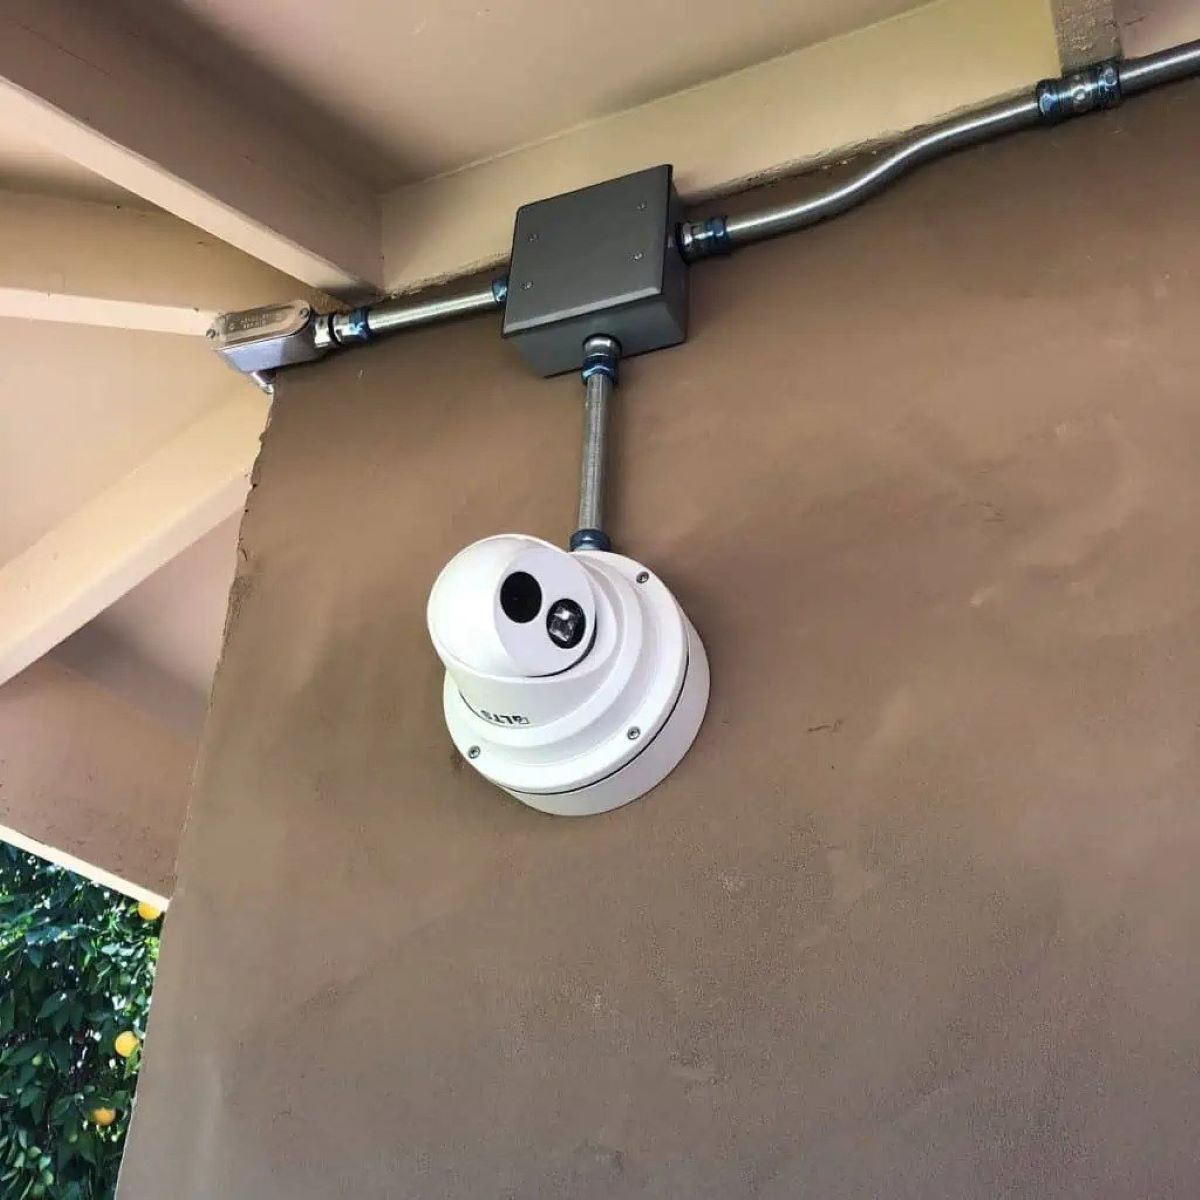
Installing the CCTV wiring in the attic or basement is a crucial step in the process, as it helps to conceal the cables and protect them from potential damage. In older homes, the attic or basement is often the most practical route for running the wiring. Here’s a step-by-step guide on how to install the CCTV wiring in the attic or basement:
- Determine the Entry Point: Choose a suitable location in the attic or basement where the CCTV wiring will enter from the cameras. This entry point should be close to the camera positions to minimize cable length and reduce the risk of interference.
- Drill Access Holes: Use a drill and an appropriate drill bit to create holes in the walls or ceiling of the attic or basement near the determined entry point. These holes should align with the previously created access points to provide a clear path for the CCTV wiring.
- Route the Wiring: Begin routing the CCTV wiring from the cameras through the access holes and along the designated path in the attic or basement. Make sure to secure the cables using cable clips or ties to prevent them from dangling or tangling. Avoid placing excessive strain on the cables and maintain a neat and organized layout.
- Protect the Wiring: Use PVC conduits or cable trays if necessary to protect the CCTV wiring from potential hazards such as sharp edges or other electrical wires in the attic or basement. This added protection can prevent accidental damage to the cables and ensure their longevity.
- Secure the Wiring: As you run the CCTV wiring in the attic or basement, secure it along the walls or ceiling using cable clips, ties, or staples. This will help minimize any potential movement or accidental dislodging of the cables over time.
- Label the Wiring: Label each CCTV cable in the attic or basement to indicate its source and destination. Proper labeling is essential for easy identification during future maintenance or troubleshooting.
- Test the Continuity: After completing the installation of the CCTV wiring in the attic or basement, use a multimeter to test for continuity to ensure that there are no breaks or short circuits in the wiring.
During the installation process, it’s important to work carefully and diligently in the attic or basement to avoid potential accidents or damage. Be mindful of your surroundings, and consider using appropriate personal protective equipment, such as gloves or safety glasses.
By installing the CCTV wiring in the attic or basement, you not only ensure a cleaner and more organized installation but also protect the cables from potential damage and interference. Once the CCTV wiring is successfully installed, you can proceed to the next step of connecting the wiring to the DVR.
Read more: How To Secure Home CCTV
Step 5: Connect the CCTV Wiring to the DVR
Now that the CCTV wiring is in place, it’s time to connect it to the DVR (Digital Video Recorder). This step is essential for establishing a secure and reliable connection to ensure proper video recording and monitoring. Here’s a step-by-step guide on how to connect the CCTV wiring to the DVR:
- Locate the BNC Connectors: Identify the BNC connectors on the end of each CCTV cable. These connectors are typically located near the camera and provide the interface for connecting the cable to the DVR.
- Prepare the BNC Connectors: Remove any plastic caps or covers from the BNC connectors, exposing the metal pin and coaxial cable at the end of each CCTV cable. Ensure that the cable is in good condition and free from any damage.
- Connect the CCTV Cables to the DVR: Locate the corresponding BNC inputs on the back of the DVR. Insert each BNC connector into the respective input, making sure it is firmly seated. Rotate the connector clockwise to secure the connection. Repeat this step for each CCTV cable, ensuring that each camera is properly connected to the DVR.
- Connect the Power Cables: If your CCTV cameras require a separate power source, connect the power cables to the power supply unit or the power distribution box. Ensure that the power cables are connected securely and verify that the power supply is functioning correctly.
- Test the Camera Feeds: Power on the DVR and monitor to check the camera feeds. Verify that each CCTV camera is transmitting a clear video signal to the DVR. Make any necessary adjustments or reseat any loose connections if a camera feed appears blurry or distorted.
- Configure the DVR Settings: Access the DVR’s user interface or settings menu to configure the necessary settings for recording, motion detection, and remote access. Follow the manufacturer’s instructions to set up the DVR according to your specific requirements.
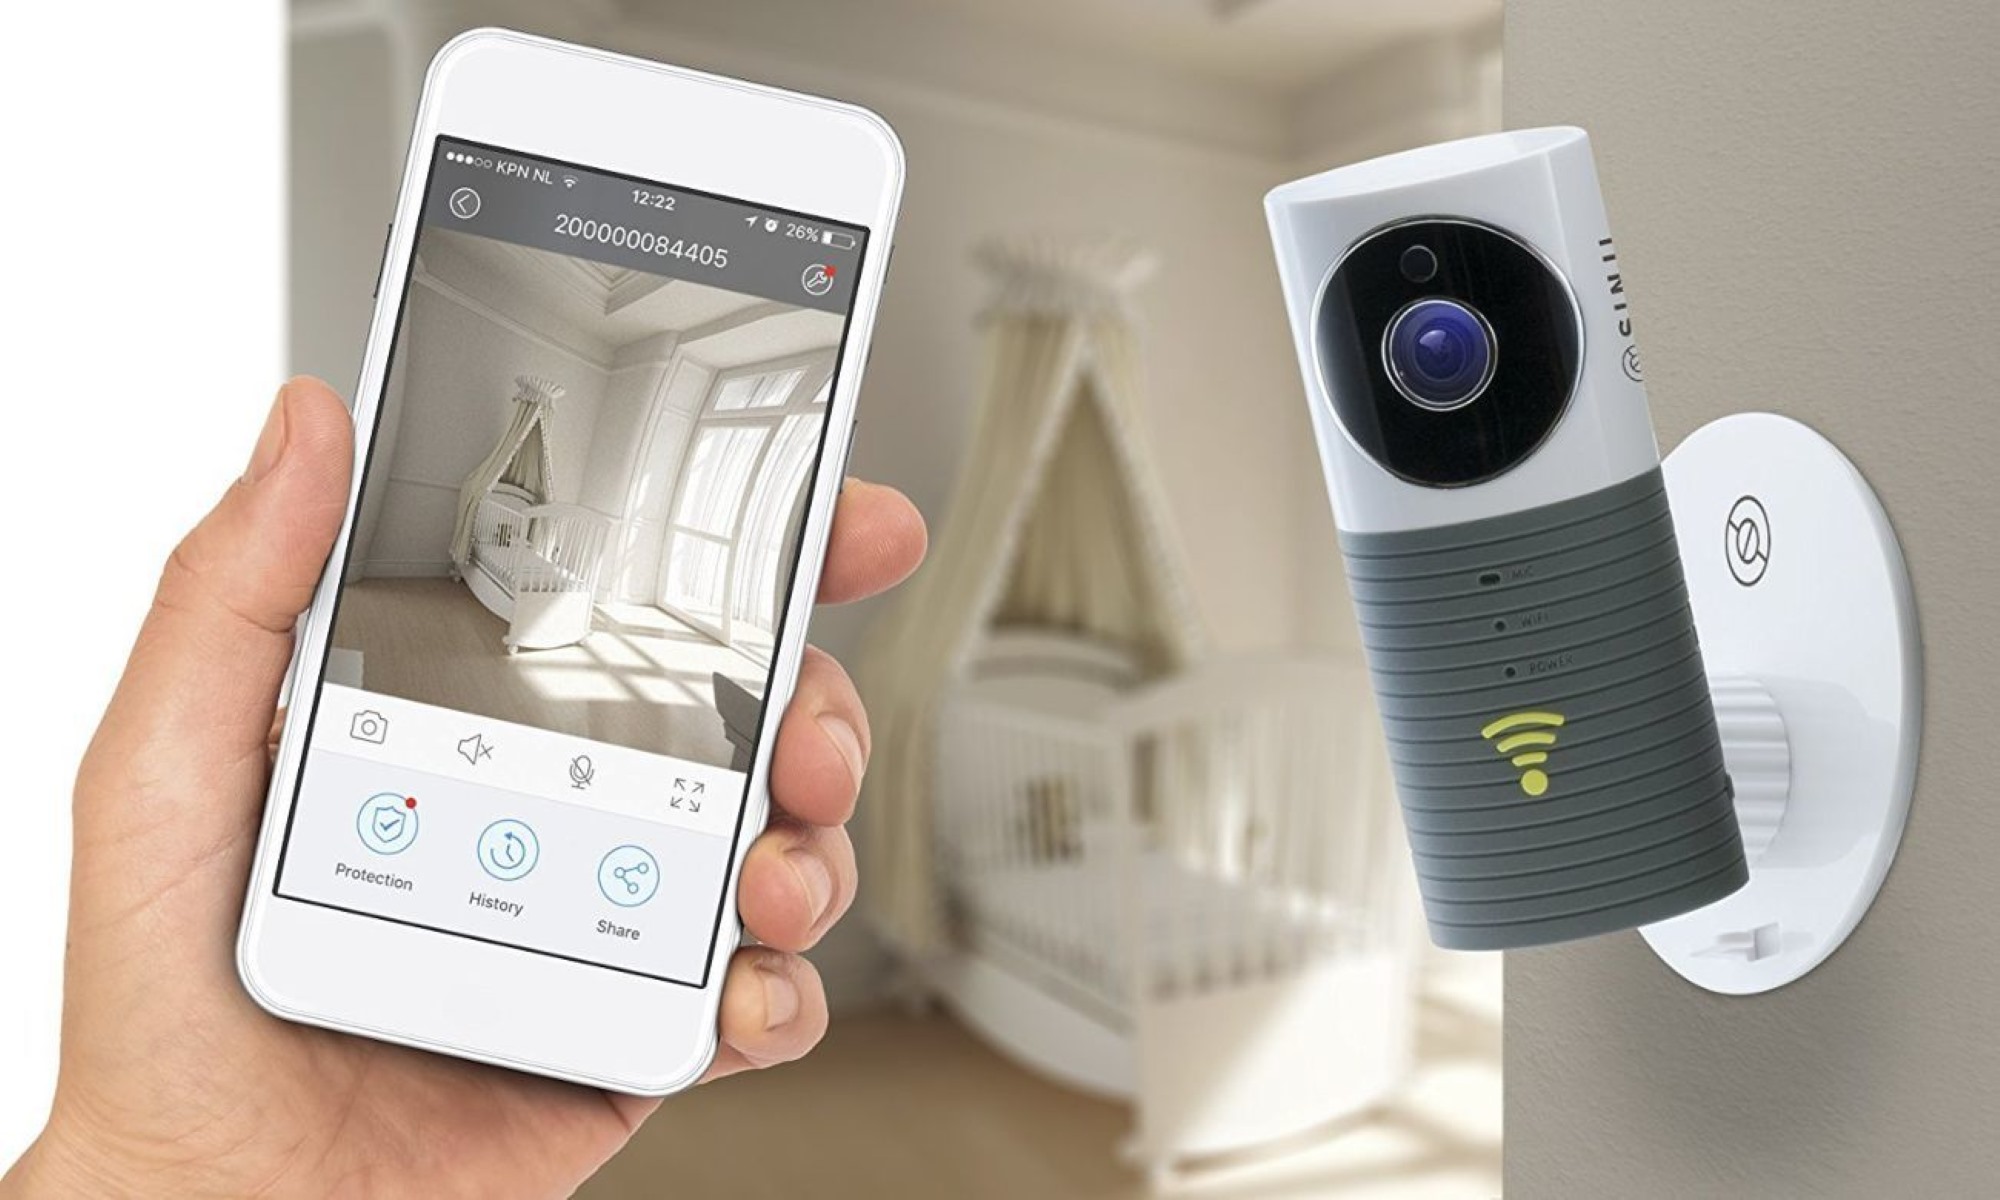
- Test Remote Access: If remote access is enabled on your DVR, test accessing the camera feeds through a smartphone, tablet, or computer to ensure that the system is accessible from external networks. Make any necessary adjustments to the network settings in the DVR to enable remote access if required.
Throughout the process of connecting the CCTV wiring to the DVR, it’s important to handle the cables and connectors carefully to avoid any accidental damage. Ensure that all connections are secure and double-check that the camera feeds are functioning correctly before proceeding.
By successfully connecting the CCTV wiring to the DVR, you are one step closer to having a fully functional CCTV system in your older home. The next and final step is to test the CCTV system to ensure its effectiveness and troubleshoot any potential issues.
Step 6: Test the CCTV System
After completing the installation and connecting the CCTV wiring to the DVR, it’s essential to thoroughly test the system to ensure that everything is functioning as intended. Testing the CCTV system allows you to identify and address any potential issues or fine-tune the settings for optimal performance. Here’s a step-by-step guide on how to test your newly installed CCTV system:
- Verify Camera Feeds: Start by checking each camera feed on the DVR monitor or the connected devices to ensure that the CCTV cameras are capturing clear video footage. Make note of any cameras that are not displaying properly or have issues with the video quality.
- Adjust Camera Angles and Focus: If necessary, adjust the angles and focus of the CCTV cameras for better coverage and clarity. Fine-tuning the camera positioning can help eliminate blind spots and improve the overall effectiveness of the surveillance system.
- Test Recording Functionality: Confirm that the DVR is properly recording the camera feeds. Initiate a test recording and verify that the recorded footage is being saved and stored correctly. Check the available storage capacity and make sure it is sufficient for your needs.
- Enable Motion Detection: If your CCTV system supports motion detection, enable this feature and test its functionality. Walk within the camera’s field of view and ensure that the system detects and records any detected motion accurately.
- Test Live View and Playback: Use the DVR or the connected devices to access the live view and playback functions. Verify that you can view the camera feeds in real-time and that you can review the recorded footage from the DVR’s storage. Test the playback controls and ensure smooth and seamless video playback.
- Check Remote Access: If you’ve enabled remote access to the CCTV system, test accessing the camera feeds from an external network. Ensure that you can view the live feed and playback the recorded footage remotely using a smartphone, tablet, or computer.
- Inspect Night Vision Performance: If your CCTV cameras have night vision capabilities, test them in low-light or nighttime conditions. Verify that the night vision mode is functioning correctly and that the captured footage is clear and detailed.
- Document and Address Issues: Take note of any issues or abnormalities that arise during testing. If you encounter any technical difficulties or find that certain cameras are not performing as expected, document the details of the issues for further troubleshooting or professional assistance if necessary.
Testing the CCTV system is an important step to ensure that it meets your security needs and operates reliably. It allows you to identify and rectify any issues early on, providing peace of mind knowing that your home is under proper surveillance.
Remember to consult the user manual or manufacturer’s documentation for specific instructions and troubleshooting guidance tailored to your CCTV system. By conducting comprehensive testing, you can fine-tune the settings, make necessary adjustments, and optimize the functionality of your CCTV system in your older home.
With the completion of this step, you have successfully installed and tested your CCTV system. By following these steps and ensuring that everything is functioning correctly, you can enjoy enhanced security and surveillance for your older home.
Conclusion
Installing CCTV wiring in older homes may present unique challenges, but with careful planning and execution, you can enhance the security and surveillance of your property. By following the steps outlined in this comprehensive guide, you can successfully install a CCTV system that brings you peace of mind and protects your home.
From determining the camera placement to running the CCTV wiring in your older home, each step is crucial for ensuring the effectiveness and reliability of your surveillance system. Taking the time to plan the camera placement and gather the necessary tools and materials sets the stage for a successful installation.
Running the CCTV wiring from the cameras to the DVR requires attention to detail and careful routing. Installing the wiring in the attic or basement helps to keep it organized and concealed, reducing the risk of damage and maintaining a clean installation.
Connecting the CCTV wiring to the DVR establishes the core functionality of the system, enabling proper video recording and monitoring. Taking the time to test the CCTV system ensures that all components are working as intended and helps fine-tune the settings for optimal performance.
With the installation process complete, you can enjoy the benefits of a fully functional CCTV system that provides enhanced security and peace of mind. The ability to monitor your property, record video footage, and remotely access the system gives you control and confidence in maintaining a safe home environment.
Remember to consult the user manual and manufacturer’s guidelines for specific instructions and troubleshooting assistance tailored to your CCTV system. Be proactive in regularly checking and maintaining your system to ensure ongoing reliability and functionality.
Installing CCTV wiring in older homes may seem like a daunting task, but with the right knowledge, tools, and a step-by-step approach, you can successfully enhance the security and surveillance of your older home. By taking the time to plan, install, and test your CCTV system, you are taking a proactive step towards creating a safer living environment for you and your loved ones.
Frequently Asked Questions about How To Install CCTV Wiring In Older Home
Was this page helpful?
At Storables.com, we guarantee accurate and reliable information. Our content, validated by Expert Board Contributors, is crafted following stringent Editorial Policies. We're committed to providing you with well-researched, expert-backed insights for all your informational needs.