Home>Home Security and Surveillance>How To Install A Wired Security Camera System

Home Security and Surveillance
How To Install A Wired Security Camera System
Modified: August 20, 2024
Learn how to install a reliable and effective wired security camera system for your home. Enhance your home security and surveillance with our step-by-step guide.
(Many of the links in this article redirect to a specific reviewed product. Your purchase of these products through affiliate links helps to generate commission for Storables.com, at no extra cost. Learn more)
Introduction
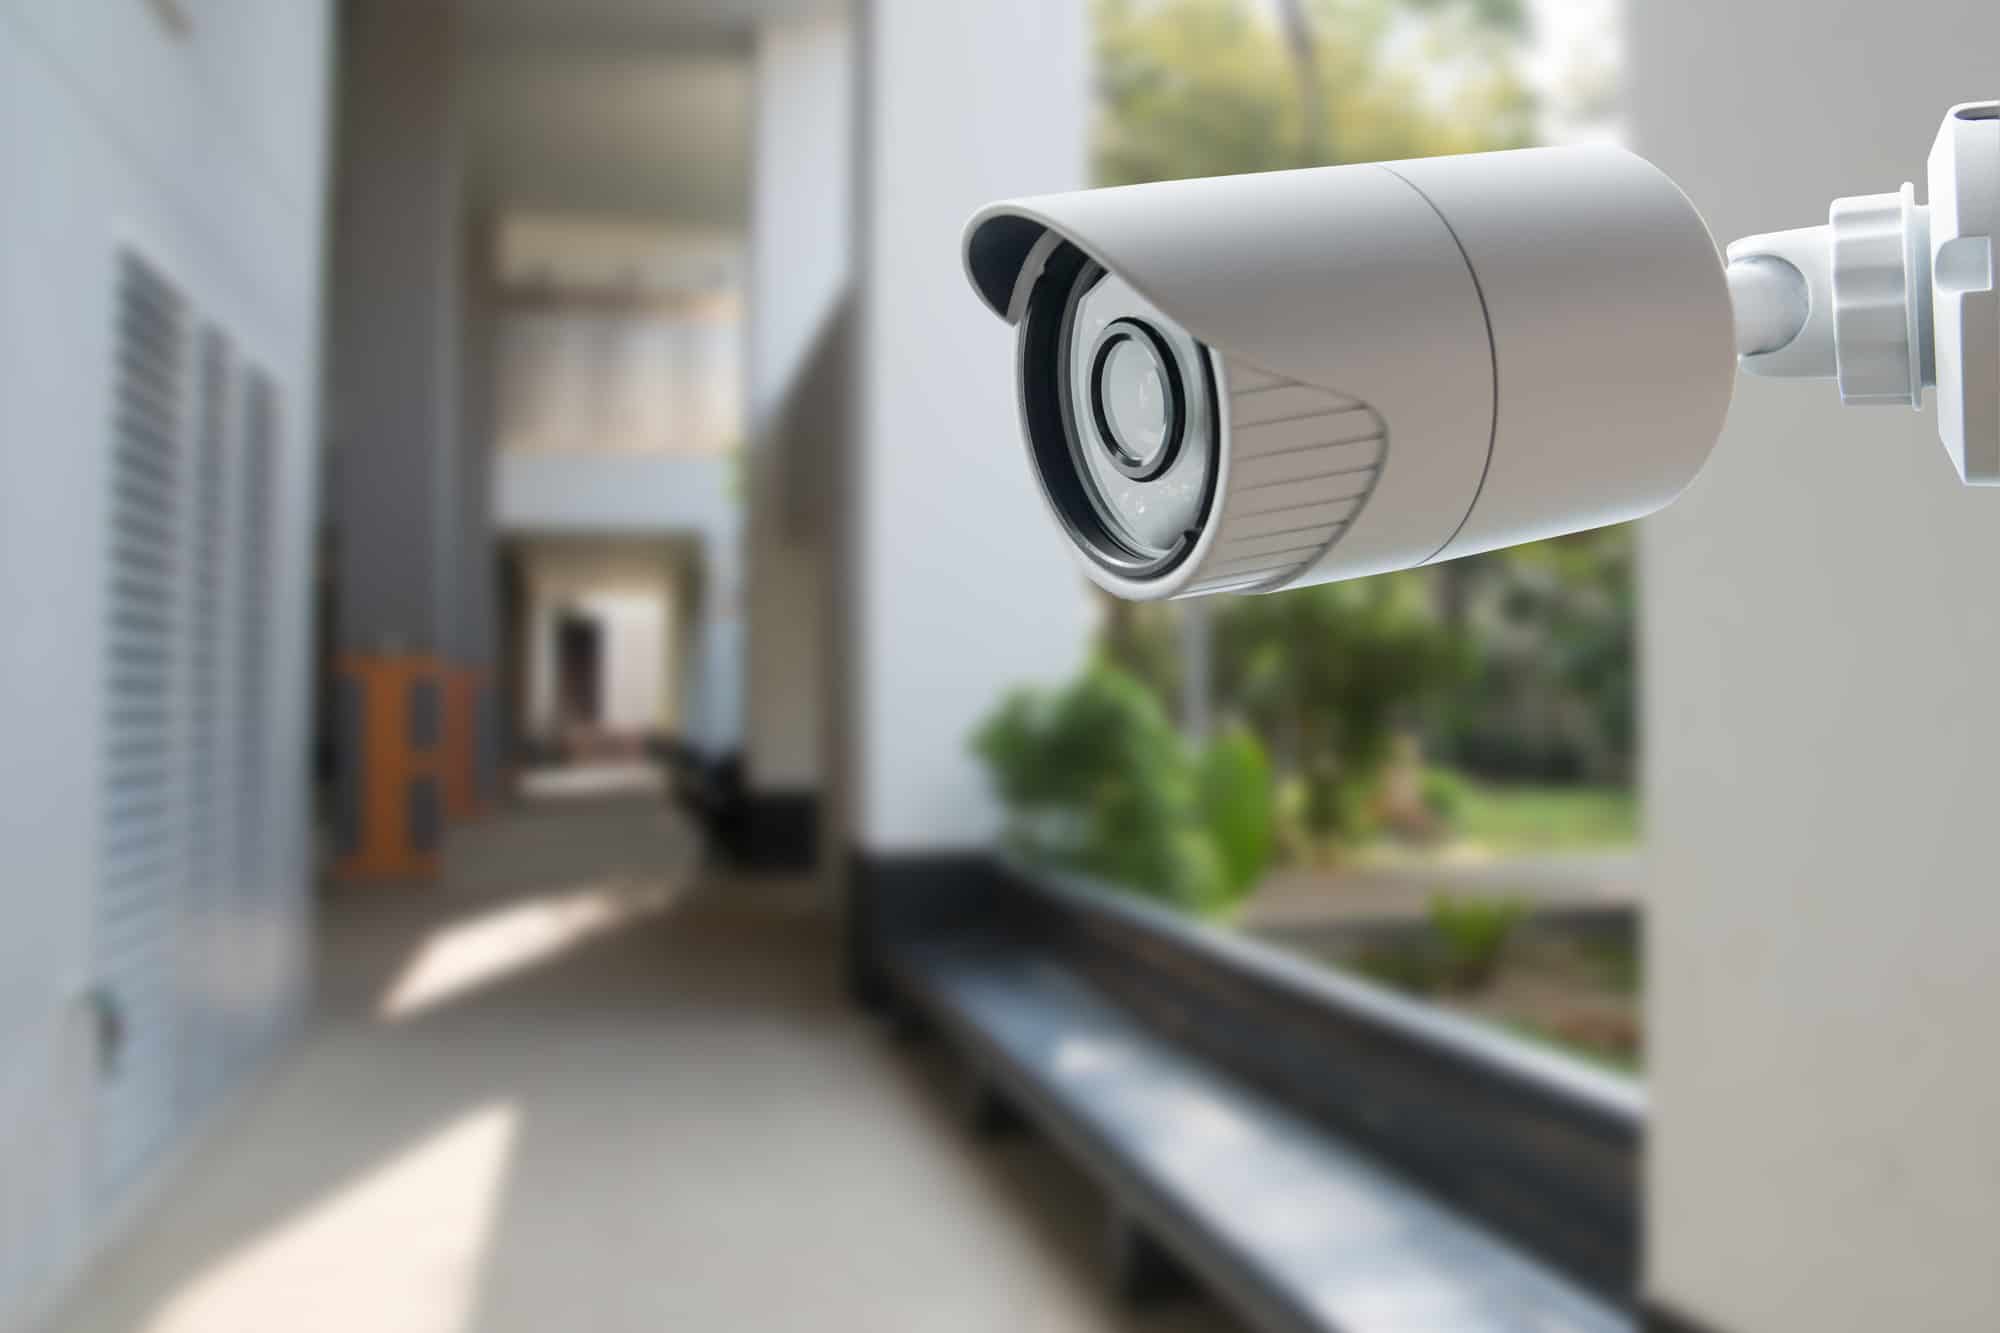
Welcome to the world of home security and surveillance. In today’s increasingly digital and interconnected world, ensuring the safety of your home and loved ones has become paramount. One effective way to achieve this is by installing a wired security camera system.
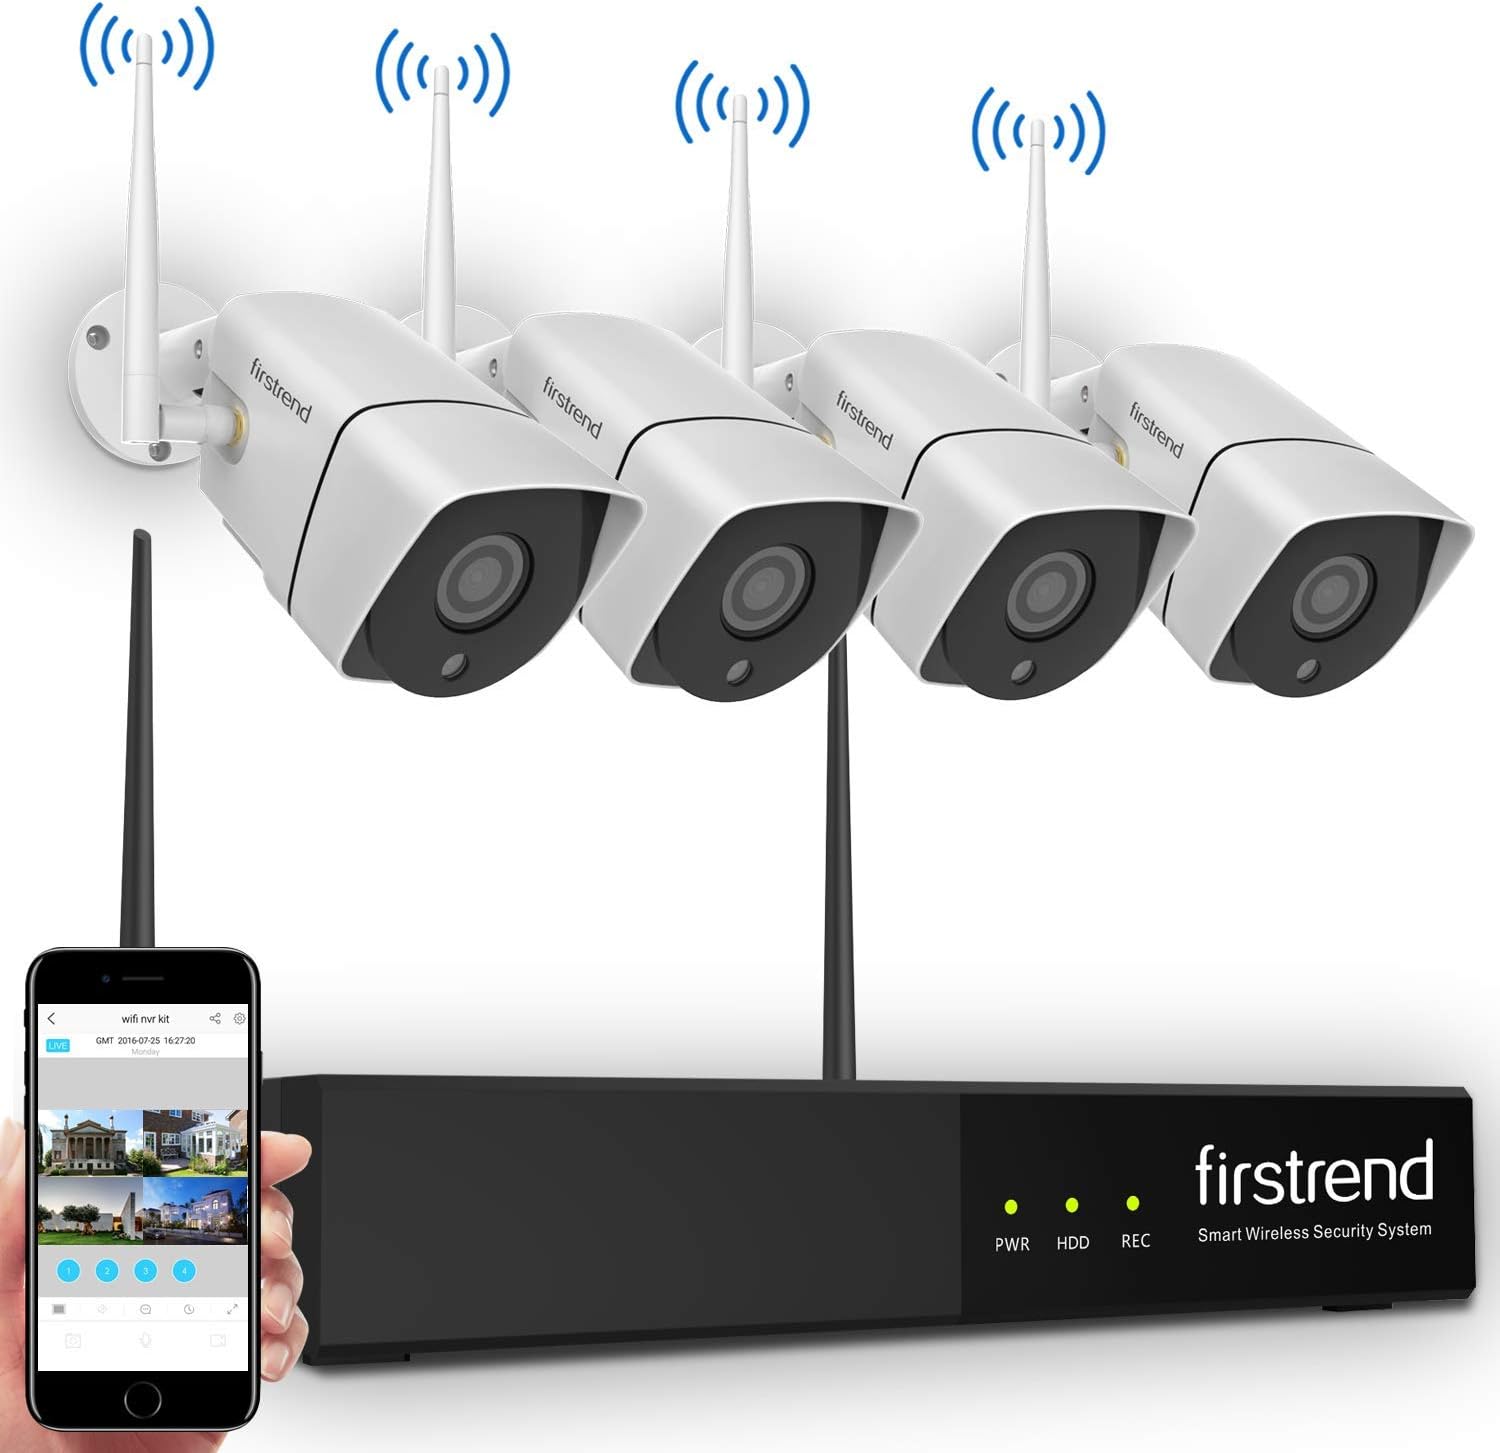
A wired security camera system offers a higher level of reliability and stability compared to wireless alternatives. By directly connecting the cameras to a Digital Video Recorder (DVR) via cables, you can enjoy uninterrupted surveillance footage without worrying about Wi-Fi signal strength or interference.
In this comprehensive guide, we will walk you through the step-by-step process of installing a wired security camera system. Whether you are a DIY enthusiast or looking to hire a professional, this article will equip you with the necessary knowledge to make informed decisions and ensure a successful installation.
Before we dive into the installation process, it is essential to start by selecting the right camera system for your needs.
Key Takeaways:
- Choosing the right wired security camera system is crucial for optimal home protection. Consider factors like camera resolution, type, features, DVR capabilities, power supply, and budget to meet your surveillance needs effectively.
- Proper installation, testing, and maintenance of your wired security camera system are essential for reliable home security. Secure camera wires, set up remote viewing, and regularly maintain your system for ongoing protection.
Read more: How To Wire Home Security Camera System
Step 1: Choose the Camera System – Selecting the Right Wired Security Camera System
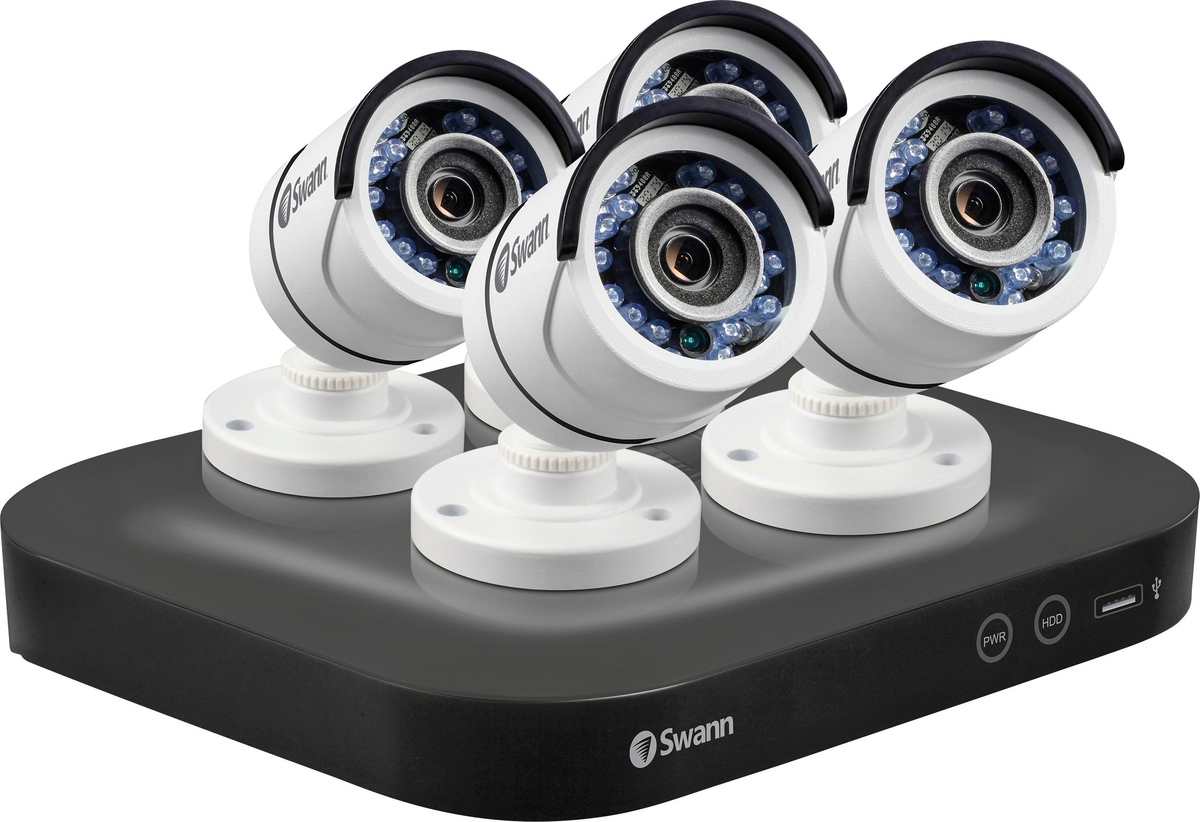
When it comes to selecting the right wired security camera system for your home, there are a few factors to consider. Here are some key points to keep in mind:
- Camera Resolution: High-resolution cameras provide clearer images and better video quality. Look for cameras with at least 1080p resolution for optimal results.
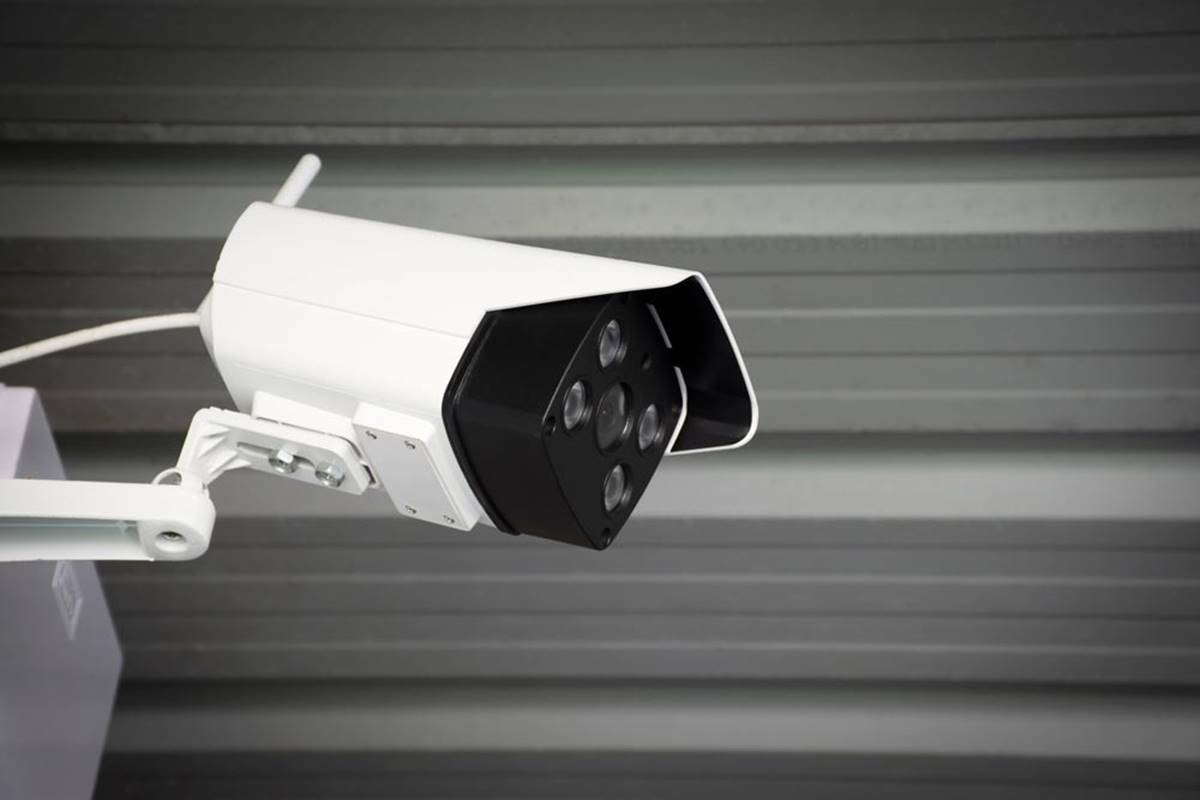
- Camera Type: There are different types of security cameras available, such as dome cameras, bullet cameras, and PTZ (pan-tilt-zoom) cameras. Consider the specific surveillance requirements of your property to determine the most suitable camera type.
- Camera Features: Look for cameras with features like night vision, motion detection, and wide-angle lenses. These features enhance the camera’s performance and ensure comprehensive coverage of your property.
- DVR Features: The DVR is the central hub of your security camera system. It is responsible for recording and storing footage. Consider the number of camera inputs, storage capacity, and remote access capabilities when choosing a DVR.
- Power Supply: Determine whether you want cameras that operate on AC power or Power over Ethernet (PoE). PoE cameras receive power and data through a single Ethernet cable, simplifying the installation process.
- Budget: Set a budget for your security camera system and search for options that offer the best value for your money. Remember to consider long-term costs, such as maintenance and storage fees, when making your decision.
Once you have determined the specifications and features you require, research different brands and models to find reliable and reputable options. Read customer reviews, compare prices, and consult with professionals if needed.
By carefully selecting the right wired security camera system, you can ensure optimal protection and peace of mind for your home and loved ones.
Step 2: Prepare the Installation Area – Assessing the Installation Location – Gathering Required Tools and Materials
Before diving into the installation process, it is important to assess the installation location and gather the necessary tools and materials. This will help ensure a smooth and efficient installation. Here’s what you need to do:
Assessing the Installation Location:
Carefully evaluate the areas where you want to install the security cameras. Consider the following factors:
- Camera Coverage: Determine the areas you want to monitor and identify the optimal camera placement to capture the desired coverage. Keep in mind that placing cameras at entrances, near windows, and in high-traffic areas can be effective deterrents against potential intruders.
- Lighting Conditions: Take note of the lighting conditions in each area. If a location is poorly lit, consider installing cameras with night vision capabilities or adding additional lighting to ensure clear footage in low-light situations.
- Accessibility: Ensure that the installation location is easily accessible for camera maintenance and adjustments, such as cleaning lenses or changing angles.
- Cable Routing: Plan the route for running the video and power cables from the cameras to the DVR. Take into account the distance, obstacles, and potential cable concealment options to maintain a clean and professional installation.
Gathering Required Tools and Materials:
Once you have assessed the installation location, gather the necessary tools and materials for the installation process. Here are the commonly required items:
- Power Drill: A power drill with appropriate drill bits will be essential for mounting the cameras and running cable holes.
- Screwdriver: Both Phillips and flathead screwdrivers will be needed for installing camera brackets and securing cables.
- Level: Use a level tool to ensure that the camera mounts are properly aligned and level during installation.
- Cable Crimper: If your system requires terminating cables with connectors, a cable crimper will be needed to securely attach the connectors to the cables.
- Cable Tester: A cable tester will help ensure that the video and power cables are properly connected and transmitting signals.
- Cable Clips and Ties: These accessories will help secure and organize the cables for a tidy installation.
- Video and Power Cables: Purchase the appropriate length and type of cables required to connect the cameras to the DVR.
- Mounting Brackets: Depending on the camera type and installation location, you may need to purchase mounting brackets or hardware to securely attach the cameras to walls, ceilings, or other surfaces.
Make sure to have all the necessary tools and materials available before starting the installation process. This will save you time and help maintain a smooth workflow throughout the installation process.
Step 3: Mounting the Cameras – Determining Camera Placement – Installing Camera Mounts
Now that you have assessed the installation location and gathered the necessary tools and materials, it’s time to mount the cameras. Proper camera placement plays a crucial role in maximizing the effectiveness of your surveillance system. Follow these steps to ensure optimal camera positioning:
Determining Camera Placement:
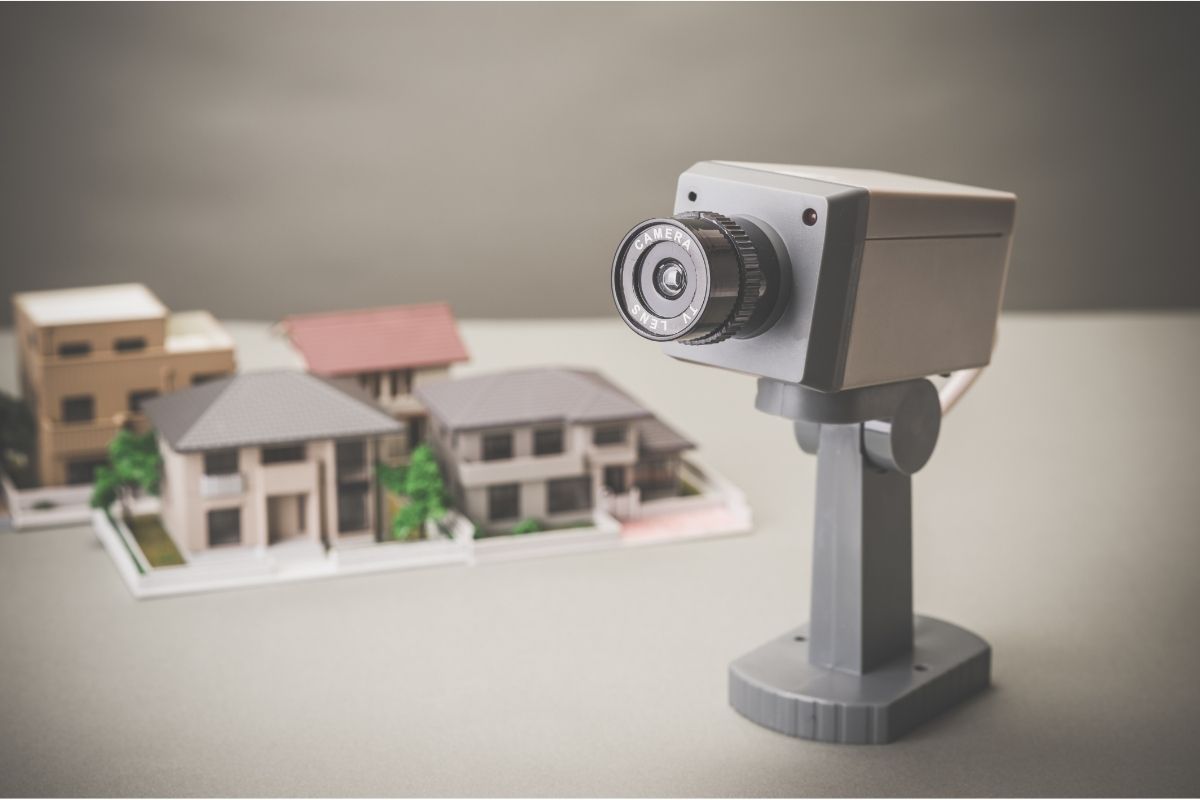
- Identify Vulnerable Areas: Assess your property to identify vulnerable areas that require monitoring, such as entrances, driveways, or backyard spaces.
- Consider Field of View: Determine the camera’s field of view based on the area you want to cover. Calculate the distance and angle required to capture the desired surveillance range.
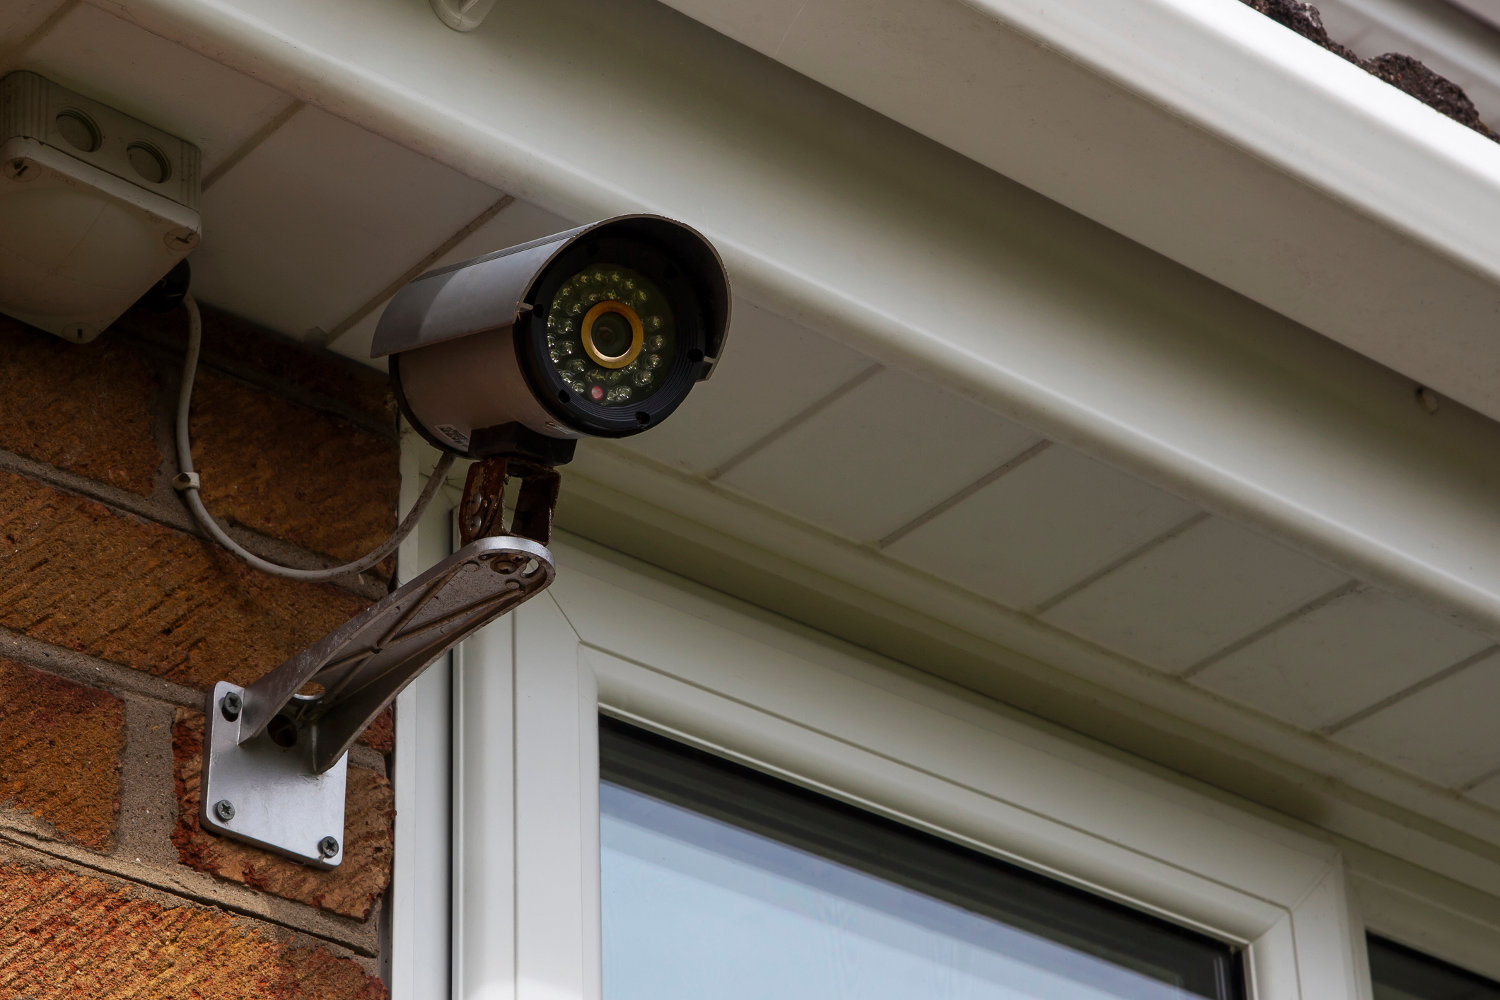
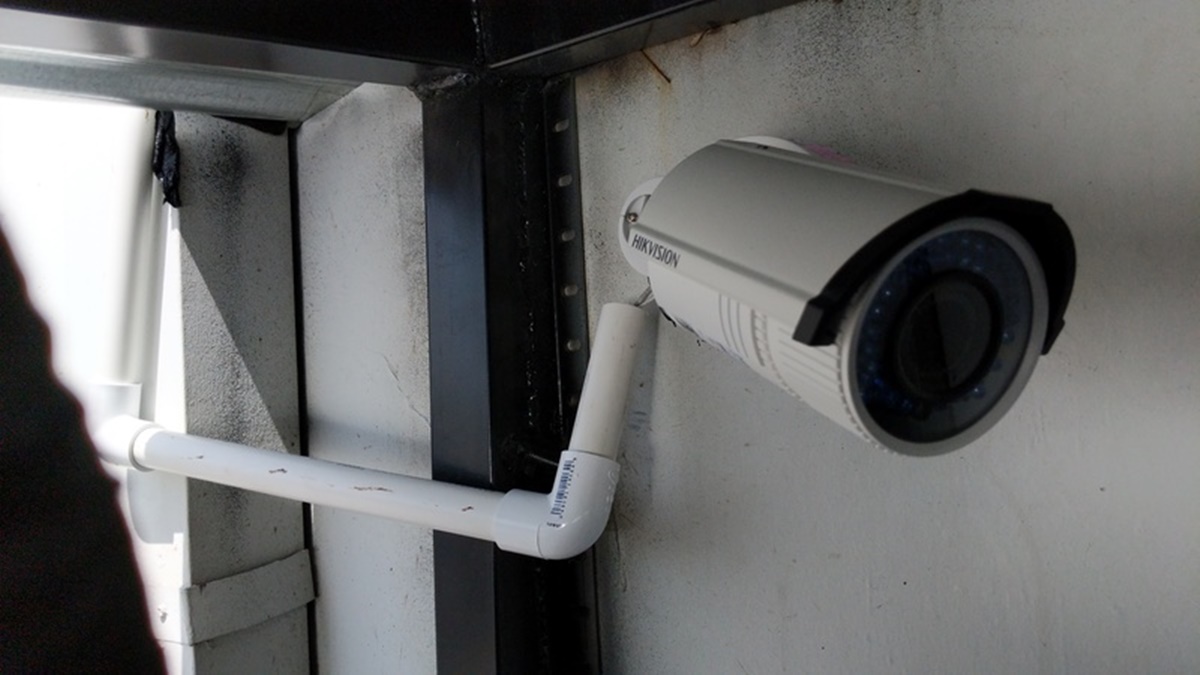
- Height and Angle: Mount the camera at a height and angle that provides a clear view of the area while minimizing obstructions. Typically, a height of 9-10 feet is recommended for outdoor cameras.
- Avoiding Tampering: Position the cameras in a way that minimizes their visibility and reduces the risk of tampering or vandalism.
- Consider Weather Conditions: Take into account the weather conditions in your area and choose cameras with appropriate weatherproof ratings for outdoor installations.
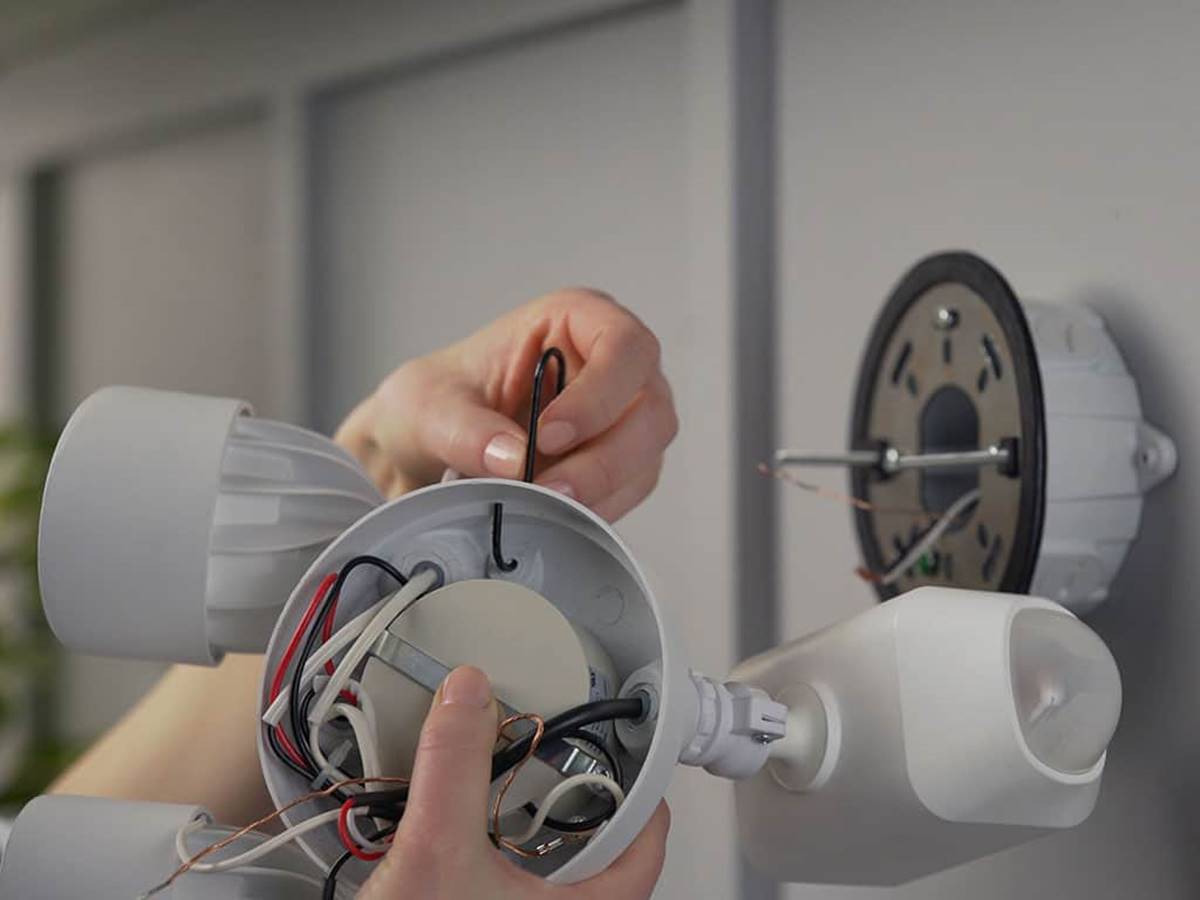
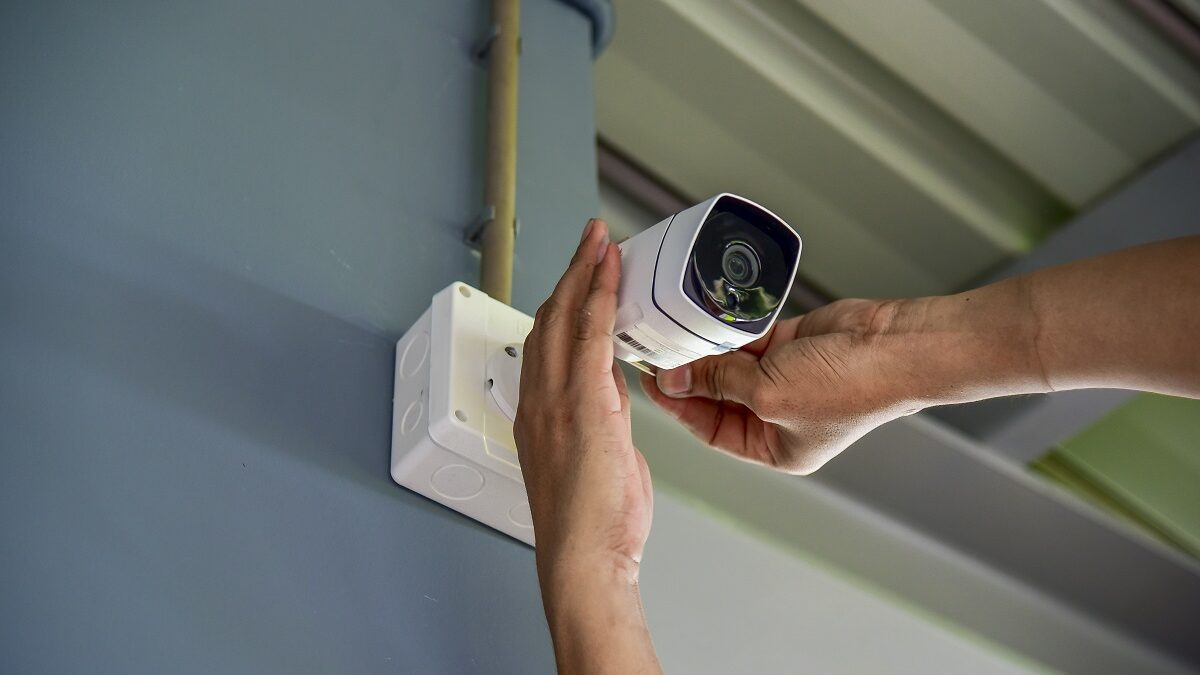
Installing Camera Mounts:
- Drilling Pilot Holes: Use a power drill and appropriate drill bit to create pilot holes for your camera mounts. Ensure that the holes are the correct depth and align with the mounting holes on the camera brackets.
- Attaching Camera Brackets: Securely attach the camera brackets to the pilot holes using screws or other mounting hardware provided with your camera system.
- Adjusting Camera Angle: Adjust the angle of the camera on the mount to capture the desired field of view. Use a level to make sure the camera is level and ensure the best image quality.
- Tightening Screws: Once the camera is positioned correctly, tighten the screws on the camera mount to securely hold the camera in place.
Repeat these steps for each camera in your system, ensuring that you follow the guidelines for proper camera placement. By taking the time to carefully mount the cameras, you will capture the best surveillance footage and maximize the effectiveness of your wired security camera system.
Step 4: Running the Cables – Planning Cable Routes – Running and Securing Video Cables – Running and Connecting Power Cables
With the cameras mounted, it’s time to run and connect the necessary cables for your wired security camera system. Follow these steps to ensure a clean and efficient cable installation:
Planning Cable Routes:
- Map out the Route: Plan the route for running the video and power cables from each camera to the DVR. Consider the distance, obstacles, and potential cable concealment options, such as running cables through walls, ceilings, or conduit.
- Minimize Cable Exposure: Whenever possible, try to minimize the exposure of the cables to potential tampering or damage by concealing them in a secure location or using cable covers.
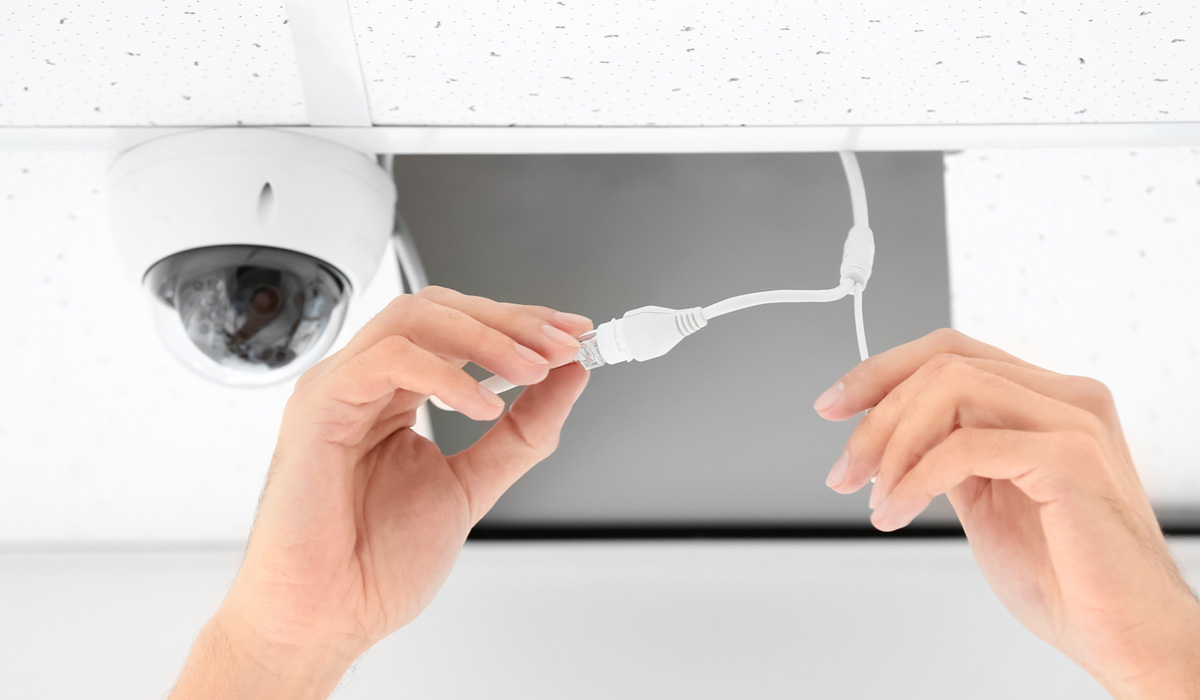
Running and Securing Video Cables:
- Measure and Cut: Depending on the planned cable route, measure and cut the required length of video cables for each camera.
- Secure Video Cables: Using cable clips or cable ties, secure the video cables along the planned cable route, ensuring a neat and organized installation. Make sure to avoid any sharp objects or tight bends that could damage the cables.
- Connect Cameras to the DVR: Connect one end of each video cable to the corresponding camera, and the other end to the appropriate input on the DVR. Ensure a secure and tight connection to maintain a stable video signal.
Running and Connecting Power Cables:
- Measure and Cut: Measure and cut the required length of power cables for each camera, taking into account the distance from the power source to the cameras.
- Run Power Cables: Run the power cables along the planned cable route, making sure to keep them separate from video cables to minimize interference.
- Connect Power Supply: Plug one end of the power cables into the power source, which can be a power outlet or a power supply unit included with your camera system. Connect the other end to the corresponding power input on each camera.
Once all the video and power cables are properly installed and connected, carefully check the connections to ensure everything is secure and tight. It’s important to establish a reliable and stable connection to ensure uninterrupted power and video transmission throughout your wired security camera system.
When installing a wired security camera system, make sure to plan the camera placement carefully to cover all entry points and vulnerable areas of your property. This will ensure maximum security coverage.
Step 5: Connecting the Cameras and DVR – Wiring Cameras to the DVR – Configuring Camera Settings
Now that the cameras are mounted and the cables are properly installed, it’s time to connect the cameras to the DVR and configure the camera settings. Follow these steps to complete the connection process:
Wiring Cameras to the DVR:
- Identify Camera Inputs: Locate the camera inputs on the back of the DVR. These inputs are usually labeled with numbers or corresponding camera names.
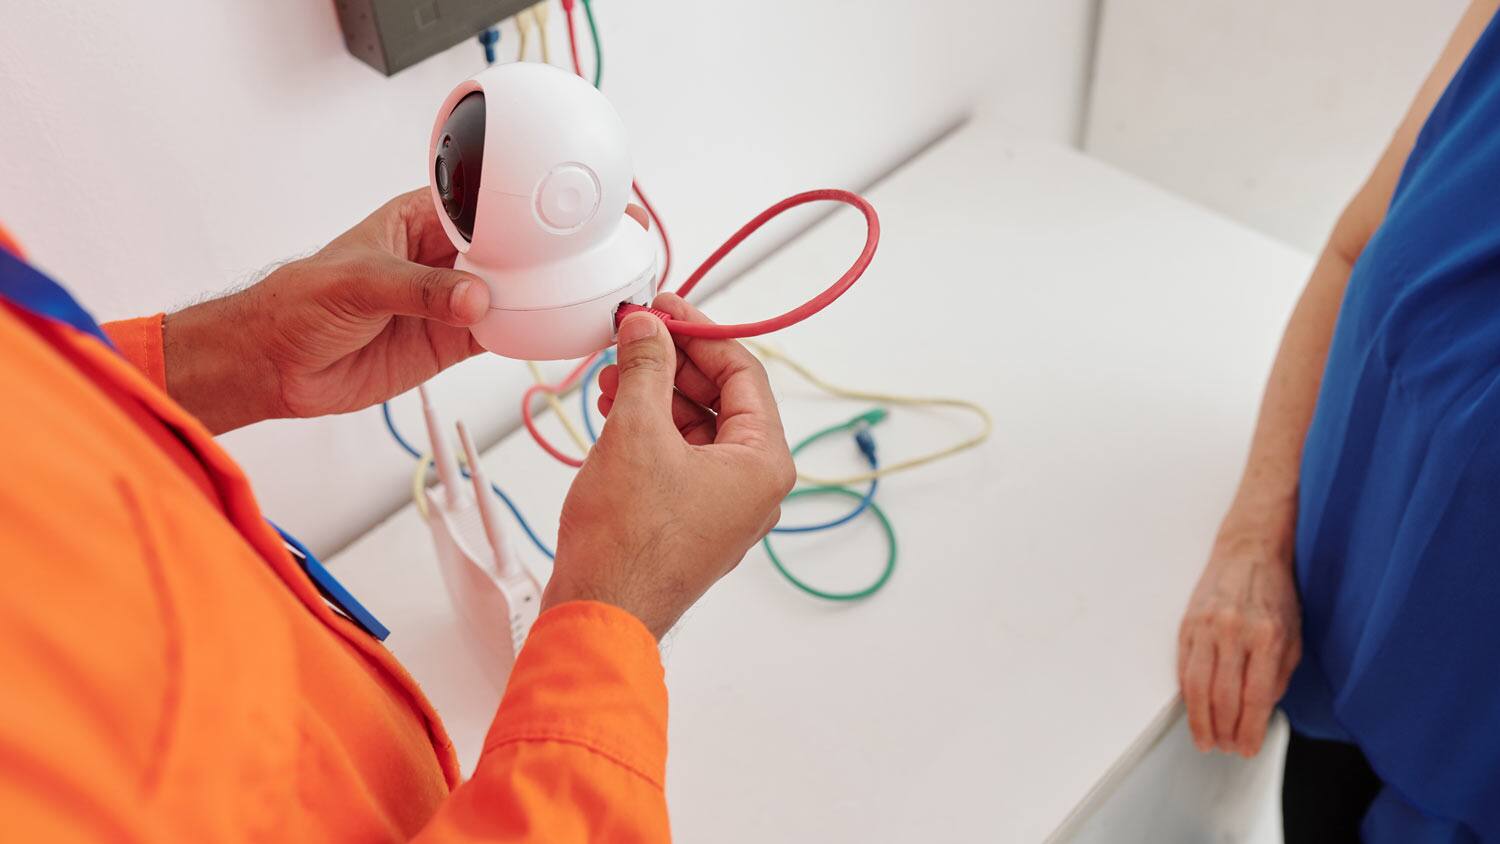
- Connect Video Cables: Take the video cables from each camera and connect them to the corresponding camera inputs on the DVR. Ensure a proper and secure connection to maintain the video signal.
- Connect Power Cables: Plug the power cables of each camera into the power supply unit included with your camera system or directly into a power outlet, depending on your setup. Make sure the power supply is functioning correctly.
Configuring Camera Settings:
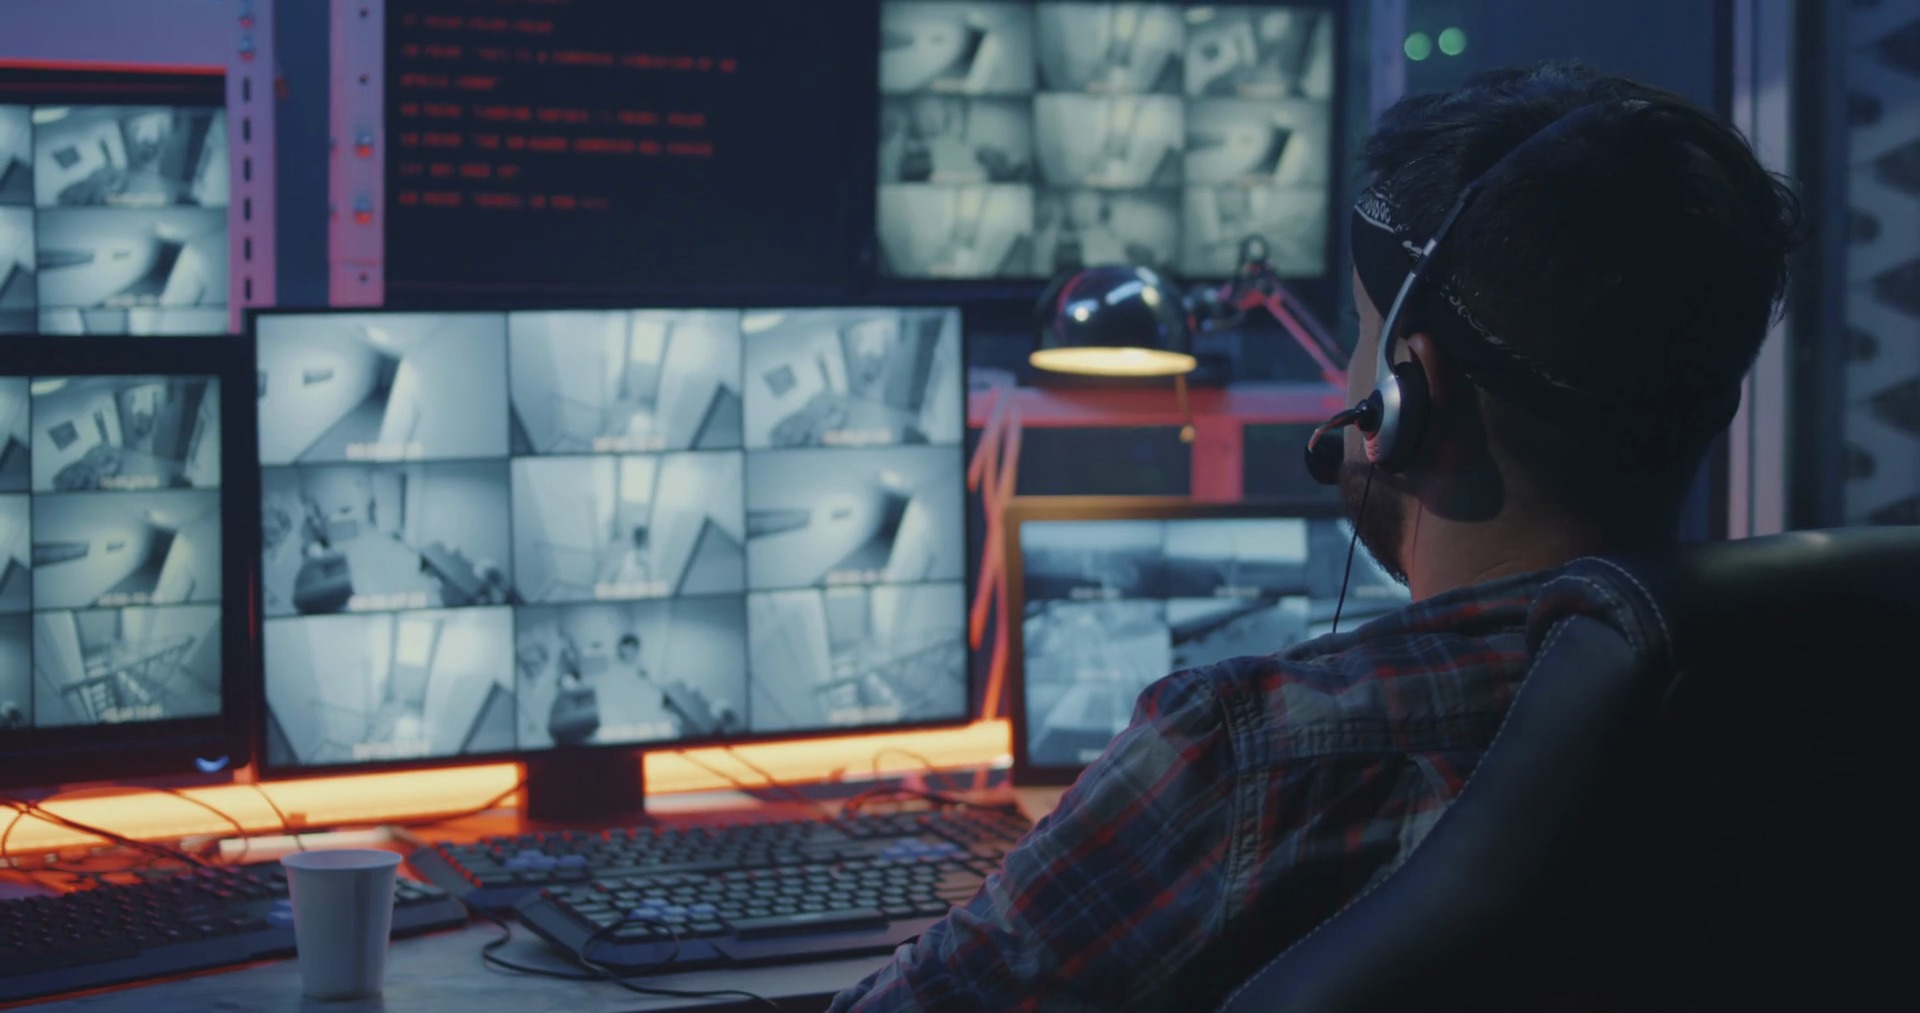
- Access the DVR Interface: Connect a monitor to the DVR using an HDMI or VGA cable and power it on. Most DVRs have a built-in interface that allows you to configure camera settings and monitor the footage.
- Configure Camera Settings: Access the camera settings menu in the DVR interface. Here you can adjust camera-specific settings such as brightness, contrast, motion detection, and recording modes. Follow the manufacturer’s instructions to customize the settings according to your preferences.
- Set Up Recording: Determine your desired recording settings, such as continuous recording or motion-triggered recording, and configure the DVR accordingly. Specify the storage location for the recorded footage.
- Network Configuration: If you wish to access your surveillance system remotely, configure the network settings on the DVR. This will allow you to monitor and control your cameras via a smartphone app or computer.
- Save and Apply Settings: Once you have adjusted the camera settings and configured the DVR, save the changes and apply the settings. The DVR will now start recording and be ready to monitor your property.
By properly connecting the cameras to the DVR and configuring the camera settings, you will have complete control over your surveillance system and be able to capture and record the desired footage.
Step 6: Testing and Adjustments – Checking Camera Feeds – Adjusting Camera Angles – Troubleshooting Common Issues
With the cameras connected and the settings configured, it’s time to test and make any necessary adjustments to ensure optimal performance of your wired security camera system. Follow these steps to test and troubleshoot:
Checking Camera Feeds:
- Monitor Display: Use the connected monitor to view the camera feeds. Make sure that each camera is displaying a clear and stable video feed.
- Check for Blind Spots: Walk through the monitored areas and verify that there are no blind spots or areas with poor coverage. Adjust the camera angles if necessary to ensure complete surveillance coverage.
- Verify Night Vision: Test the night vision capabilities of the cameras by checking the footage in low-light conditions. Ensure that the night vision is providing clear and well-lit images.
Adjusting Camera Angles:
- Camera Positioning: Assess the camera angles and adjust them to capture the desired field of view. Use the mounting brackets to pivot or tilt the cameras, ensuring the best coverage.
- Leveling: Check the level of each camera and adjust if necessary to ensure straight and steady footage.
- Testing Different Angles: Consider testing different camera angles to find the optimal positions that capture the desired surveillance range while minimizing unwanted areas.
Troubleshooting Common Issues:
- No Video Signal: Ensure that all video cables are securely connected to the cameras and DVR. Check for any loose connections or damaged cables.
- Power Issues: Verify that the power cables are correctly plugged in and that the cameras are receiving power. Check the power supply unit or power outlets if necessary.
- Network Connectivity: If you are experiencing issues with remote access or network connectivity, double-check the network configurations on the DVR and ensure that your network is properly set up.
- Image Quality: Adjust the camera settings, such as brightness and contrast, to improve the image quality. Consider upgrading to cameras with higher resolutions for clearer footage.
By thoroughly testing your wired security camera system, adjusting camera angles for optimal coverage, and troubleshooting any issues, you can ensure that your surveillance system is functioning effectively and providing reliable security monitoring for your home or property.
Step 7: Finalizing the Installation – Securing Camera Wires – Setting Up Remote Viewing – Installing Additional Accessories (e.g., Monitor)
Congratulations! You’ve reached the final step of installing your wired security camera system. Follow these steps to wrap up the installation and ensure everything is in place:
Securing Camera Wires:
- Cable Management: Organize and secure all camera wires neatly to avoid tripping hazards and protect them from potential damage. Use cable clips or cable ties to bundle and secure the wires along their routes.
- Concealing Wires: If desired, use cable covers or conduit to conceal any exposed cables and create a cleaner and more professional-looking installation.
- Protect Outdoor Connections: For outdoor camera connections, ensure that the cable connections are protected from the elements by using weatherproof junction boxes or waterproof cable connectors.
Setting Up Remote Viewing:
- Network Setup: Configure the networking settings on your DVR to enable remote access. This typically involves setting up port forwarding on your router and configuring dynamic DNS (DDNS) if necessary.
- Mobile App Installation: Install the mobile app provided by the camera system manufacturer on your smartphone or tablet.
- Remote Viewing Configuration: Follow the instructions provided with the camera system to link your mobile app with your wired security camera system. This will allow you to monitor and control your cameras remotely from anywhere.
Installing Additional Accessories (e.g., Monitor):
- Monitor Installation: If you haven’t already done so, install a monitor to connect to your DVR. This will allow you to view the camera feeds locally and make any necessary adjustments.
- Mounting the Monitor: Position and mount the monitor in a suitable location, ensuring that it is easily accessible for viewing and adjusting camera settings.
- Connecting the Monitor: Use the appropriate cable (HDMI or VGA) to connect the monitor to the DVR’s video output port.
By securing camera wires, setting up remote viewing capabilities, and installing additional accessories like a monitor, you’ll have full control and access to your wired security camera system. Take the time to ensure that everything is properly set up and functioning as intended.
With the installation completed, you can now enjoy the peace of mind that comes with a reliable and effective home security system. Regularly maintain and monitor your system to ensure ongoing protection and optimal performance.
Conclusion
Congratulations on successfully installing your wired security camera system! By following the steps outlined in this guide, you have taken important measures to enhance the safety and security of your home and loved ones. Let’s recap what we’ve covered:
We started by discussing the importance of selecting the right wired security camera system, considering factors such as camera resolution, type, features, DVR capabilities, power supply, and budget. Choosing the right system ensures that you have the necessary tools to meet your specific surveillance needs.
Next, we explored the preparations needed for the installation process, including assessing the installation location and gathering the required tools and materials. Proper preparation is key to a smooth and efficient installation.
We then dove into the step-by-step process of mounting the cameras, running and securing the video and power cables, connecting the cameras to the DVR, and configuring camera settings. Each of these steps contributes to ensuring that your cameras are properly installed and functional.
Once the installation was complete, we moved on to testing and making adjustments. Checking camera feeds, adjusting camera angles, and troubleshooting common issues help fine-tune your system for optimal performance and coverage.
Finally, we discussed finalizing the installation by securing camera wires, setting up remote viewing capabilities, and installing additional accessories, such as a monitor. These final touches ensure that your surveillance system is fully operational and meet your security needs.
By installing a wired security camera system, you have taken an important step towards ensuring the safety and security of your home. However, it’s important to note that a security camera system is just one piece of the puzzle. It should be complemented by other security measures such as alarm systems, strong locks, and adequate lighting.
Regular maintenance and monitoring of your system is also crucial. Inspect and clean your cameras regularly, secure any loose connections, and stay updated with the latest firmware updates to keep your system functioning optimally.
Remember, a wired security camera system is an investment in the protection of your home and loved ones. With your new system in place, you can have peace of mind knowing that you have an effective surveillance solution providing an extra layer of security.
Thank you for choosing to enhance your home security with a wired security camera system. Stay safe and secure!
Frequently Asked Questions about How To Install A Wired Security Camera System
Was this page helpful?
At Storables.com, we guarantee accurate and reliable information. Our content, validated by Expert Board Contributors, is crafted following stringent Editorial Policies. We're committed to providing you with well-researched, expert-backed insights for all your informational needs.