Home>Home Appliances>Home Automation Appliances>How To Wire 4-Wire Thermostat
Home Automation Appliances
How To Wire 4-Wire Thermostat
Modified: August 16, 2024
Learn how to wire a 4-wire thermostat for your home automation appliances. Follow our step-by-step guide for easy installation.
(Many of the links in this article redirect to a specific reviewed product. Your purchase of these products through affiliate links helps to generate commission for Storables.com, at no extra cost. Learn more)
Introduction
Welcome to the world of home automation, where convenience and comfort are seamlessly integrated into everyday living. In this guide, we will delve into the intricacies of wiring a 4-wire thermostat, a fundamental component of modern heating and cooling systems. Whether you are a seasoned DIY enthusiast or a novice homeowner eager to learn, understanding the wiring process is essential for optimizing your home's climate control.
The 4-wire thermostat serves as the communication hub between your HVAC system and your preferences, enabling you to regulate temperature settings with precision. This article aims to demystify the wiring process, equipping you with the knowledge and confidence to tackle this task with ease.
As we embark on this journey, we will unravel the significance of the 4-wire thermostat, explore the tools and materials required for the wiring process, and provide a comprehensive, step-by-step guide to ensure seamless installation. Additionally, we will address testing and troubleshooting procedures to guarantee the successful integration of your new thermostat.
By the end of this guide, you will possess the expertise to wire a 4-wire thermostat proficiently, empowering you to optimize your home's climate control system and enhance your living environment. So, let's embark on this enlightening adventure and unravel the intricacies of wiring a 4-wire thermostat!
Key Takeaways:
- Wiring a 4-wire thermostat involves understanding the R, W, Y, and G wires’ functions and using tools like a screwdriver, wire cutter, and multimeter to ensure a secure and precise installation.
- After wiring, testing the thermostat’s connections, verifying temperature and fan functionality, and troubleshooting potential issues are crucial for ensuring optimal performance and comfort in your home.
Read more: What Is 4 Wire Electrical Wire
Understanding the 4-Wire Thermostat
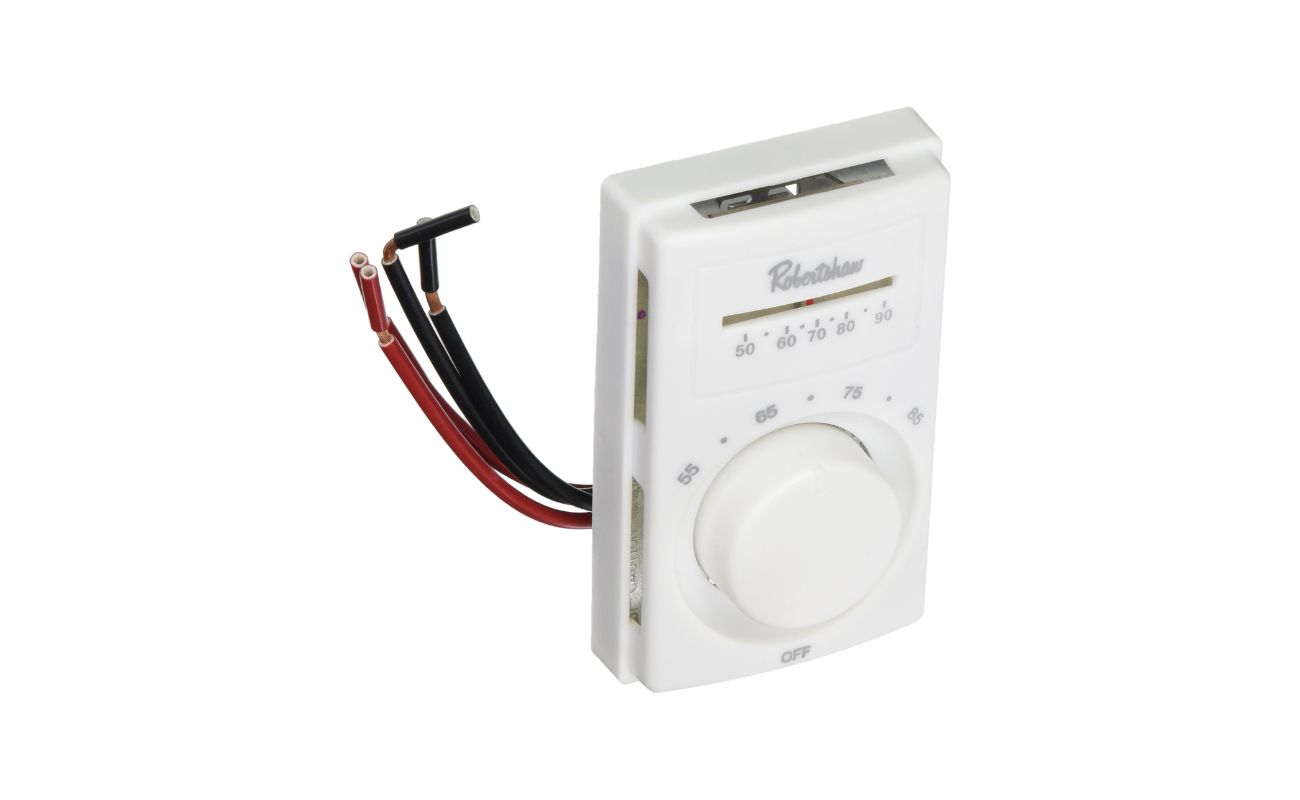
Before delving into the wiring process, it is crucial to comprehend the functionality and significance of the 4-wire thermostat within your HVAC system. The 4-wire thermostat, also known as a low-voltage thermostat, serves as the interface between your heating and cooling system and your desired temperature settings.
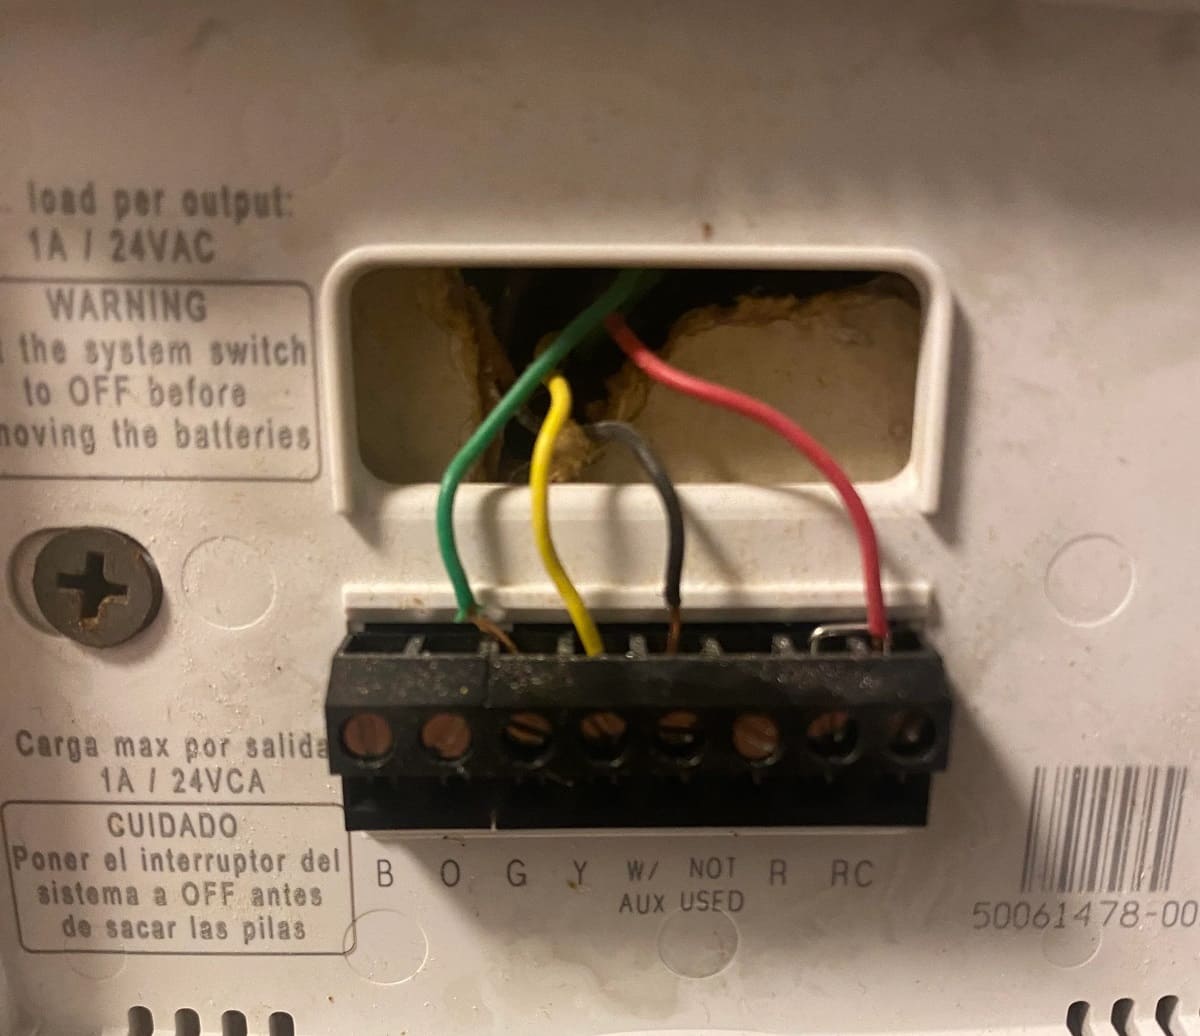
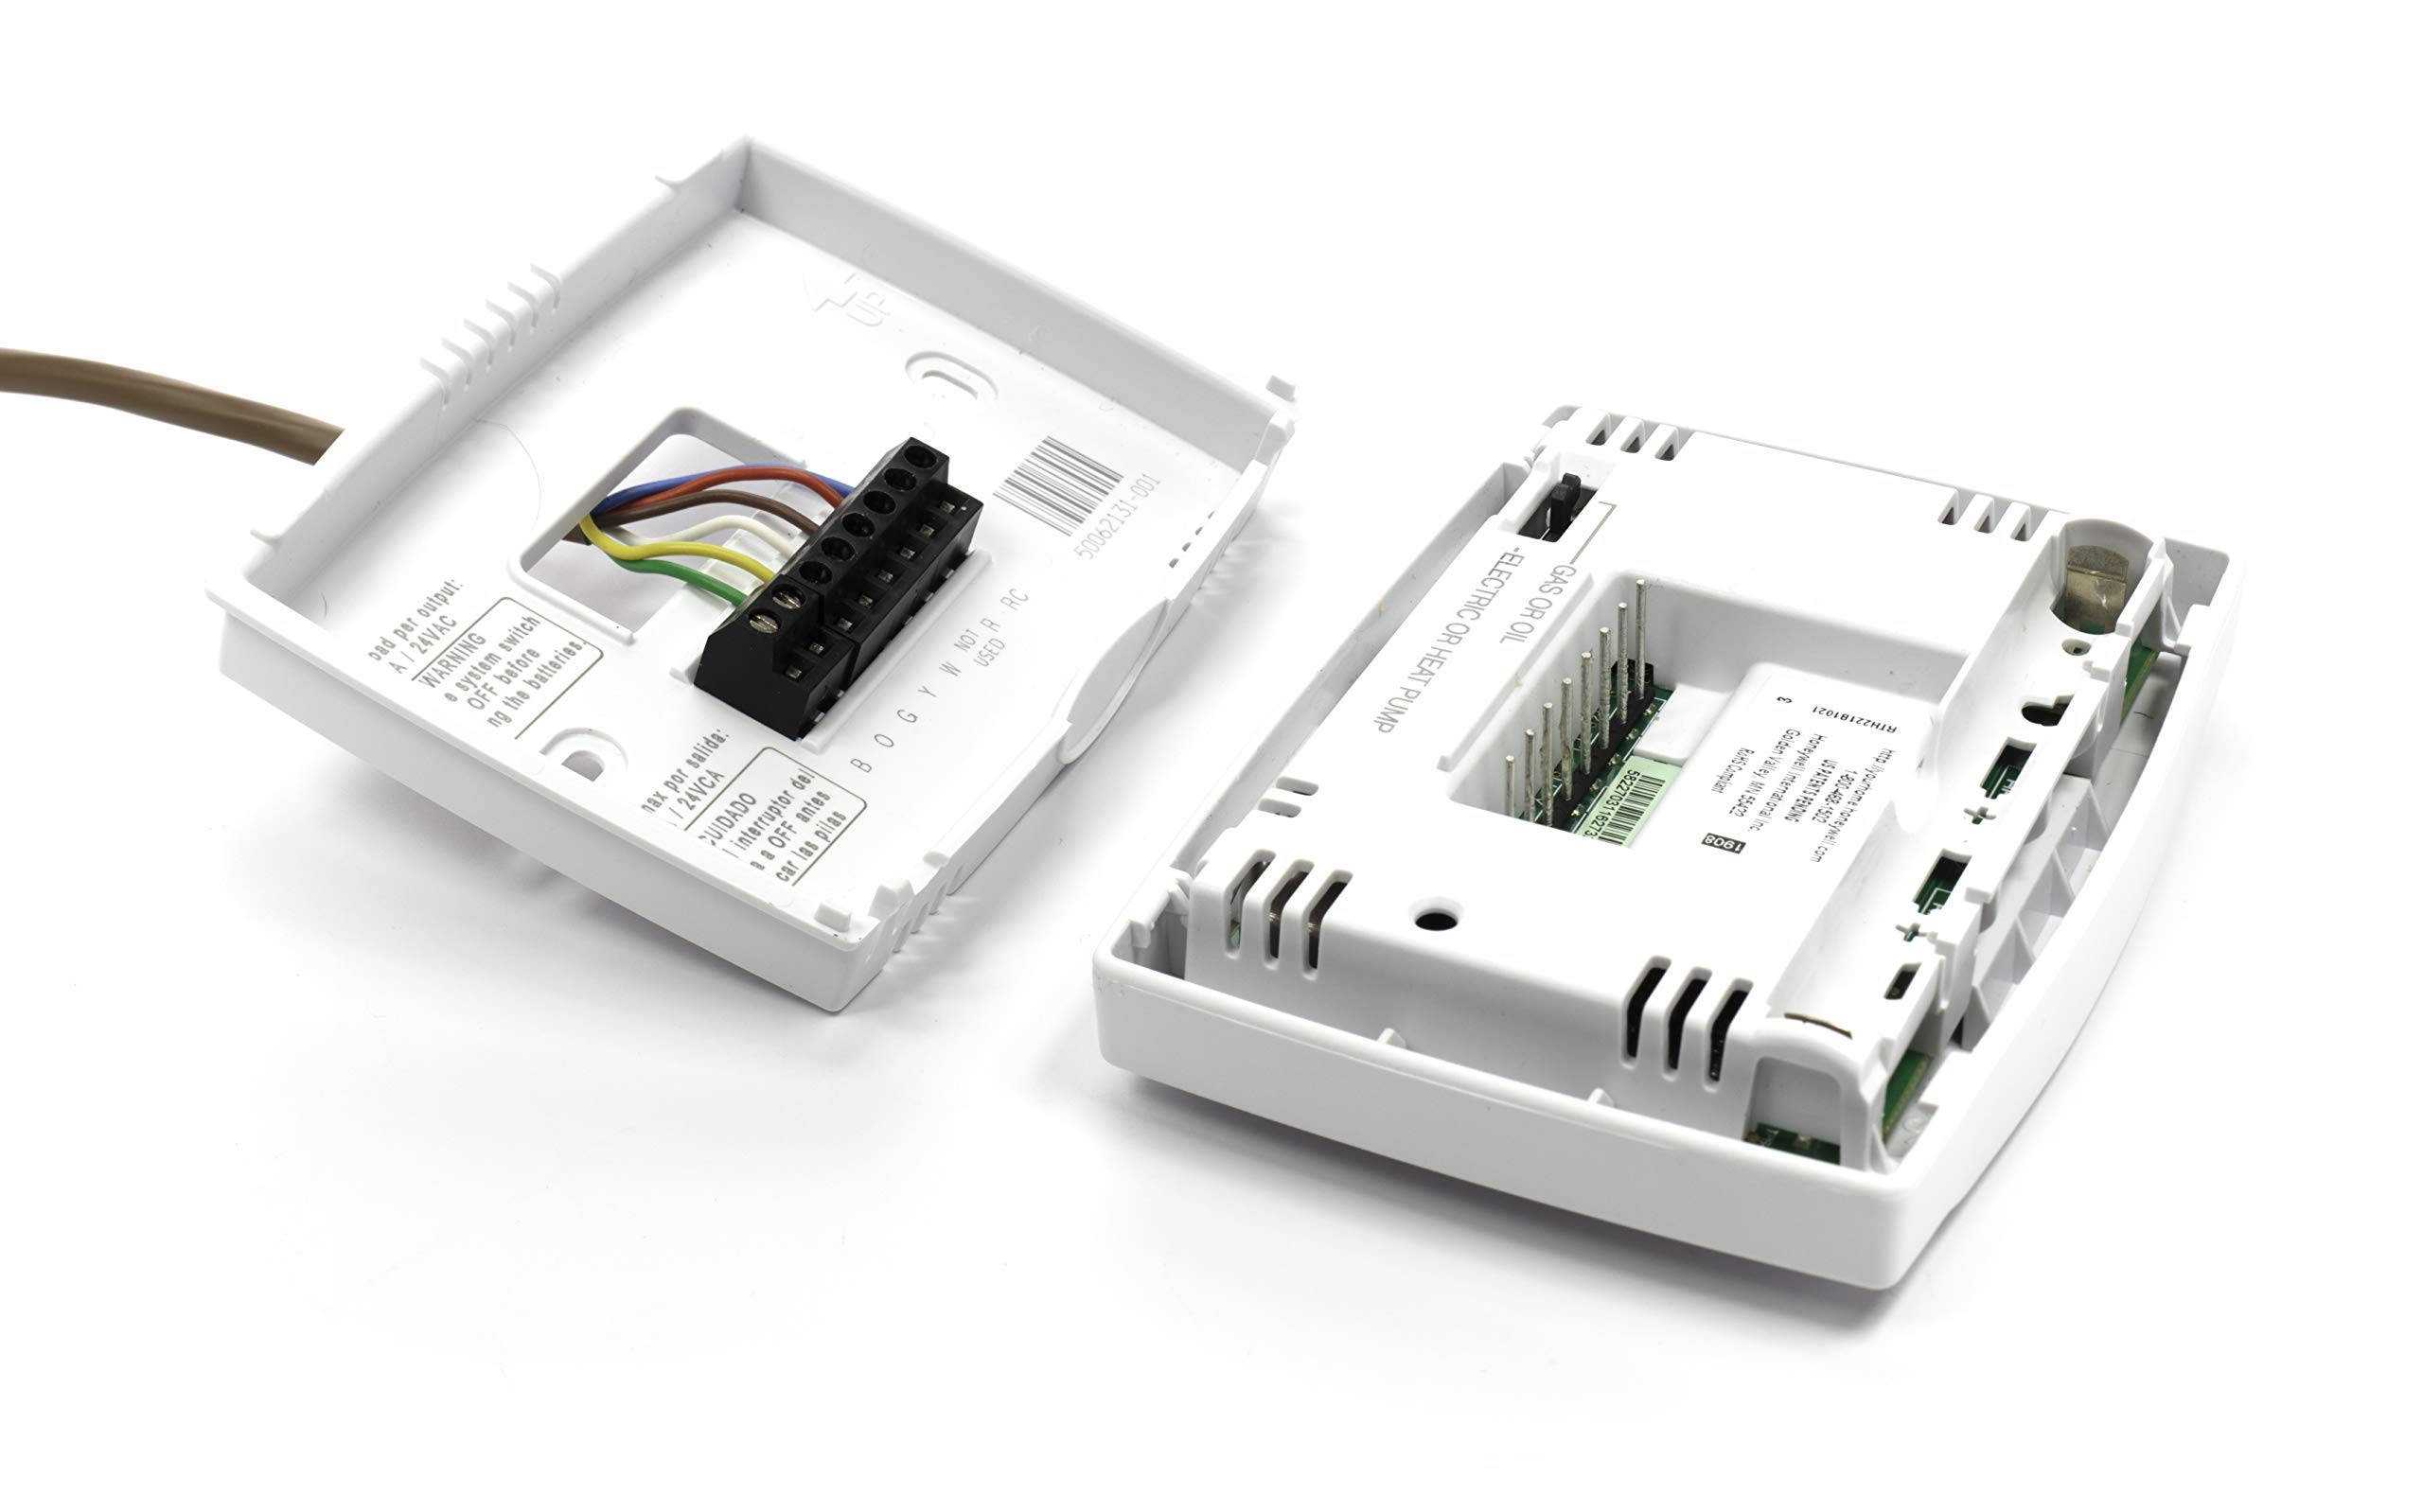
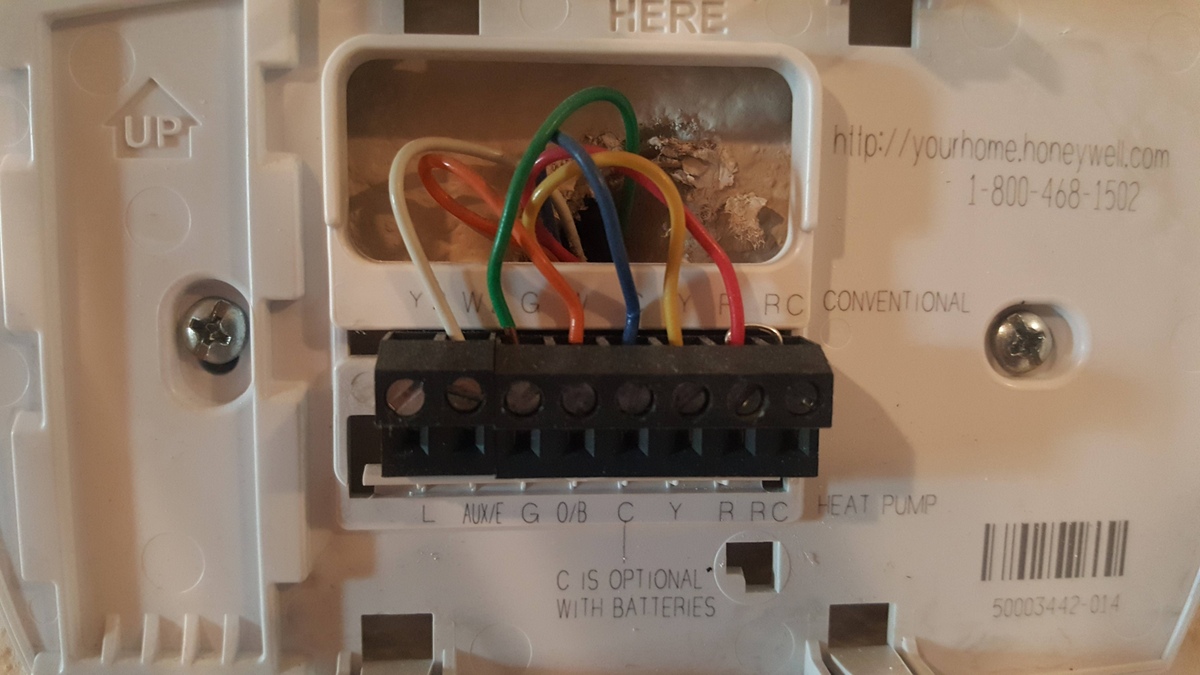
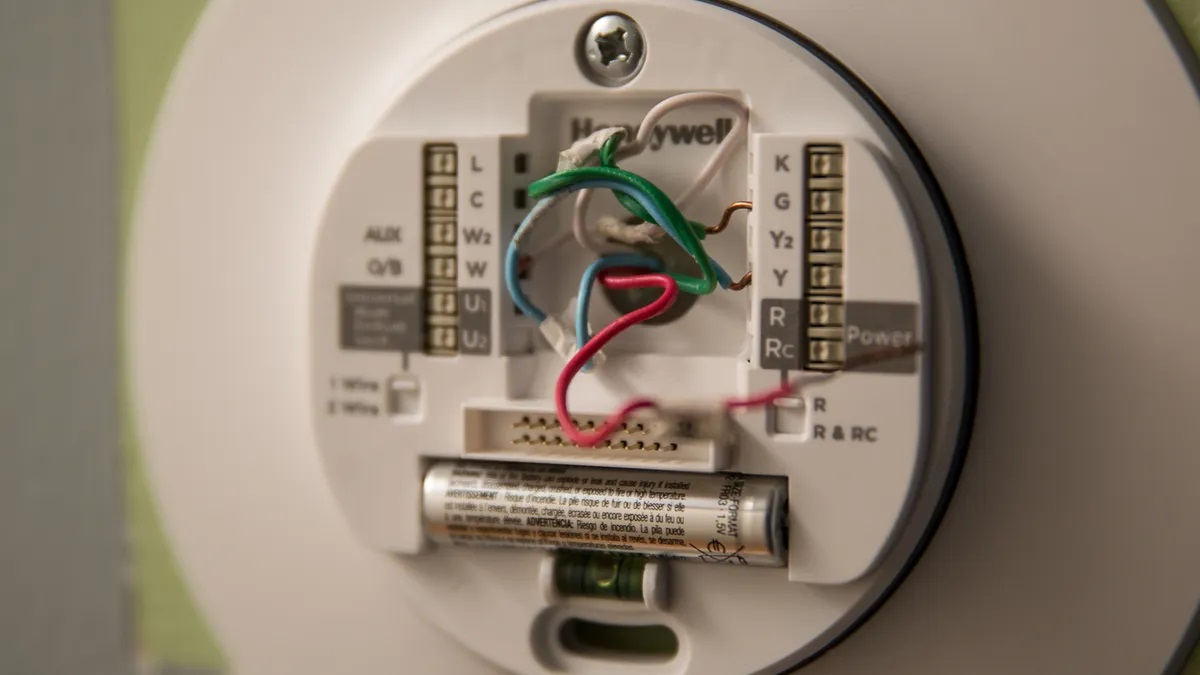
These thermostats are commonly found in residential heating and cooling systems, where they play a pivotal role in regulating indoor temperatures. The 4-wire configuration consists of four essential wires, each serving a distinct purpose in the thermostat's operation: the R (red) wire, the W (white) wire, the Y (yellow) wire, and the G (green) wire.
The R wire, often denoted by its distinctive red color, serves as the power supply for the thermostat. This wire connects to the 24-volt transformer, providing the necessary power for the thermostat to function. The W wire, typically white, is responsible for activating the heating system, signaling the furnace or heat pump to initiate the heating process when the temperature falls below the set threshold.
Conversely, the Y wire, commonly yellow, is integral to the cooling function of the thermostat. When the indoor temperature exceeds the designated level, the Y wire triggers the air conditioning system, prompting it to engage and lower the temperature. Lastly, the G wire, often green, facilitates the operation of the fan, allowing the thermostat to control the fan's activation and deactivation, ensuring optimal air circulation.
Understanding the roles of these four wires is essential for comprehending the wiring process and ensuring seamless integration into your HVAC system. By familiarizing yourself with the core functions of each wire, you will be better equipped to wire the thermostat effectively and troubleshoot any potential issues that may arise during the installation process.
Now that we have unraveled the fundamental functions of the 4-wire thermostat, let's explore the essential tools and materials required for the wiring process, equipping you with the necessary resources to embark on this enlightening endeavor.
Tools and Materials Required
Before embarking on the wiring process, it is essential to ensure that you have the requisite tools and materials at your disposal. Equipping yourself with the right resources will streamline the installation process and minimize potential challenges. Here is a comprehensive list of the tools and materials you will need:
Tools:
- Flathead screwdriver: This versatile tool is essential for loosening and tightening screws during the wiring process.
- Wire cutter/stripper: A reliable wire cutter and stripper will enable you to trim and prepare the thermostat wires effectively, ensuring a secure connection.
- Drill and drill bits: In some cases, you may need to drill holes to mount the thermostat or access the wiring terminals, making a drill a valuable asset.
- Level: To ensure the thermostat is mounted evenly and aesthetically, a level will help you achieve a balanced installation.
- Multimeter: This diagnostic tool is invaluable for testing voltage, continuity, and resistance, providing essential feedback during the installation process.
Materials:
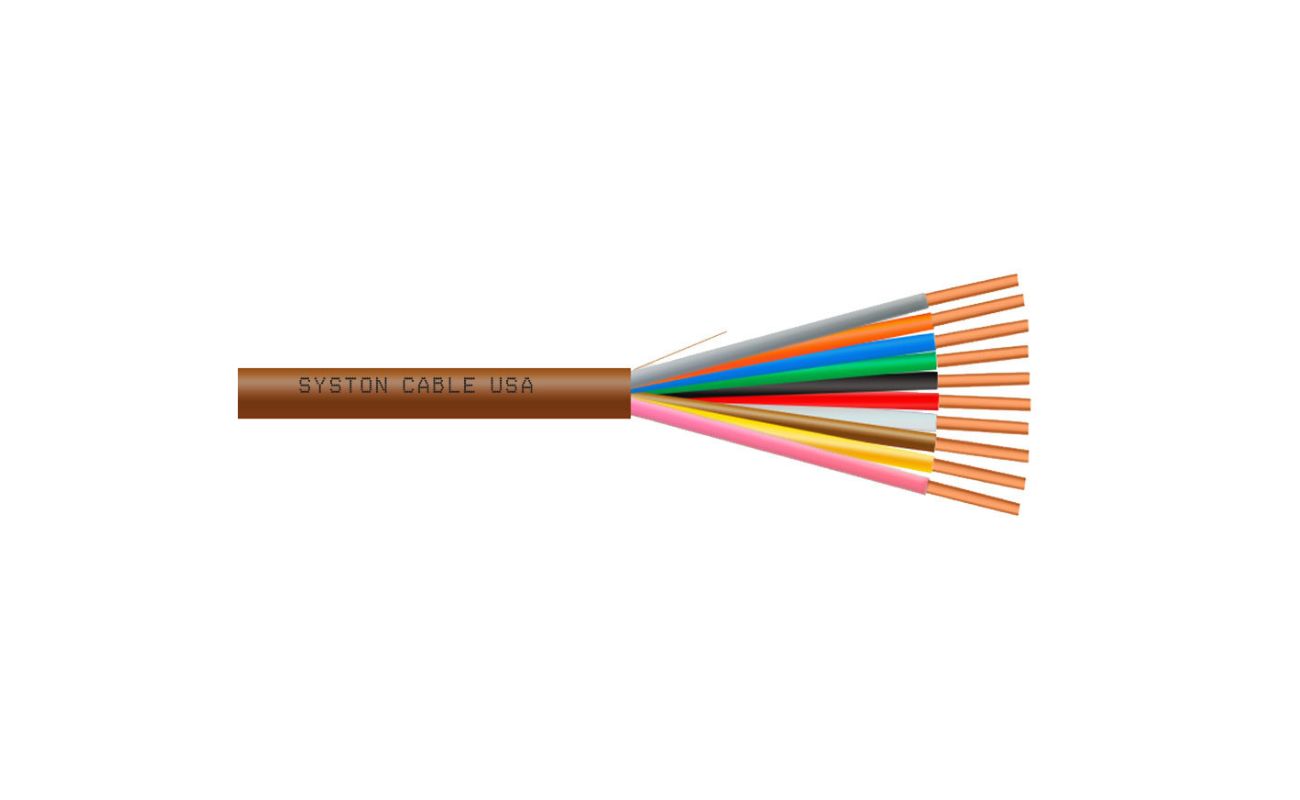
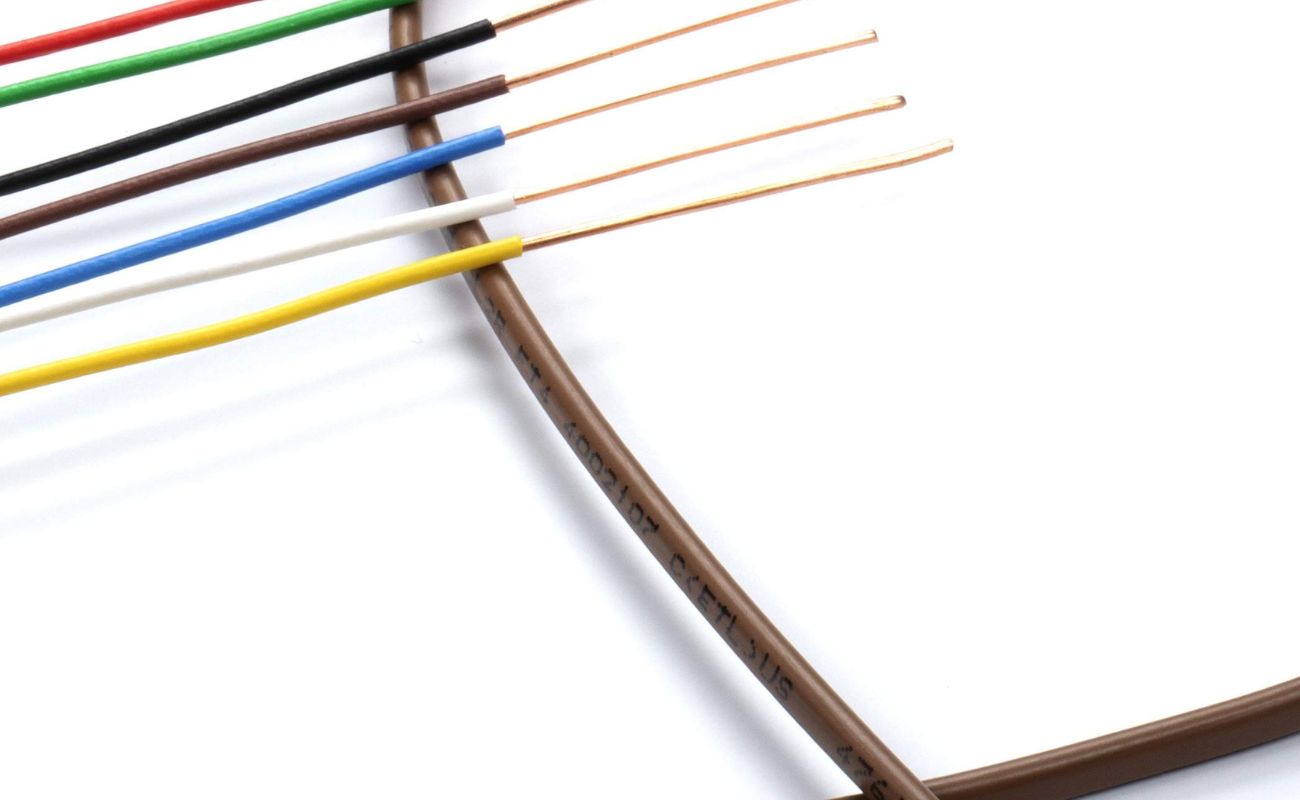
- 4-wire thermostat cable: Ensure you have an adequate length of 4-wire thermostat cable to connect the thermostat to the HVAC system.
- Anchors and screws: These are necessary for securely mounting the thermostat to the wall, providing stability and support.
- Wire nuts: These connectors are essential for joining and securing the thermostat wires to the corresponding wires from the HVAC system.
- Electrical tape: Use electrical tape to insulate and protect the exposed portions of the wires, safeguarding against potential electrical hazards.
- Mounting plate or junction box: Depending on the specific thermostat model, you may require a mounting plate or junction box to affix the thermostat to the wall.
By ensuring that you have the aforementioned tools and materials readily available, you will be well-prepared to embark on the wiring process with confidence and efficiency. With these resources at your disposal, you are poised to navigate the installation steps seamlessly, culminating in the successful integration of your 4-wire thermostat into your HVAC system.
Now that we have assembled the necessary tools and materials, let’s proceed to the comprehensive steps for wiring a 4-wire thermostat, empowering you to optimize your home’s climate control system effectively.
Read more: How To Wire A Dimmer Switch With 4 Wires
Steps to Wire a 4-Wire Thermostat
Wiring a 4-wire thermostat involves a series of systematic steps to ensure a seamless integration with your HVAC system. By following these comprehensive guidelines, you can confidently navigate the wiring process and optimize your home’s climate control. Let’s delve into the essential steps:
Step 1: Preparation
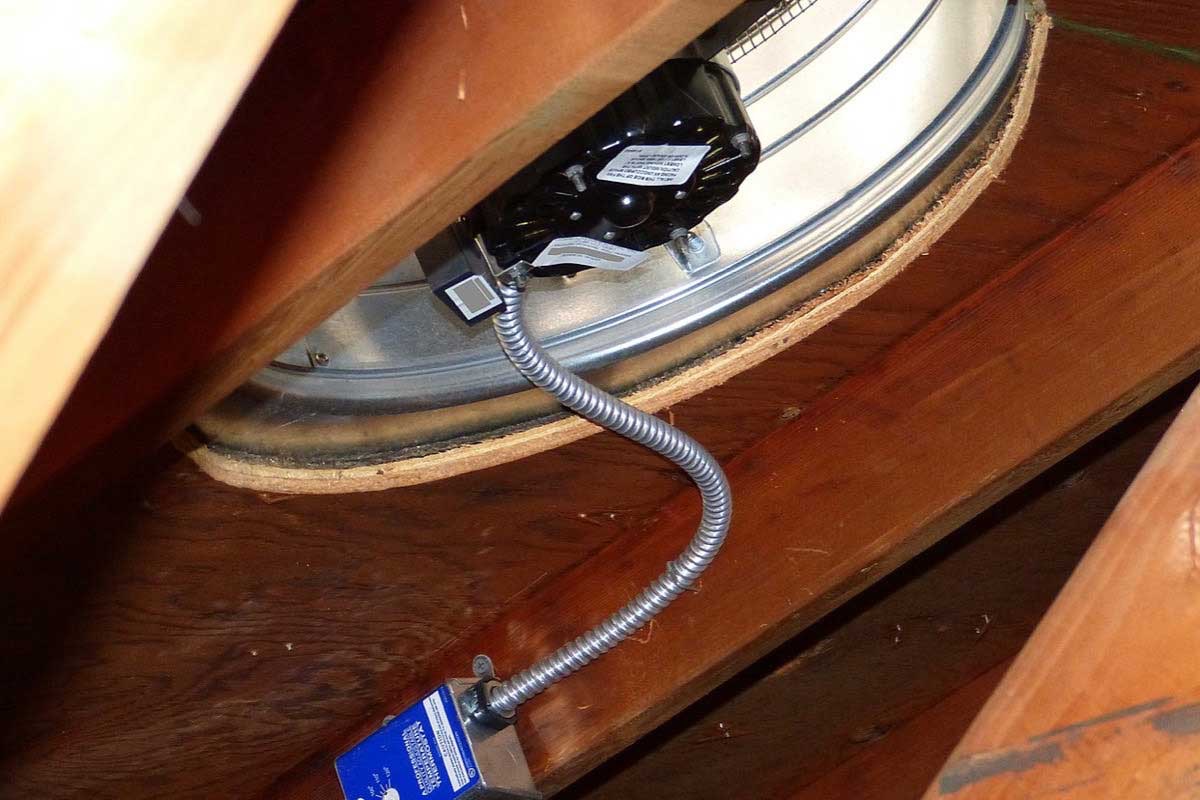
Before initiating the wiring process, turn off the power to your HVAC system to ensure safety. Familiarize yourself with the thermostat’s wiring diagram and the corresponding terminals on your HVAC system to facilitate a smooth installation.
Step 2: Mounting the Thermostat
Using the level to ensure precision, mount the thermostat on the wall at an optimal location. Secure it using the appropriate anchors and screws, maintaining stability and alignment.
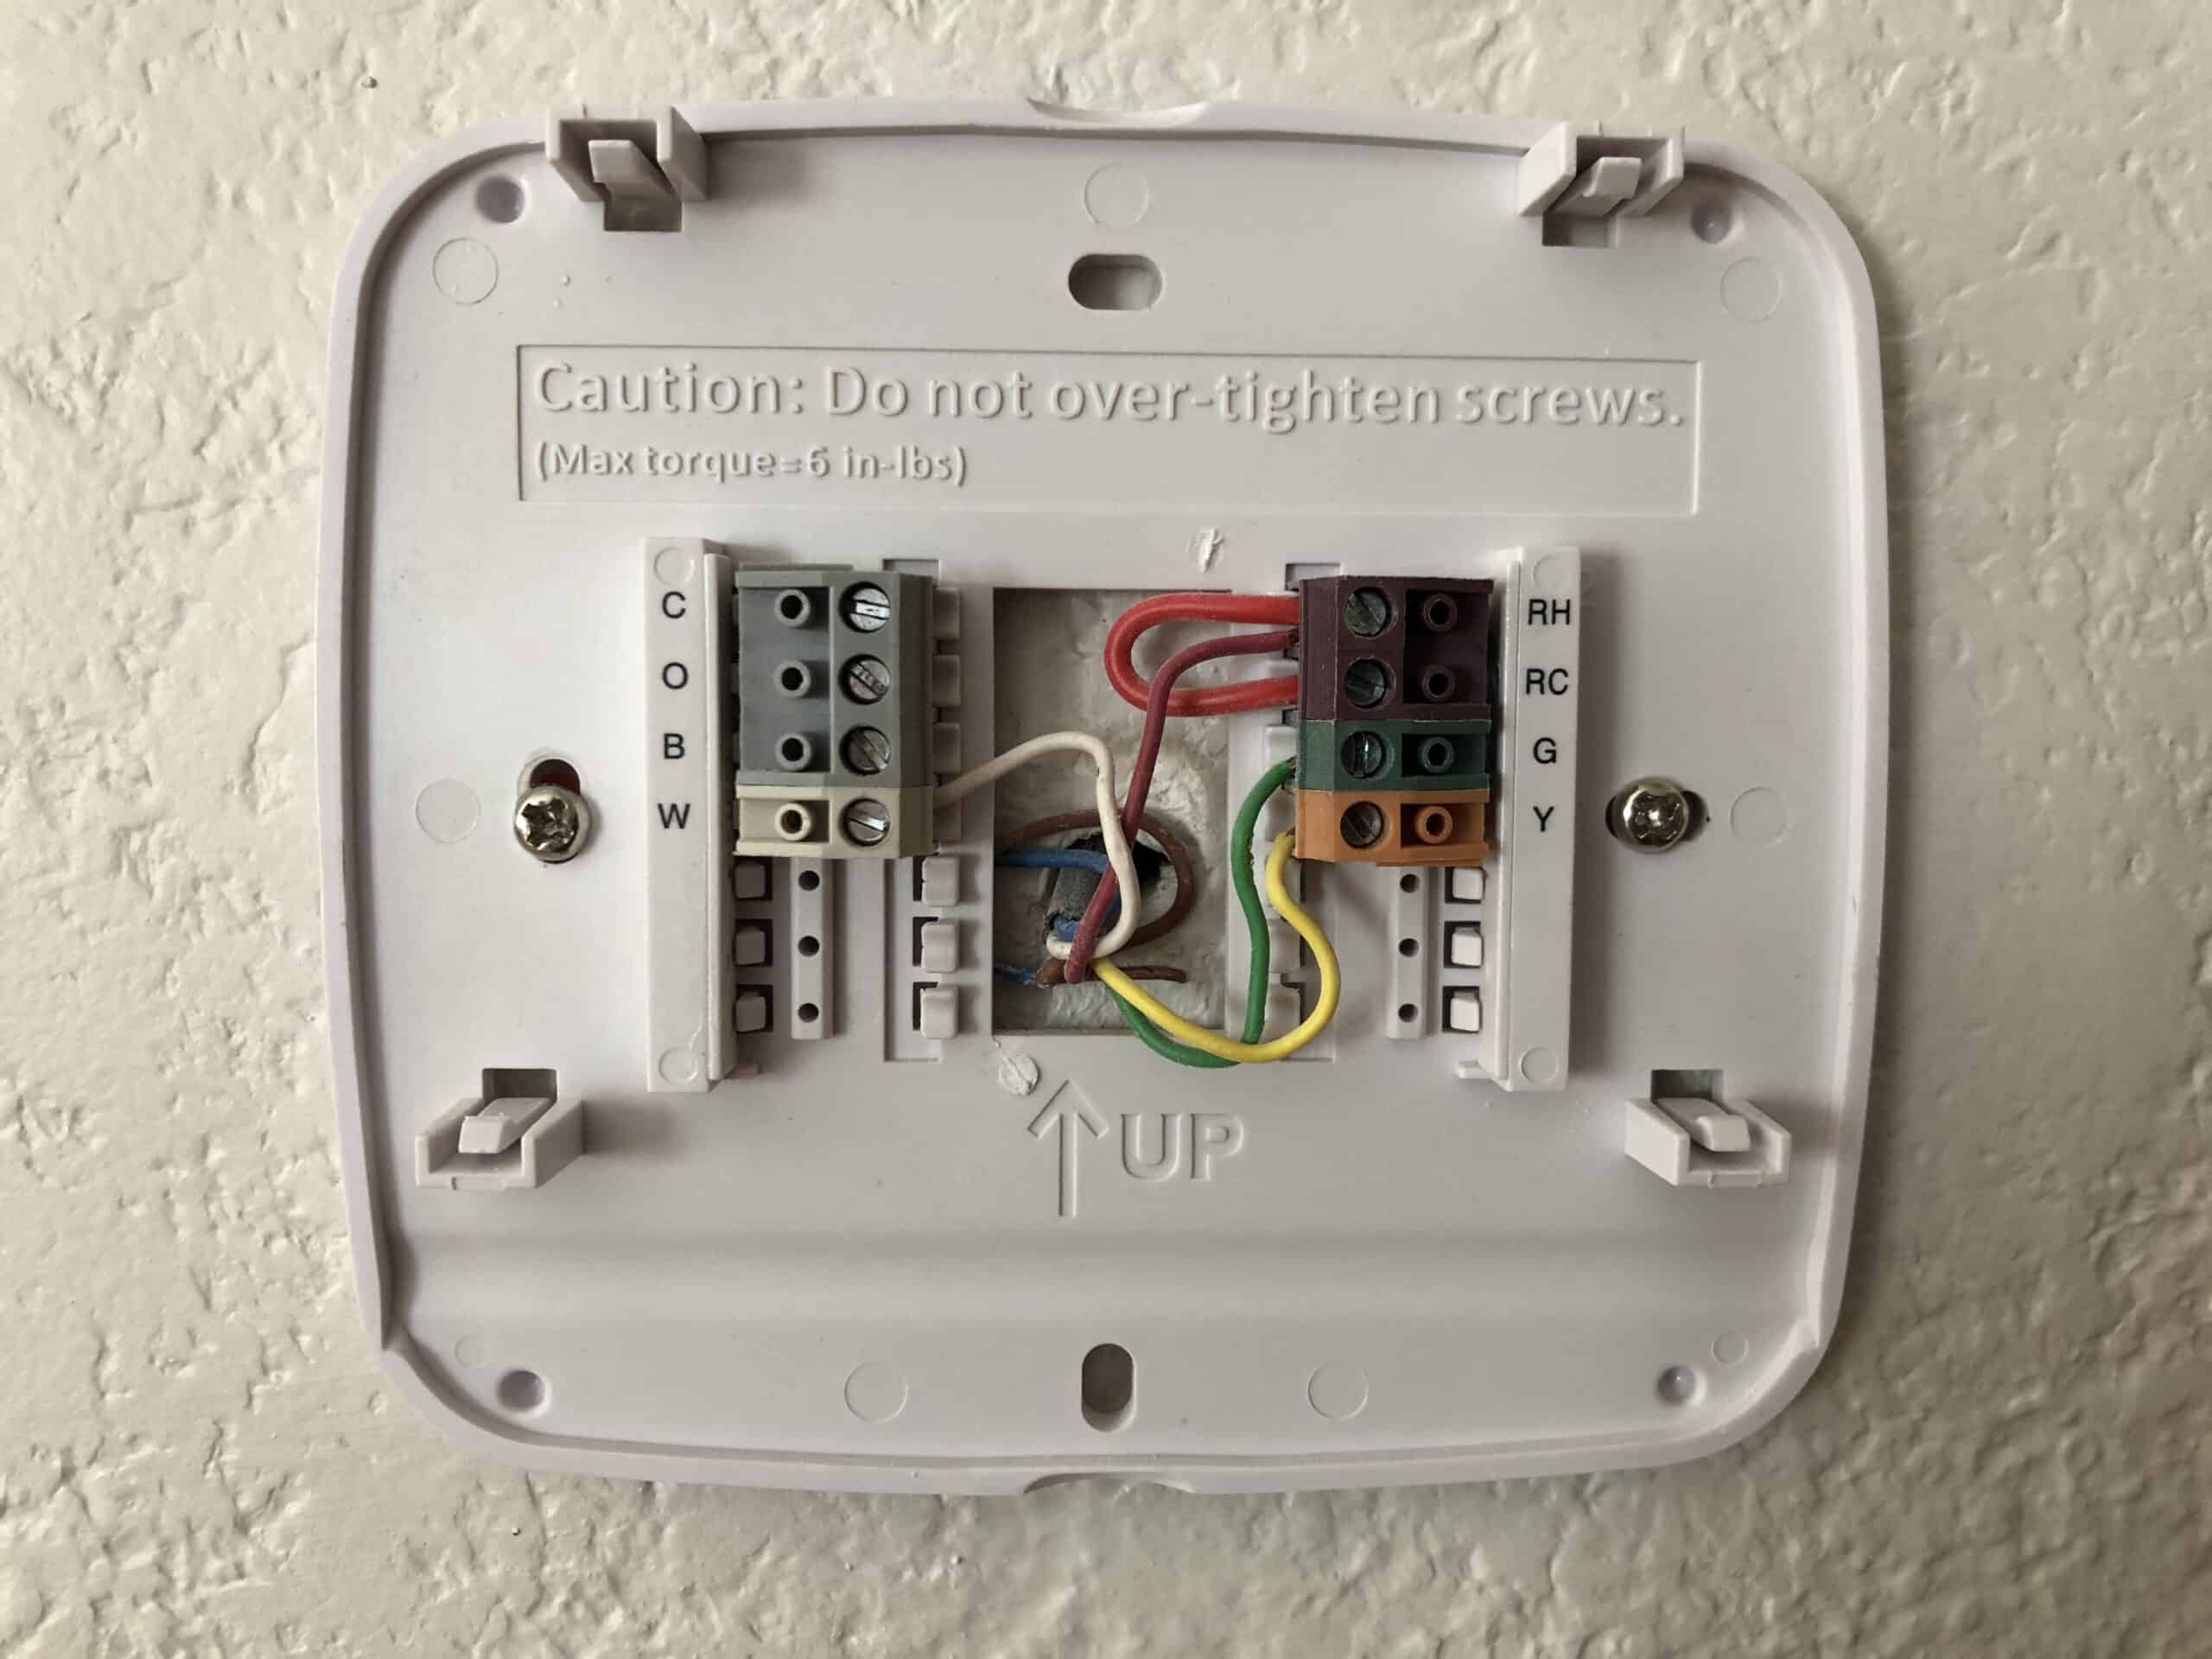
Step 3: Connecting the Wires
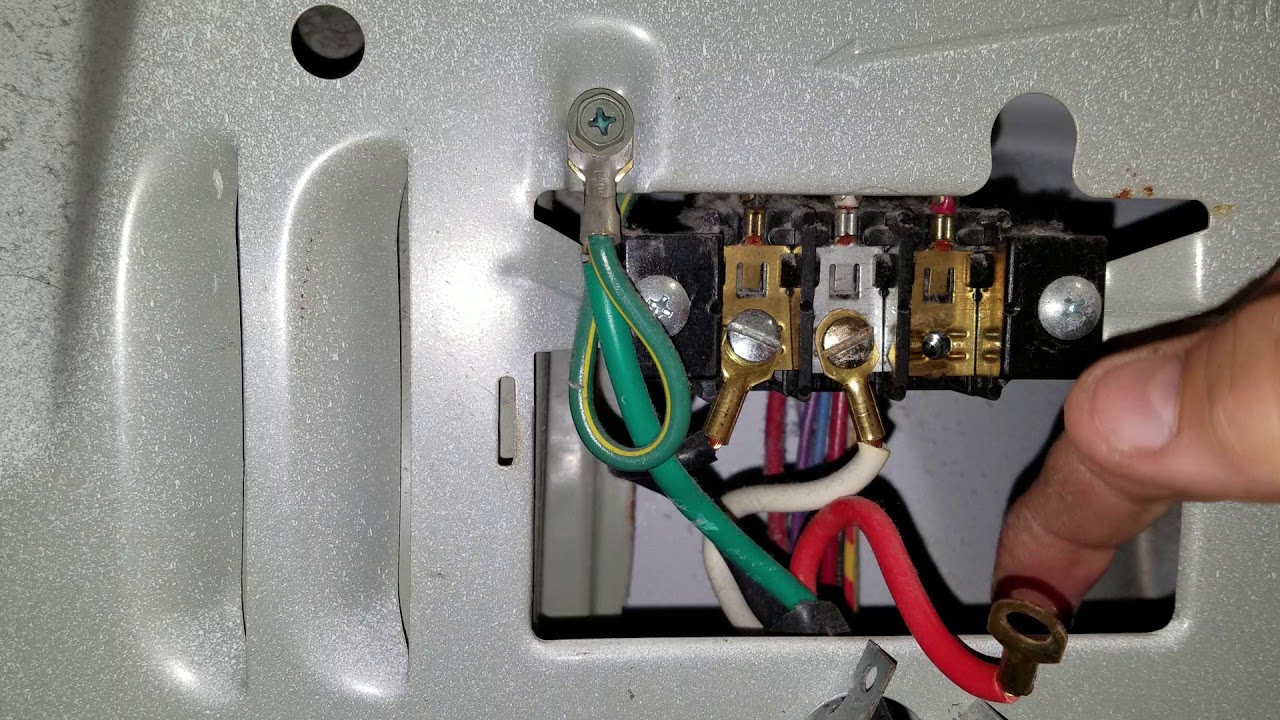
Identify the R, W, Y, and G terminals on the thermostat and match them with the corresponding wires from the HVAC system. Use the wire cutter/stripper to trim and prepare the wires, then connect them using wire nuts, ensuring a secure and reliable connection.
Read more: How To Wire Up A Thermostat
Step 4: Testing the Connections
After connecting the wires, use a multimeter to test the voltage and continuity of the connections. This step is crucial for verifying the integrity of the wiring and identifying any potential issues that may require attention.
Step 5: Securing the Wiring
Once the connections are validated, use electrical tape to insulate and protect the exposed portions of the wires, safeguarding against electrical hazards. Organize and secure the wires neatly, ensuring they are free from interference or damage.
Step 6: Powering Up the System
With the wiring complete and the connections secured, restore power to the HVAC system and the thermostat. Test the functionality of the thermostat by adjusting the temperature settings and observing the corresponding response from the heating and cooling systems.
By meticulously following these steps, you can effectively wire a 4-wire thermostat, optimizing your home’s climate control system with confidence and precision. With the thermostat seamlessly integrated into your HVAC system, you are poised to enjoy enhanced comfort and energy efficiency within your living space.
Now that the wiring process is complete, it is essential to address testing and troubleshooting procedures to ensure the optimal functionality of the newly installed thermostat. Let’s explore these critical aspects in the next section, empowering you to address any potential challenges with ease and proficiency.
Testing and Troubleshooting
Upon completing the wiring process for your 4-wire thermostat, it is imperative to conduct thorough testing and be prepared to troubleshoot any potential issues that may arise. By following these essential steps, you can ensure the optimal functionality of your newly installed thermostat:
Read more: How To Wire An Emerson Thermostat
Step 1: Temperature Verification
Adjust the temperature settings on the thermostat to verify that the heating and cooling systems respond accordingly. Observe the HVAC system’s operation to confirm that the thermostat effectively triggers the heating or cooling functions based on your input.
Step 2: Fan Activation
Test the fan functionality by adjusting the thermostat settings to activate the fan. Ensure that the fan responds promptly and circulates air as intended, contributing to optimal air distribution and comfort within your living space.
Step 3: Multimeter Verification
Use a multimeter to verify the voltage and continuity of the thermostat’s connections. Check each terminal to ensure that the wiring integrity is maintained and that the electrical signals are transmitted effectively between the thermostat and the HVAC system.
Step 4: Calibration and Programming
If your thermostat features programmable settings or calibration options, take the time to configure and calibrate it according to your preferences. Ensure that the thermostat accurately reflects the indoor temperature and operates in alignment with your desired comfort levels.
Read more: How To Wire An AC Thermostat
Step 5: Troubleshooting Potential Issues
If you encounter any irregularities or malfunctions during the testing phase, refer to the thermostat’s user manual for troubleshooting guidance. Common issues may include incorrect wiring, sensor malfunctions, or programming errors, all of which can typically be addressed through systematic troubleshooting steps.
Step 6: Professional Evaluation
If persistent issues or complexities arise during the testing and troubleshooting process, consider seeking professional evaluation and assistance. HVAC technicians possess the expertise to diagnose and rectify intricate thermostat-related issues, ensuring the optimal performance of your climate control system.
By diligently following these testing and troubleshooting steps, you can effectively verify the functionality of your newly installed 4-wire thermostat and address any potential issues with confidence and proficiency. With a thorough testing process and the ability to troubleshoot common issues, you are well-equipped to optimize your home’s climate control system and enjoy enhanced comfort and energy efficiency.
With the completion of the testing and troubleshooting phase, you have successfully navigated the comprehensive process of wiring and integrating a 4-wire thermostat into your HVAC system. This accomplishment marks a significant stride in enhancing your home’s automation and comfort, reflecting your adeptness in managing essential home improvement tasks.
Now equipped with the knowledge and expertise to wire and optimize a 4-wire thermostat, you are poised to embark on future home automation endeavors with confidence and proficiency. As you continue to explore the realm of home automation and appliance integration, may your newfound skills empower you to elevate your living environment and embrace the convenience and comfort of modern technology.
Conclusion
Congratulations on successfully navigating the intricate process of wiring a 4-wire thermostat, a pivotal component of modern home automation and climate control. By delving into the fundamental functions of the 4-wire thermostat, equipping yourself with the essential tools and materials, and meticulously following the comprehensive wiring and testing procedures, you have demonstrated your adeptness in managing essential home improvement tasks.
Through this enlightening journey, you have gained a profound understanding of the 4-wire thermostat’s significance within your HVAC system, empowering you to optimize your home’s climate control with confidence and proficiency. The knowledge and expertise you have acquired will undoubtedly serve as a cornerstone for future home automation endeavors, enabling you to embrace the convenience and comfort of modern technology within your living space.
As you reflect on your accomplishment, consider the transformative impact of integrating a 4-wire thermostat into your home. With enhanced climate control capabilities, you are poised to elevate your living environment, fostering a harmonious balance of comfort, energy efficiency, and modern convenience.
Furthermore, your newfound proficiency in wiring and optimizing a 4-wire thermostat positions you as a capable steward of your home’s automation systems. As you continue to explore the realm of home automation and appliance integration, may your knowledge and expertise continue to flourish, enriching your living space and enhancing your everyday experiences.
In the ever-evolving landscape of home automation and modern living, your commitment to mastering essential tasks such as wiring a 4-wire thermostat exemplifies your dedication to creating a harmonious and technologically advanced home environment. As you embark on future endeavors, may the skills and insights gained from this experience continue to guide and inspire you.
With your newfound expertise and the successful integration of the 4-wire thermostat into your HVAC system, you have taken a significant step toward optimizing your home’s climate control and embracing the transformative power of modern technology. Your journey exemplifies the seamless fusion of knowledge, skill, and innovation in the pursuit of an enhanced living environment.
As you bask in the fulfillment of this achievement, may the comfort and convenience of your optimized home environment serve as a testament to your dedication and proficiency in managing essential home automation tasks. Embrace the possibilities that lie ahead, knowing that your expertise has unlocked a world of modern comfort and efficiency within your living space.
Now that you've mastered wiring a 4-wire thermostat, why not delve deeper into its specifics? Our detailed guide on "What Is The L Wire On A Thermostat" will clear up any confusion surrounding this component, ensuring your setup runs smoothly. And if you're eager to elevate your living space with the latest gadgets, check out our rundown of "12 Best Home Automation For 2024." This list will give you insights into cutting-edge technology that can transform your home into a smart haven.
Frequently Asked Questions about How To Wire 4-Wire Thermostat
Was this page helpful?
At Storables.com, we guarantee accurate and reliable information. Our content, validated by Expert Board Contributors, is crafted following stringent Editorial Policies. We're committed to providing you with well-researched, expert-backed insights for all your informational needs.
0 thoughts on “How To Wire 4-Wire Thermostat”